10 ways to fix or enhance the treble in your mix
Harsh cymbals? Dull synths? Whether you're fixing or enhancing, here are ten tried and tested techniques

The treble is the treble
For many of us, it may be all about the bass, but getting the top end right is just as important, and although nowadays we're not restricted by analogue limitations such as tape or vinyl cutting, that doesn't mean we can just ignore this vital aspect.
When we talk about treble, we mean the top end of the frequency spectrum. To nail this down slightly, treble controls on, say, an EQ plugin usually adjust anything from around 2kHz upwards. Now, around 2kHz might be thought of more as mid-range or upper mids, but the key point is that a treble-oriented control will influence the higher frequencies far more than those in the mid range.
In music production, treble discussions usually turn one of two ways: fixing problems or finding ways to add more treble (without also causing problems). In the first category, things to fix include overly harsh upper frequencies that often make the overall mix sound too thin, and momentary frequency spikes such as vocal sibilance, which can sound very unpleasant and cause problems when mastering.
In the second category of treble addition, we encounter subjects as wide as harmonic distortions, artificial enhancers (think Aphex's classic Aural Exciter) and, of course, simple EQ types and shapes.
Here, we're going to demonstrate ten techniques, roughly divided into equal parts fixes and enhancers. It's by no means an exhaustive list, but many techniques can be modified or tweaked for other outcomes. If you want videos for all the tips, get hold of Computer Music 219 (August 2015) Right then, top end time…
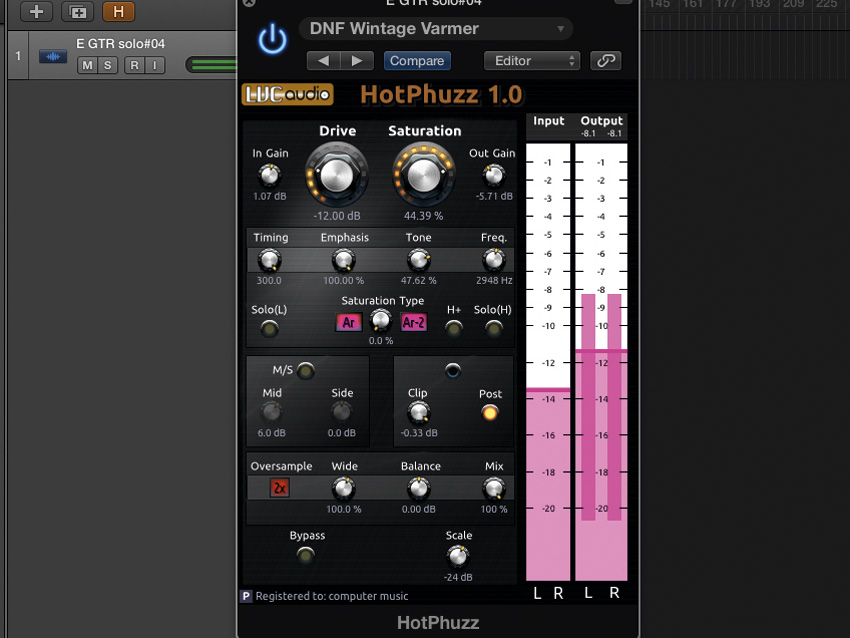
1. Enhancement using saturation
Saturation and its accompanying harmonic distortions can add brightness through the introduction of treble frequencies. Often based on emulations of analogue circuits, different designs generate differing amounts and types of harmonics (odd and/or even). For maximum flexibility, find a plugin that can deliver different types of harmonics.
We can get even more focus using a multiband design, generating harmonics based on specific frequency ranges. Try bypassing processing for the upper and lower bands, leaving just the middle. Next, solo that mid band to adjust its frequency limits, and enable harmonics selection, choosing a balance of 2nd, 3rd, 4th and 5th harmonics, with overall gain. Note how the 4th and 5th harmonics add more brightness, and better suit treble enhancement.
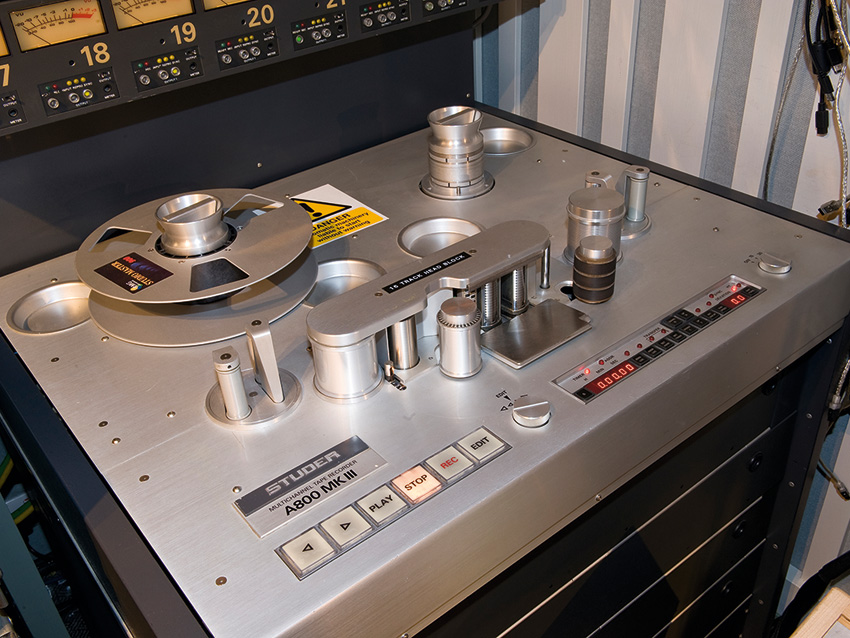
2. Smoothing harshness with tape emulations
Tape machine simulations can both enhance and curtail high frequencies, and this is primarily down to the tape type and speed.
Find a tape simulation with a vintage tape option, or even specific tape types (formulations like Ampex 456 or Scotch 226 are ideal). Set the tape to a slow speed like 15ips or even 7.5ips, and try over-biasing the signal. Remember, tape is inherently non-linear, so this technique may affect other frequencies as well.
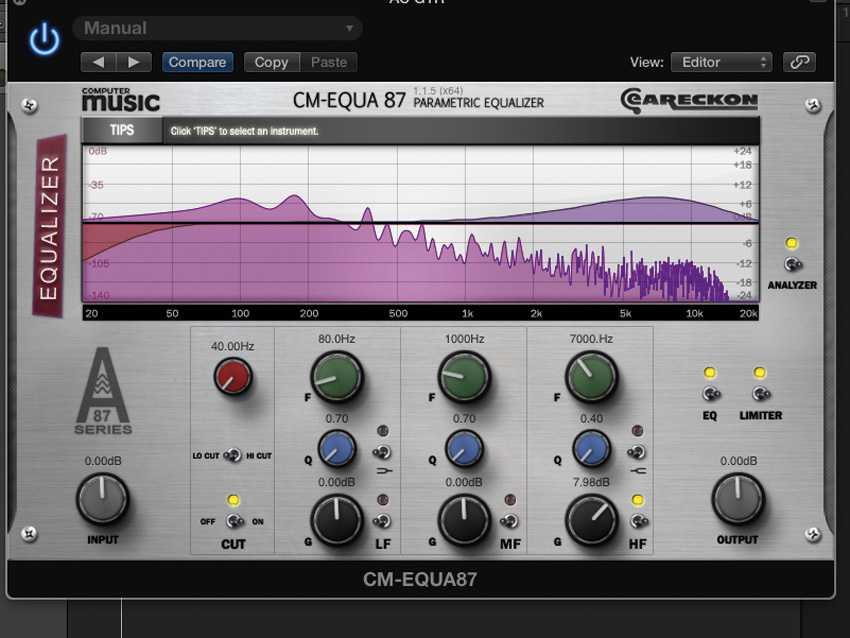
3. EQ shapes for treble boosting
Here we’re going to look at how treble changes with different EQ shapes. We’ll show you how three varied options help us achieve different outcomes.
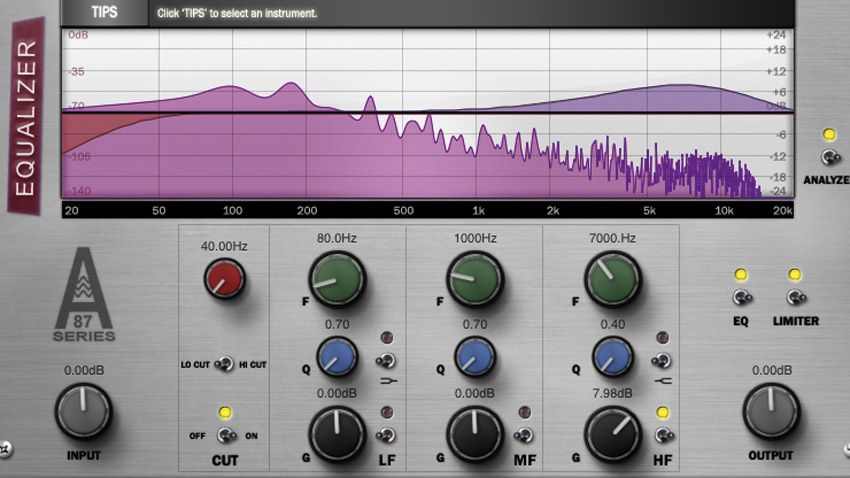
Step 1: EQs usually include a high shelf, but when enhancing individual instruments, a bell shape can be more focused, introducing fewer unneeded high frequencies. Here, on acoustic guitar, we’re using a broad peak shape and boosting generously around the 7kHz point. Adjusting the Q width allows us to control how natural or focused the EQ is.
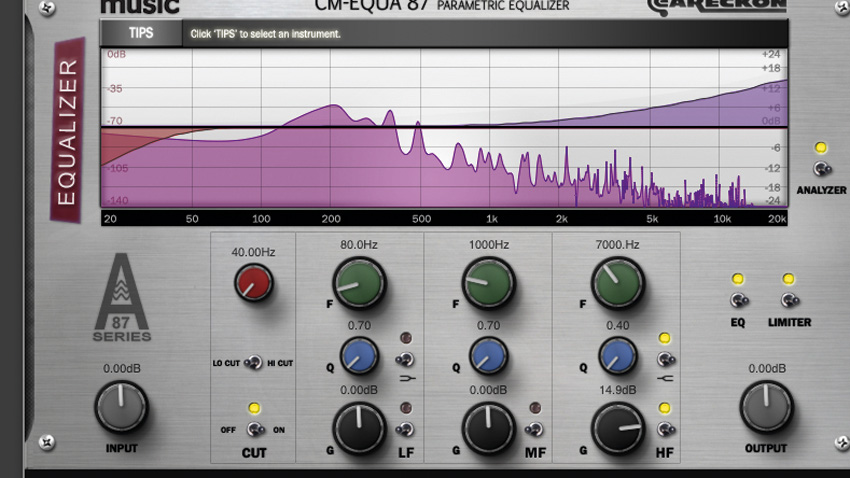
Step 2: A high-shelf boost applies a gradual lift, with frequencies below the cutoff also being boosted. When we switch to the shelving option, the character of the EQ changes considerably. The same 7kHz frequency delivers top-end sheen, and reducing the frequency can produce the same 7kHz lift as before but with a much broader impact on surrounding areas.
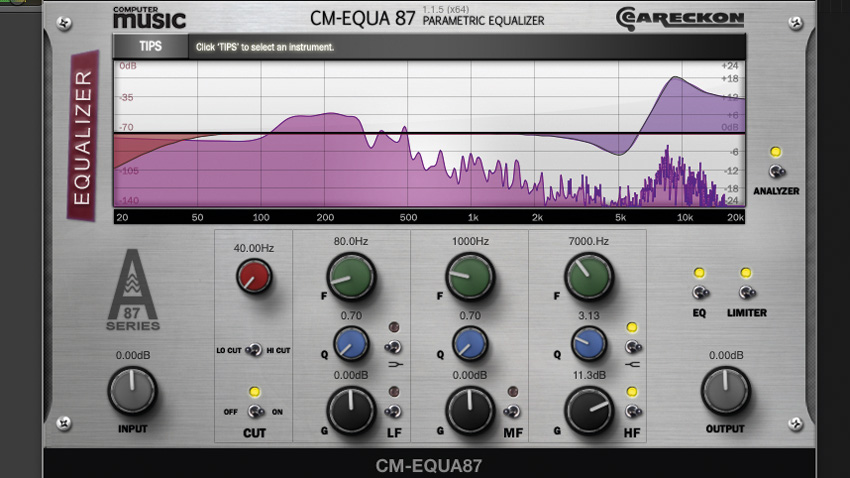
Step 3: Many shelves also include a Q option, with a higher Q producing a steeper slope, but leaving an ‘overshoot’ peak above the cutoff and an ‘undershoot’ dip below it. Both overshoot and undershoot help emphasise the boost, delivering a combination of shelf and peak. You’ll notice how artificial and ringy this can sound, though, at very high Q settings.
4. Notching treble spikes
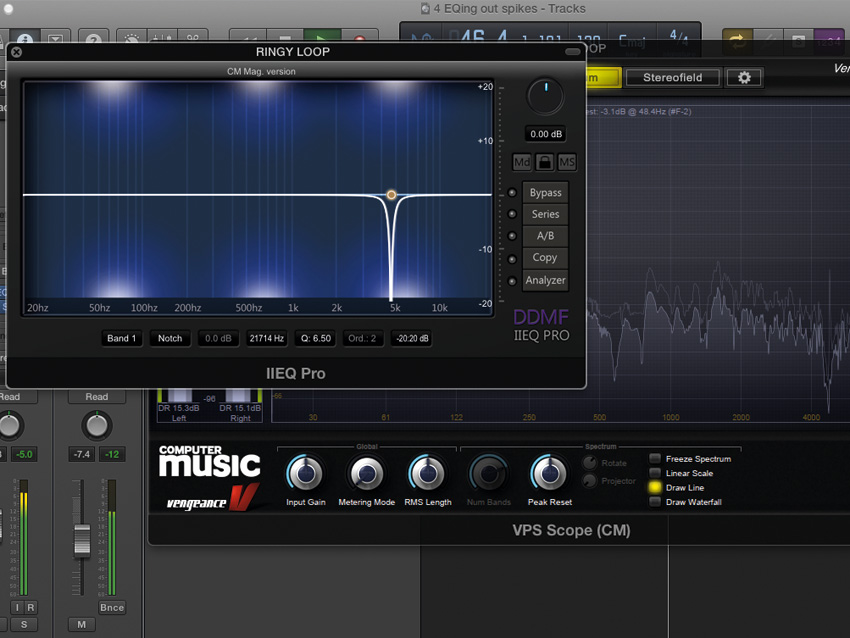
We've looked at using EQ boosts to enhance treble, but, of course, we can also use carefully placed cuts to precisely remove problem treble frequencies. In the past, we would often have to do this solely by ear, but the abundance of quality analysis tools and super-precise EQs makes the process much easier.
Try combining both tools, searching for offending treble frequencies in a signal with an analyser, then using precision EQ to reduce the undesirable frequencies to taste.
5. Adding digital treble grit with bitcrushing
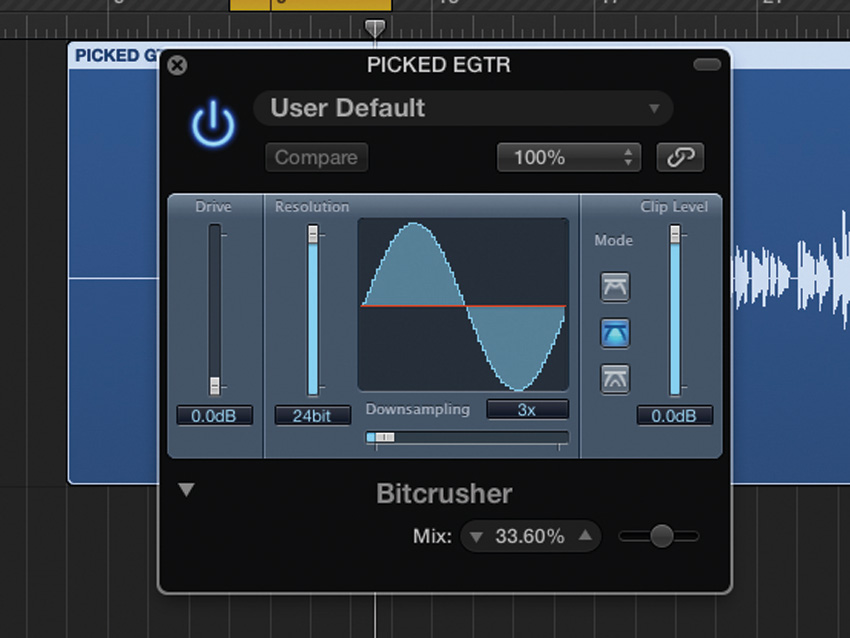
Unfiltered sample rate reduction introduces very audible aliasing errors, and while these frequencies are not strictly musical or harmonic, they’re great for adding bite and crunch wherever an unnatural touch is acceptable - percussive sounds work especially well.
Grab a bitcrusher, leave the bit depth untouched and reduce the sample rate setting. It works particularly well blended with the dry signal.
6. Dynamic treble control
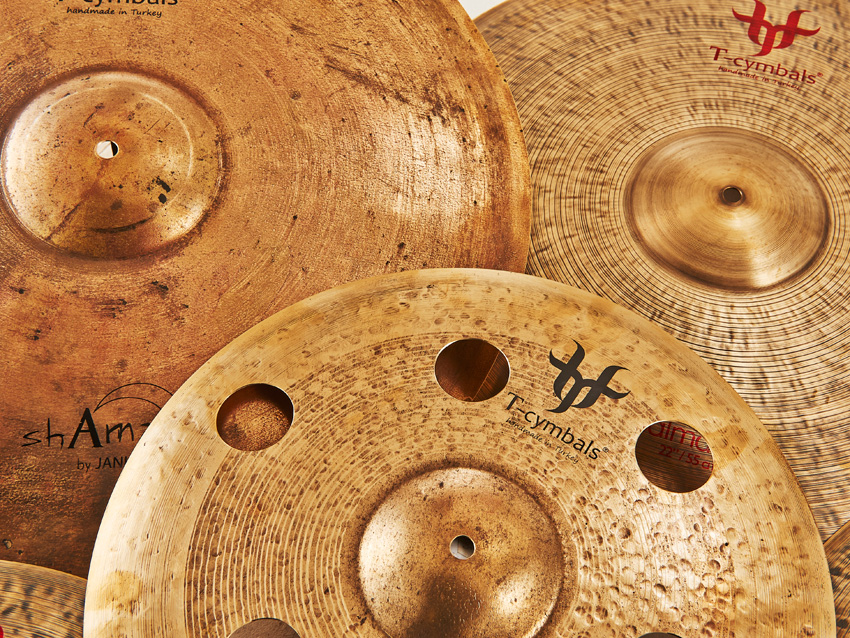
We can use frequency-conscious dynamics as an alternative way to remove harshness. This type of processor, often associated with de-essing, responds to the incoming signal level, compressing in response to a specific band of frequencies. This differs from EQ in that the process is level-dependent, reducing the signal only as needed.
Try it on electric guitars, where there’s often a harshness between 3kHz and 5kHz, with higher frequencies tending to tail off. It’s also useful for drums, where particular cymbals can get harsh around 7kHz but more pleasant at higher frequencies.
Use the ‘sidechain listen’ function to home in on the relevant frequencies, and try various sidechain curves to suit the content. Once you’ve pushed up those unpleasant frequencies in the sidechain, disable the listen mode and fine tune the response.
7. Smoother distortion with pre and post EQ
Some effects - distortion, for example - can bring out unwanted side effects. We can compensate for them using pre and post EQ.
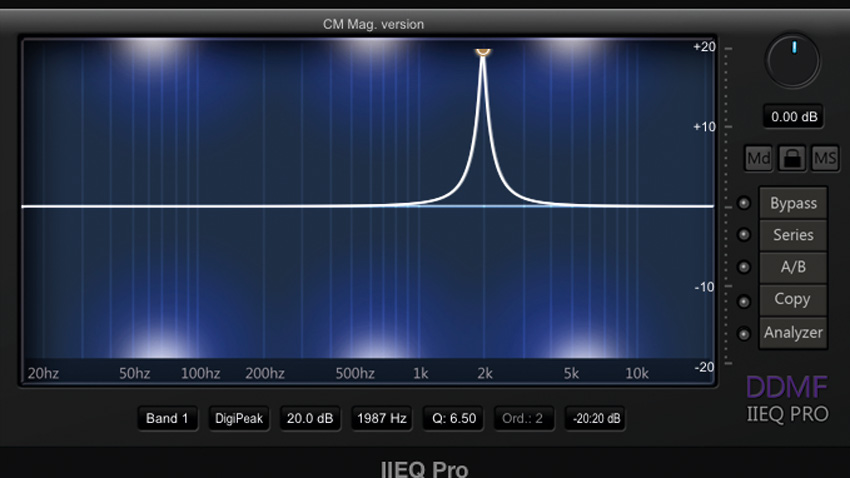
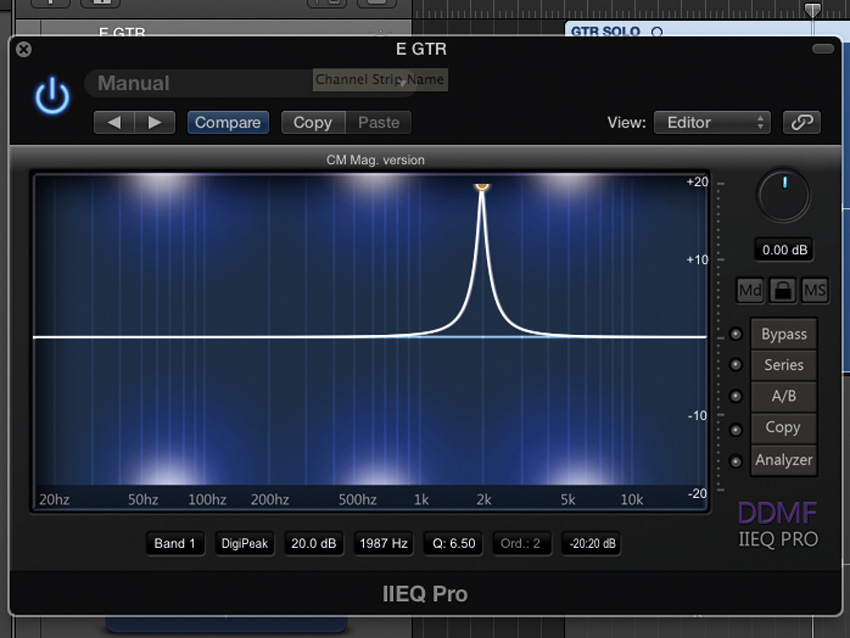
Step 1: Our guitar sound has a spiky sound on some notes, made a lot worse by the amp simulation. Place an EQ before the amp, create a peak boost, and sweep it to find the offending frequency. Here it’s around 2kHz.
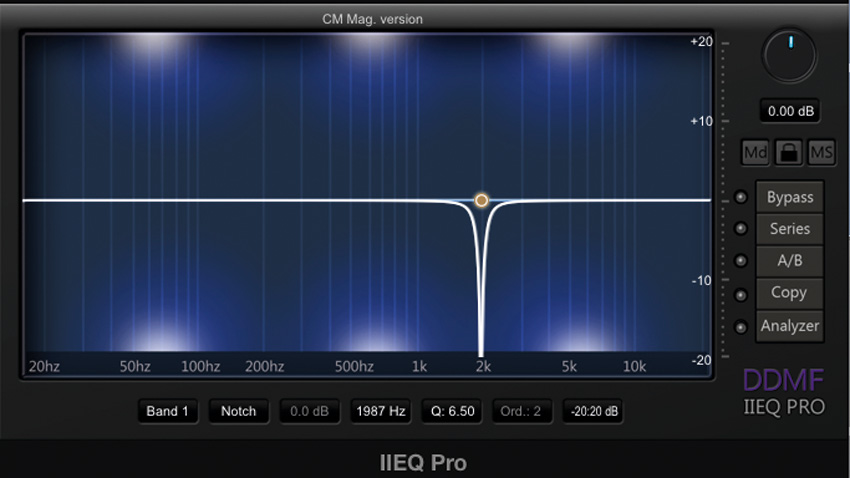
Step 2: Now, using the same EQ, cut the offending frequency. Adjust the cut amount and Q width to get the desired result. Here, as an alternative, we’ve also been able to try the notch option on our EQ. Now duplicate the EQ plugin, placing the copy after our virtual amp.
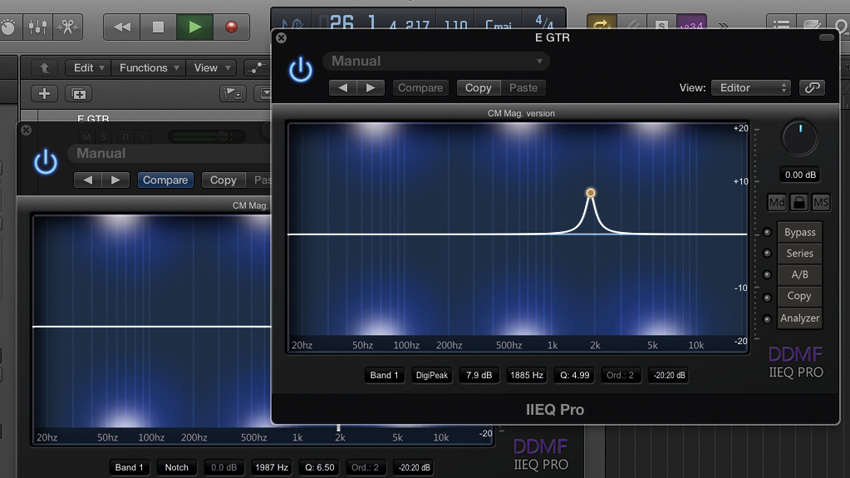
Step 3: On the post-amp EQ plugin, we can compensate for the earlier EQ cut. Completely mirrored settings can sound odd, so for best results, broaden the peak width and reduce the gain. Here we’ve gone for just 8dB of boost. Try bypassing both EQs to hear the difference it makes.
8. Enhancers in parallel
We spend so much time removing any unwanted high frequencies that it can be easy to overlook the advantages of adding them. This technique can sound unpleasant when overdone, but when used correctly, it can be a lifesaver for dull, lacklustre sounds.
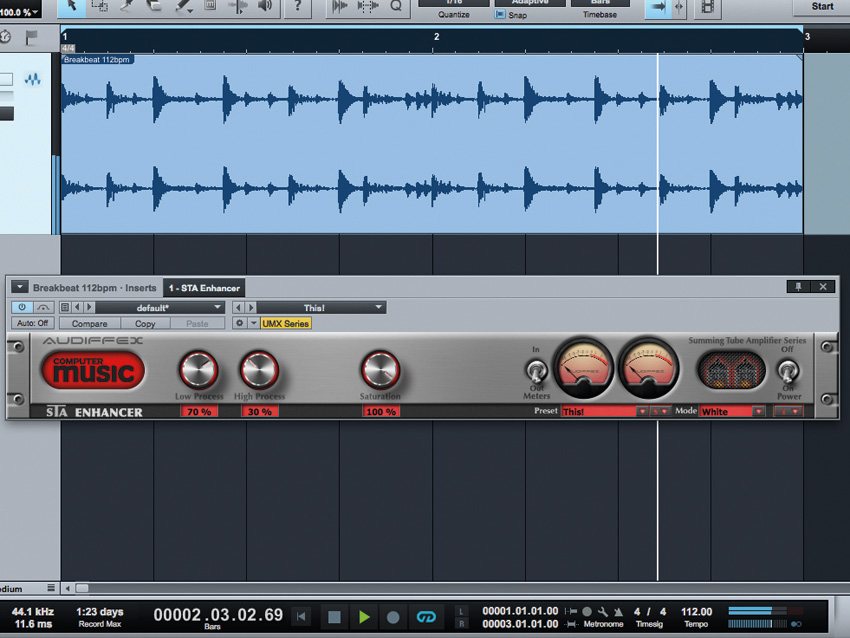
They a plugin such as Audiffex STA Enhancer CM, which comes free with every issue of Computer Music magazine. For greatest flexibility, add the plugin on a return channel with the Low Process set to 0% and the High Process to 100%. After tweaking the settings some more, try a gentle high-pass filter to remove low frequencies on the return. Using this technique on kicks and snares provides excellent top-end energy.
9. Transient smoothing
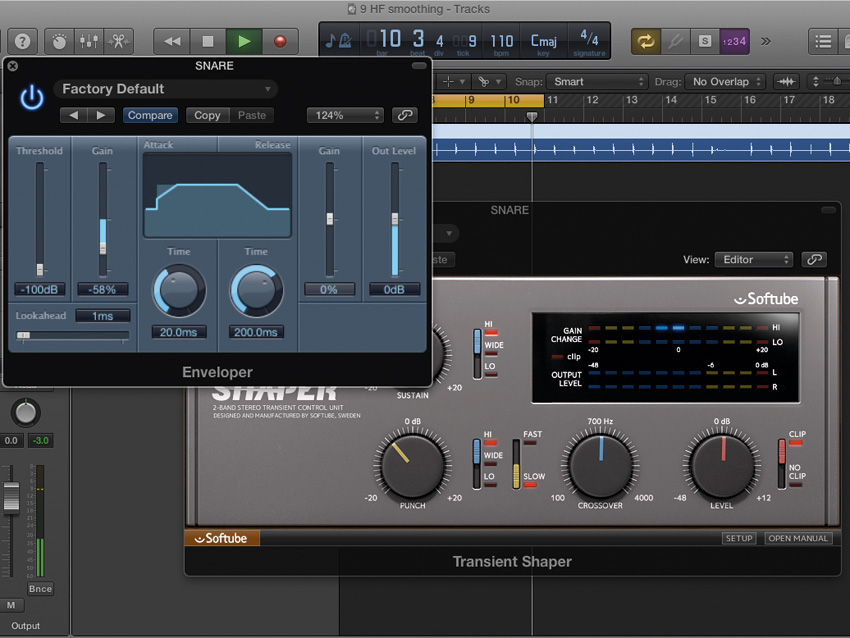
If you don’t fancy using EQ or a tape simulator to tame unpleasant high frequencies, try thinking outside the box. For example, an enveloper or transient shaper, in addition to enhancing transients, can also soften them. On transient-heavy sounds such as drums, these transients can carry lots of high-frequency energy, and softening them can reduce the overall high-frequency edginess of a mix.
Try applying a basic broadband enveloper to a drum kit - it’s surprising how effective this is. With a multiband processor (such as Softube’s Transient Shaper), it’s possible to be even more precise.

10. White noise layers
Noise has been an important part of synthesis for decades, and its wideband sound played an important role in adding bite to early synthesised drums. White noise’s flat spectral density across the 20Hz to 20kHz range means it sounds brighter than other noise types, like pink and brown, which curtail high frequencies in line with our hearing. This means that white noise can be ideal for adding extra top end.
There are many ways you can approach this, but most techniques use a high-pass filter to retain just the desired additional high-frequency content.
Try using the popular trick of replacing or augmenting a crash sound with white noise. Using the Init patch on your synth, activate just the noise generator. Next, add an EQ to tailor the lower frequencies, and balance the sound with the crash, before using some sidechain compression to pull it all together.
Computer Music magazine is the world’s best selling publication dedicated solely to making great music with your Mac or PC computer. Each issue it brings its lucky readers the best in cutting-edge tutorials, need-to-know, expert software reviews and even all the tools you actually need to make great music today, courtesy of our legendary CM Plugin Suite.
