10 ways to create monstrous big room synth sounds
Tips and tricks for designing attention-seeking hooks that slice through the mix

SYNTH WEEK: So you want to craft those colossal, mix-dominating synth sounds heard in electro and progressive house, played on big room dancefloors by the likes of Afrojack, Hardwell, or Dimitri Vegas & Like Mike? You know the kind we mean - those huge synth riffs that jump out of your speakers; or when you wear headphones, they make it seem as if the space between your ears houses a whole galaxy of glorious sound. Synth riffs so bright and deep that you instinctively scan the vicinity for natural disasters.
While some may have dismissed the big room phenomenon as being sonically homogenous and melodically simplistic compared to other dance genres, they may have missed the point of fun and powerful party music (the clue is in the name, 'big room'), or they may have underestimated the level of difficulty in producing music that satisfies the high production standards that the top DJs in the field demand.
With these ten sound design tips, we'll help you get on the right track with those super-sized synth patches.
1. Sidechain everything
Big room artists routinely use sidechain compression on most - if not every - channel in a production. The
first reason to do this is to establish the kick drum as the centre of groove in a track. With compressors on all of your synths triggered by the kick, it's almost as if your synths bow down every time the kick sounds.
For fine control over the release shape, many find this easier to achieve using a dedicated plugin such as Xfer Records' LFOTool or Vengeance Sound's VPS Multiband Sidechain, rather than using an actual compressor set up with a sidechain configuration. Another reason to use extensive sidechain compression is making more room in the mix so that, for example, reverbs only reach their full power between the notes.
2. Keep your reverb clean
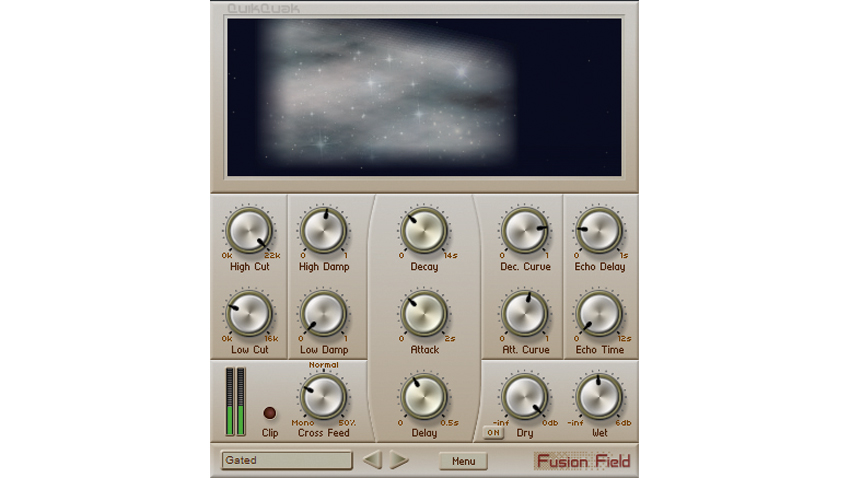
Speaking of reverb, you'll need to make sure any reverb used sounds nice and clear. This starts right at the beginning, by choosing your plugins and presets carefully - but there are also things you can do to make sure your use of reverb doesn't result in a cloudy mix. For instance, it's a good idea to precede reverb send effects with high- and low-pass filters. Most good reverbs have built-in filters, but they tend to be quite gentle, suitable for working with vocals or acoustic instruments. For obnoxious big room synths, you may find you need more extreme filtering.
Also, use as much pre-delay as you can get away with, as this helps with the sense of size and clarity. It's quite common to use pre-delay times in excess of 100ms for lead synths.
Get the MusicRadar Newsletter
Want all the hottest music and gear news, reviews, deals, features and more, direct to your inbox? Sign up here.
3. Keep your delays light
When using delay effects, you'll probably have more luck using their built-in filters compared to those built into reverb plugins. To take filtering further, helping 'what's being delayed' to stick out over 'the delay itself', gently scoop out muddy frequencies with an EQ in the delay chain. An often overlooked trick is to set the timing in milliseconds, rather than sync it the project tempo. By making the delay timing just slightly slower than the BPM of your track, you'll actually avoid delay echoes landing concurrently with dry elements in your track, giving more space and clarity to the instruments, and bringing a greater sense of depth and size to the overall mix.
Get creative with delays, too. Rather than settling on one static setting, automate or modulate filters, feedback, mix level, etc, to make sure the delay effect contributes appropriately to the overall energy flow of the track.
4. Incorporate acoustic instruments
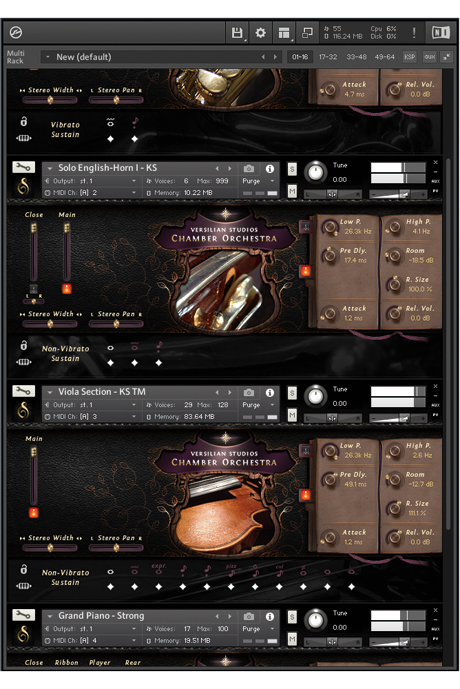
There are very few dance genres that don't use at least a few traditional musical instruments from time to time. You'll hear plenty of big room house tracks with beautiful cello parts, full string sections, big timpani, and gigantic brass stabs. You'll find these add a particular texture and a sense of vividness to your productions. For drops, instruments with bright and percussive qualities tend to work best, so a twinkly piano preset with plenty of compression might be just as good as that synth patch you were intending to use.
5. Chain effects creatively
Whether you use synths or acoustic instruments, you can bring them into the modern era with the creative use of effects plugins. For example, if you insert a reverb with a very low wet mix, then stick a compressor after it, you get a similar effect to sidechain compression on the reverb, where the reverb violently rushes in to fill the void between notes. Likewise, EQing on the way into distortion can dramatically change the character you get. This allows you to get a lot more use out of your distortion plugins - especially if you're unafraid to boost heavily!
6. Layers of distortion
To avoid compromising the size and clarity of your synth parts, you might opt to only distort a single layer. Alternatively, if the part isn't layered, you can use a dry/wet control, if your distortion plugin has one, to create parallel distortion. For really interesting sounds, you might layer different distortion effects on top of each other. To do this successfully, make sure the distortion types are as diverse as possible: from waveshaping, to hard-clipping, to bitcrushing.
7. Vocoderation
Ever wanted to combine two or more synth sounds into a crazy hybrid noise? Well the vocoder might just be the answer you're looking for - it's not just for cheesy robot vocals. Vocoding one synth sound with another is an excellent way to explore sonic textures not offered by simple virtual analogue synthesis. You might use vocoders to produce interesting drums or incidental effect noises. Try using stereo white noise as either the carrier or the modulator for some really exciting textures, or even using a vocal as the modulator. There's a world of untapped potential here.
8. Glitch to the win
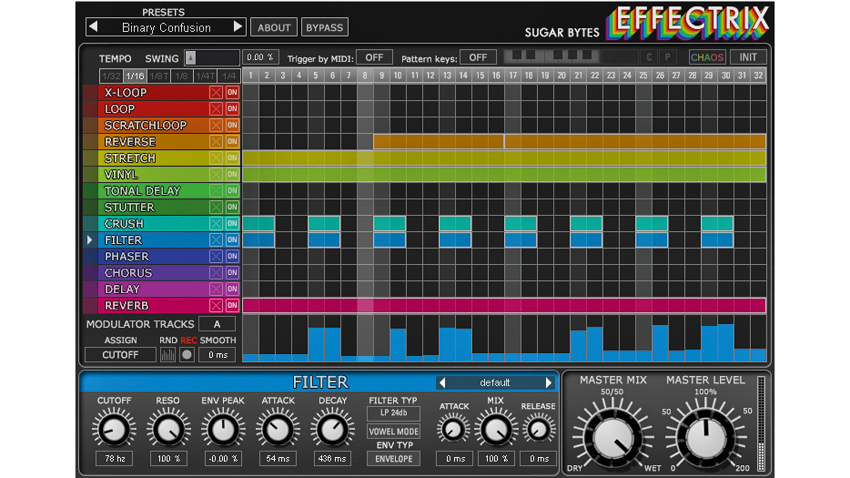
As with acoustic instruments, synth performances really come to life with plenty of expression and articulation. In the big room arena, glitchy effects such as stutters, rewinds and tape stops have become the default way to add interest and excitement to otherwise pedestrian MIDI sequences. While you can sometimes achieve these sorts of effects with very meticulous MIDI editing, for the most part they're achieved using plugins such as Illformed's Glitch, iZotope's Stutter Edit or Sugar Bytes' Effectrix.
The plainest of glitches have arguably lost most of their edge through overuse by now, but by creatively stacking effects on top of each other, you can produce modern alternatives. For example, you might use a tape stop effect with a gated reverb, sweeping resonant high-pass filter, bitcrushing and a phaser effect,
all at once.
9. Bespoke effect noises
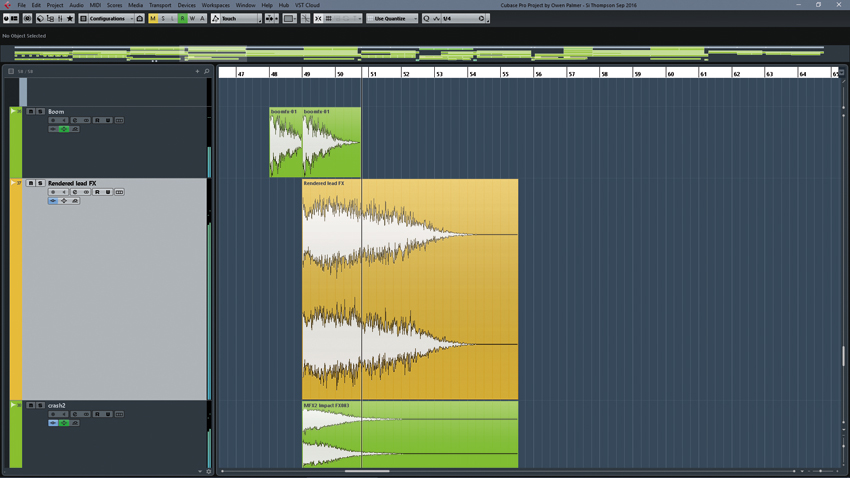
Derive incidental effect noises from your synth parts by rendering them to audio and treating them to an assortment of FX processes. For example, you might render the first note of your riff to audio, apply a 100% wet reverb tail to it, then reverse that and stick it ahead of your riff in the arrangement to create the classic reversed reverb effect.
For another effect, sample a slice of vocal and pile on an assortment of plugins to distort it beyond recognition, then timestretch it by a ridiculous factor to create some wicked ear candy.
10. Stereo synthesis
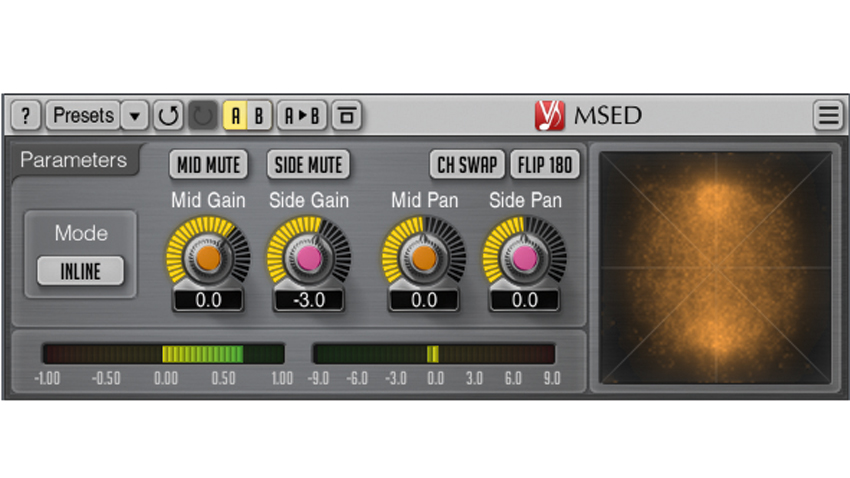
If you want a really wide, clear mix, it's seldom best to treat monaural synth channels with stereo-ising effects. Rather, dive into the synth and program stereo width into the patch at the oscillator level. The easiest way to do this, which almost always sounds great, is to use stereo unison. If you find it difficult to make stereo unison work on a particular synth patch, you can usually use a unison layer on an additional synth track for a similar effect. For exaggerated width, use a stereo expander such as Voxengo's free MSED. If you feel you need to narrow the stereo image, it's often best to target a mid/side EQ at the problem area.
Synth Week is brought to you in association with Novation. For more tutorials, tips and features, check out the Synth Week hub page.
Computer Music magazine is the world’s best selling publication dedicated solely to making great music with your Mac or PC computer. Each issue it brings its lucky readers the best in cutting-edge tutorials, need-to-know, expert software reviews and even all the tools you actually need to make great music today, courtesy of our legendary CM Plugin Suite.
“Excels at unique modulated timbres, atonal drones and microtonal sequences that reinvent themselves each time you dare to touch the synth”: Soma Laboratories Lyra-4 review
“A superb-sounding and well thought-out pro-end keyboard”: Roland V-Stage 88 & 76-note keyboards review


