10 steps to producing perfect glitch
Push those apps and plugins to the limit and take your sounds in directions previously unimagined

Bring the noise
Musicians have always sought out ways to make exciting new sounds, often bending or breaking the established rules in the process. In the 1920s, Heitor Villa-Lobos tweaked the tone of his piano by placing paper between the strings and hammers - the original “prepared piano”, a technique later expanded on by the likes of John Cage and John Cale.
Modern-day “circuit benders” customise the circuits of toys, synths and guitar effects for unpredictable results. We can do something similar with our computers by using the tools at our disposal in unintended ways, or calling on software intended to mimic the sound of “malfunctioning” gear.
These tricks have applications for all kinds of musicians - not just experimental beard-strokers and electronica eggheads like Autechre and Squarepusher. In the '80s, Kate Bush used the sound of a fast-forwarding DAT recorder to create the splintered vocal effects on her Hounds of Love album. And while the timestretching capabilities of hardware samplers were originally intended to facilitate minor changes in timing or pitch, early drum ’n’ bass artists pushed them to extreme settings to create previously unheard effects like melodic, metallic drum beats and sinister stretched vocals. In the late '90s, dance and R&B producers turned up Auto-Tune’s pitch correction to unnaturally fast speeds, creating the now-ubiquitous robotic vocal effect.
Today, there are many plugins designed specifically for creating glitch effects, such as Sugar Bytes Effectrix and iZotope Stutter Edit; but often the most outrageous, unexpected sounds are created by using conventional instruments and effects in unconventional ways. Let’s take a look, then, at ten techniques you can employ right now to make your own glitched-out sounds.
Manual chopping up of samples
Fundamentally, glitch effects are intended to emulate the sound of music hardware either malfunctioning or being improperly programmed - for example, buffer glitches or incorrectly set loop points.
An easy way to recreate these phenomena is to repeat small slices of audio, and this can be achieved by simply cutting up and duplicating anything on an audio track. It’s a trick that works particularly well with rhythmic sounds like beats or vocals, and you can add an extra sonic dimension by processing the duplicated slices.
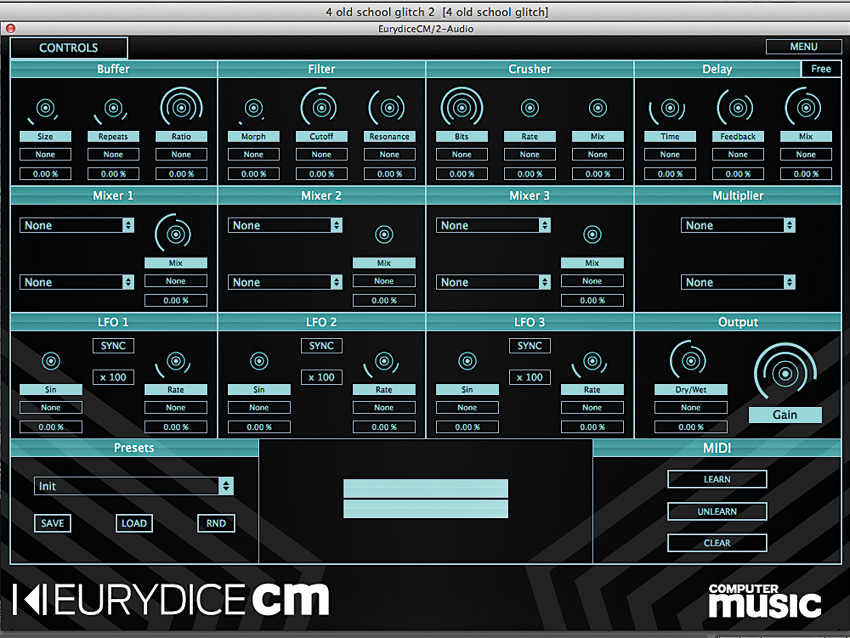
Computer Music magazine’s exclusive multieffect Eurydice CM (free with every issue) is perfect for this, thanks to its ability to pitchshift, bitcrush, filter and otherwise mangle audio to within an inch of its life. To get an even more ear-bending effect, try spreading your slices between separate audio tracks, each with its own effects setup.
Aphex Twin-style bouncing glitches
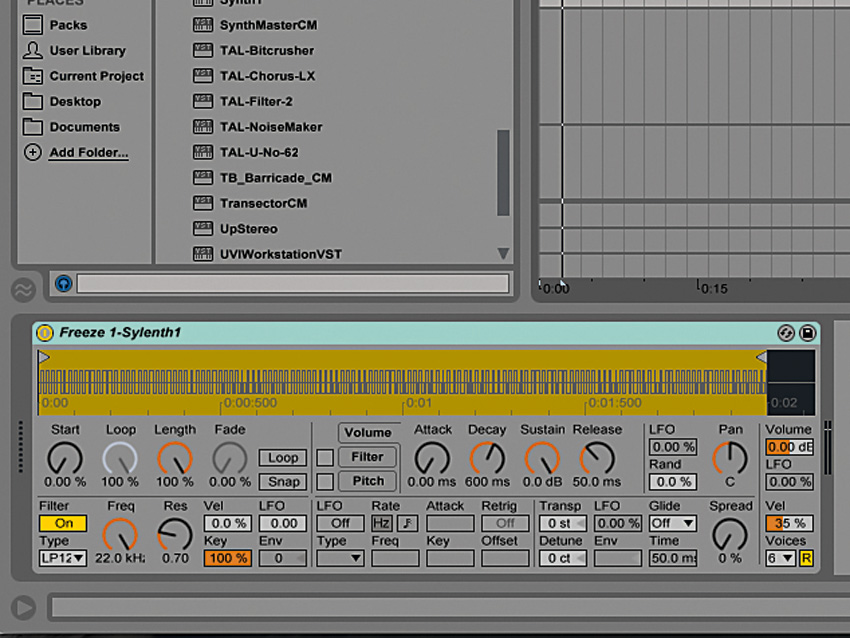
A sampler’s loop function is meant to sustain instrument sounds, but you can use loop length modulation to recreate the classic IDM effect of Aphex Twin’s bonkers Bucephalus Bouncing Ball.
The sound retriggers increasingly quickly as the loop’s length is reduced, creating a pitched tone when the loop gets very short, eventually reaching extremely high frequencies.
Nasty bitcrushed bass
Bitcrushers are designed to recreate the sounds of old-school, lo-fi samplers and are great sound design tools, but the results can vary radically depending on the pitch of the input. Here’s a workaround…
Load LennarDigital’s awesome Sylenth1 (get the demo from lennardigital.com) into your DAW. Click Menu and select Init Preset to initialise the patch. Set the oscillator waveform to Square, and the filter type to a low-pass.
Turn the Cutoff in the Filter A panel down to 1.00Hz. In the Mod Env 1 panel, route the first destination slot to Cutoff A. Turn the Modulation Amount up to 10.00 and set the envelope’s Decay time to 4.25. This gives us a very simple bass sound.
Now add a bitcrusher effect - we’ve gone for Ableton Live’s Redux but any bitcrushing plugin will work. Activate Bit Reduction and set its level to 2, then try playing notes up the keyboard - each one should break up differently. Pick a variation you like, export it as audio, then load it into a sampler. You can now play it at any pitch with a consistent sound.

Skrillex-style twisted, glitchy vocals with Melodyne
Celemony Melodyne is a sophisticated pitch correction tool for transparently adjusting tuning and timing. That’s all well and good, but the fun really starts when you start abusing its power to twist vocals out of all recognition, as heard on several Skrillex tracks including Scary Monsters And Nice Sprites.
When a vocal is loaded into Melodyne, the software automatically analyses its pitch and splits each note into a separate ‘blob’. These blobs can be freely transposed and repositioned on the timeline. For more extreme uses, click and hold the Pitch tool to reveal a dropdown menu of other tools. The Pitch Modulation tool can adjust the amount of pitch variation on each note: by reducing the variation to a constant flat line, you can make vocals sound synthesised.
The Formant tool (designed to help changes in pitch sound more natural) can be employed for extreme adjustments on a per-note basis, introducing a surreal, alien quality.
Using non-audio files as samples
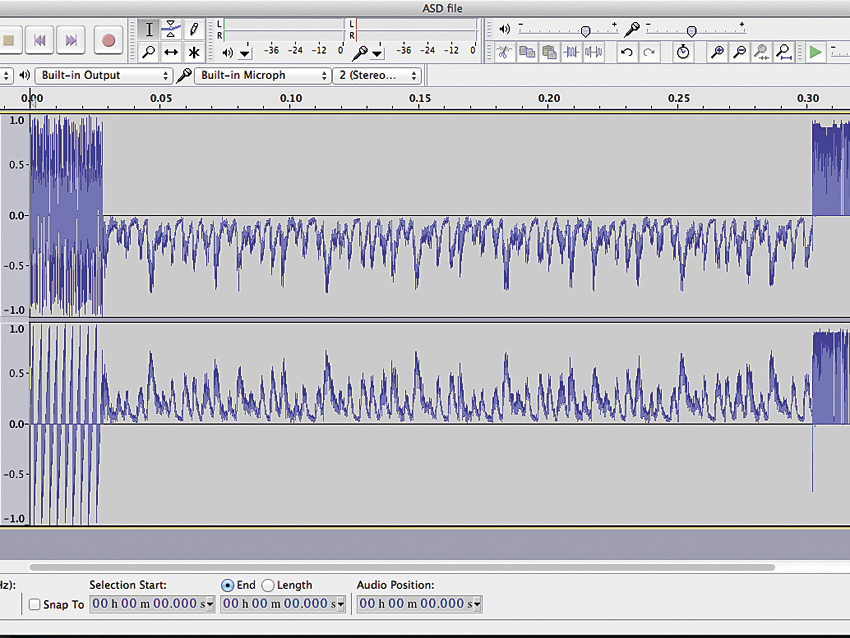
For truly bizarre sounds, try playing non-audio files. It’s easy to do with Audacity’s Import»Raw Data function - try spreadsheets, pictures, text files… anything!
The results are often very noisy, but you can stumble upon digital ripping sounds, strange rhythms and glitched-out weirdness. Be sure to Export the file rather than save over the original.
Misuse of convolution reverb for glitch FX
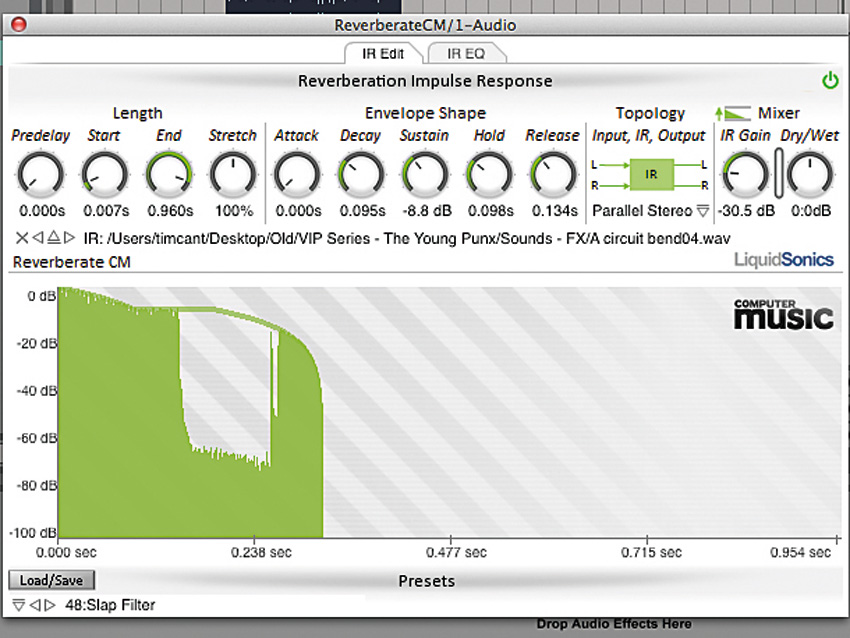
Convolution reverb effects use IR (impulse response) files to accurately recreate reverberations from real-life spaces. Most convolution reverb effects have the ability to load up WAV or AIFF files and use them as IRs, and you can abuse this functionality to intriguing effect by selecting an audio file that isn’t actually an impulse response.
You can get a feel for how sounds can be warped in this manner with Computer Music magazine’s Reverberate CM, also included with every issue. Click the menu button at the bottom left-hand corner of the interface - at the bottom of the list you’ll see a number of more esoteric IRs, such as screams and sonar blips. You can load your own audio files as IRs by clicking the upward pointing arrow by the IR name at the centre of the interface.
Four Tet-style resampled arps
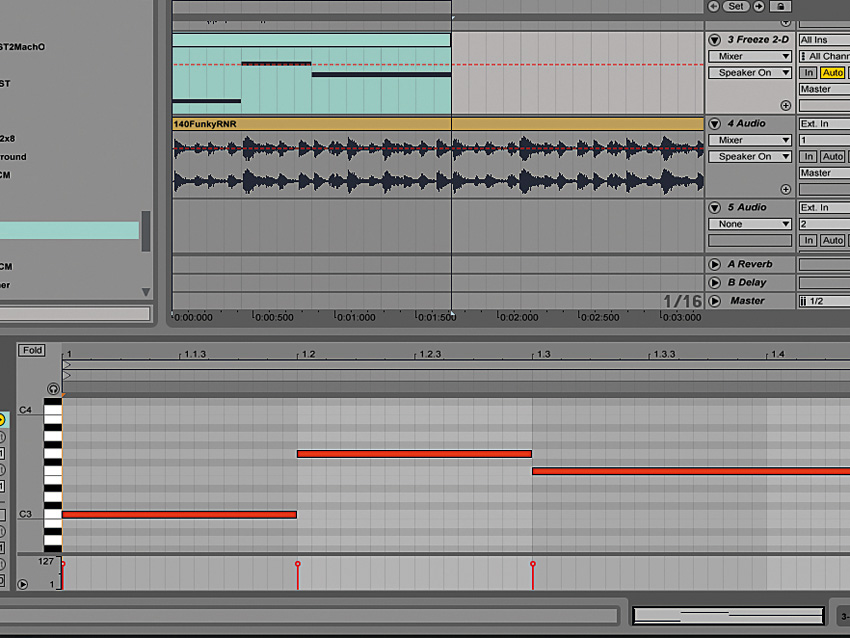
Playing rhythmic loops melodically without timestretching them can create the kind of interesting interplay between music and beats heard on Four Tet’s Crush.
Find an arp patch you like and sequence it to play a C minor chord over two beats. Export the instrument’s output as an audio file. Include the BPM and key in the file name to locate it easily later.
Mute the instrument track (this is better than deleting it as we can go back and record variations on our arp) and create a new track with a sampler on it. Load the sample you created into it, and ensure any timestretching is turned off.
Disabling timestretching ensures that the tempo of the arp changes as it’s played up and down the keyboard, making it faster with higher notes and slower with lower ones. Sequence it along with a beat, and you’ll hear that the rhythmic interaction between the two varies with changes in arp pitch.
Old-school timestretching
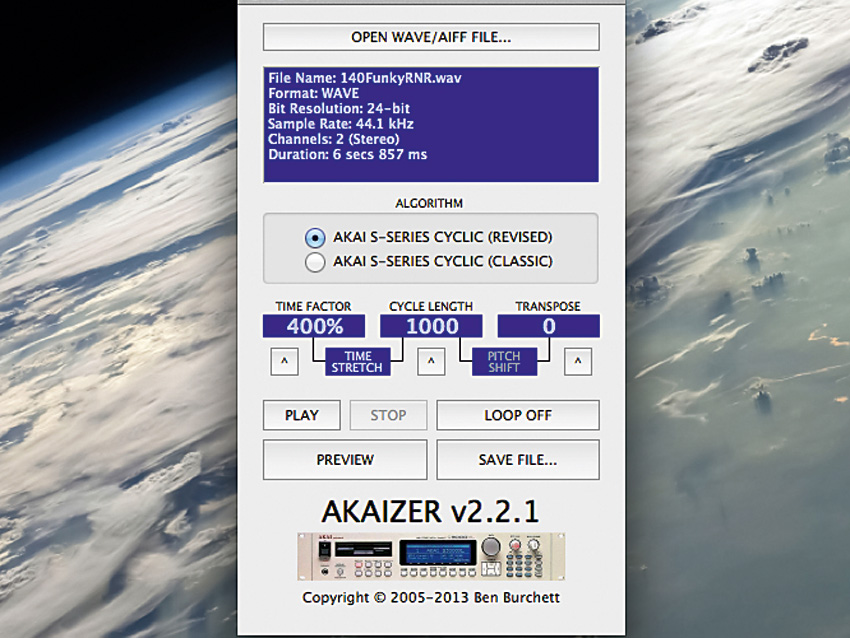
Timestretching was originally built into hardware samplers to facilitate small pitch or tempo changes, but producers began using extreme values to create unnatural vocal and drum textures.
Nearly any timestretch algorithm can achieve this, but Akaizer (akaizer.blogspot.co.uk) emulates classic Akai stretching glitches. Load a sample into the app, enter a Time Factor in excess of 400%, and click the Preview button to hear your handiwork. Experiment with Cycle Length for a range of textures, and when you’re happy, export/save the mangled audio.
Speak & Spell FX with Bitspeek
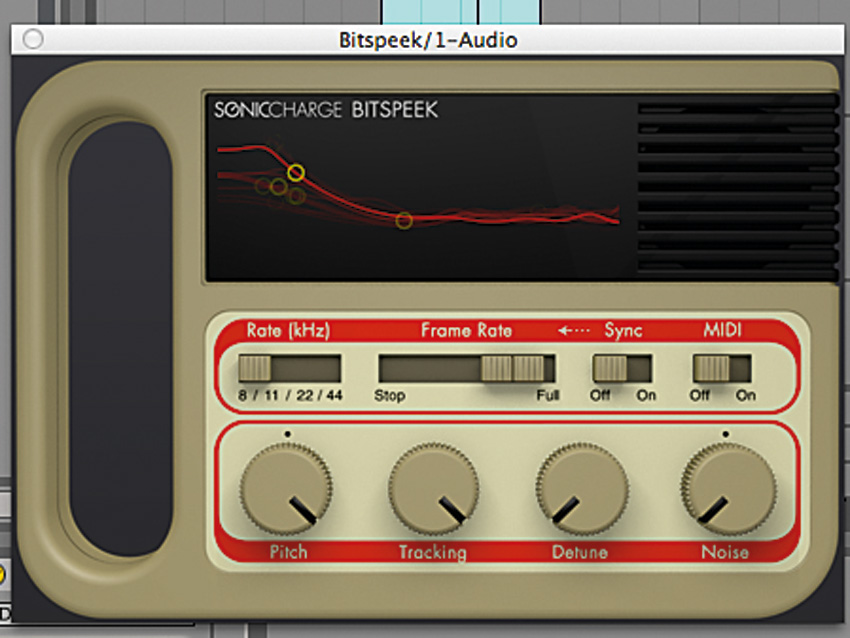
If you were around in the early-to-mid-80s, you may remember Texas Instruments’ Speak & Spell, which captivated youngsters with its primitive speech synthesis. Thanks to Sonic Charge’s excellent pitch-tracking Bitspeek (get the demo from soniccharge.com), you can morph your own vocals to sound like the fondly-remembered device.
It’s capable of so much more, though, and it isn’t just for vocals. Turn the Pitch and Tracking fully up, set the Noise to -100%, and use one of the lower Sampling Rates to turn beats into squeaky, glitched-out husks of their former selves! Mix in some dry signal if necessary.
Slurred textures with Paulstretch
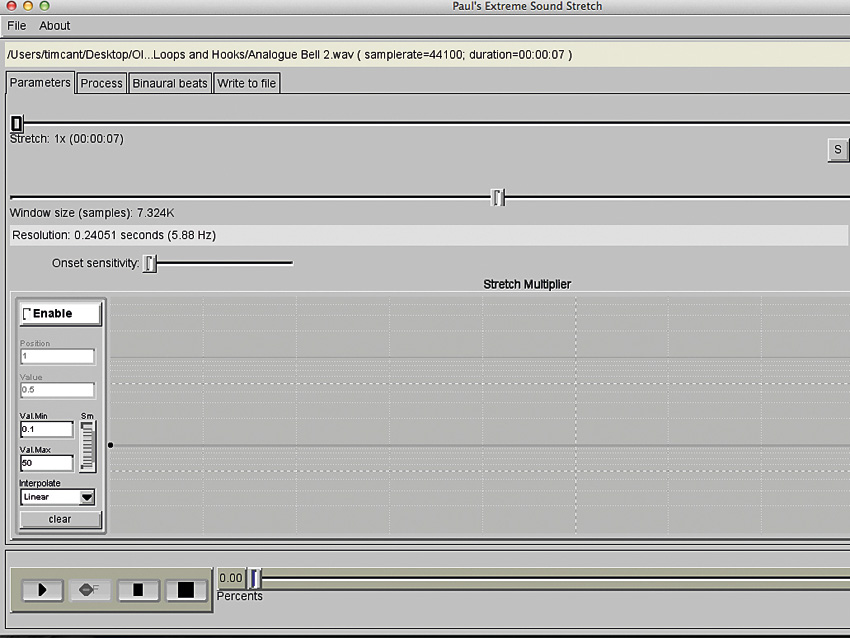
Paul’s Extreme Sound Stretch (aka Paulstretch) is a timestretching tool that can be used to make a sample or piece of music last for hours or even days. You can hear Justin Bieber’s bubblegum hit Smile transformed into an ambient epic that Brian Eno would be proud of at bit.ly/1jYHWkg.
It’s possible to get crazy sounds out of Paulstretch without stretching them at all. Load up a sample with File»Open audio file, set the Stretch to 1x, adjust Window Size to determine how mangled the output will be, and render using File»Render. Paulstretch may still change the length of the output file slightly, so some mild timestretching might be necessary when you import the results into your DAW.
Computer Music magazine is the world’s best selling publication dedicated solely to making great music with your Mac or PC computer. Each issue it brings its lucky readers the best in cutting-edge tutorials, need-to-know, expert software reviews and even all the tools you actually need to make great music today, courtesy of our legendary CM Plugin Suite.
