10 steps to mastering LFOs
Pump personality into your patches and set up intricate movement with these ten tricks and techniques

Time and motion
The world of sound design would be a far less interesting place without the low frequency oscillator, or LFO. Essentially an oscillator like any other, but with the key difference that it moves so slowly it’s below the range of human hearing, the LFO is the tool to reach for when you need to apply cyclical movement to the parameters of a virtual instrument or effect, from sweeping the filter cutoff of a synth, to ‘gating’ the volume of a sampler, to stretching and compressing the delay time of a tape delay. It’s a bit like having an automation system built right into the plugin.
The basics of LFO usage are simple enough: choose a waveshape, set an oscillation rate, assign it to a target parameter and set the modulation amount via your plugin’s modulation system. If that’s the full extent of your signal-wobbling activities, however, you’re missing a trick… Well, several tricks, actually.
You see, as with just about everything else in music production, to really maximise the potential of your low frequency oscillations, you need to think beyond the fundamental and obvious. And that’s exactly what the ten tips and techniques revealed here are designed to encourage you to do.
For more LFO trickery, including video, grab a copy of Computer Music 210 (November 2014), on sale now.
NEXT: Using dedicated LFO devices to modulate your plugins
Using dedicated LFO devices to modulate your plugins
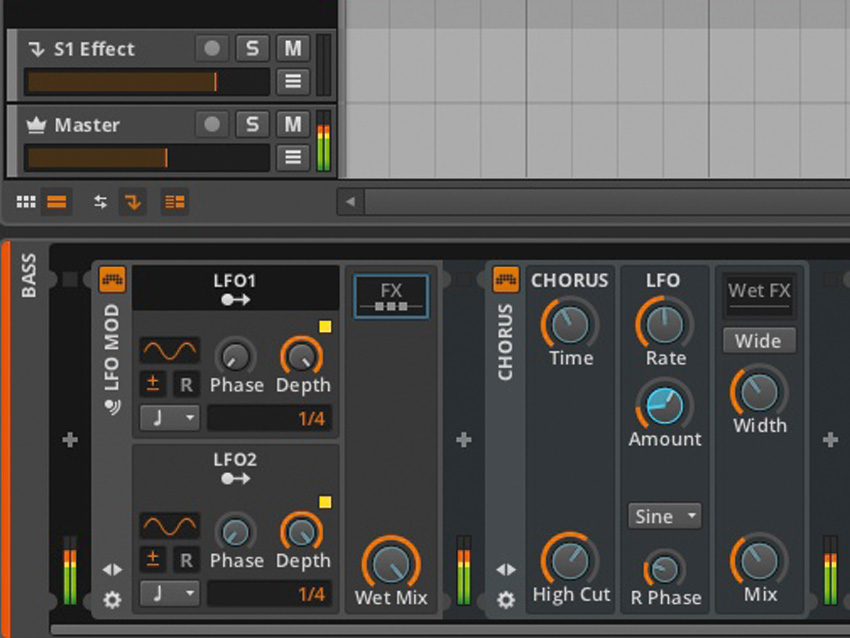
As well as the LFOs built into your virtual synths, samplers and effects - which can only control parameters within the same plugin - some DAWs come with dedicated LFO devices that can be used to modulate everything from the knobs and sliders of other plugins to the level and pan controls of the mixer. In Ableton Live, for example, this takes the form of the Max For Live LFO plugin (included free with the Live 9 Suite), while Bitwig Studio users get LFO Mod.
Live’s offering has the advantage of being able to modulate literally any control anywhere in the DAW (click the Map button then any target parameter). However, although Bitwig’s LFO only works on devices inserted into its own FX slot, it’s arguably the more powerful of the two, featuring two LFOs, each of which can be pointed at multiple targets, with individual depth adjustment for every one.
NEXT: Scanning wavetables with LFO modulation
Scanning wavetables with LFO modulation
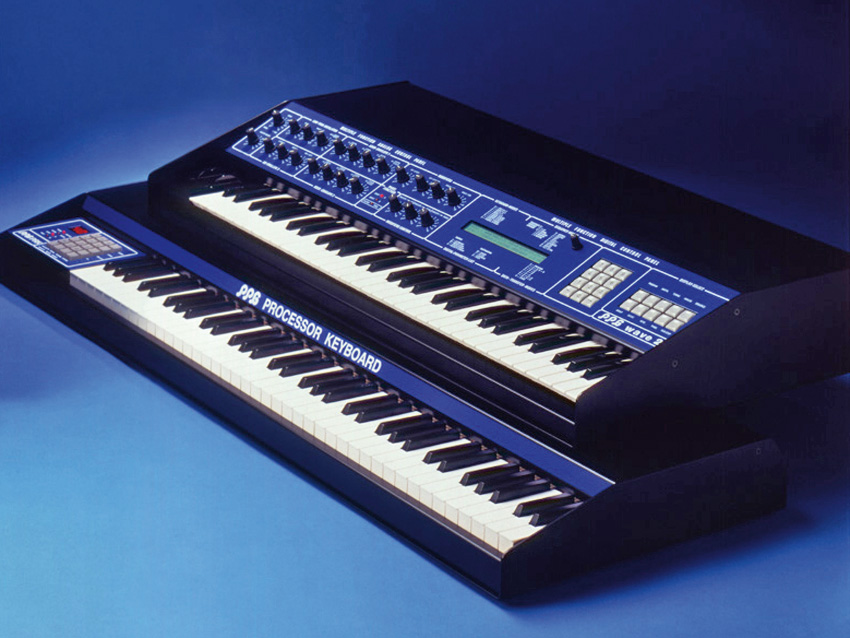
Wavetables are collections of very short samples in a synth oscillator designed to be swept through for creating shifting, evolving sounds, as in the classic PPG Wave synth.
The control you’ll want to make the target of your LFO will be called WT or WT Position. Adjust the modulation depth to determine how ‘deep’ into the wavetable the playback position shifts.
NEXT: Opposing pitch modulations
Opposing pitch modulations
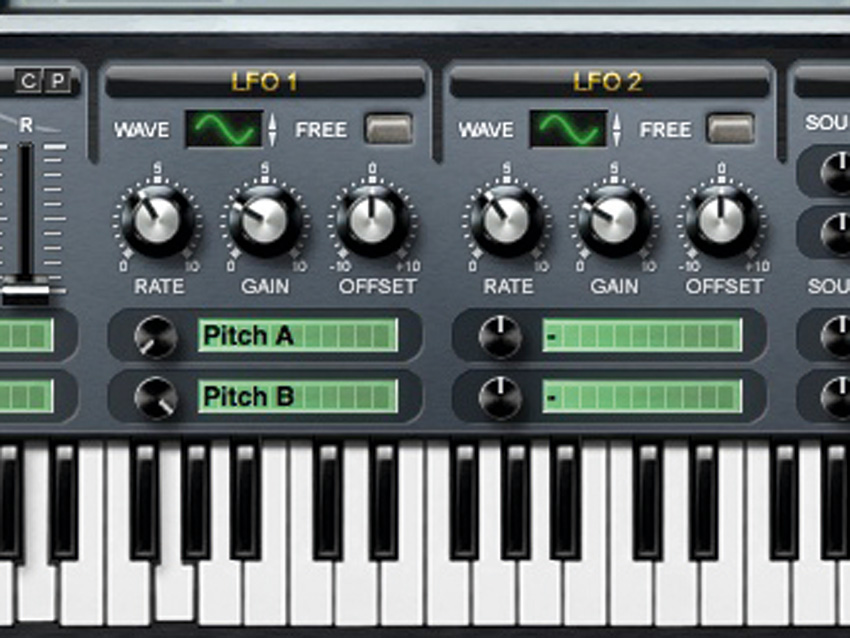
We can use one LFO to modulate the pitch of two oscillators in opposite directions, giving a recognisable detuned beating effect while maintaining the same ‘average’ pitch. Let’s see how it’s done using Sylenth1…
Start by loading Sylenth1 in your DAW and selecting Init preset from the Menu. Set up a couple of identical oscillators - one in Part A and one in
Part B - panning one to the right and the other to the left, then draw in a chord to trigger them.
In the LFO1 section, set the top modulation target to Pitch A (the pitch of the Part A oscillator) and the Rate to 1/2, then turn the Depth knob next the target slot all the way anticlockwise. This establishes maximum ‘negative’ modulation. With the LFO Gain turned up, we can now hear the first oscillator wobbling in pitch.
Next, set the second LFO1 target to Pitch B and turn its Depth knob fully clockwise, for full ‘positive’ modulation, moving the second oscillator’s pitch in the opposite direction to the first - ie, one rises while the other falls. Finally, centring the Pan controls merges the two oscillations. Use smaller modulation amounts for more musical applications.
NEXT: LFO sync explained
LFO sync explained
Whether or not to run your LFOs synced to host tempo will depend on what you’re modulating and the sort of rhythmic feel you’re trying to create.
If the goal is rigid adherence to the beat (for ‘trancegate’ or sidechain-type effects, say), then clearly synchronisation is a must. If you’re modulating the pan, volume or cutoff of something that isn’t perhaps part of the bedrock of the track - an ambient pad, lead, spot effect or insane dubstep bass noise, for example - then more organic, rhythmically interesting results can often be had by turning the sync function off and setting the LFO speed/rate manually, based on how it sounds in the context of the track as a whole. Indeed, once upon a time there was no such thing as host sync, and there’s still a lot of creative mileage to be had by keeping things ‘off the clock’.
Similarly, by switching LFOs into free running mode - so that they don’t restart their cycle with each note or in sync with the host DAW’s transport, but just cycle continuously no matter what the playback situation - your modulations will become a lot less predictable. Again, this may or may not be a good thing, depending on the track and the parameters being modulated.
NEXT: Realistic vibrato using LFO delay
Realistic vibrato using LFO delay
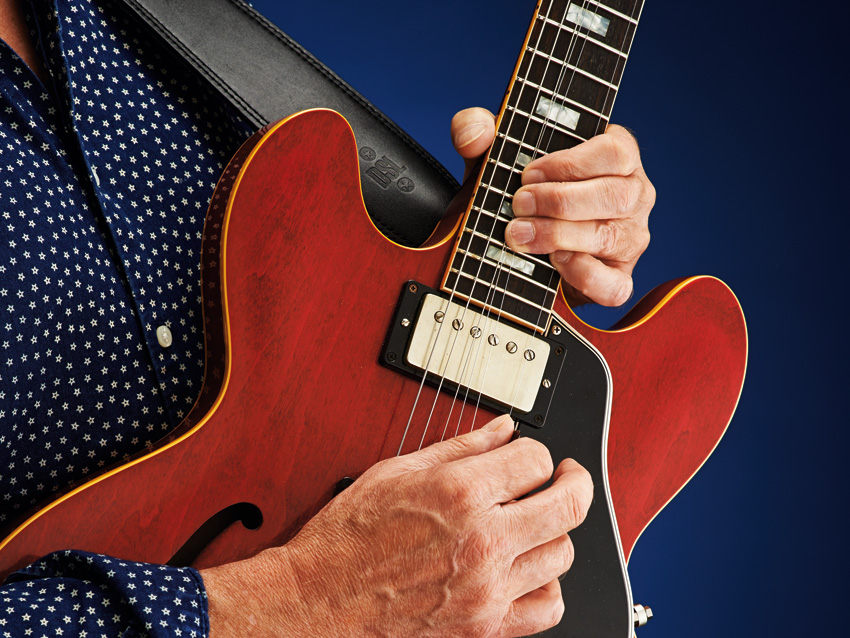
Instrumentalists don’t always apply vibrato from the start of a note, instead using it to add interest as the note continues to ring out. If your LFO has a Delay or Fade control, you can use it to bring modulation in more gradually; if not, you can get a similar effect by assigning an envelope to the LFO amount and using a gradual attack and full sustain.
NEXT: Gnarly audio-rate FM effects using LFOs
Gnarly audio-rate FM effects using LFOs
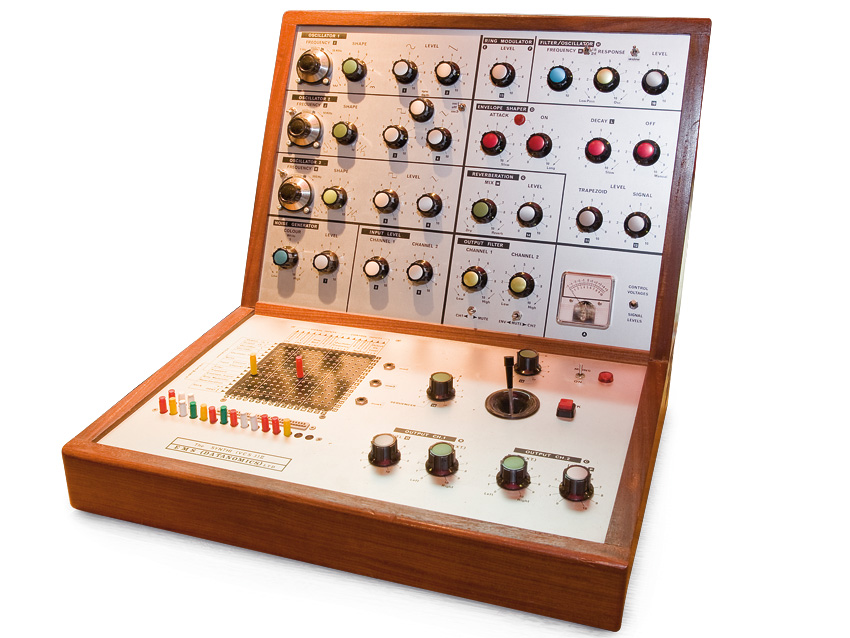
The LFOs on some synths (such as Synapse Audio’s recently released Dune 2) can be cranked up to frequencies so high that they enter the audible range. Few synths actually let you route this to an amplifier to hear it, but you can use it for classic-style frequency modulation (FM) effects.
Assign the audio-rate LFO to the pitch/frequency parameter of an oscillator and turn up the modulation depth. Different combinations of oscillator and LFO waveshapes will give very different results, and adjusting LFO rate will change the sound profoundly, too.
Be aware that if you drop the LFO to sub-audible rates, you might still be modulating frequency, but the sounds you’ll get wouldn’t really be thought of as what we call ‘FM’ synthesis.
NEXT: Using LFOs to fake sidechain pumping
Using LFOs to fake sidechain pumping
When setting up a compressor seems like too much hassle, you can always rhythmically modulate the volume of a part using an LFO instead.
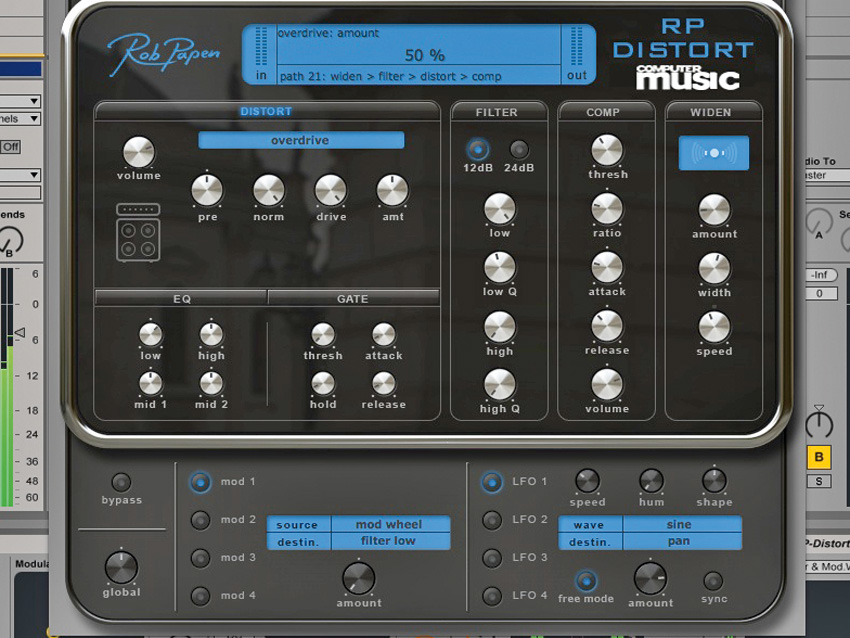
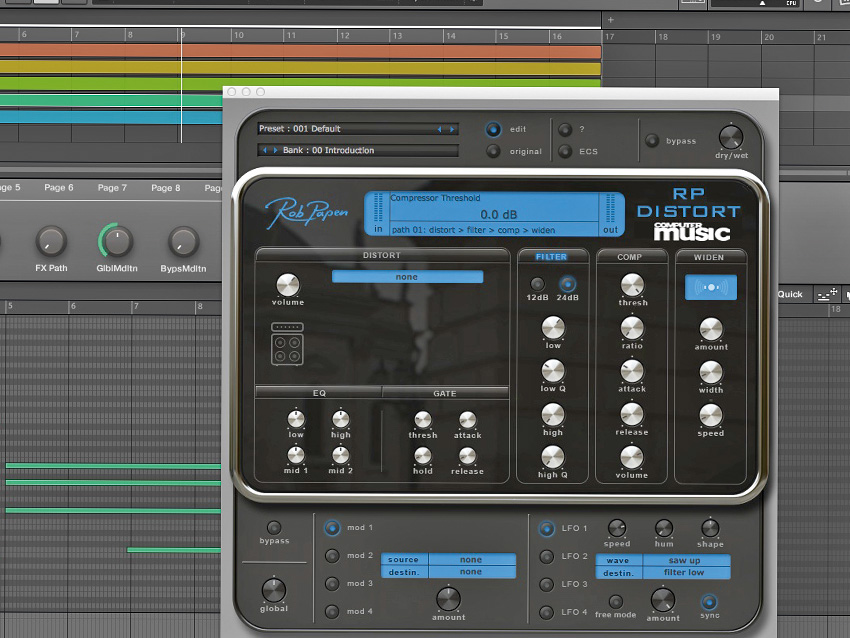
Let's modulate the volume of a synth pad, using RP-Distort CM (free with every issue of Computer Music), to fit it into the rhythmic context of a track. Load a synth in your DAW, call up a pad sound, and insert RP-Distort CM at its default settings.
In RP-Distort CM, assign LFO1’s Destination to Volume and Wave to Saw Up. Check that Sync is active, set the Speed to 1/8 and raise the Amount fully. It’s pumping, but because of the sudden onset of our sawtooth waveform, there’s a noticeable click as the volume jumps up.
One way to alleviate this and get a smoother (albeit rather different) sound is to substitute ‘compression’ with low-pass filtering. Activate RP-Distort CM’s Filter section, switch the LFO Destination to Filter Low, and set the Filter cutoff (Low) and resonance (Low Q) to taste.
NEXT: Using one LFO to control another
Using one LFO to control another
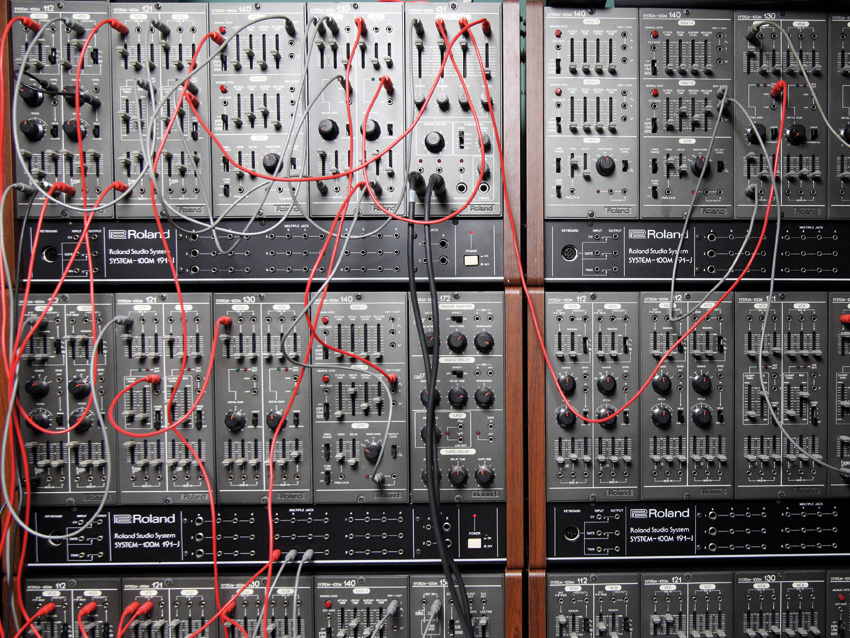
The sort of ‘anything goes’ approach afforded by hardware modular synths encouraged creative modulation setups that aren’t as obvious in a DAW. The power of LFOs grows exponentially when they’re used to modulate each other. If your synth/sampler/effects plugin has enough LFOs, you can bring your filter sweeps, auto-panning and other processes to life by assigning one or two LFOs to modulate the speed/depth of another. Generally, you’ll want to have all your target LFOs running unsynced to host tempo.
NEXT: Multiple LFOs for one parameter
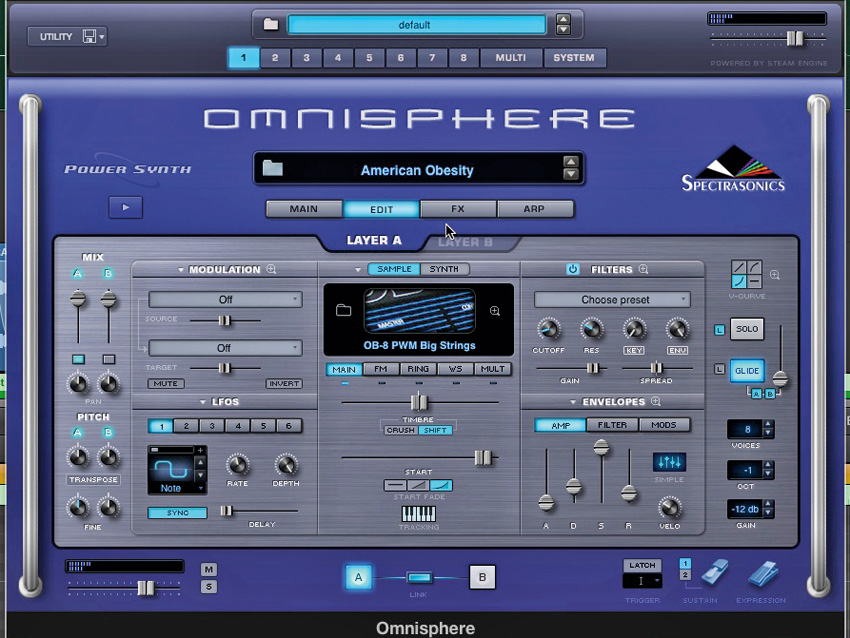
Multiple LFOs for one parameter
Using multiple LFOs in one synth patch can yield great results when it comes to shaping the tone and rhythm of a sound. They can be assigned separate targets, each one applying its motion to a particular element of the sound, or they can be pointed at the same target for merged, cross-rhythmic movement. Try routing two LFOs to the filter cutoff, one set to a straight note value and the other set to the triplet version of the same value. This will generate a groove that you wouldn’t be able to get using one LFO alone. More LFOs means more elaborate results!
NEXT: Per-voice vs global LFOs
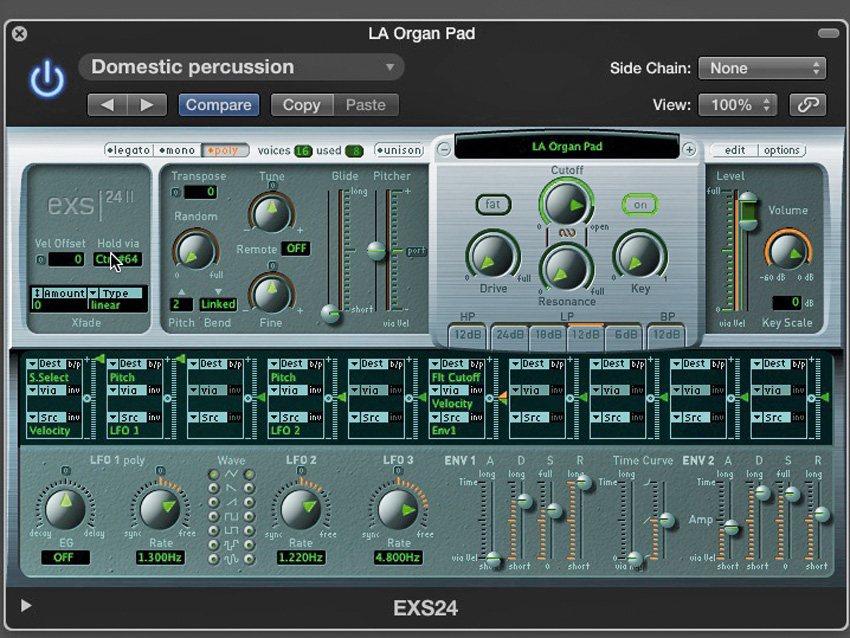
Per-voice vs global LFOs
Many synth and sampler LFOs (including those on Logic Pro’s EXS24, pitcured here) can either run monophonically - ie, modulating the target parameter for the patch as a whole, no matter how many notes are played or with what timing - or polyphonically, meaning that there’s an LFO assigned internally for every note, running independently.
With a polyphonic LFO assigned to the pitch of a sustained sound, playing a broken chord will generate a complex, ‘sea-sick’ sound, with the LFOs for each note running entirely separately from the others, beating against each other as the pitch sweeps cross over - the LFOs’ timing (so phase) depends on the timing of when each note was sounded.
With a global LFO applied to pitch, on the other hand, only one modulation is applied, to the whole sound, regardless of note input.
Computer Music magazine is the world’s best selling publication dedicated solely to making great music with your Mac or PC computer. Each issue it brings its lucky readers the best in cutting-edge tutorials, need-to-know, expert software reviews and even all the tools you actually need to make great music today, courtesy of our legendary CM Plugin Suite.

