Guitar setup: how to remove bridge pins on an acoustic guitar
You can pin your hopes on our easy-to-follow guide
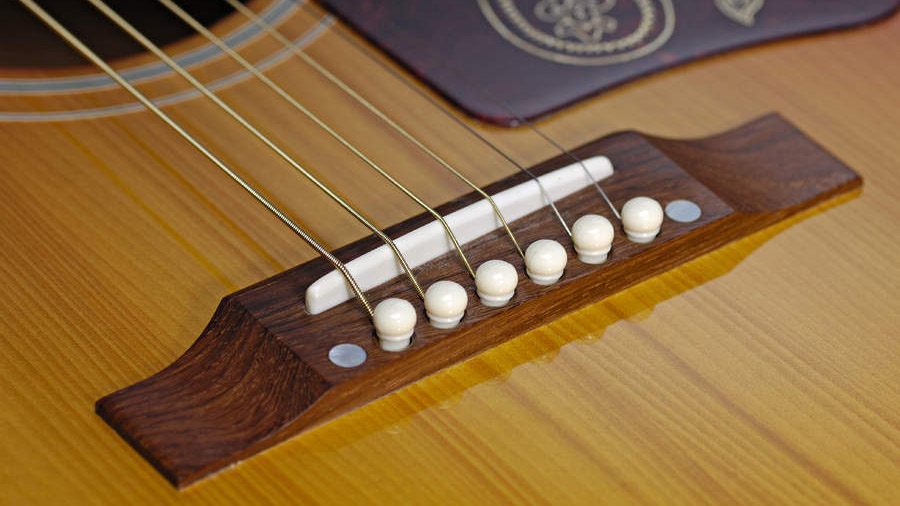
Introduction
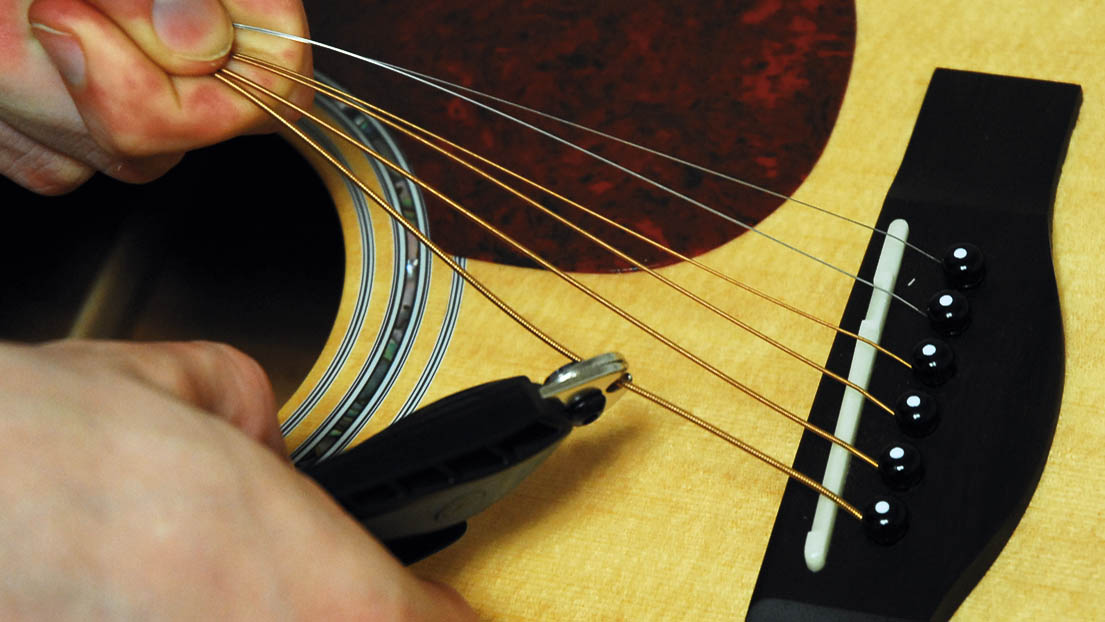
Stubborn bridge pins often plague acoustic guitar players in the middle of a restring, so we’ve developed an easy method to remove 'em.
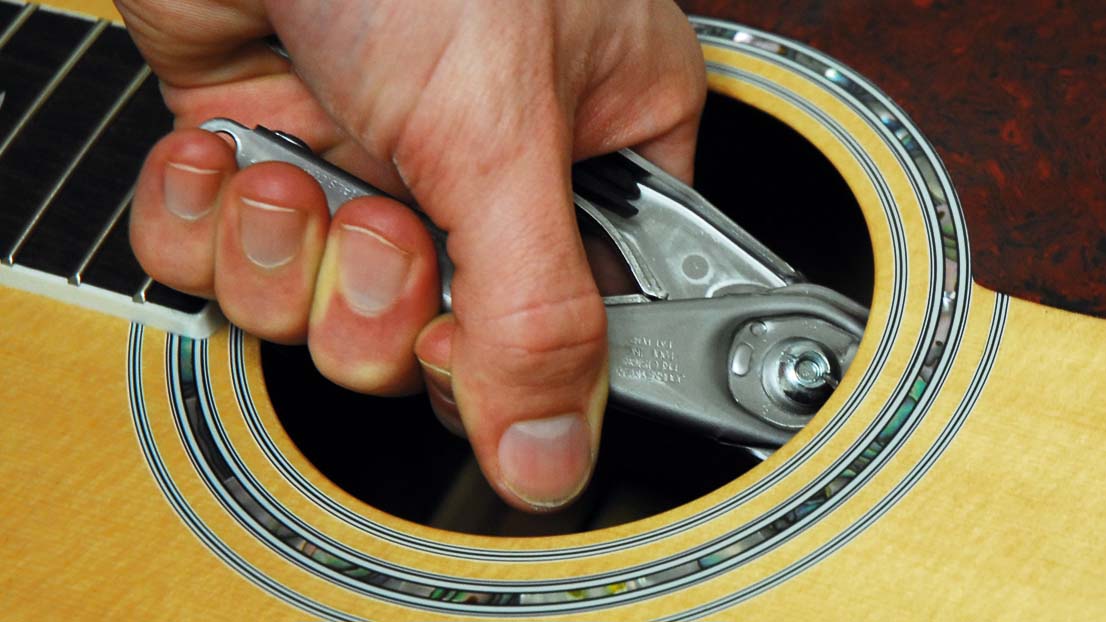
For this job, you will need a pair of pliers, string snips, a string winder (with built-in bridge pin puller) and some fresh guitar strings. Make sure that your guitar is on a stable surface and place it on a towel so that its finish won’t get scratched.
There are a few reasons why a bridge pin can become stuck. For example, the environment in which you keep your guitar can cause its wooden parts to expand or shrink. If it shrinks, the bridge pin holes can grip the pins.
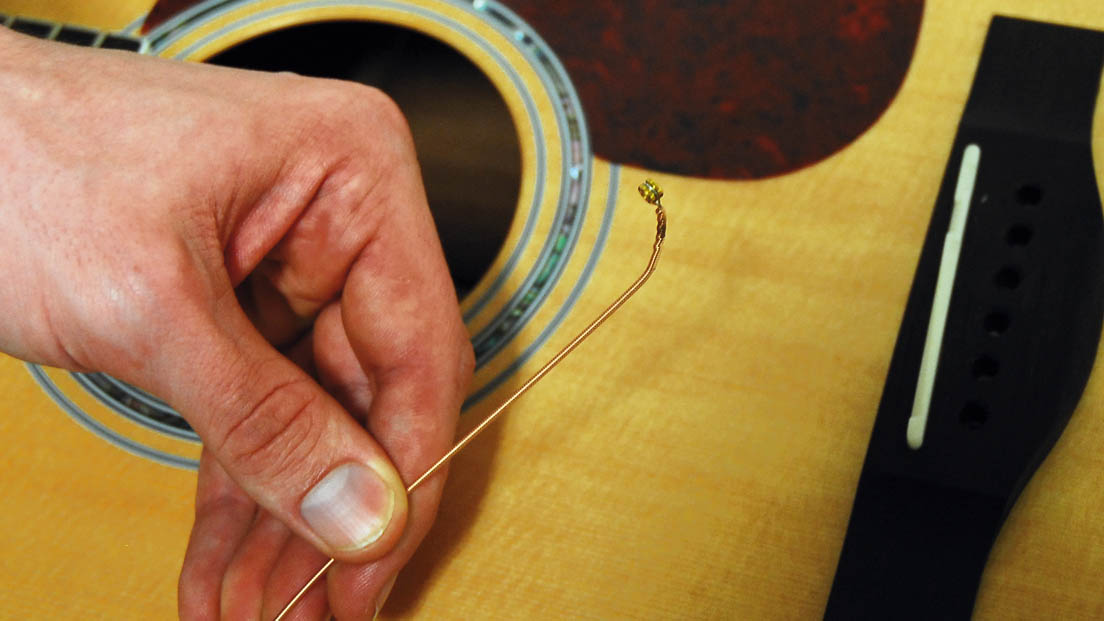
You may also be restringing your guitar incorrectly. If you’re not careful, the ball-end of the string can get jammed in the wrong position and make the bridge pins difficult to remove.
Before you install the string, bend it along the area behind the ball-end and the string will position itself correctly when you push in the bridge pin. Right, let’s get to work…
