7 steps to making better acoustic guitar recordings
From environment to mic placement - what you need to know
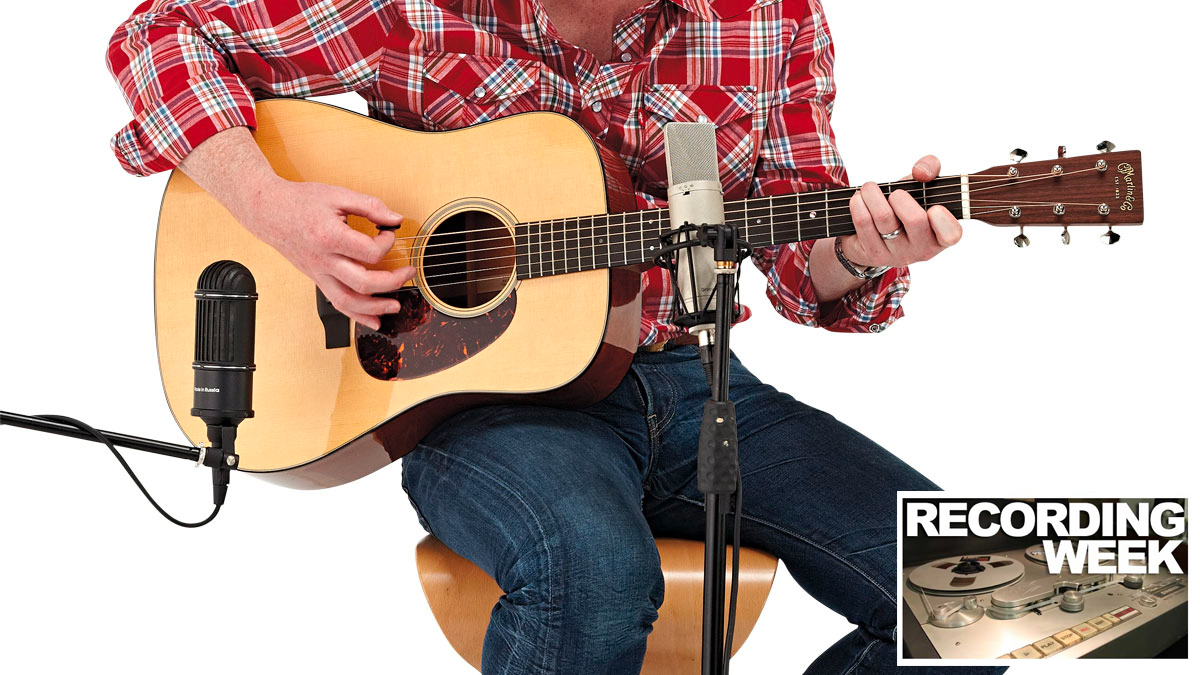
Introduction
RECORDING WEEK: When you think of great acoustic guitar sounds, you imagine big-ticket microphones, preamps and the like. Having these things at your disposal is useful, but it’s not vital. Some of the most crucial ingredients for getting a solid acoustic guitar recording start before you touch a mic.
It starts with a well set-up acoustic with fresh, stable strings, and continues with the right environment and knowing your parts, until, finally, you’re ready to record.
We're here to guide you through the process from beginning to end, starting right now...
Recording Week is brought to you in association with Universal Audio. Check out the Recording Week hub page for more tips and tutorials.
- Record the perfect take with the best acoustic guitar mics
Your guitar
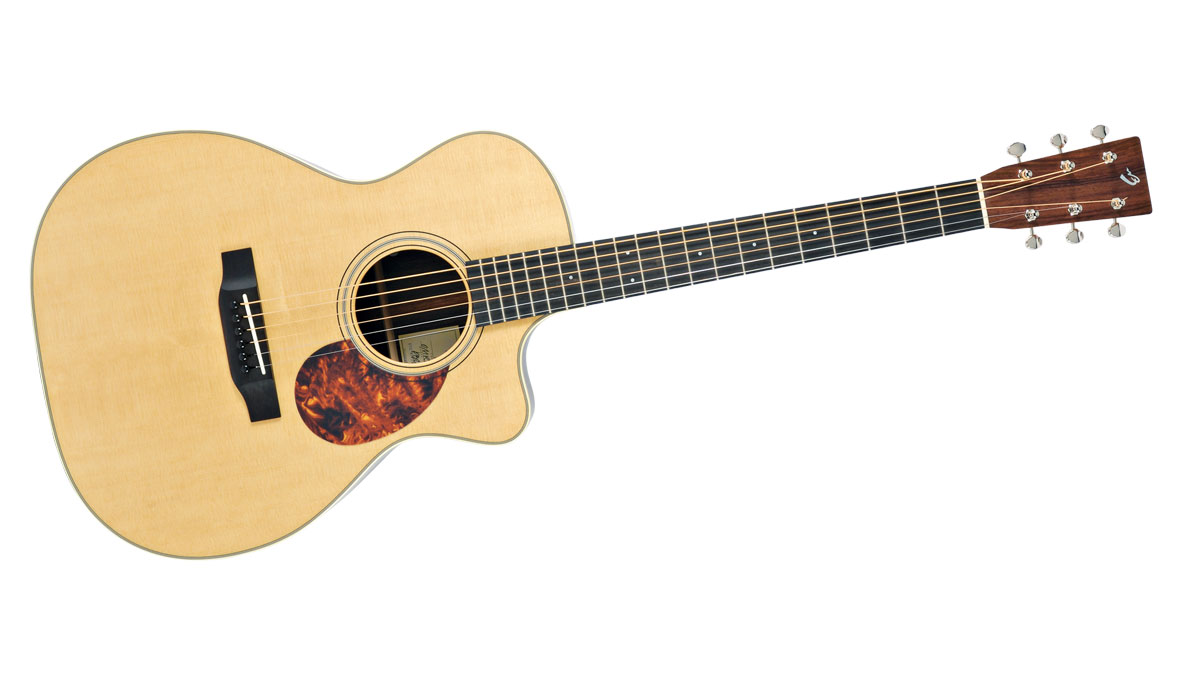
Before you even think about recording, make sure your guitar is match-fit. Spend a little bit of time playing the guitar and listening out for any strange noises.
"It’s a good idea to check your guitar’s intonation - dead strings can stretch to the point of not holding their tuning"
Are the machineheads rattling? If so, tighten the screws that hold them to the headstock. Strings squeaking? Try applying some lubrication (such as GHS Fast Fret), replacing them with some coated strings, or simply playing them in for an hour or two.
It’s also a good idea to check your guitar’s intonation - dead strings can stretch to the point of not holding their tuning across the length of the neck, and nothing ruins the perfect take more than realising that it’s out of tune.
Your environment
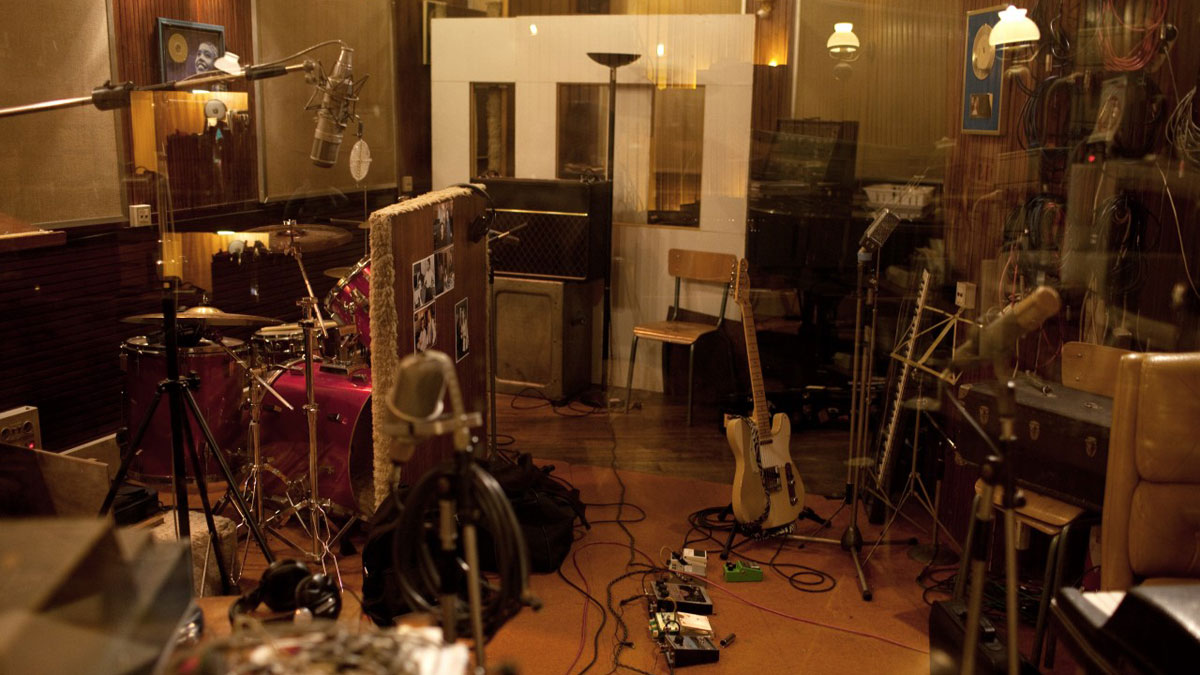
It sounds obvious, but unlike a close-mic’d amp, your acoustic sound will vary massively depending on the space you’re recording in.
"Leave the confines of your home with a fully-charged laptop, mic and acoustic - and the world is your live room"
Rooms with plenty of hard surfaces (wooden fl oors, tiles, glass) will create a lot of reflections, making for a lively acoustic guitar sound. Conversely, you can tame this by using a room with lots of absorbent surfaces (think carpeted floors, sofas, curtains) if you’re after a drier acoustic sound. The trick is to experiment, so try playing your guitar in different spaces and listen carefully for the one that works best.
There’s no need to stay at home, either. Want that massive church acoustic on your track? The sound you get when busking in an underpass? Maybe just a simple live venue reverb?
Leave the confines of your home with a fully-charged laptop, mic and acoustic - and the world is your live room. Nothing’s off limits, as long as you get permission and choose a time when you’ll be able to capture a clean track!
Using microphones
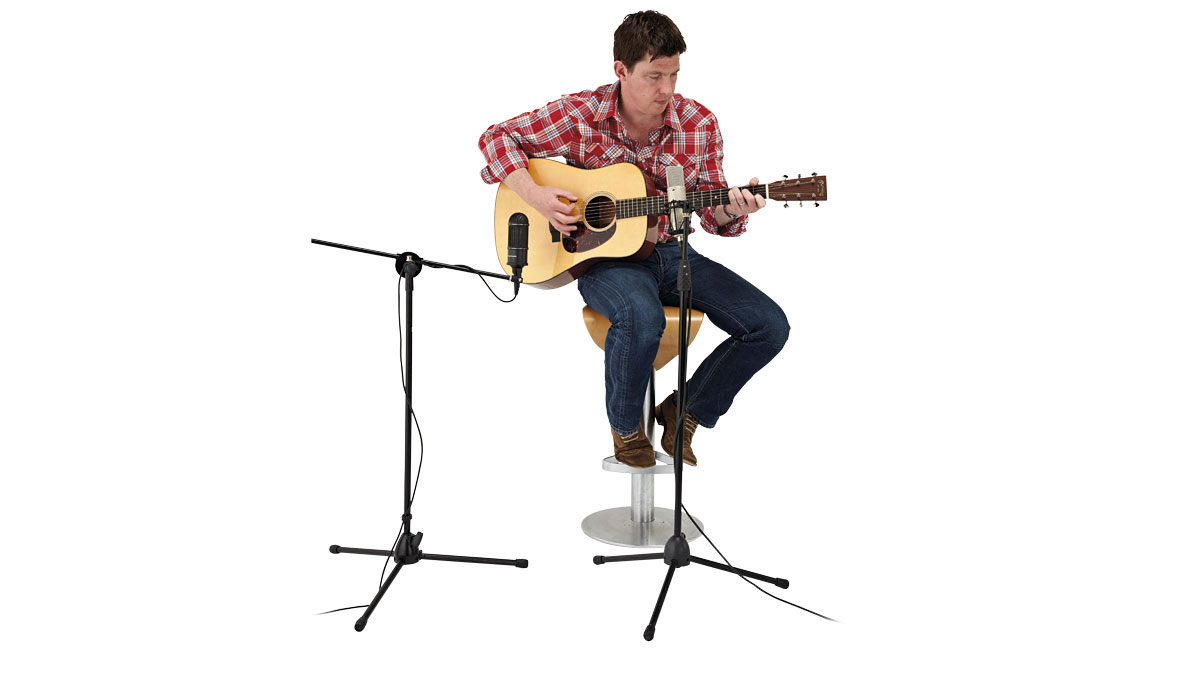
Once you’re happy with your guitar, your environment and your playing, it’s time to position the mics.
"Using a condenser, you’ll find that you record more of the high-end zing that your acoustic is capable of"
Acoustic guitars can be extremely versatile in terms of the sound levels and higher frequencies they put out, so, generally speaking, the sensitivity and increased frequency response of a condenser mic will serve you better than the battered dynamic mic your singer uses live.
By using a condenser, you’ll find that you record more of the high-end zing that your acoustic is capable of. Remember, if you capture it, you can always take it away later, but if it’s not there to begin with, there’s not a lot you can do.

One microphone setup
If you want a simple, solid way of recording your acoustic, we’d suggest starting with a single-mic technique.
Think about the way your guitar produces its sound: most of the bass comes from the body of the guitar, and is projected from the soundhole.
"The problem with placing the mic directly in front of and facing the soundhole is that you can end up with punchy ‘air noise’"
The problem with placing the mic directly in front of and facing the soundhole is that you can end up with punchy ‘air noise’ hitting the mic head-on.
Aside from this, you’ll most likely be strumming the guitar at this point and risk disrupting the sound with your hand, or even worse, hitting the mic. Start with the mic pointing roughly at where the neck joins the body (usually around the 14th fret) at a distance of around 15cm away from the strings.
This should give you a good balance of sound without too much bass or string noise, and should be out of your picking hand’s way. Your next steps depends on your sonic preferences.
Moving the mic further towards the headstock will decrease the amount of bass in your sound; moving it towards the soundhole will increase it. If you like the sound directly from the soundhole of your guitar, think about moving the mic away from the guitar.
Two microphones (X/Y configuration)
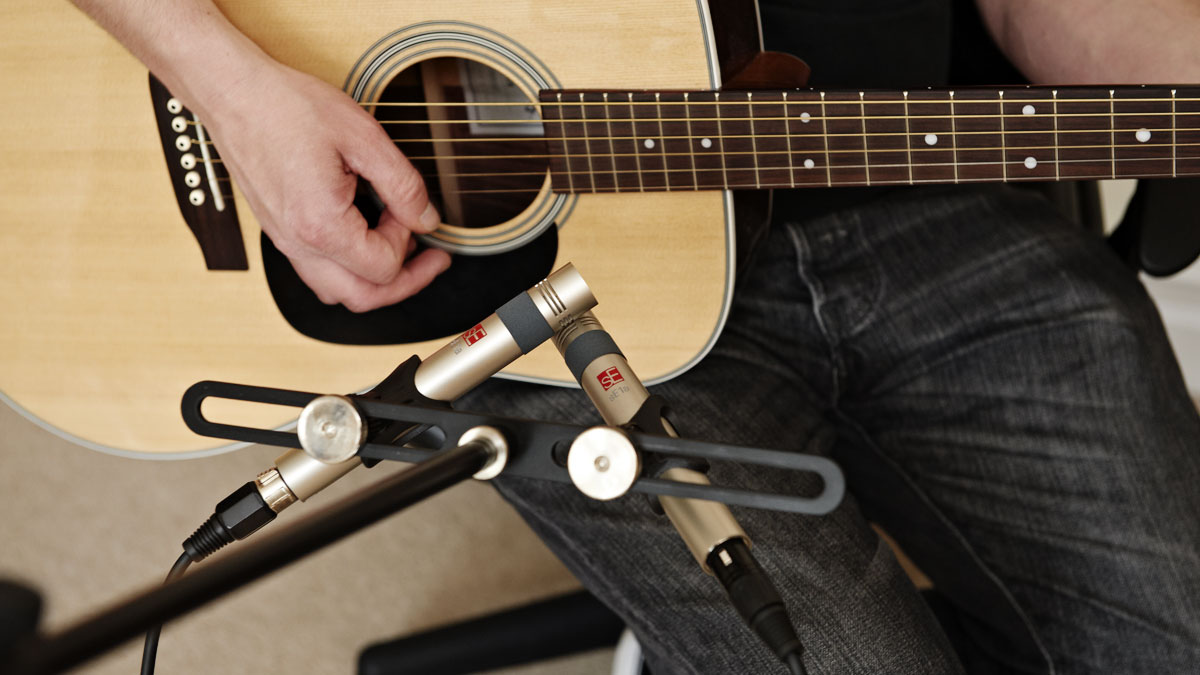
Recording your guitar in stereo will give you a wider sound to play with when you’re mixing, and the simplest way to do it is to use two identical mics, in what’s called an X/Y setup.
"Both capsules should be the same distance from the guitar to avoid phasing problems"
Start by finding the sound you’re after with the same technique as above. Once you’re happy, it’s time to add your second mic. This mic should be placed so that the capsules are crossing over at around a 45-degree angle, creating an X-shape.
Both capsules should be the same distance from the guitar to avoid phasing problems, and sent to separate tracks on your recorder. Once you’ve recorded them, you can pan them evenly left and right to create rich-sounding stereo acoustic tracks!
Two mics (spaced-pair)
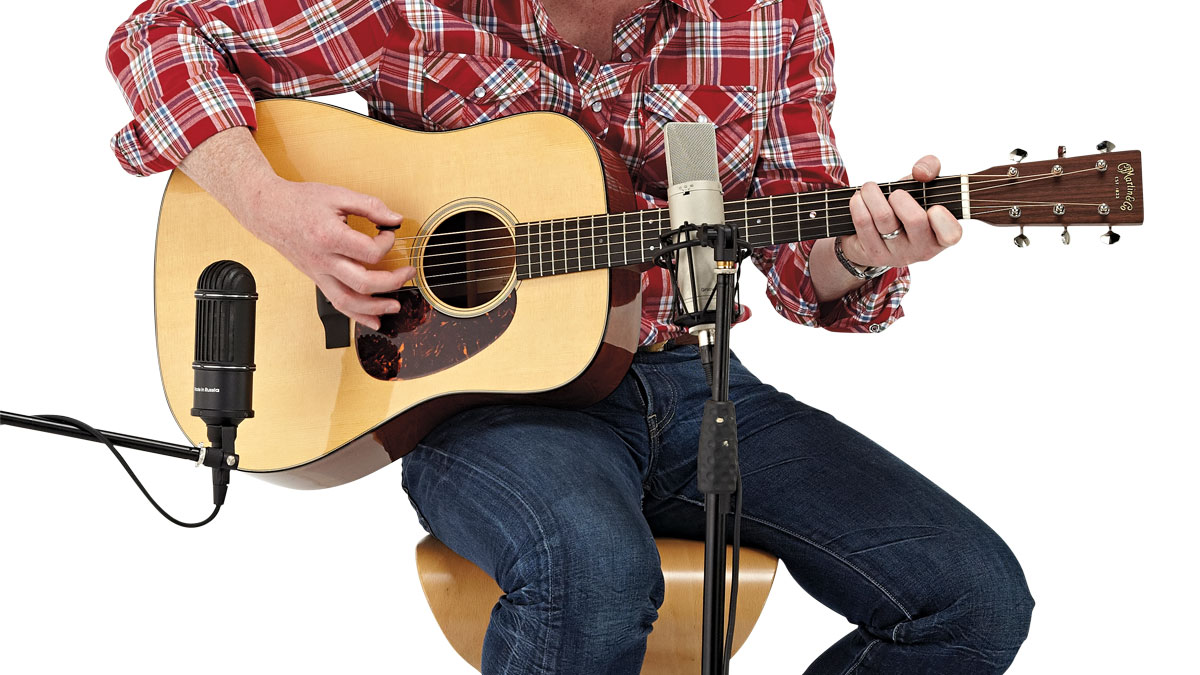
If the first stereo technique isn’t quite giving you the width you’re looking for, try this one. This time, instead of placing the mics in a tight configuration, we’re going to physically space them out.
"Experiment with extreme, hard panning on each track, and you should get a super-wide stereo picture"
Start with one microphone pointing towards the bridge of the guitar. Next, add a second mic aimed at the 12th fret. Keep the mics at an equal distance from the guitar, and again, send the signals to separate tracks for the recording.
Experiment with extreme, hard panning on each track, and you should get a super-wide stereo picture of your guitar!

Go ape!
These mic’ing setups are tried and- tested standards, and while they work as guidelines to get you started, there is no right or wrong.
"Don’t discount an idea for capturing your sound, even if it seems slightly ‘guerilla’"
Try experimenting with additional microphone placements - overhead, room mics, blends of different positions - to see what works.
Listen out for phase cancellation when using multiple microphone setups (your sound will become thin and washy if the microphones are out of phase with each other), but don’t discount an idea for capturing your sound, even if it seems slightly ‘guerilla’.
As long as you have at least one good quality usable track, you can discount the rest when it comes to mixing. If it sounds good to you, then it is good!
Total Guitar is Europe's best-selling guitar magazine.
Every month we feature interviews with the biggest names and hottest new acts in guitar land, plus Guest Lessons from the stars.
Finally, our Rocked & Rated section is the place to go for reviews, round-ups and help setting up your guitars and gear.
Subscribe: http://bit.ly/totalguitar
