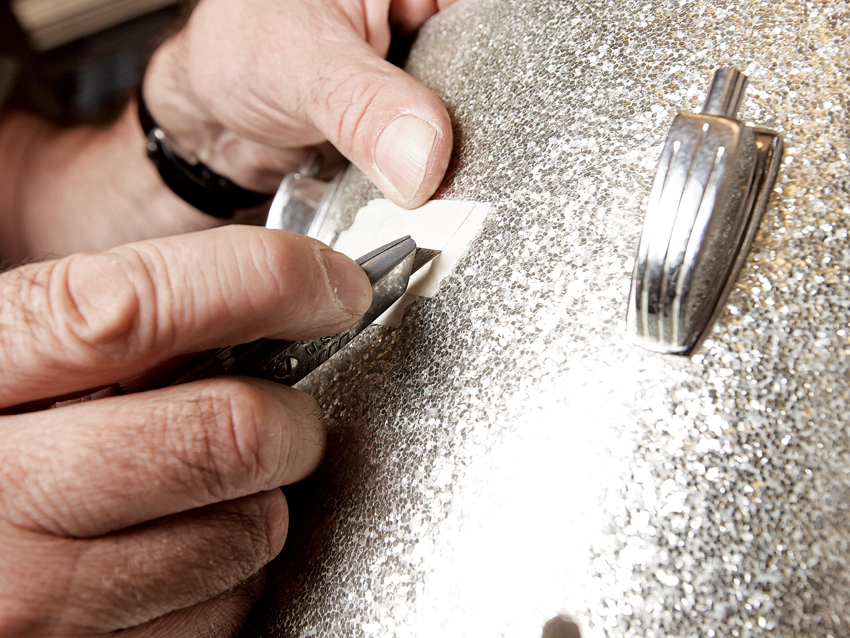
Drum kit maintenance 101: how to clean your drums
Spruce up your drum set for the new year
Getting started...
Your acoustic drum kit is a pretty straightforward instrument. It does, though, consist of hundreds of small items, each of which you need to keep an eye on and maintain properly functioning and squeak-free.
Some drummers like to keep their kit in sparkling condition at all times; others prefer the funkier approach, preferring to leave well alone, particularly their cymbals. And for most of us an occasional wipe-over with a clean cloth is all that’s needed for day-to-day maintenance.
Every now and then, though - maybe once a year - we feel our kit needs some serious TLC. Then we’ll drag our drums into the kitchen or the shed and give them a proper ‘MOT’.
This will certainly involve removing the heads and you may bravely go all the way, removing the lugs in order to get your shells and chromed parts as clean as new.
In this series from Rhythm Magazine we will be looking at how to maintain and clean your drums, your cymbals and your hardware. We are not concerned here with restoration of your drums - that will follow in a future series of articles in Rhythm.
In this first part, we’ll begin with the drums. If you remove the nut boxes (lugs) then you must take care not to lose any tiny parts. Best keep them in a labelled container, perhaps with a lid.
It’s easy these days to take photographs, so if you have any worries about the way something is put together, keep a pictorial record.
Rhythm visited the workshop of Yard Gavrilovic who, as well as being Steve Gadd’s long-serving tech, runs Vintage DrumYard in Clacton-On-Sea, Essex, where he restores, supplies and customises drum equipment.
We got the man himself to show us how he goes about thoroughly cleaning up a single drum, and since Yard’s stock is mostly vintage, the drum in question is a 1970s 13x9-inch Ludwig tom.
Being old, this drum required some pretty heavy-duty cleaning. But you can follow the same procedure with any age of drum - and a newer drum most likely won’t need the more abrasive treatments.
Next: Disassembly...
Disassembly
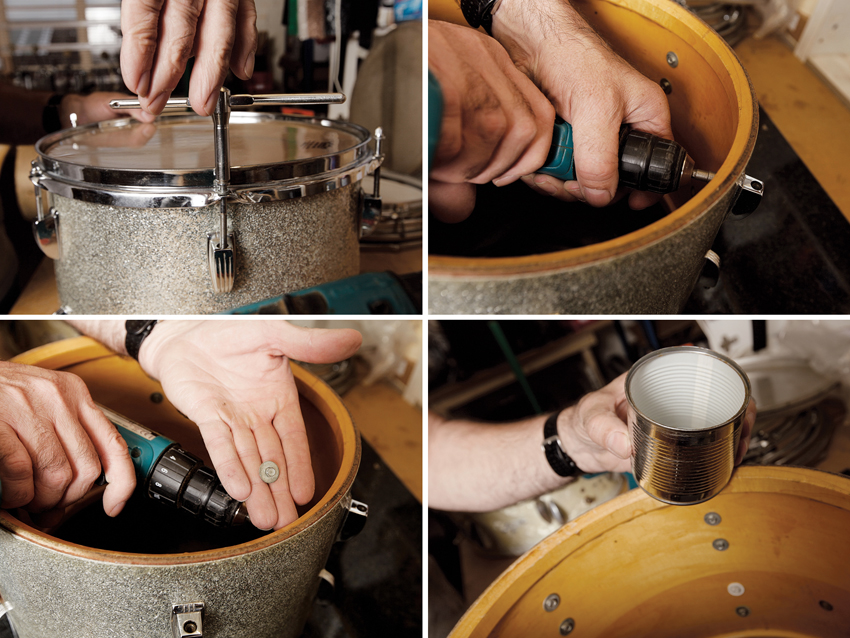
To take off the heads, Yard uses a marching drum key, which has a long lever.
“I use it because it’s easier than a small key,” he says. “It’s useful for tuning as well. The drum may have quite a bit of dust and fluff inside and on the bearing edges which can be simply brushed off with a soft paint brush.
“If the interior is painted you can wipe it with a slightly damp cloth and cleaning agent. Check the inside to make sure there are no cracks.
“To clean a drum right up we would normally take the drum completely to pieces. I use a cordless drill in reverse to take off the lugs - 6mm metric on modern drums or 1⁄4-inch bit for vintage drums.
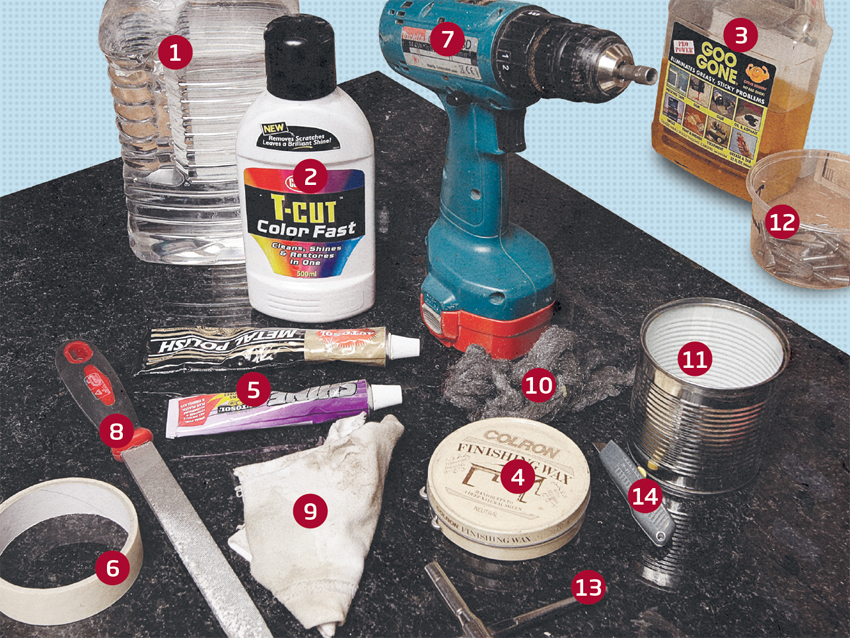
“Keep the parts in a pot. Here I use an old baked bean tin (clean it out first) - a bit of recycling! Write the name on the can with a Sharpie pen: ‘Ludwig 13x9-inch tom, Silver Sparkle.’ Now you know everything is safe.”
Lug innards
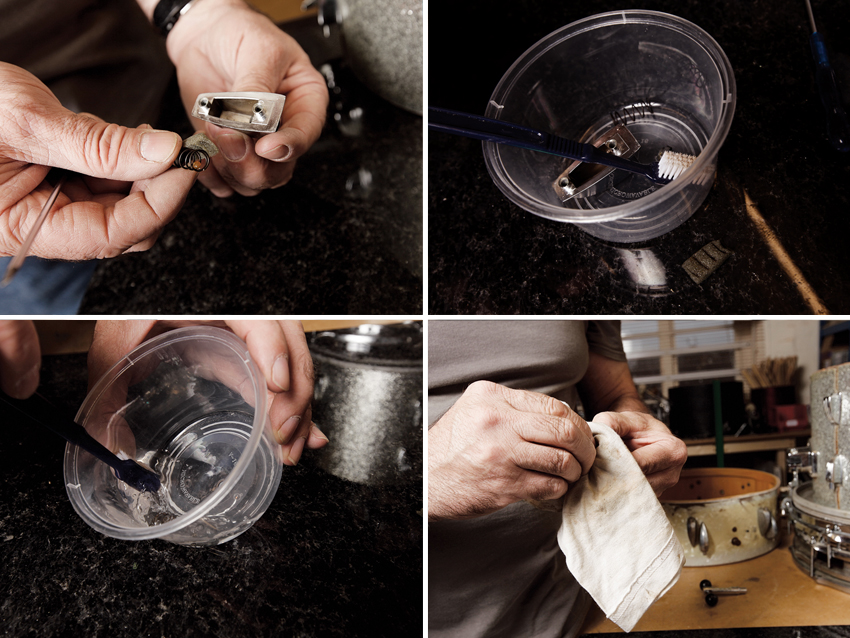
Yard: “These old Ludwig lugs have springs inside plus a bit of foam which stops them from rattling or humming. There is also the brass insert swivel nut.
“Assess each bit as you go. Some parts are not that dirty and just need a wipe over, while some parts can be really filthy. For cleaning I put the metal parts in a plastic tub with white spirit and brush them out with a toothbrush or paintbrush.
“I prefer not to use any de-greasing agents. Wipe each part dry with a bit of cloth, usually an old T-shirt. T-shirts are the best thing for cleaning.”
Lug cases
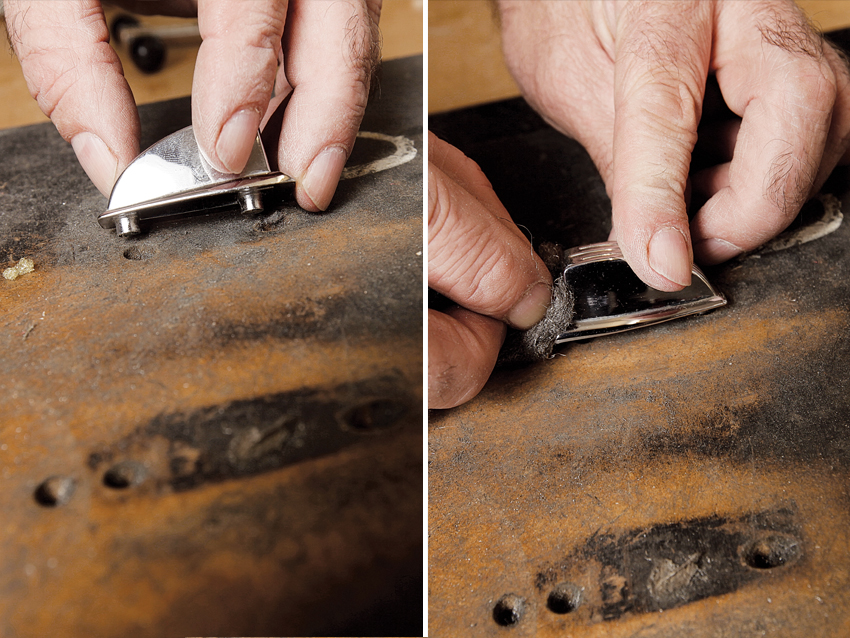
Yard: “To polish up the lug case we have a special jig with holes drilled in it. Over the years we’ve added different holes specifically to take each type of lug. The lug slots in there and it stops it from moving about while you clean it.
“We use really fine, ‘zero’ wire wool, dry with no cleaning agent. You can also use chrome cleaner, but it leaves a white residue/dust, so you have to be careful to buff all of that off. We find you usually don’t need to use chrome cleaner once you’ve cleaned it thoroughly.”
Tension rods
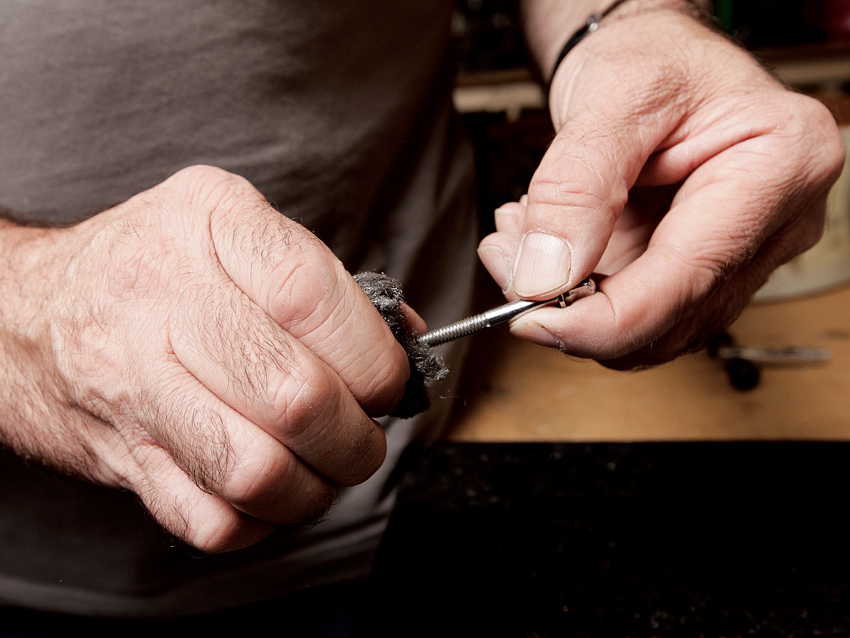
Yard: “Each tension rod is given a good twist in wire wool which gets off the rust spots if there are any.
“If they have grease on them, we put them in a tub again with white spirit and let them soak well before rubbing through with a toothbrush. Then take them out and let them dry off fully.
“I very rarely use Vaseline or any lubricant because I find that encourages them to de-tune. Many kits come with a dab of Vaseline (or other lubricant) today - they’re really just covering themselves against cross-threading. The main thing is not to leave any damp on them - always dry them thoroughly.”
Shells
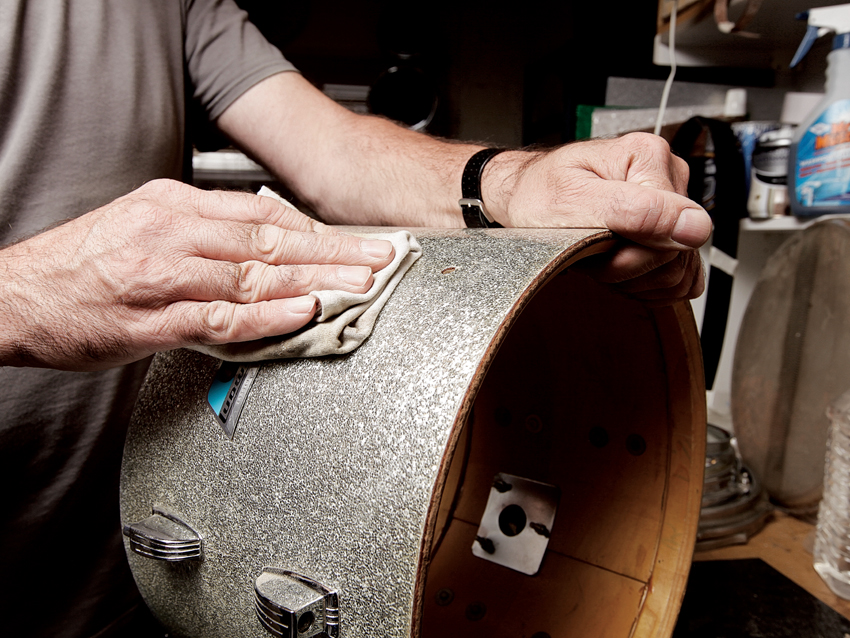
Yard: “If the shell has a wrap and is in poor condition I’ll give it a bit of T-Cut to start with to clean some of the grime off. On a wrap, T-Cut won’t take the top layer off because it’s plastic, so it is quite safe.
“Some people say only ever put it onto the cloth, but I sometimes put it straight onto the wrap. You can also use T-Cut on a lacquer finish, it’s not as vicious as people make out, but always do a test bit hidden away somewhere, opposite the badge say, at the back usually under a lug or mounting bracket that has been taken off.
“Whenever using a liquid always do a test area in case it reacts. Then use a wax-free polish to buff up, whether it’s a wrap or lacquer finish, and wipe off any residue.”
The cloth used for cleaning shells and chrome should be as soft as possible so as not to scratch the surface (eg: a cotton T-shirt). Semi-synthetic fabrics with nylon, polyester, etc, can scratch a glassy smooth lacquered finish. A popular alternative is nappies as they’re made to be ultra-soft.
It should also be noted that there are many drummers who avoid using any cleaning products unless absolutely necessary. For most drummers with relatively new/modern drums, simply buffing with a soft cloth will work wonders, maybe with the addition of a mild cleaner/polisher.
Shells, continued...
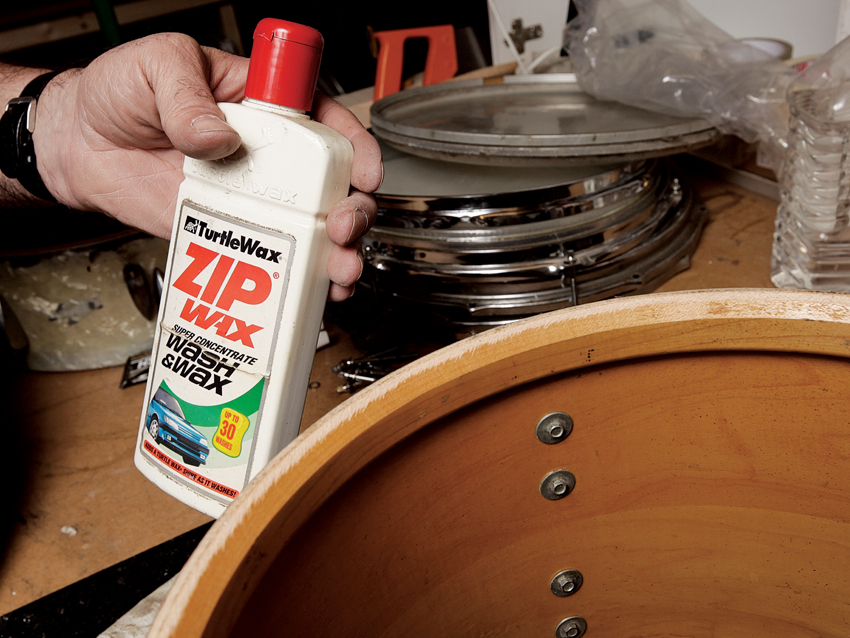
The most popular products with our experts are car wax, Windex, Mr Sheen and Pledge furniture polish.
Tom Willhelm (Daniel Adair’s tech), agrees: “I use Pledge furniture polish on both lacquer and wrapped shells. I spray the Pledge onto a diaper and then apply that to the surface to clean the shell. I prefer a diaper as it is less likely to scratch it.”
Drum restorer Jeremy Peake uses Mr Sheen, which is also a degreaser, for lacquered and wrap finishes. If a wrap is dull Jeremy uses a car colour reviver, then Mr Sheen and a cockpit shine spray.
Preston Prince offers: “If slightly scuffed with light scratching and blemishes I tend to wipe with a sponge lightly soaped in Fairy Liquid. I might even T-Cut the shells, then buff with a car wax or polish to pull out the blemishes.”
Good Charlotte’s Dean Butterworth says he uses Windex to clean the shells, lacquered or wrapped. If the finish is particularly dull Dean says he’ll “buff with wood polish or Windex”.
Jazz-funk legend Ndugu Chancler says, “For drums with lacquered or covered shells I use a lemon oil and a spray furniture wax with a soft cloth, or baby diaper to wax and keep the shells clean and shiny. On the lugs I will use a chrome polish to keep them shiny and protected from rust.
“Once the drums have a nice protective coating of wax, I keep the shells dusted. To bring back a dull shine I use a paste or cream wax with a buffer.
“I never use any abrasive cleaners or scouring pads on any equipment. If you keep the equipment clean you won’t need to use harsh cleaning agents.”
Ndugu makes a good point, that if you clean your gear daily you won’t have to do much for your yearly MOT. Laurie Jenkins says he gives Kasabian drummer Ian Matthews’ DWs a “once over daily with Pledge to keep the sparkle”.
And A J Nosek gives Andy Hurley’s drums “a thorough wiping with a clean, dry (soft) towel after every performance to make sure moisture doesn’t build up, especially around lugs/under rims.
“I use Carruba liquid wax or furniture polish to improve the shine; mild detergent soap in warm water to get off deep grime, but I make sure it’s completely dry before casing/travel/storage”.
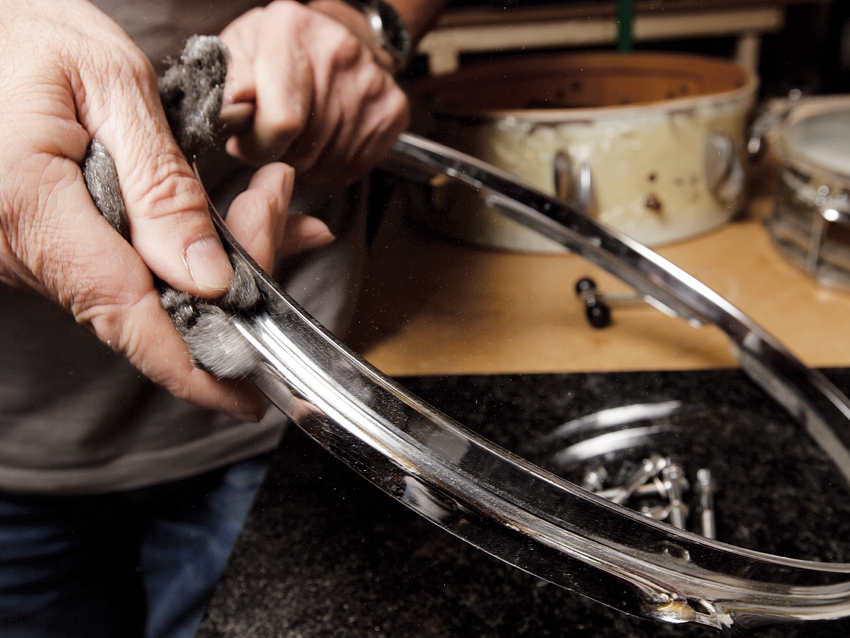
Metal hoops
Yard: “Generally, if it is quite a rough-looking hoop, I will rub it down with wire wool first. Wire wool gets rust spots off, which you normally get around the tension bolt holes.
“You can also use chrome cleaner, which I do quite often. I use vehicle Autosol Metal Polish and Autosol Shining, making sure to get off the residues. You let it dry and then buff it off with a cloth. All buffing is done with old T-shirts.”
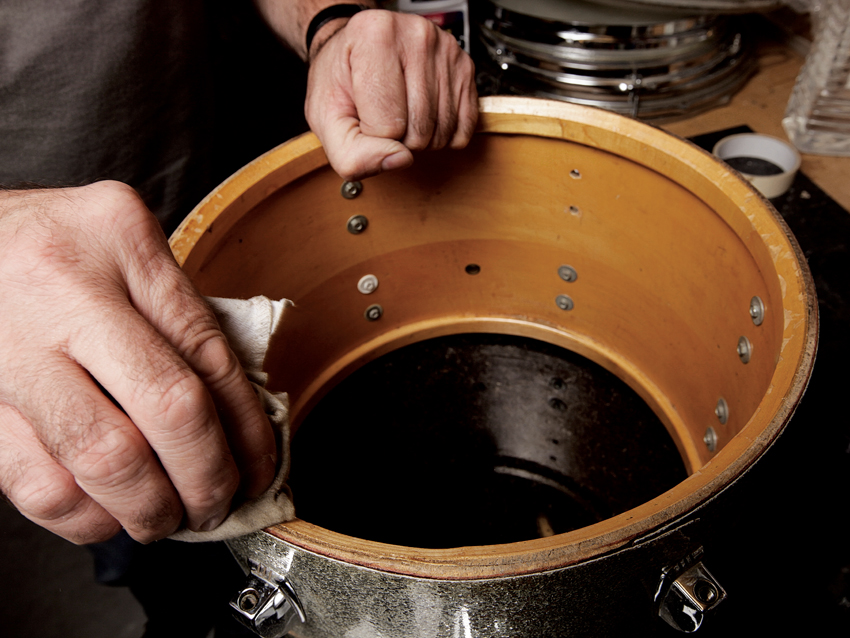
Bearing edges
Yard: “I rub a bit of Colron Finishing (furniture) wax on the bearing edges. It takes out that little bit of dryness. It doesn’t really do anything for the tuning, but it helps the head to slide and seat slightly better.”
AJ Nosek explains: “I usually coat exposed wood bearing edges with a thin layer of Vaseline, enough to smooth/cover but not saturate. If the edge has any minor damage, soft sand paper (220+) with light pressure will fix it without losing the angle/precision cut.”
For more drum kit maintenance tips pick up the latest issue of Rhythm.

Geoff Nicholls is a musician, journalist, author and lecturer based in London. He co-wrote, co-presented and played drums on both series of ‘Rockschool’ for BBC2 in the 1980s. Before that he was a member of original bands signed by Decca, RCA, EMI and more. ‘Rockschool’ led to a parallel career writing articles for many publications, from the Guardian to Mojo, but most notably Rhythm magazine, for which he was the longest serving and most diverse contributor.
