Guitar Repairs 101: Coil-splitting a humbucking pickup (part four)
Ed Mitchell (of Ed's Shed-fame) tackles the tasks that we can't fit in the mag!
In the fourth instalment of the Guitar Repairs 101 column, Ed talks us through the soldering processes involved in coil-splitting a humbucking pickup. Read the rest of the instalments on coil-splitting a humbucking pickup.
Soldering is an essential skill in any guitar maintenance fiend's trick bag. Master the noble art and you'll be able to install new pickups in your guitar, replace faulty controls and switches, and experiment with custom wiring mods. You'll need soldering skills to nail my 'coil-splitting a humbucking pickup' project, natch.
The tools
I laid out all the necessary soldering tools in part one of this guide. Let's recap. You'll need a soldering iron (rated at between 25 and 40 watts), a roll of solder, a pair of snips, screwdrivers, long-nosed pliers and safety goggles. The whole lot should cost under £40.
Safety

It would be great if you could get through this job without hurting yourself or your guitar. Here are a few tips to keep you both safe...
1. Always wear your safety goggles. Hot solder can 'spit' and hit you in the eye. It happened to me early in my guitar maintenance career... it ain't fun.
2. Work in a well-ventilated area - aka opening a window - and avoid breathing in solder fumes.
3. Don't let the hot bit of the iron near any part of your anatomy. A soldering iron burn hurts like hell. By the way, it isn't only the tip of the iron that's hot: the iron's shaft will burn you too.
Get the MusicRadar Newsletter
Want all the hottest music and gear news, reviews, deals, features and more, direct to your inbox? Sign up here.
4. Don't let the hot iron touch your guitar's finish or any wires in the control cavity. Both will melt. Also, try not to let molten solder drip onto your guitar's finish. It will make you sad.
It's not over! There's another page! Click through to learn about soldering.
The skills
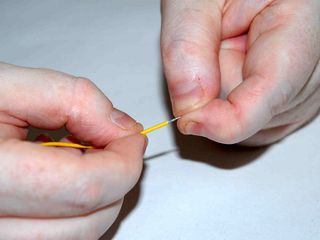
1. Prepare the parts you want to solder. If it's a wire, strip some of its plastic coating then twist its strands together until they are wrapped tightly around each other.
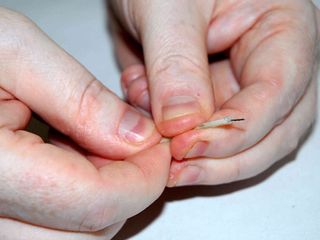
2. If you're using vintage-style cloth covered wire, don't strip any of the covering. With this type of wire you pull back the cloth cover to expose the wire within.
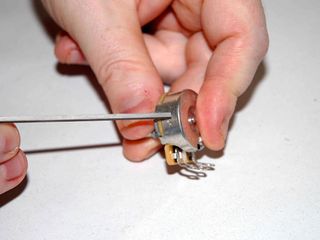
3. If you have a new pot, scratch the casing to remove the protective lacquer. The solder won't bond to the metal otherwise.
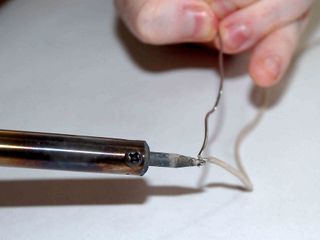
4. Heat the solder with the tip of the iron and allow it to flow onto the wire or pot. Only use enough solder to get the job done. Solder should look shiny. If it's dull, apply some fresh solder.
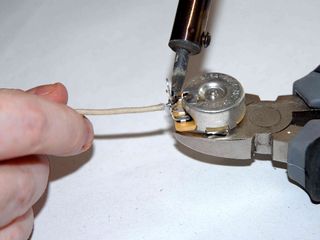
5. Heat up the solder on the pot with the iron. When the solder melts, dip the soldered tip of the wire into it. Hold it there until the solder cools. It'll take a few seconds. When it has has cooled, pull on the wire to make sure it's secure.
Now that you've mastered soldering you can look forward to coil-splitting your humbucker. I'll talk you through the process next month.
Ed Mitchell - FixYourOwnDamnGuitar.com
Check out Ed's Shed in Total Guitar issue 205 for advice on buying second hand guitar amps.
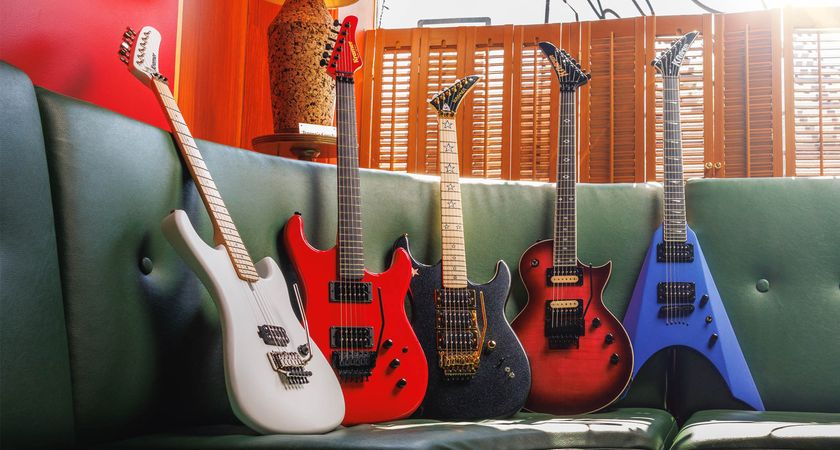
“For players who want more – more pickups, more speed, and more in-your-face Kramer attitude”: Kramer delivers the face-melting shred candy with six refreshed electrics, complete with US-made pickups
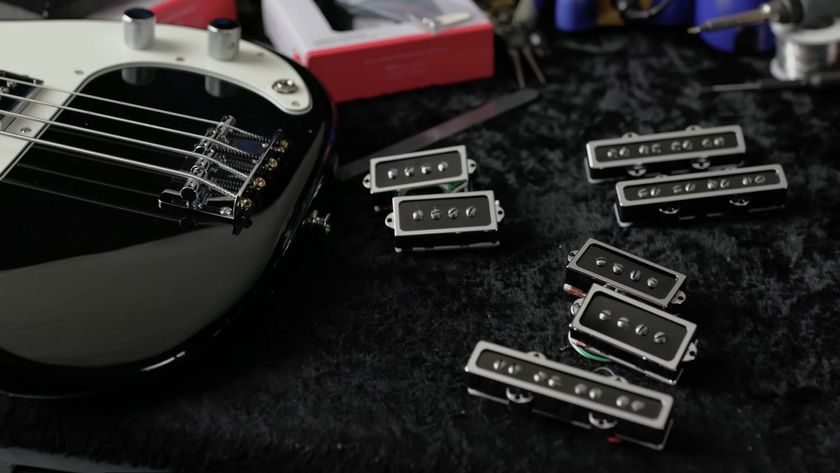
“The perfect magnetic combination to unlock the full tonal potential of your P/J Bass”: Fender releases a Tim Shaw-designed Chrome Cobalt pickups for the P/J configured bass guitar in your life


![Chris Hayes [left] wears a purple checked shirt and plays his 1957 Stratocaster in the studio; Michael J. Fox tears it up onstage as Marty McFly in the 1985 blockbuster Back To The Future.](https://cdn.mos.cms.futurecdn.net/nWZUSbFAwA6EqQdruLmXXh-840-80.jpg)


