The Workshop: how to service drum hardware
Keep your infrastructure in tip-top condition
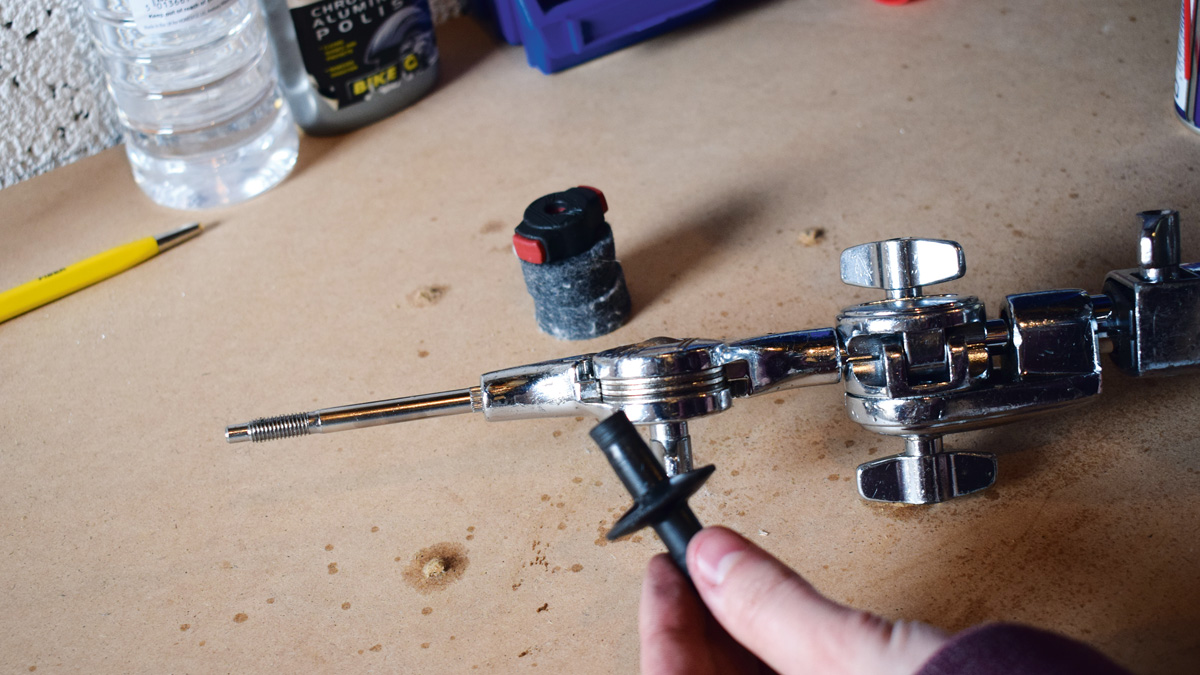
Tackled carefully, this is really straightforward job and you can choose how far you go with it.
Using this Tama cymbal stand as a guinea pig, we’re going to show you how to strip your stands right down and give all your components a deep clean.
1. Materials
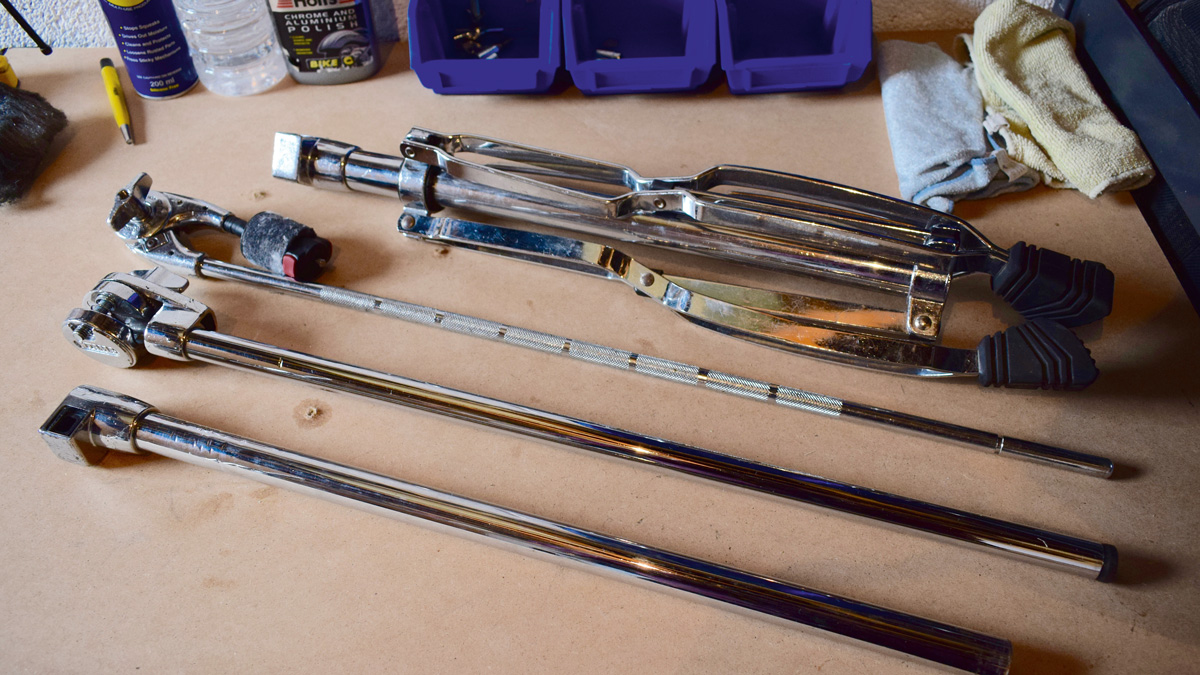
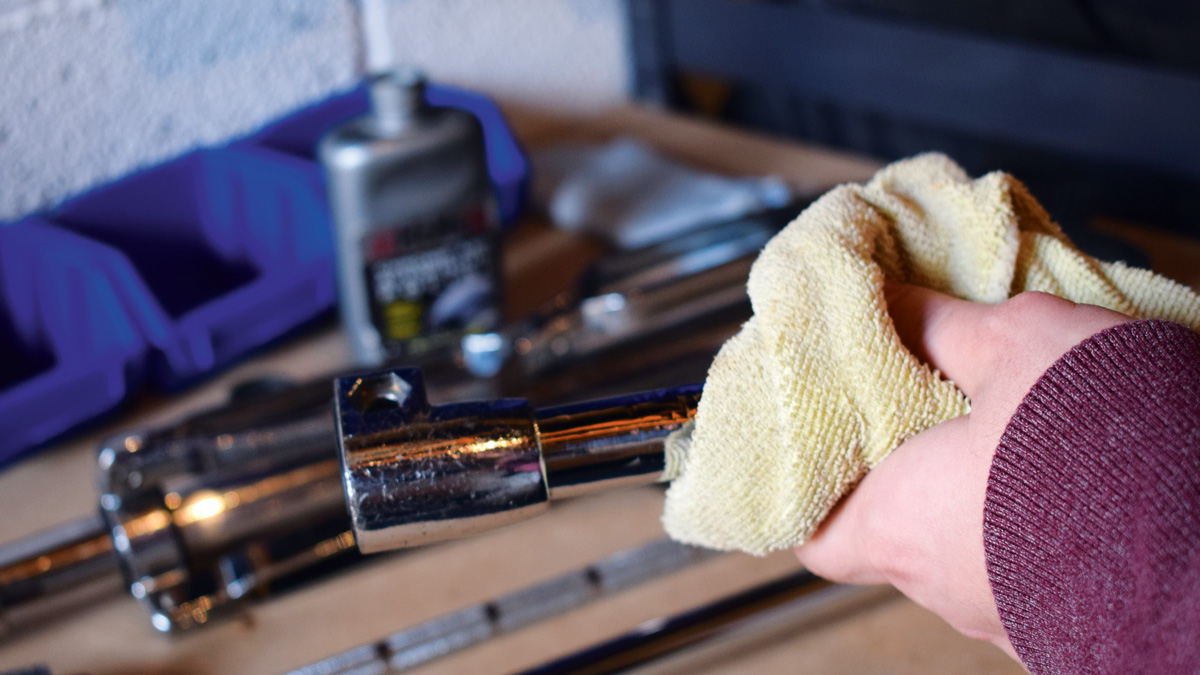
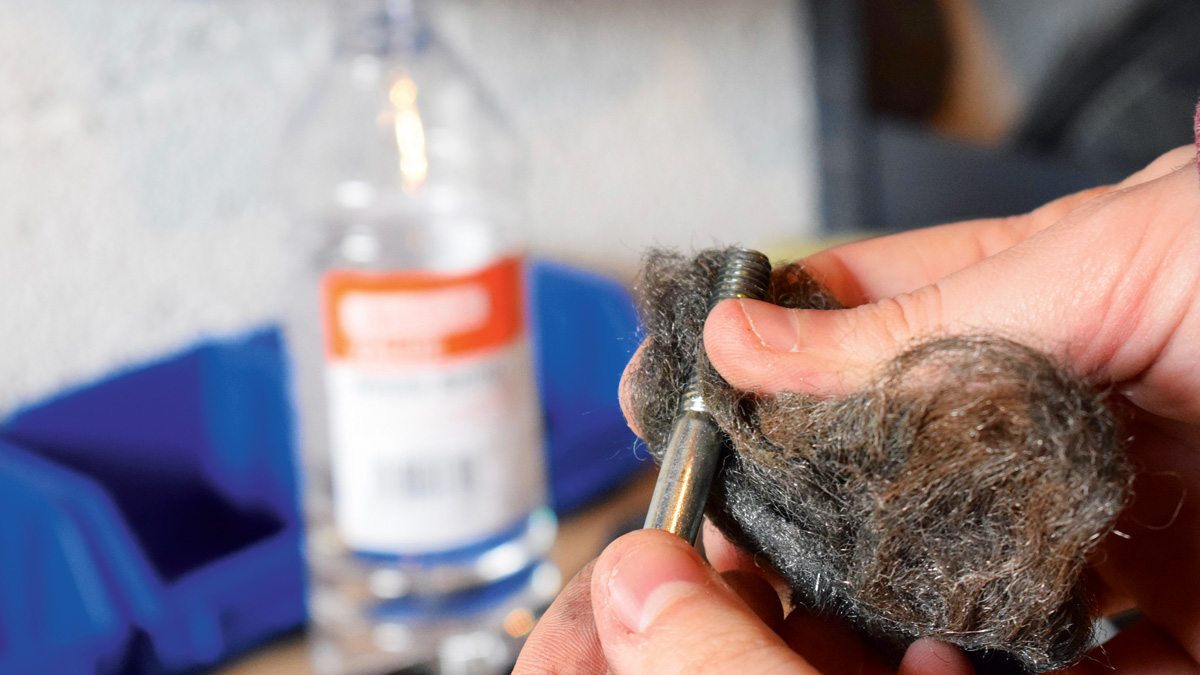
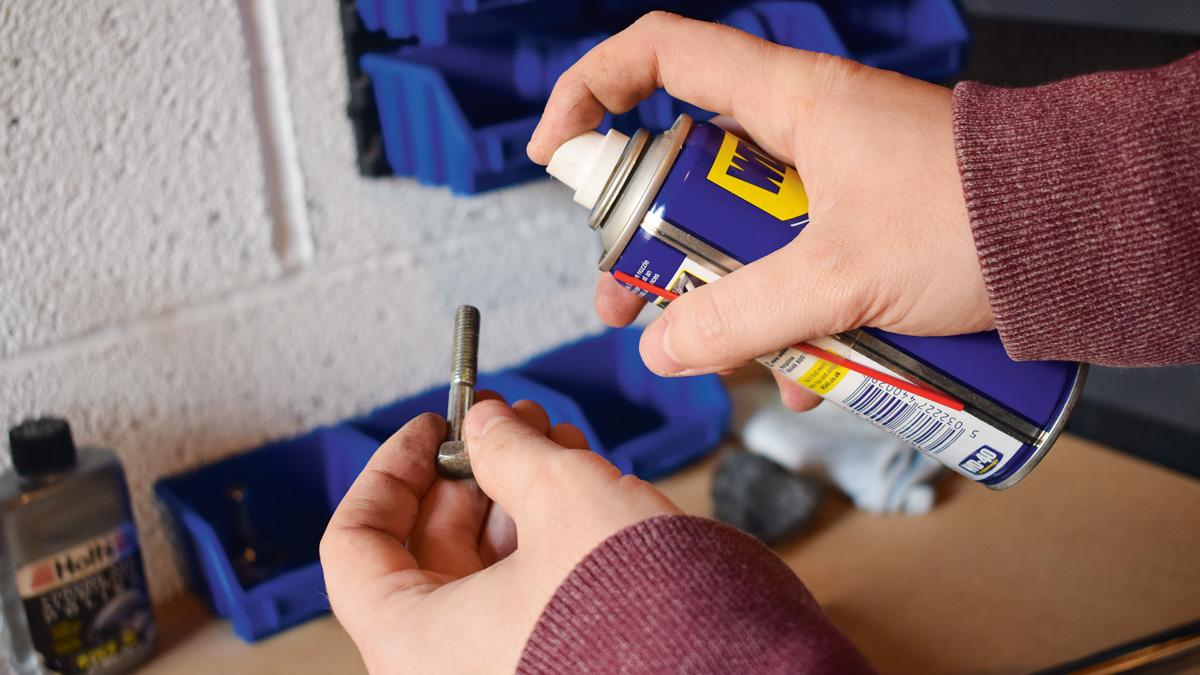
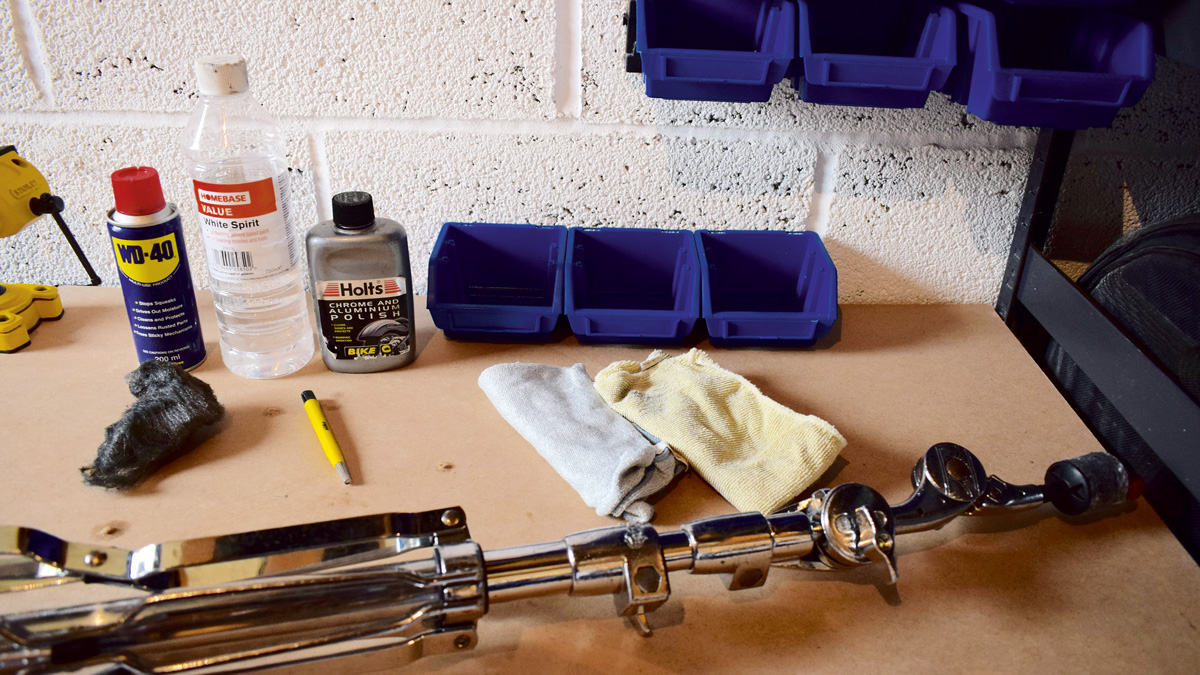
On the bench here we’ve got some trusty WD-40, some fine wire wool, white spirit, chrome polish, a few rags or cleaning cloths and a rust remover pen (these are super handy and very useful for this kind of job).
2. Disassemble bolts
You may choose to work on each part of the hardware individually but we’re going to get stuck in and more or less take the whole thing apart in one go.
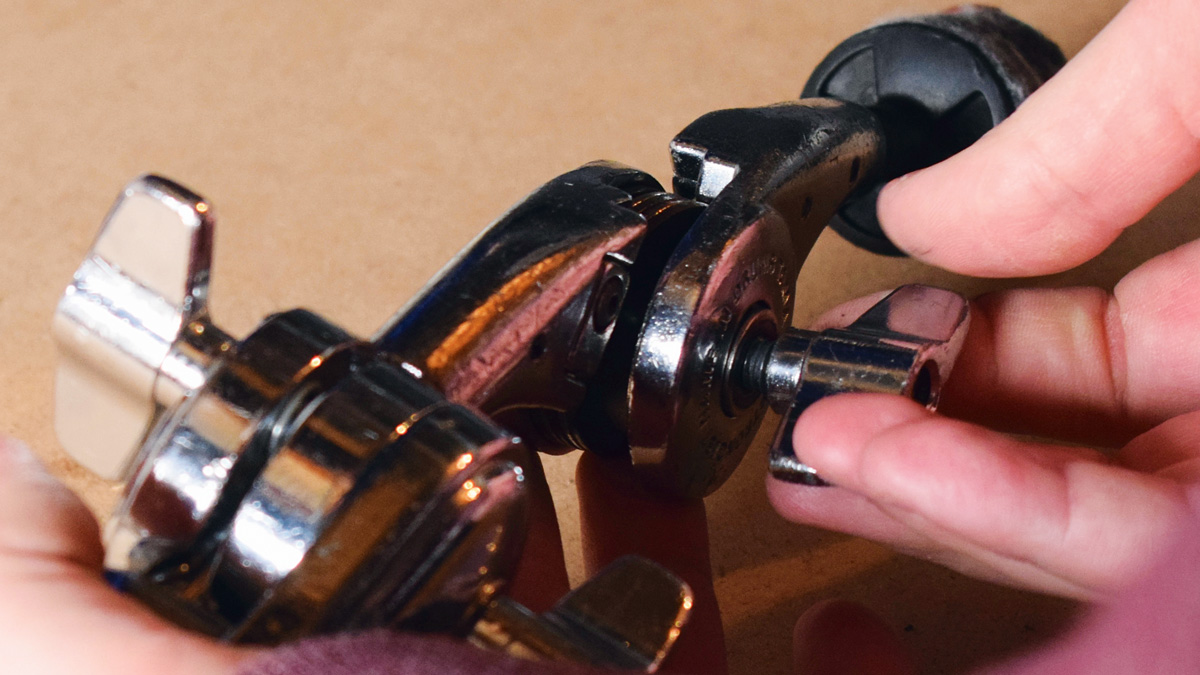
Start by unscrewing and removing all of the bolts, ensuring you keep the relevant washers together.
3. The tilting mechanism
While removing all the nuts and bolts from the stand, pay particular attention to the part that you use to change the angle of the cymbal.
A lot of these will contain springs and washers of various descriptions that can be troublesome to put back together.
6. Rust removal
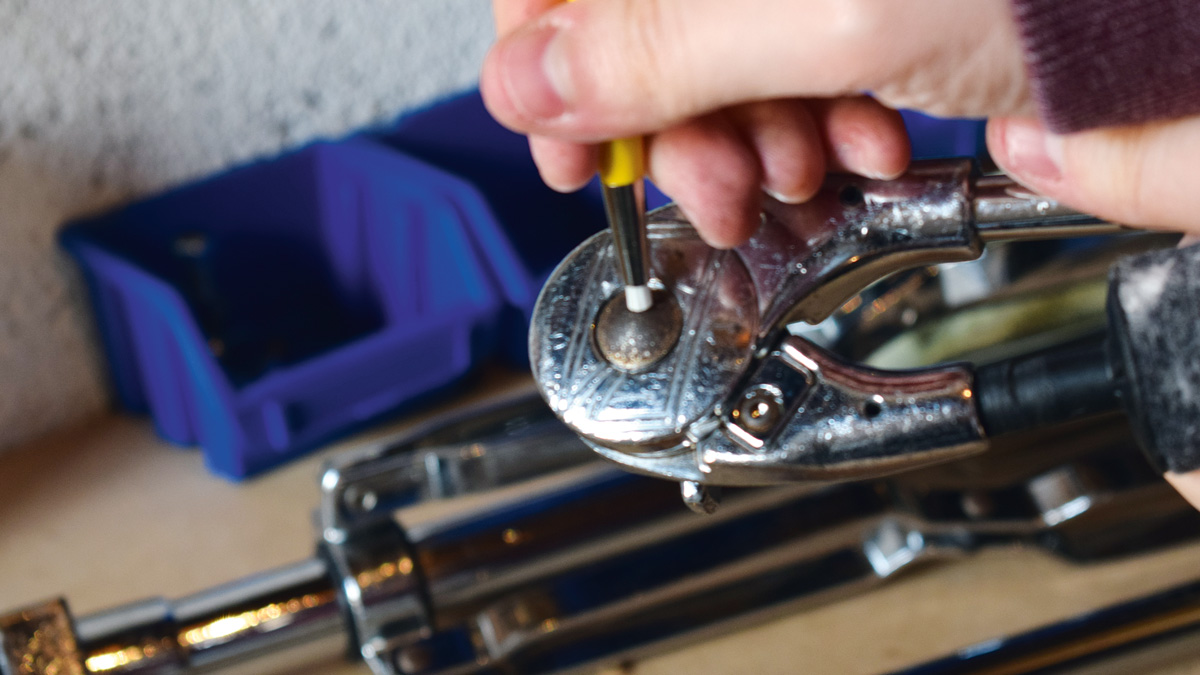
If you’ve given the stand a good once-over and there are still sections of rust, give the rust removal pen a go and see if you can’t shift it.
The oxidation will only occur in places where the chrome has been chipped or worn off anyway so we’re not trying to bring the finish back to new, but can at least stop the rust spreading.
Tom is a professional drummer with a long history of performing live anywhere from local venues to 200,000 capacity festivals. Tom is a private drum tutor, in addition to teaching at the BIMM Institute in Birmingham. He is also a regular feature writer and reviewer for MusicRadar, with a particular passion for all things electronic and hybrid drumming.
