MOTi's top 10 production tips: from track starting to mastering
The DJ/producer reveals the secrets of his creative process
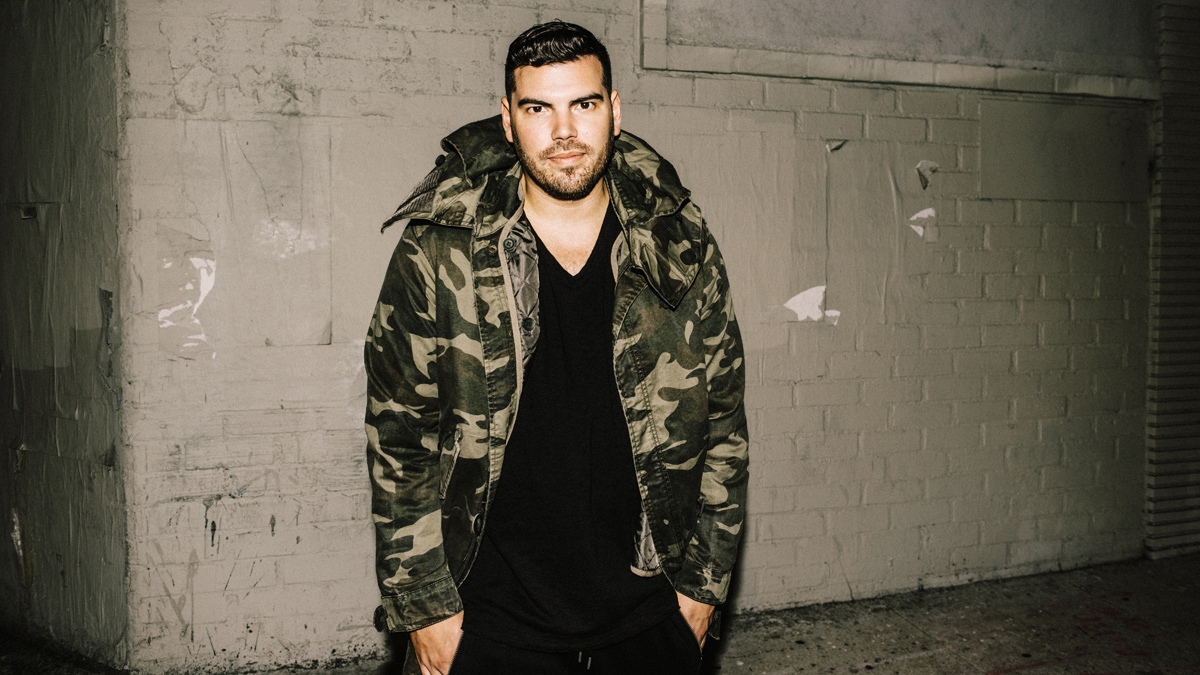
Having studied fashion design at The Hague in Netherlands, MOTi (real name Timo Romme) eventually came to the conclusion that he preferred music to haute couture. Since his first release in 2012, the DJ/producer's rise to fame has been as swift and dexterous as his freewheeling production approach.
MOTi emerged that year having collaborated with producer Quintino on two tracks, Circuits and Kinky Denise. Mentored by Tiësto, the duo worked on the smash hit single Back to the Acid, which laid the platform for MOTi's explosive rise. Having signed to Tiësto's Red Light Management, he found himself sharing centre stage with his fellow Dutchman as well as dance music megastar Calvin Harris at the ADE festival in late 2013.
Over the past couple of years, MOTi has blazed his way to the top of the electronic music charts through collaborations with the likes of DVBBS, Martin Garrix and Major Lazer. Most recently, the electro house mastermind followed the towering success of Turn Me Up (Club VIP mix) with Danish multi-platinum selling songstress Nabiha, by releasing the original version.
With his career set to scale even greater heights, MOTi pauses to present to us his top 10 production tips…
1. How to start a track
"Sometimes it can be difficult to start a track. I always write my melodies on the piano first and then I start finding synth sounds. After getting that right, I start building right away with audio loops. I won't be using those loops in the end, but by doing that I can get a quick view on how I want to build the track.
"I prefer not to use loops because a lot of producers use the same sample packs these days and I don't want to hear the same beat loop in another track. If you prefer to keep working with loops, but want to make them a little bit more special, try cutting them up with something like Sonic Arts Vice.
"For me, when the arrangement is finished, all the synths are in place and I know how I want the track to sound, I can start replacing the loops with drum computers and samples."
Get the MusicRadar Newsletter
Want all the hottest music and gear news, reviews, deals, features and more, direct to your inbox? Sign up here.
I prefer not to use loops because a lot of producers use the same sample packs these days and I don't want to hear the same beat loop in another track.
2. Rendering
"When I'm working on a big project, after hours of work my computer usually can't handle all the data and I keep getting notification system overload messages - or something like that. To prevent this, make sure you render your VST instruments from time to time to save memory. It saves a lot of CPU, and that comes in handy when editing.
"I find working with audio files is a lot easier than [MIDI] synths because they give me an extra creative aspect and are easier to adjust, cut up or reverse. If the project is extremely big, I'll create two versions - one for the breakdowns and vocal editing and the other for drops. CPU-wise this works great, but it does take a lot of time to make small adjustments in opposing projects."
3. Mastering
"I always used to master my tracks in the original project I was working in, and although the results weren't bad, I noticed I'd put a lot more time into mastering my track once I'd rendered it to a WAV file.
"So, render your project as a pre-master. On my pre-master, I put a compressor, EQ and widener - everything except my final limiter. I always make sure I stay out of the reds yet still have the same dynamics as I want my master to have. This also comes in handy if you have your tracks mastered by someone else and don't want to lose the vibe of the track.
"Then I load my final master into a new project and start mastering the WAV file. Put some reference tracks in there, too, so you can easily listen to how you want it to sound."
4. Creating a lead sound
"To make the lead sound in my collab with Major Lazer, Ty Dolla $ign & Wizkid called Boom, I used some old ad-libs I had lying around from a sample pack. I loaded them into the EXS24 sampler in Logic and pitched up the sampler by two octaves. This was the basis for the lead sound.
"Then I rendered it back to audio and started cutting it up in multiple audio channels. On every channel, I put a Waves Soundshifter and pitched it in different keys. After a lot of thinking about different ways to do it, I ended up with the lead sound for Boom. There are multiple ways to do this, but this is usually how it works for me."
5. Tempo searching
"I'm happy that everyone is experimenting with BPMs nowadays, especially in big room EDM because everyone was stuck between 128 and 130bpm. A few years ago, I started trying to slow down breaks and speed them up again. I think that not being stuck on the one tempo brings an extra level to your DJ sets.
"The great thing now is that everyone is trying to work with different BPMs - not just slowdowns and speedups, but the whole track. So try not to stick to one tempo. In Logic, you have an easy function called Varispeed, where you can change your whole track to another tempo. Try some different tempos until it feels right and use the best one. When I find the right tempo, I'll edit all my audio files to the new tempo."
6. Widen your claps
"To make your claps a lot wider, delay the left or right side of the clap and it will give you an amazing wide effect. I've been mostly using this on claps and background sounds, but you can also use it on pads, strings or other sounds that you want to sound wide. You can also use this technique to pan sounds, but if you want to use it for panning make sure you don't exceed 30ms. I thought the rule was that if you go over 30 and you're playing the sound over a mono output it's probably going to phase. I always switch my speakers to mono to hear how it sounds.
"To widen my claps, I delay them around 800, which contradicts the rule, but I like my claps like that. I'm not sure if this is the right way, but it works for me. I also use this technique on strings and pads."
7. Short reverbs on leads
"To get the effect I wanted on the lead synths I used on tracks like Virus, Lion and Valencia, I put super-short wide reverb on the dry lead sound. Then I put distortion on it afterwards to add an extra powerful effect.
"A lot of the time, people will only use reverbs to melt a track together. I like to use reverbs to add extra character to a synth. First, I put a short reverb on the channel, and then I start adding EQ, distortion and compression, etc. Most of the time, I'll finish with a limiter - I like to push my synths until they're almost clipping before bringing them down with a limiter. After that, I'll put another reverb on it or use a send bus to glue everything together."
I'm happy that everyone is experimenting with BPMs nowadays, especially in big room EDM because everyone was stuck between 128 and 130bpm.
8. Layering your bass
"At the very least, I'll double my bass, splitting up the different layers into separate EQ sections. To get the character of the bass sound, I'll high-pass until 150Hz and cut off the high-end on the sub bass - depending on the key of the track. That way you get a full-sounding bass with a lot of character.
"Also, be sure to always render your bass to get it as tight as possible. When I use three basses, I divide them into three sections - low-end, low-mid and mid. To add some extra crunch to the bass, I push up the EQ on the high-end a lot."
9. Vocals
"When working with vocals, I always slice up all the words. You can cut out some of the breathing and make them tighter or looser on the grid - whatever feels good. The key is to put as much time into the top line as the rest of the production, because it can make a really big difference."
10. Workflow
"When I'm stuck working on a track, I'll always try to make something totally different than I'm used to. This especially applies when I'm making a lot of the same types of tracks in a row, because I kind of lose the feeling and start using the same tricks in all of the tracks, which makes them sound a little too repetitive.
"When I'm working on different kinds of genres, I force myself to use different techniques. For example, if I'm stuck making EDM, I'll make a rock or indie track. This is a good learning process, because I can keep challenging myself and enjoying making music."
