The producer's guide to the Roland SH-4d
Leo Maymind digs into a part-melodic, part-rhythmic desktop synth that defies categorisation
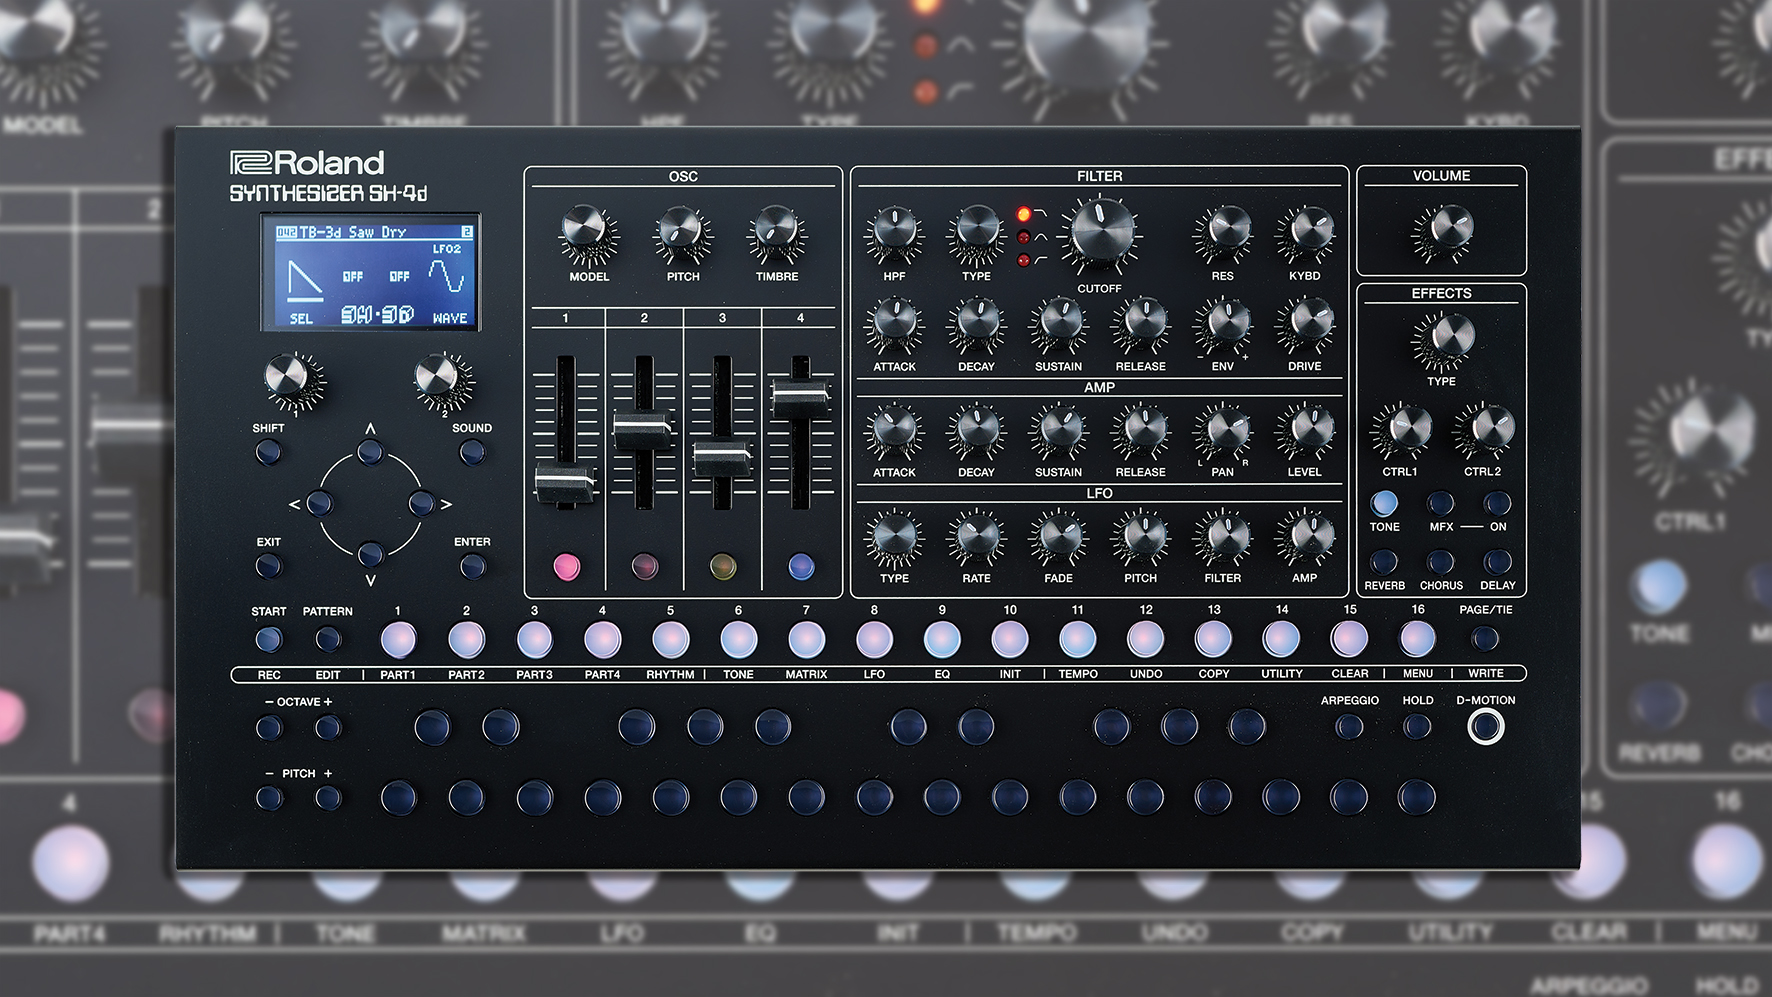
If you like Roland products, over the past few years you’ll have been spoilt for choice. You’ve got the original AIRA line, the Boutique range of the classic synth recreations like the Juno and Jupiter, and you’ve also got the powerhouse grooveboxes in the MC-101 and MC-707. So it was hard to see any holes in the range, but Roland had something else planned, and that was the new SH-4d.
The SH-4d is a five-part desktop synth: four of those parts are melodic synth engines that use one of 11 oscillator modes, and the fifth part is a rhythm section that has plenty of its own sound-sculpting possibilities within. Each of these parts are coupled to a sequencer and an effect section, as well as a multi-effect that works on the entire SH-4d output. But we’re getting ahead of ourselves already. Let’s take a look at the specs and see just what the SH-4d is capable of.
At its core, the SH-4d is a fully digital, 60-voice, five-part synthesiser with four melodic tracks and one rhythm track, each tied to a 64-note sequencer. The SH-4d holds eight banks of 16 patterns. Each pattern is stored with its corresponding tones and recalling a pattern recalls all five tracks as well. There are no projects to choose from as such.
The oscillator modes
The synth engine of the SH-4d uses similar technology to Roland’s ZEN-Core line but unfortunately isn’t cross-compatible with ZEN-Core presets. Regardless, Roland has really given you plenty to work with in the SH-4d; there are 11 different oscillator modes to choose from.
These modes represent a nice cross-section of classic Roland sounds and more future-leaning presets. To scroll through the modes, use the “Model” knob in the oscillator section. The front panel design is very nicely designed so that each section of the architecture is very clearly identifiable and easy to dive into.
First of all, there’s the SH-4d mode, a 4-oscillator algorithm that was inspired by Roland SH synths from the past. Similarly, the SH-3D mode uses the SH-4d algorithm with three oscillators but adds a second LFO for more modulation possibilities. The sync oscillator mode features the ability to sync the second oscillator to the first with an adjustable pitch envelope.
The next two modes are modeled after the famed SH-101 and Juno-106 respectively and mirror the oscillator sections of each of these instruments. In SH-101 mode, the four faders become volume controls for the Square, Triangle, Sub Oscillator and Noise, just like on the original. The Juno-106 mode adds the ability to turn off the square and triangle waves completely, as well as the pulse width modulation on the Juno that we have all come to love.
Get the MusicRadar Newsletter
Want all the hottest music and gear news, reviews, deals, features and more, direct to your inbox? Sign up here.
A Cross FM mode offers a simple, albeit functional, take on 2-operator FM synthesis, with a mod envelope that controls how much modulation is applied as a note is played.
Moving along, the next mode is a Ring Modulation mode, where – guess what! – two oscillators are shaped by a ring modulator. A Wavetable mode has 31 different wavetable shapes to choose from, though not a whole lot can actually be done to them in this oscillator mode; one of the few places where the SH-4d has some room to grow.
Next up is a simple Chord Oscillator mode, which automatically maps a particular chord voicing to each note, although the sound sculpting tools in this mode are limited to a pulse width depth and width control.
Lastly, two of the most interesting modes of the SH-4d are a Drawing Oscillator mode, which lets you draw in a custom waveform using the two knobs below the screen, and a PCM sample playback mode, which lets you combine four PCM samples and control the volume levels of each.
The filter and effects
From the oscillator section, the signal continues to a fully featured filter module with both a dedicated high-pass filter (with fixed resonance) and a multi-mode Ladder filter that can be used in low-pass, band-pass or high-pass modes. This second filter also has adjustable resonance, a full ADSR envelope with a dedicated envelope amount knob, and a drive parameter to give it some extra bite.
Under the filter, you’ll find the amp section with a second full ADSR envelope, a Pan knob, and a Level control. The sole LFO sits under the amp section, with a hefty amount of waveforms available and dedicated knobs to control how much the LFO affects the pitch, filter, and amp settings. There’s also a handy fade-in control for the LFO.
Roland really haven’t pulled any punches here, as many of their famous effect units are recreated here, albeit in digital form
The SH-4d also comes absolutely jam packed with effects. Roland really haven’t pulled any punches here, as many of their famous effect units are recreated here, albeit in digital form. There are 90 effects to choose from, several of which are really multi-effects disguised as a single device. It’s hard to see how anyone can hear these as anything less than stellar in terms of sound quality.
There are reverbs, delays, choruses, phasers, overdrives, filters, loopers, amp and overdrive pedal modelers, etc. The effects very much go deep on the SH-4d, and each has its own specific set of editable parameters that can make them potentially very customisable. This is not a “pick a preset and live with it” machine, folks!
The rhythm track
Similarly, the rhythm track of the SH-4d might seem like a last minute addition to an already very fully featured synth, but it’s actually a complex instrument in its own right. This fifth element, if you will, features 26 individual sounds per kit, each of which can be individually muted and tweaked.
D-motion lets you assign various parameters to X and Y axes and then physically tilt the SH-4d to modulate them
Each sound uses two waveforms as starting oscillators, each with an editable pitch envelope for each. You can also configure mute groups within your kits by pressing Shift and Step 6. This dialogue box also allows you to select which instruments in your kit go through the multi-effects and which remain dry, yet another way to get your bespoke kits sounding just the way you’d like.
If you want something a little different, Roland has included a few ‘add-ons’. First is a feature called D-motion that lets you assign various parameters to the X and Y axes and then physically tilt the SH-4d to modulate said parameters. We don’t see this being too useful but perhaps you will.
Lastly, there are a few new ‘physical’ arpeggio modes that are fun to play with but limited in use by the fact that those modes, which are accessed via Shift + Step 16 and scrolling down to Visual Arpeggio, stop working when changing to another Part. Maybe a future firmware update will address this.
The sequencer
There’s a lot to love about the sequencer within the already-powerful SH-4d.
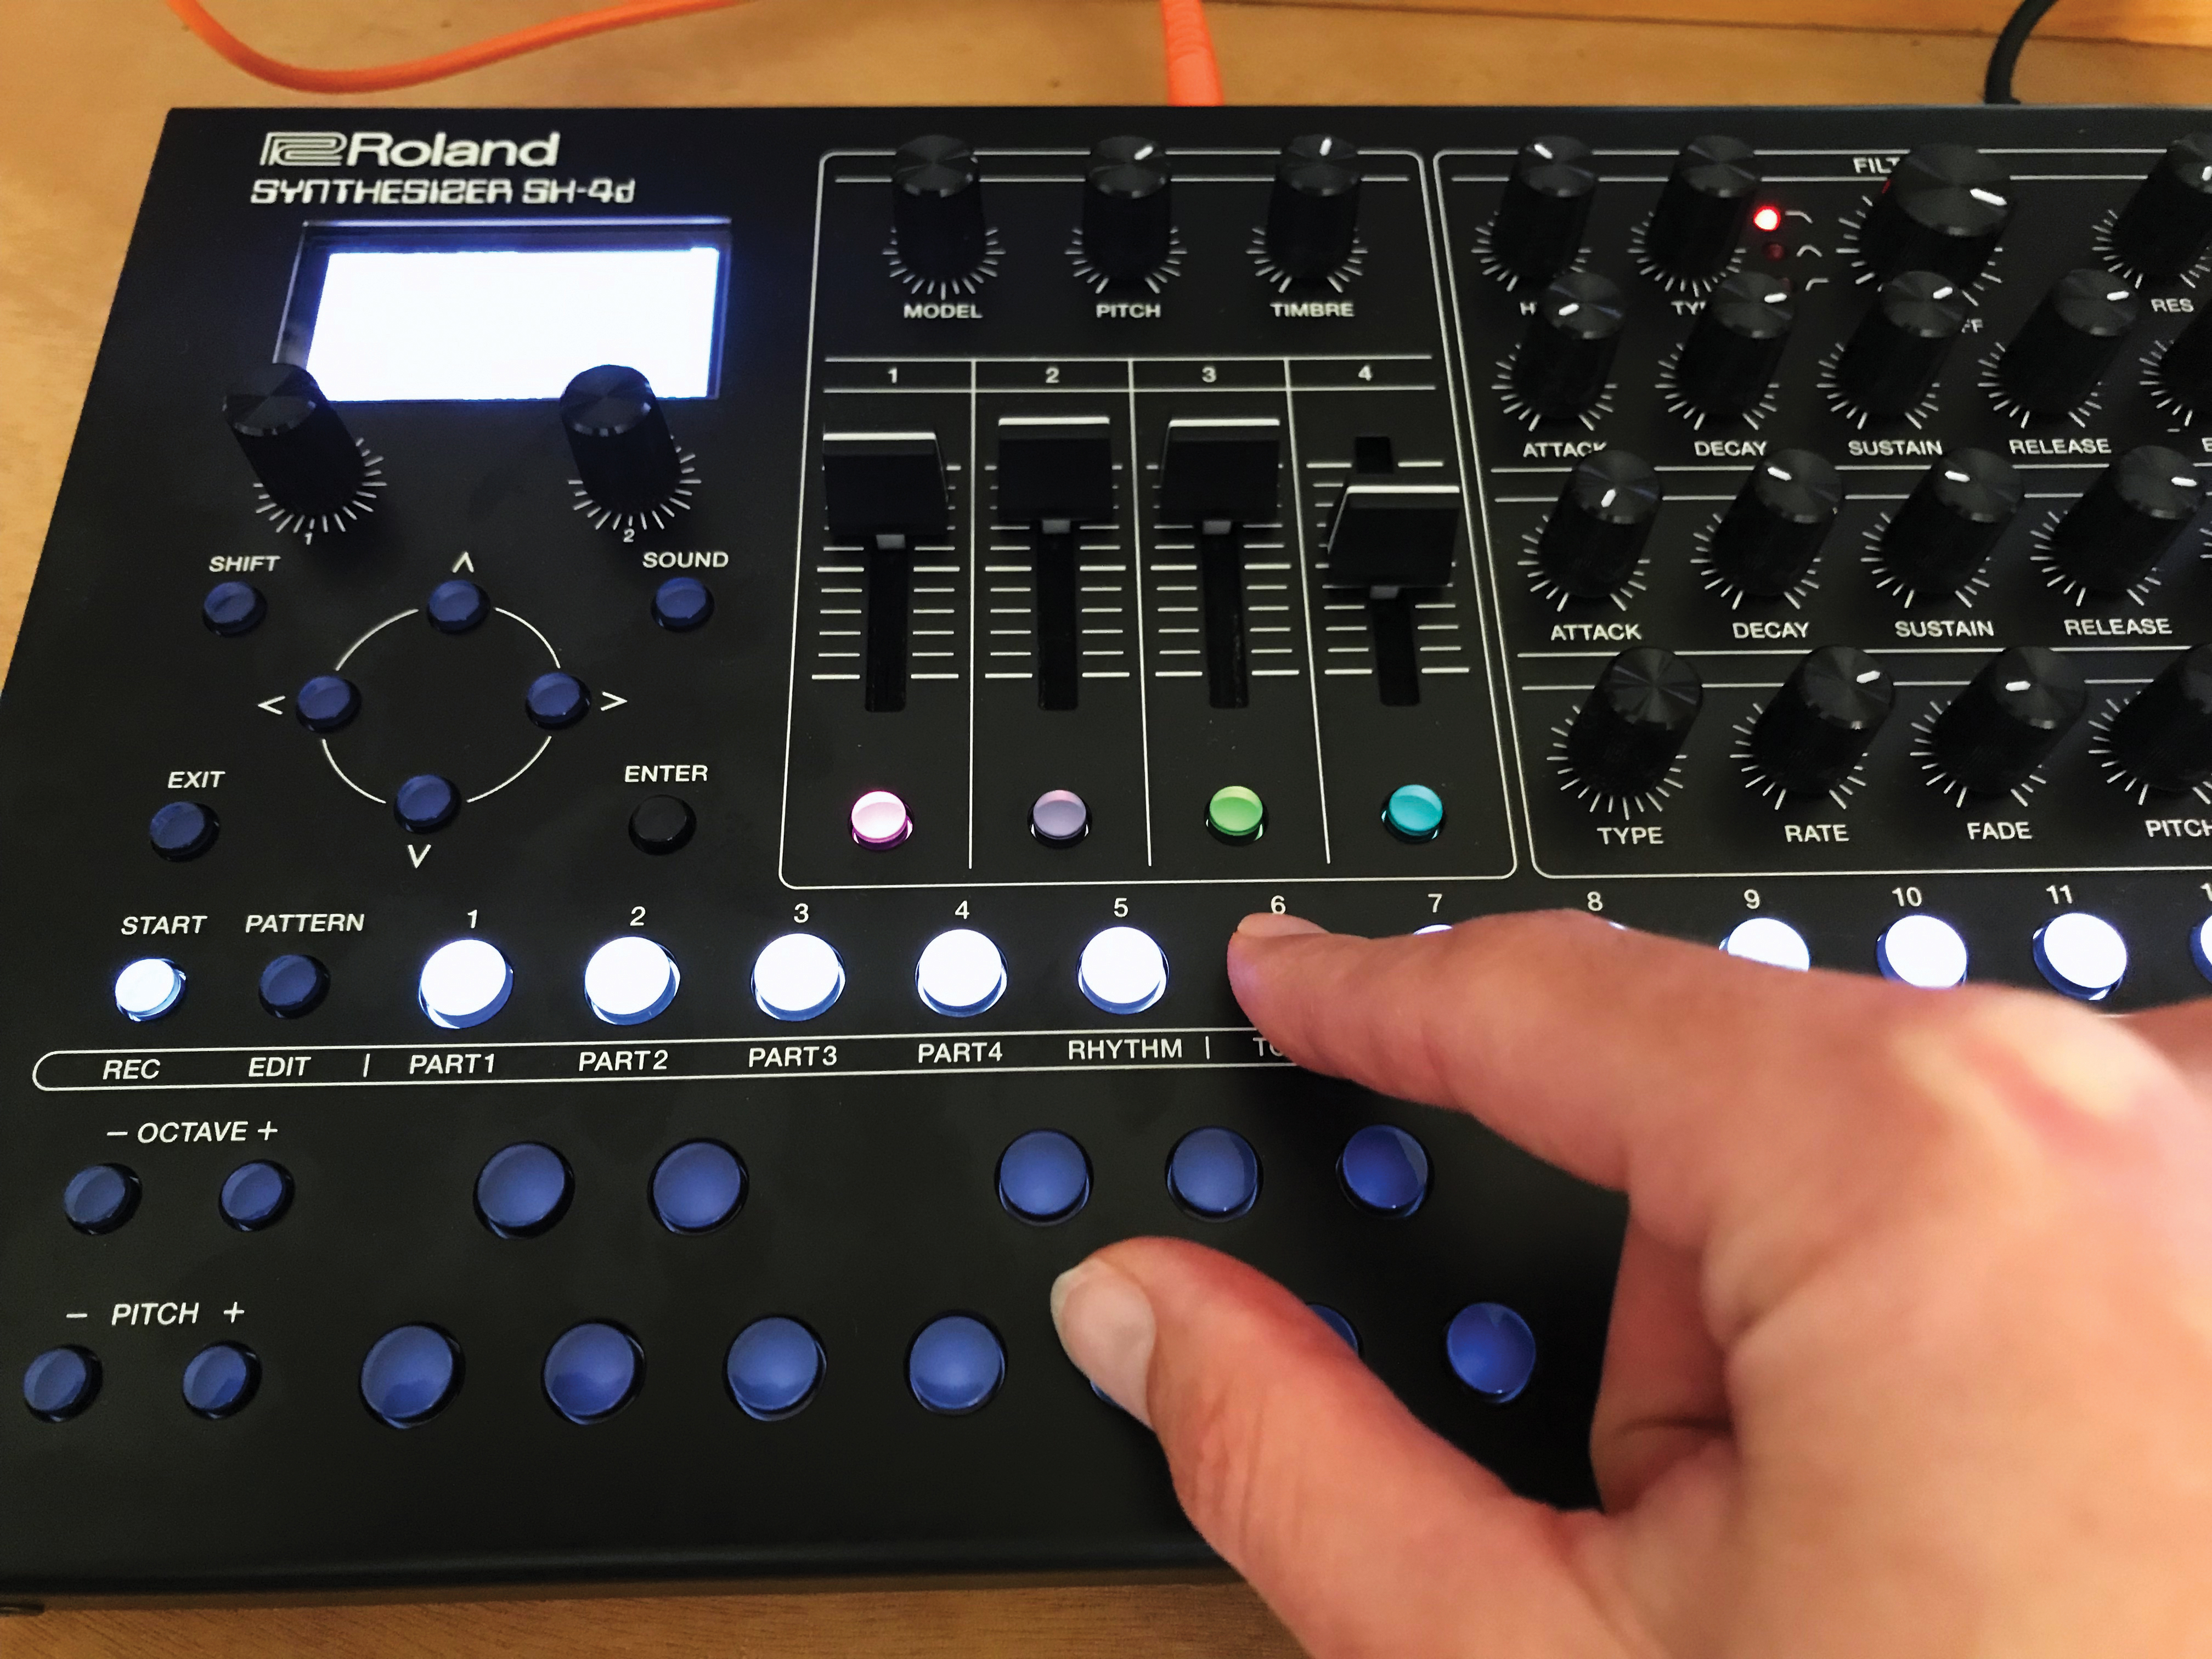
The SH-4d’s sequencer allows for up to 64 steps for each part, and each can have its own step-length values and playback modes. There are also three ways to record in. The first is the simplest: hold a step and press a note to input that step onto the sequence.
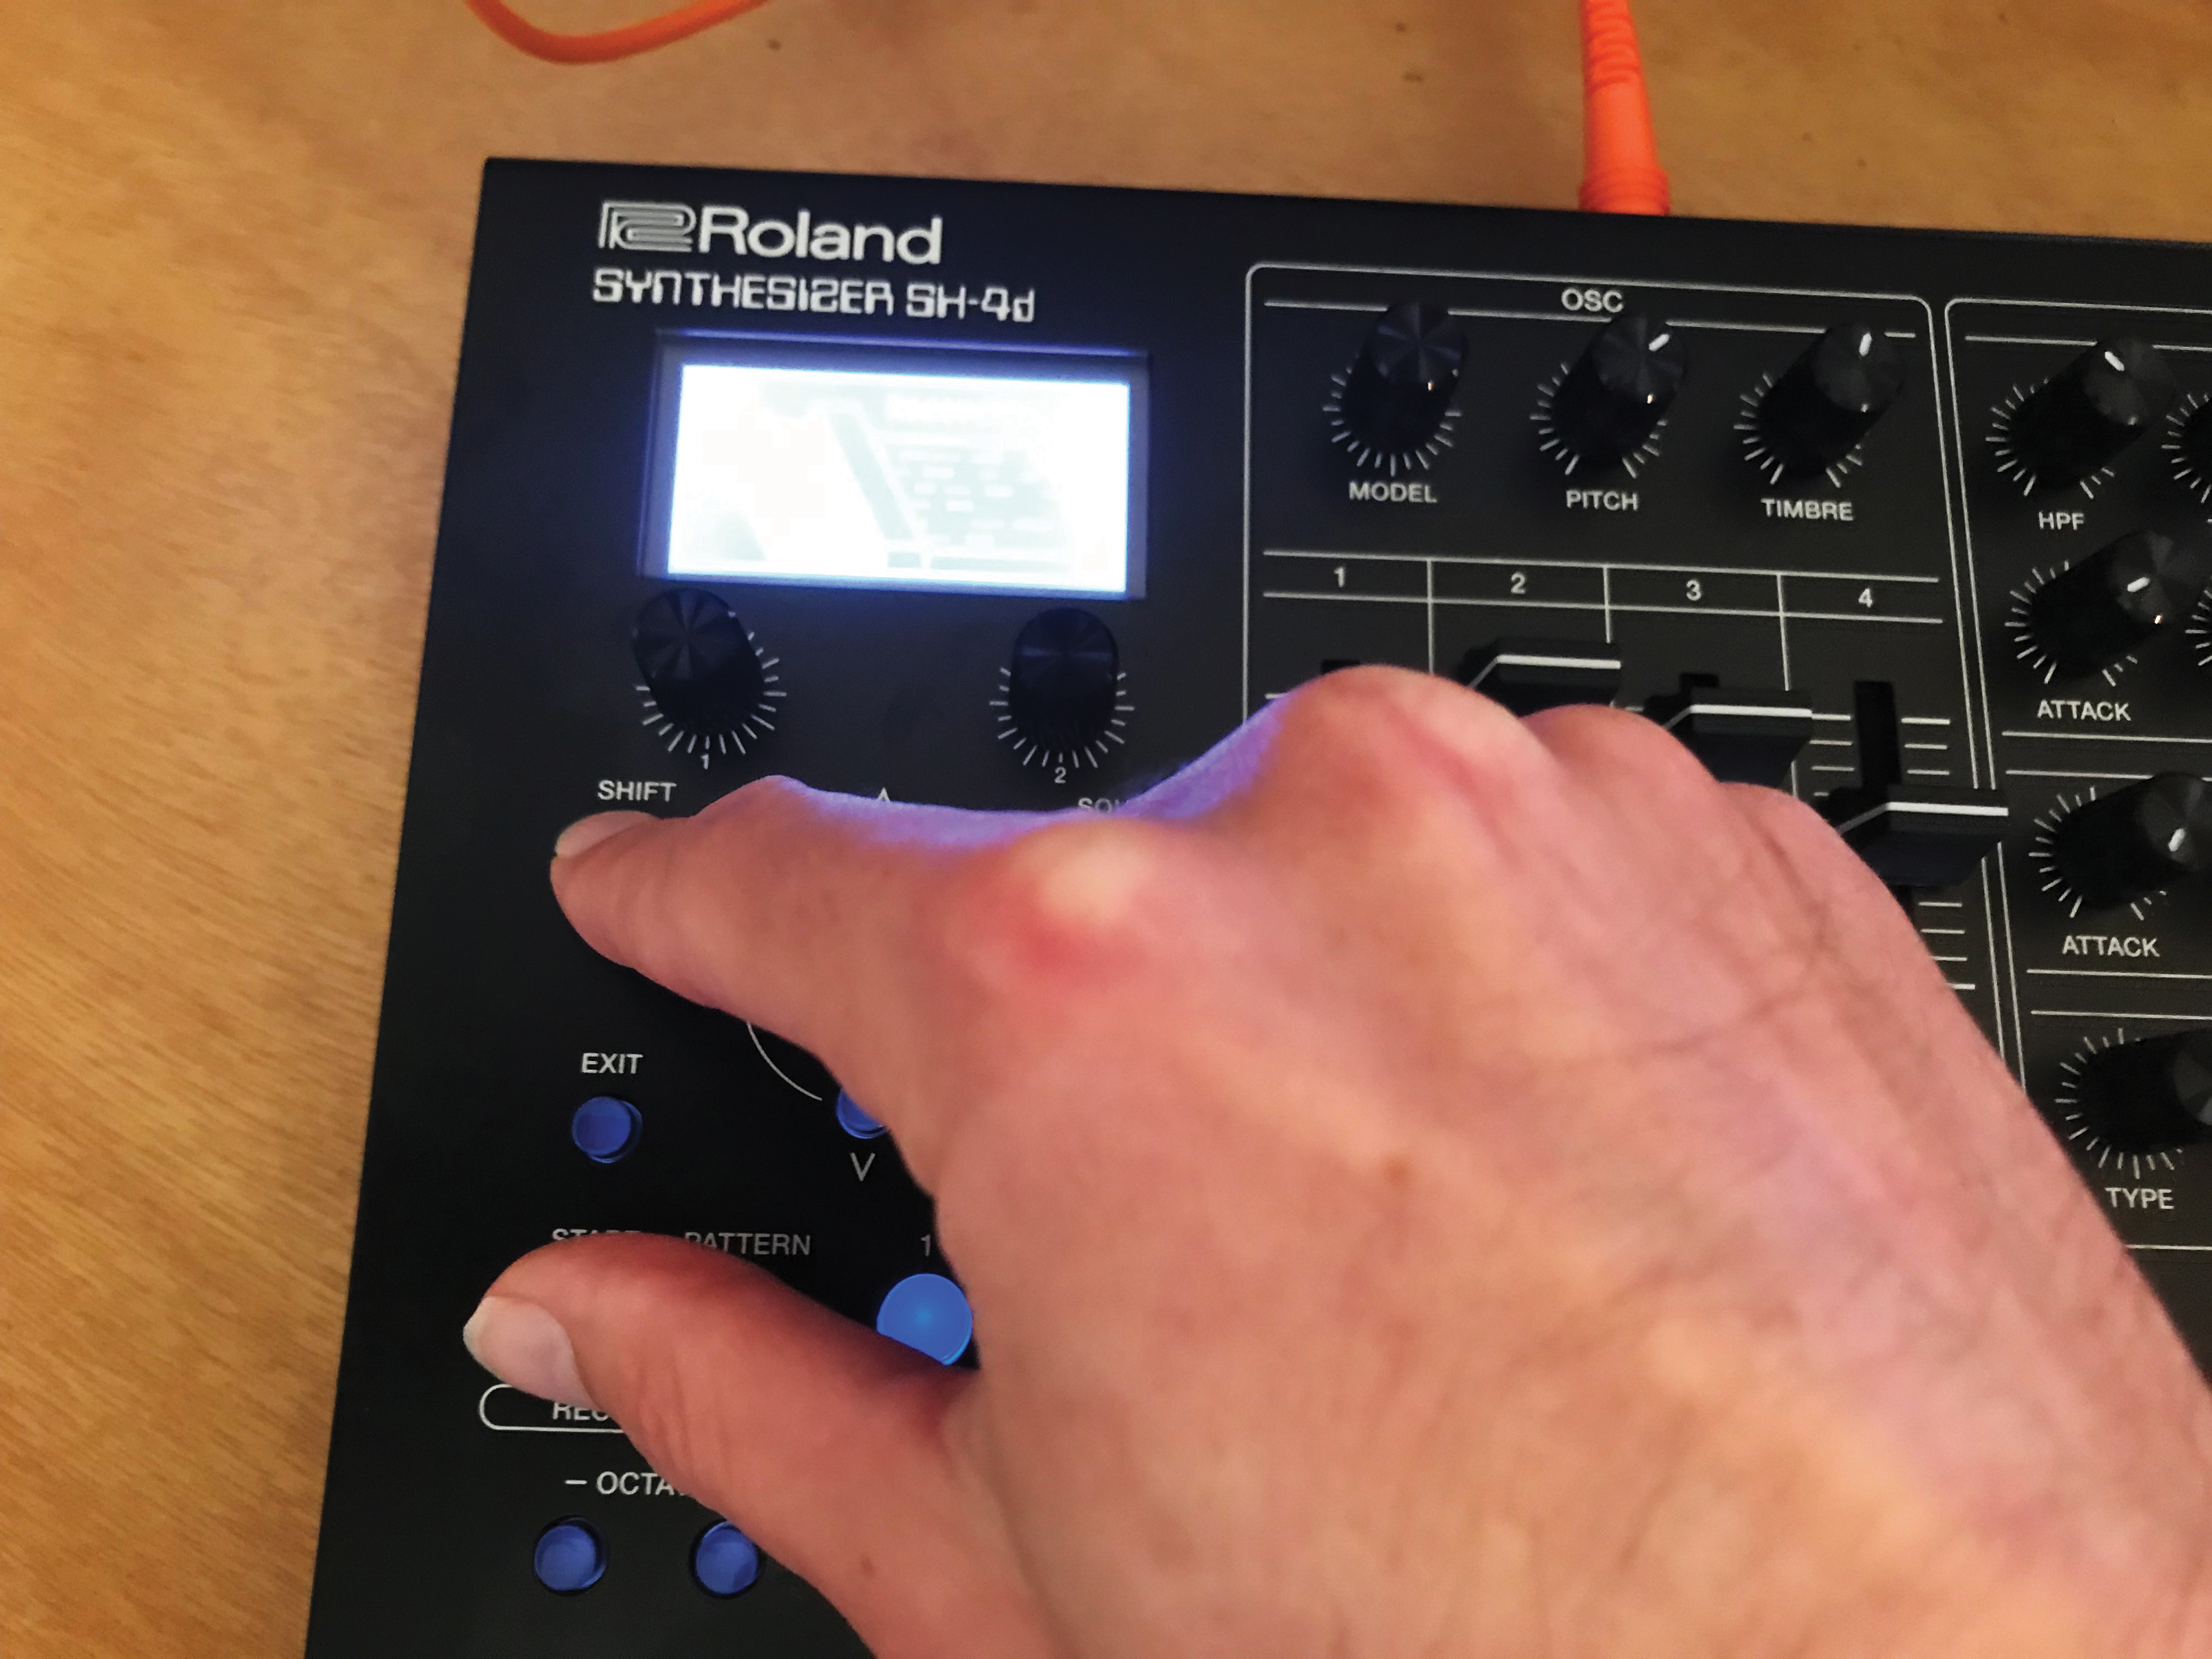
It’s also possible to do real-time recording. To enter that mode, hold down the shift button and press Start. You’ll see the corresponding dialogue box open up on the screen to indicate that the SH-4d is recording.
Unfortunately there’s no metronome to play along to, but it’s a fairly quick endeavour to set up a quarter-note pattern with any sound on the rhythm track. To exit recording, press the Exit button. If you don’t like what you’ve recorded, you can press shift and step 12 to undo it.
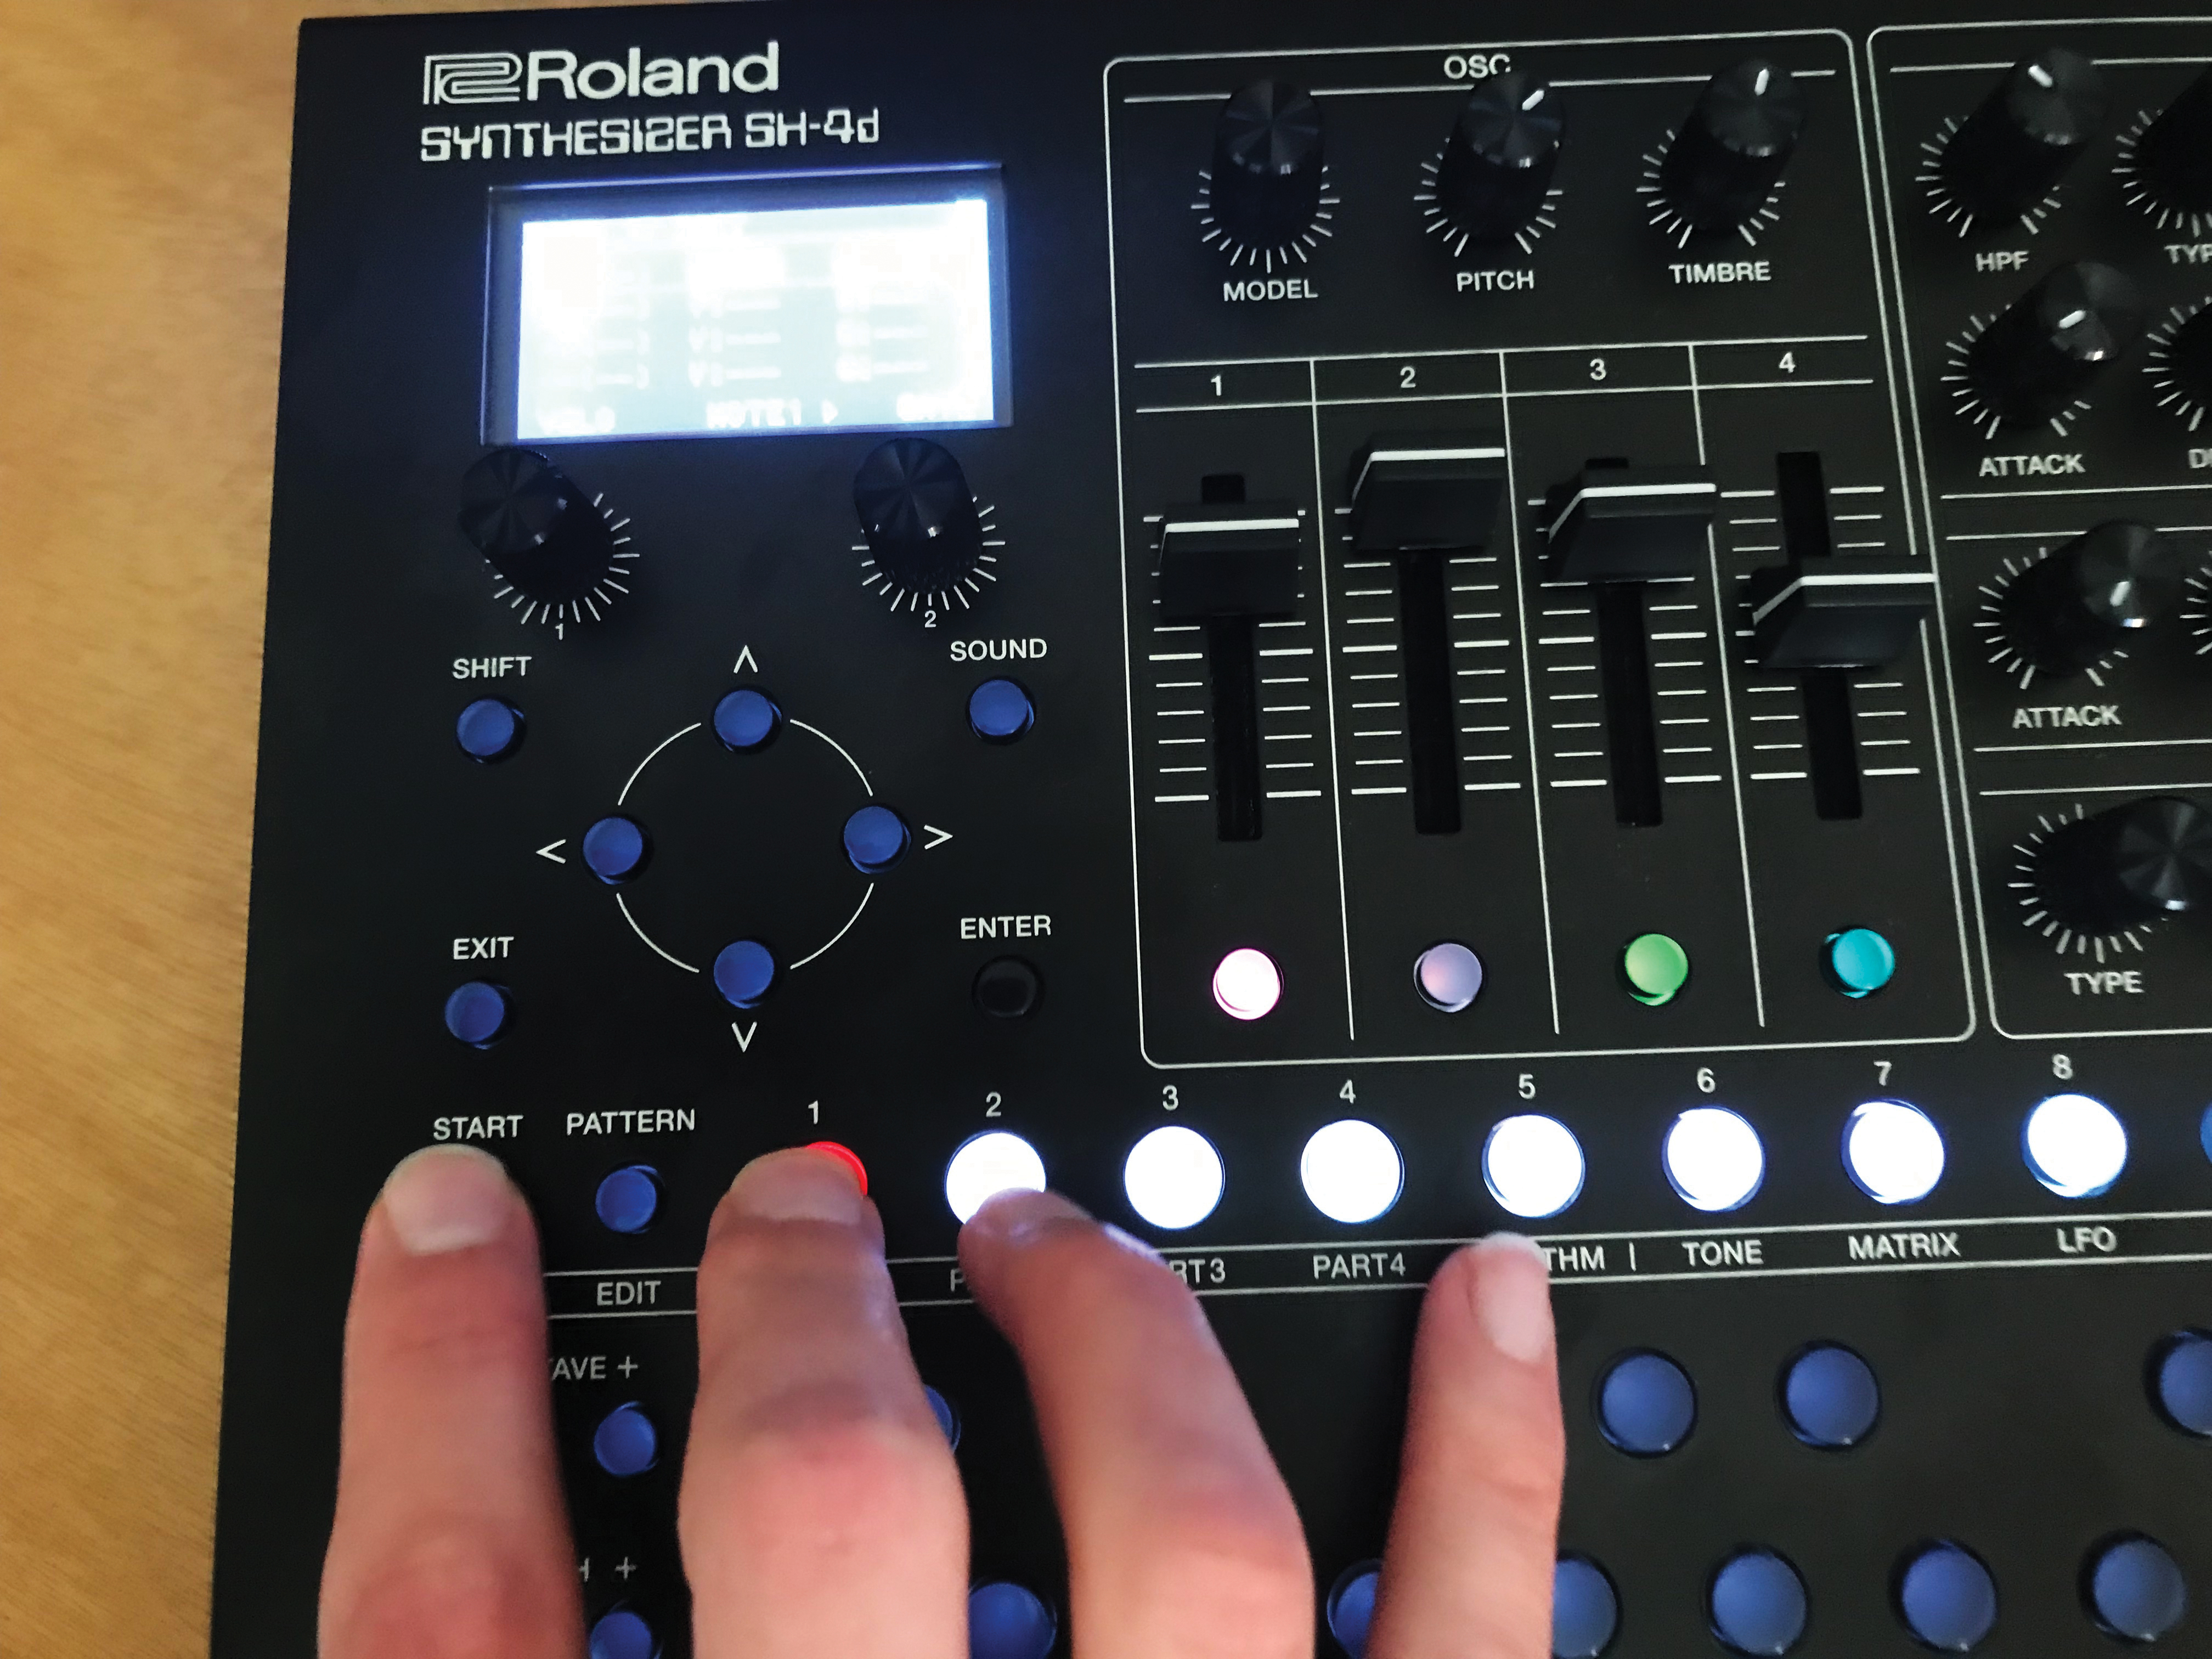
If you like the SH-101-style sequencer workflow, you’re also in luck, as the SH-4d allows for what’s called Step Input recording too. To do this, hold the step that you’d like your pattern to start on – in our case, step 1 – and press the Start button.
The same recording dialogue box will appear but now instead of your sequence playing, you’ll see the steps automatically advance through the sequence after each note is entered. Again, multiple notes can be entered at once (unlike on the original SH-101).
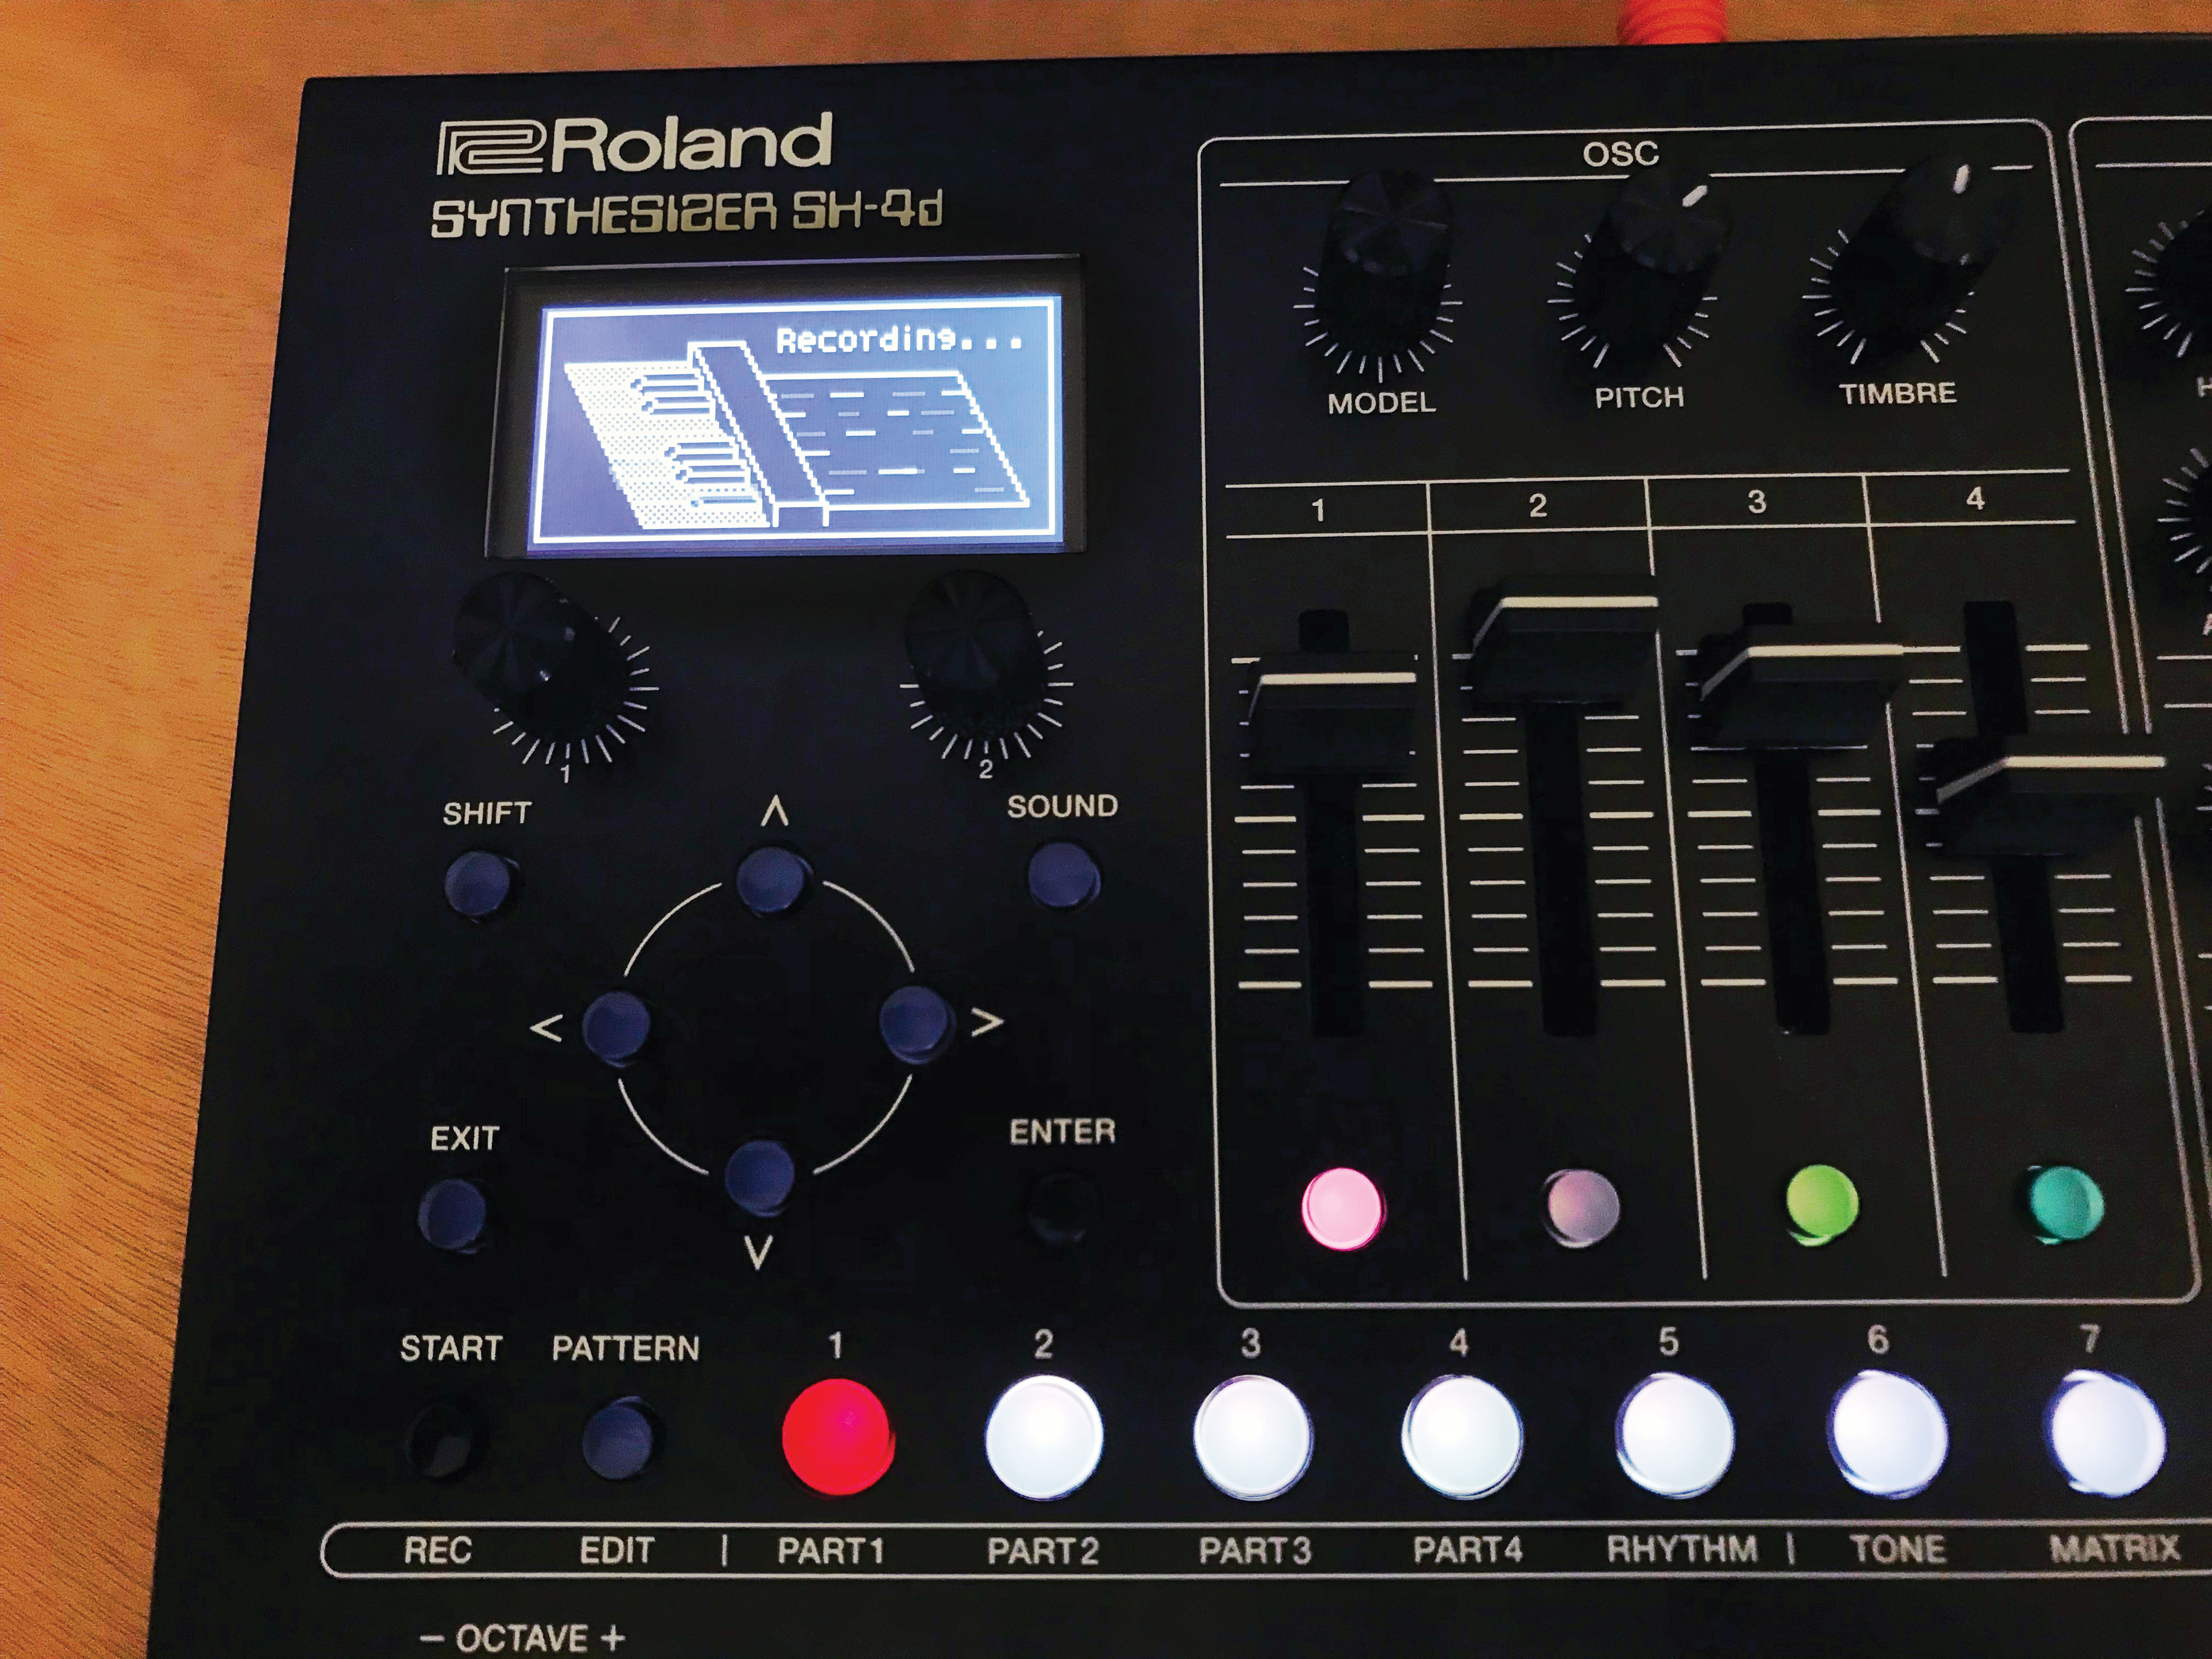
You can tweak the recorded gate and velocity values of each step by holding a step button and pressing < or > to lock the editing screen. The first column shows the notes played on that step, the second the velocity values for each note, and the third gate values.
Scroll to the next screen with the > button, and you’ll see the Probability value per-note, plus the Sub-step value division options. Each can be played with a flam or with 1/4, 1/3, or 1/2 substeps. A lot is possible once you dig in!
The mixer
The SH-4d’s mixer mode is incredibly useful, as it lets you not only change volume and panning for each part but also reverb, chorus and delay send values for each. Accessing the mixer is slightly more fiddly than you’d expect, as it’s two button presses as opposed to one: first press the Pattern button to access the Pattern page and then press Sound to access the mixer page. The four faders default to the volume levels for Parts 1-4, while the Timbre knob controls the volume of the rhythm part.
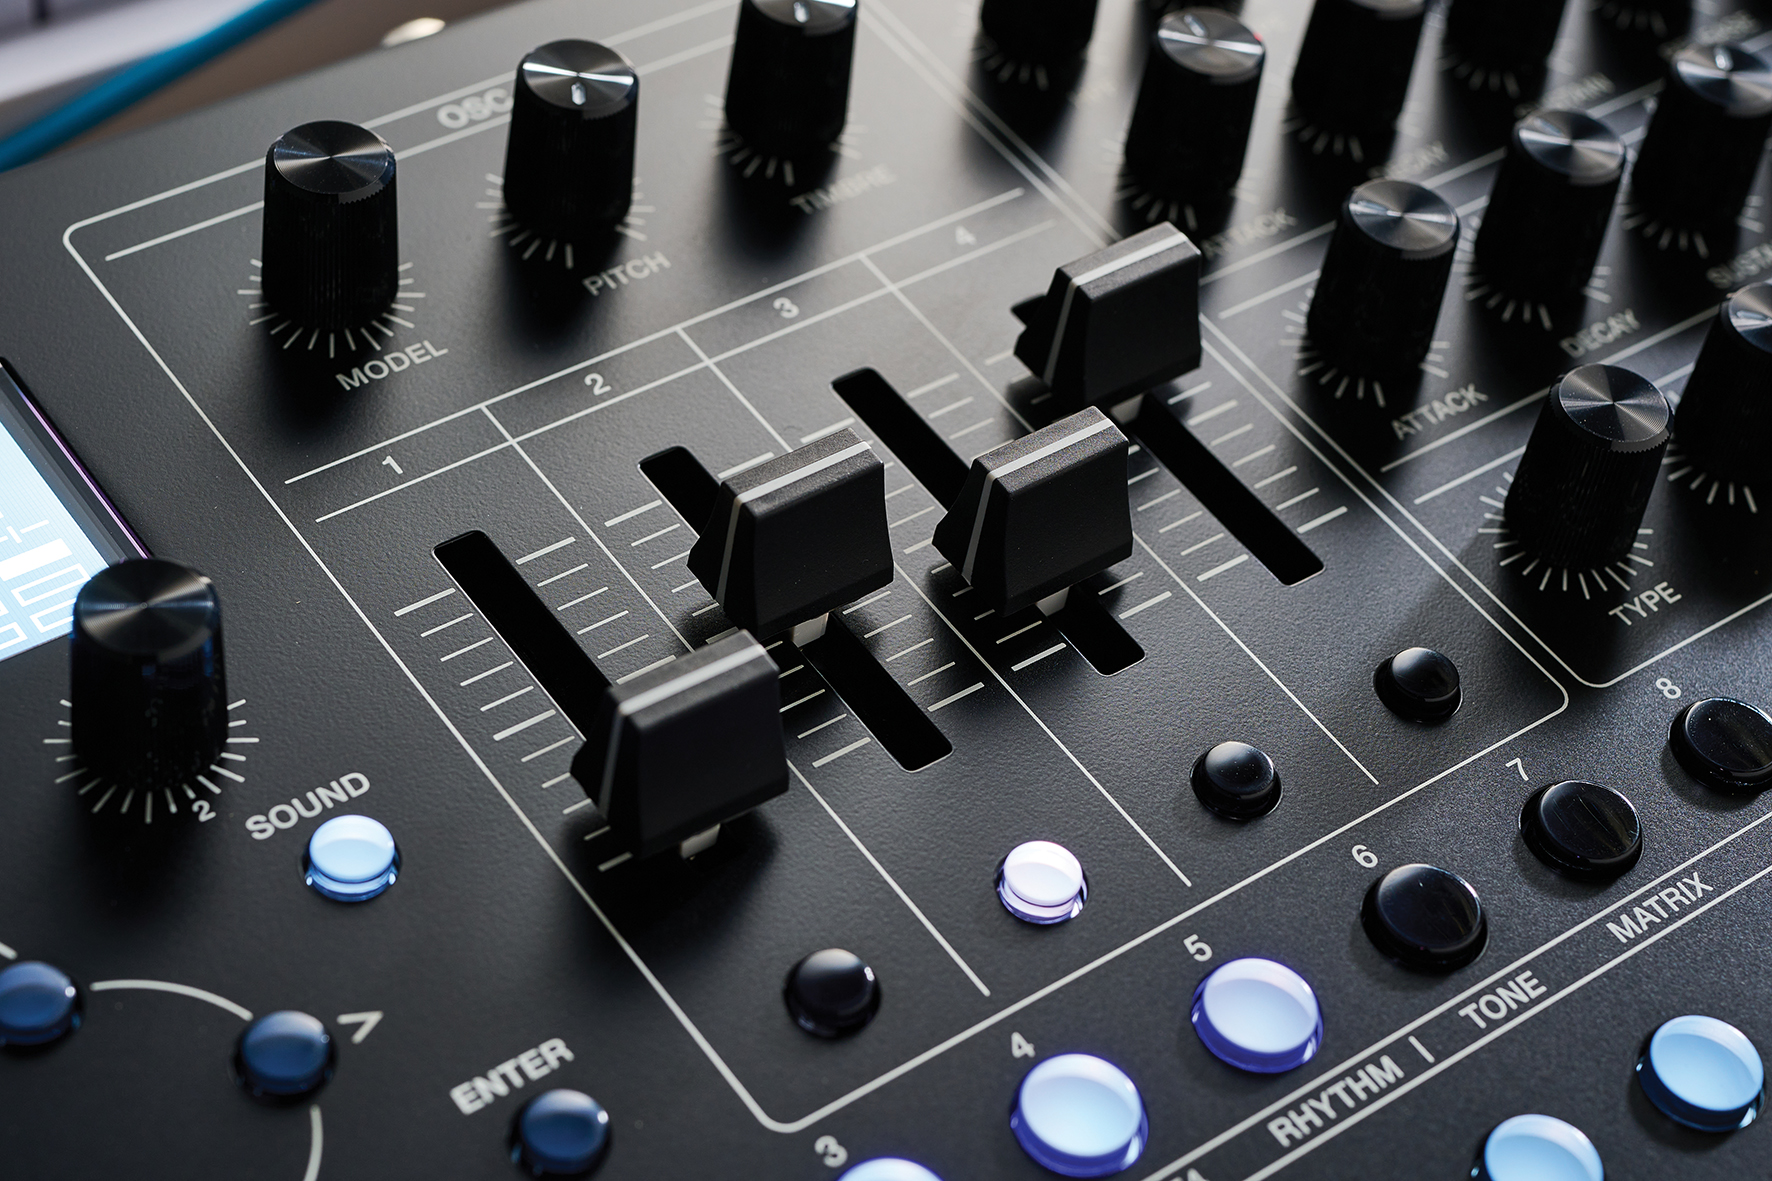
The keyboard buttons also act as individual mute buttons for each drum sound in the rhythm kit, making it very easy to drop out the kick for those classic buildups. Buttons 1-5 also act as mutes for each of the parts if flicking down a fader is too much trouble. You can adjust the send values for each track by navigating to the appropriate level fader with the up and down arrows and then adjust those values with the second knob directly below the screen.
Recording automation
The SH-4d can record automation by capturing knob movements and then playing them back with your pattern. Here’s how...
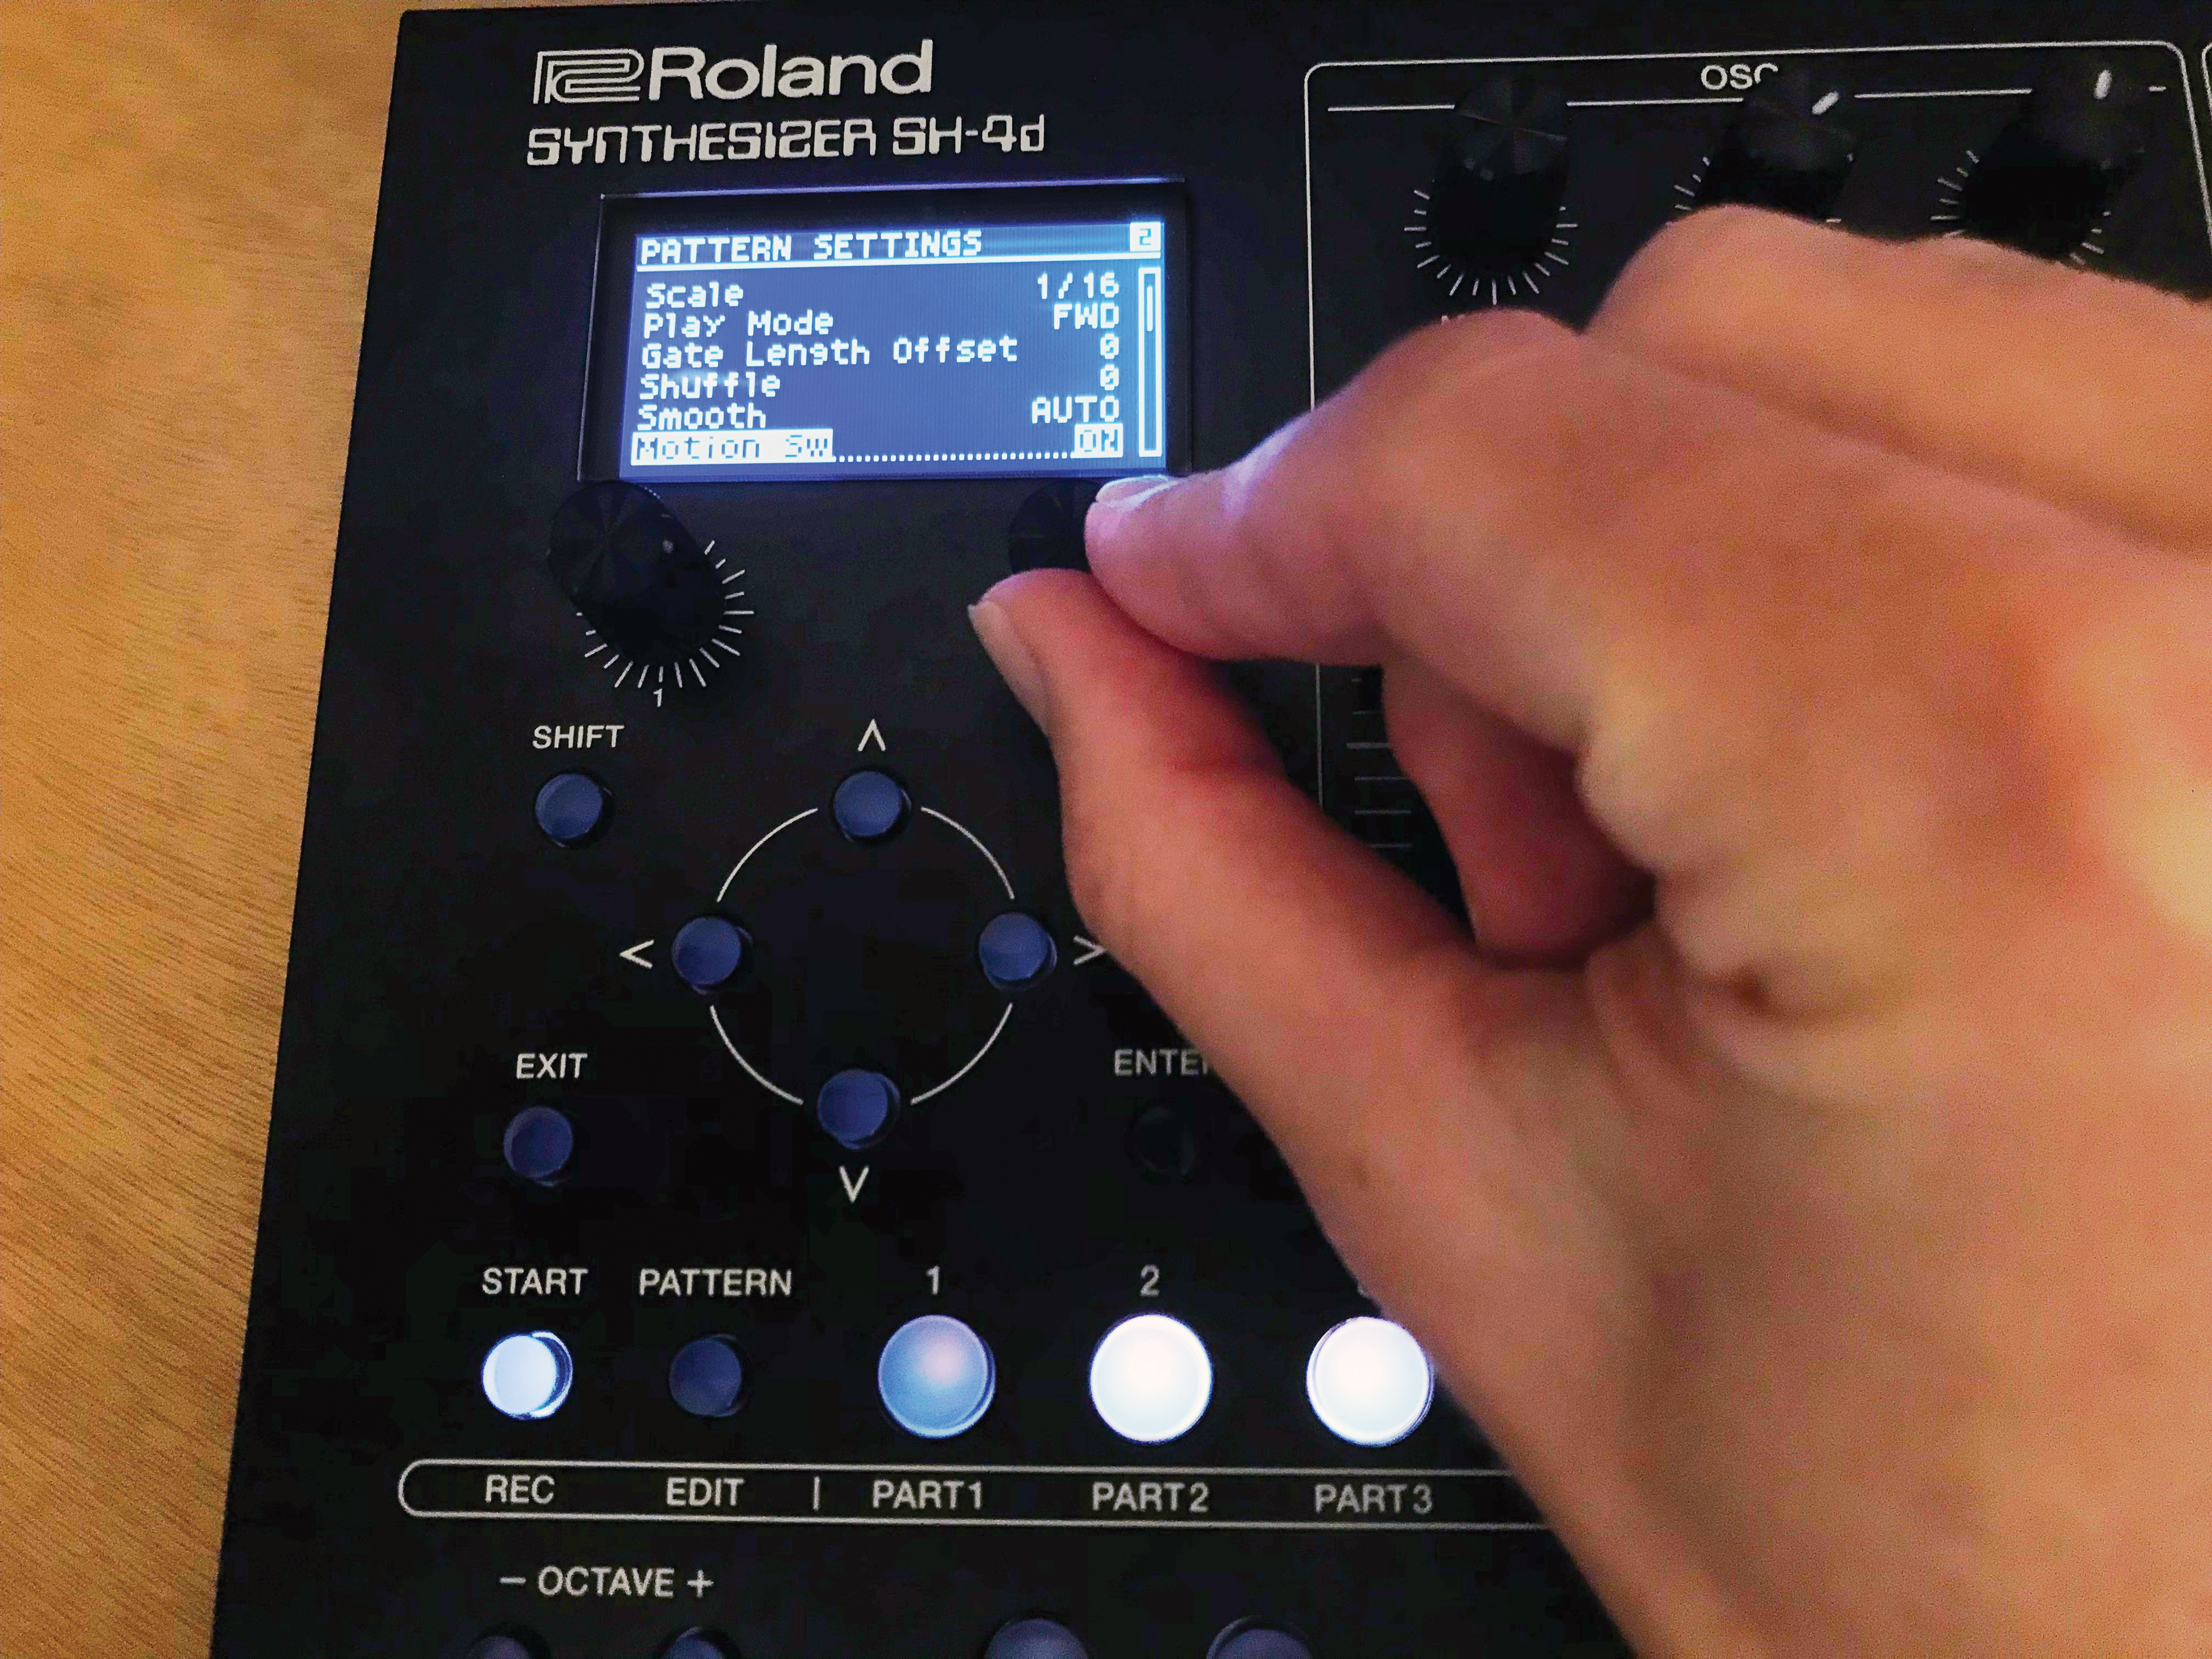
The first thing to do to ensure your knob movements are recorded is to enable Motion Recording, which by default is turned off! In order to do this, go into the Pattern menu by pressing Shift and Pattern, and scroll down to the Motion Sw setting. Make sure this is set to On.
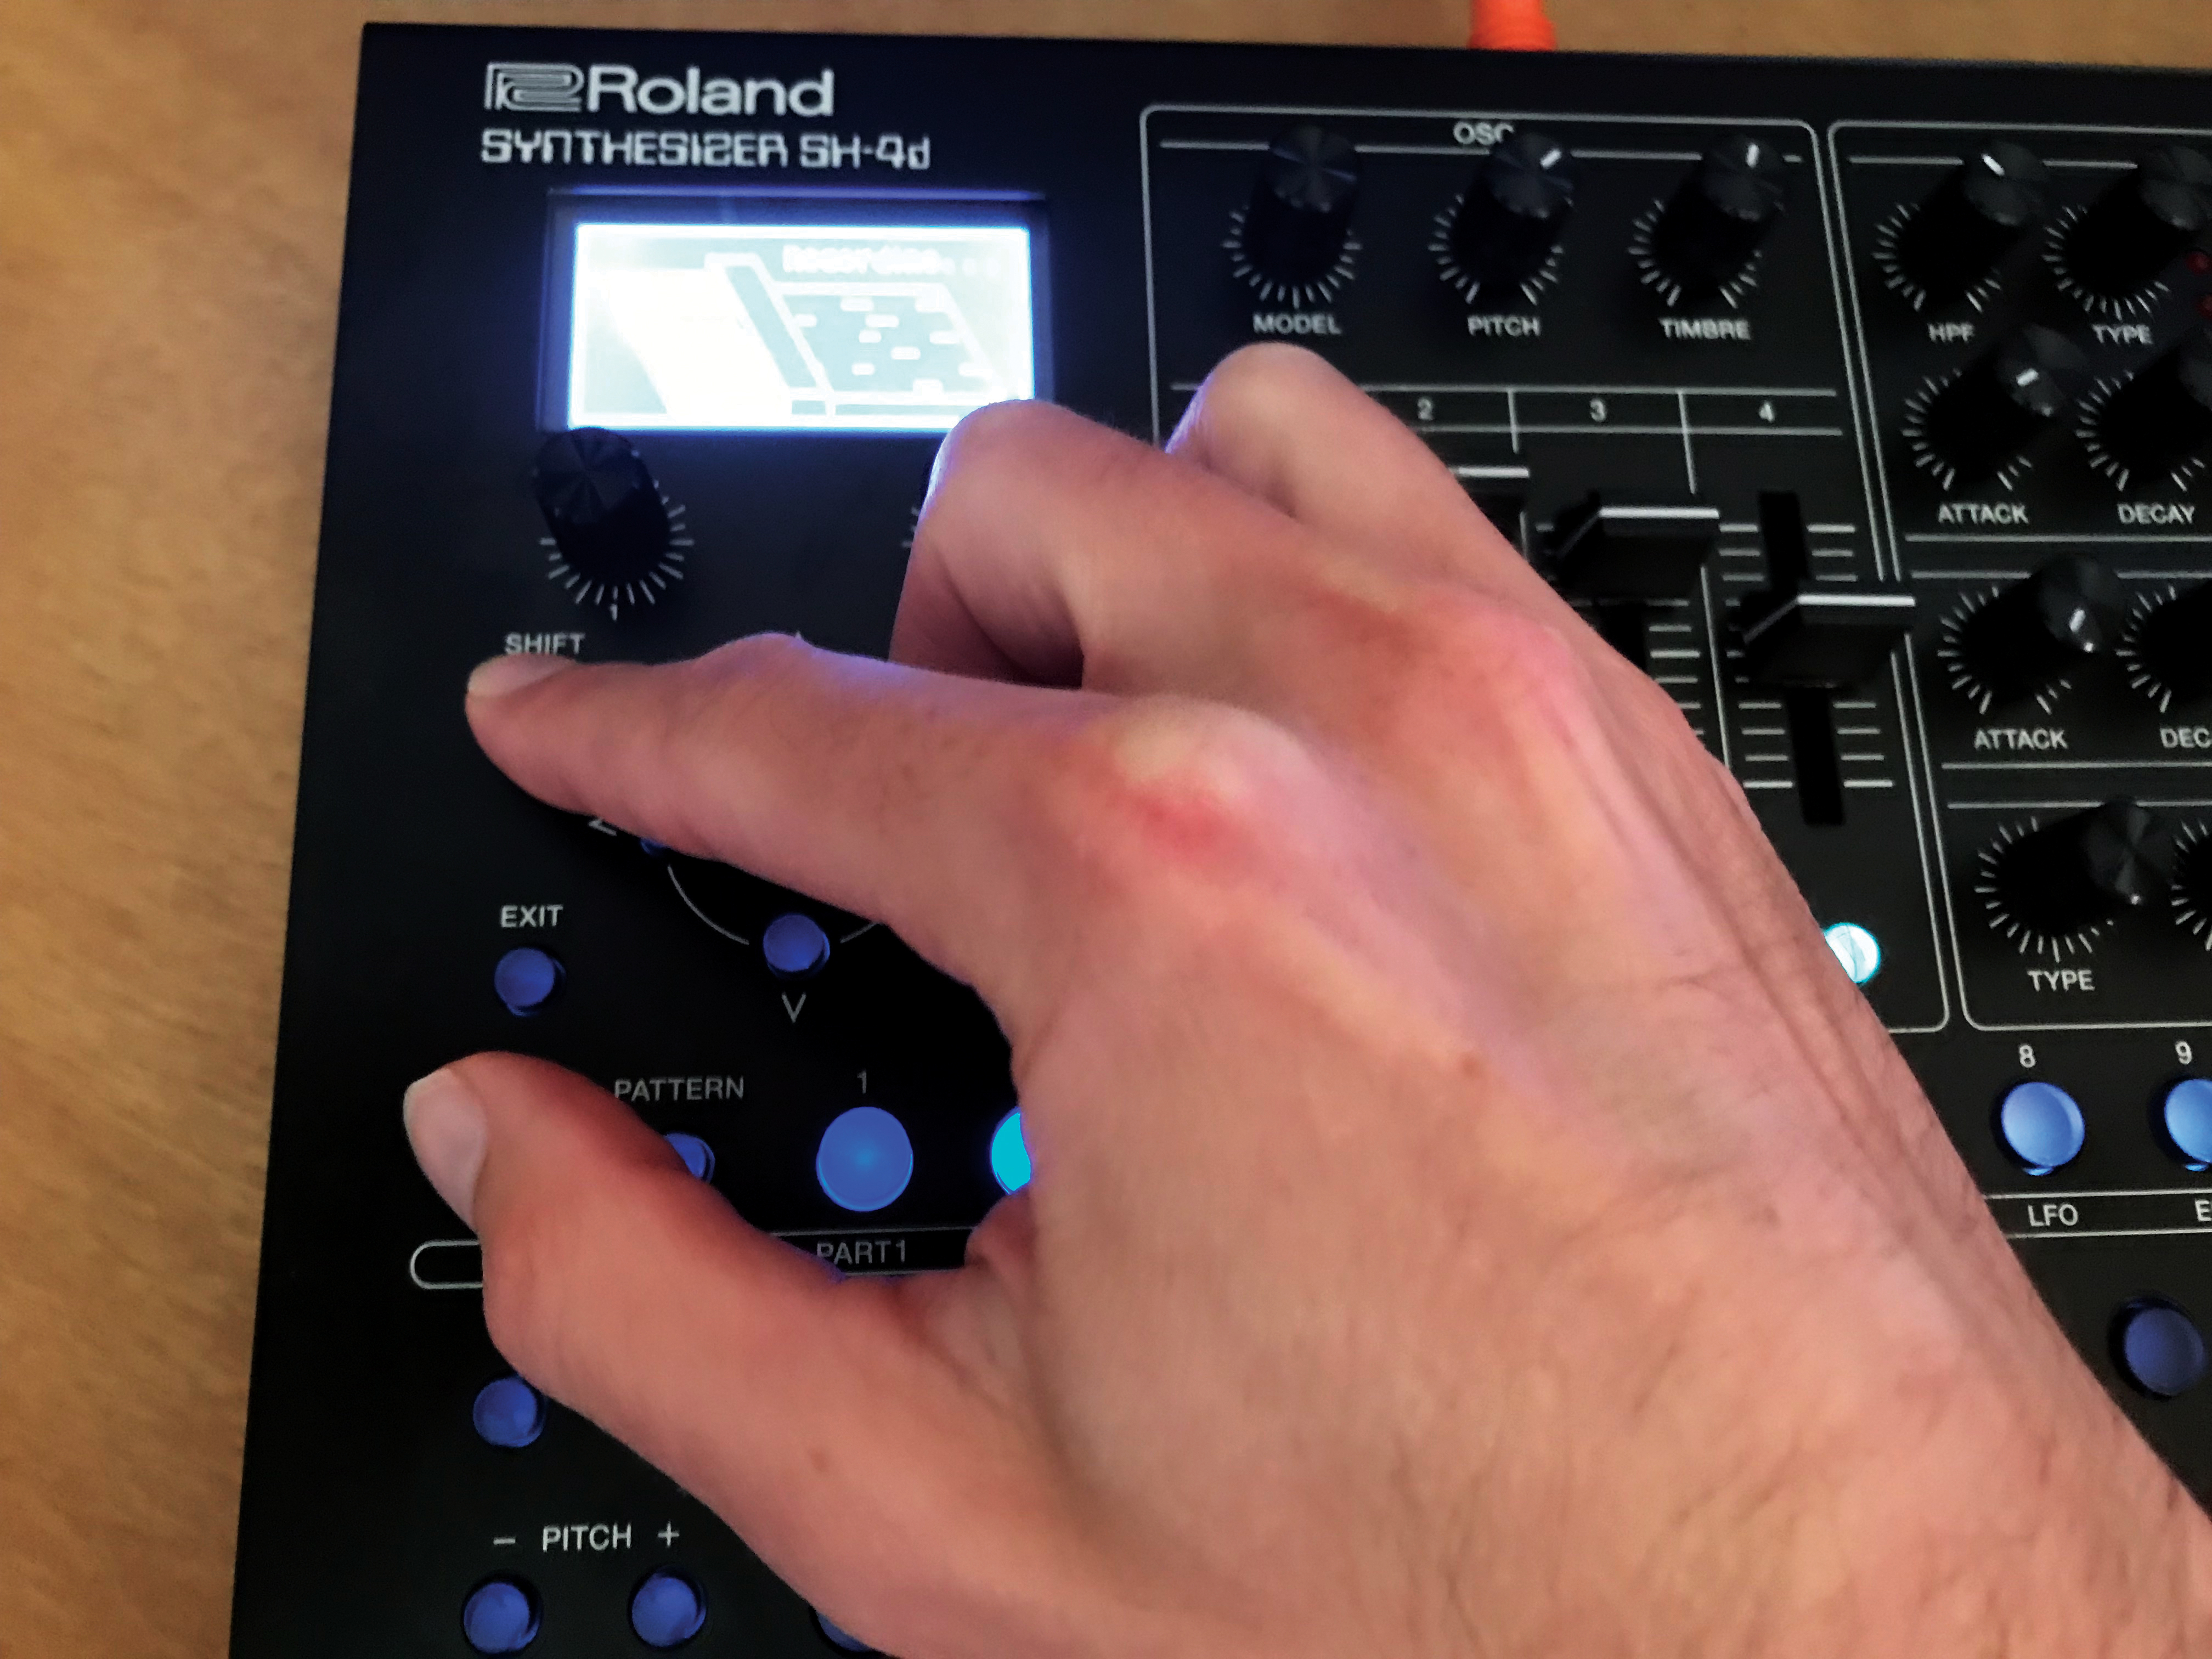
Starting the knob recording process is like recording notes into the sequencer: press Shift and Start and you’ll see the recording dialogue box again. Any knob movements you make in record mode are added to your sequence, with a few exceptions.
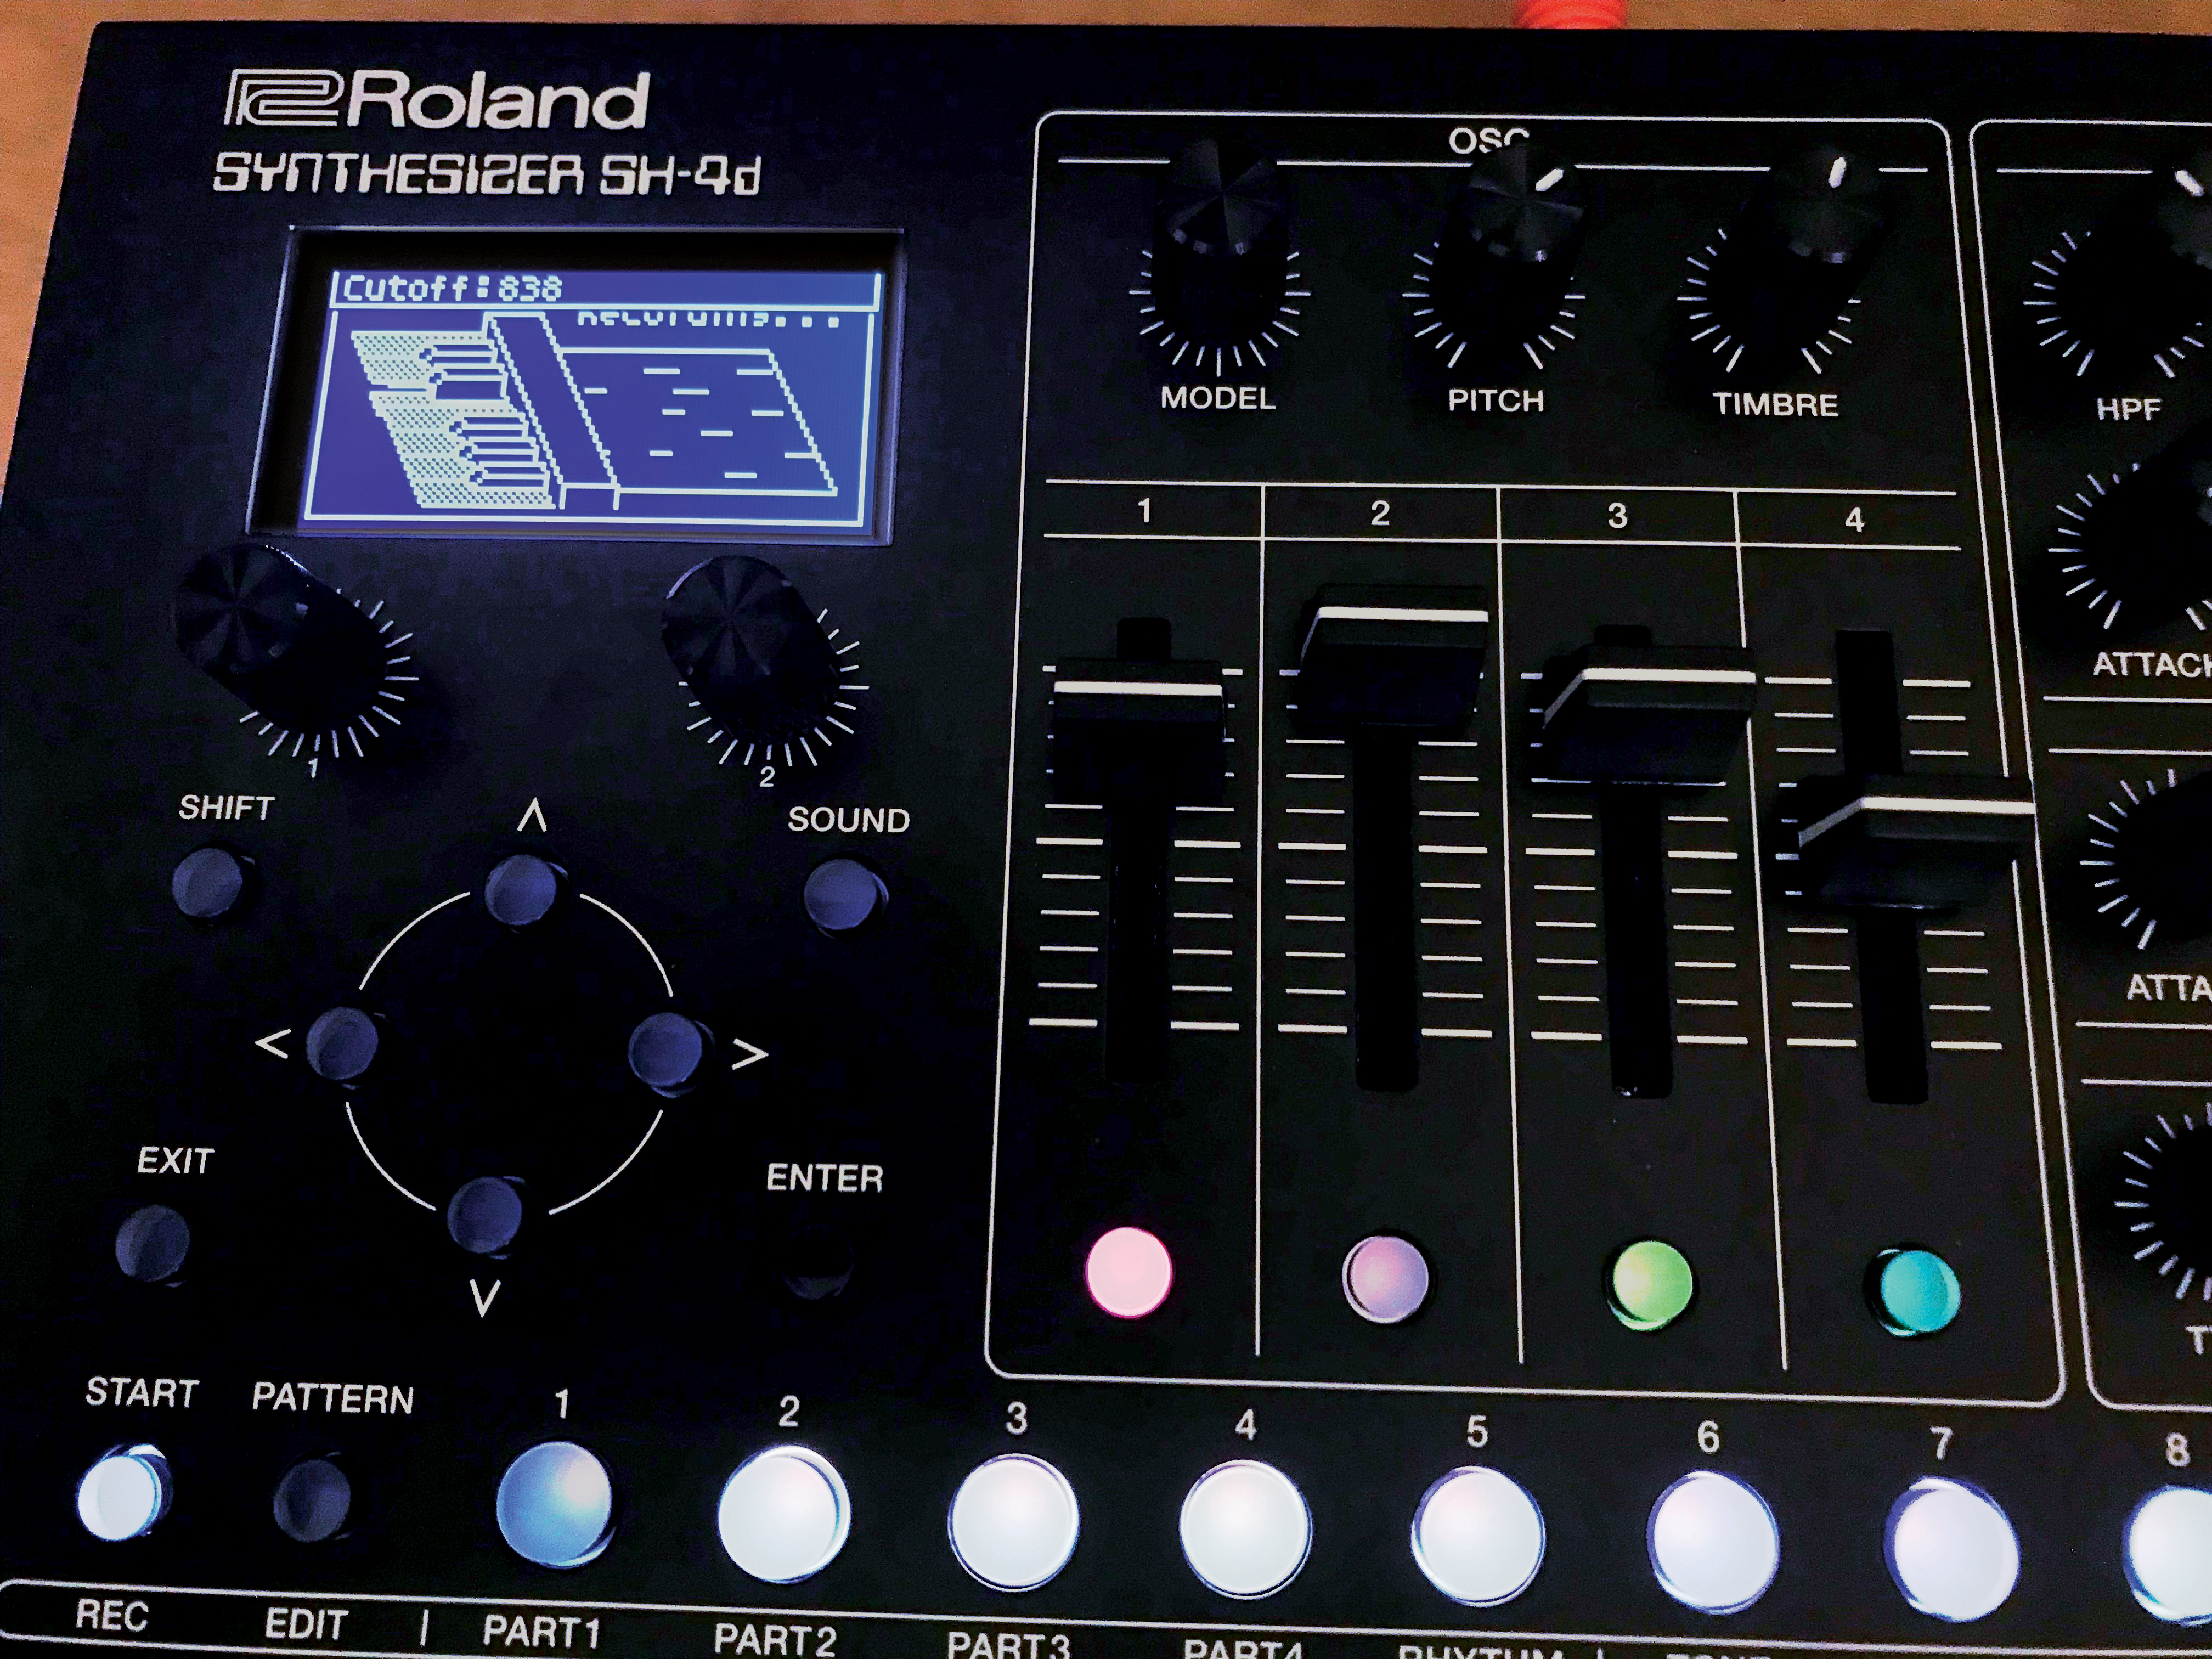
Unfortunately, at this moment in time, there’s a limit to four knob values per step. These can be edited from the same window as the gate and velocity values. Hold down a step button and then press the right arrow twice to access this page. Each parameter also has its corresponding MIDI CC value displayed as well, so you can easily direct external MIDI gear to these parameters as well.

You can copy the motion parameters saved per step and paste them on another step, speeding up the workflow for creating more intricate patterns. To do so, press Shift and Step 13 (labeled Copy below the step) and use the left knob to scroll so that Step is centre-screen.
Now, the top arrow button will copy the selected step, and the bottom arrow key will paste the previous step’s contents onto any selected steps. You can also do this with several steps at the same time by selecting Multi-step instead of Step.
7 quick Roland SH-4d tips
1. Minding your Ps and Qs
If you’re working on something that involves all five Parts and you’d like to make wide-scale changes, you’re in luck, as the SH-4d features a System EQ/Comp that is slightly hidden away within a menu but allows for a lot of sonic manipulation.
To access the System EQ and compressor, press Shift and Step Button 16 (labeled Menu below). Scroll down to System EQ/Comp and press Enter. By default, both the EQ and compressor are turned off, so you’ll need to switch them on before you begin to hear their effect in action. The EQ is a full five-band design, with high and low shelves and three mid bands with adjustable frequency and Q settings, so there’s plenty to work with.
2. Sequence and ye shall find
While the SH-4d isn’t advertised as a groovebox per se, the built-in sequencer is still very powerful and flexible, as have been most of the recent groovebox offerings by Roland. Each part has its own sequencer including the rhythm section, and each part’s sequence can be its own length, up to 64 steps.
There are several choices for playback direction, including forward, reverse, forward and reverse, inverse and random, so creating evolving sequences using only a few of the parts is quite easy. It’s also possible to go deeper in each sequence and adjust the gate, probability and velocity values per step to really fine-tune your patterns.
3. Shortcuts to success
Holding down the Page/Tie button holds two hidden shortcuts. Normally, pressing the Page/Tie button moves you to the next grouping of 16 steps in your pattern. This can be seen visually at the top of the screen when you press the Page button, represented as four blocks.
However, you can turn knob 1 while the Page/Tie button is held down to adjust the current part’s Pattern Step length. Turning knob 2 while holding down the Page button changes the pattern playback mode. Both of these shortcuts can be used to add some nice live variations to your pattern while jamming.
4. Outs and about
Although there’s only a stereo output pair on the SH-4d’s rear, it’s capable of outputting each of its tracks individually via audio over USB. To do this, you’ll need to download Roland’s dedicated SH-4d driver, at which point you’ll see the SH-4d show up as a 12-input/2-output audio device in your DAW. The main stereo outs are on output 1/2, Part 1 is on output 3/4, Part 2 is on output 5/6 and so on.
It’s worth noting that the multi effects are only present on the main stereo output, although each part’s built-in effects are part of that track’s signal path. You can record all 12 tracks at once if you’d like to capture both the wet and dry portions of the signal, which is quite useful if you’re keen on using your own plugins for reverb and delay.
5. More shortcuts, more success
Pressing shift and the Arpeggio button goes to the Configure Arpeggio window. In general using the shift button in conjunction with another function button opens up a deeper window for further manipulation. You can also long press buttons like the reverb, chorus, and delay in order to open menus for any of those settings.
6. Now that's good value
While the SH-4d doesn’t have endless encoders, you can hold the Exit button and turn a knob to see its current value. This is very handy when switching between parts and the knob positions might not line up with where the patch memory positions are.
7. Wipe the slate clean
While it might seem like the SH-4d is loaded with preset patterns and sounds, it’s very easy to start from an Init patch and pattern. To do so, simply press shift and Step button 10 while on the Pattern page to start with a clean pattern, and repeat the same procedure while on a Tone page to start with an Init tone.


“Excels at unique modulated timbres, atonal drones and microtonal sequences that reinvent themselves each time you dare to touch the synth”: Soma Laboratories Lyra-4 review
e-instruments’ Slower is the laidback software instrument that could put your music on the fast track to success


