
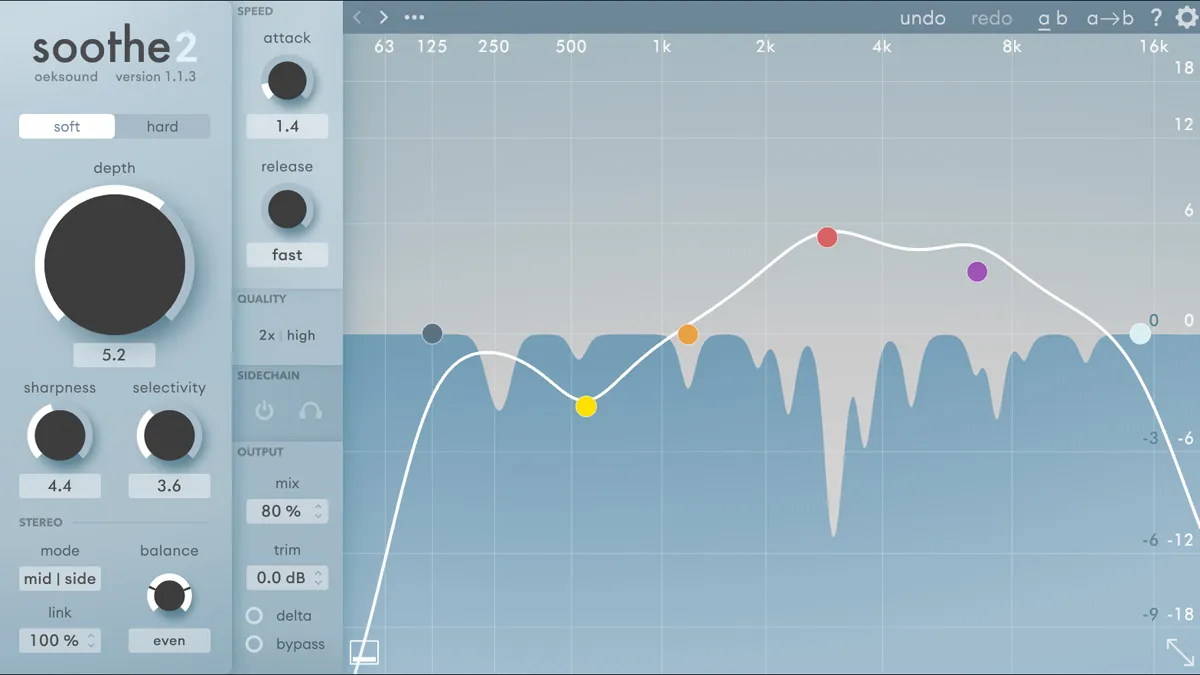
EQs come in all shapes and sizes, but the basic concepts are the same: take a signal with one distribution of frequencies, and output a signal with boosted or cut energy at certain points in the spectrum. While every piece of analogue equipment has the potential to do this as a side effect, early analogue EQ units used passive gain reduction circuitry then boosted band output using tube amplification. The sound had tons of personality.
Early EQ units like the Pultec are often unintuitive to modern producers, but the standard ‘parametric’ workflow got going later with units like the GML 8200 (which we’ll discuss later), establishing the “bands with Frequency, Gain and Q” workflow that was the established standard with hardware equalisers. As this workflow evolved, so did the quality of results, as hardware EQs became much more transparent in what they did to the signal.
EQs also got built into mixing consoles, nailing down workflow and results even more, with tonal sculpting and shaping available on every channel. With the advent of the digital EQ, there wasn’t much ground to cover in terms of sound quality – a basic digital EQ will sound like any other basic digital EQ, but simulating the sonic experience of analogue EQs and innovating linear-phase EQs would be a trend for later.
Article continues belowMost early innovation in digital EQs, though, was in their user experience. How quickly could the user create a band at the place they needed it to be? What assistive features would be available? How easily could a band be visualised, auditioned and changed?
As analogue effects became more popular and viable, EQ history was dug up and emulated, with the personality of older units being brought to modern mixes. Techniques like the “Pultec low end trick” may be simple to set up on a digital EQ using a resonant shelf filter, but having the authentic unit in a DAW still meant something.

So what are the new breed of EQs being released today? A mixture of directions is evident in 2024’s EQ plugins. We see analogue EQs continue to get better and more artisanal, but there are also new innovations and whole categories of plugin being forged or merged with other tools. Unmasking plugins are one new innovation, solving a problem that was previously busted with an EQ, but by more automatic means.
Another new direction is in the musicality of EQ with Scaler EQ offering ‘harmonic’ bands that can boost frequencies in your scale only. Beyond that, incremental developments continue to take place at the forefront of EQ tech.
In this article, we’ll show you the state of the EQ art, and show you how to go about using today’s newfangled equalisers.
Mid/side and left/right EQ with Pro-Q 3

Let’s use Pro-Q 3 to demo the potential of left/right and mid/side EQ. A stereo piano works well, as the low and high frequencies are already somewhat divided left to right. Load a project with a stereo piano track and open Pro-Q 3.

Exaggerate the low/high split of the piano by boosting high frequencies on the right and the lows on the left. Create an additive EQ band around 250Hz and another at 4,000Hz. Then, set the 250Hz to left and the 4,000Hz to right.

Use mid/side EQ to control frequencies differently. We can spread high frequencies, say, across the sides of the stereo field and put low frequencies midway. Simply change your 4,000Hz band to Side, and 250Hz to Mid.

Fine-tune bands for a balanced mid/side spread. Do this by adding further subtractive and additive bands in relevant Hz ranges (e.g. placing a mid cut at 4,000Hz). Combine mid/side and left/right bands for total balance.

Further fine-tune any band by making it dynamic. Let’s use this technique to make the highs of our piano sparkle by adding a new side band at the 4,000-5,000Hz. Then, set the Dynamic Range knob to +5.00dB.

Here the boost is only applied when frequencies in that band trigger past default threshold. To open the threshold control and change the intensity, clicking the Auto tab. Use dynamic EQing to attenuate frequency bands too.
Neutron 4’s unmasking

To see Neutron 4’s unmasking capabilities in action, we’ll have to first import a couple of tracks occupying the same frequency space. If you’re struggling to find two competing tracks, a pair of same-octave strings can do the trick.

Once you’ve imported two similar-frequency tracks, you can open Neutron 4 on the more dominant. The track you open it on is the one ducking according to the input of the other. Use sidechaining for this.

Next, set the sidechain input on Neutron 4 as the signal from the secondary track (the one that’s clashing). Each DAW is different for this. On Logic Pro, click the top-right Sidechain drop-down and select your track.

You’ll find an Amount, Sensitivity, Attack and Release control. Amount controls the overall effect mix. Attack and Release determine the speed the effect activates/deactivates. Sensitivity controls the effect’s intensity.
Sonible’s pure:unmask

Sonible’s pure:unmask is an ideal unmasking solution with a simple setup. First, take two tracks competing for one frequency space. Then, open pure:unmask on the track you want to duck when the other one triggers.

Next, you’ll need to route the sidechain input from the secondary track. In Logic Pro, do this by accessing the Sidechain drop-down in the top right of the plugin window and selecting the secondary track.

You can then hit the record button whilst playback is active and pure:unmask will analyse the incoming signal. Once done, the unmasking is active. Unmasking controls the intensity and Speed controls the attack.
Masking busters
Thanks to modern tech, we no longer have to just mix two similar-frequency elements in a song. Instead, we can resort to the much faster method of unmasking, using a purpose-built plugin.
Unmasking is a simplified process of gelling tracks together that are competing for space. Essentially, if you have two instruments occupying a range you’d once need to automate an attenuative EQ on one to make space for the other. If not, you’d have lots of audible clashing.
With unmasking, we can sidechain one track to another and make it so that the primary one ducks at the problem frequency range each time the secondary track triggers, making room for both elements within a single mix. A real timesaver!
Exploring Kirchhoff EQ’s capable feature set

Kirchhoff EQ attempts to innovate further by providing us even more functionality than Pro-Q 3. It does this by including comprehensive controls and numerous filter types, some based on vintage analogue hardware.
Although it technically does include more features than Pro-Q 3, like its Attack and Release dynamic band controls, the GUI is not as intuitive and can become hard to read when resized across higher resolution screens.
It’s certainly handy to have such an extensive, diverse set of EQ tools available within one plugin, however, if you’re a seasoned engineer, you likely already have go-to EQs for specific purposes within your effects chain and are familiar with the unique audio colouration of each of your favourites. Either way, it could be worth jumping into Kirchhoff EQ and comparing the different filter types to see just what additional choices this plugin provides.
The diverse filters and additional controls do allow for more customisation overall and that means that the developers of Kirchhoff EQ successfully achieved what they set out to do: build a comprehensive, all-in-one EQ plugin that could compete with the likes of the widely revered, most popular and industry-favourite FabFilter Pro-Q 3. Let’s take a look and a listen…
Exploring the many filters of Kirchhoff EQ

You’ll be greeted with an eerily familiar interface, but it won’t be long before you identify additional features. Start by placing a band at the 3kHz mark. One method is to double-click the yellow line, then enter ‘3000.0’ into the Frequency dial.

We can then set the filter type to a high shelf using the vintage British N model. Click the Filter dropdown, find the collapsible British N option, and BritN HS. You’ll see there is a high shelf option for many filter models in the menu.

We can apply a boost to our high shelf by increasing Gain. Test different high shelf models here to see how each changes the colour. Add further filters by clicking the bottom left three lines and clicking the blank space.

Kirchhoff EQ has advanced stereo and dynamic controls. Make a band dynamic by enabling the toggleable D button. If you haven’t already, place a new band anywhere and toggle its dynamic setting on.

We can also change a band’s stereo placement. Select Mid Side or Left Right accordingly, and then, unlike other EQ with stereo controls, you can set your band’s placement in the stereo field across a range of 200, for precision.

One last feature is its Variable Slopes Filters. Most EQs allow for a Q (bandwidth) control per band, however, Kirchhoff goes further, allowing for most filter models (not all) to have a Slope control as well.
Scaler EQ’s musical EQ bands and magic shelves

We can use Scaler EQ’s harmonic bands to boost frequencies within a specific key and attenuate any that are outside of it. This offers a unique, theory-friendly approach to EQing unlike others. First choose a sample loop in any desired key and import it into your DAW.

Load an instance of Scaler EQ to your sample’s track, and match the key to your sample’s key. Do this by clicking the A Min / C Maj (by default) drop-down menu and selecting the corresponding key. Or click Detect Key and play your sample to auto-detect the key.

Now when we place a boosting band in our visual EQ spectrum, we see that it only applies the boost to harmonics in the scale we’ve selected. Then if you apply an attenuation band, it automatically only reduces harmonics outside the selected scale.

You can change band type from Harmonic Peak to Harmonic Peak +/-. This ensures that any cut/boost band you apply automatically introduces a boost/cut to opposite harmonics in the same band space, shown by a visual display.

Use the top menu (containing note lettering from C to B) to manually enable or disable keys within/outside of a scale. This can be useful if you want to target specific harmonic frequencies within a specific triad chord, or at any significant musical interval.

Due to Scaler EQ working slightly differently to most EQs, there are atypical elements. For example, the Window Width knob lets you set your bandwidth based on octave. The Range knob widens the width per harmonic, determining how tight each one is. Have a play!

The last thing to mention about Scaler EQ’s harmonic bands is the Scale Lock Mode settings. With these, you can disable/enable the In Scale lock, as well as flip harmonics. This lets any attenuating bands target in-key Hz and boosting bands vice versa.

The other key unique feature of Scaler EQ that sets it aside from other EQs is its magic shelves. When selecting band type from the menu, you’ll see you can select Magic Low Shelf or Magic High Shelf from the options. Go ahead and add one of each to your EQ now.

The magic shelves are different to the standard shelves in that they affect both the mids and sides of the stereo field differently. You’ll see two visual colourations of blue on the magic shelves. The lighter blue represents the mid and the darker blue represents the sides.
Modern waves in analogue EQs

With analogue-style EQ in the digital realm, there are some inherent benefits over hardware control: automation, preset saving and multiple instantiations are some of the obvious advantages of analogue-style EQ plugins.
But there’s room for other innovations even in the world of analogue EQ plugins: customisation of distortion circuitry, dynamic operation, and extending the behaviour of their subject’s analogue quirks are all possible here. Pulsar Audio’s 8200 even adds a de-esser/de-harsher into the deal, giving you the signal smoothing qualities that some modern plugins can achieve, only with analogue-style operation.
Pulsar 8200, the EQ with a de-esser onboard

The Pulsar 8200 is an analogue emulation EQ, suitable for adding cohesion and character to any track compared to typical digital EQs. Let’s show this with a drum loop and the de-esser, so take a loop with lots of high end content.

Open the 8200 on a drum track. Identify fundamental frequencies and apply a slight boost (+2-5dB) at the corresponding points. Aim for the main thud of the kick and snare. Usually 60Hz for the kick, 200-300Hz for the snare.

You’ll hear a punch on your kick and snare. Now, let’s engage the 8200’s secret weapon: the de-esser. This tames the cymbals and hats. Use the de-esser Freq knob to specify the Hz and Amount knob to enable the effect.

Once you’ve set your Freq and Amount knobs, you can hear the de-esser at work, and see a visual representation of the affected frequencies in red. Try out different Freq and Amount combos to shape your drums.
3 of the best...
1. Sonible smart:EQ 4

This EQ merges AI with music production. In fact, Smart:EQ 4 is just one of many plugins from Sonible’s Smart range and it works a treat at autonomously applying an EQ curve to any specified instrument based on its presets
£65 from Sonible
2. Universal Audio Pultec Passive EQ Collection

We can’t have an EQ feature without mentioning the legendary Pultecs. The warmth and character they bring to your tracks is unrivalled in its field
£149 from Universal Audio
3. Waves API 550

The API 550A and 550B are two monumental EQ strips, introduced in the late ’60s. Waves teamed up with API to create a pair of faithful digital emulations
$35.99 from Waves
