How to upgrade your guitar by fitting new locking tuners
Upgrading your guitar yourself will not only save you money, it's also a fun way to get to know how it really works
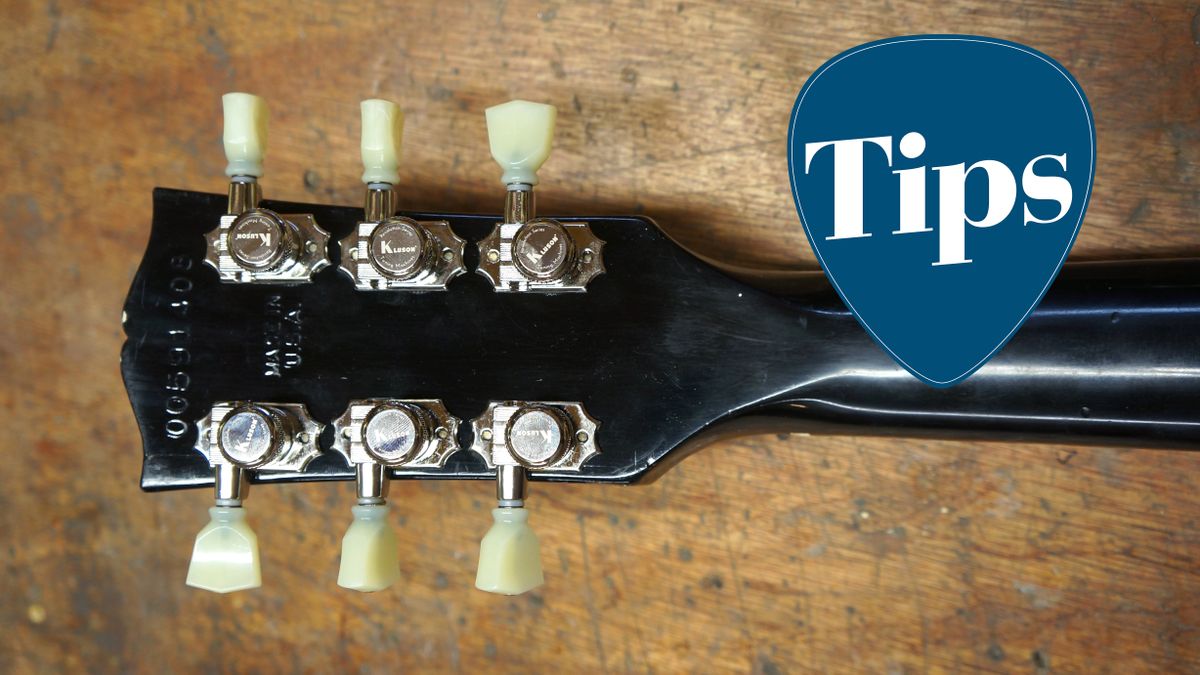
Being able to do your own guitar maintenance doesn't just save you money, it's also a great way to understand how the different features of an electric guitar affect its tone and playability.
We’ve teamed up with Jack Ellis from Manchester's Jack’s Instrument Services to come up with a guide to fitting new locking tuners for your guitar…
Why bother?
Why change to locking tuners? Locking tuners can improve tuning stability as they actually clamp-lock the string down at the tuner, this helps folks who struggle to wind neatly and consistently. There’s a more critical advantage that’s sometimes overlooked; with a locking tuner you can afford less wraps round the tuner - less wraps means less spare string hanging around which is a source of string slippage.

The Floyd Rose system (tremolo and locking nut) take this principle to the extreme by eliminating everything but the playing area of the string – there’s no spare string behind the nut or behind the saddle as they’re locked off. Needless to say, if you have a locking nut you don’t need locking tuners!
The Kluson locking tuners Jack will be fitting here are a direct drop in, meaning no extra drill holes are required and they are close looking to the originals - winner!
We’re also covering a mini repair that needs to be done to make sure these tuners fasten correctly to the headstock. After all, what good are locking tuners if they’re poorly fastened?
The right tools for the job
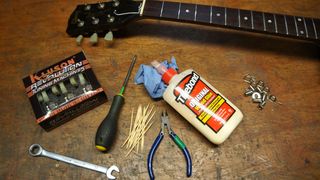
- You will need:
- Set of new tuners
- PH1 PZ1 Screw drivers
- Bradawl (pokey thing for marking drill holes!)
- Drill
- 2mm or 1.5mm drill bits
- Candle or bar of soap
- Wood glue
- Blue roll or damp cloth
- 10mm spanner
- Flush cutting wire cutter pliers
- Cocktail sticks
- Optional: light pin hammer
1. Remove the old tuners
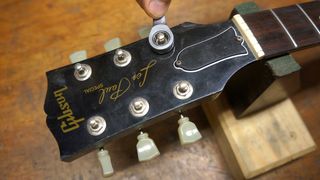
So let’s extract the old ones starting with the 10mm nuts on the headstock face. Be careful not to scratch the paint job of course (not that this Gibson here is brand new).
Get the MusicRadar Newsletter
Want all the hottest music and gear news, reviews, deals, features and more, direct to your inbox? Sign up here.
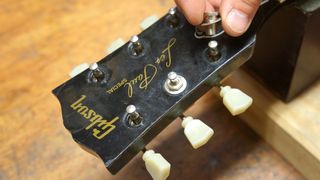
Pull out the specialist threaded ferrule / nut with its washer.
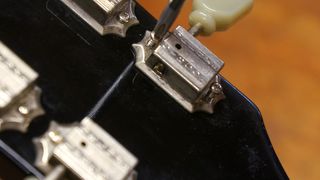
Next, audition a couple of screwdrivers to find the best fit for your screw head types, ours was a Philips PH1 size but you may find that a Pozidrive works best. Try and see which grabs the best - that’s the answer for you.
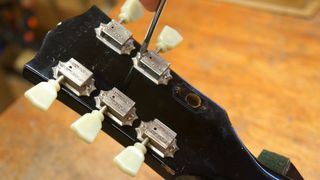
Unscrew the 12 mini screws.
If your old tuner bushings are being stubborn at this point, check out Billy Penn's great tip above for removing them. Remember to follow Billy's advice and take it slowly – slow and steady wins the race when it comes to guitar maintenance work.
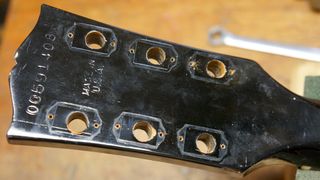
Here’s what we’re left with, a fairly beat up blank headstock rear. You can see the lovely orangey colour of the Mahogany timber used to make the neck typical of Gibsons. However we also have quite a bit of wear to the screw holes.
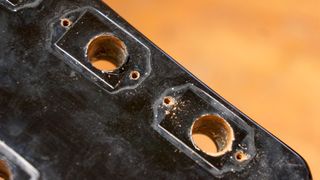
2. Tidy up your timber
Mahogany although classed as a hardwood isn’t that, well, hard.. Over the years the old tuners have been bashed about a bit and the timber has taken the impact. We’ll repair the holes.
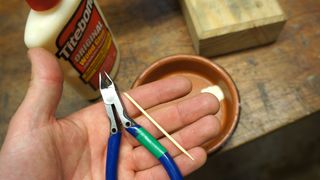
Let’s use a cocktail stick to repair each hole which will be glued in. Most cocktail sticks are bamboo, harder than match sticks and also the right shape so let’s use those.
Prepare some wood glue in a small pot and grab your flush cutting pliers.
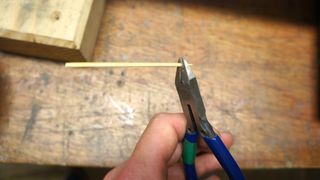
Nip off the spiky part which would be too thin for use.
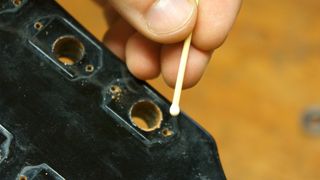
Dab the tip of your cocktail stick in the wood glue and feed it into the open hole, ensuring glue goes in the hole.
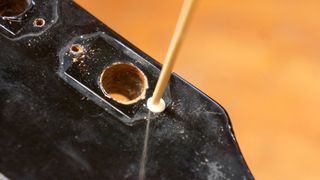
Push in the cocktail stick all the way, it helped us to trim it shorter and knock it in lightly with a soft faced hammer - emphasis on lightly!
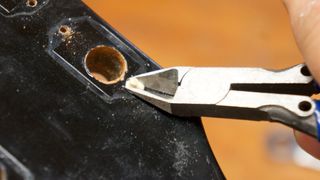
Wipe away excess glue and trim off the left-over stick with the flush cutting pliers. A damp cloth or damp blue roll will take away the excess wood glue with ease.
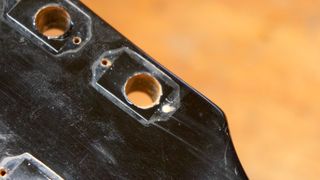
That’s what you should be left with, a nice glued in and filled in hole. Now repeat for the other 11 holes!
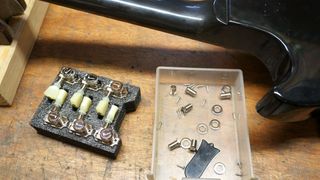
3. The installation stage
Right, we’re now at the start of the installation stage with those lovely shiny new tuners…
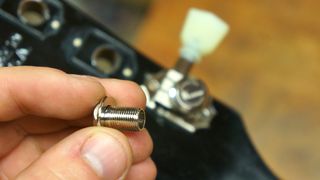
Have a look at the washers that have been supplied and check if there’s a nice side and a rough side to them, there’s often one designed to be the show face.
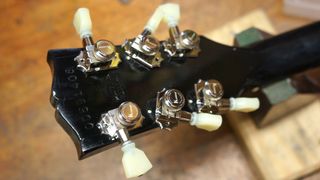
Load in the tuners and tighten on the ferrules and washers through the headstock. Just do them up finger tight for now.
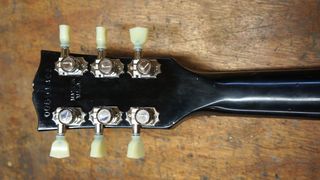
Line up the tuners and they should stay there while you prepare for the next stage.
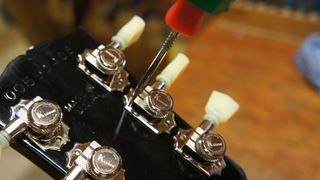
Using your bradawl, mark through the holes in dead-centre which will be the location for your mini screws. Take some time with this!
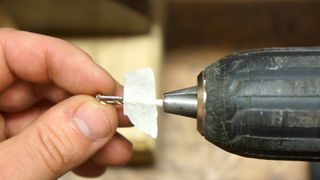
Let’s play smart and mark our depth for the drill holes – we absolutely don’t want to drill through the headstock face!
We used a 1.5mm drill bit based on the size of our new screws supplied with the new tuners. The screws were 2mm so we’ve under-sized a little so the screws have plenty of bite in the wood.
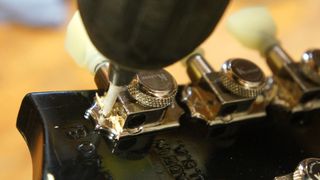
Let the guitar have it! Drill away into those bradawl holes you poked to the depth of your masking tape depth mark. Repeat x12
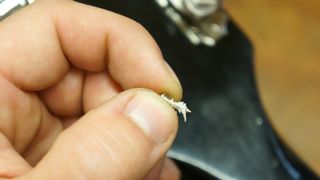
It’s time to get our mini screws ready, rub the threads on candle wax or a bar of soap, this will help the little fellas in.
We’re taking loads of precautions with these as the little screws are simply not that tough, especially compared with hardware store wood screws.
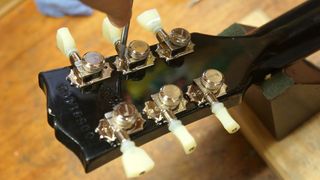
Use a screwdriver to install the screws, absolutely do not use a drill drive to install these! Again try out the PZ1 and PH2 drivers to see which fits best. You have a small amount of wiggle room here to fine tune the placement of the tuners.
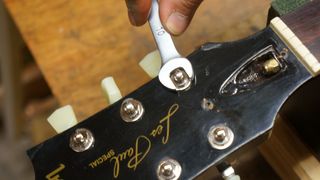
...And lock it up. Tighten up the 10mm ferrules on the face to seal the deal. Don’t go crazy as these can’t hold loads of pressure.
That’s it we’re here, tasty upgraded locking tuners installed and totally, properly fastened.
How to set up your guitar: a DIY guide to intonation, truss rod, bridge and fretboard maintenance
Jack runs an independent guitar setup and guitar repair service in Manchester, England. He serves the musicians of the Northwest of England, working on electric guitars, bass guitars, acoustic guitars and more. Jack has been writing the Fix Your Guitar column in Total Guitar Magazine since 2017.
“‘Would you like to tune your guitar?’ ‘Oh, no thanks, I’m trying to give up’”: The Tunerette is the healthy option for Clapton and Keef fans looking for that cigarette on the headstock look – and it tunes your guitar
"Offers a huge amount of options for all players of stringed instruments, and provides the highest accuracy available for any clip-on tuner": Peterson Stroboclip HDC review


