How we test audio interfaces
Everything you need to know about how the MusicRadar team tests audio interfaces for reviews and buyer's guides - our full methodology explained
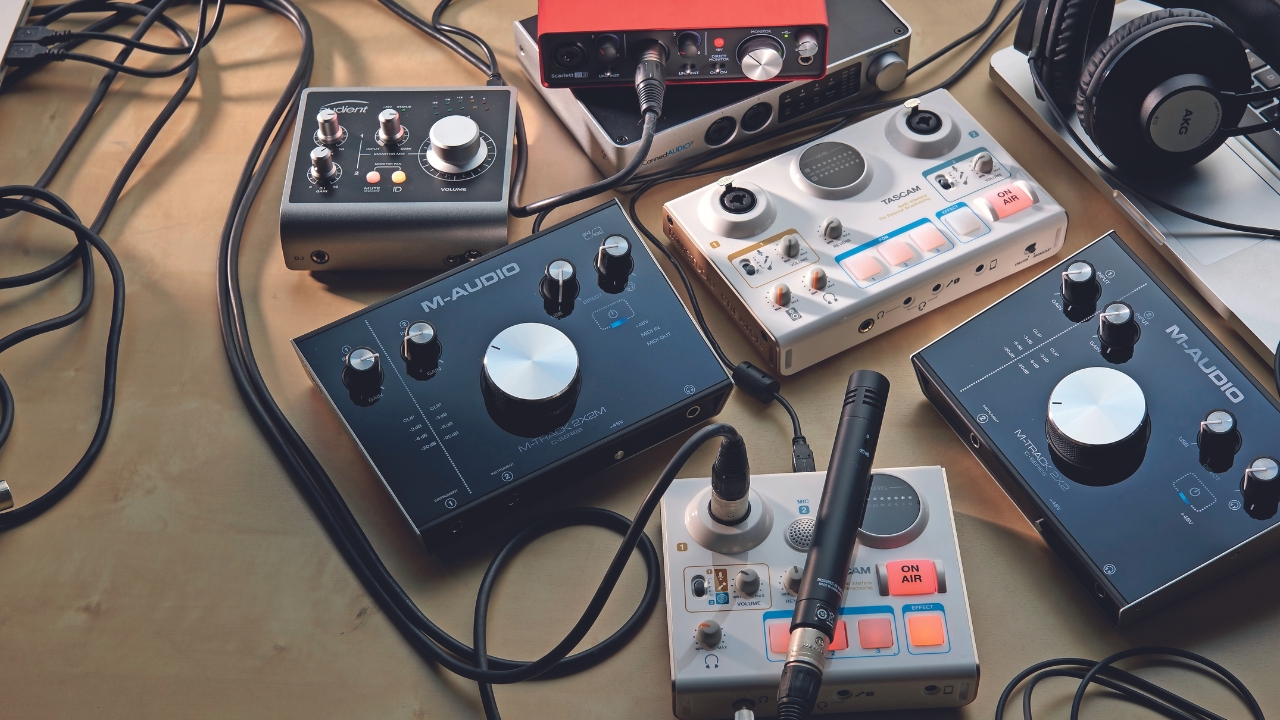
Audio interfaces have become ubiquitous with the creative musician, a critical component of the 21st century’s evolution in how music is made, and distributed, alongside the massive growth of music streaming. Nearly every musician can afford an interface nowadays, making it an essential part of the music-making lexicon. Nowadays, entire albums can now be created on a simple 2-channel audio interface.
Here at MusicRadar, our writing team has tested a huge variety and hundreds of audio interfaces over the last couple of decades, which act as a base for product selection in our buying guides. We use a rigorous process when conducting our reviews, carefully testing each product to ensure an accurate overview for the consumer as well as a direct comparison with others in the market.
How we choose products
All of our recommendations are made purely based on the product’s merit - nobody tells us what to say in a review, or what we should or shouldn’t review. All the content that goes into our tests is the expert view of the writer, who will have experience in the field and will have reviewed many other products in that category. We never take money for a review, operating independently of every manufacturer, and we’re never afraid to point out the flaws in a product.
We’re usually in direct contact with manufacturers who will send us a sample product for review, however, if we’re unable to source it this way, then we will buy it with our own money. When selecting products we rely on our own experience, discussions with other editorial staff, as well as experiences of others in our local music scene to determine which are the most popular or top-performing products that are worth reviewing.
We try to test every single product that we recommend personally, but of course, this isn’t always possible. You will find in most of our buying guides that we have tested a large portion of the products, which allows us to provide a useful recommendation in any instances where we haven't been able to get hands-on.
How we test
All of the audio interfaces we test must meet a certain barrier when it comes to quality, and we are always careful to test products thoroughly. Here are the aspects of an audio interface we'll examine during testing:
Features
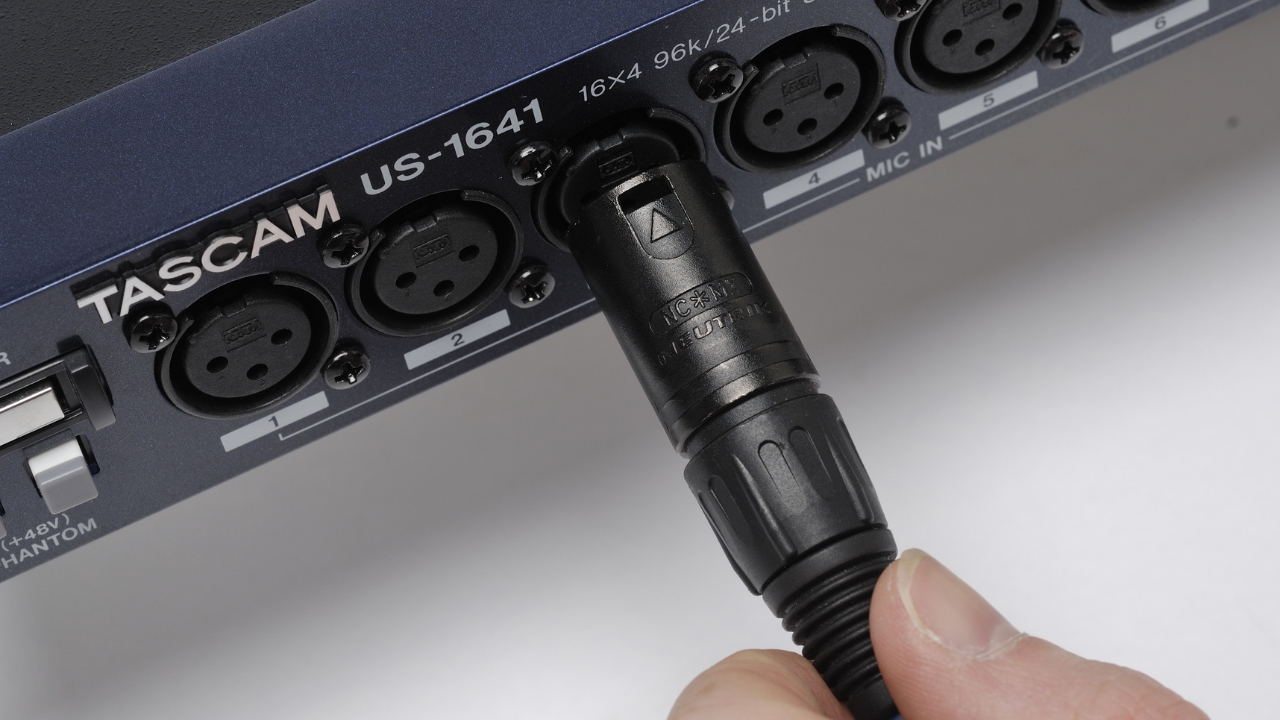
Our first step is to outline the features of the unit in question. We’ll look at connectivity, for example, the amount of ins and outs, alongside additional options like ADAT and MIDI, and more common components like headphone sockets and USB connections. Understanding the features of an audio interface tells us a lot about where it sits in the market, who its potential users will be, and where we might want to place it in our own buying guides.
Want all the hottest music and gear news, reviews, deals, features and more, direct to your inbox? Sign up here.
Features can also encompass simple things like the number of controls it has, whether or not it has phantom power, or if it comes with a USB or Thunderbolt cable in the box. What we glean from the features of a product fuels the rest of the review process, as it’ll need to meet different criteria depending on whether it’s designed for beginners recording at home or those working in professional studios.
We’ll also look to compare the features list to other similarly priced audio interfaces. We’re looking to see how it holds up to others, whether that’s a more established name or someone new to the industry. We’ll compare the amount and quality of preamps, gain range on the inputs and outputs, as well as the sample and bit rates. This will all be done through the lens of the price, as there’s not much point comparing a $2,000 interface with a $200 one.
Build quality
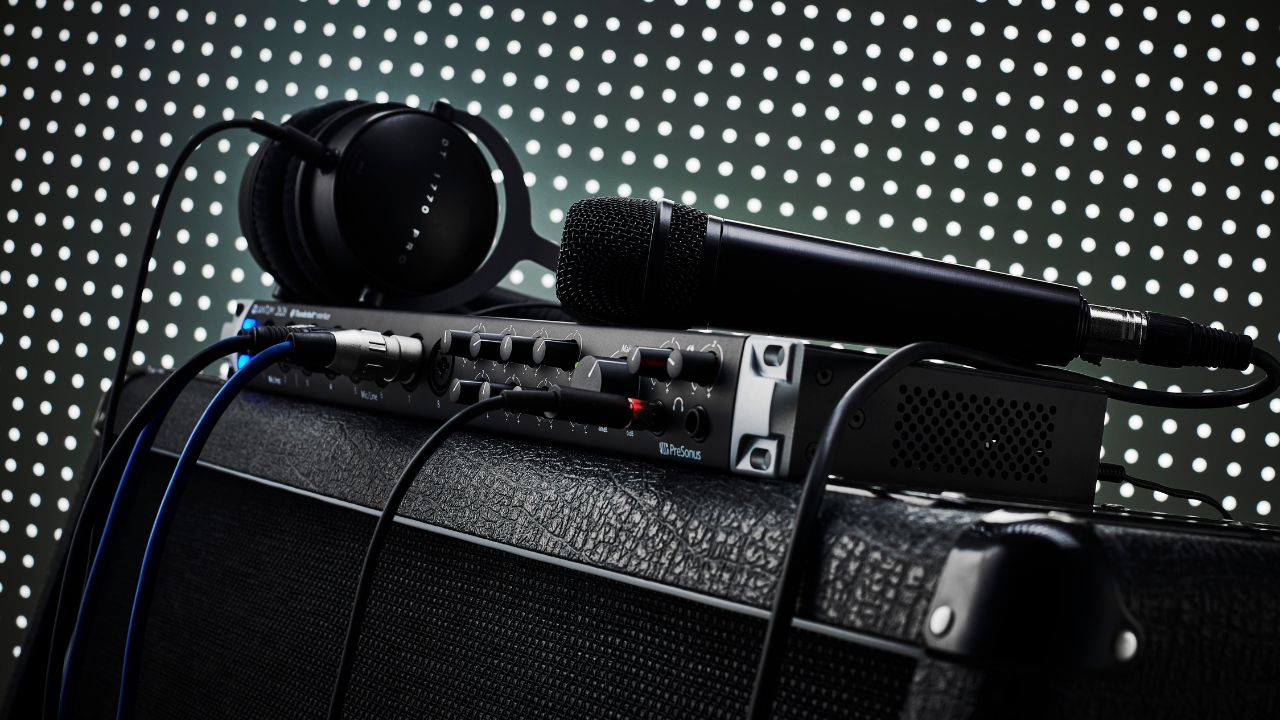
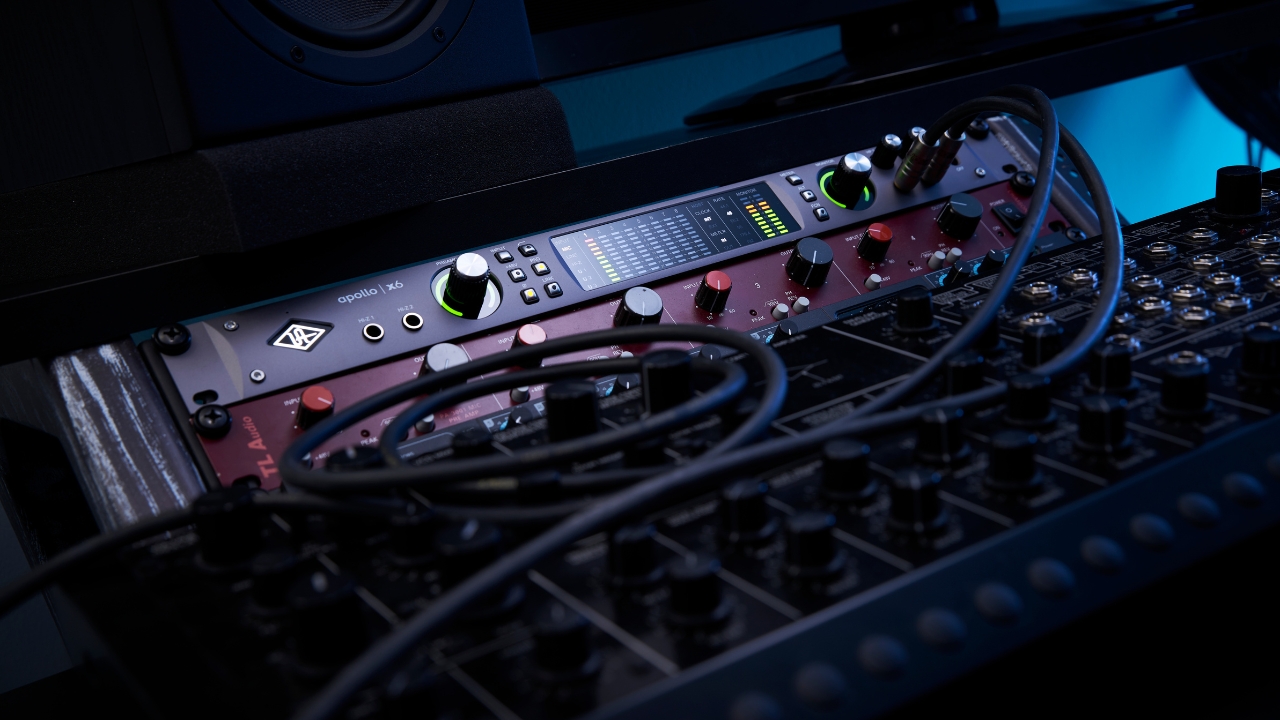
We like to get hands-on with our audio interfaces, taking them straight out of the box and giving them a good in-depth look and feel. We’re judging whether it feels plasticky or cheap overall, as well as checking for any visual defects that might hint at poor craftsmanship. We’ll see if it has rubber feet and how heavy it is, as light interfaces with heavy cables can result in them getting pulled off the desk.
We’ll also check the feel of the knobs, as we want to know if they’re nice and grippy, as well as not being too stiff or too loose, and do the same for any buttons. We want to feel that the unit is going to last, and not that it’s going to break the moment you’re a little too overzealous turning the volume up. It’s also good to know that a unit is durable enough for mobile recording sessions, as recording drums or loud guitars at home often isn’t an option.
Installation
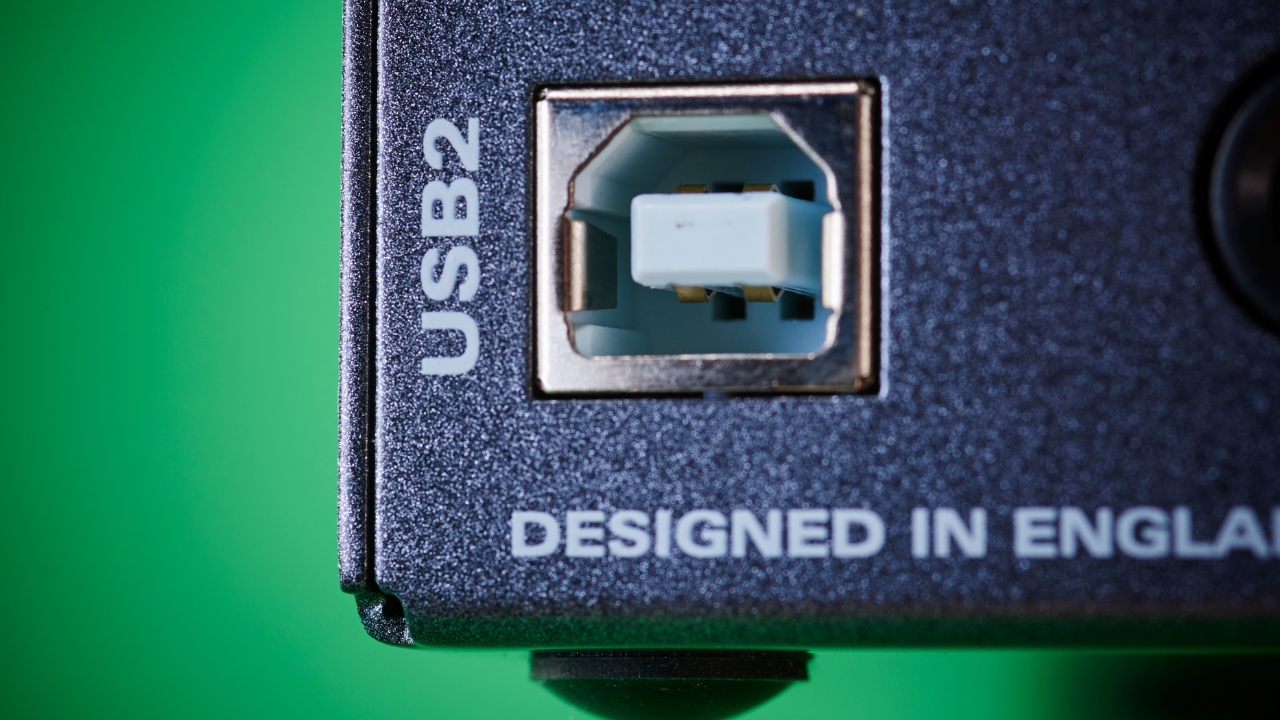
When we test audio interfaces we’re aiming to use them exactly as any musician would, so our next step is to install the interface on our computer or laptop. To ensure balance, we’re obligated to test the interface’s installation process on both WIndows and Mac OS as well. We’re looking to see how easy the overall process is, whether there are any potential pitfalls on each platform, or whether you need to do some further investigation to get your interface working as it should.
Most audio interfaces on Windows require a driver to be installed, so it’s important to include this in our review. Not everyone is ultra tech-savvy, so where we can offer suggestions for third-party software or offer further advice on installation, we will. Typically Mac installations will be a lot easier, but they’re not without their pitfalls either.
Many interfaces come with a dedicated software app, so we’ll install this too, noting any differences in the process between Windows and Mac. We’ll then examine the various options available in the software, and how useful they’ll be to the musician or creative using them. Good software should allow you to change the buffer and sample rates at the very least, and with most modern apps we’d expect there would be more features, like adjusting input volume and loopback functionality.
Audio interfaces also tend to come with additional software such as plugins and sometimes a light version of a DAW. A good software complement is an important part of any audio interface purchase, but particularly so for beginners who often won’t have a huge plugin folder to fall back on. We’re looking to see a good range of EQ, compression, reverb, and delay plugins as well as a free trial for a DAW as a minimum where an audio interface is aimed at the beginner market.
Usability
The crux of our testing process is actually using the audio interface for its intended purpose, to record audio. All of our reviewers have a basic home studio setup at the minimum, which will include an audio interface, studio monitors, studio headphones, and usually a selection of dynamic and condenser microphones. The interface we’re reviewing will replace our personal unit for the duration of the testing period. This allows us to live with it for day-to-day tasks like tracking, mixing, mastering, and even plain old music playback.
We’ll look at how easy it is to access features, like what the buttons on the front panel do, and how they hold up to daily use. Are the inputs easy to access when swapping out microphones? Do the knobs offer enough tactile control? Does it have a dedicated power switch or do you have to remember to turn off your monitors before you shut down your computer? These little things are what a musician will encounter using the interface, making them very important to note down for our review.
We use all the interfaces we test for various recording tasks, whether that's mixing a song entirely in the box, or breaking out the small diaphragm condensers and going Glyn Johns style on a drum kit. We’ll use the interface on our own recordings, noting how they compare to our personal interface as well as others we’ve tested. We might also take the interface out for some mobile recording at a rehearsal or studio space, as a test of its durability on the road.
Another crucial aspect of the usability test is round trip latency. Latency is the time it takes for your interface and computer to process you pressing a key or hitting a pad, to your speakers playing back the sound. We test the latency by using it with a MIDI keyboard or electronic drum kit, setting the buffer size to the minimum, and testing how responsive it is. It is important to note that this is also partially affected by the specs of your computer or laptop, so latency figures may differ. Ultimately we want to see that the interface can provide usable latency on both older and newer machines.
Using the interface is the core part of our review process, and one of the biggest deciding factors in how suitable it is for its intended purpose. Typically we’ll take at least a couple of weeks with any given interface to ensure we get a good overview, many times even longer. This helps us get over the ‘new gear’ phase when you buy something new, and are a little blinded by how shiny it looks on your studio desk.
Sound
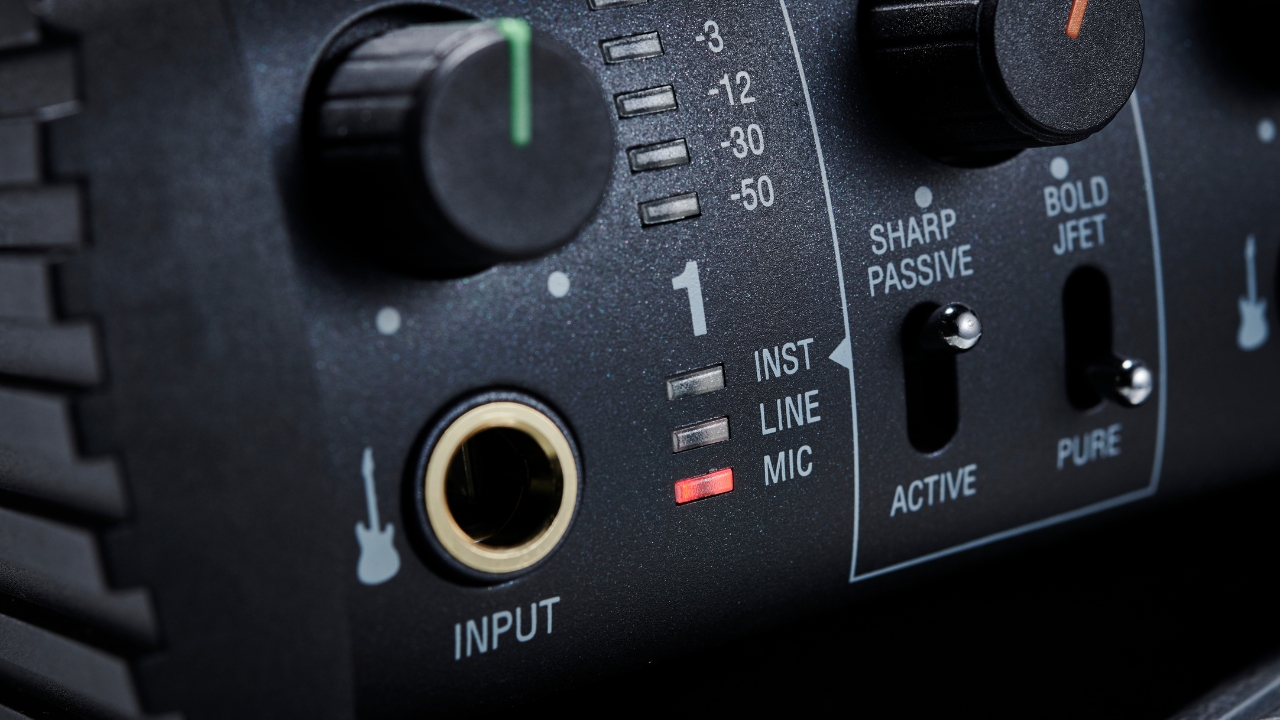
Sound is of course a very subjective thing, so it’s not a core part of our review process. The main reason for this is that modern audio interfaces are remarkably similar when it comes to sound quality, with the deciding factor being the end user. That said, some interfaces do certain things better than others so we do look at the sound in one particular aspect, the noise level.
A good measure of an audio interface’s quality is the noise level or as it’s technically known, the Equivalent Input Noise level. Noise levels are inherent in digital equipment, but some interfaces are noisier than others. Getting a truly accurate test of an audio interface’s noise level without specialist equipment is tough, but we test an interface at home by using an XLR dummy load and measuring the meters in our DAW.
We'll also test how well it responds to noisier microphone types like condenser mics, measuring the levels when plugged in with the gain cranked up. A spectrum analyzer (we like Voxengo SPAN) can give you a reading of the noise level from within your DAW, or you can just test it by using it to record a quiet source.
This second method does present several issues, as noise can come from the room, the mic, the cables, and anything else connected to the interface, so it’s not 100% accurate. It will let us know if the interface has a noise level that could potentially cause issues when recording, and can be useful if we find the recording quality to be unsatisfactory.
Latency testing

When I set out to find out which is truly the best audio interface, I struggled to come up with a quantitative data point that could be measured to perform a direct comparison. Audio interfaces are a particular mix of subjective and objective with lots of figures around the dynamic range and input gain, as well as the more opinion-based factors like the sound of the preamps.
I’ve tested over 15 audio interfaces in the past year or so, and in my opinion, the differences between their preamps are minimal. Yes, some do sound different from others, but ultimately what you like will come down to your personal taste. Due to the shape of our outer ear, everyone hears a little differently, and when you start to get into different monitoring through speakers and headphones, it’s clear that comparing preamps wasn’t the way to do a fair comparison.
Methodology
I asked myself, what are the core aspects of an audio interface? This is the list that I came up with:
- Connection method
- Drivers & latency
- Inputs & outputs
- Sound quality
- Physical features
Exploring each of these points it was clear to me that there was one point here that could be used to do a direct comparison, and that was number 2, drivers & latency. Drivers are subject to the manufacturer and the operating system you’re using, but latency is testable if you’re using the same computer to do it on. Latency is also a key aspect of the audio interface’s performance, as the lower latency you can get, the better you’ll be able to capture your actual performance.
So how do we go about testing latency on an audio interface? Well after much forum searching I finally came across a program called Oblique Audio RTL Utility. It’s a freeware program that measures the Round Trip Latency of your DAW and audio interface. According to their website, it's used by system builders, device manufacturers, and reviewers - like myself.
It can also be used if you want to test your own audio interface, and we’ll go into the methodology in more detail later on. Curious about the program and how it works, I got in touch with Andrew Jerrim at Oblique Audio, first to find out more about how the utility works, and second to quiz him about the intended use of the program.

“Low latency is crucial for anyone playing and monitoring via their DAW in real-time. It’s equally important that audio interfaces accurately report their latency so that audio can be correctly aligned audio in your DAW. If the latency is misreported, not only are you not getting what you paid for, but you might experience phase issues with multi-tracked sound or find that your rhythms don’t quite sit in the pocket.”
Andrew very helpfully answered some questions I had about the ins and outs of the software and with that, I was away on my testing journey. To test an interface I needed to plug one of the inputs into an output using a patch cable, then I was to run the utility whilst it measured the latency. The problem was it didn’t work the first few times I tried it. After several baffling minutes trying to work out what the problem was, I realise the volume needed to be up on the main output knob and the gain knob of the input before it would detect a signal.
Testing
Problem solved, I proceed to test the interface in question - a Focusrite 2i2 4th Gen - at a selection of buffer sizes including 512, 256, 128, 64, 32, and 16 to simulate the various figures end users will switch between whether tracking or mixing. There are a huge variety of buffer sizes to choose from in the software, but I decided to go with those you most typically see in companion apps or driver menus.
I opted to use a sample rate of 44.1kHz and a bit depth of 24 bits, which is what most people will be using for audio. The Rode Rodecaster only runs at 48kHz, so I had no choice but to test it at that sample rate. There is a case to be made for 48kHz being more common nowadays as the price of storage has decreased significantly, but in the professional world most audio is still handled at 44.1kHz.
Here is the full testing method for clarity, and so you can perform your own tests at home:
- Head to the Oblique Audio RTL site and download the utility. Once you unpack it, it runs straight away with no installation required.
- Plug your audio interface into your computer, make sure your computer recognises it, and install any drivers if you’re testing on a Windows machine.
- Use a short patch cable to plug input 1 on your interface into output 1. The output might be marked as left or right, typically left is output 1. This might differ depending on your interface.
- Open the RTL utility and select your interface in the drop-downs, assigning it in both output and input. Here you should be able to see all the individual ins and outs, so if you could only reach from input 2 to output 1 with your cable you can amend this here.
- Select your sample rate and buffer size on which you’re going to run the test. Most likely this will be the lowest buffer size possible for your interface, but that all depends on what you’re trying to achieve.
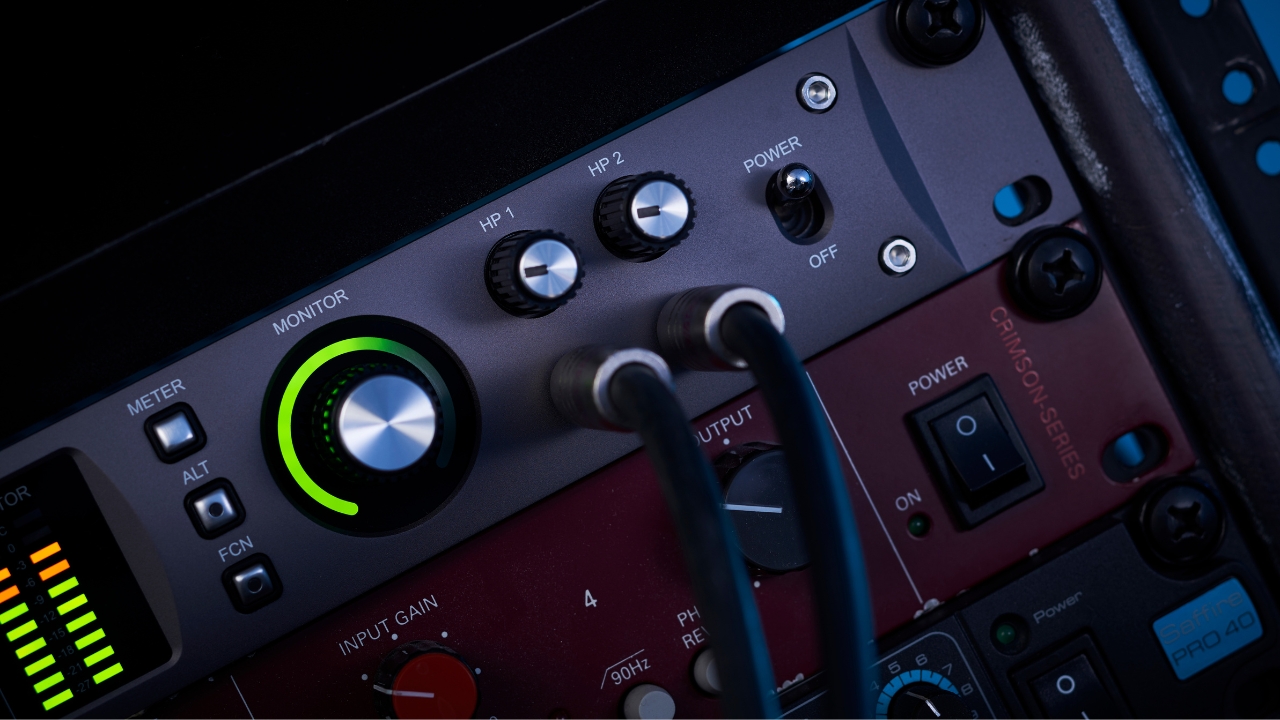
- Finally, and most importantly, make sure your input gain knob is turned up, and your main output knob is turned up too, as the utility will pass a signal through your interface for testing. If you haven’t already, turn any monitors that are plugged in off.
- Hit the ‘Measure RTL’ button to get your results!
Results
The result gave me a measured RTL in ms, with a lower figure being a better one. Once I had the workflow nailed, it was actually surprisingly quick to shoot out all of the interfaces, especially as all the interfaces just work with a MacBook and don’t require any driver installation. As an aside, this sort of functionality is apparently coming to Windows in 2025.
Here are the full results for all of the interfaces in a graph:

Testing all of the interfaces the thing that struck me the most was how similar the performance was across the board. The only outliers were the Rode Rodecaster, which is not a traditional interface and is designed for hosting podcasts, and the Behringer UMC22 which is far cheaper than any of the others on my list. Even with those slight outliers, the average latency figure at a buffer size of 16 samples came in at 8.783ms which would be acceptable for most musicians. The Focusrite 2i2 was the star of the show with a frankly ridiculous 5.782ms response time at a buffer size of 16 samples, and that’s before the codeless kernel extension which can reduce that even further on a Mac.
For reference, the blink of an eye is 100 milliseconds, and a Formula 1 driver’s reaction time to the lights going out averages between 200 to 300 milliseconds. So, you can see that the latency figures in single digits are incredibly quick and all but two of the interfaces I tested got into single figures. Impressively the Audient iD4 MkII kept up with the more expensive Focusrite, being less than a millisecond off at every buffer size.
It’s also important to note that while the Universal Audio Apollo Twin X gave higher latency figures than I expected, its low latency performance is centred around the use of plugins at the input phase. There would be no offloading onto DSP during the test we performed, and a simulation using plugins in the mix might give a more favourable result to the second most expensive interface in the guide.
Computer effect
I used a MacBook Air M1 for testing, which is a reasonably fast laptop for music production, and available for well below the $/£1k mark refurbished or secondhand. Of course, if your computer is slower, that’s going to affect the latency figures you’ll see, but it won’t be by much unless you’ve got something properly ancient.
In this test it’s the interface that’s doing the heavy lifting so even if you have something different from what I used for the test, your results shouldn’t differ too much from what I got. There are also drivers to take into account, with some manufacturers providing sturdier drivers than others. A poorly implemented driver can also have an effect on latency alongside the type of computer you are using.
Conclusion
The results I’ve found from the test reiterate my initial point in the opening paragraph of our audio interfaces guide. Separating even enthusiast-level interfaces for home recording is nigh-on impossible in terms of performance. The differences are so small that no average user is going to notice a performance decrease from one interface to another, and the availability of excellent low-latency interfaces at low prices is so abundant that home producers are spoiled for choice.
So when everything performs at the same level, it all comes down to the features they have, and how they fit into your workflow. Rather than picking your interface due to its dynamic range or preamp colour, you should be thinking about connectivity, usability, accompanying software, and of course, your personal use case for purchasing an audio interface.
Meet our experts

Matt is a Junior Deals Writer here at MusicRadar. He regularly tests and reviews music gear with a focus on audio interfaces, studio headphones, studio monitors, and pretty much anything else home recording-related. Responsible for over 60 buying guides, a large part of his role is helping musicians find the best deals on gear. Matt worked in music retail for over 5 years at Dawsons Music and Northwest Guitars and has written for various music sites including Guitar World, Guitar Player, Guitar.com, Ultimate Guitar, and Thomann’s t.blog.

Andy has been writing about music production and technology for 30 years having started out on Music Technology magazine back in 1992. He has edited the magazines Future Music, Keyboard Review, MusicTech and Computer Music, which he helped launch back in 1998. He owns way too many synthesizers.

Simon takes care of the reviews on MusicRadar and Future Music magazine, though he can sometimes be spotted in front of a camera talking little sense in the presence of real musicians. For the past 30 years, Simon has been unable to decide on which instrument to master, so he hasn't bothered. Currently, he is a lover of all things high-gain in the guitar stakes and never one to resist churning out sub-standard funky breaks, the likes of which you'll never hear.
Hands-on demos
We deliver loads of quality written reviews, but we also have loads of great video content and hands on tests on our YouTube channel. MusicRadarTV features interviews, gear-demos, and video lessons.

Matt is a Junior Deals Writer here at MusicRadar. He regularly tests and reviews music gear with a focus on audio interfaces, studio headphones, studio monitors, and pretty much anything else recording-related. Matt worked in music retail for 5 years at Dawsons Music and Northwest Guitars and has written for various music sites including Guitar World, Guitar Player, Guitar.com, Ultimate Guitar, and Thomann’s t.blog. A regularly gigging guitarist with over 20 years of experience playing live and producing bands, he's also an alumnus of Spirit Studios, where he studied studio engineering and music production.
