How to start teaching musical instrument lessons online
Social distancing doesn't have to stop your lessons from happening
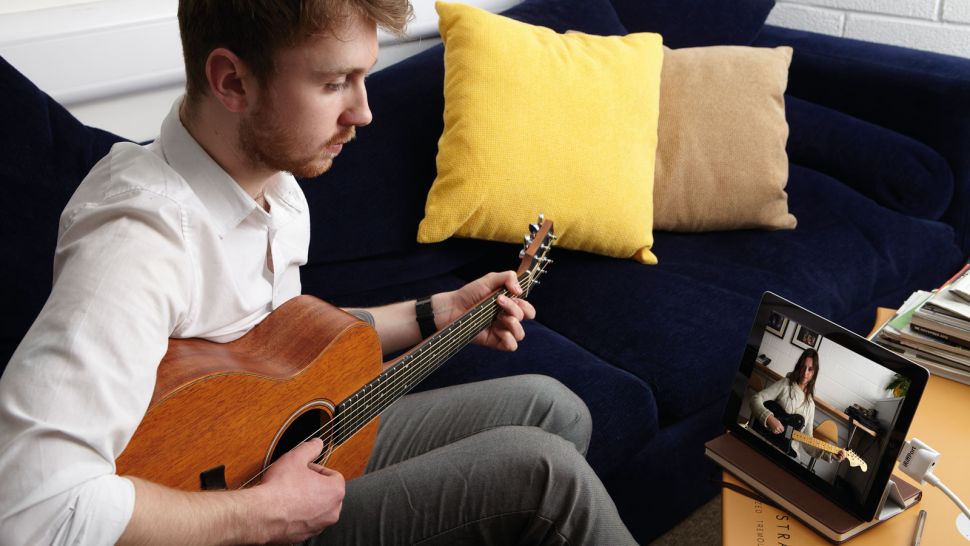
As the whole world enters a period of lockdown, many teachers are turning to the internet to keep their lesson schedule running smoothly. If you’re new to it, we’ve prepared a guide on the easiest way to start delivering instrumental lessons to your students. Below you’ll find the answers to the basics of the gear and tech you’ll need, and we’ve enlisted the help of some experienced educators who have been delivering lessons online for years.
Gabor Dornyei is an international touring session drummer and educator. As well as this, Gabor is a faculty member at ICMP-London (The Institute of Contemporary Music Performance) and is former Head Of Drums (2014-2018) at DIMEO-ONLINE (Detroit Institute of Music Education). He has performed online clinics to Drum Channel and Drumeo in North America. When he’s not touring or teaching at music colleges Gabor gives lessons and records from his ‘Gabbey Road’ studio in London.
Dave Major has been an online educator for the past five years. His site offers a range of drumming courses from beginner to advanced, and as well as teaching his pre-prepared courses, Dave offers in-person and remote live lessons over the internet. Dave has performed at numerous clinics across the UK, sharing the stage with some of the world’s leading drummers.
AJ Rousell is the author of The Drummer’s Odyssey and The Field Manual For The Church Drummer. He regularly performs at drum clinics in the South West, and also organises the annual Drummer’s Odyssey Camp which is now in its third year. AJ teaches at the University Of West Of England (UWE), and has been delivering online lessons to his students for the past few years.
Teaching musical instrument lessons online
The guide below covers everything you need to get started with online lessons
Internet connection
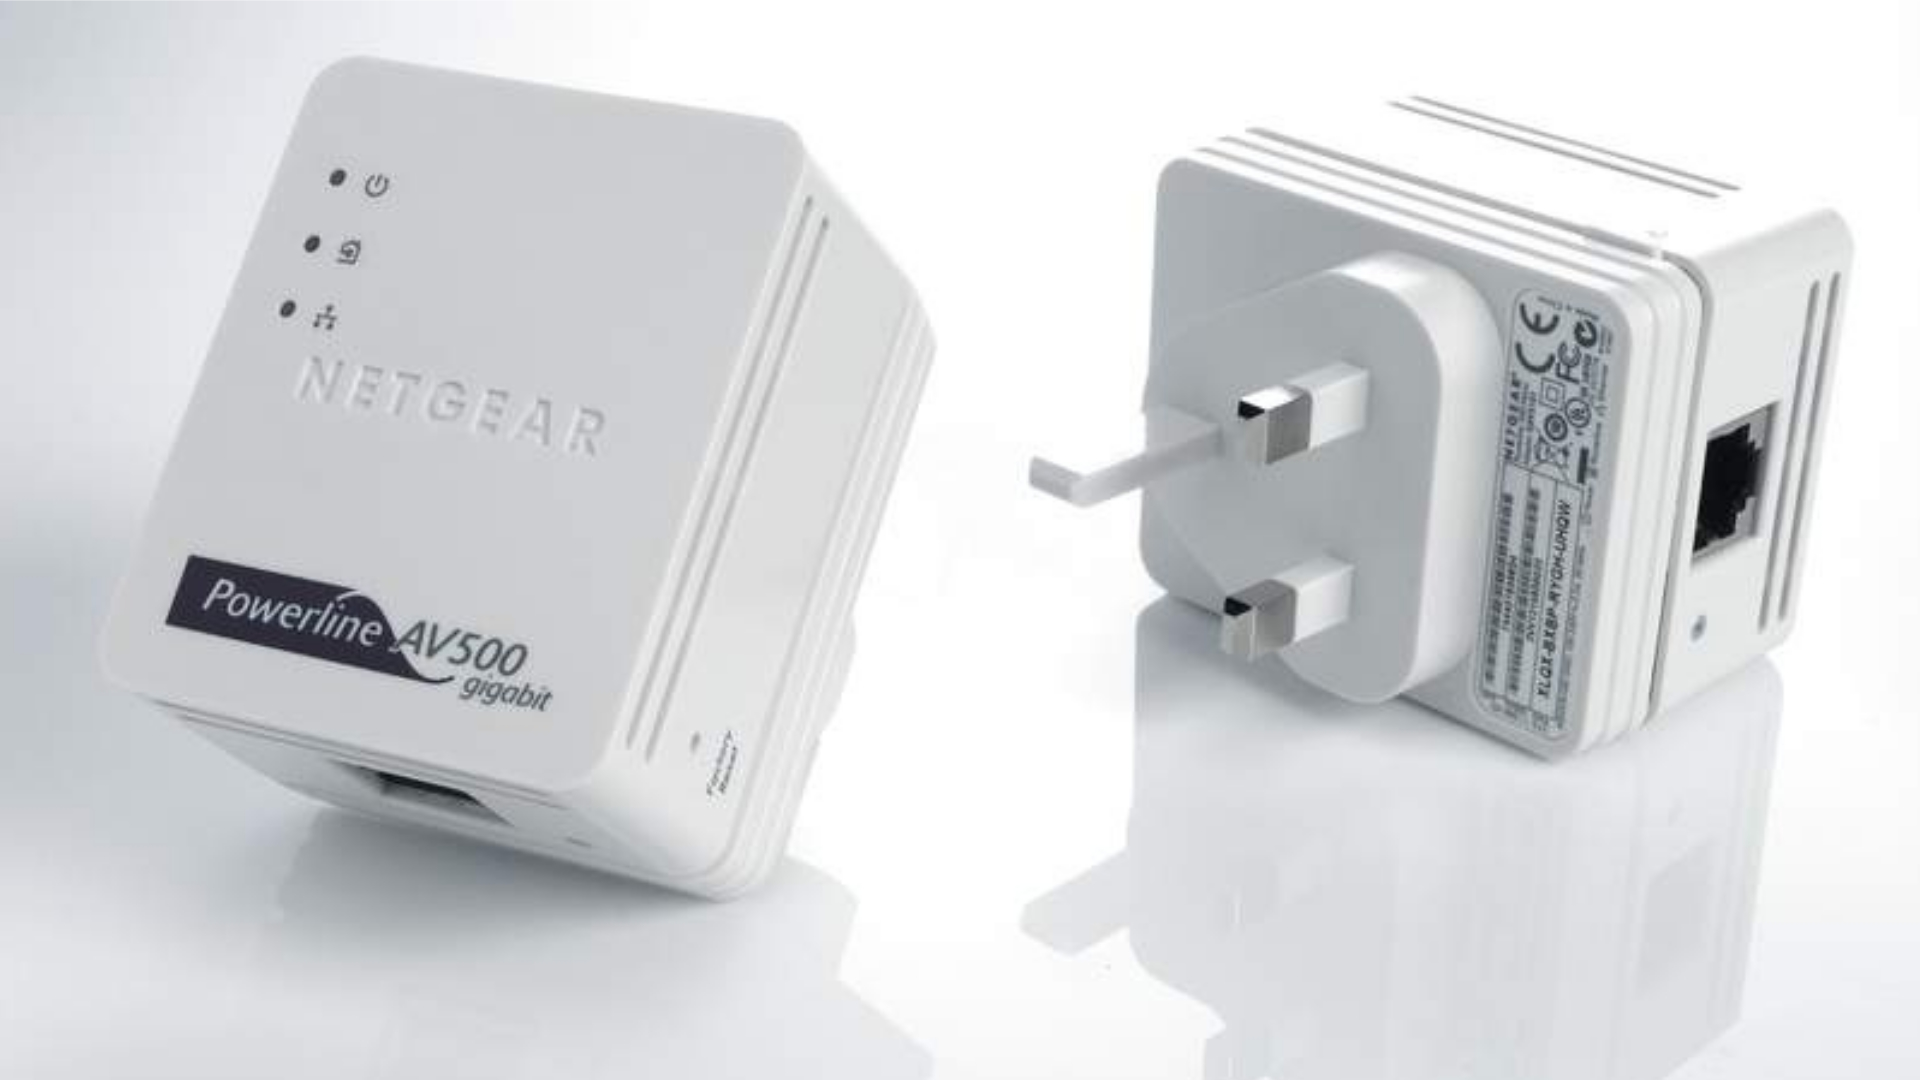
It goes without saying that in order to teach your students online, you’ll need to be able to connect to the internet from your teaching room. Depending on the speed of your connection, you may experience a latency (delay between your computer and your student) over Wi-Fi, so where possible, it’s best to use a hardwired LAN cable. For some, this might not be practical due to the placement of their router, however there are many solutions available which use your building’s electricity cables to effectively deliver a high-speed, wired connection. These ‘powerline’ kits usually come in sets of two, one to take the signal form your router, while the other is placed in the room where you’ll be teaching from. Your computer is then hardwired into the connection using a network cable, delivering a fast and reliable connection. You can check out our sister site, TechRadar.com's guide to the best powerline adapters, here.
Get the MusicRadar Newsletter
Want all the hottest music and gear news, reviews, deals, features and more, direct to your inbox? Sign up here.
Dave Major: “Latency is always going to be an issue, but you just try to have the best to get the best internet signal possible. A wired ethernet connection is always better than using Wi-Fi if possible.”
AJ Rousell: “[Internet speed] can be an issue. Sometimes you just need to work with it and ask for something to be repeated. You have no control over the connection at the student’s house, so it is a case of adapting and working with what they/you have. I’ve yet to have a connection so bad that a lesson wasn’t doable.”
Gabor Dornyei: “I’m not going to deny, that it will take a little getting used to - that your students are not going to be able to play in sync with you, because what they hear from you is already delayed by a couple of seconds. But once you recognise that you’re good to go. It’s really easy to overcome that if your students use a click which you can hear too- so that way you can hear and double check whether they’re understanding and playing the right rhythm and whether they’re in time.”
Your computer
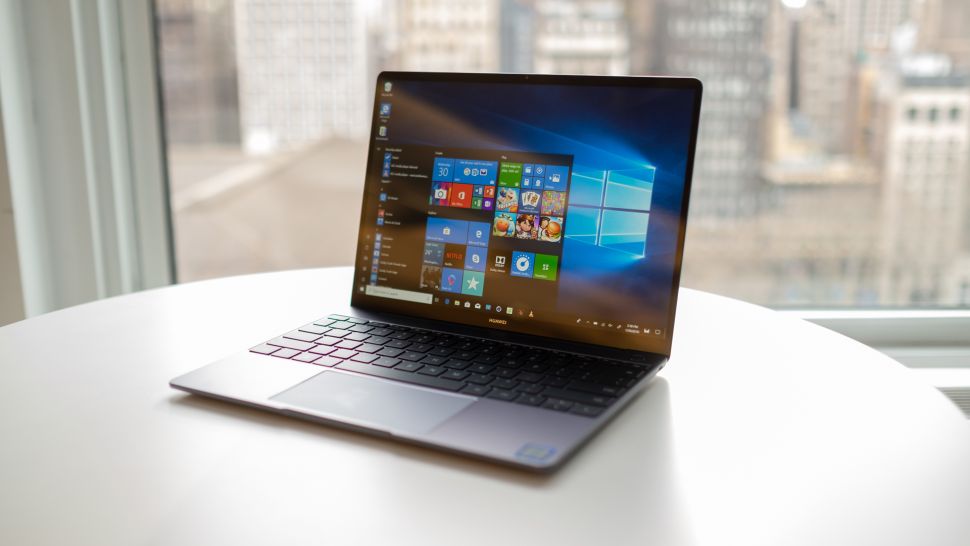
Next up is the computer. Obviously this will work regardless of whether you’re using a desktop or laptop, but a laptop with a built-in webcam will allow for easier placement to get a decent camera angle. If not, then you’ll need a webcam that is capable of decent video quality, and can connect to your computer from your teaching setup. Again, a hardwired connection is preferable to avoid drop-outs, and a wireless camera will most likely become your bottleneck when streaming to your student. Position the computer so that your student can see you, as well as the instrument, and while you don’t need to be too fussy about lighting, try to make sure that hand placement and detailed parts of the instrument (strings, keys etc.) are visible, in focus and not over exposed/shadowed. A straightforward, clear picture of what you’re attempting to demonstrate is key.
AJ Rousell: I just use the webcam that is built into the computer, and most of my students use the same on their end. As long as it is positioned so you can see their hands then I am usually fairly happy with that. Remote teaching is a very different style of teaching, and involves having to really watch what’s happening and also regularly ask the student about what they are playing.
Dave Major: “ I position the laptop where is convenient and then move it around to get the best results. In my current situation I am working with existing students so I already have a good idea of their technique.”
Gabor Dornyei: “I use an overhead camera to give full spectrum with my methods and exercises to my students, but they really don’t need to have one. Occasionally I’ve asked my students to put their laptops/iPads down on the floor behind them, if I (or even them) felt, they’re struggling with their foot techniques.”
Sound advice
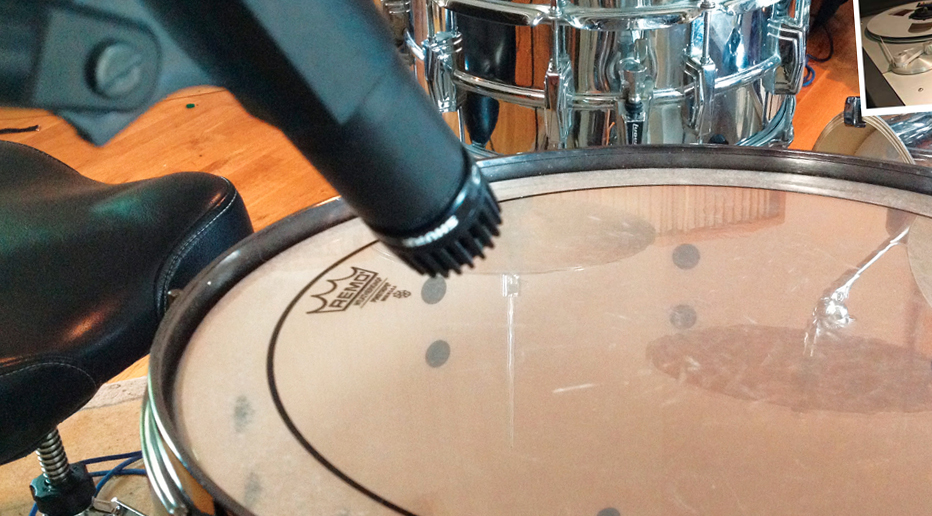
If you’re teaching instruments that aren’t overly loud (piano, acoustic guitar) or have volume controls (digital pianos, electric guitar and bass) then you may find that your computer’s on-board audio hardware - while not sounding like a studio-quality delivery - will get the job done with minimum fuss. With some adjustment of your built-in microphone to avoid nasty clipping, you should be able to make sure that the sound within your room (including your voice) is being captured clearly.
However, if you’re teaching drums, you may find that the volume of your kit is simply too much for the computer’s microphone to comfortably play without distorting. Likewise, if your instrument doesn’t feature speakers, you’re going to need to find a way of getting both your voice and the output of your gear into the computer for your student to hear. That’s where an audio interface and microphone(s) will come in.
AJ Rousell: "I have set up my studio to be able to teach on an acoustic drum kit, and I have an electric kit at my house which I also use for online lessons. I use the same interface for both scenarios; for the acoustic kit I use a talk-back mic and an overhead mic, and for my home set up I use a talk-back mic and a ‘line out’ from my electric kit. Using practice pads is still a great tool for online lessons!
When I first started teaching remotely, all the lessons were done solely using a practice pad and you can still make them engaging and beneficial lessons for the student. The AudioTechnica AT2020USBi mic was a huge game changer when I started remote lessons! It is a condenser microphone that can be plugged straight into your iPhone, so the option of teaching even while touring or traveling is an option!"
Dave Major: I teach on an acoustic kit using external mics and an interface. With acoustic drums being so loud I think you need something like that. However, I have taught lessons using a practice pad, and in that case I’ll just use the in-build mic on the computer.
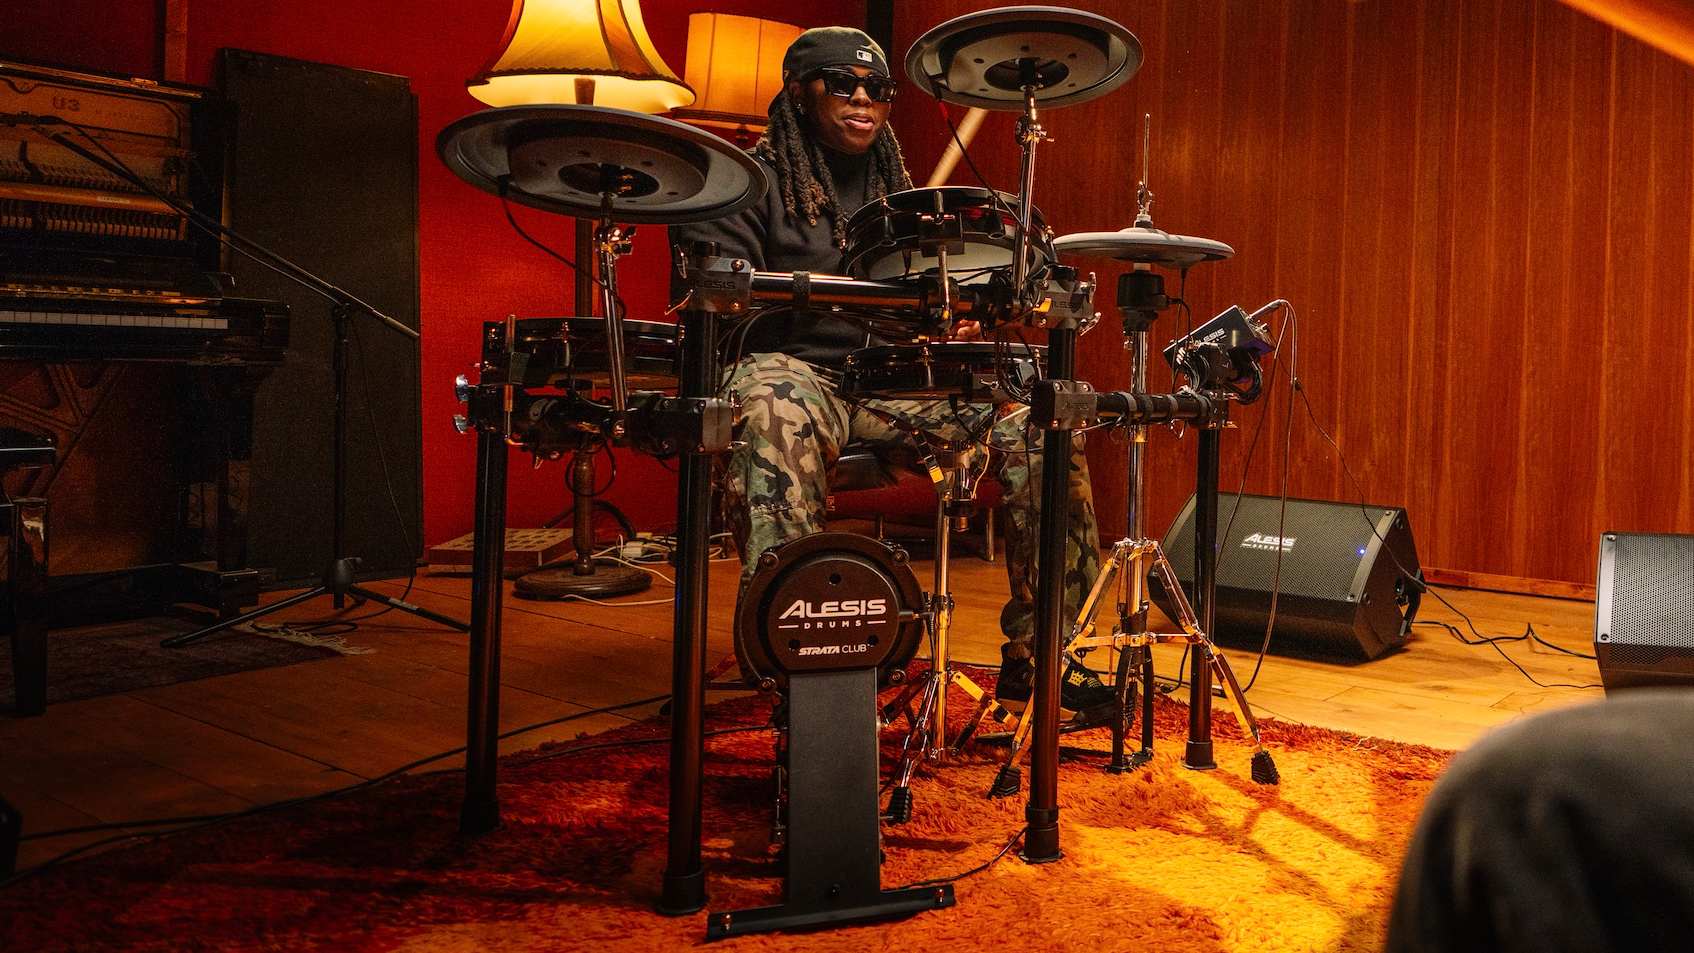
Gabor Dornyei: “I've been using the amazing Roland TD-30 KV for my online lessons. Not only does it feature an endless array of unbelievable sound options, but the convenience of being able to play with comfortably while turning the volume down: the student can enjoy a brilliant drum sound without distortion and still hear me talking over my own playing. Maintaining an enjoyable sound is crucial and an absolute winner, particularly if you have a good-busy long day of 8-9 hours of private lessons.”
Interface time
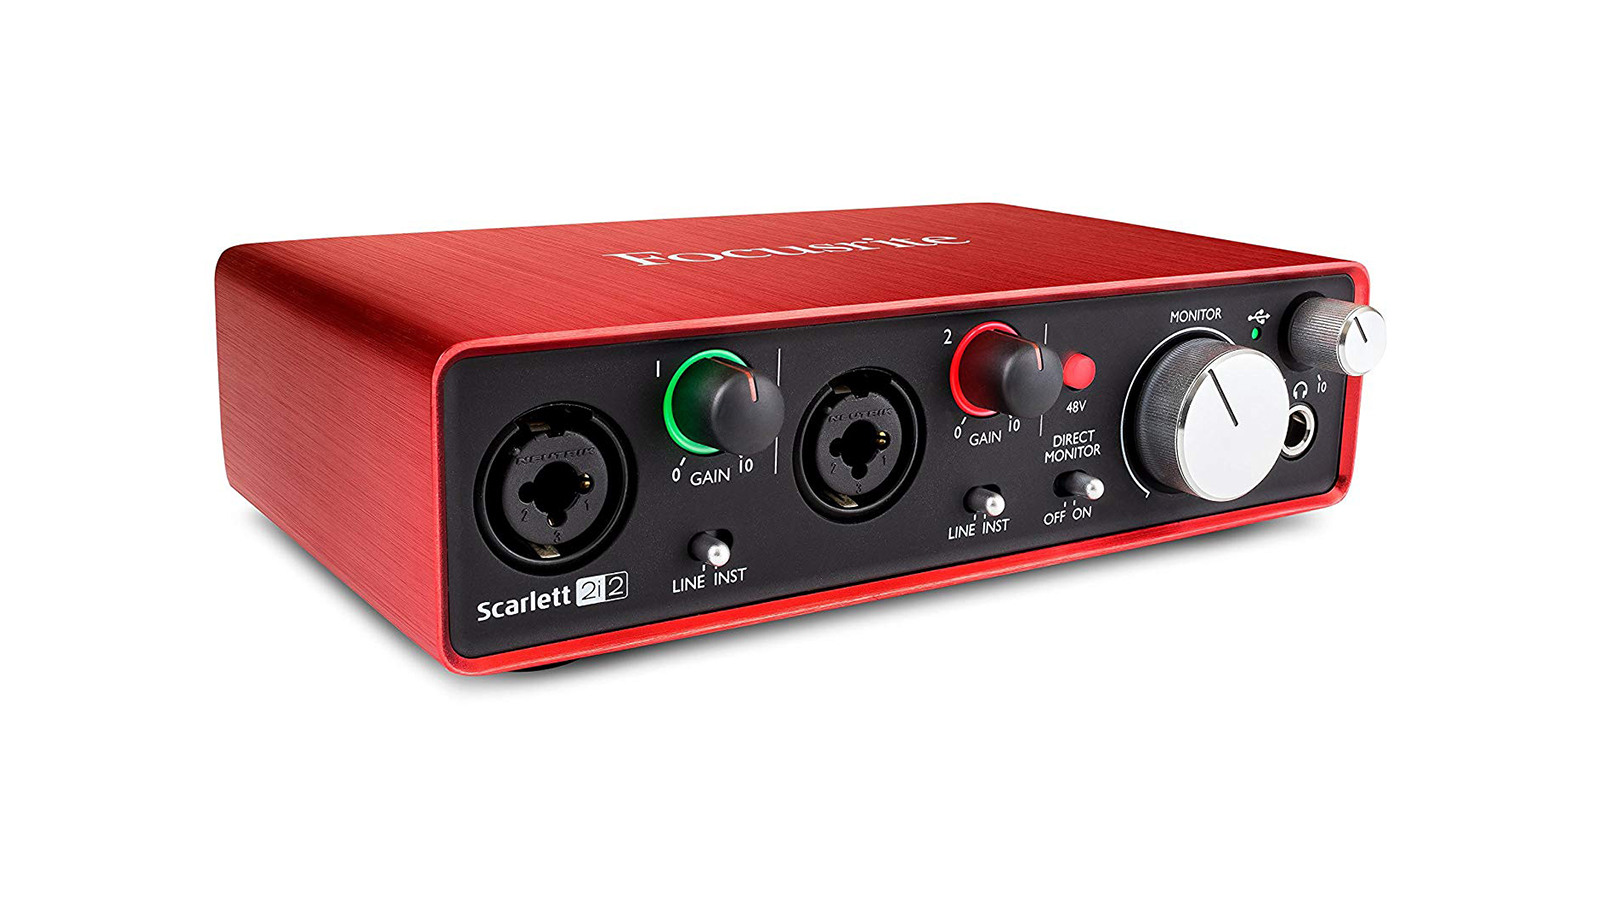
Chances are, if you’re already making a living from music then you already own an interface and possibly a microphone too. If not, you can pick up some affordable solutions, including USB microphones that eliminate the need for a separate interface. How far you go with this will really be down to the equipment you already own, or how much you want to invest.
Most interfaces are two-in/two-out, meaning that you can plug-in two sources with independent control over their levels. Look for an interface equipped with at least one mic pre-amp too, and if you’re struggling, check out our guide to the best audio interfaces, here.
The minimum setup will be a single microphone positioned so that it can clearly pick up the sound of your instrument in the room as well as your voice. If you need a line-level input from a digital piano/line-out of an amp, you’ll be able to get by perfectly well with just a mono connection, leaving your interface’s other input free for a microphone for speech. The next option is to use a dual-mic setup: one microphone for talking into, and at least one for capturing your instrument clearly.
Mic choice
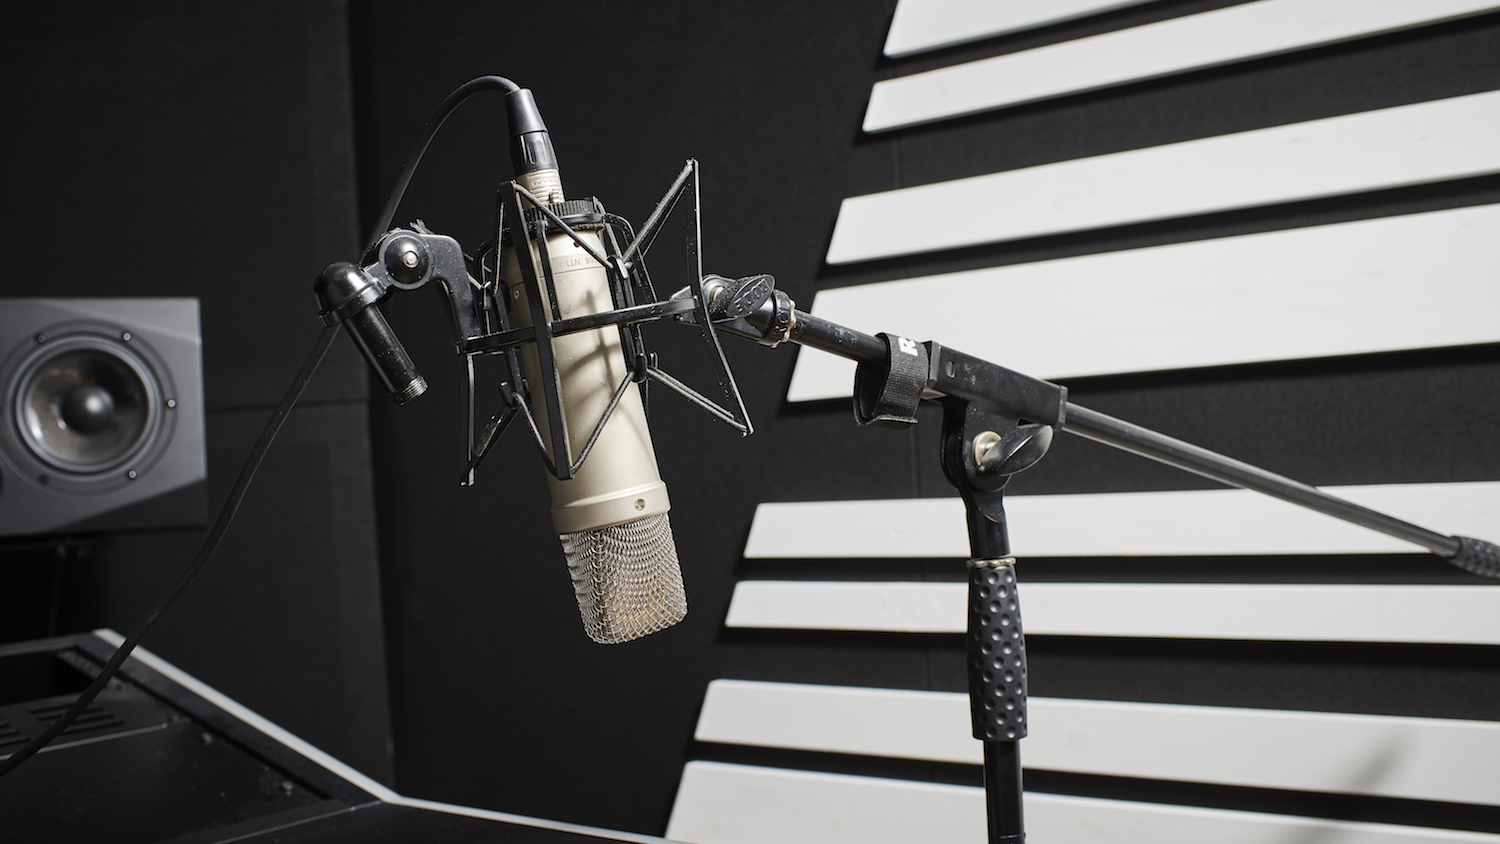
Again, we’re talking about delivering lessons here, rather than making a conceptual opus. But there are some considerations that will improve your (and your students’) overall experience when it comes to choosing a microphone. A dynamic mic is less sensitive than a condenser, doesn’t require phantom power to work and are generally more affordable and robust. However, a condenser microphone will give you greater high-end detail when placed on harmonically-rich sources such as acoustic guitars, pianos, or a drum kit.
That said, as the old saying goes, the best mic for the job is the one you have. So don’t worry if you only have specific mics. As with picture quality, above all we’re aiming for a clean audio signal that will allow you to communicate your lesson clearly.
Hear today
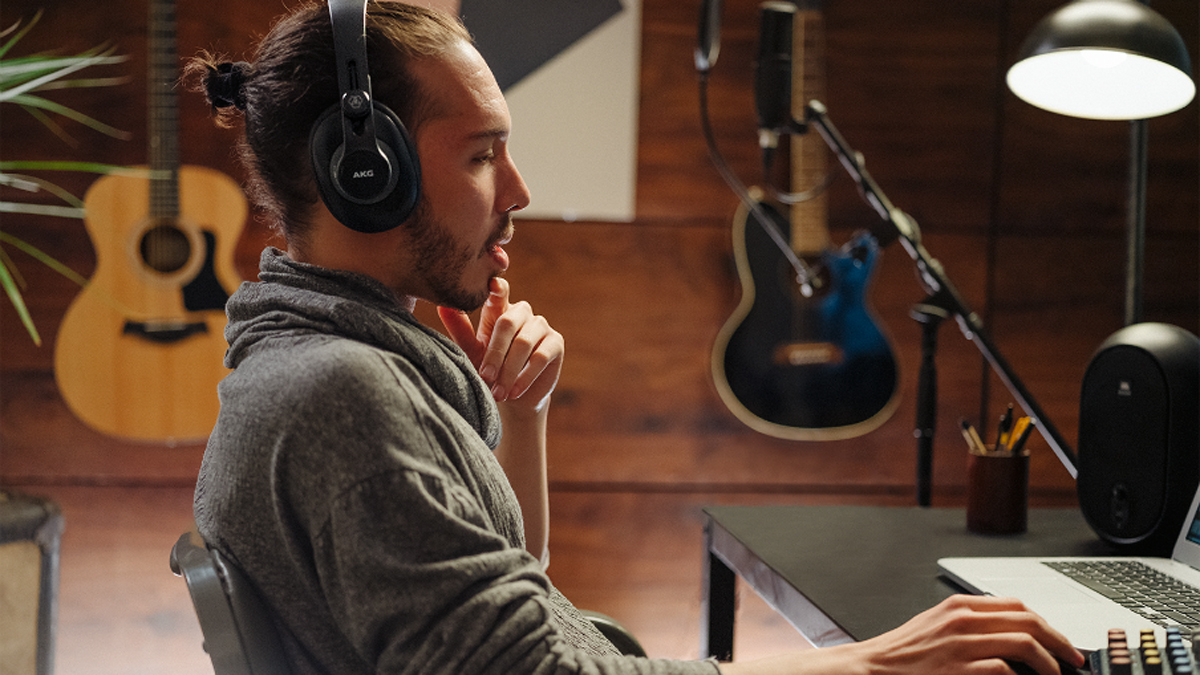
Next you’ll need to be able to hear your student. We’d recommend using good quality studio headphones plugged into your audio interface, as monitoring the other person over speakers could cause the sound to bleed into your microphones, creating some endless feedback loops that sound great for lo-fi dub, but less useful for your weekly rudiment workout.
Closed-back headphones will keep the sound contained to your ears, or for a less visually intrusive method, in-ear monitors will also do the job brilliantly.

The student’s setup
Your setup as a teacher is one thing - you’ll hopefully spending a large amount of time using your investment to help further or maintain your business. But it might be a big ask to expect all of your students to be able to mirror this. So, be prepared for their setup to be less professional than yours.
Potentially, this means anything from them using a phone or tablet with to connect to the lesson over Wi-Fi, with no additional audio or visual hardware. In this case, placement in the room will most likely be a compromise.
If they are using a computer, make sure you know which operating system (Mac OS vs Windows) they are running, and how you can help them with adjusting their audio levels to avoid having your ears blown-out with distorted audio.
AJ Rousell: “The most I tend to advise is for students to use headphones rather than the laptop speakers. It’s true that the majority of students don’t have the capability or equipment needed to link interfaces, microphones and speakers up to their laptops; so I try and counteract that by making the visual and audio look as good as I can on my end.”
Dave Major: “It does take some adjustment in terms of ensuring nobody is playing and talking at the same time. But after a few minutes you’ll get used to it.”
Gabor Dornyei: “Some of my students have more advanced electronic gear, but some of them just play their acoustic kits. It's all fine with me, because I'm plugging my MacBook into the same PA system that I plug my ROLAND V-Drums kit it, so I can adjust separately at my end via a little Behringer mixer. If they want to hear my voice while they’re playing they either plug their laptops into speakers or they’ll wear headphones.”
What App?
There’s no shortage of communication platforms available to use for free, but it’s important to make sure that you’re making things easy for your student too. Devoted Apple fans may well love FaceTime, but what if your student isn’t part of the orchard? Skype is the best-known and longest-running video call app, and as such isn’t going to intimidate potential technophobes when you ask them to download the software. Some apps, such as Zoom are cross-platform, and also allow for conference calls if you’re teaching in a group (bandwidth permitting). Some options offer recording functions, so you or your student can capture the lesson (with permission) to recap until your next lesson.
AJ Rousell: “I initially started using Skype when I was giving lessons on a Practice Pad, which worked great. With the current Coronavirus situation I have tried to move onto a full drum kit for online lessons.
The problem with Skype is that it doesn’t take more than one channel on an interface and I wanted to use two microphones; one for a talk-back and one as an overhead for the drum kit. There are ways around it, but I found switching to ZOOM as a platform was an easier decision. It’s free and takes whatever signal is sent from the interface (including multiple channels), as long as you disable the ‘suppress background noise’ feature so it doesn’t gate the drum kit audio.”
Dave Major: “ I use Skype at the moment, but I will look into better options if there are any out there to allow me to keep my lessons as high quality as possible.”
Gabor Dornyei: “I have tried multiple platforms and applications in the past - particularly when I was the Head Of Drums/Author 2014-2018 at the Detroit Institute of Music Education (DIME-ONLINE) but so far always returned to Skype.”
Prepare to adapt…
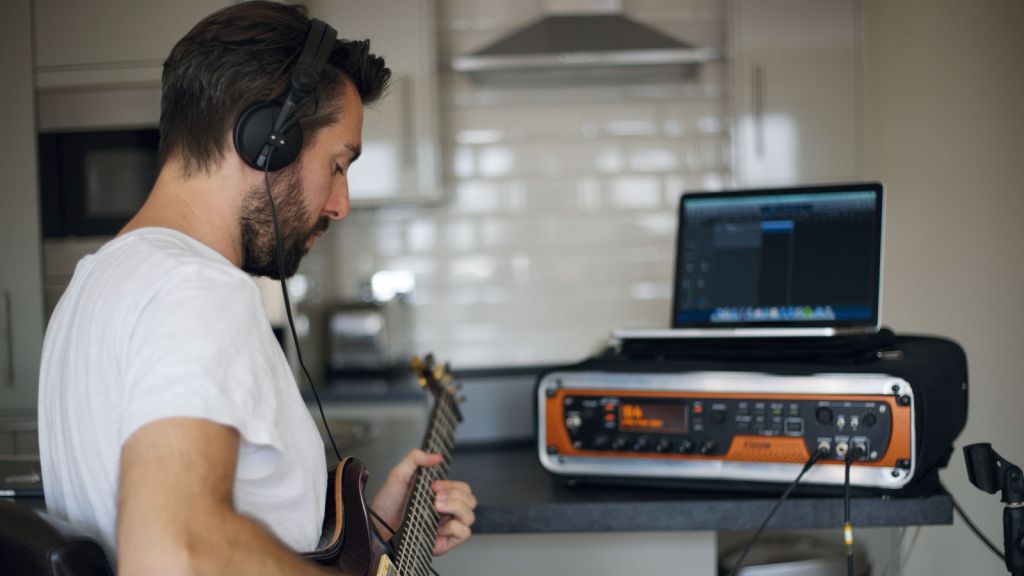
Your online lessons may not be quite the same as being sat in the room with your student, but that doesn’t mean it can’t be successful and fun. Send any teaching materials that they might need in advance of the lesson so that they have enough time to print them out or display them clearly while your lesson is taking place. If your students are minors, make sure that you have explained the premise of online lessons to their parents, and gained their permission first-hand. If needed, invite them to sit-in on the lesson to make sure that they are satisfied with the quality instruction their child is receiving.
Dave Major: “Teaching remotely will never replace the in-person experience but it is great for covering wide distances. I have had lessons with my favourite drummers via Skype and it’s always been beneficial. The technology really comes into it’s own in a time like this. Hopefully I will be able to continue my lessons and keep most, if not all my students.The challenge is ensuring the student gets the best out of it and can get the help they need without the technology getting in the way.”
AJ Rousell: “The benefits of teaching remotely is the knowledge that a student is studying with you because they value you as a teacher and your material, not just because you are geographically the closest teacher to them. It eliminates the issue of travel and location, and is one of the most flexible ways of teaching which can also reduce the need to pay for room hire! There are challenges: it is a very different style of teaching, and it can be tricky teaching topics such as technique when you are not in the room with them. Internet connection can be a struggle if there is not a decent signal on either end, and not being able to play along with the student can slightly limit some engaging teaching options. But overall, I would say all the challenges of remote teaching are simple enough to overcome, and it can open a huge door to growing your list of potential students, and therefore your business.”
Gabor Dornyei: “In my opinion, nothing is ever going to change the amazing feel of being in the same room with a real master of their art. But...reality, travel & accommodation costs - not to mention visas or damned global viruses - can easily change the scope from the student point of view. From the teacher’s point-of-view, I find the challenge can be remaining engaged and presenting the lesson with the same enthusiasm and excitement to a laptop screen like it was a keen student. It’s a slightly different vibe. The massive benefit can be- once you get your reliable set up going- that if you have the international profile and requests for lessons, it’s fairly easy to operate and maintain your gear and lessons and you can work from the comfort of your home.”
Pass the test
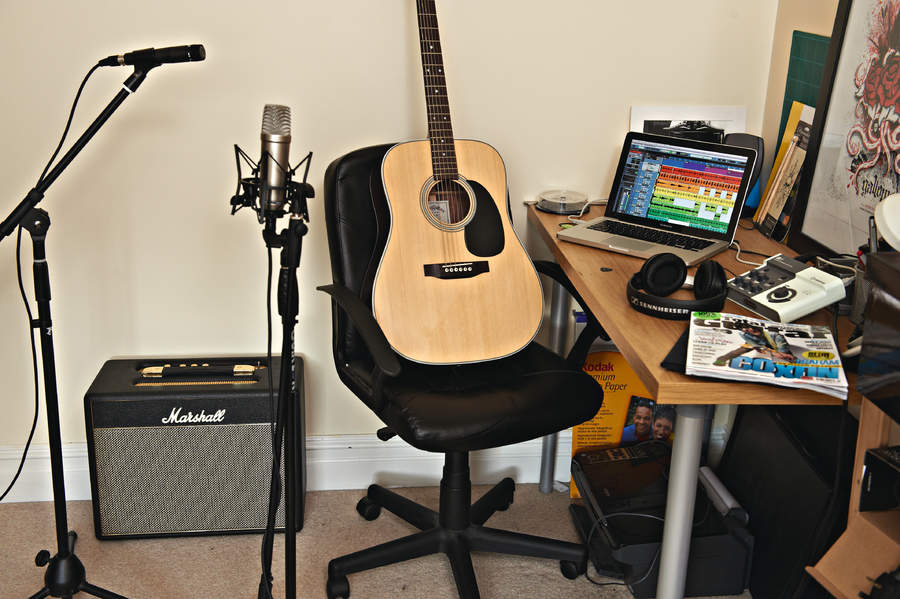
It’s common sense that before you offer your services in exchange for money, you know for sure that your new web teaching rig is performing as it should. Get yourself set up, and test everything out before you enrol your first student. Try calling willing friends or family and see how the experience works in the real world. Is there a lag? Can they hear you talking and playing? Can you hear them in your headphones? Some basic checks now will avoid you having to postpone or abandon lessons later.
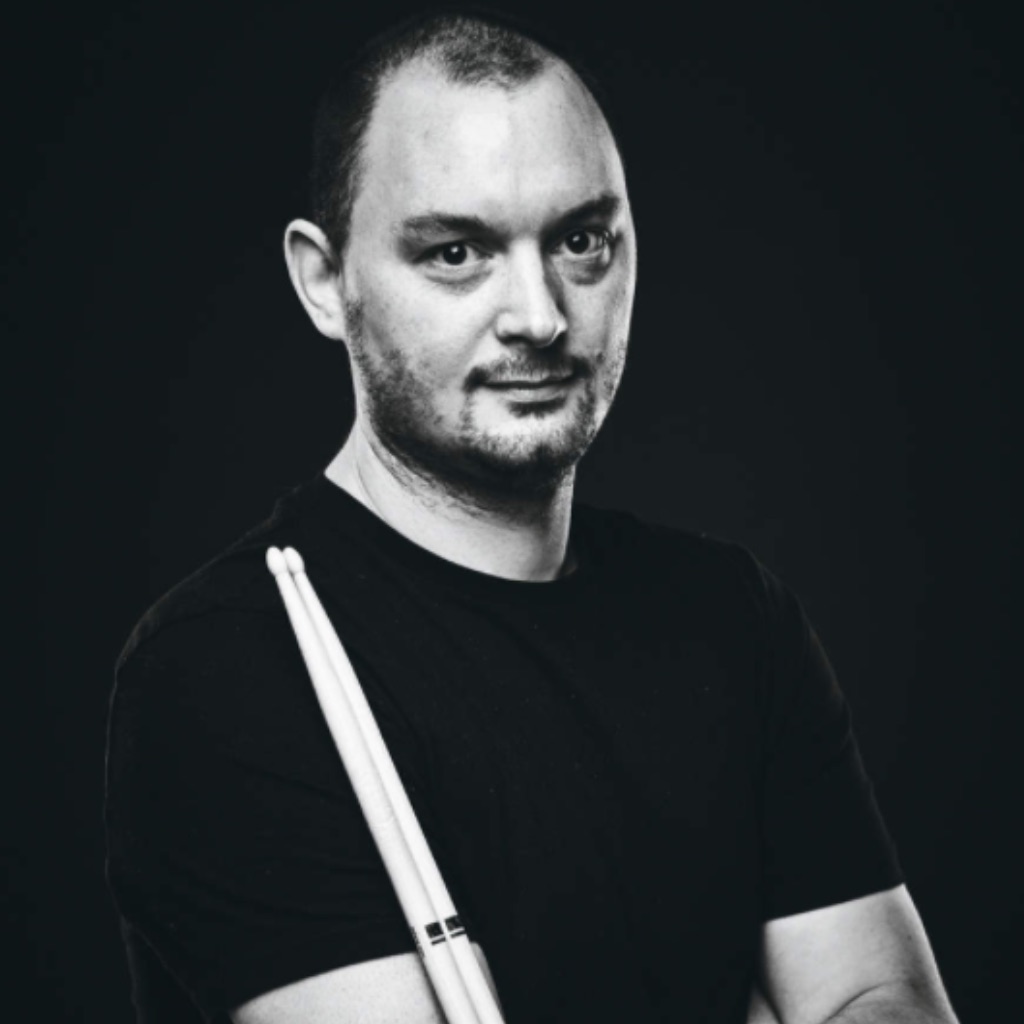
I'm a freelance member of the MusicRadar team, specialising in drum news, interviews and reviews. I formerly edited Rhythm and Total Guitar here in the UK and have been playing drums for more than 25 years (my arms are very tired). When I'm not working on the site, I can be found on my electronic kit at home, or gigging and depping in function bands and the odd original project.
“I’m sorry I ruined your song!”: Mike Portnoy hears Taylor Swift's Shake It Off for the first time and plays along... with surprising results
“Nile's riff on Get Lucky is a classic example of a funk riff, where the second of each 16th-note duplet is slightly delayed”: Locking down the theory of groove

