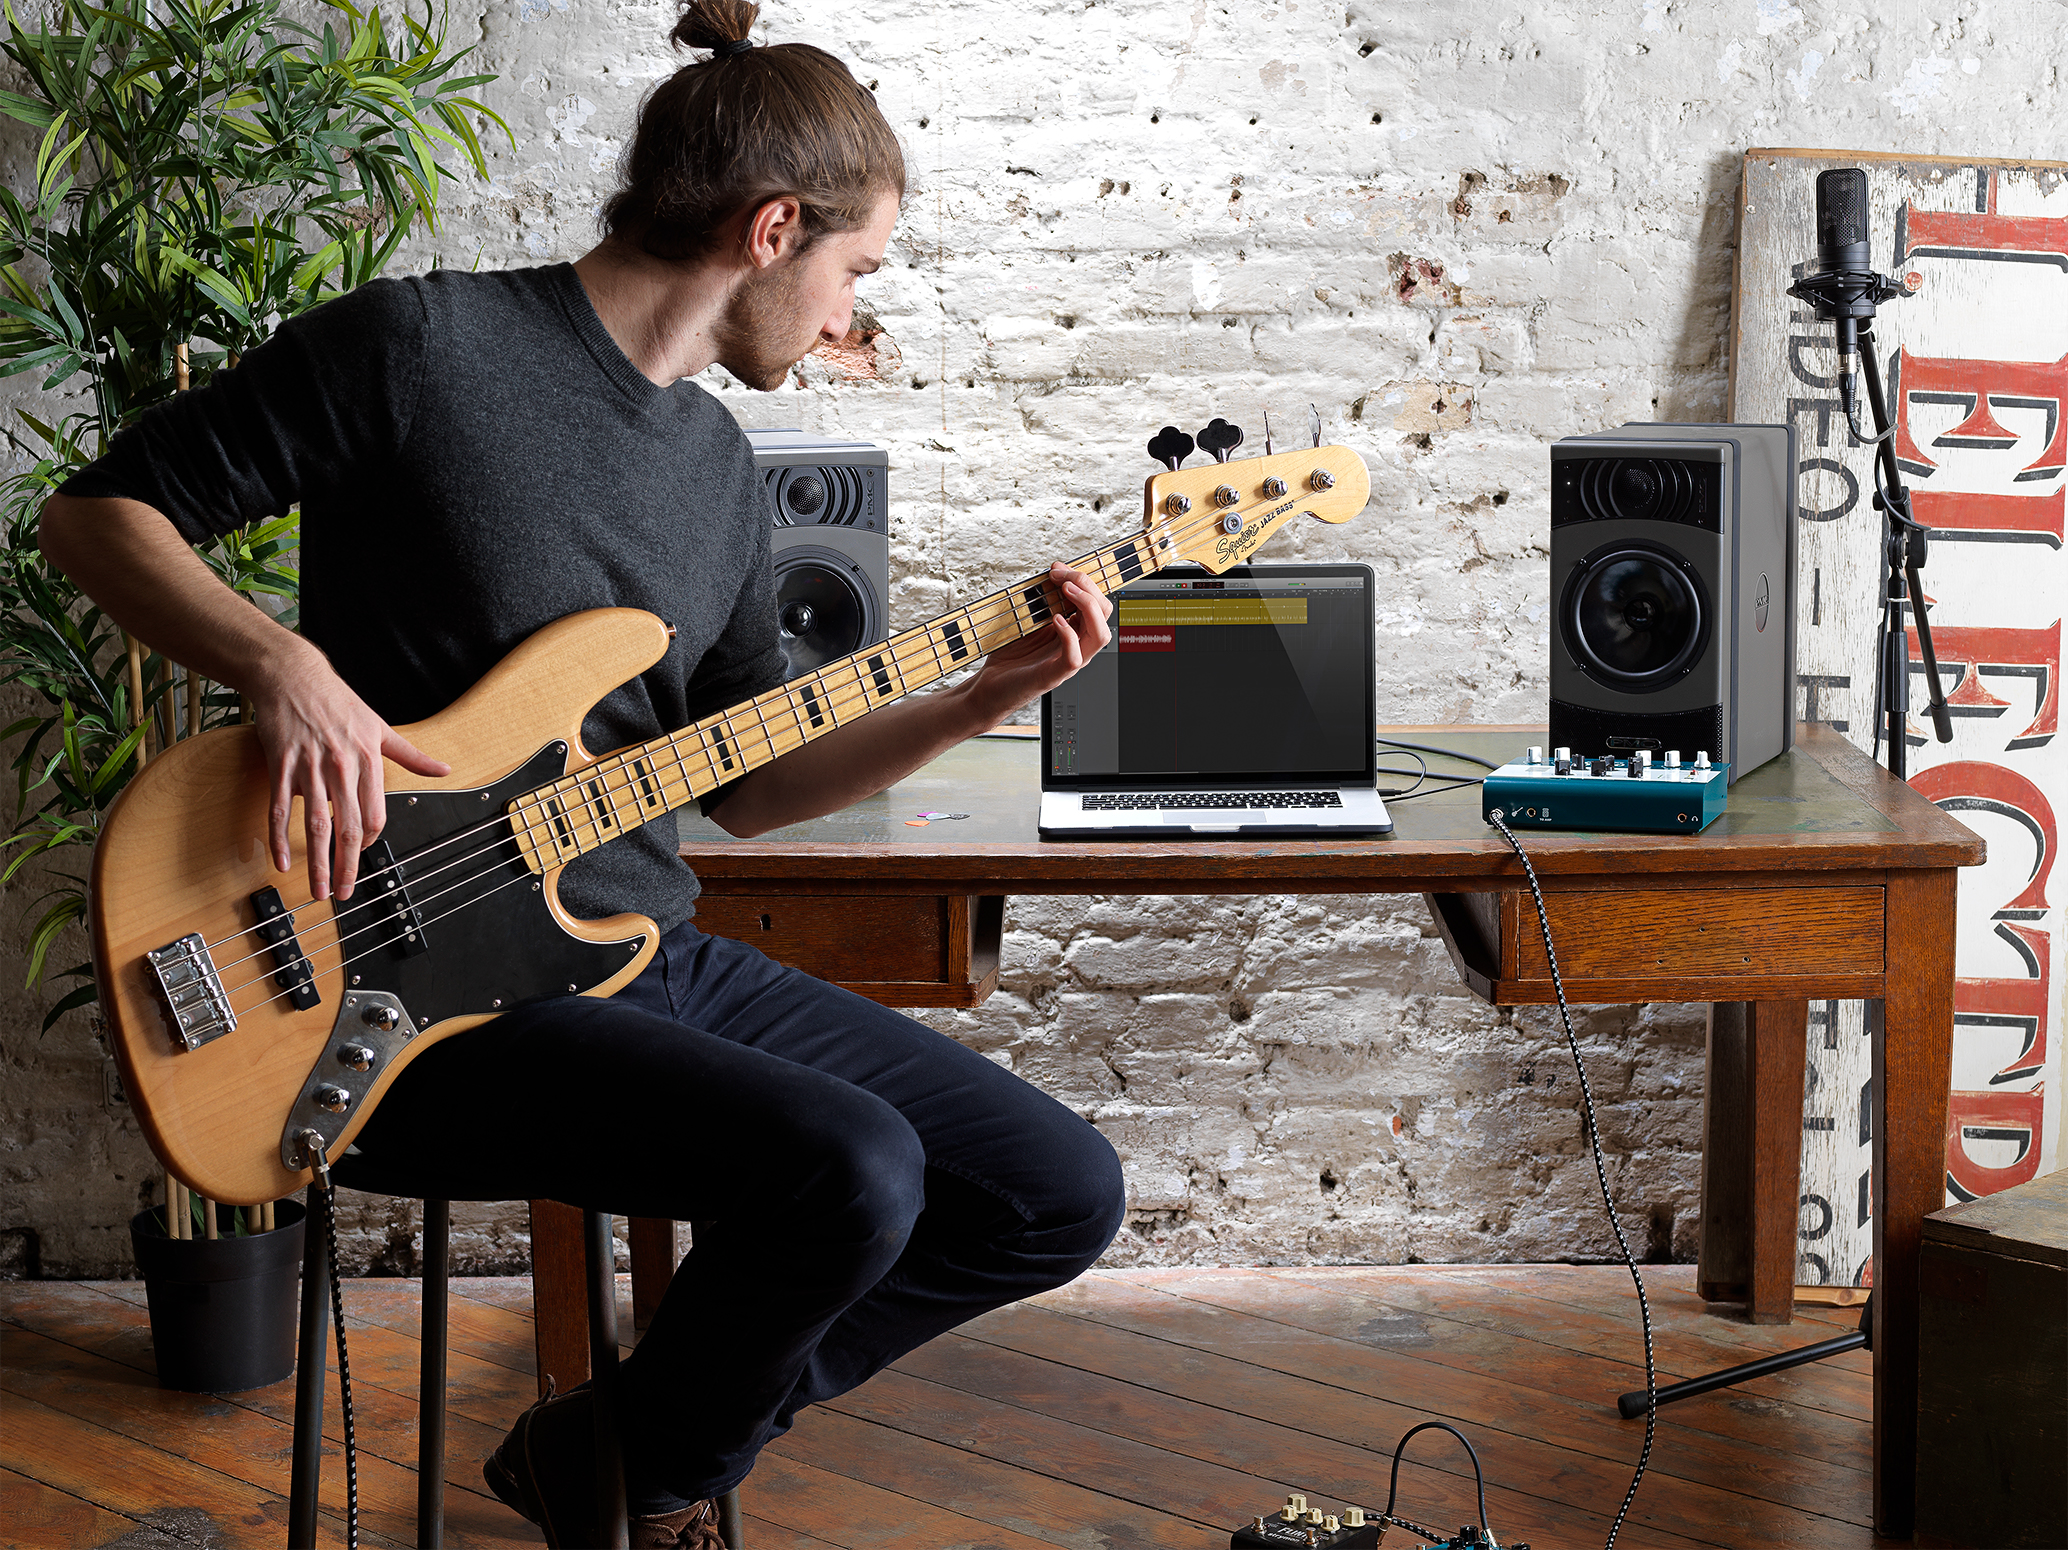
1. Choose your bass
One of the most fundamental aspects of your bass tone is what bass you’re using. You may only own one bass at this point and if that’s the case, then that is the perfect bass for the recording! However if you have a couple of basses you can choose from then consider what effect they might have on the recording.
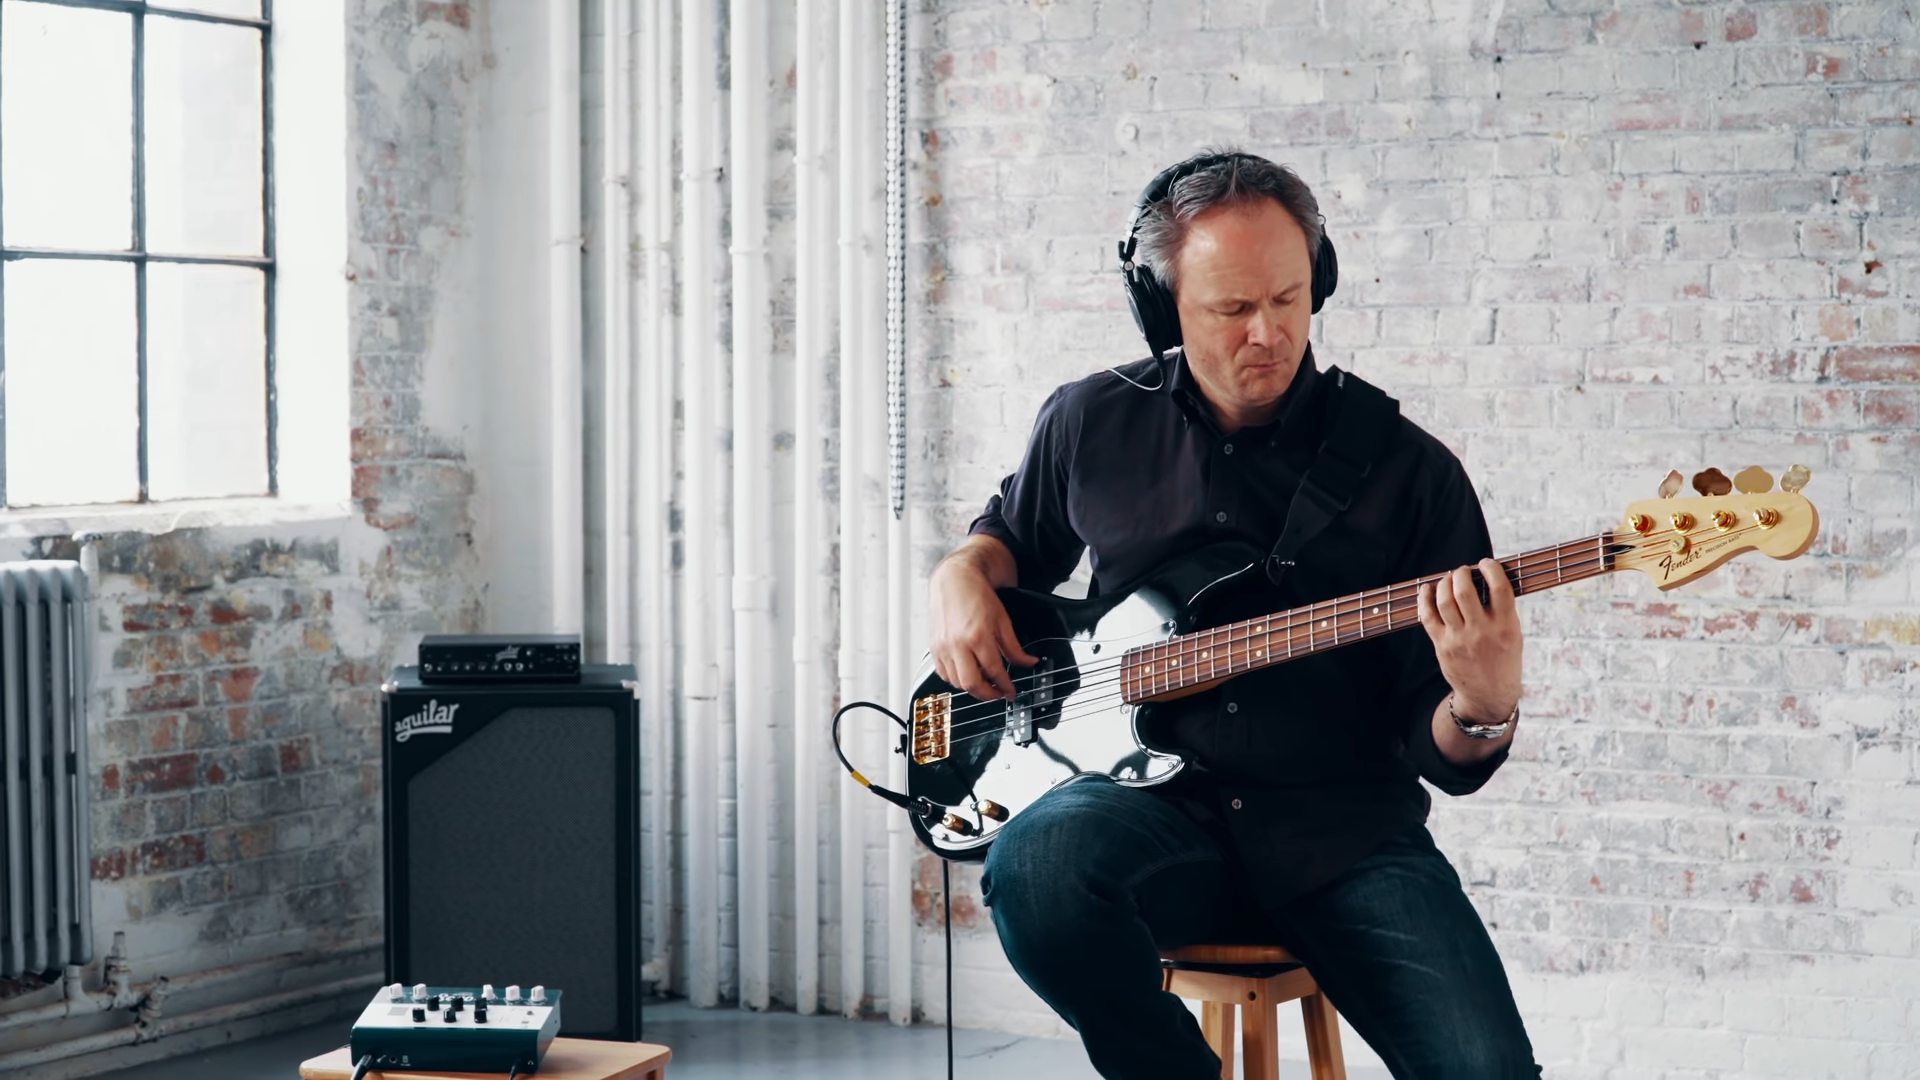
Bolt-on basses
Bolt-on basses were made popular in the 1950s with Leo Fender’s first electric bass, the Precision Bass. They tend to be really punchy in the lower frequencies, with a fast attack and a quick decay.
Notable basses: Fender P Bass / Fender Jazz Bass
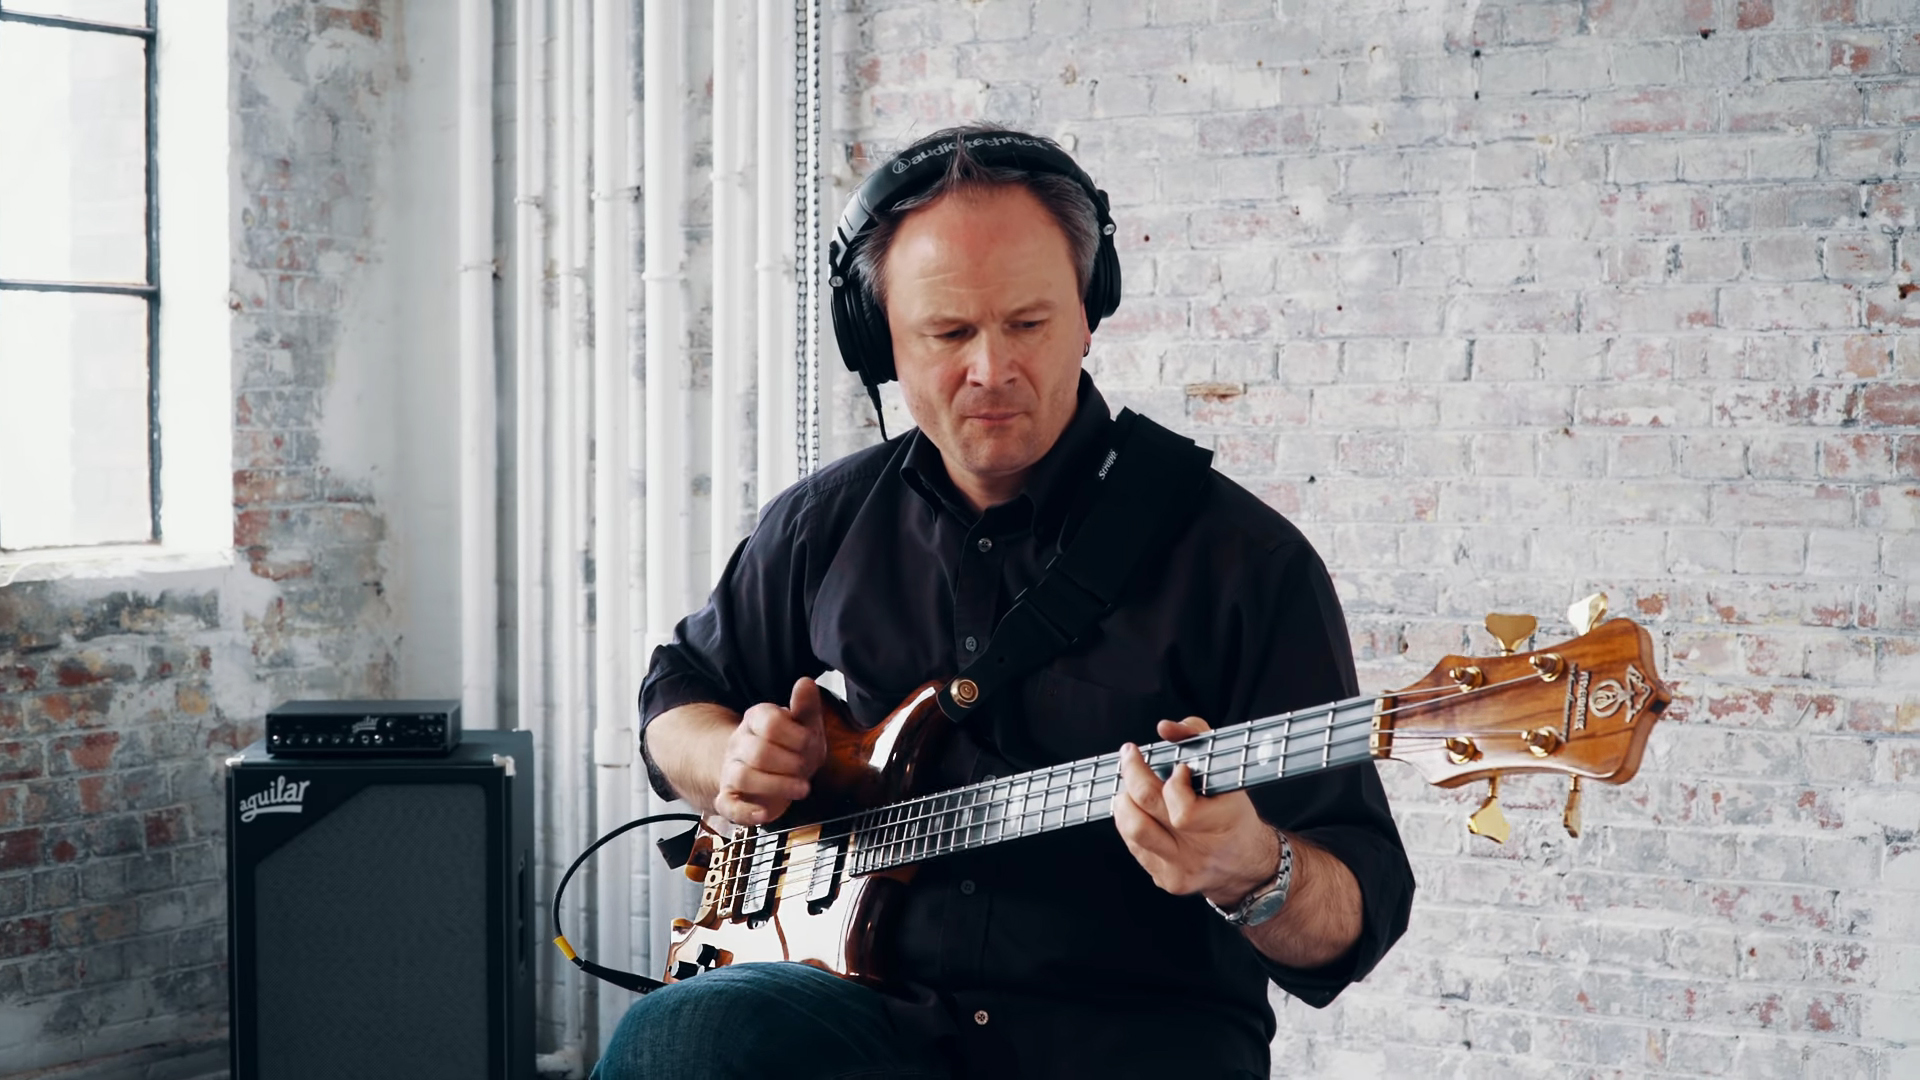
Neck-through basses
As the name suggests, the neck of the bass goes through the body to the bottom. This construction offers some different tones to the bolt on basses, generally offering longer sustain and a smoother attack, which make these types of basses very good for rock, jazz, gospel and fusion.
Notable basses: Alembic Basses

2. Choosing your amp/cab
Again, another very important choice when recording bass. The easiest option you have is to simply not use an amp and plug straight into your audio interface. With amp simulations being so real these days, it’s often easier (and quieter!) than setting up your bass rig.
However, if you want to step up your bass tones a bit more than just an amp sim, plugging into an interface like the Sono by Audient will get you a great bass tone right out of the box with it’s on board Two notes DSP processing. Instead of having to set up a bass rig and mic, Sono takes care of all of that for you, offering bass cab simulations as well as a range of mics you can use to mic up the cabs. Even if you’re not using the Two notes software you can plugin straight into the valve DI and use an amp sim of your choice. Hear how bass sounds through Sono right here.
If you’re set on recording a real bass amp and cab, consider what type of cab you’re using. Often when recording a rock bassline the cab that everyone will swear by is the 8x10. These are big and move a lot of air, so getting a decent rock tone from this will be a breeze. We recommend an 8x10 or a 4x10 if you’re playing rock music but for anything else where you need a bit more rumble and sub bass, something bigger like a 1x15 might be more appropriate.
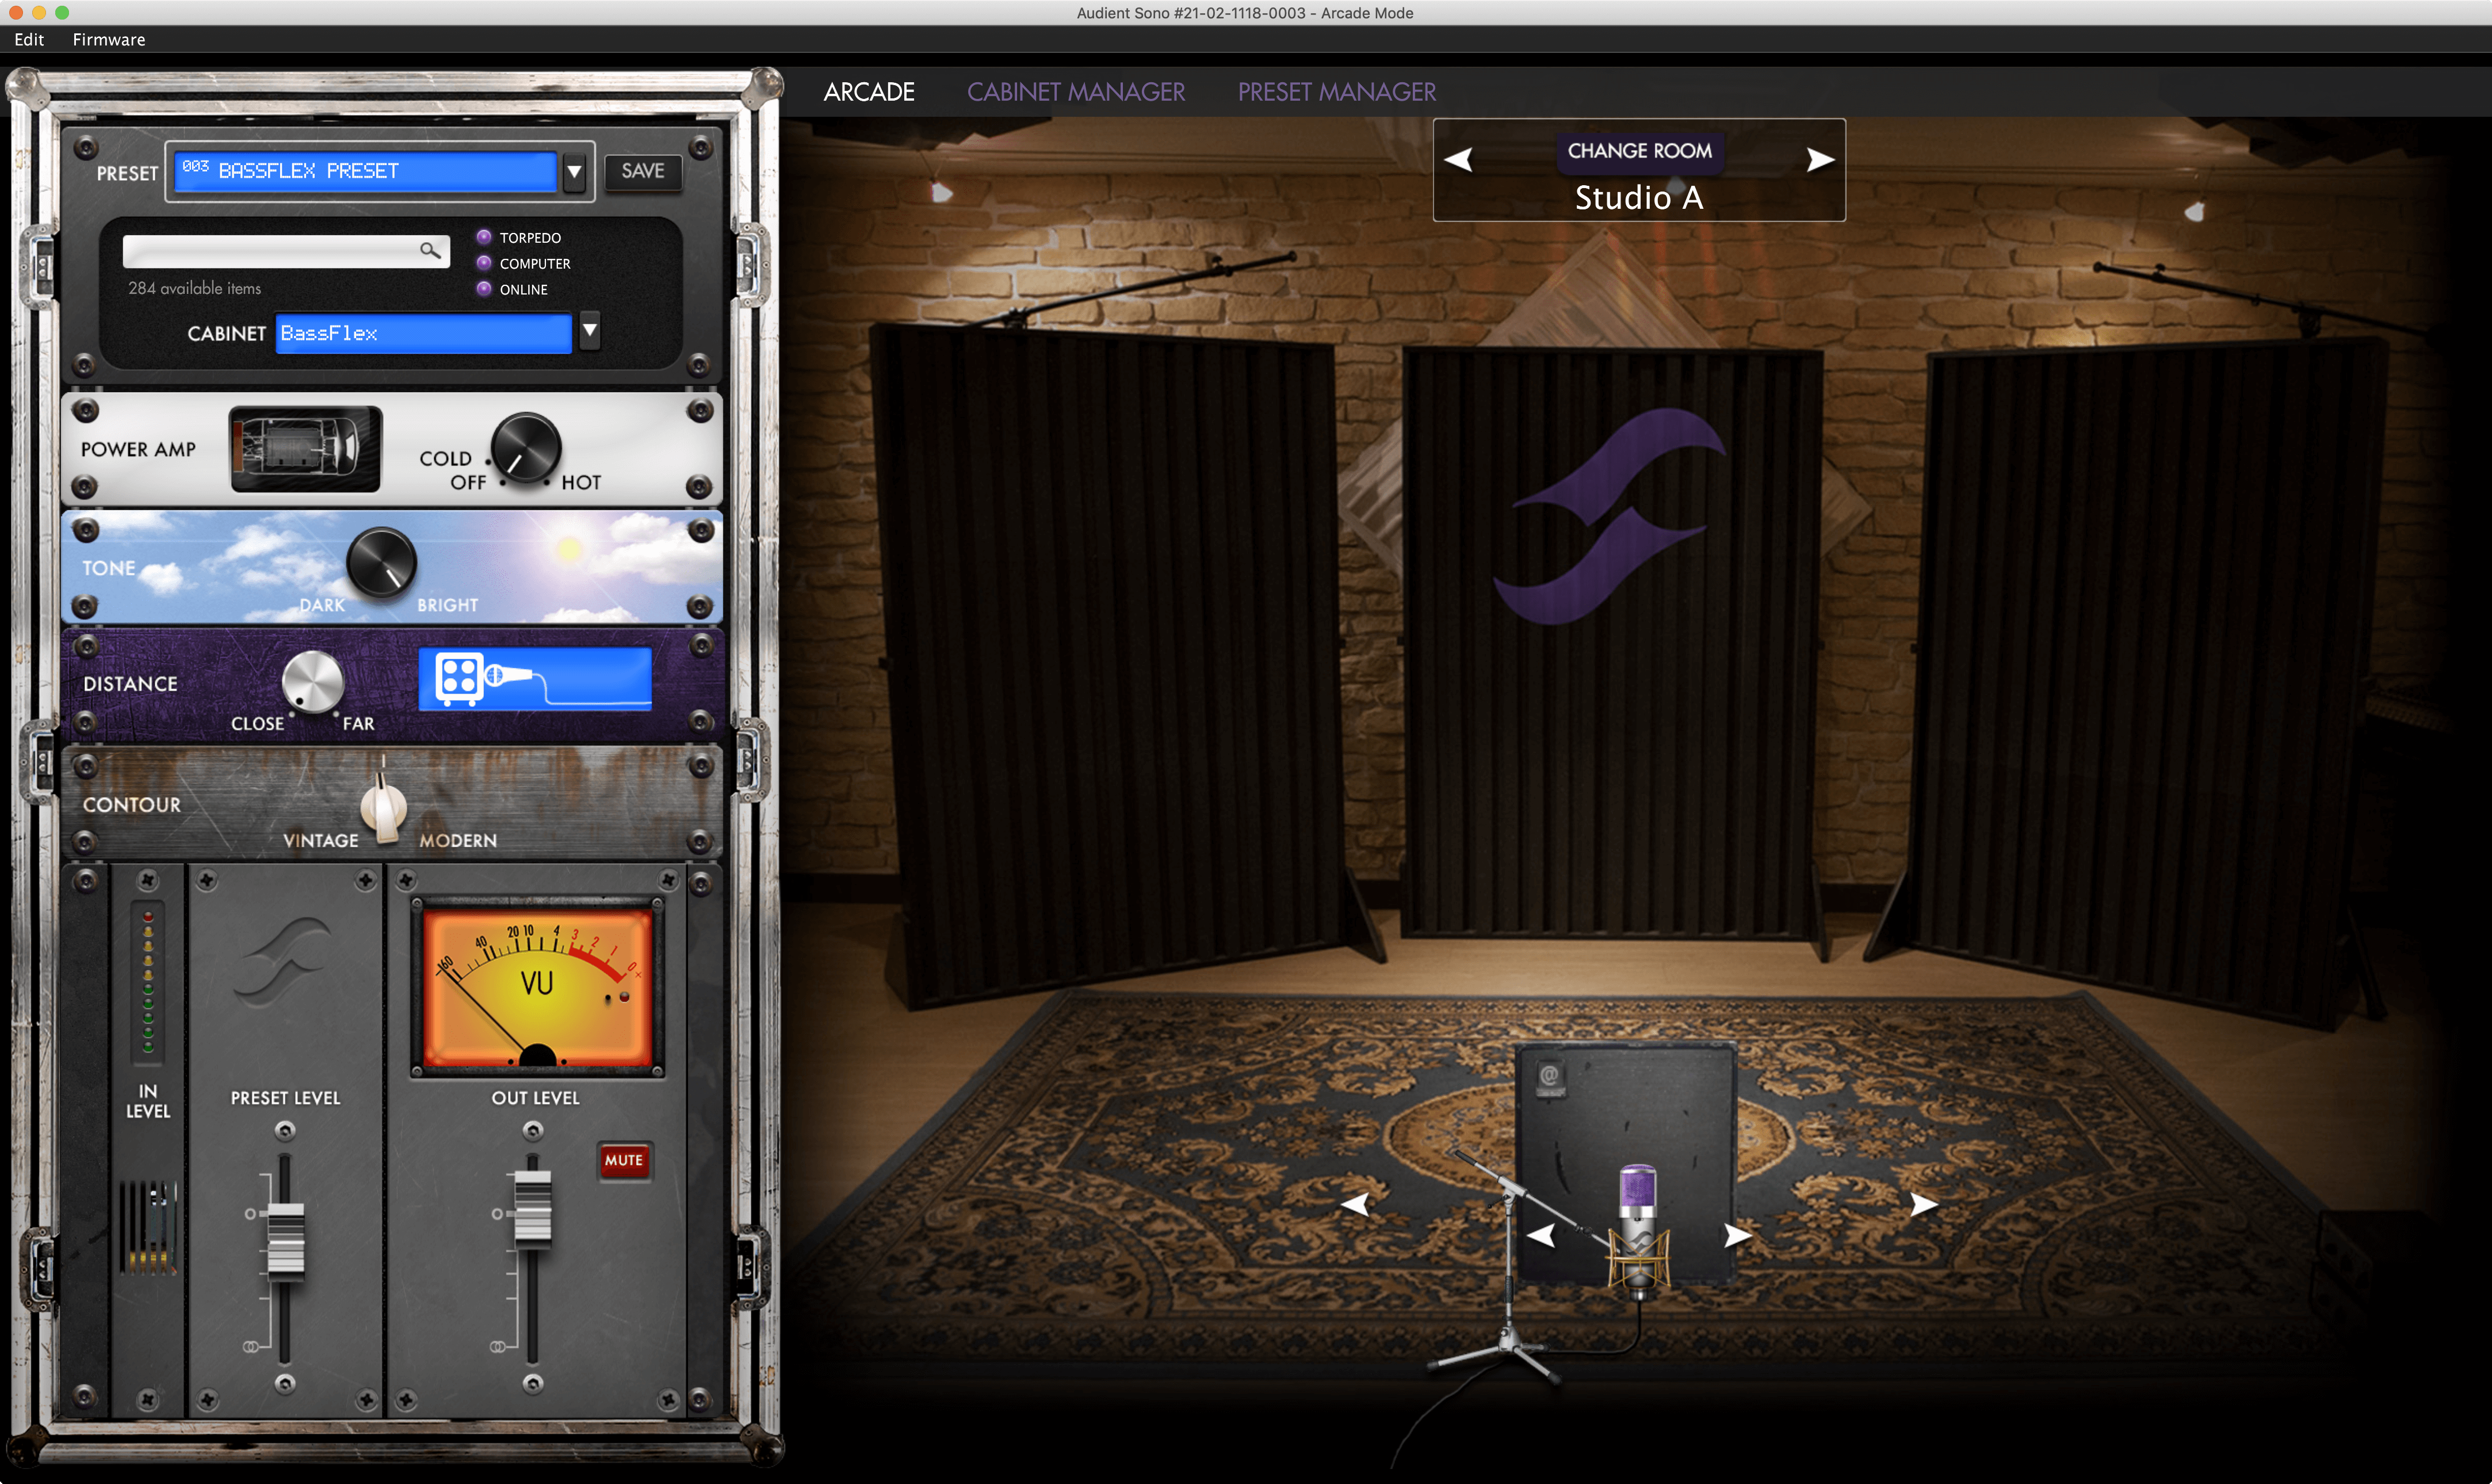
3. Mic choices
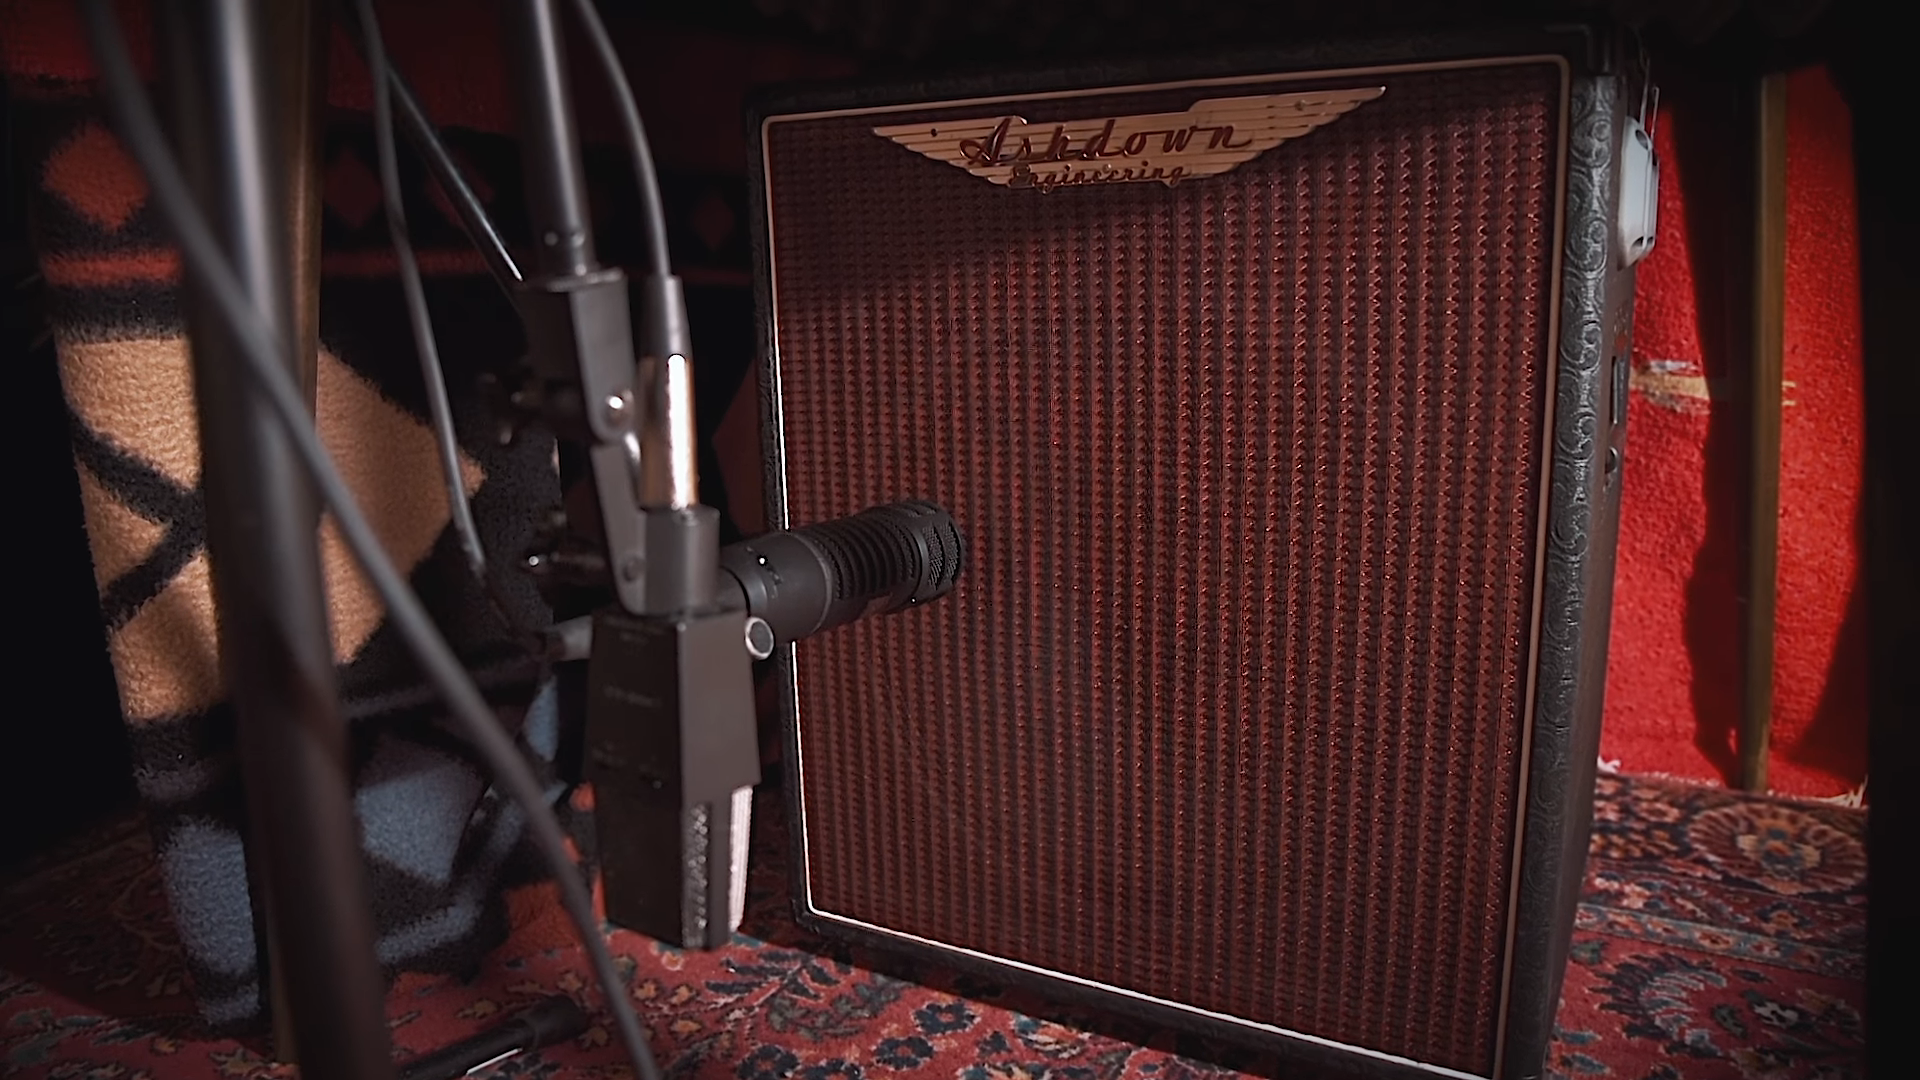
If you didn’t go down the route of plugging your guitar straight into your interface, then you’re going to consider which mics are going to be right for you. When recording a bass cab, you cannot go wrong with an RE20, 421 or even an SM57 if you’re on a tight budget.
Once you’ve got your bass rig setup, the best thing to do now is to experiment with mic positionings. If you’ve got more than 1 speaker then test the mic out in every position on every speaker. Usually each speaker will sound different, so experiment and find out which one you like the most! For more in depth bass recording tutorials, check out James Lomenzo’s tutorials on Audient’s Tutorial Hub
All that’s left for you to do now is hit record and start playing!
Get the MusicRadar Newsletter
Want all the hottest music and gear news, reviews, deals, features and more, direct to your inbox? Sign up here.