How to mix multiple vocal stems to produce a richer sound
Finding the balance with multiple vocal stems can be a challenge. Here are some tips to help you find your way to the perfect mix
When working with vocal stems in a mix, you’ll often have (or need) multiple tracks to make them really pop. There are a few things you can do to help yourself as a sound engineer before you even get to the mix.
If you know there is going to be multiple vocal takes and adlibs, consider having the vocalist use separate microphones for the adlibs. Mics have different qualities and can offer different end results. You want the lead vocal to shine brightest, without backing vocals or adlibs muddying up the same space on the frequency spectrum.
When you approach the vocals, you’re building a harmonious composite layer by layer with each track. Get the lead vocals right first and build around them. These are front and centre, but you’ll also want to make use of the full width of the stereo to bring the track to life. That’s where your secondary vocal layers come in. When all of these pieces are put together, you’ll create a complete audio experience.
Something else to consider is how the voice is an instrument just like anything else. Try out using plugins and effects as layers to enhance the song. Know your genre but also don’t be afraid to experiment and maybe you’ll come up with something pioneering of your own.
A couple of records I recommend as great examples of how the voice can be layered, manipulated and become atmospheric are James Blake’s The Colour in Anything and Frank Ocean’s Blonde.

Step 1: You should have already completed the admin parts of vocal editing before working on vocals in the mix: that means deciding which vocal takes you’ll be using, sequencing and editing on your timeline, ensuring your clips have clean fades and that any clicks or pops have been removed.
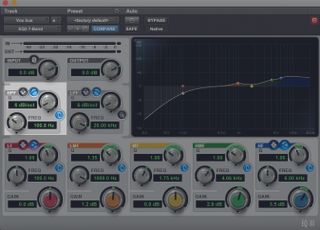
Step 2: When you add EQ plugins to your vocal chain(s), add a high-pass filter to your vocal tracks from the start. This won’t change the character of your sound but will make sure that there are no subsonic frequencies that will interfere with the balance of bass or other instruments.
Get the MusicRadar Newsletter
Want all the hottest music and gear news, reviews, deals, features and more, direct to your inbox? Sign up here.
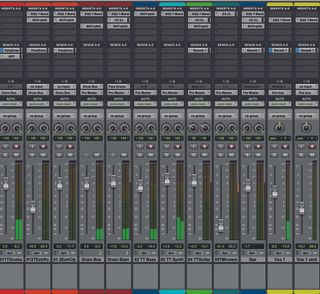
Step 3: Mix your lead vocal track against your other instruments in the first instance to get a rough balance. You should fully focus on getting the desired sound with your lead vocal through corrective EQing, volume balancing, compression and any other processing to suit your track.
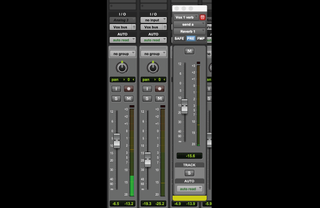
Step 4: It's a good idea to duplicate the lead vocal track to make a separate, fully wet reverb track. We talked about this in depth in our vocal reverb tutorial, but you might also want to add another duplicate using another effect, to be used purely as low-volume level atmosphere.
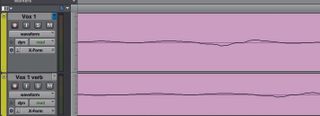
Step 5: For all of your vocal tracks, you should be careful with regards to phasing. Sound waves with the same frequency and phase will be constructive to the overall sound. Sound waves with different frequencies and phases can detract from the overall amplitude.
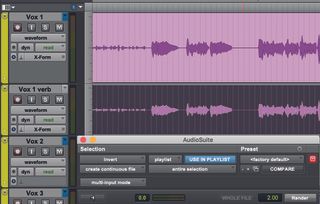
Step 6: You can hear when phasing occurs as the sound is much thinner. There will also be a visual representation when comparing the waves on your timeline. Some DAWs let you do a phase inversion flip of one of the tracks, but otherwise you can nudge a clip on your timeline until the waves are in sync.
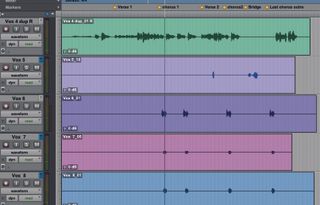
Step 7: Once you’re happy with your lead tracks, listen through your backing vocals and adlibs one by one against the lead vocal. Listen out for any other corrections that might be needed. Are the harmonies working? Does anything need tuning? Are the backing vocals doing their job and making the vocal sound full?
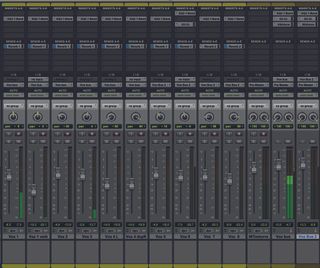
Step 8: Repeat the corrective and enhancement process with these supporting vocal tracks. Listen to each of the vocal components in isolation but also bring in the other instruments one by one. Pan the supporting vocal tracks to where they sound most effective, using the full stereo width.
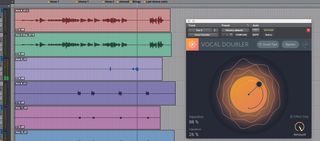
Step 9: With supporting vocal layers, you may also wish to duplicate them for the purpose of adding effects to the duplicate track. The volume on these copies might be turned down quite far just to create subtle body or atmospherics to a track.
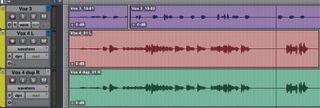
Step 10: Remember that you’re treating the vocals as an instrument like any other, so be willing to experiment with how you can enhance the vocal delivery and mood of the track with your layers and the effects you use (if you choose to use any). Of course, think about the genre you are producing for and what works well.
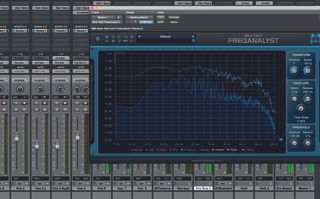
Step 11: Make sure the vocals are balancing well against the other instruments in the mix. Tweak the levels, panning and EQ of your instruments to make sure the frequency spectrum is covered and no instruments are masking each other. Vocal clarity should be a priority, but don’t lose the other elements of your mix.
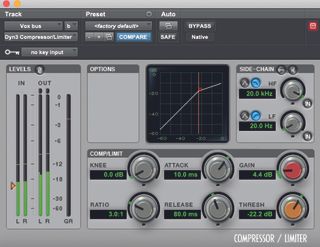
Step 12: Use compression on your vocal chain(s) to glue the various vocal tracks together. The amount needed will be entirely based on your track’s qualities. For contemporary music you’ll typically apply more than acoustic, for example. You might also try using sweeteners such as an exciter plugin to give the vocals an extra sparkle.
Pro tips...
Double trouble
iZotope’s Vocal Doubler is a free plugin that works wonders on vocals. I’ve been pleasantly surprised at how useful this has been for adlibs and effects tracks. For one, I can use this plugin without needing to create as many duplicate tracks and save precious RAM and disk space.
It also creates a great atmospheric enhancement to the lead vocal. iZotope have a number of quality tools and are one of our preferred brands for that reason. Sign up to their emails because freebies like this or special discounts will come up from time to time.
So exciting
Most DAWs nowadays will have a stock exciter plugin included, but we recommend Process Audio’s new Sugar plugin. This is a multiband exciter, so ideal to use in the mastering phase of your production. You can alter different frequency bands effortlessly to enhance the sound where it’s most needed.
This is very handy if you need your vocals to pop out just a little more above the other frequency bands. The interface is beautiful and the tool is straightforward to use. Process Audio have a free trial out now.
Computer Music magazine is the world’s best selling publication dedicated solely to making great music with your Mac or PC computer. Each issue it brings its lucky readers the best in cutting-edge tutorials, need-to-know, expert software reviews and even all the tools you actually need to make great music today, courtesy of our legendary CM Plugin Suite.

"If I wasn't recording albums every month, multiple albums, and I wasn't playing on everyone's songs, I wouldn't need any of this”: Travis Barker reveals his production tricks and gear in a new studio tour

“My management and agent have always tried to cover my back on the road”: Neil Young just axed premium gig tickets following advice from The Cure’s Robert Smith


