How to get away with using synth presets
Reaching for a preset shouldn't be taboo… Here are the tricks the professional use to proudly make presets all their own
SYNTH WEEK 2024: Why do we cry foul when we find out that our favourite sound from our favourite track is – in fact – preset 32 from bank F on a keyboard that anyone could own? Using presets in your music is a down and dirty shortcut that no musician likes to admit in public.
But there's a way to play the preset game and get all the advantages (quick and easy, great-sounding patches in minutes) with non of those pesky plagiarism problems.
The professional producer - by which we mean the type that finishes singles, EPs and albums - knows that creative preset-surfing can often generate the most inspiring combination of sounds, and ultimately propel a track through to completion. And the word to note here is 'combination'.
A piece of music isn’t just a single sound; it’s something that becomes more than the sum of its parts. Who cares where the initial sound came from? It’s the end product that matters! Plus, two producers would never combine the same two presets in the same way.
The true skill lies in your ability to rework sounds into something uniquely yours - which is what we’re going to explore in this feature.
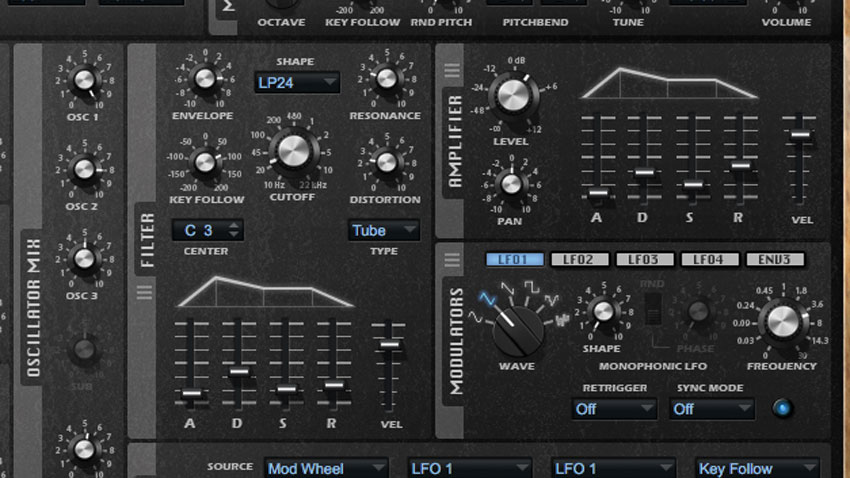
Step 1: Pay attention to the pitch of a preset. Bass patches will usually be tuned to lower notes on the keyboard. If you’re looking through string presets, trigger them at higher registers to get the best out of them. As you audition, try quickly shifting individual oscillators up or down an octave within the synth, to help the patch fit in context straight away.
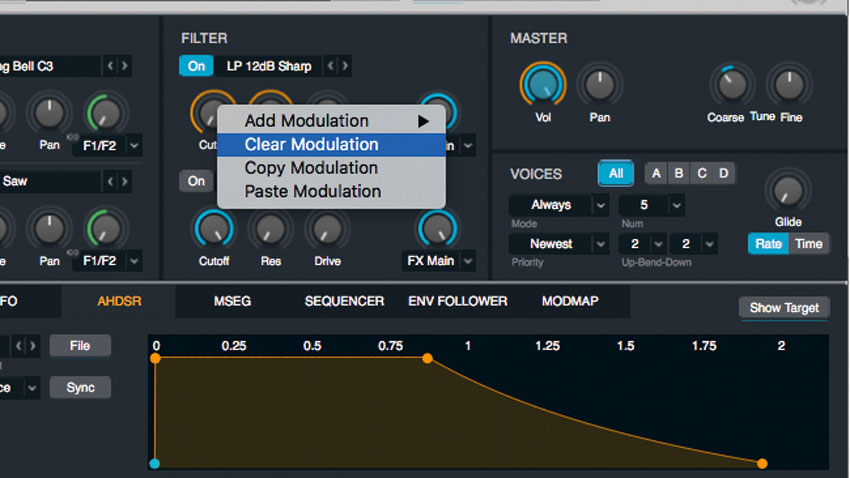
Step 2: Reverse engineer some of your favourite presets. Undo all modulation routings, fancy oscillator settings, filters, etc. This way, you’ll quickly gain an understanding of what made that preset so great. After that, try recreating the patch from memory - you’ll no doubt do some things differently and put your own stamp on the sound.
Get the MusicRadar Newsletter
Want all the hottest music and gear news, reviews, deals, features and more, direct to your inbox? Sign up here.
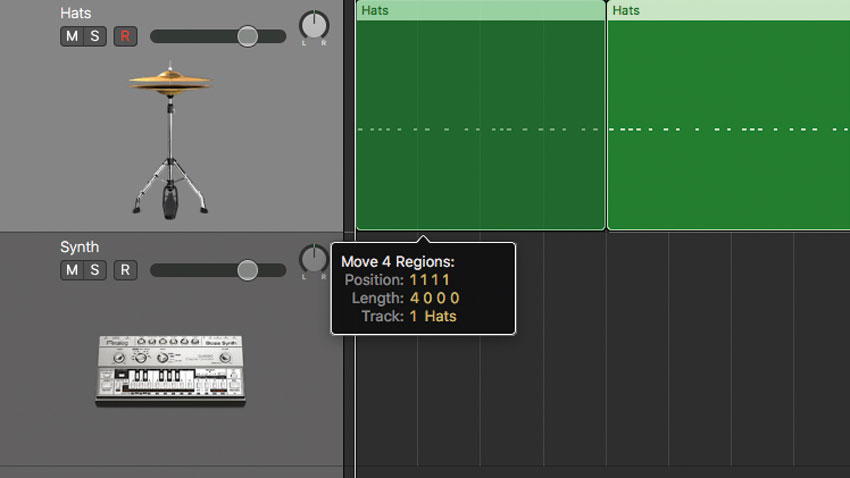
Step 3: Try throwing random MIDI from elsewhere in your project onto a new synth channel. For example, trigger synth presets with the MIDI from your drum track - or vice versa. Using the MIDI from your drums to trigger a melodic part should also create a strong rhythmic relationship between these different elements in your track, and you can then adapt the pitches of your notes to suit.
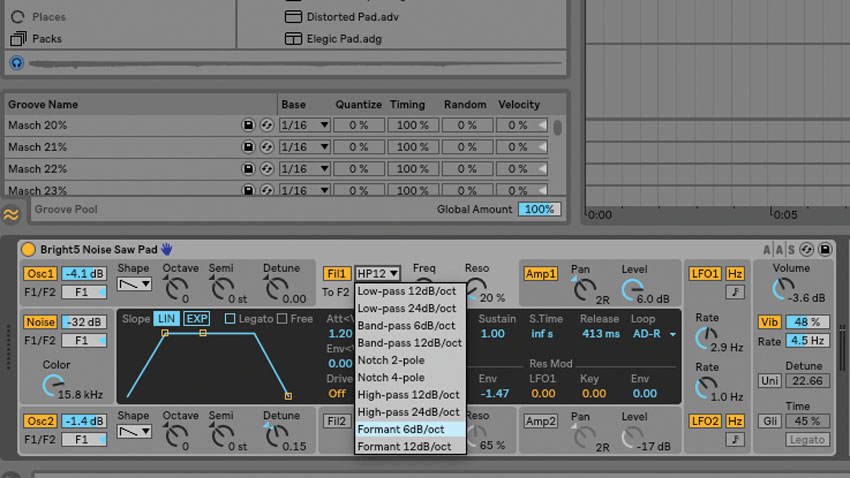
Step 4: The oscillator and filter sections of a synth give a patch most of its timbral character. Try turning the oscillators off, detuning them, adding new ones and changing the waveforms. Experiment with different filter types – if there’s filter modulation set up already, changing the filter type will hugely transform the overall sound.
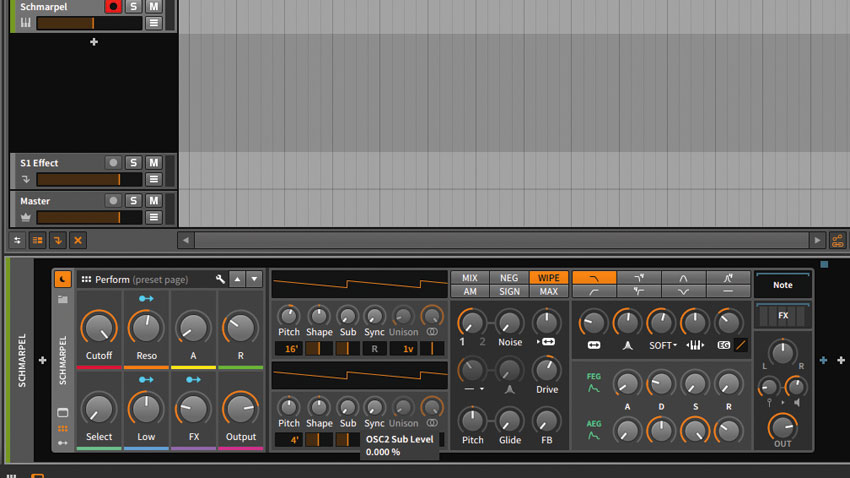
Step 5: This tip goes without saying: learn your synthesiser inside out! When you’re searching for presets and you come across something you like, you’ll instantly know how to tweak or edit the patch to fit your needs. This will also develop your synthesis skills, meaning you’ll be much more fluent approaching and working with new synths and soundbanks.
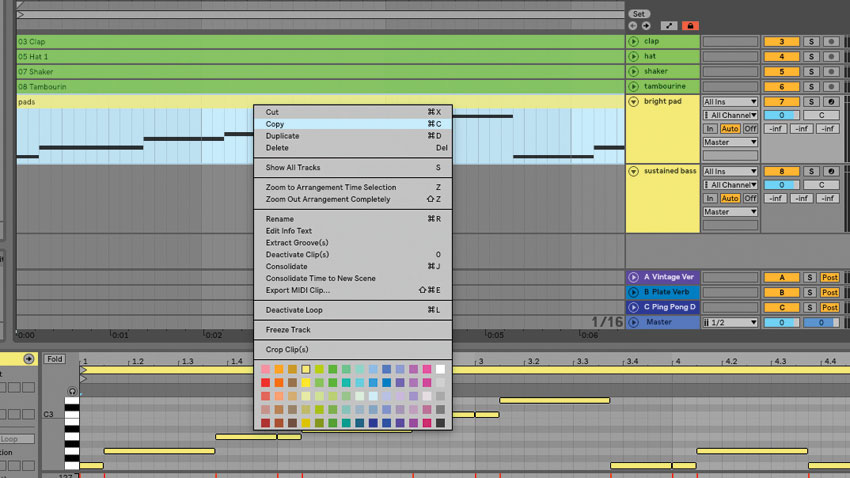
Step 6: If you’ve got a MIDI part you like, but don’t know where to turn next, copy it to a new channel and fire up some MIDI effects to see what happens. Take your bass notes and copy them over to an empty lead track containing a Chord device; or run the MIDI from your chord progression through an arpeggiator to create a bass riff.
Computer Music magazine is the world’s best selling publication dedicated solely to making great music with your Mac or PC computer. Each issue it brings its lucky readers the best in cutting-edge tutorials, need-to-know, expert software reviews and even all the tools you actually need to make great music today, courtesy of our legendary CM Plugin Suite.
"There’s plenty for us guitarists to learn – and ‘less is more’ is the overriding lesson": how to play like George Harrison on The Beatles' Abbey Road
“How daring to have a long intro before he’s even singing. It’s like psychedelic Mozart”: With The Rose Of Laura Nyro, Elton John and Brandi Carlile are paying tribute to both a 'forgotten' songwriter and the lost art of the long song intro


