How to get a great guitar sound... without paying an engineer
We unlock the secrets of mixing with guitars, showing you how to achieve a studio-quality tone in your DAW

It’s all well and good having a distinctive guitar tone and a wide range of effects at your disposal, but you always need to consider just how your guitar works with the other elements of your tracks.
It shouldn’t stick out like a sore thumb, but also you don’t want it to be buried beneath the other instruments. In the final part of our guitar series, let’s take a look at how we can prevent that from happening…
In the first three parts of this series we have looked at virtual guitar instruments, creating the right tone, and virtual amps and effects. Now, for the final part of this huge series, it’s time to mix everything up!
The traditional setup of guitar, bass and drums was a reliable bedrock of the rock world for years, and though there are bands out there who still adhere to this basic template, for many, the convenience of having a stock setup ready to go has been supplanted by the limitless levels of musical texture that you can now add to your mix within a DAW, coupled with the enormous potential of sample libraries.
The guitar therefore might need to be considered not a central focal point of the mix, but as a subtle element that brings its distinct qualities to your track.
In the mix
Whether you’re going to approach guitar in this way, or even if you do actually want an in-your-face, six-string assault, one thing you’re going to need to get a handle on is just where in the mix the guitar sits, and what considerations you need to apply to make sure that it plays nicely with the other track elements.
Spatial processing and stereo panning can really help here. Reverb isn’t just an effect that adds a bit of character to your sound, it can forge the integral glue that holds guitars in a mix together.
Get the MusicRadar Newsletter
Want all the hottest music and gear news, reviews, deals, features and more, direct to your inbox? Sign up here.
As we emphasised in our guide to processing your guitar in your DAW, it’s best to handle those additional mix effects after you’ve recorded the guitar as dry as possible — this will give you more scope to manipulate it further on. If you add reverb as a send effect as opposed to applying it directly to your guitar recording, you can pepper the signal with more creative effects later.
If the same reverb parameters are applied to multiple guitars in a mix, the coherent
room sound can help deceive listeners into assuming that all the guitars were actually captured in the same space. Furthermore, panning each instrument to dedicated positions in the image helps to maintain the one-room illusion.
This is also relatively true for other instruments (piano, vocals) though they may need to be sculpted slightly differently, depending on their frequency ranges (guitars are typically sitting somewhere between 500Hz to 2kHz). While reverb is great for bringing sounds together, delay effects can be put to use in a widening capacity. The smallest, most intricate riffs can work so much more effectively with the application of around 40 to 120 ms of delay.
Equality
You’re going to need to keep an eye on the EQ too. If you’re performing rhythm or applying some chord washes to your track, then the low end of your guitar might be competing with the bass frequencies.
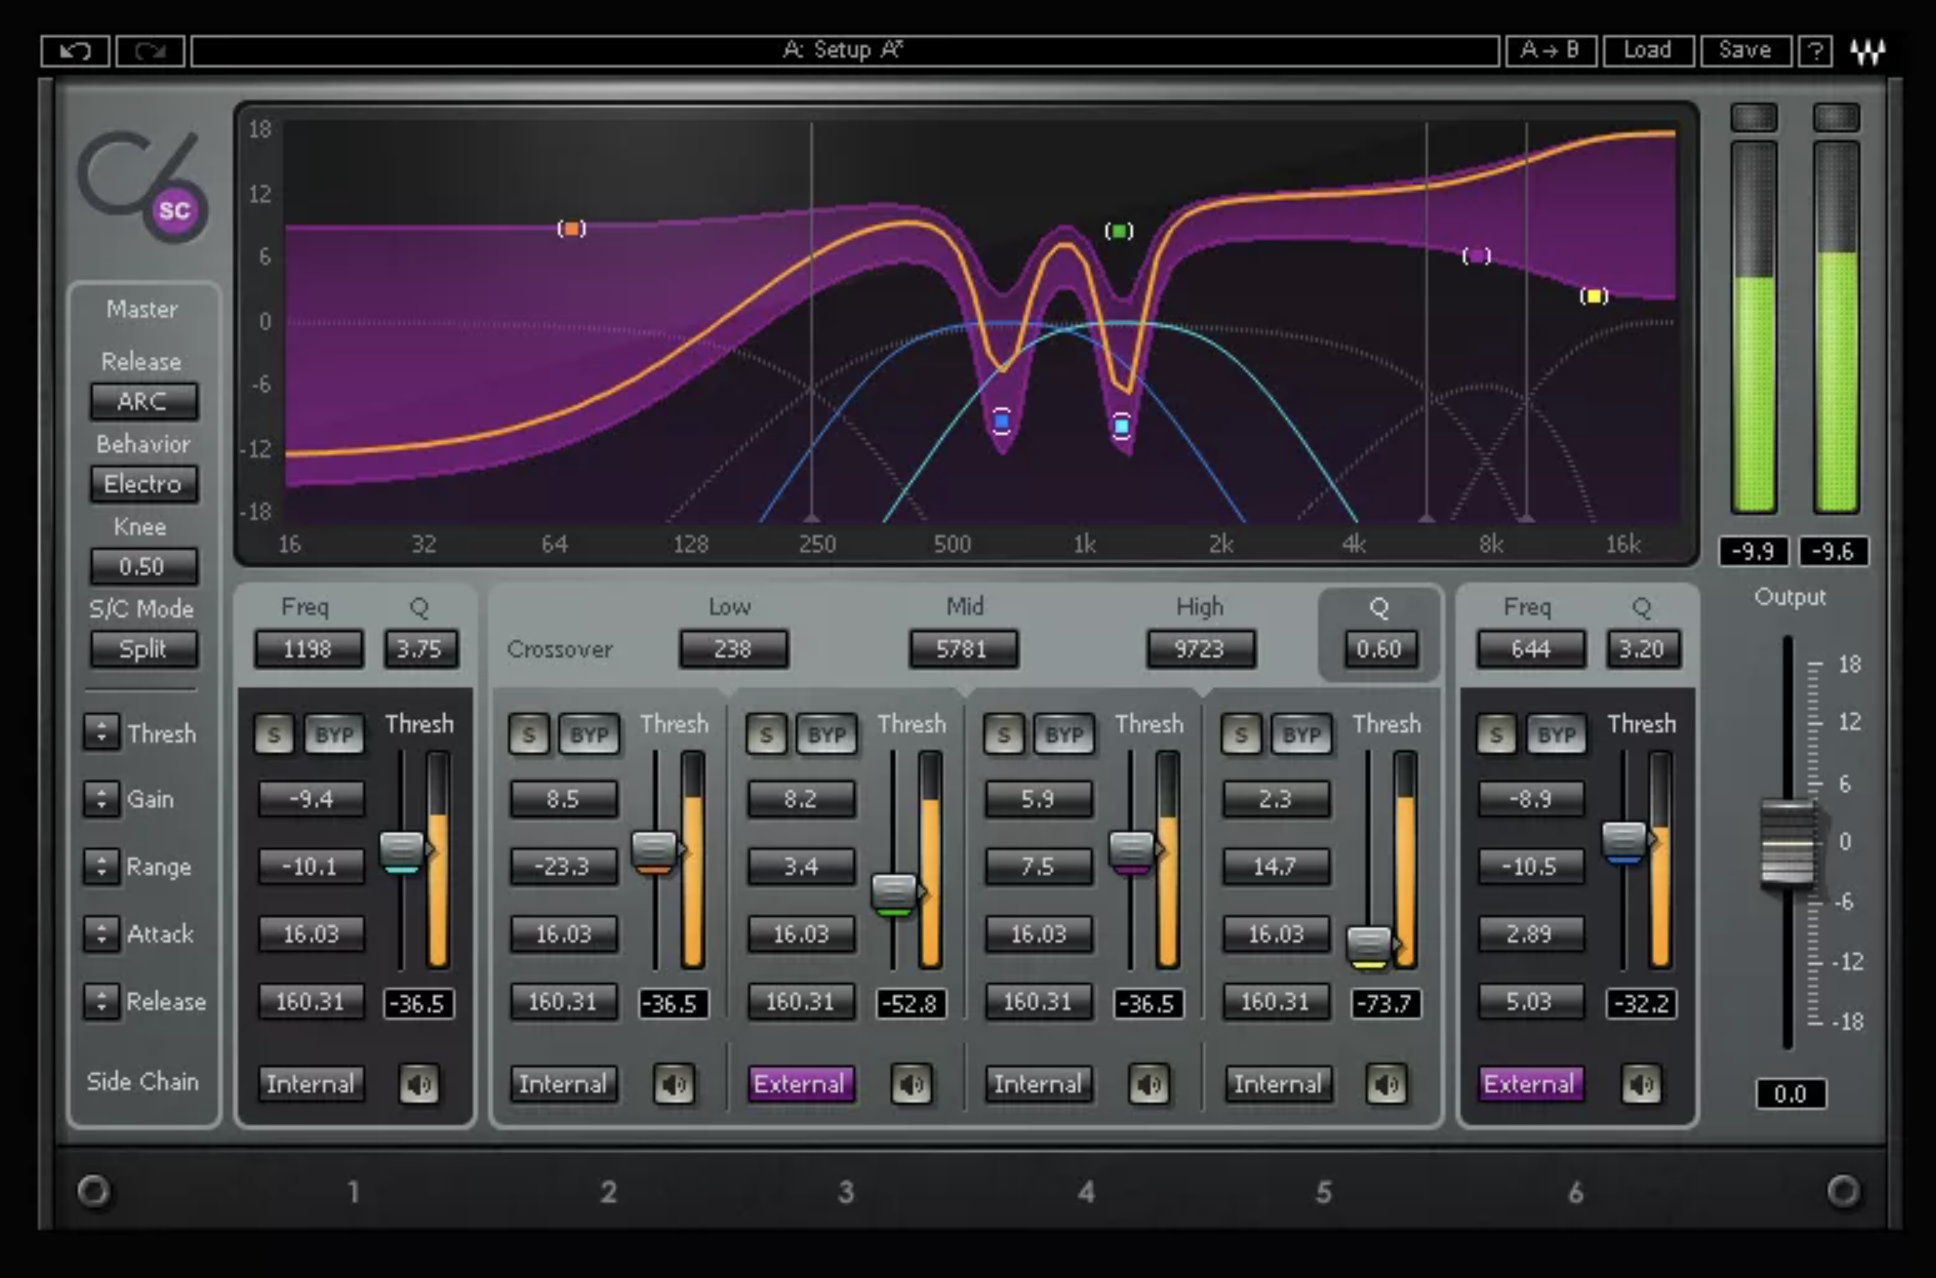
Most bass frequencies are around the 90-200Hz region, so you should begin to filter out anything in this ballpark, but be mindful of how removing even a few frequencies can change the overall tone. Your DAW should have the required frequency cutting abilities, while a free dedicated low-pass filter plugin, such as TAL’s Filter 2, can quickly solve your problems, while also serving as a fun creative tool in its
own right.
It’s not just the low frequencies that might cause problems. If you’re adding some twinkly arpeggios or screaming little lead lines, you’ll want to watch that your guitar tracks aren’t suddenly leaping up to the same mix or frequency position as your other high-register elements, such as synth, keys or vocals. Though typically this is not as much of a headache as the low end.
Heavy load
While your guitar signal chain might sound absolutely top notch, and loaded up with all kinds of full-bodied effects, when it’s added to your mix, the whole tone might be completely wrong for the track. Therefore it’s important that you start with the track in question, particularly if the guitar isn’t the sole focal point.
You should carve a tone that suits the mix, and try not to labour over your solo’d guitar tone too much – after all, it’s the interplay between that and the other elements that is the bigger make-or-break concern. Even if you’re trying to comp different guitar takes, and trying to work out which is the better version of your pass, hearing them in the context of the full mix is invariably better than close listening to them as isolated instruments.
How to get a great guitar sound... without buying an amp
With that principle in mind then, do not go overboard with your overdrive. Distortion effects are normally rife with buzzing low-end and high-end frequencies that need to be sculpted down before you baste them into your mix.
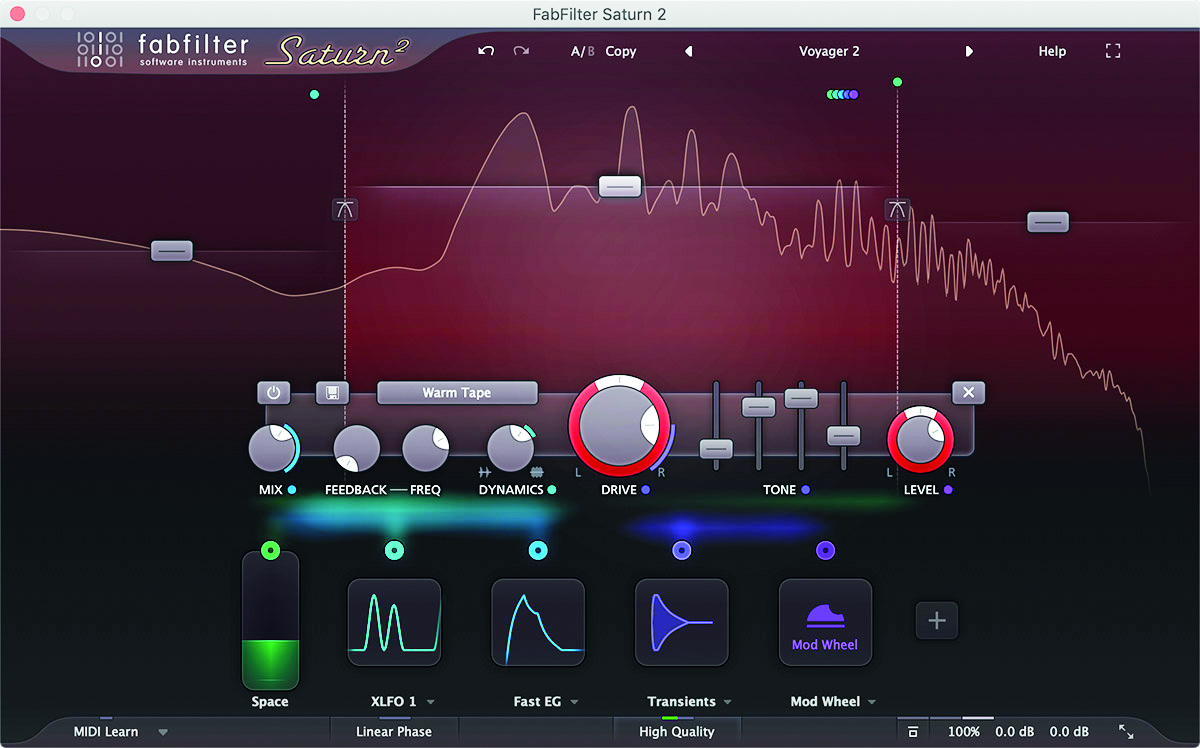
A decent parametric EQ can be super useful for taming those unwanted harmonic resonance build-ups that overdrives tend to add. Or just leave your grit to a saturation plugin, such as FabFilter’s Saturn 2, which visualises what its multi-band frazzling is actually doing to your dynamics, making the harmonic curbing process much easier.
Peak practice
While distortion and overdrive effects are among the most tricky to wrangle, the same, mix-first principle stands for the other smorgasbord of sounds at your disposal too. Remember, never just work on the guitar sound in isolation when you’re deep into the mix process – you’ll probably end up doing more harm than good!
While keeping an eye on those unwanted competing frequencies is a big aspect to be wary of, another major factor is boosting and levelling out your sound. Compressors are vital here, and the right application of compression can make sure your more delicate noodling and your high-intensity, faster parts are equally represented in the mix. A midrange boost can accentuate the impact of your guitar signal and make sure it’s not lost within the sea of other sounds.
Typically, a compressor will squash the dynamics of your waveform, bringing everything more in line and less sonically variable. Transients are those high-impact sounds that you typically get with drum hits but in guitar terms, we’re mainly talking about strums leaping forward abrasively from the mix.
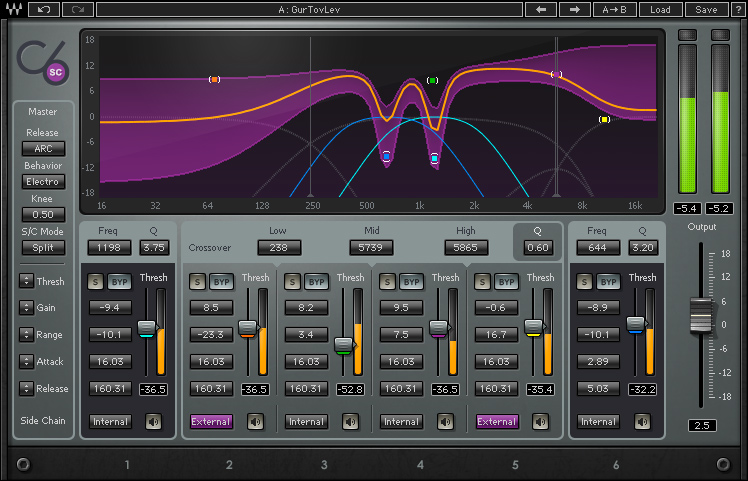
Using a compressor to trim down these high-impact waveforms can yield a much less rough sound. But be careful, as you might still want to capture the organic, rhythmic qualities of the performance, so it may be necessary to set a slower attack speed (the speed in which the compressor scopes out the uncomfortable transients). This will vary depending on how guitar is applied to your track, but pacifying those harsher transients will keep things grounded.
It may just be the case that a simple fattening up is required and there’s really nothing better than good old double-tracking the same part (which has been performed slightly differently) and panning these to different sides, to create a sandwiching effect, wherein the guitar is the central structure of your mix, as opposed to a standout lead instrument.
The stereo spread of the guitars doubly will emphasise your chordal choices, while the very subtle variations in your performance sell the illusion that there’s two guitars being played (because, there is!). Never just double-track your take and pan it, as it just sounds artificial.
Mixing guitars in Logic
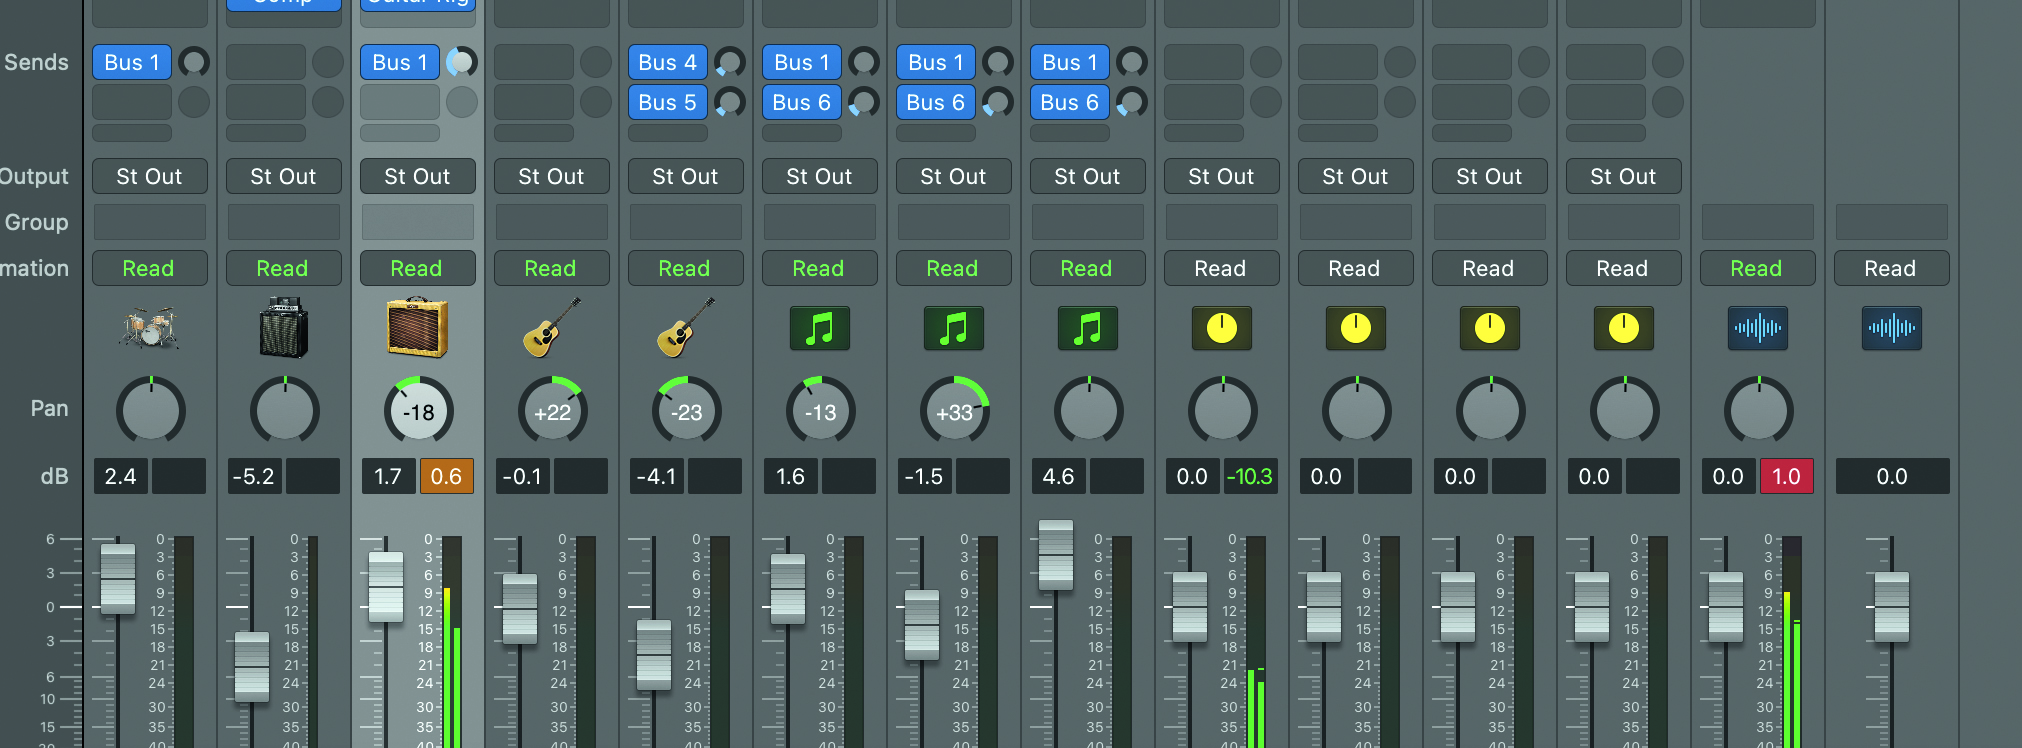
Step 1: The first step to achieving a great guitar sound in your mix is to make sure you’ve captured it at a tolerable level, and not too high a volume that you’re peaking the input signal. Keep your eye on the red, because if you’ve got a crackly sound, it’s hard to fix later.
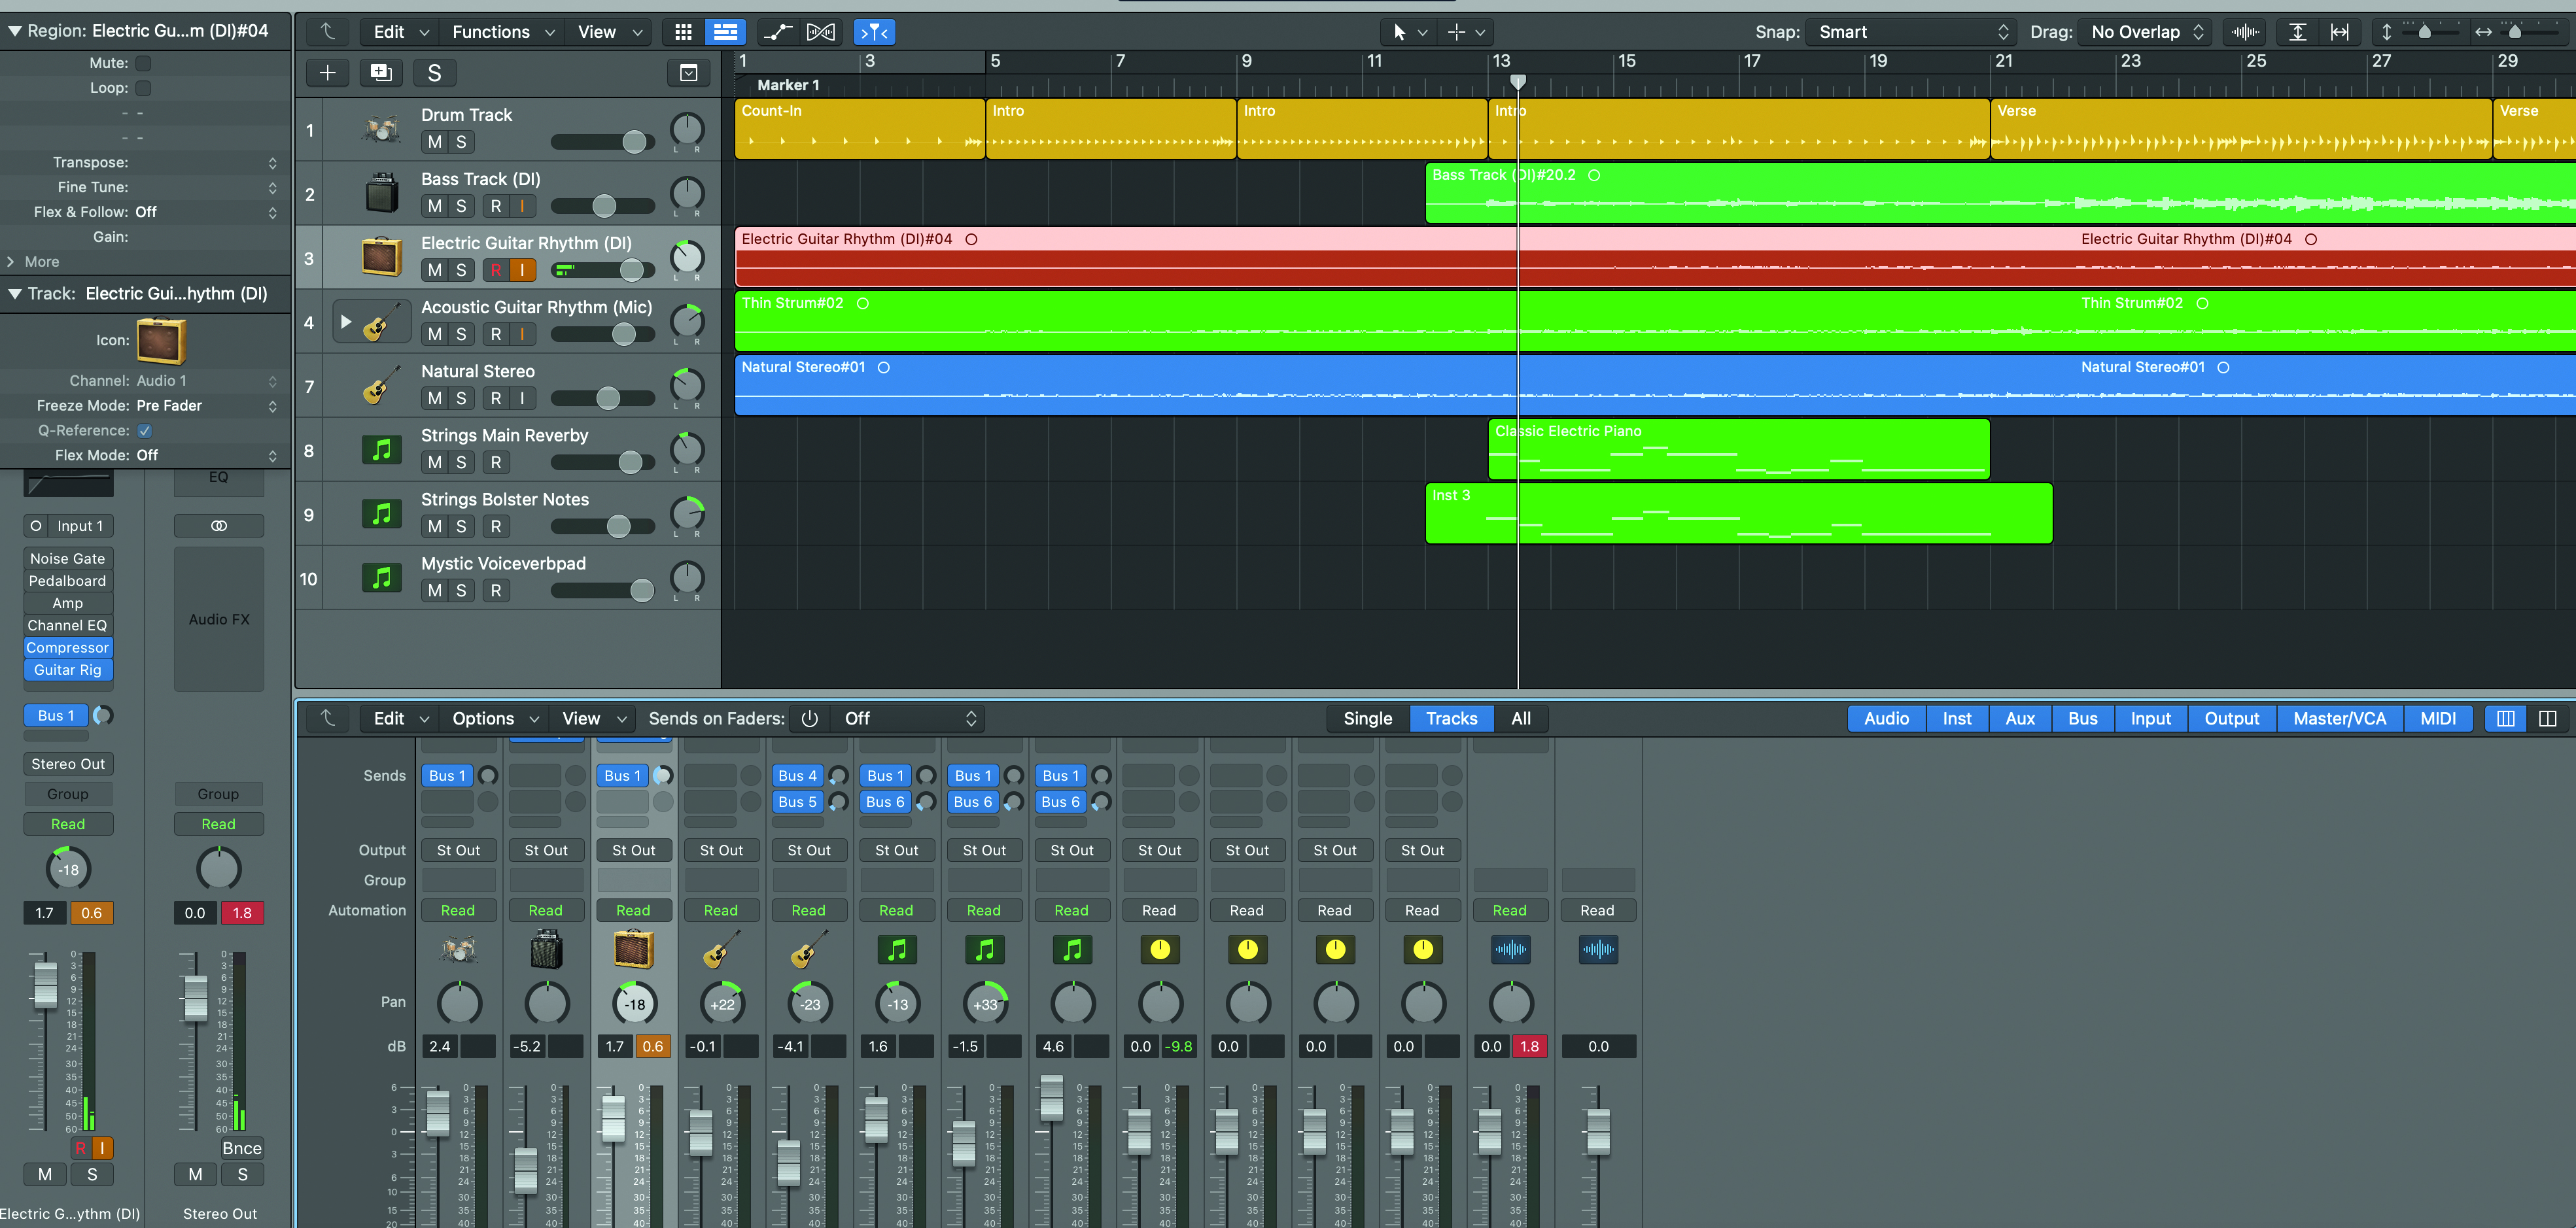
Step 2: Every DAW provides a different layout and a set of tools, though there are some established methods for sculpting your guitar sound to exist comfortably in a mix. Here we’re working in Logic, on a track that features a full band, as well as a virtual string section.

Step 3: It’s key to get a handle on the overall shape of the track, and how you’d like your guitar parts to sound. Do you want acoustic rhythms, or spotlight moment lead solos? Each requires unique tone choices, but the fundamental mixing consideration of both is to be aware of the position of your instrument in the frequency spectrum.
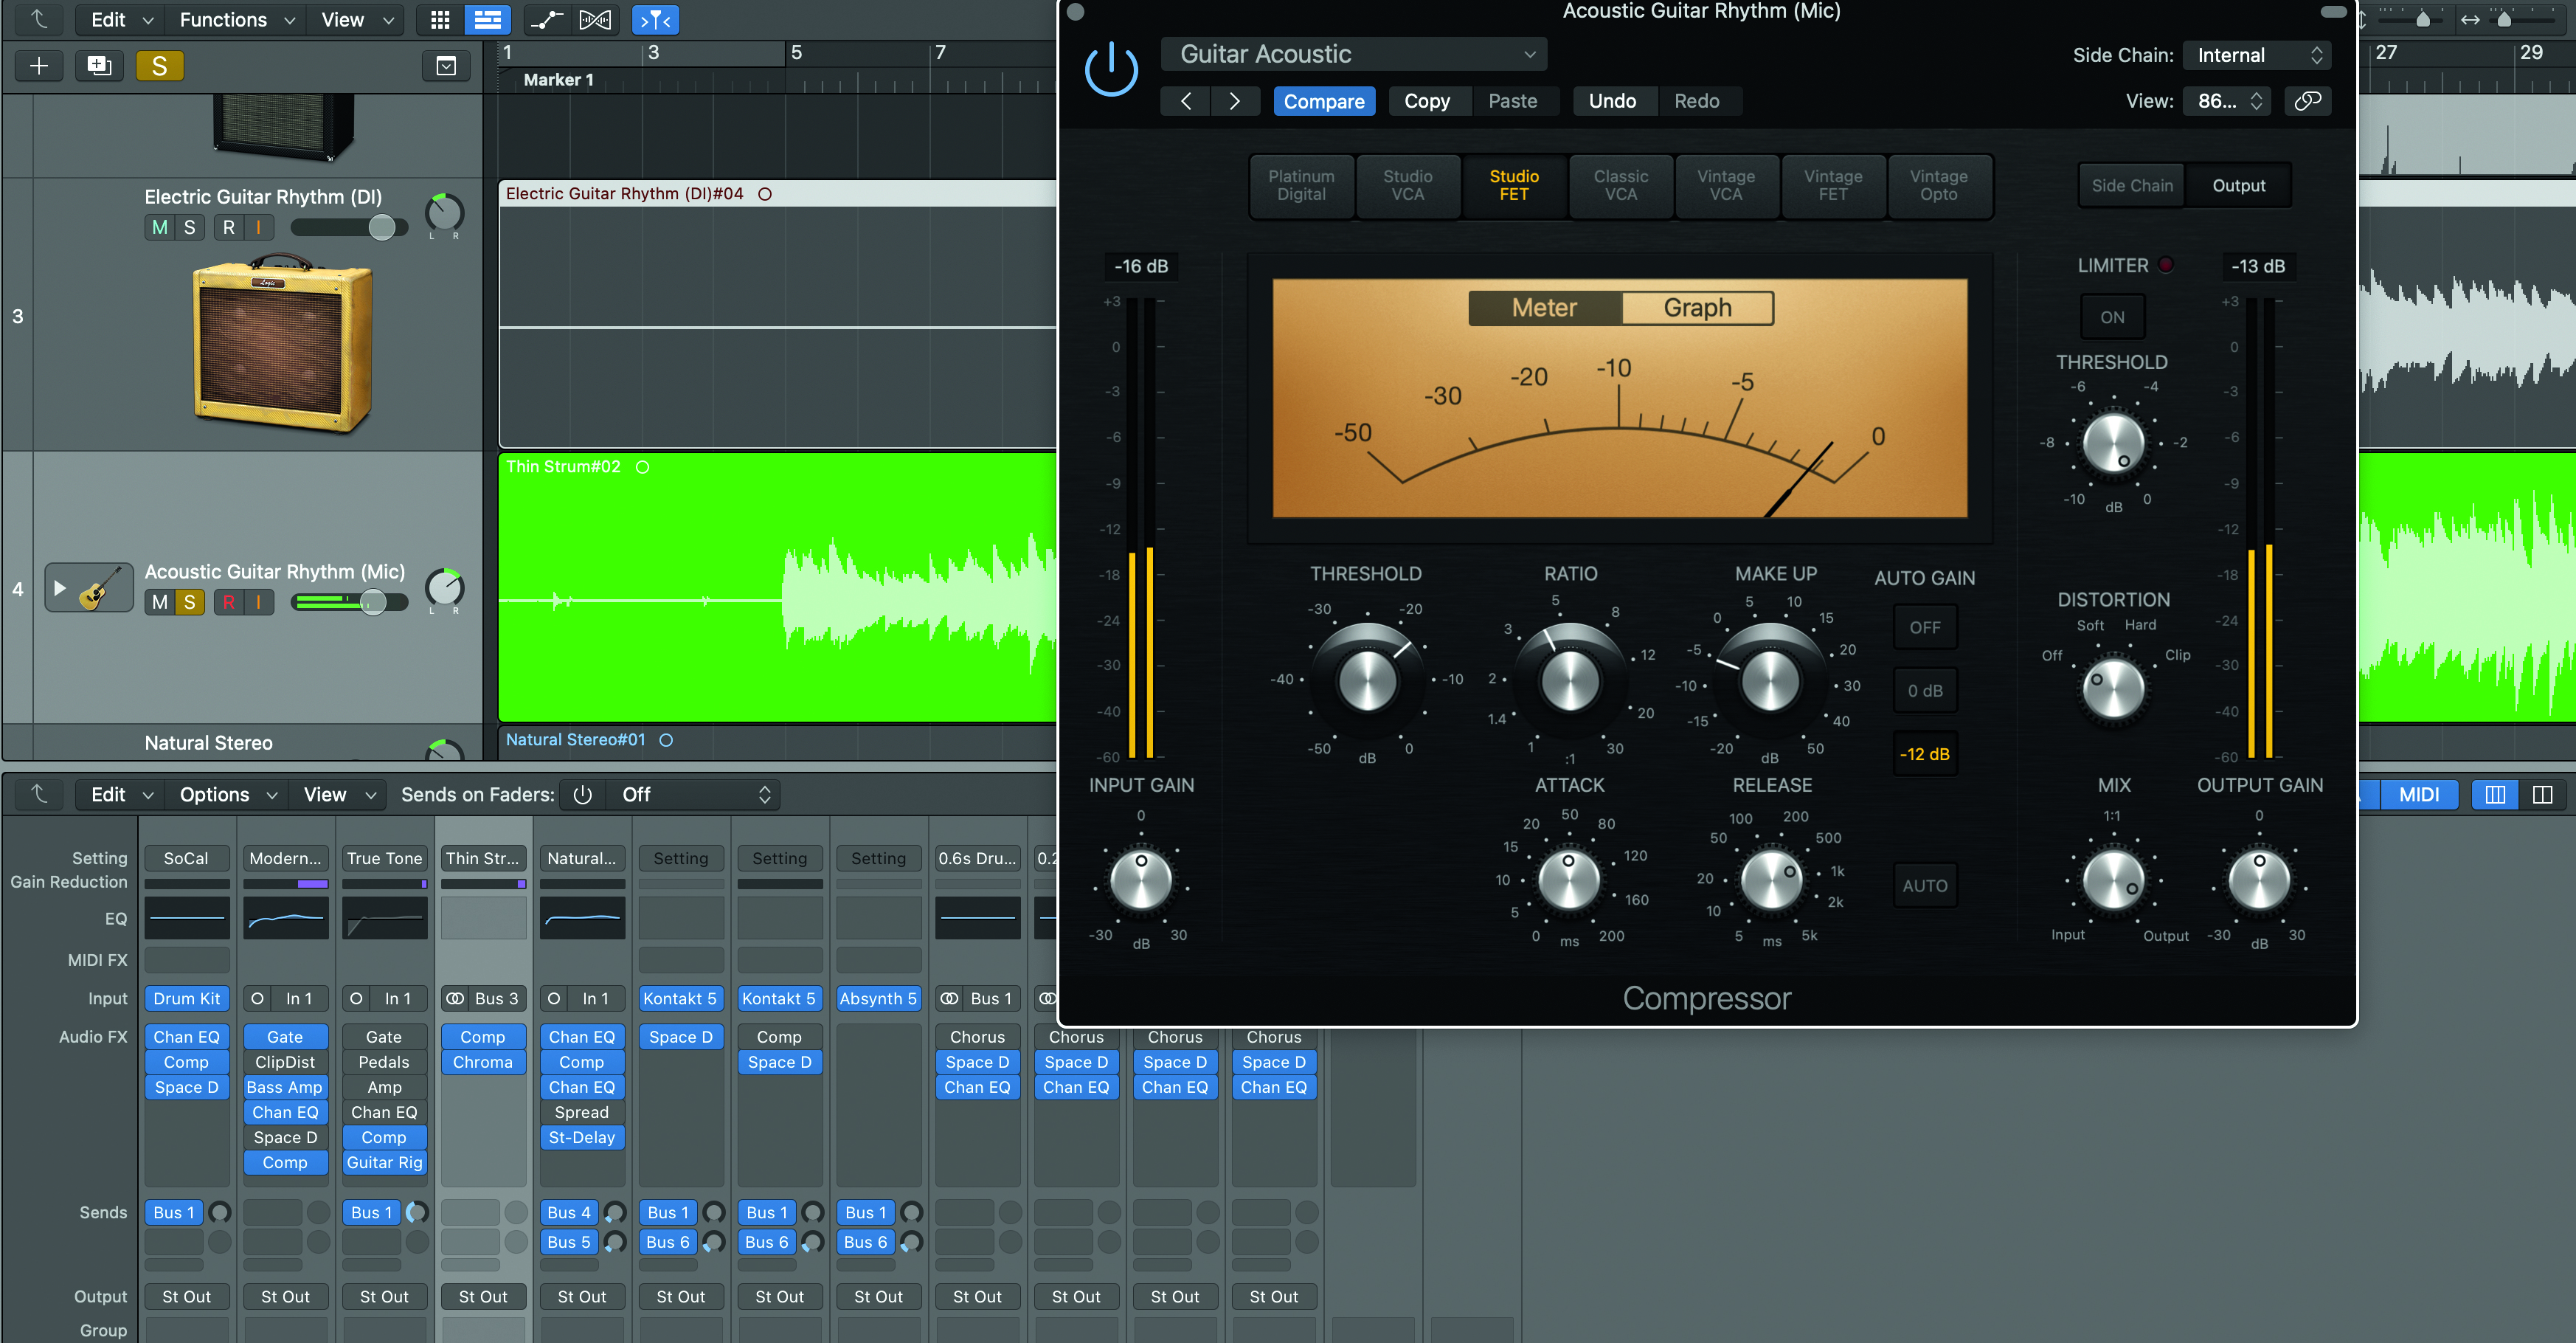
Step 4: Our acoustic guitar underpins the rhythm of the track, and was recorded via a room mic to get some natural reverb imbued into it. Using Logic’s Studio FET Compressor, we’ve made sure the Attack is set to a middle, so we’re not trimming the natural sound of the strum, but we are cutting some of its peaky harshness. We’ve added a touch of Auto-Gain too.
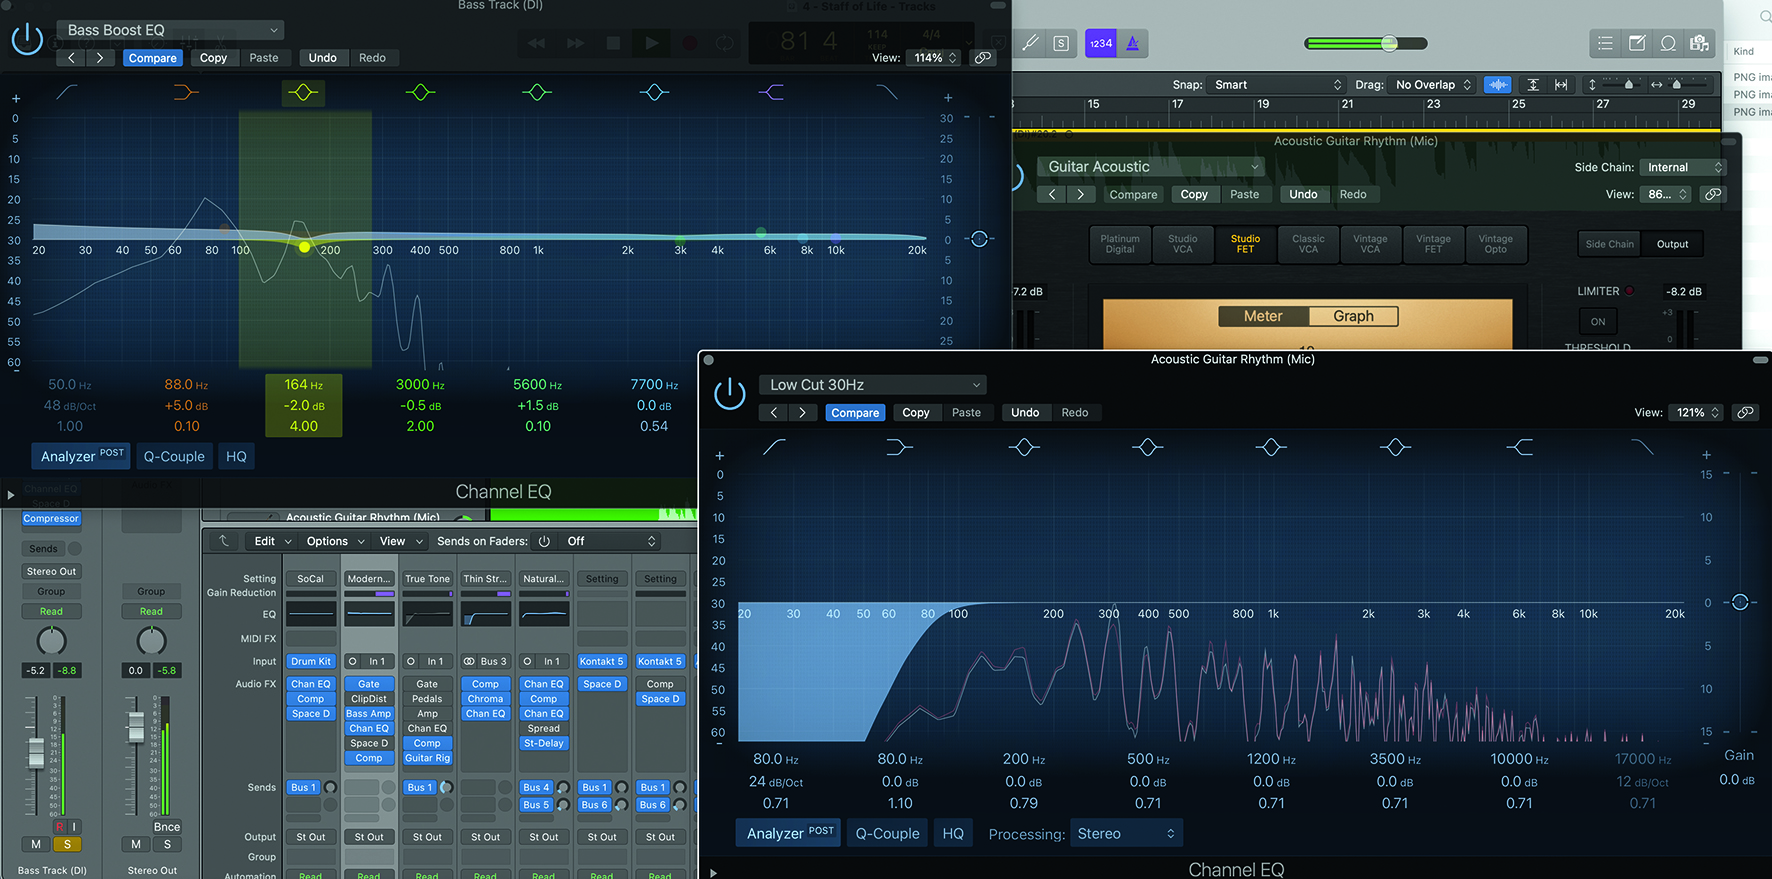
Step 5: As we have an impactful bass pre-recorded, we want to make sure our acoustic guitar isn’t emitting any low-end frequencies that will muddy the waters. Take a look at the EQ readings for your rhythm guitar and main bass instrument. As there was frequency replication, we’ve applied a cut to all frequencies under 100Hz on our acoustic guitar.
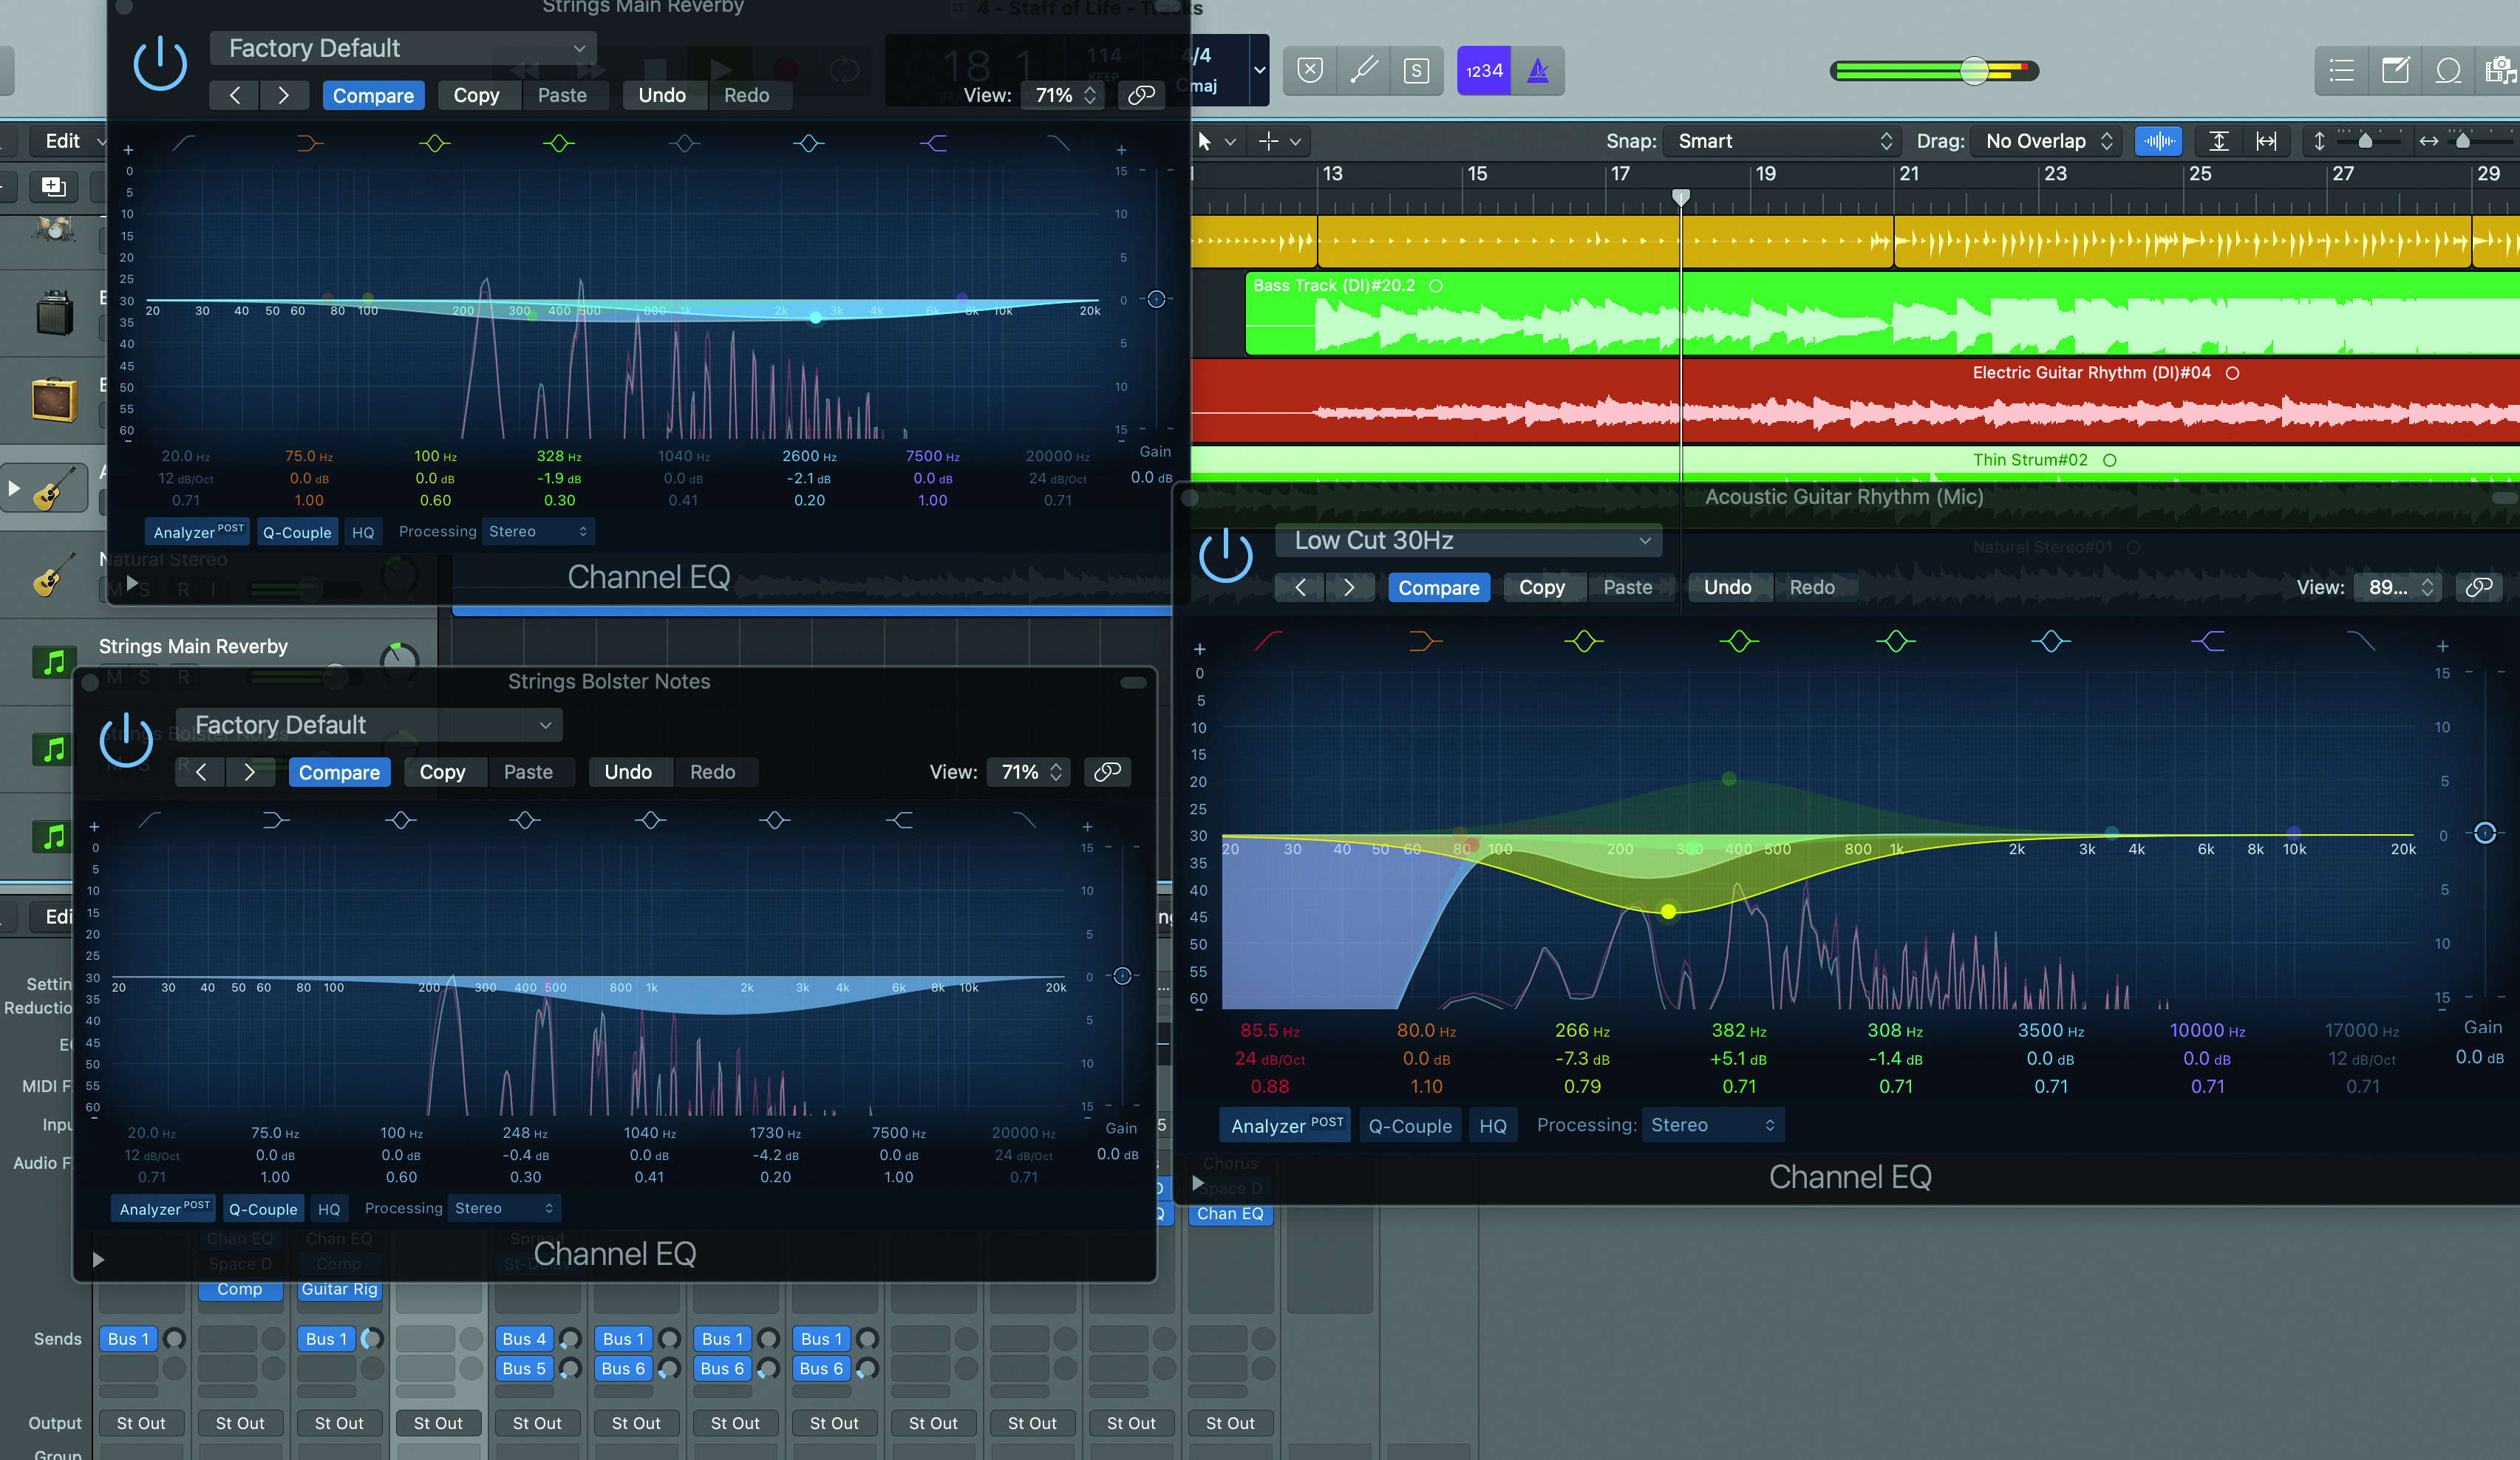
Step 6: Sometimes the rival frequencies may be in different areas of the sound spectrum, so rather than applying a broad sweep of frequency reduction, it helps to get specific. Look at the EQ of the other tracks in your mix, and get more forensic with your EQ filtering. This can enhance your guitar’s prominence (or the other instrument).
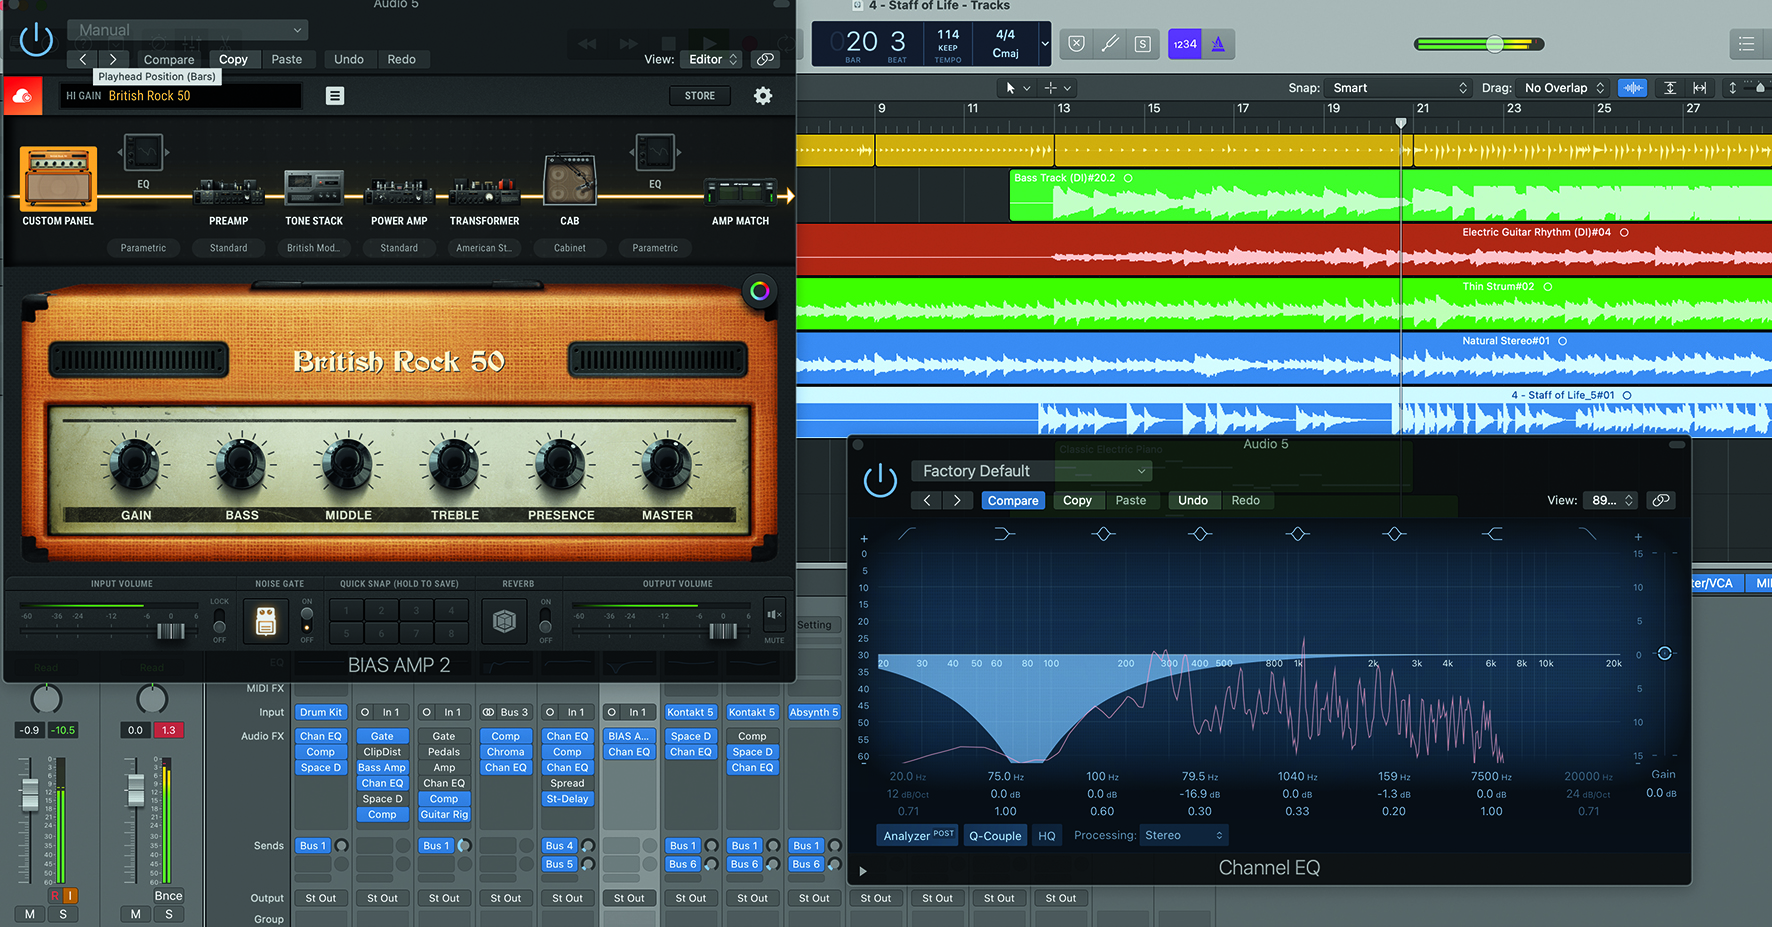
Step 7: For lead guitar, or more defined riffs, it’s important to never solo them in isolation, and always work on them in context with the rest of the track. You might find that the higher pitched you get, the more noise can be introduced in the higher frequencies, and low frequencies again need to be tamed.
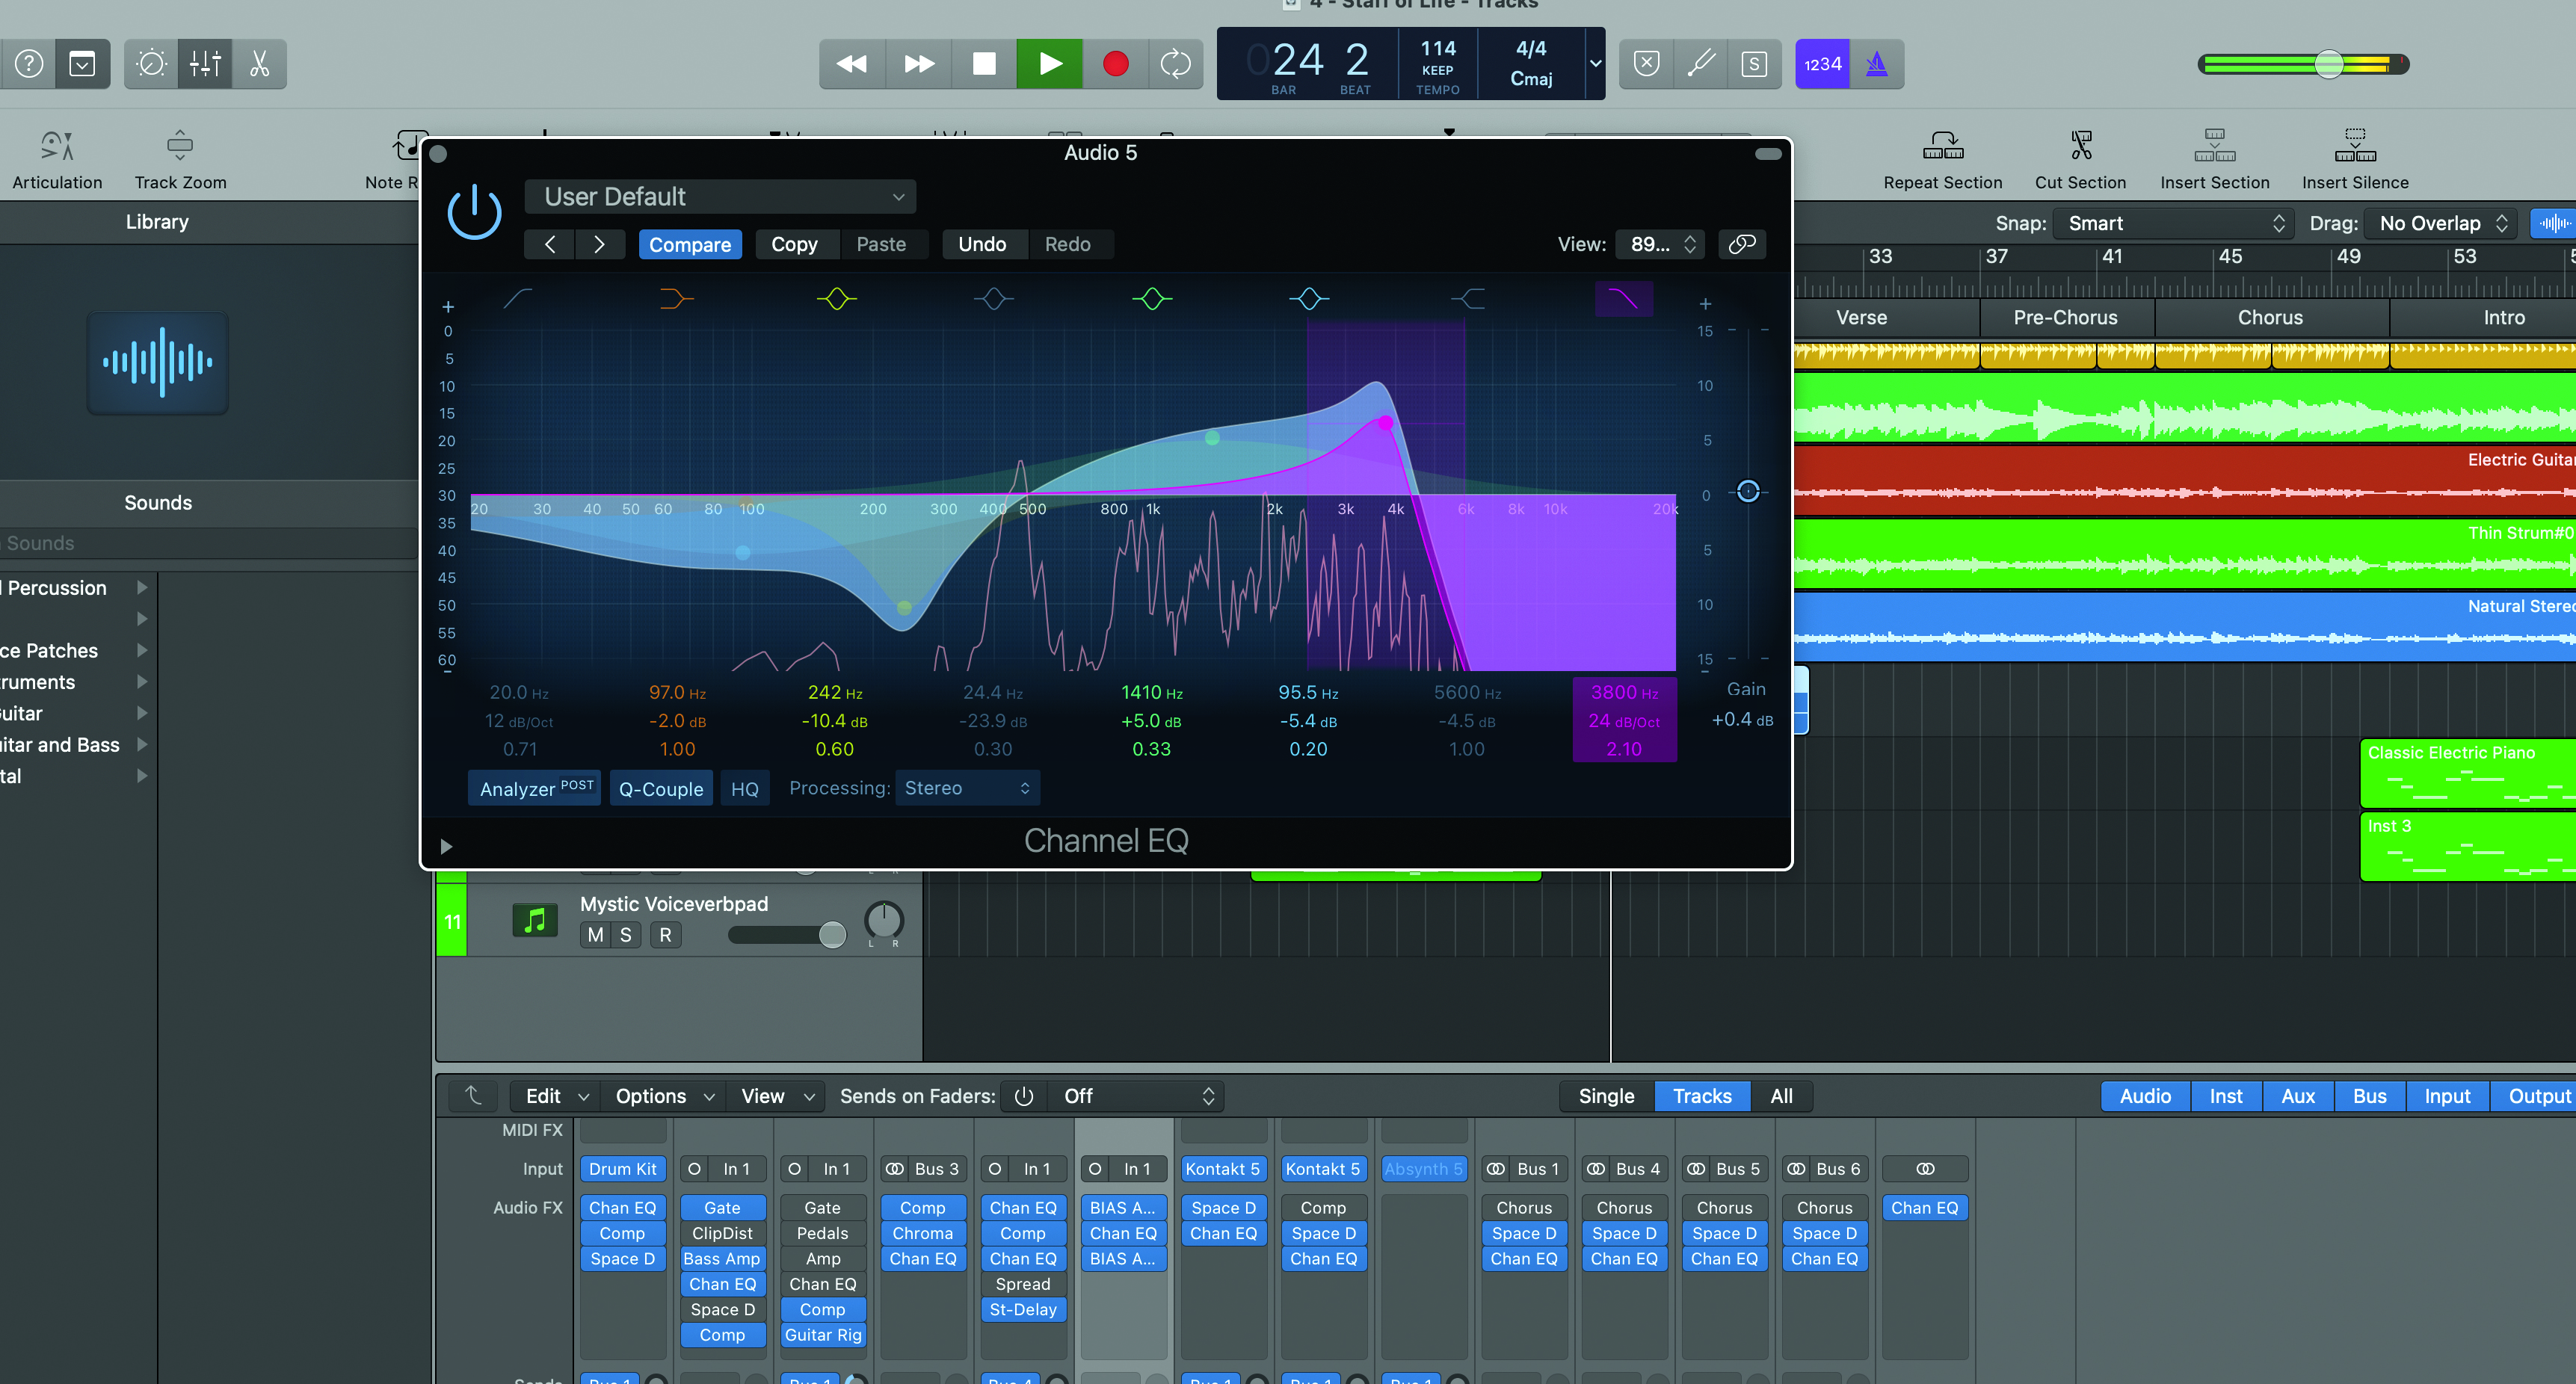
Step 8: Boosting some of the very specific higher frequencies around the 3-4kHz range, while reducing others, can bring out greater clarity for your instrument, particularly when you’re working on guitar solos around other instruments in the mix. This will vary depending on the intensity of your track.
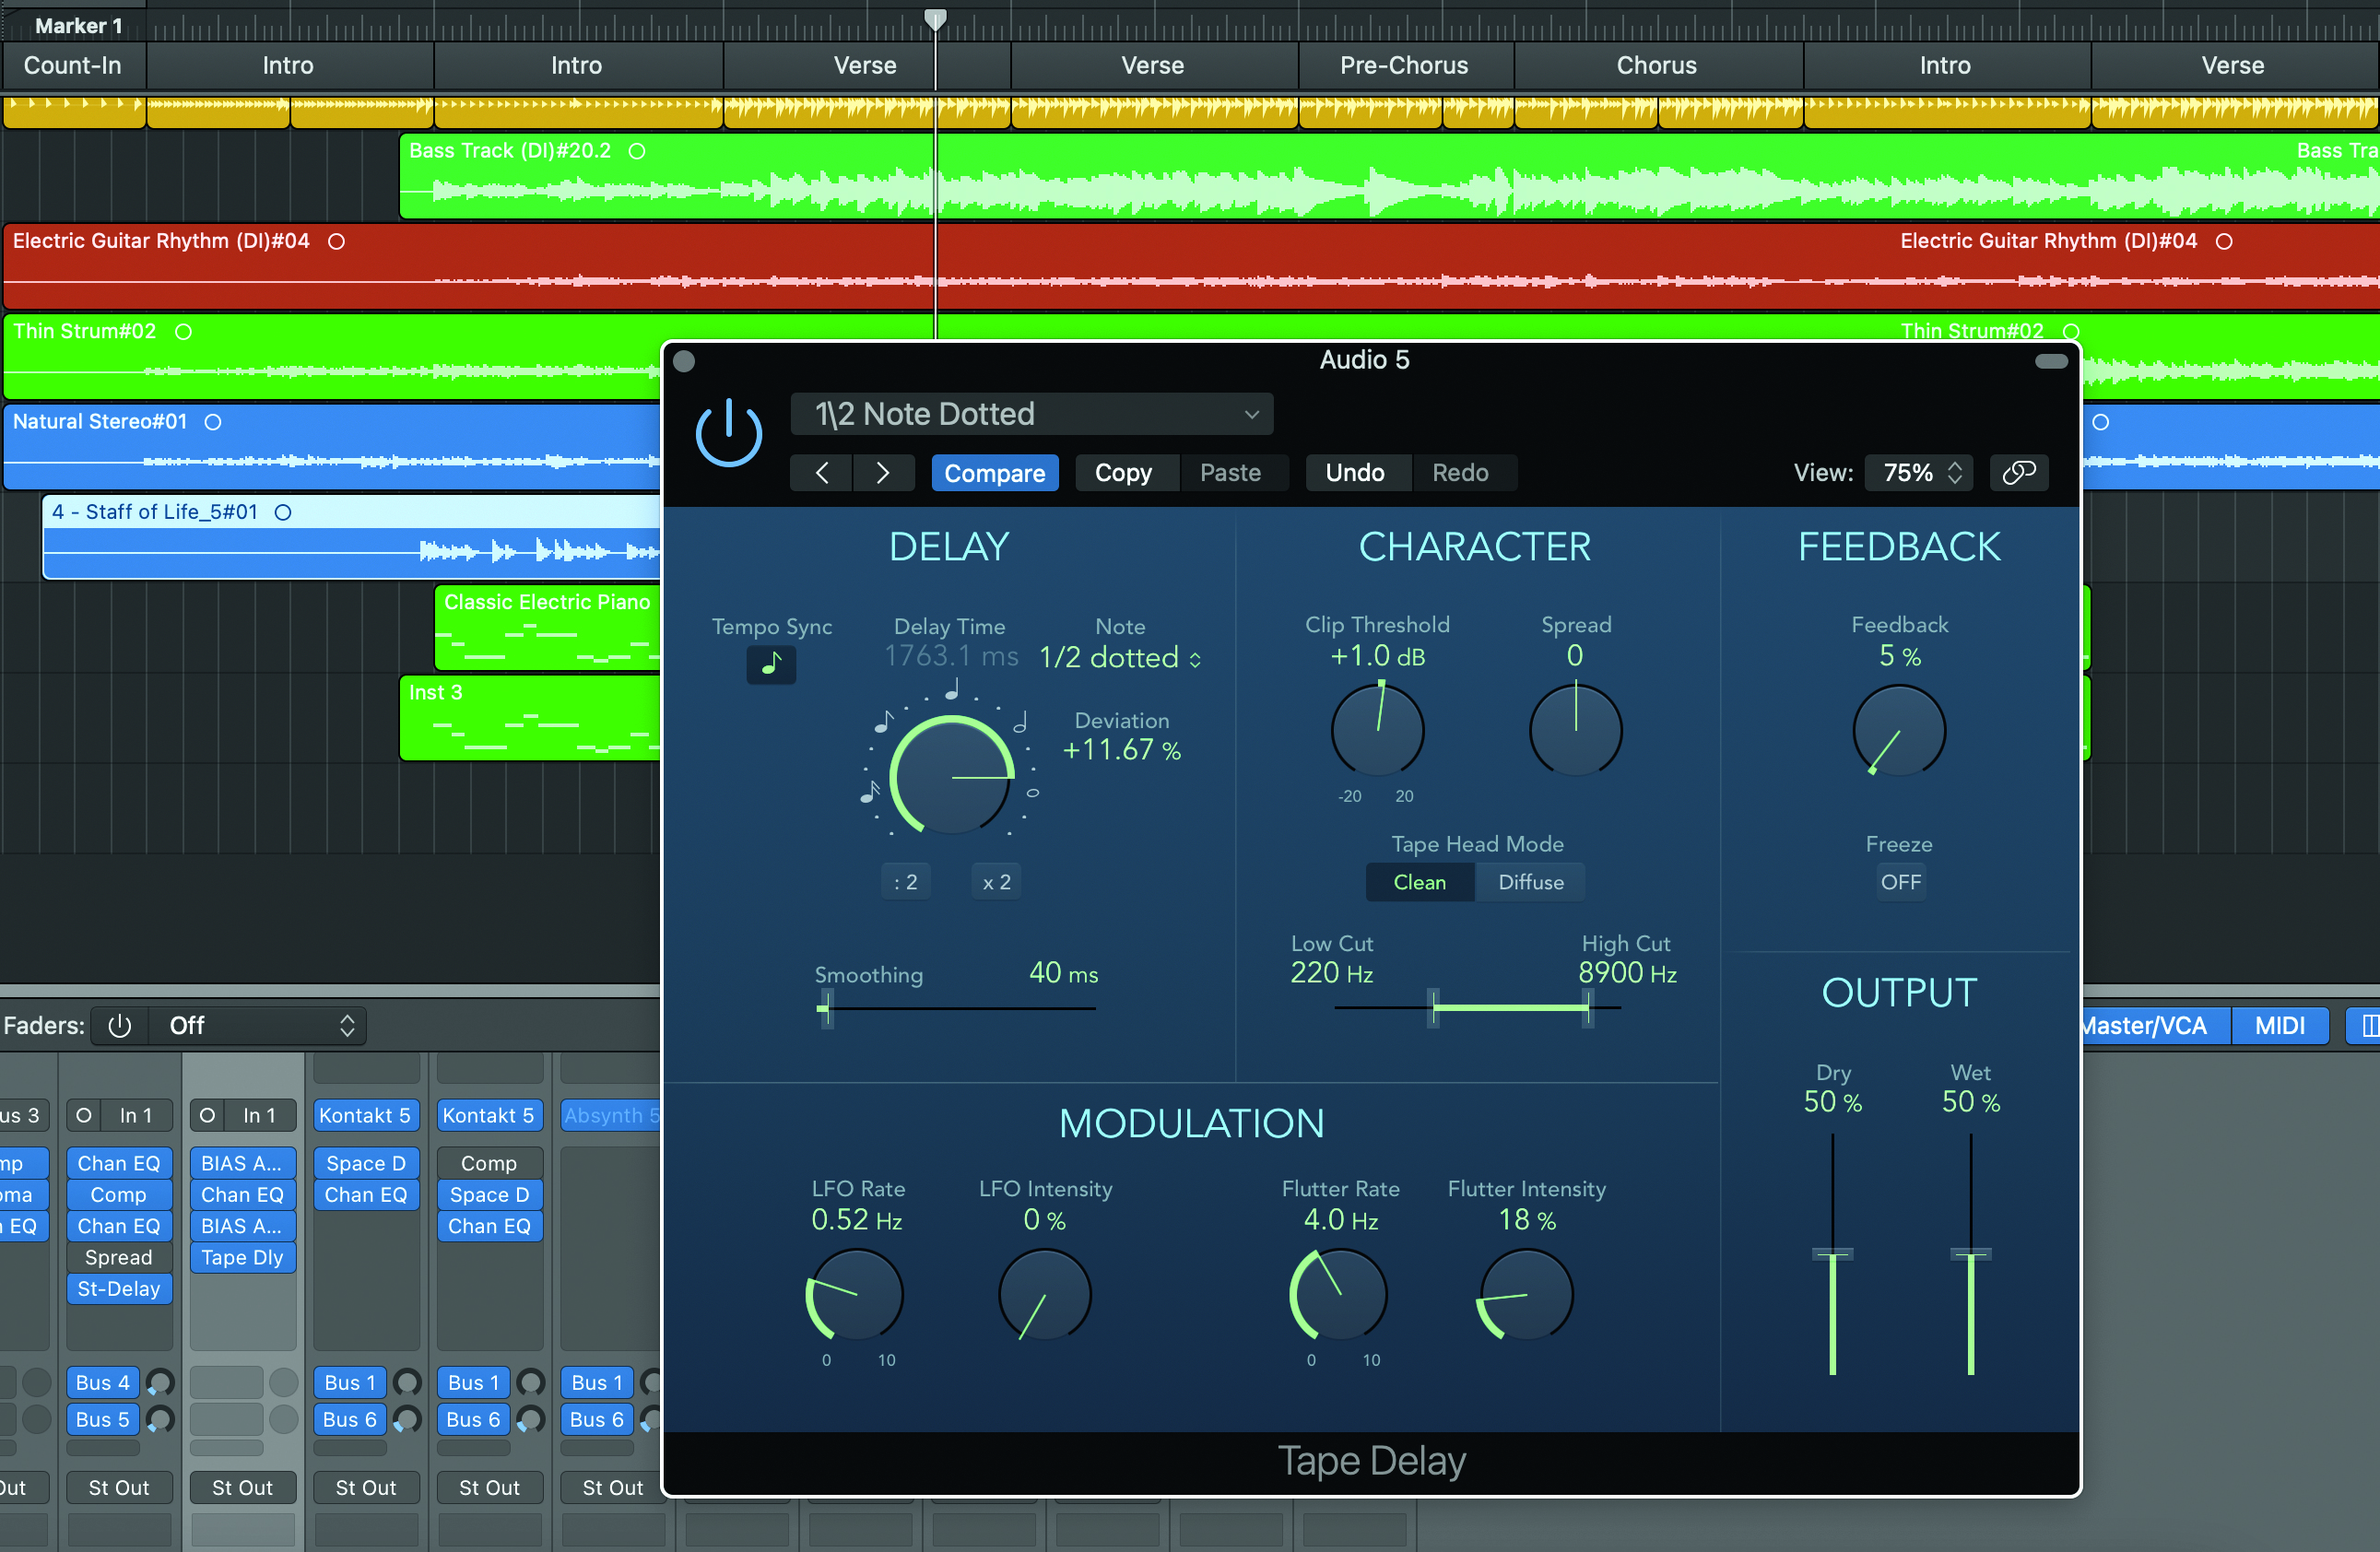
Step 9: While EQ’ing is where we can really establish each instrument’s designated area on the frequency stage, the use of effects can further enhance and lift out your guitar track, but be mindful you don’t undo your good work. A touch of delay can help to thicken a solitary lead line, with Logic’s Tape Delay adding some extra analogue warmth.
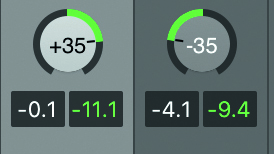
Step 10: To further augment the sound of your guitar, adding a second take of yourself playing the same part, then panning both parts to the opposite positions in the stereo image can accentuate the impact of each chord. Try different chord voicings, rather than keeping things exactly the same.

Step 11: To define these panned parts even further, sculpt the EQ slightly differently for each part. Clipping or boosting certain frequencies then doing the reverse for the other part makes for a more dynamically interesting sound-stage, and makes each guitar sit better in its place.
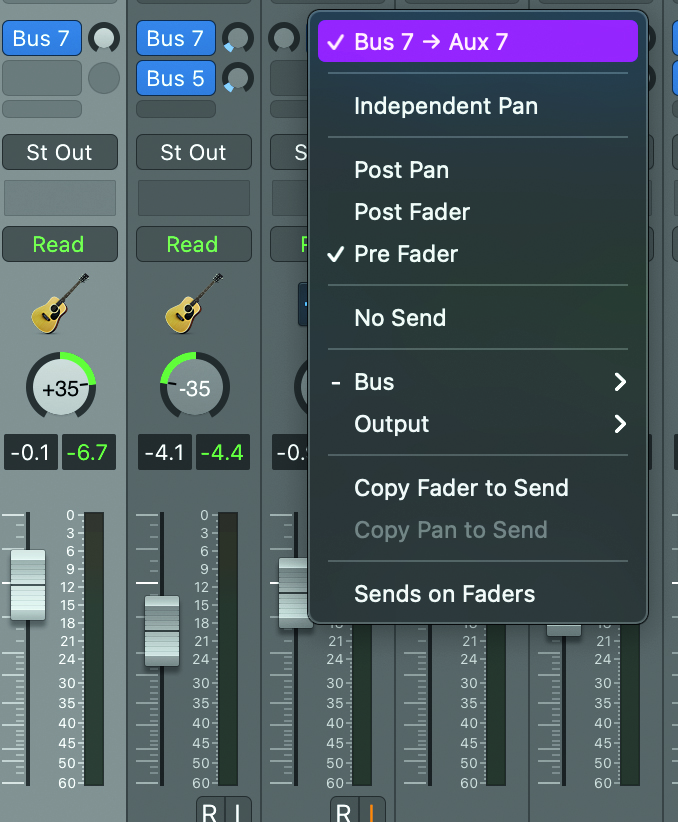
Step 12: If you’ve built up quite a few different guitar parts, you might want to bus them together, and apply a master effect — such as reverb — to all of them. This can help the parts feel like they’re in the same room, and help them stick. It can also save your CPU from loading different instances of the same effect.
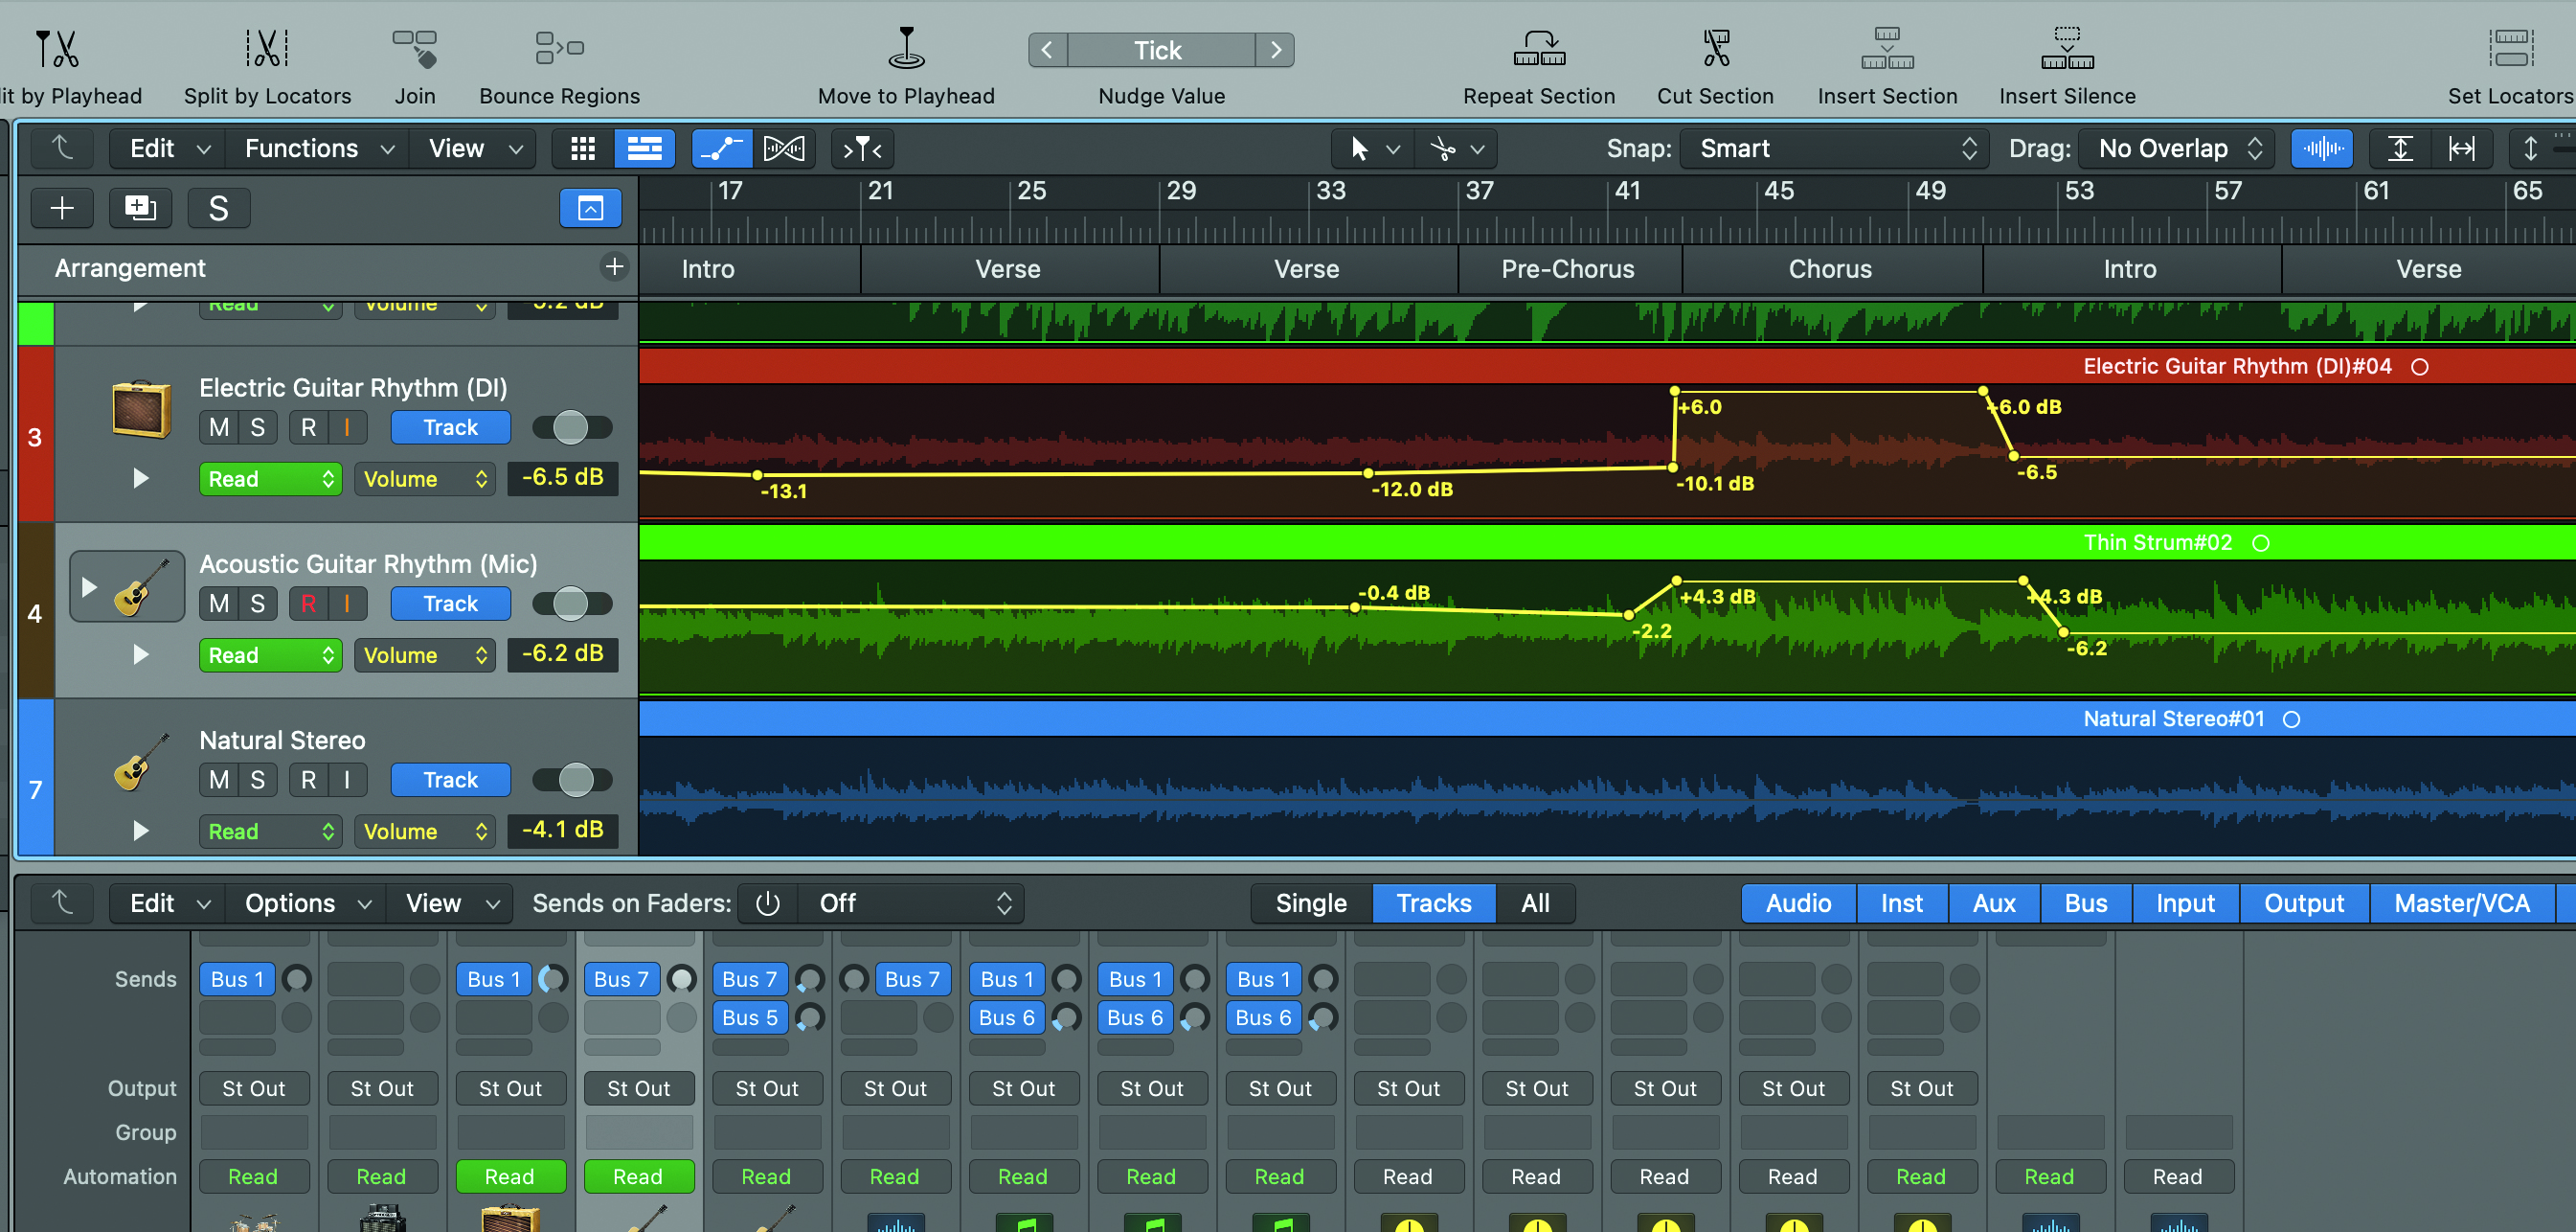
Step 13: Automation can be a massive help when it comes to guitar mixing, as you might want to automatically apply different attributes at key moments of the song. If you’re after a big chorus, then automating an increase in volume can bring everything to the forefront, before settling down again for the verse, without you worrying about it.
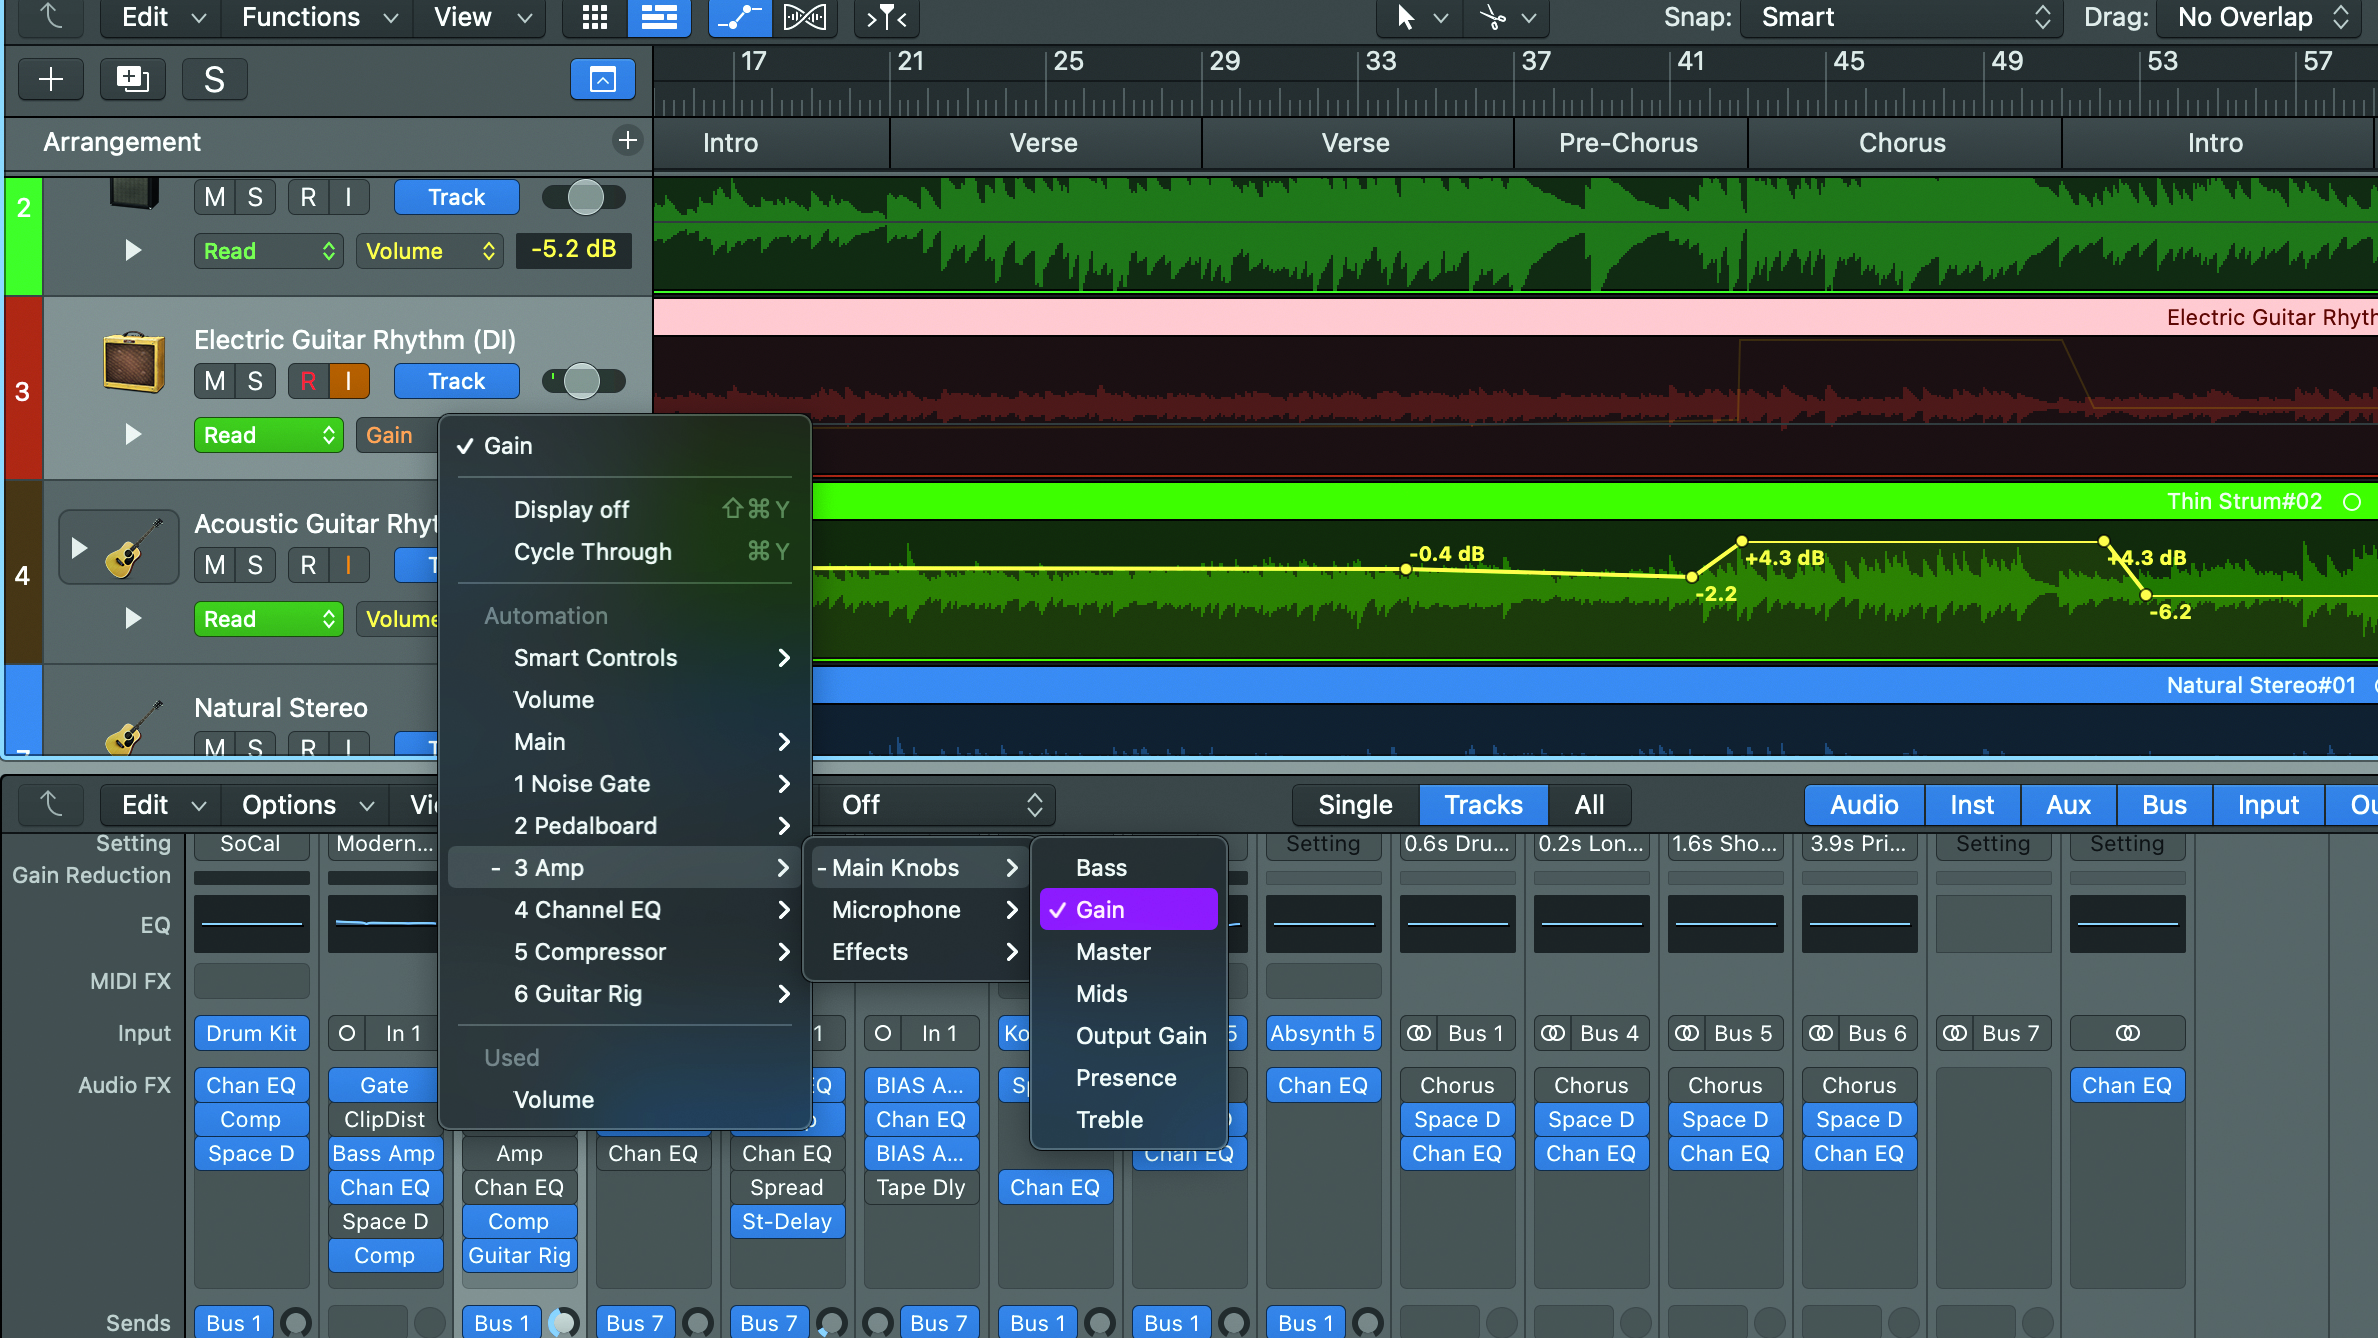
Step 14: Major changes can be quite jarring if you’re not careful, so take care to subtly apply the automation levels required, and keep listening to your track. Applying distortion or overdrive to your guitar tone can be a big time-saver. Here we’re automating our gain to ramp up, to beef up our chorus.
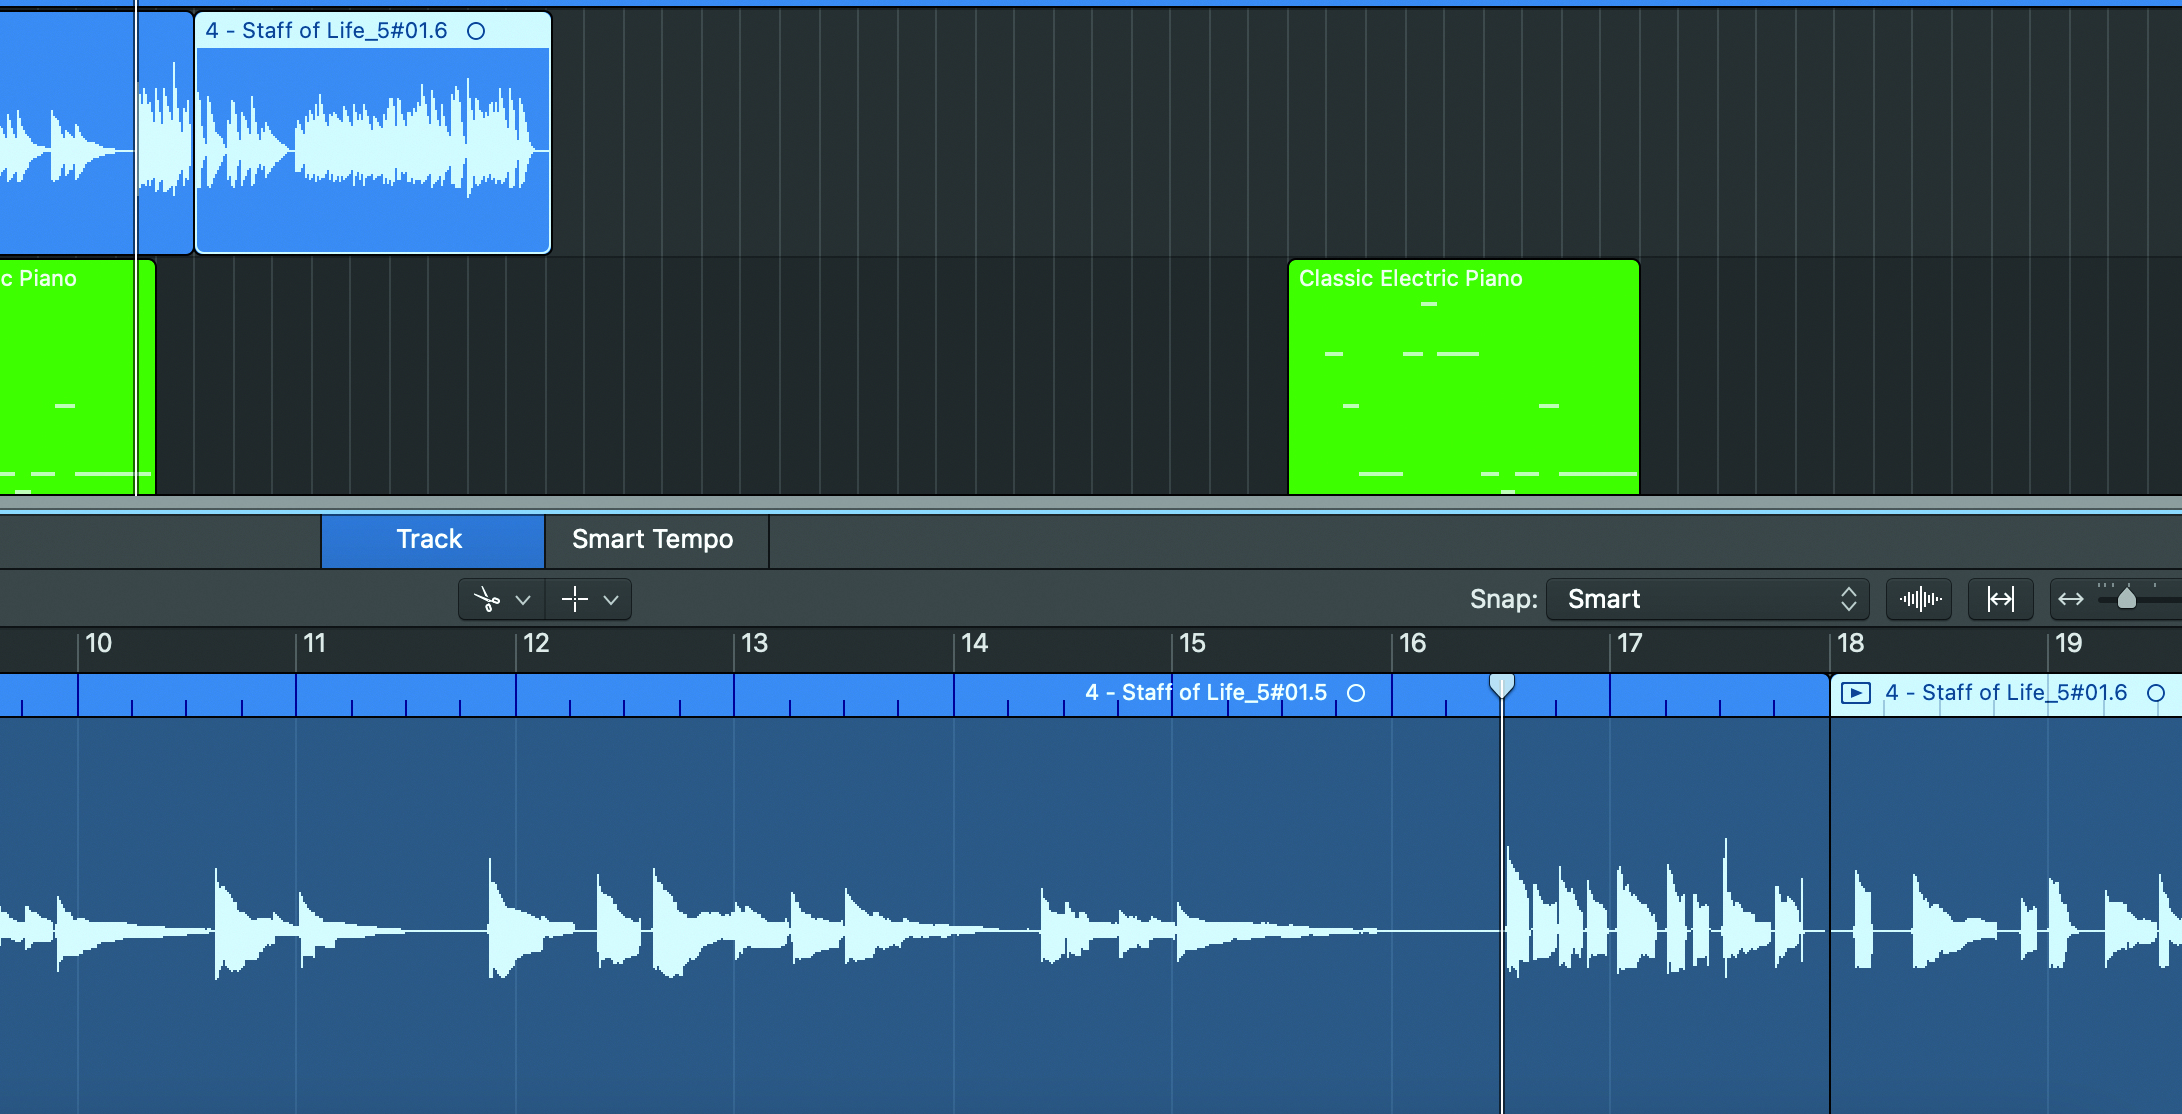
Step 15: As your mix starts to come together, you may notice that some guitar ideas, riffs or even chord sequences don’t hang together as well as others. Or perhaps the interplay of parts is causing confusion. While the initial plan may have been solid, there comes a point when you’re going to have to cut anything that doesn’t fit with the feel of the song as a whole.
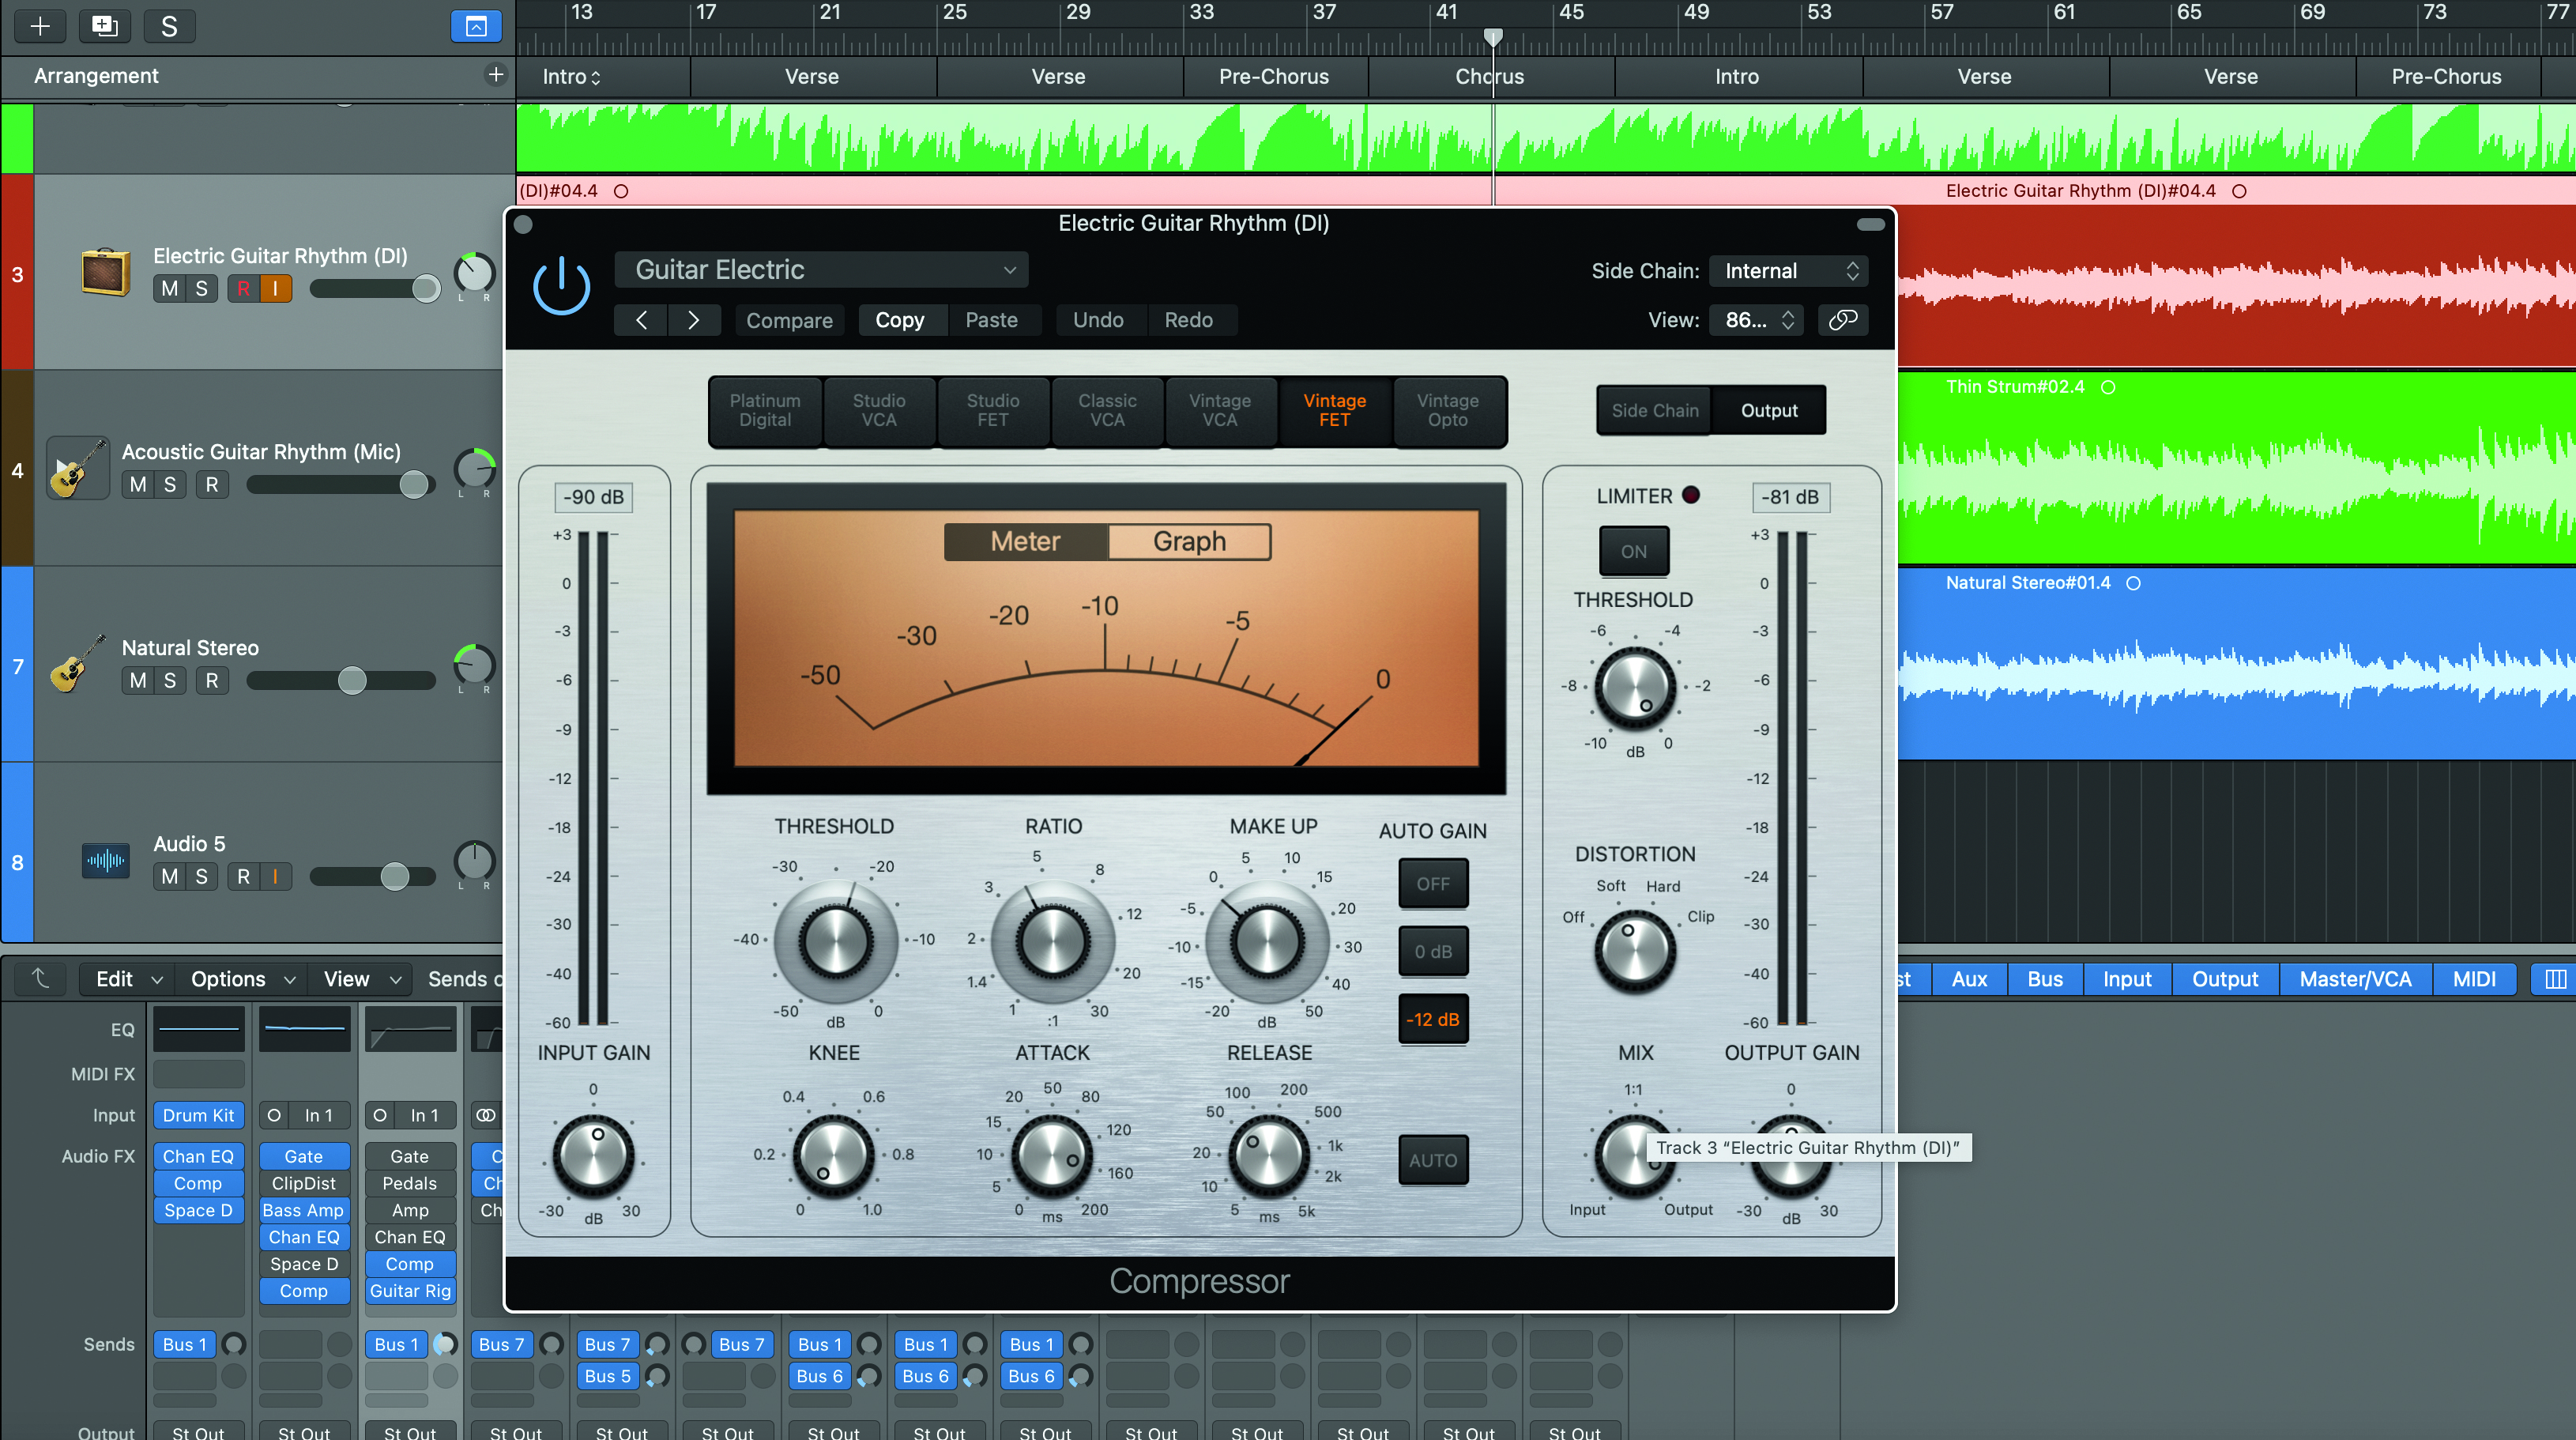
Step 16: In terms of distorted guitars, be careful with your compressor, because, in all honesty, a distorted guitar signal rarely needs it, as the boosting of the signal tends to saturate the dynamic range. Take a close look at your waveform, and apply compression sparingly.
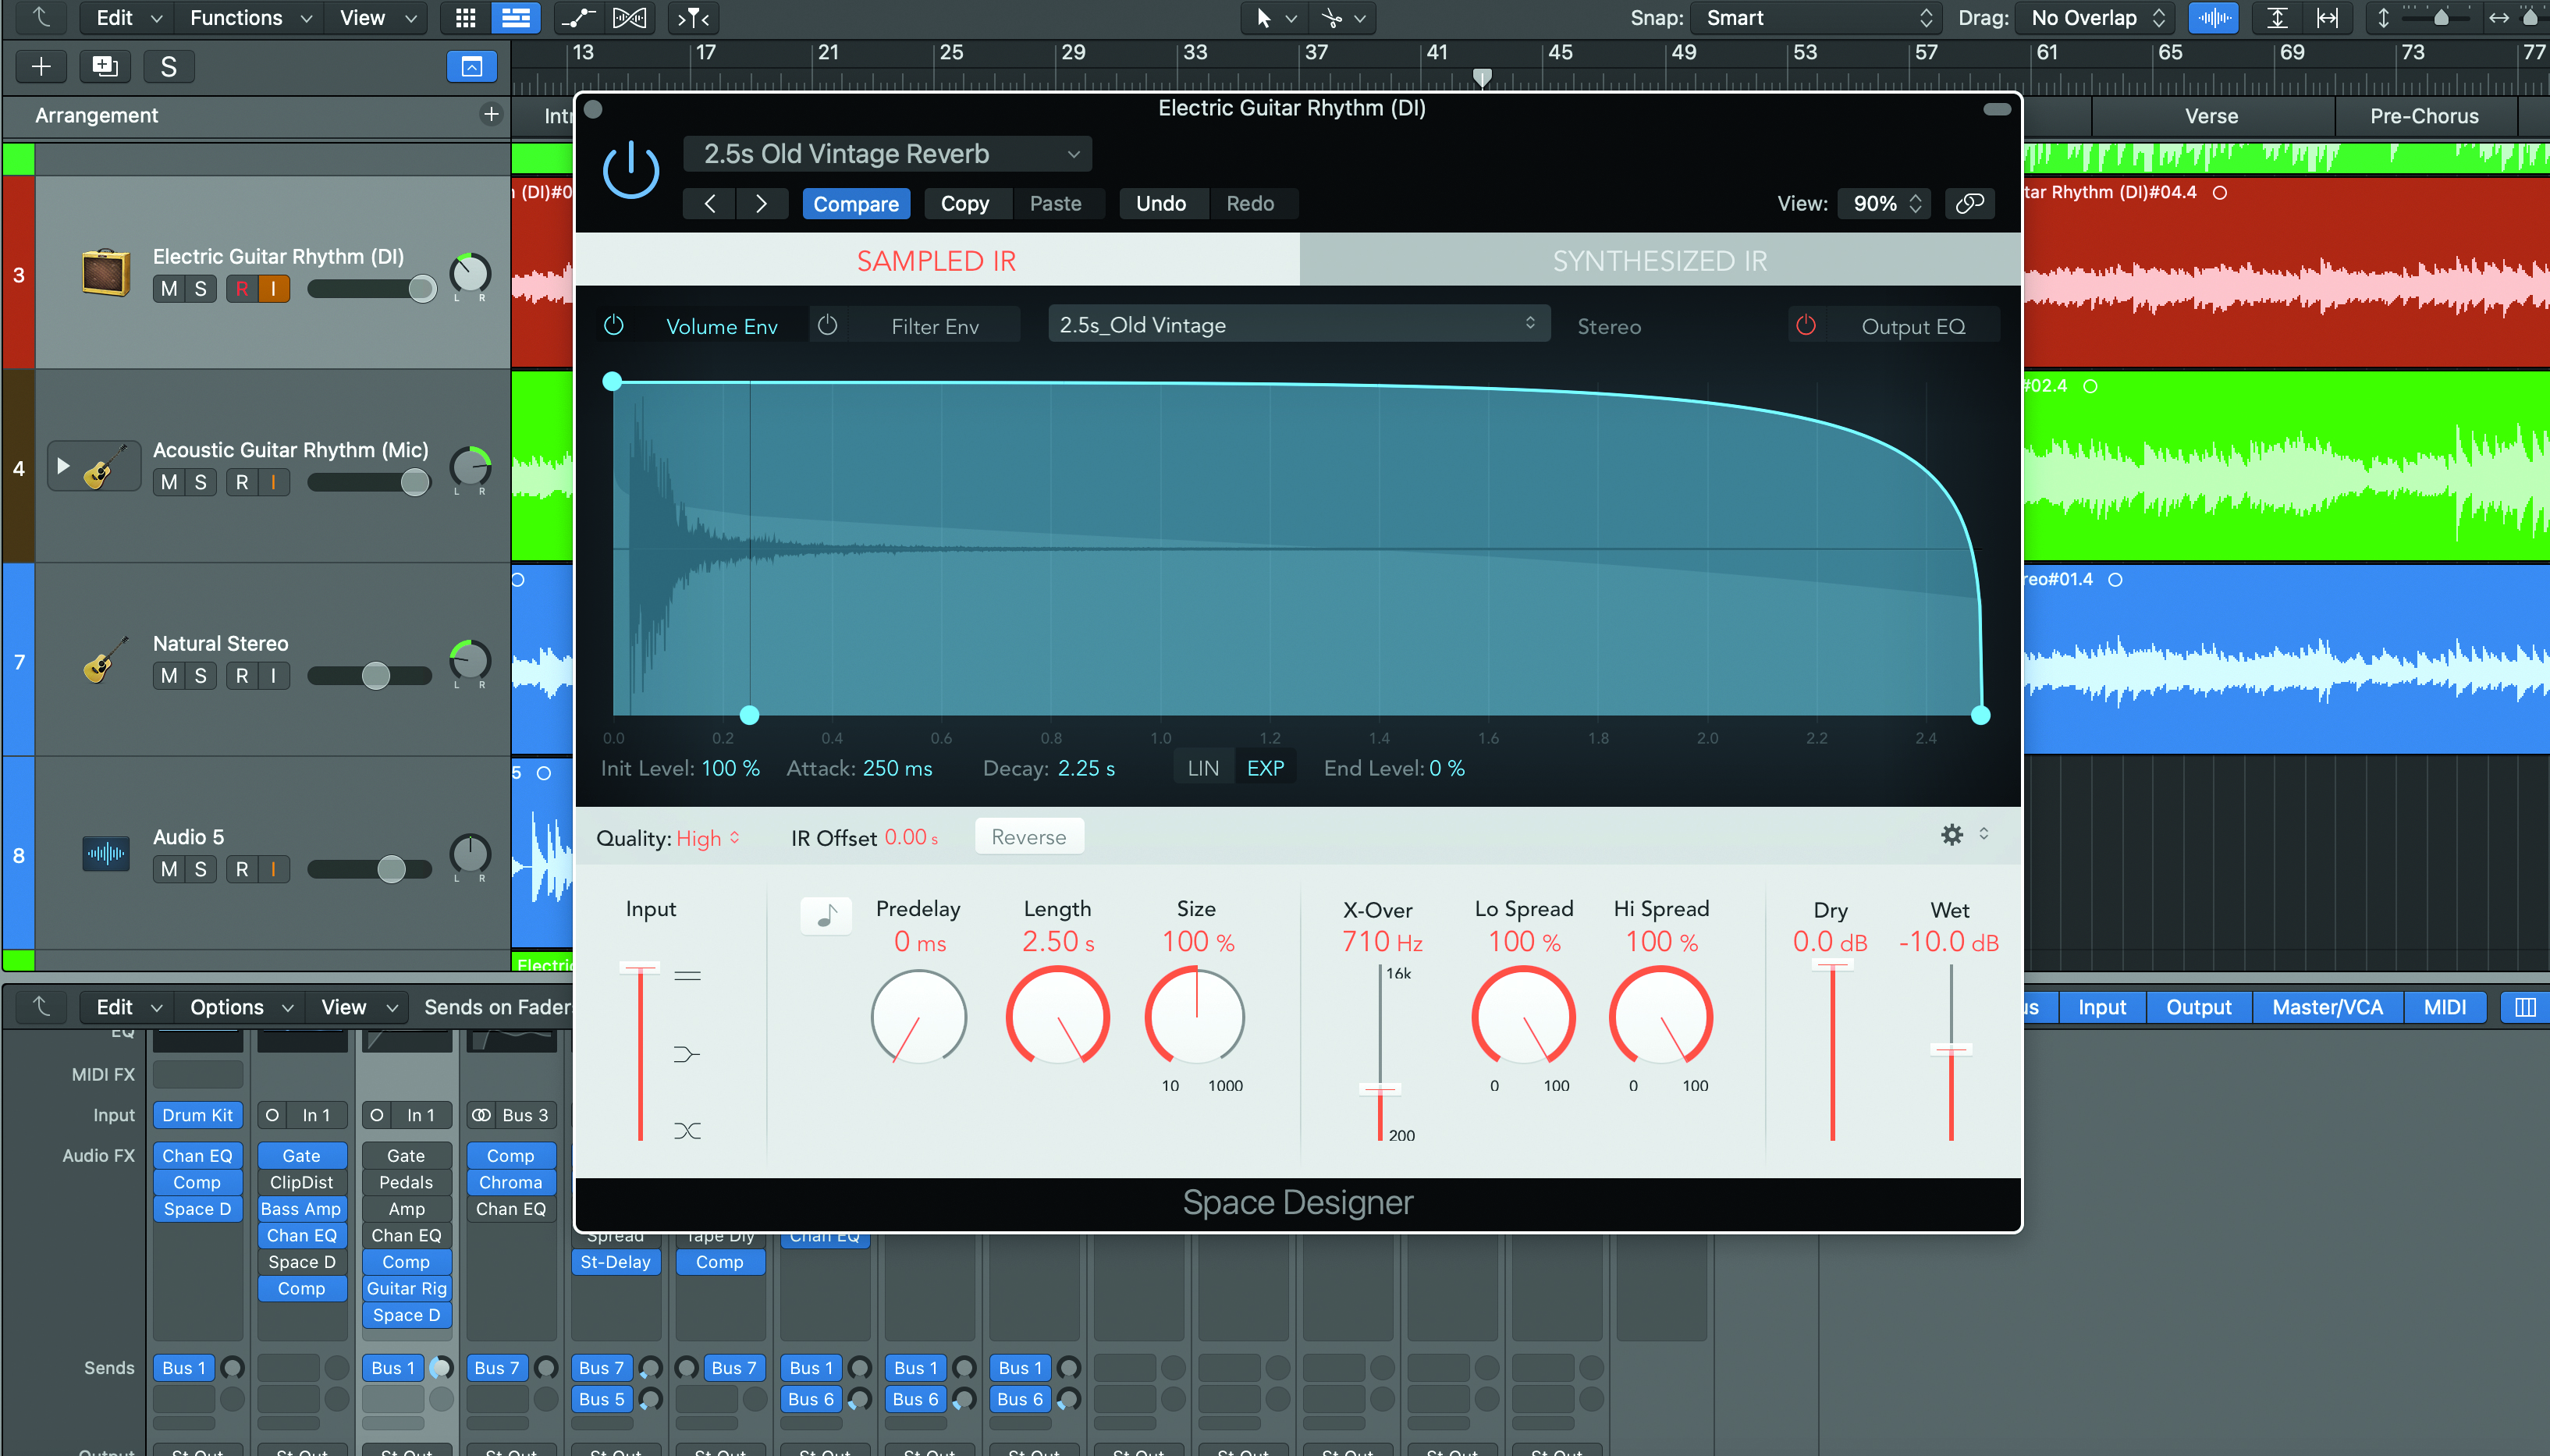
Step 17: While reverb can provide a cohesion to your guitar parts, make sure you don’t have competing room types that confuse the sense of reality within the track. Mix bussing reverb to all your guitar tracks (step 4) is definitely encouraged, but don’t let these rules stop you from experimenting — it’s your song after all.

Step 18: Considering all the points from both parts of this step-by-step should help you understand how guitar typically works in a mix context, and how to affect change and make it a more prominent ingredient. Remember the paramount concern is always the final song.

Computer Music magazine is the world’s best selling publication dedicated solely to making great music with your Mac or PC computer. Each issue it brings its lucky readers the best in cutting-edge tutorials, need-to-know, expert software reviews and even all the tools you actually need to make great music today, courtesy of our legendary CM Plugin Suite.
"If I wasn't recording albums every month, multiple albums, and I wasn't playing on everyone's songs, I wouldn't need any of this”: Travis Barker reveals his production tricks and gear in a new studio tour
“My management and agent have always tried to cover my back on the road”: Neil Young just axed premium gig tickets following advice from The Cure’s Robert Smith


