How to clean your piano keys
Whether you play an acoustic or digital piano, here’s the best way to keep your keys grime-free without impacting performance
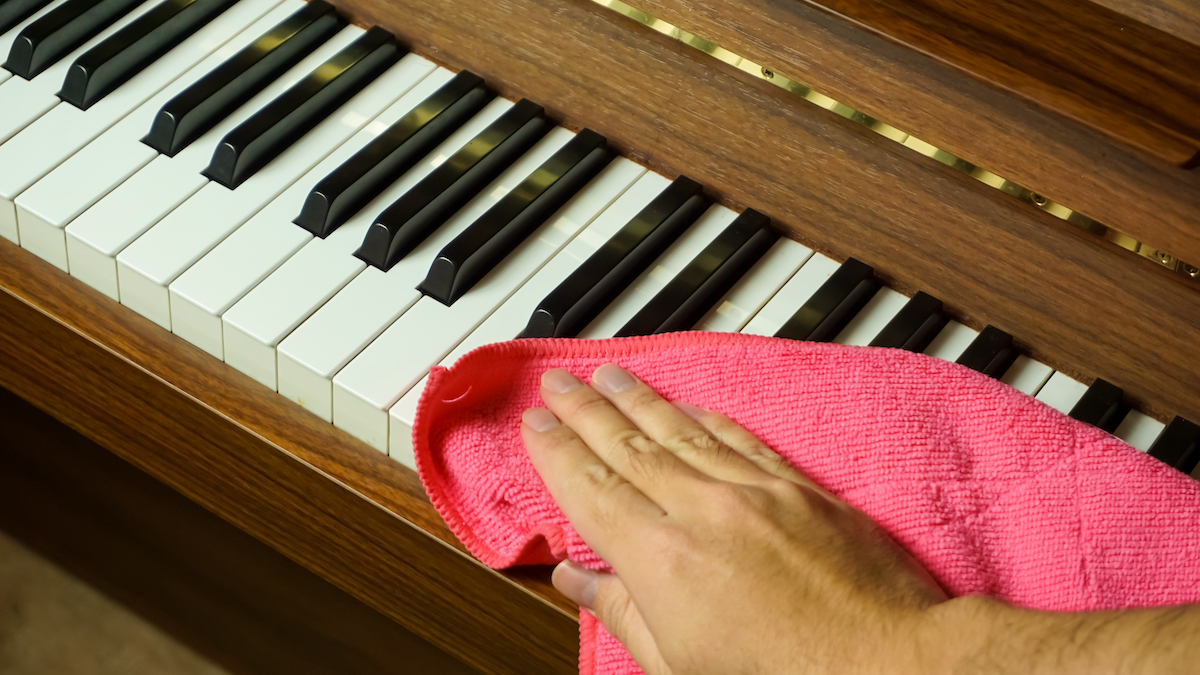
As a keyboard or piano player, you understand the significance of maintaining your instrument's pristine condition. Regular cleaning of your piano keys not only ensures their longevity but also contributes to their optimal performance.
In this article, we will explore the different types of piano keys, the potential dirt they accumulate, and how it can affect performance. We’ll also then provide you with a step-by-step guide on how to effectively clean your keys - whether you play an acoustic piano, beginner keyboard or digital piano - including the necessary tools and techniques. So let's dive in and unlock the secrets to maintaining your piano keys in sparkling condition.
Types of keys
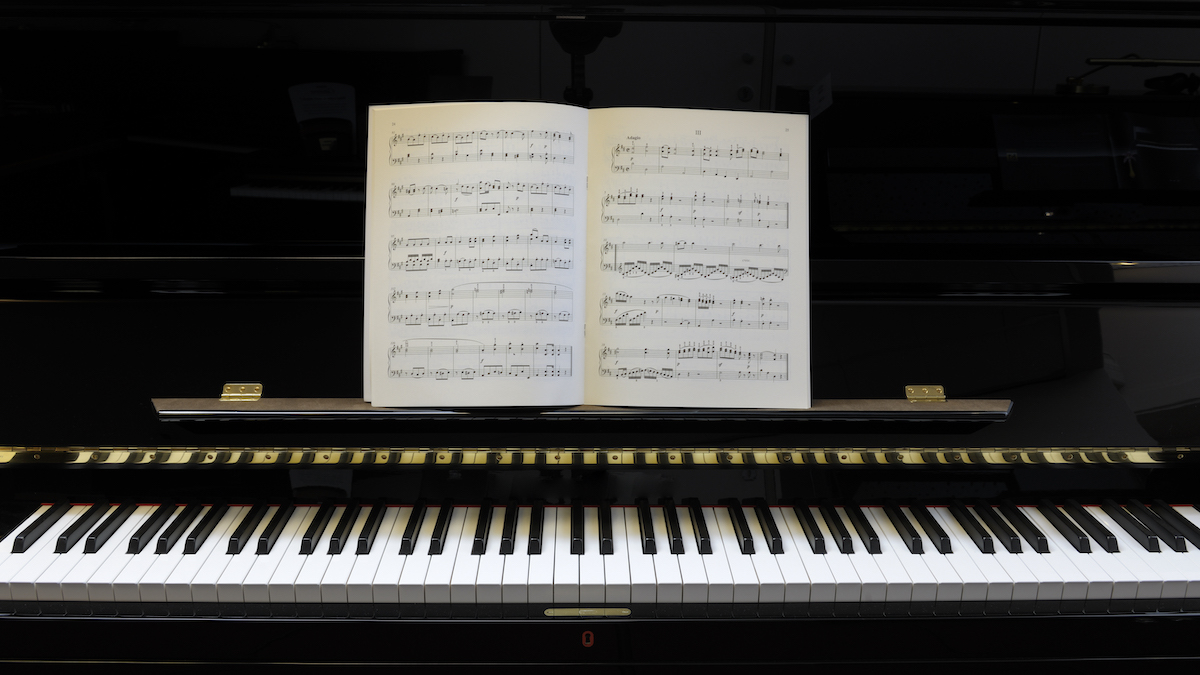
Piano keys come in various materials, depending on the type of piano. Most traditional pianos, such as grand and upright pianos, feature keys made of either ebony or ivory. Modern pianos, however, commonly have keys made of plastic or synthetic materials that resemble ivory or ebony. Regardless of the key material, regular cleaning is essential to preserve their appearance and function.

While using readily available home cleaning products is perfectly fine, providing you follow the instructions here, there are some dedicated piano and keyboard cleaning products which you may prefer to keep on hand. MusicNomad, for example, has a range of cleaners, polishes and tools which you can be sure will bring out the best in your keys in no time.
Alongside piano keys, many keyboards and arranger workstations will use plastic keys. These keys are usually made of a durable plastic material that mimics the feel of traditional piano keys. Fatar, for example, is a well-known manufacturer of keyboard action mechanisms used in many electronic musical instruments. You can often find them employed in higher-end MIDI controllers and synthesizers.
Digital pianos, keyboards, MIDI controllers and synths often employ weighted and semi-weighted keys to improve the responsiveness and feel of the keys. Weighted keys simulate the feel of acoustic piano keys by utilizing a mechanism that adds resistance to the key, making it feel heavier to press down, similar to the keys on an acoustic piano. This mechanism usually involves the use of weights or springs to create resistance, giving the player a more realistic piano-playing experience.
Semi-weighted keys, on the other hand, offer a compromise between weighted and unweighted (synth-action) keys. They offer a moderate level of resistance, providing a more piano-like feel compared to synth-action keys, but not as much as fully weighted keys. Semi-weighted keys are often used in digital pianos and MIDI controllers that aim to strike a balance between playability and portability.
Why clean your piano keys?

There are plenty of reasons why you’d want clean piano keys. Aside from anything else, regular cleaning helps maintain their appearance and keeps them looking presentable. Over time, keys can accumulate dirt, oils, and grime from the player's fingers, which can make them appear dull or discoloured, so cleaning removes these substances and helps restore the keys' original look.
Get the MusicRadar Newsletter
Want all the hottest music and gear news, reviews, deals, features and more, direct to your inbox? Sign up here.
There’s also the hygiene element. Pianos are frequently touched and often shared instruments, and even if it’s only played by you, the keys can still become home to a bunch of gross bacteria, germs, and allergens. Cleaning the keys helps remove dirt, dust, and any potential bugs, promoting better hygiene and reducing the risk of spreading illness or allergies.
Consider as well the mechanical element of a piano’s key. Dust and debris can accumulate between the keys or in the key mechanism, affecting the piano's playability. Cleaning the keys removes these obstructions, ensuring smooth and consistent key movement. This can improve the touch and responsiveness of the keys, making playing the piano a more enjoyable experience.
Finally, there’s the maintenance angle. Regular cleaning of the keys is part of general piano maintenance. By keeping the keys clean, you can prevent the accumulation of dirt or grime that could potentially cause damage to the key surfaces, keytops, or the key mechanism over time. Proper maintenance helps extend the lifespan of your piano and keeps it in optimal condition.
How to clean your piano keys step-by-step
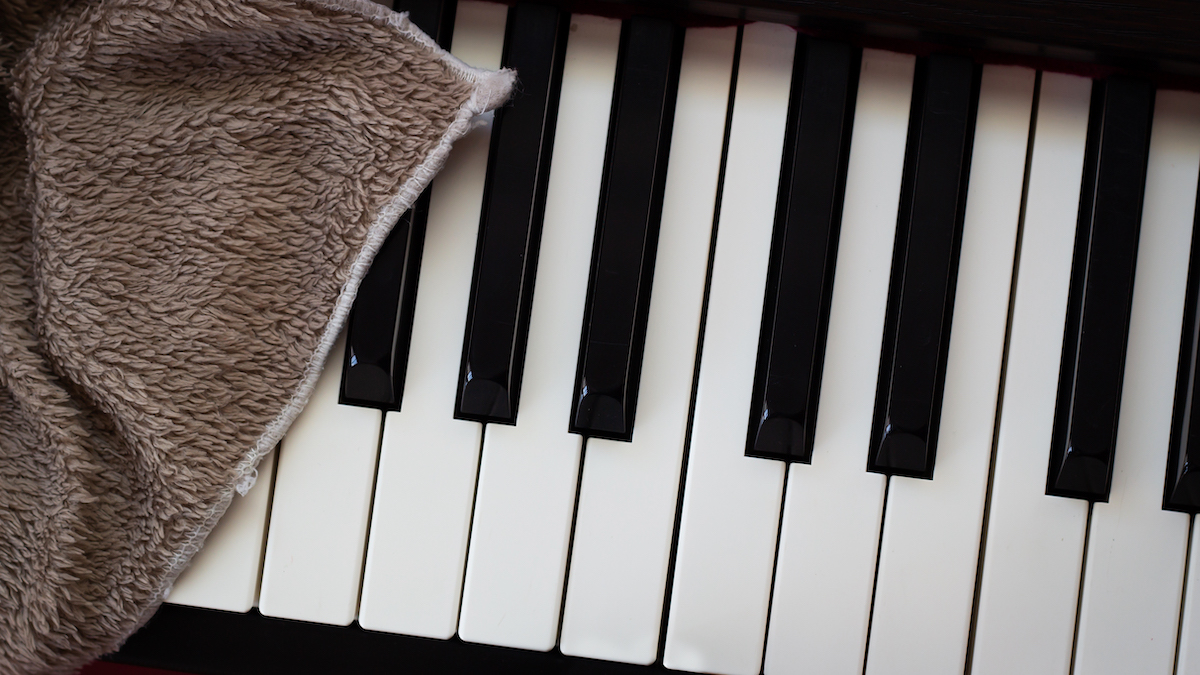
Step 1: Gather the necessary tools
To clean your piano keys effectively, you will need to put together a kit comprising some basic household tools. Things like a soft, lint-free microfiber cloth, some distilled water or a mild soap solution (avoid using chemical cleaners), a couple of small bowls or containers, and then a soft-bristled brush (such as a toothbrush or a dedicated piano key brush).
Step 2: Preparing the cleaning solution
If using a mild soap solution, add a small amount of mild liquid soap to a bowl of distilled water. Ensure the soap is gentle and free from harsh chemicals that could damage the keys. Alternatively, you can use distilled water alone for a more straightforward approach.
Step 3: Cleaning the keys
Dip the soft cloth or brush into the cleaning solution or distilled water. Gently wring out any excess liquid to avoid oversaturating the keys or having large volumes of water enter the mechanisms. Starting from the topmost key, work your way down, gently wiping or brushing each key individually. Use light pressure to avoid damaging the keys or pushing dirt further into the gaps.
Step 4: Removing stubborn stains
For stubborn stains or grime, moisten the cloth or brush slightly and apply a little more pressure. However, be cautious not to damage the key's surface or lettering. Avoid using abrasive cleaners or scrubbing vigorously.
Step 5: Drying the keys
After cleaning each key, use a clean, dry cloth or towel to gently dry them. Ensure no moisture remains on the keys to prevent damage or warping. Take extra care when drying keys made of ivory, as they are more susceptible to damage from excessive moisture.
Step 6: Cleaning between the keys
To remove dust or debris lodged between the keys, use a soft-bristled brush or a specially designed piano key brush. Gently glide the brush between the keys, being cautious not to dislodge any parts or exert excessive pressure.
Step 7: Polishing (optional)
For keys made of plastic or synthetic materials, you can consider using a piano key polish to restore their shine. Follow the manufacturer's instructions and use a soft, lint-free cloth for application.
Conclusion
Maintaining clean and well-maintained piano keys is vital for preserving the performance and aesthetics of your instrument. By following this step-by-step guide, you can ensure that your piano keys remain in optimal condition, enabling you to enjoy your playing experience fully. Remember to clean your piano keys regularly, adhere to gentle cleaning techniques, and avoid using harsh chemicals or excessive moisture. With proper care and attention, your piano keys will continue to provide a smooth and delightful playing experience for years to come. Happy playing and happy cleaning!
Chris Corfield is a journalist with over 12 years of experience writing for some of the music world's biggest brands including Orange Amplification, MusicRadar, Guitar World, Total Guitar and Dawsons Music. Chris loves getting nerdy about everything from guitar and bass gear, to synths, microphones, DJ gear and music production hardware.
MusicRadar deals of the week: Enjoy a mind-blowing $600 off a full-fat Gibson Les Paul, £500 off Kirk Hammett's Epiphone Greeny, and so much more
“For those who think they know Joel’s story, as well as those who are not as familiar, I believe this two-part film is both a revelation and a surprise”: New Billy Joel doc is on the way


