How does reverb actually work?: "Reverb gives us a mainline into our audience’s subconscious, allowing us to influence their aural experience at a subliminal level"
Reverb has been relied on for its evocative sonic character ever since the first homo sapien warbled expletives into a dark cave. The transformative power of space remains a vital mix ingredient...

As creative music producers we’re always looking for ways to catch the listener’s interest and attention. We agonise over creating just the right feeling and emotion through melody, harmony and rhythm, and ruminate for hours – days, even – over tiny production decisions that (in all honesty) nobody but yourself will notice.
It is therefore astonishing that, when it comes to reverb, many producers will simply fire up an instance of ‘Whatever-Verb’, load a preset that sounds nice in isolation, and then pretty much leave it at that. But, as with most aspects of music production, reverb should always be tailored to the specific situation. A music producer has to consider the style of music, the mood of the song, the instrumentation, the performers… all of it.
Presets can be a useful signpost to help us get into the correct ballpark – for those who are wanting to work that way – but you should never rely on them wholesale; the producer’s skill lies in knowing how to adapt to the situation, and knowing how to use the tools available to achieve the desired result. Not to mention the way in which reverb can be manipulated in myriad colourful ways.
Reverb plays on the brain’s intrinsic ability to infer information about an environment from the reflections that accompany the sounds we hear. We do this unconsciously and automatically, often unaware that the reverb is there at all unless we actively listen for it.
When used well, reverb gives us a mainline into our audience’s subconscious, allowing us to influence their aural experience at a subliminal level. When not fine-tuned to the situation, though, the results can be mushy or jarring, obstructing rather than enhancing the mix.
Essentially, there are two uses for reverb. It can simulate rooms and acoustic environments, bringing realism and depth to your productions. It can also be used as a sonic enhancement or creative effect that blends with and becomes an inseparable part of other voices or instruments within a mix. Allow us guide you through…
Reverb: how the different types work
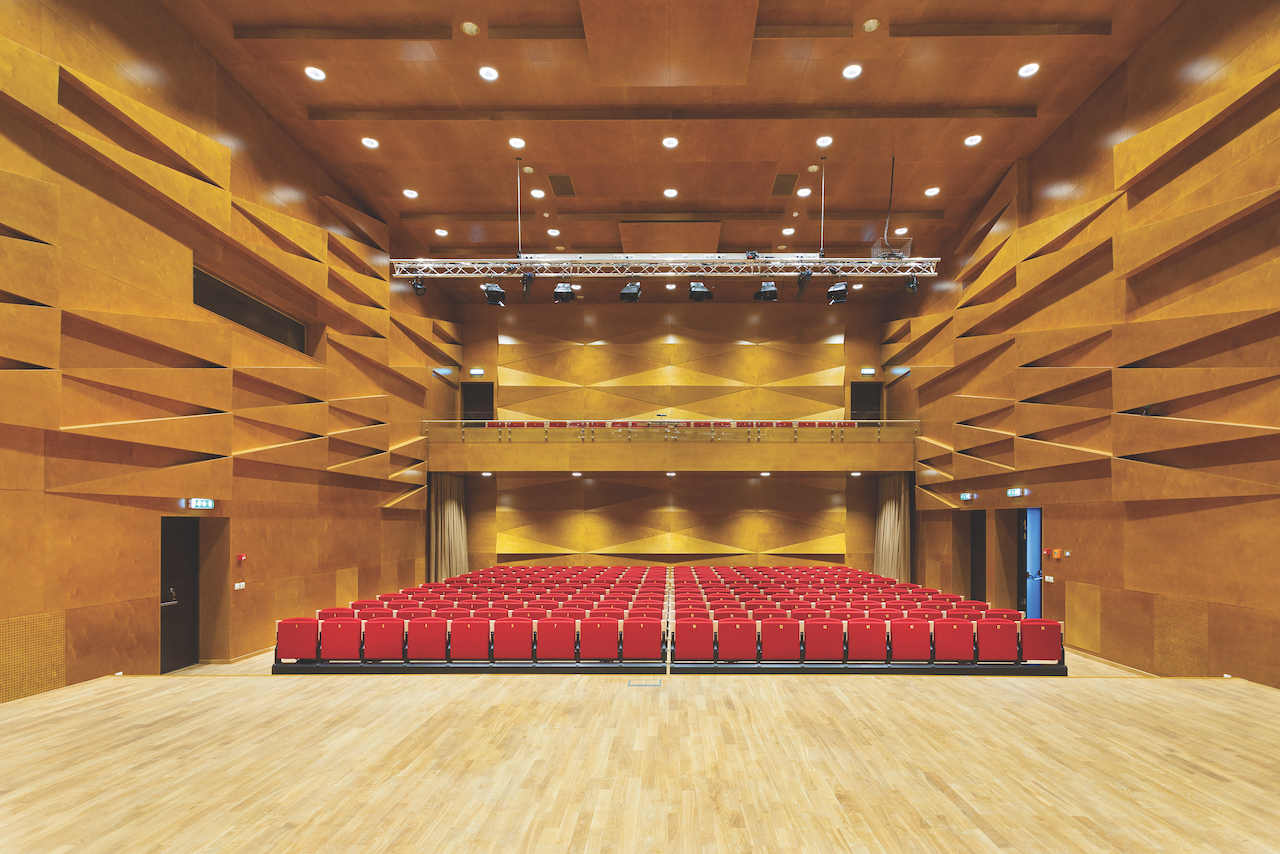
There are four different ways in which reverb is created in the studio. The first to be invented, the echo chamber, isn’t a simulation but rather a room in its own right. The concept is simple: place a speaker in a lively acoustic space, play a signal through it, and collect the resulting reverberations with a microphone. Despite creating actual reverb, echo chambers are impractical – fun if you get the opportunity, but artificial solutions make life easier…
Get the MusicRadar Newsletter
Want all the hottest music and gear news, reviews, deals, features and more, direct to your inbox? Sign up here.
Electro-mechanical reverbs – plates and springs – were the first such solutions to come along, but, whilst characterful, their usefulness is limited by the scanty control one has over the reverb sound. The same cannot be said of digital ‘algorithmic’ reverb, which creates big stacks of delay lines to simulate what happens when sound waves bounce and scatter around a room, and so offers many ways in which to influence the reverb effect.
Convolution reverb imprints onto a signal the acoustic characteristics of a so-called ‘impulse’ recording. Put another way, the impulse acts like a sample of an environment’s acoustics, and a convolution reverb processor can use that sample to recreate those acoustics.
This makes convolution reverb infinitely flexible in theory but, like sample-based synths, can also lead to accusations of same-y-ness. The controls on offer tend to be less comprehensive than algorithmic too, and tend to work by manipulating the impulse, so in reality convolution reverb is not as malleable as algorithmic.
Room acoustics
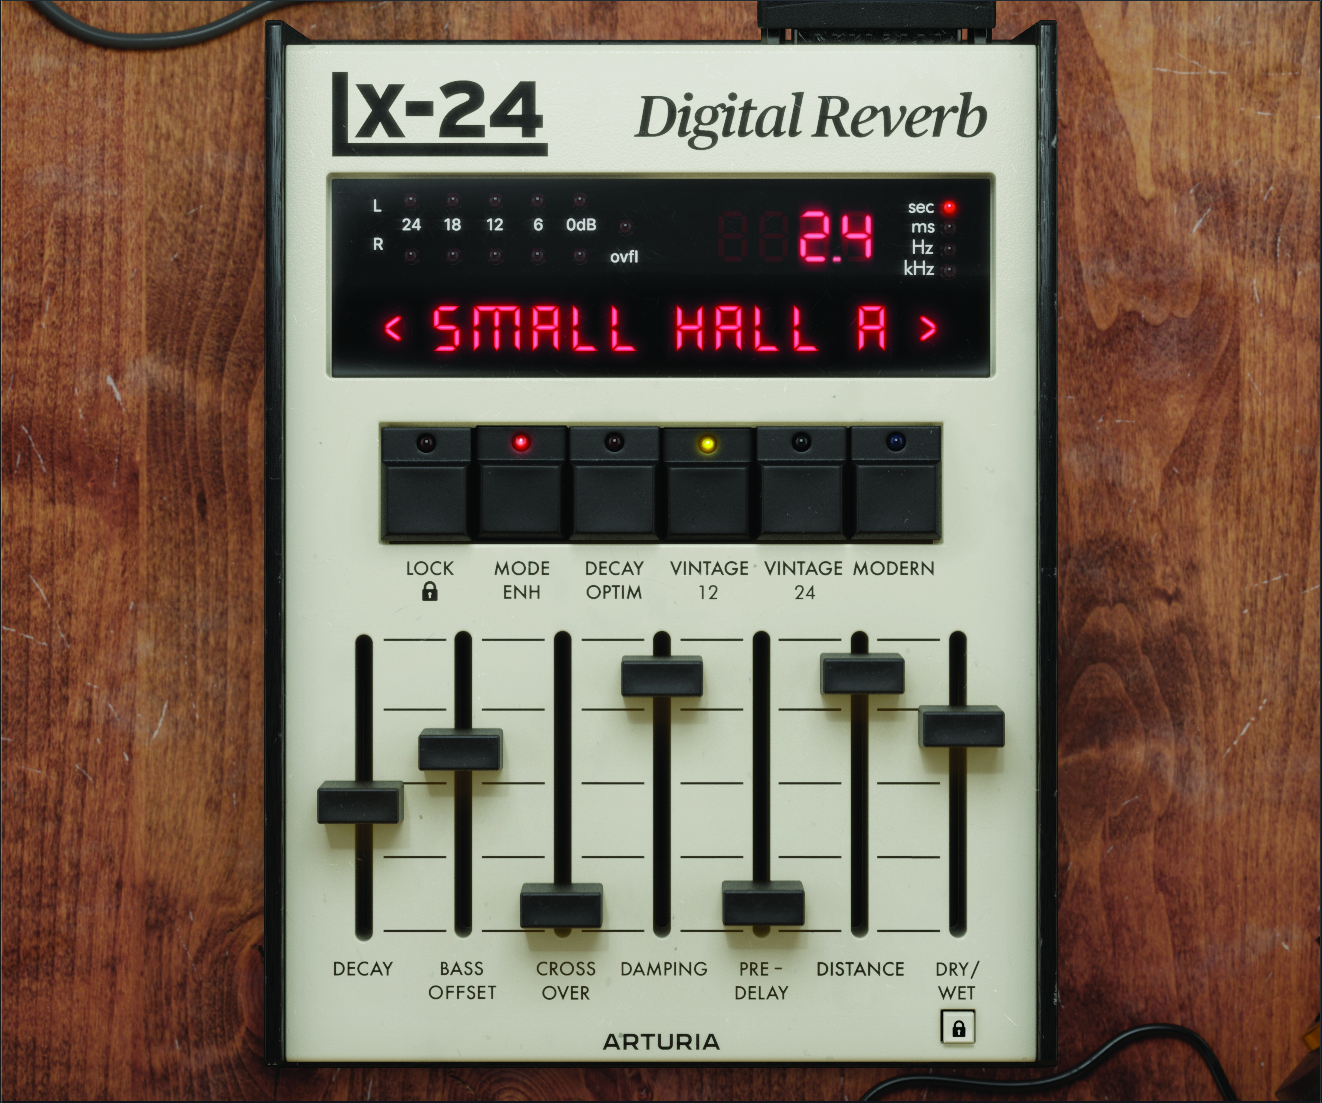
Individual reverb processors – even those of the same type – will offer their own particular selection of parameters for controlling the effect. This can be confusing, but what all processors have in common is that the parameters are designed to in some way relate to what happens in a real acoustic space. To get the best out of any reverb, then, it is important to have an appreciation of the real world acoustics that are being simulated. Let’s have a brief recap…
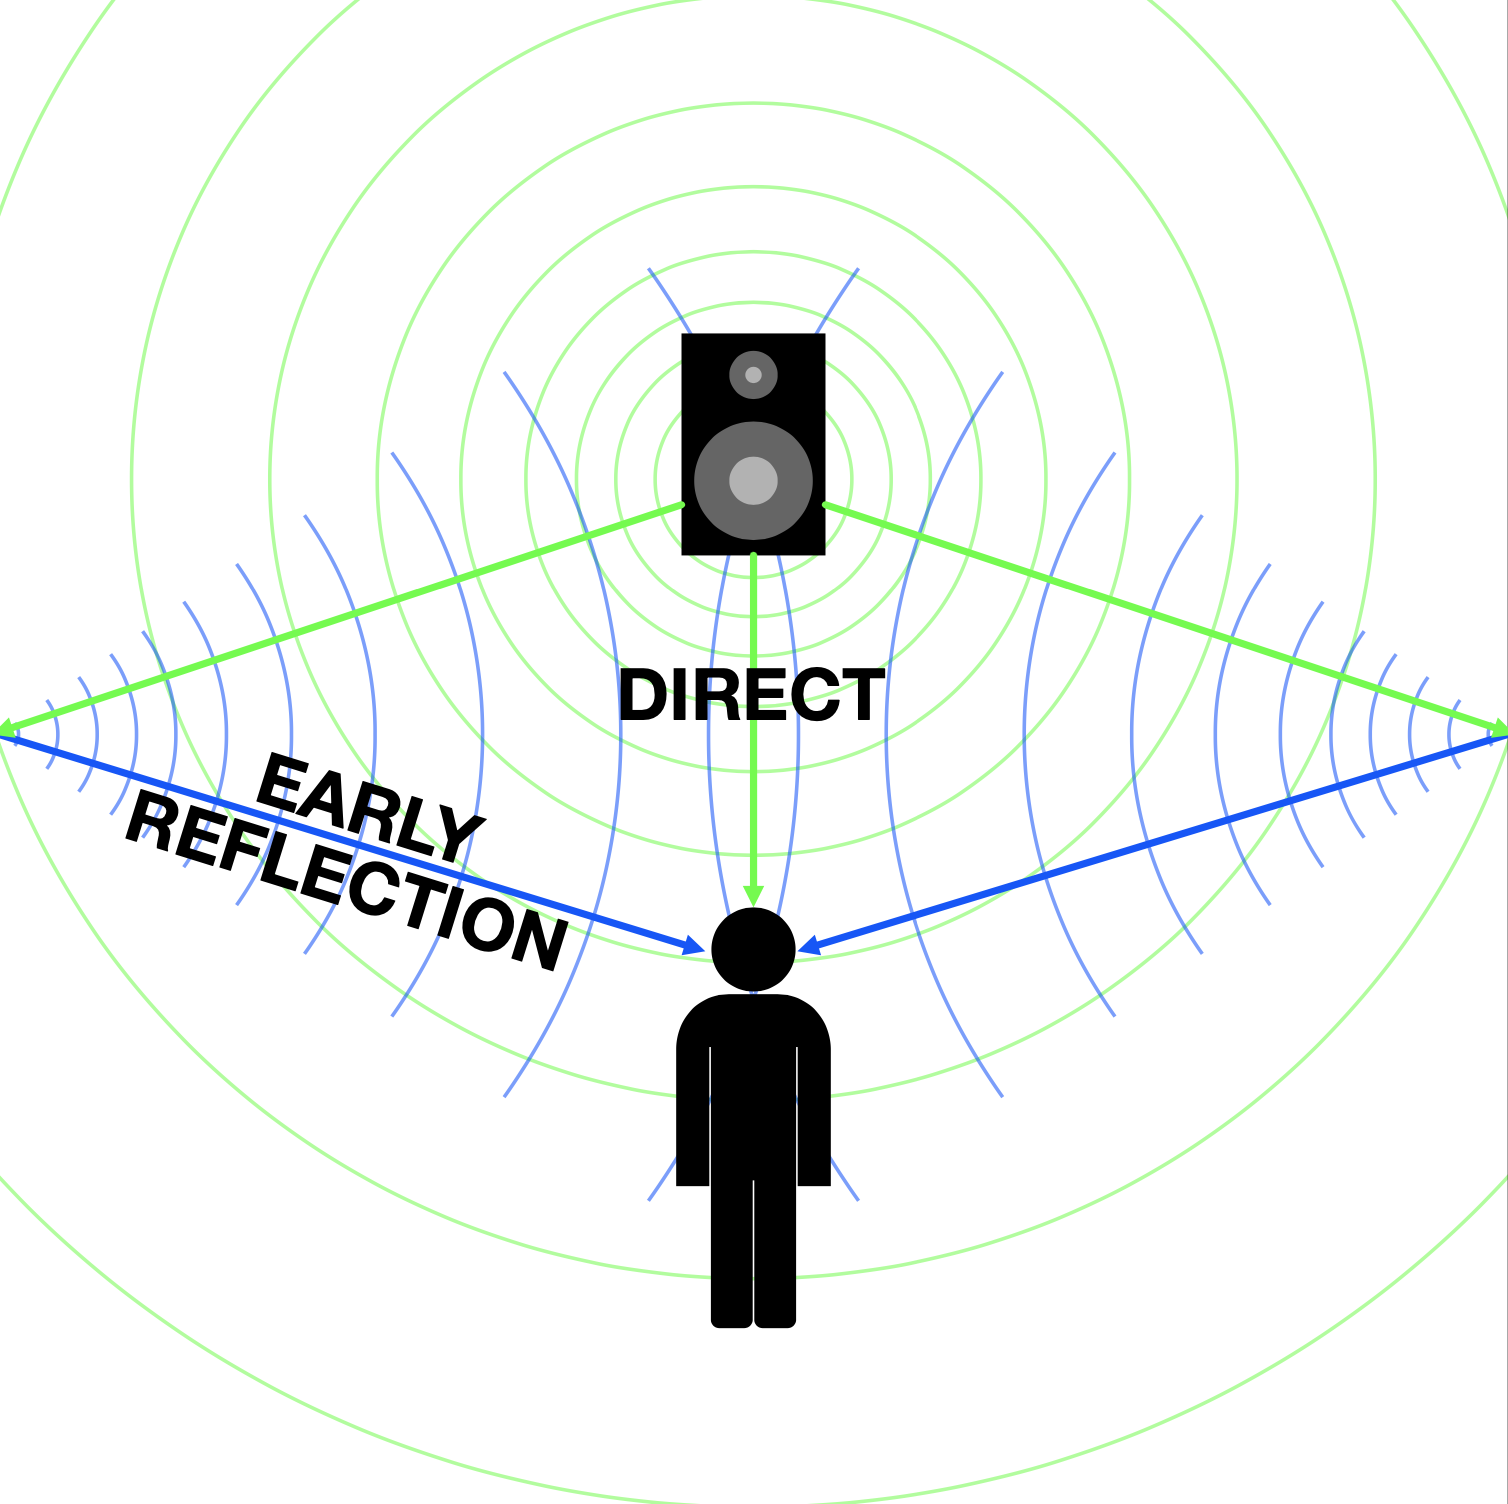
Imagine a sound source within a room. Sound waves propagate from the source, and will at some point encounter a surface that will partially absorb and partially reflect the waves. The initial reflections, referred to as early reflections, will propagate, and the process will repeat, building to a chaotic wash of reverberations until the reflections fully dissipate.
Standing in amongst all of this is the listener, who hears three distinct elements: the direct sound waves, the early reflections, and the reverb wash (or tail). The listener’s ears and brain detect the timing, timbre and phase differences between these elements, inferring from them details about the room’s characteristics.
How it works
In a reverb processor, the room size or type (algorithmic), or impulse (convolution), determines the basic acoustic characteristics of the effect. For example, larger spaces will tend to generate longer delays between direct sound, early reflections and tail, and that tail is likely to be dense and dark. Conversely, reverberations in a smaller space will tend to be snappier, zingier and less dense; the sound waves being dissipated more quickly due to the rapidity of reflections.
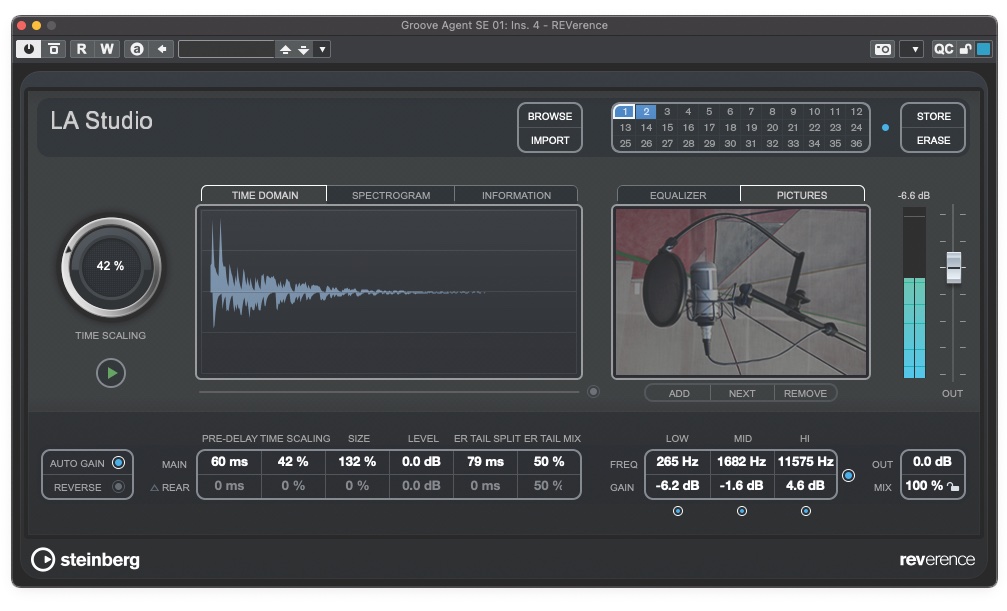
The overall decay time or reverb time is a factor in the apparent size of the room, but is also indicative of how the room’s walls reflect and absorb sound waves: longer decay times equate to greater reflectivity, shorter times equate to greater absorption. Also, surfaces tend not to reflect and absorb all frequencies evenly, affecting the brightness or darkness of the reverb tail as it decays. Most processors include EQs, filters and/or damping to help simulate all these surface characteristics.
The balance between the direct sound and the reverberations determines how near or distant the source appears to be, as does the delay between the direct sound and early reflections. This delay is usually referred to as pre-delay, and increasing this will both make the source appear closer, and make the room seem larger. Increasing the delay between early reflections and reverb tail further influences the sense of size, and can also give the impression of additional surfaces existing between the source, walls and listener (a floor, for example).
The warp factor
Once we’ve got the hang of using algorithmic reverb for room simulation we are well set up to start getting more creative with our virtual rooms. After all, the better we understand the relationship between reverb parameters and real world acoustics, the easier it is for us to imagine ways in which to mess with those parameters to create spaces that couldn’t exist in reality, and which therefore bring unusual and unique elements to our music.
Convolution reverbs offer a different route to creating strange and other-worldly spaces in which to stage our music. Because the effect is entirely based on the impulse recording being used, working with unconventional and unusual impulses – or even using random noise or pitched audio snippets in place of impulses – can yield all sorts of weird and wonderful results. So, gather as many impulses as you can find and start experimenting!
Creating depth and distance
We will often want to place several, or even all, of the instruments of a mix into the same acoustic space. In this scenario it makes sense to insert a reverb plugin on its own channel, set it to 100% wet, and use channel sends to route instruments to it.
Each channel’s send level will determine how prominently it contributes to the overall reverb, thereby giving some control over the channel’s apparent front-to-back depth – the more ‘reverby’ an instrument, the more distant it will seem.
We can take this up a level by simulating the loss of top-end clarity and increase in woolliness experienced as sounds move further away. To do this, send the source channels to the reverb via FX/Auxiliary tracks that have EQ processors inserted. Use the EQs to reduce high frequencies and/or increase lower ones within the send signal, based on how distant you wish them to appear.


