Playing acoustic guitar: plectrum technique
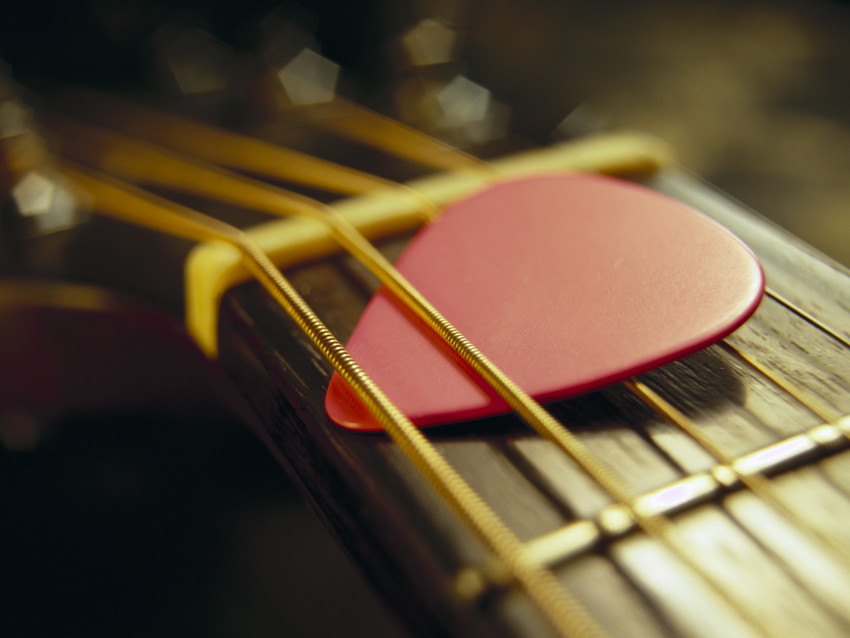
ACOUSTIC WEEK Originally the term plectrum was used to describe any material used to strike the strings of instruments such as the harpsichord, luter, mandolin, zither and, of course, acoustic guitar.
These materials ranged from quills, to wood and ivory. Nowadays, as you’d either be laughed off stage (or arrested) if found using several of the above, we have settled on the ubiquitous modern forms of plastic or nylon for this purpose (although many of us will remember fishing around for an old coin to use as a last resort!).
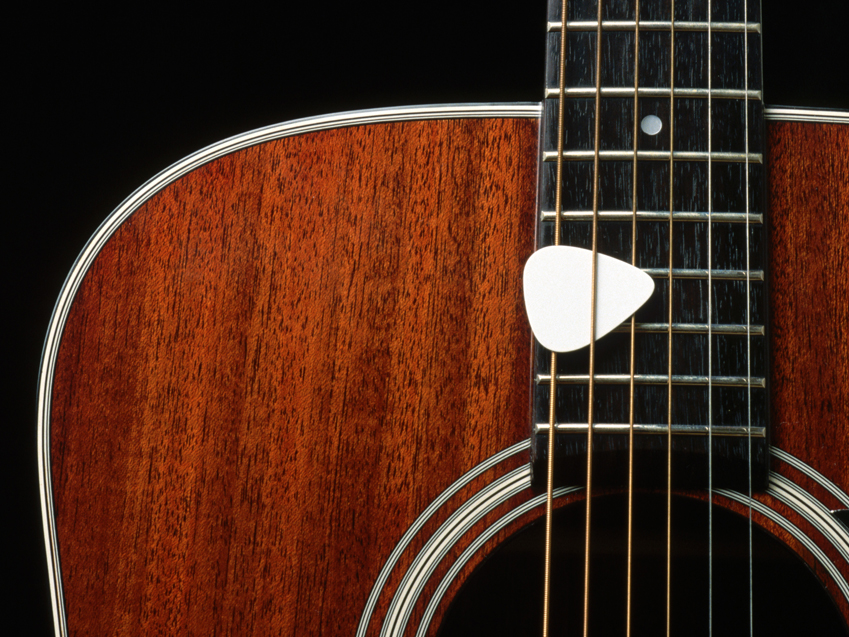
As with most things these days, plectrums come in all shapes, sizes, thicknesses and textures. Whilst shape and size are pretty much down to personal taste, the thickness and texture of the pick will have a direct result on your sound. Whichever type you go for, make sure the part that hits the strings is free from any rough edges. That said, you can always make a few scratches on the part in contact with your fingers for some added grip if necessary.
If you're just starting our, and you're keen to experiment with lots of different styles, a medium pick will serve you well. However, if you feel you’d like to delve a little further, go out and buy yourself 3 or 4 different thicknesses of pick and you’ll soon find that one type is often more suitable than another for different styles of music.
For example, if you want to play a lot of lead lines on your acoustic guitar, a thicker pick will give you a harder attack. Not only will this help your sound project more in volume, but it will also give the higher strings a fuller bodied sound (many acoustic jazz players use a thicker pick with heavy gauge strings for this reason).This works equally well for rock styles on the acoustic, although we would personally opt for a lighter gauge of string, otherwise those bluesy bends may result in the loss of blood!
Playing acoustic guitar: plectrum technique
At the other end of the scale, if you want to get that lovely open strummed feel which you hear a lot in folk, pop and country rock, a lighter pick is definitely worth a try.
The effect you’re after here is a softer initial attack, making all the strings sound balanced and pretty similar in volume. If you go very thin on your picks, you’ll find that the percussive element of the sound will start to seem louder than the chords themselves. Give it a try. In certain situations this can be beneficial. If you play with one or more other acoustic guitarists, one guitar playing in this way can provide a great percussive backdrop for the other two and prevent the sound from getting too 'mushy'.
As you progress and develop your own style, you’ll soon have a favourite pick. Oh, and we should mention, you will lose and misplace literally hundreds of them in your lifetime as a guitarist. We have tried to fathom where these things end up, but that remains one of life’s great mysteries!
Now onto using the plectrum in a strumming context. First, get used to holding the pick comfortably between the flat parts (not the tips) of your thumb and index (first) finger. Don’t clamp on to the thing to hard, make sure there’s a bit of give! Also resist the temptation to use your second finger to reinforce your grip as this will restrict movement. The space between your thumb and finger should resemble an eye shape.
Now position your strumming hand over the soundhole of your guitar. Your thumb should be pointing towards the neck. As you look down, you should be able to see all of your thumbnail, with the pick facing toward the soundhole (You don’t have to use the point of the pick to hit the strings with. Often, using the more rounded side of the pick will give a more resonant sound).
Your wrist should feel loose but controlled, hovering about 3cm above the guitar. There are several schools of thought as to whether the strumming motion should be powered by the arm, or the wrist, or both. we find that tempo is an important factor in this. For songs where slow strumming is employed, using your arm to give a broad brush stroke over the strings keeps the contact between pick and strings constant, resulting in a smoother sound.
For faster strumming styles, broad arm strokes won’t give you enough time to get back and forward over the strings, which could sound sloppy. A fluid wrist action will give a much more focused result. Once again, make sure that whichever way you strum, the wrist and arm remain tension free. Don’t become a casualty of the dreaded RSI!
Example 1
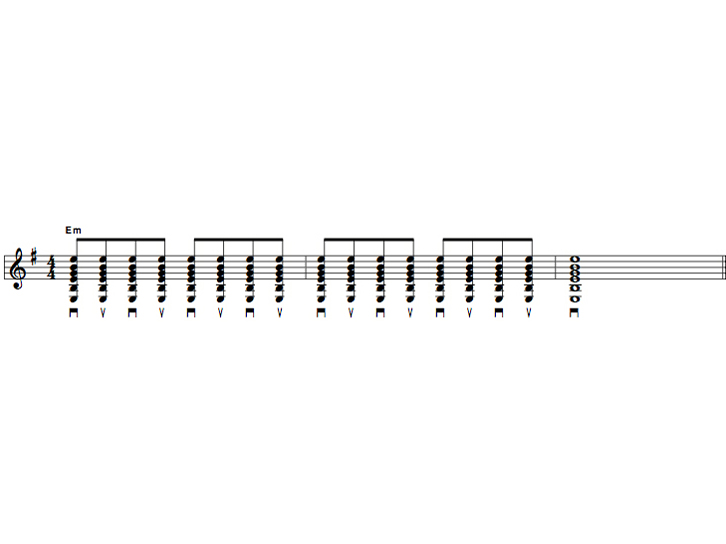
The simplest form of strumming is to simply move the pick down and up, repeatedly, over all six strings. You will note that the down strokes of the pick always fall on beats 1, 2, 3, and 4, whilst the upstrokes fall on what we refer to as the ‘offbeats’ (1 & 2 & 3 & 4 &).
Example 2
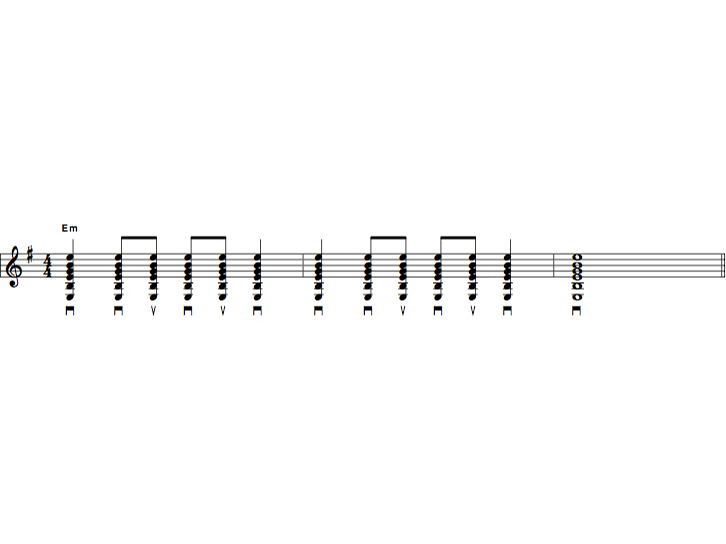
This closely resembles example 1 except the 2nd and 4th upstrokes are left out: 1 X 2 & 3 & 4 X, where ‘X’ is a missing strum. Note that the motion of your strumming hand should be the same for both examples. Just don’t hit the strings as you bring your hand up on the missing offbeats.
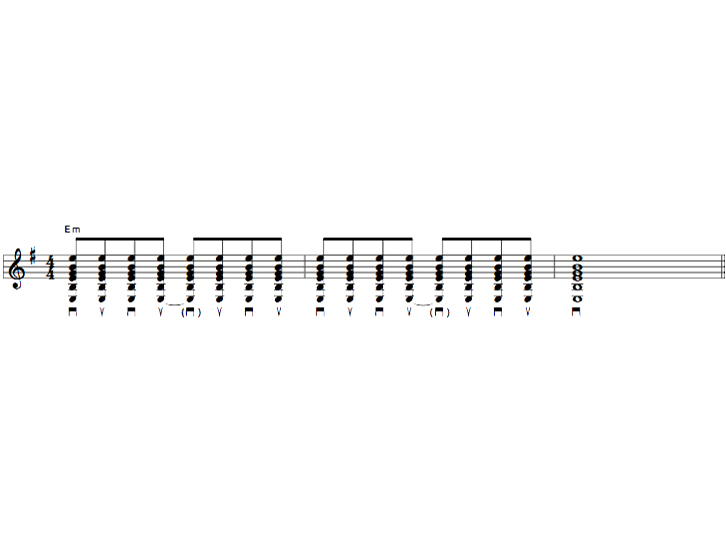
Example 3
Again, closely related to pattern 1, this example leaves out beat 3 on the strumming hand. 1 & 2 & X & 4 &. You can now use this system to build many different variations of up and down strokes and find which one works best for your song. You’ll also start to recognise different versions of this technique on many records which feature strummed acoustic guitar. They are easy to pick out!

Guitarist is the longest established UK guitar magazine, offering gear reviews, artist interviews, techniques lessons and loads more, in print, on tablet and on smartphones Digital: http://bit.ly/GuitaristiOS If you love guitars, you'll love Guitarist. Find us in print, on Newsstand for iPad, iPhone and other digital readers



![PRS Archon Classic and Mark Tremonti MT 15 v2: the newly redesigned tube amps offer a host of new features and tones, with the Alter Bridge guitarist's new lunchbox head [right] featuring the Overdrive channel from his MT 100 head, and there's a half-power switch, too.](https://cdn.mos.cms.futurecdn.net/FD37q5pRLCQDhCpT8y94Zi.jpg)

