Get more from your electronic drum kit
From practice sessions to recording, electronic sets can be a vital part of the drummer’s arsenal...
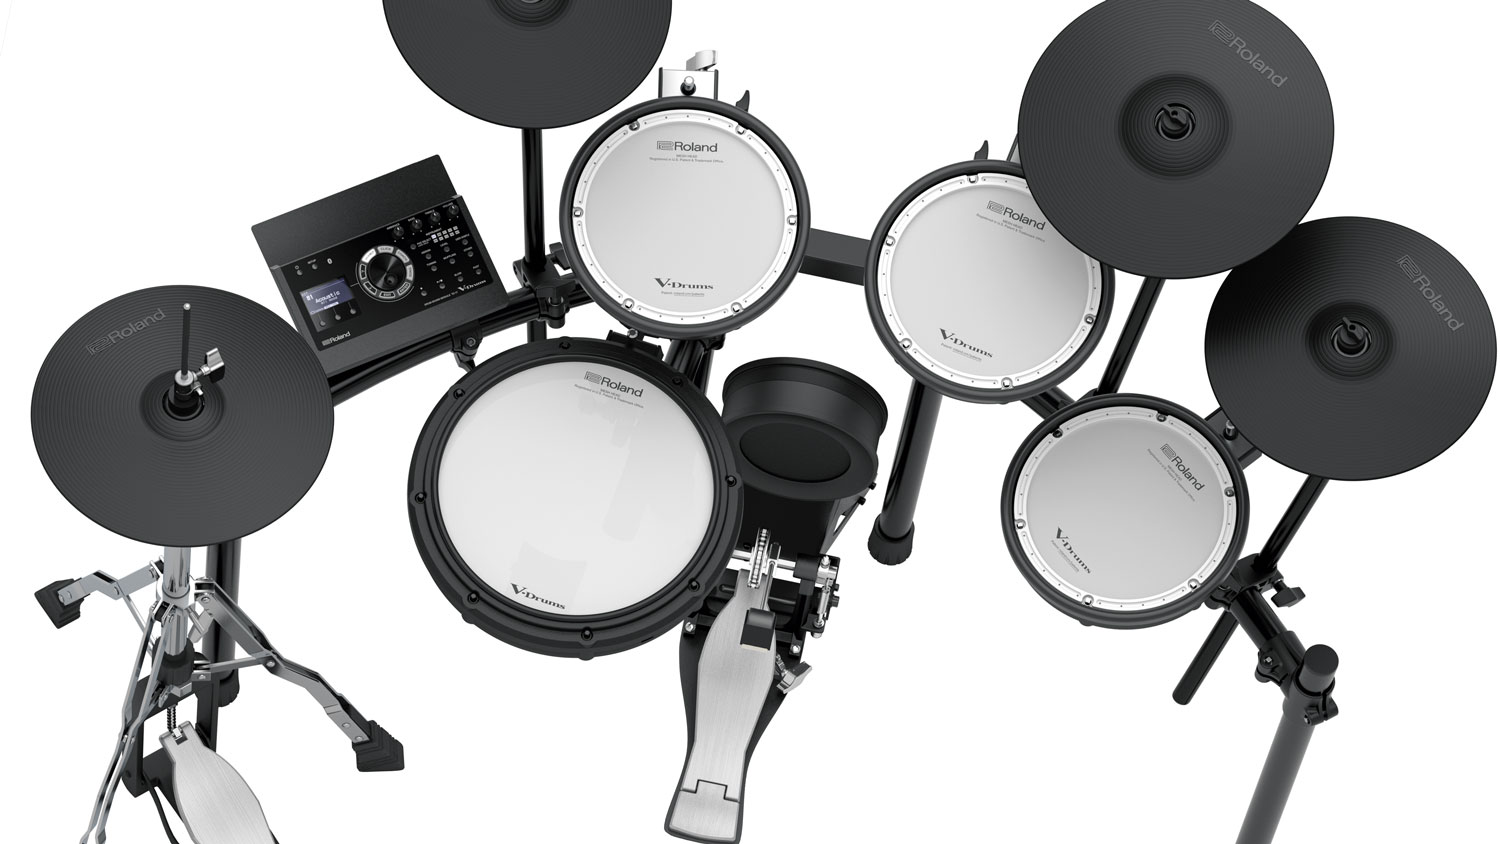
Electronic drum kits are capable of so much more than simply aping our acoustic kits. However, some of these things can be confusing, particularly if you’re just starting out.
Whether you’ve just got your first electronic kit, or you’ve had it a while and are looking at ways to get that little bit more out of it, we’ve got you covered.
Some of these examples may require some additional accessories, but many of them will cost you literally nothing.
Join us as we look at the most commonly misunderstood features of your kit and how to unlock them…
Recording your kit
There are a few ways of ‘recording’ your kit, the main two being as either audio or MIDI. We’ll get to the latter shortly, and assume that you want to record exactly what you’re hearing in your headphones. On some more modern kits, this is as simple as using the built-in recording function. But what if you want to get the sound out of the module? Read on...
Recording audio
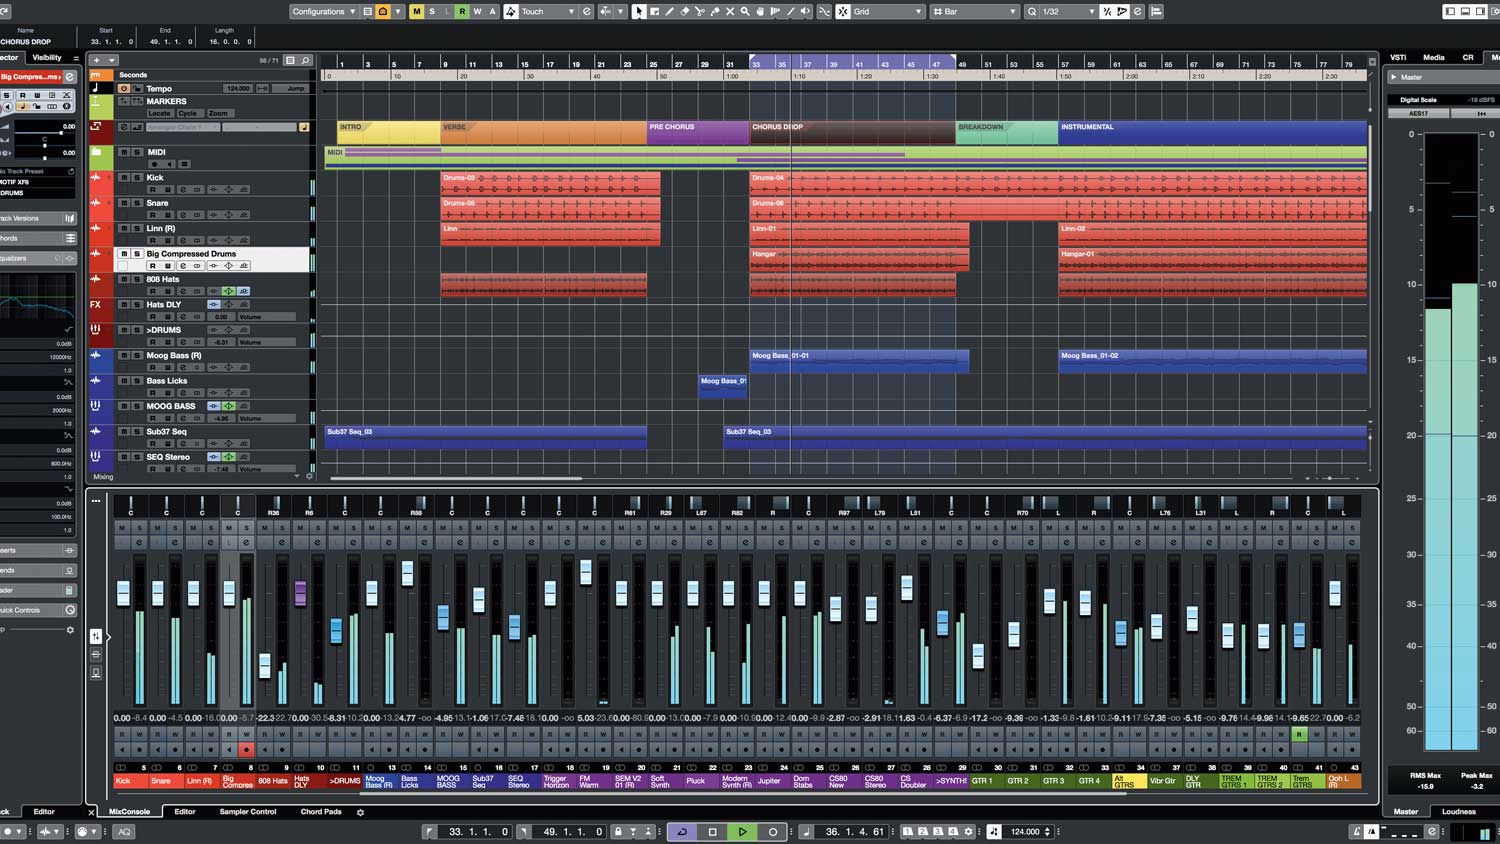
If you have a computer nearby you can use that to capture your playing. At its most basic, using a cable (usually two mono " jacks to a stereo mini-jack, check your connections) to connect the main output of your module directly to your computer’s on-board audio input. This isn’t ideal, and we’d recommend using a dedicated audio interface rather than your built-in input, but it will work. You’ll also need some software to actually record the audio – there are plenty of free versions of popular recording programs like Cubase, Cakewalk and Traktion (if you’re on a Mac, GarageBand comes with it!). All that’s left is to make sure the software is looking at the correct input to record from, and you can continue to monitor your performance through your module’s headphone output.
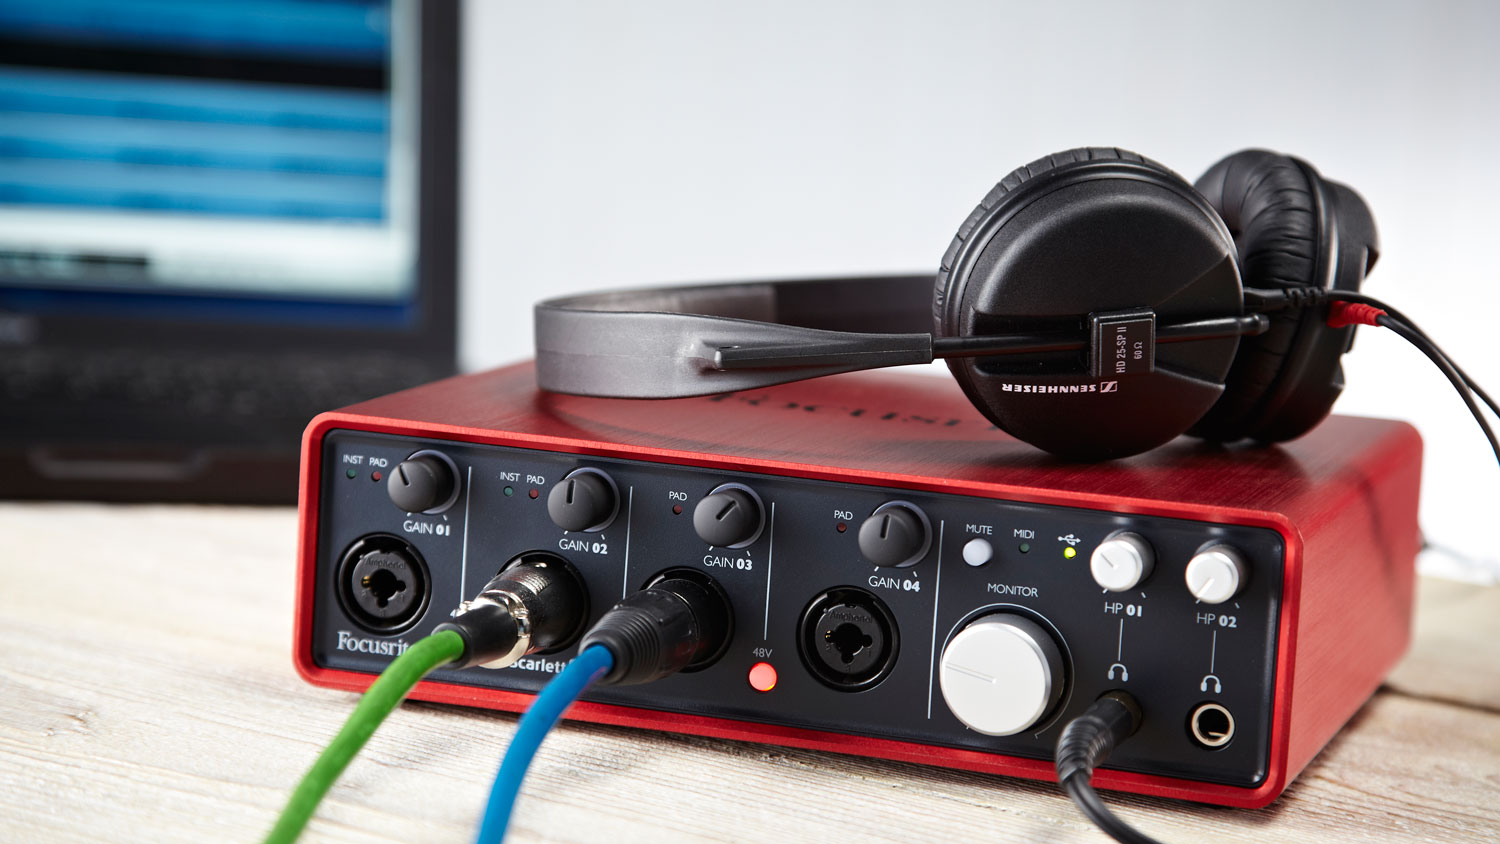
If your kit has USB, chances are it will be capable of acting as your audio and MIDI interface when connecting it to your computer. But if not, and you’re planning on recording or using software drum libraries regularly, it’s worth investing in an audio interface. This will bypass your computer’s on-board inputs and outputs, providing higher-quality recording and low-latency drivers to keep everything running smoothly. For recording an electronic kit, you’ll need two inputs, and at least a MIDI input if your kit uses a traditional MIDI socket. Check out the Steinberg Focusrite Scarlett 2I2.
Recording MIDI
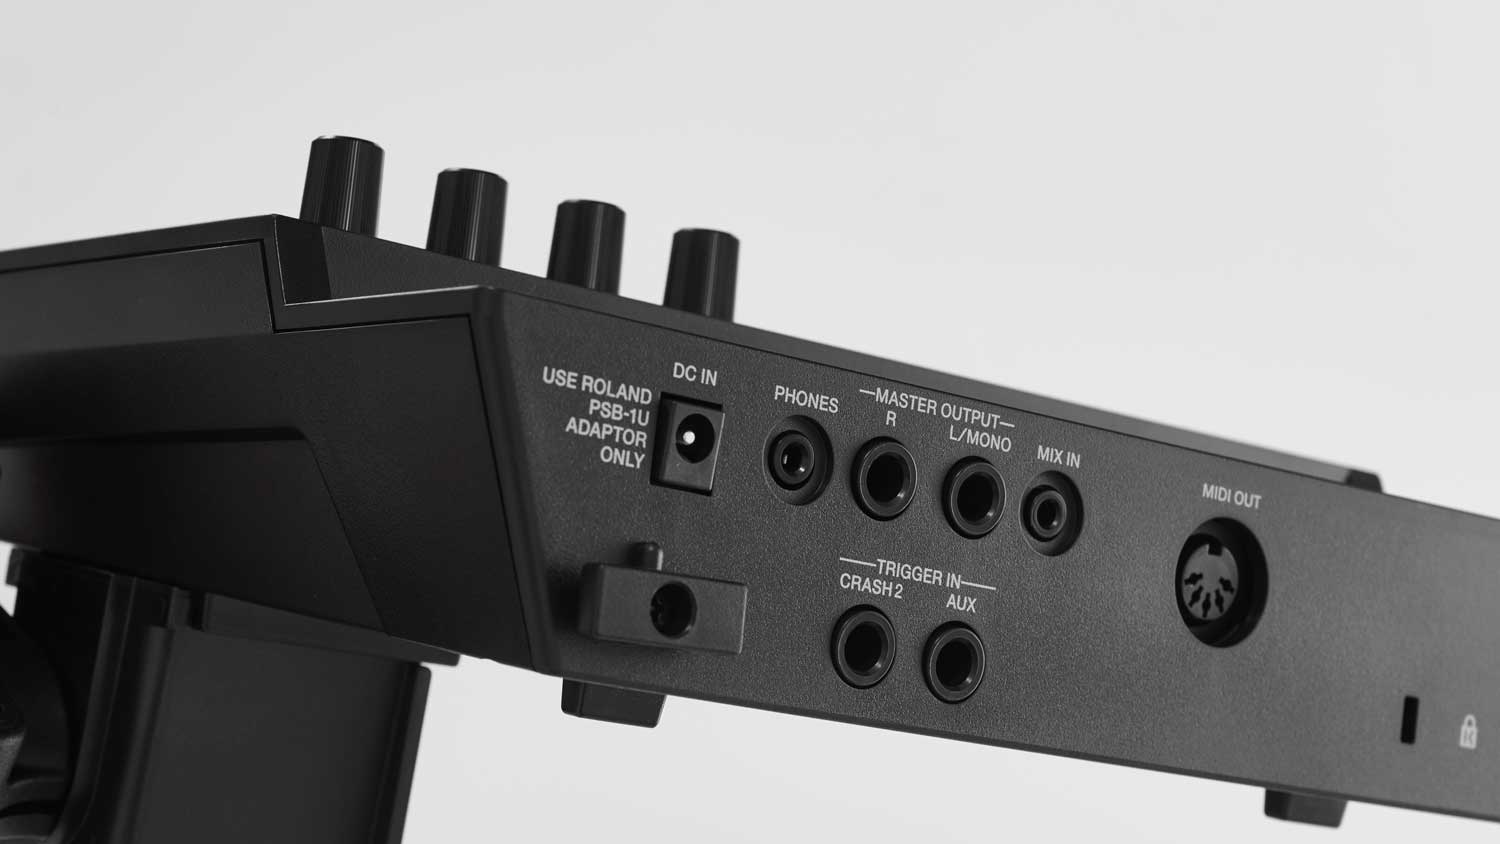
‘MIDI? Isn’t that what the keyboard player is always talking about?’ Yes, and that weird looking round socket on the back of your module is also your gateway to a world of expansion when it comes to electronic kits. You see, that port doesn’t send sound, it sends data to other MIDI-equipped devices.
"In this context, it tells the receiving equipment what note you played and how hard you played it (among many other things). This then allows whatever you’re controlling over MIDI to use that information to trigger a sound. It could be a dog barking, a piano, or it could be an amazing, multi-layered snare drum recorded in one of the world’s greatest studios.
"If you are tired of your kit’s on-board sounds, the easiest and most cost-effective way to expand it is by using some software drum library packs.
Many modules can transmit MIDI over USB, making connecting it to your computer easy. But if your module doesn’t have that function, you’ll need to use an old-fashioned MIDI cable and an interface.
"This goes from the MIDI output of your module into your audio or MIDI interface, sending the data into your computer. From here, you’ll need some sounds to trigger. Many DAW programmes come with drum sounds pre-loaded, but Toontrack’s EZ Drummer 2, XLN Addictive Drums, BFD 3 or Steven Slate Drums 5 are all great places to start.
Expanding sounds, pads and jamming!
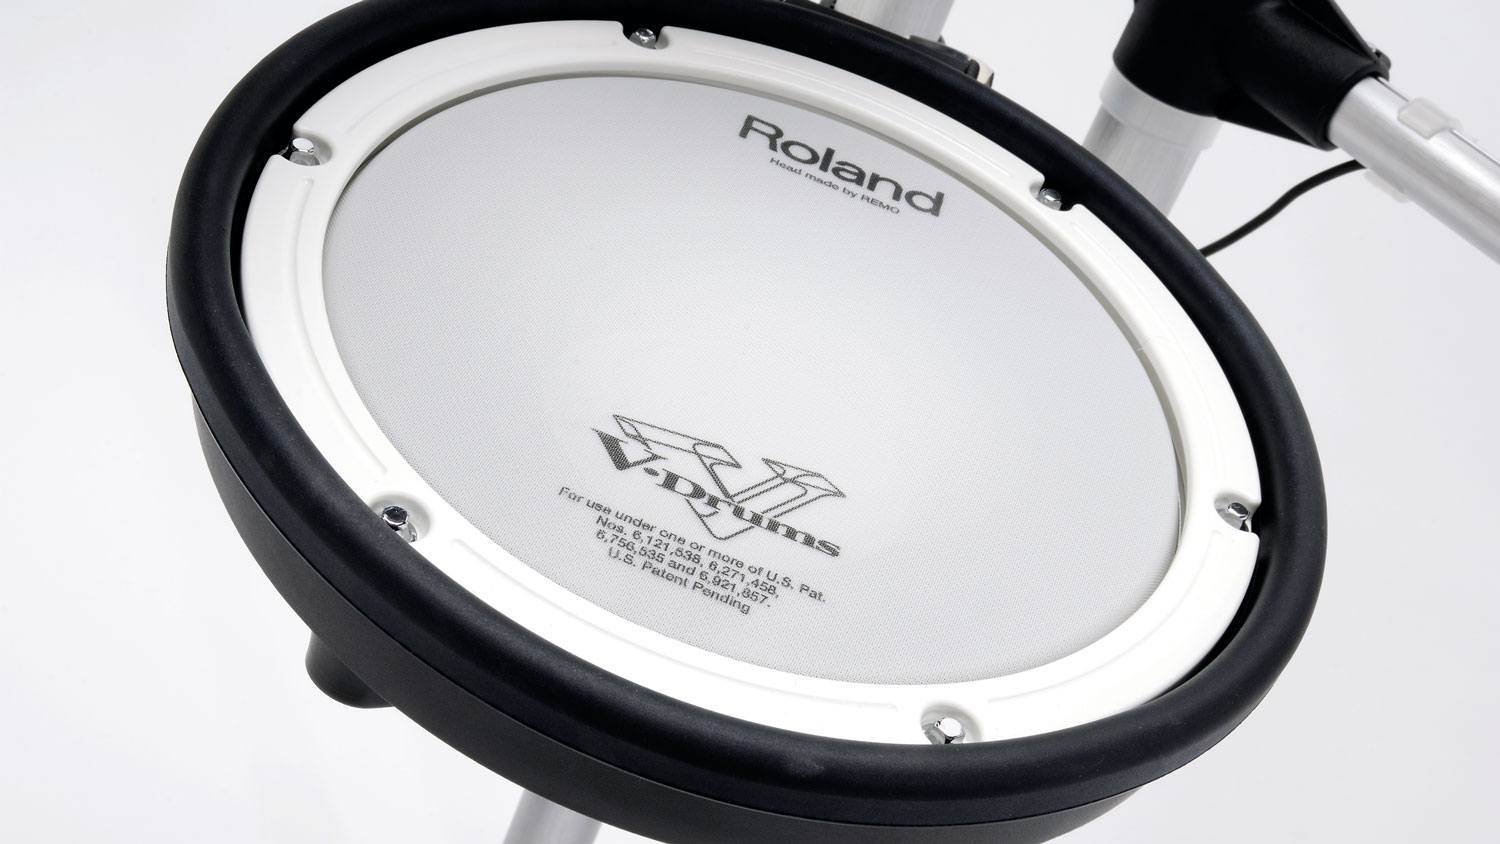
Many kits are a fairly limited five-piece, with the usual hi-hats, ride and a crash. If you’ve run out of pad inputs on your module but still need more voices, it’s worth investigating what sort of pads you have.
Lots of kits are equipped with dual-zone pads, allowing you to get two sounds (one from the head, one from the rim, for example) from one pad. It may not be immediately obvious, as these are sometimes left unnasigned in presets, but an easy way to check is to look at the cables that connect your pads to your brain.
If they are stereo, you have dual-zone pads and can assign a different sound to each playing surface.
Add more pads
Likewise, if you find yourself struggling with a lack of inputs on your module, it’s possible to split a dual zone input, allowing you to plug two pads into one socket. This is known as a Y-cable, and is a stereo " jack split into two mono " jacks. Plug the stereo end into the module and the other two into two single-zone pads.
Jam to your music
This is simple, but often overlooked. Most modules feature an auxiliary input somewhere, giving you the ability to plug in a phone, MP3 player, computer, or anything else that you listen to music from! They’re normally on a mini-jack connection, the same as your car, but check your module first.
Simply run the headphone output of your device into the aux-in, plug your headphones into the module as normal and use your device’s volume control to adjust your music levels.
Shhh! How to reduce noise
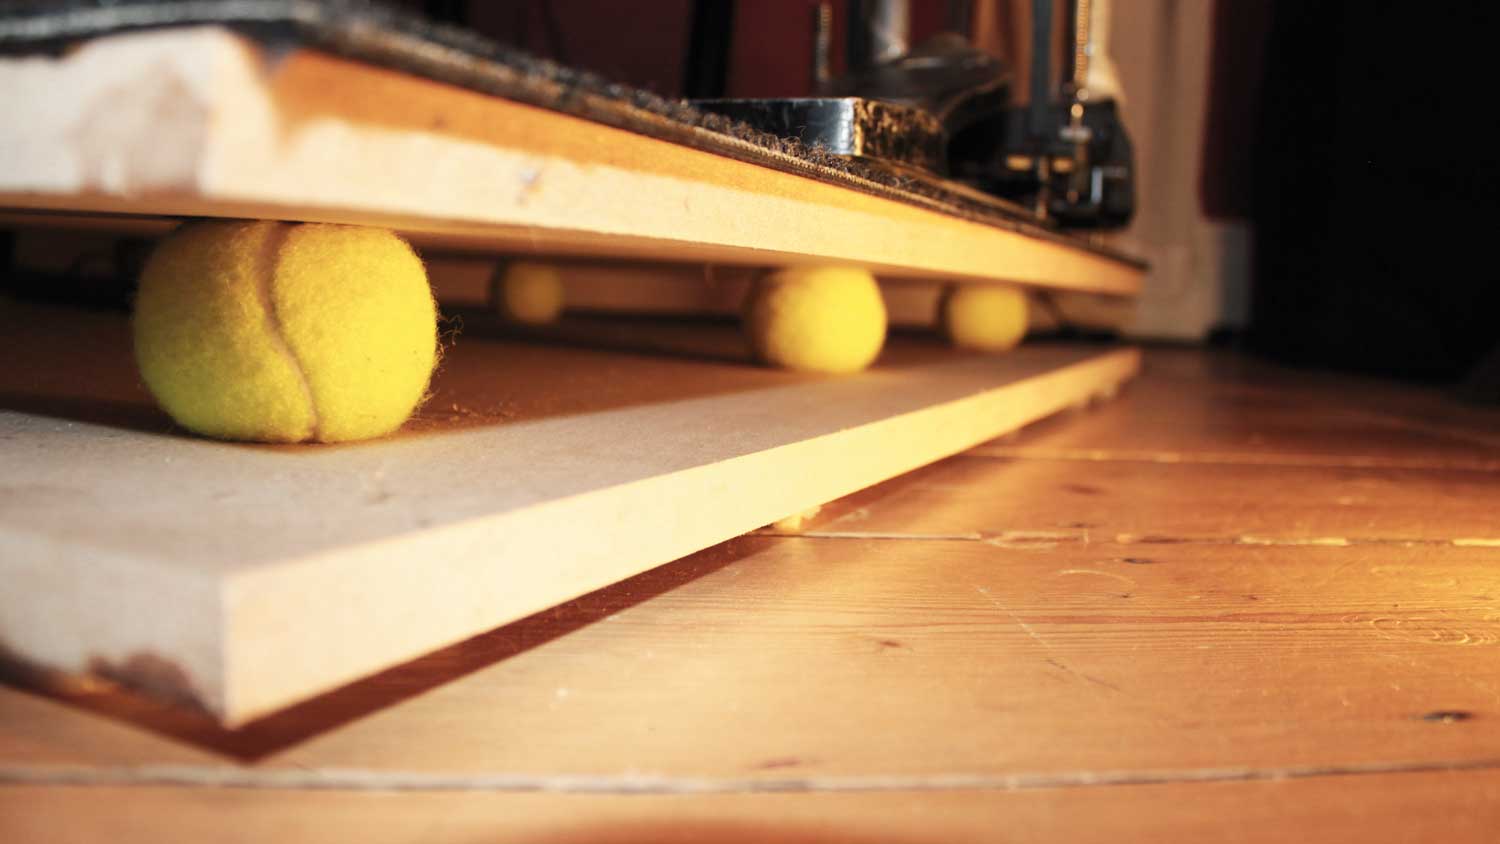
The vibrations from your pedals and stand are what travel through floorboards and walls, as anyone sitting below or in adjacent rooms will confirm. To minimise this, you can isolate these parts of your kit using products, such as Roland Noise Eaters – dampening products that sit between your kit and the floor to soak up the pesky vibrations.
Alternatively, you can create a homemade tennis ball platform for your kit to sit on. Take two pieces of plywood/MDF and drill holes in both for the tennis balls to sit in, place the second piece of board on top of the tennis balls, and, boom, you have a noise-beating drum riser!
Try a footswitch
Many kits from Roland, Yamaha, Alesis and more have footswitch functionality. Most commonly, the footswitch port can be used for hands-free changing of kit presets mid-song, but some modules will allow you to assign a sound to a footswitch too so you can use it like an additional foot trigger.
Other useful applications for a footswitch include changing between open and closed hi-hat sounds, rimshot/sidestick sounds, and switching effects on and off. If you’re looking for ways to unlock your kit, check what functions it offers for footswitch controls, with a bit of imagination you can get some creative results!
Understand your settings
Nothing will help you to unleash more of your kit’s features than actually delving into the menus and tweaking. Most modules offer a degree of flexibility for you to customise its sounds, and with some simple adjustment of pitch, volume, attack and decay you can start creating custom sounds!
Start with an idea of the type of sound you’re trying to create, and keep it handy for reference. Analyse it – is it high pitched? Layered? Short or long? Then pick an appropriate sample within your module as your starting point and start sculpting!
Stuart has been working for guitar publications since 2008, beginning his career as Reviews Editor for Total Guitar before becoming Editor for six years. During this time, he and the team brought the magazine into the modern age with digital editions, a Youtube channel and the Apple chart-bothering Total Guitar Podcast. Stuart has also served as a freelance writer for Guitar World, Guitarist and MusicRadar reviewing hundreds of products spanning everything from acoustic guitars to valve amps, modelers and plugins. When not spouting his opinions on the best new gear, Stuart has been reminded on many occasions that the 'never meet your heroes' rule is entirely wrong, clocking-up interviews with the likes of Eddie Van Halen, Foo Fighters, Green Day and many, many more.