The ultimate guide to Eurorack percussion: "Modular synthesis opens up a world of sound design that is hard to find anywhere else"
Master your modular percussion patches
Want all the hottest music and gear news, reviews, deals, features and more, direct to your inbox? Sign up here.
You are now subscribed
Your newsletter sign-up was successful
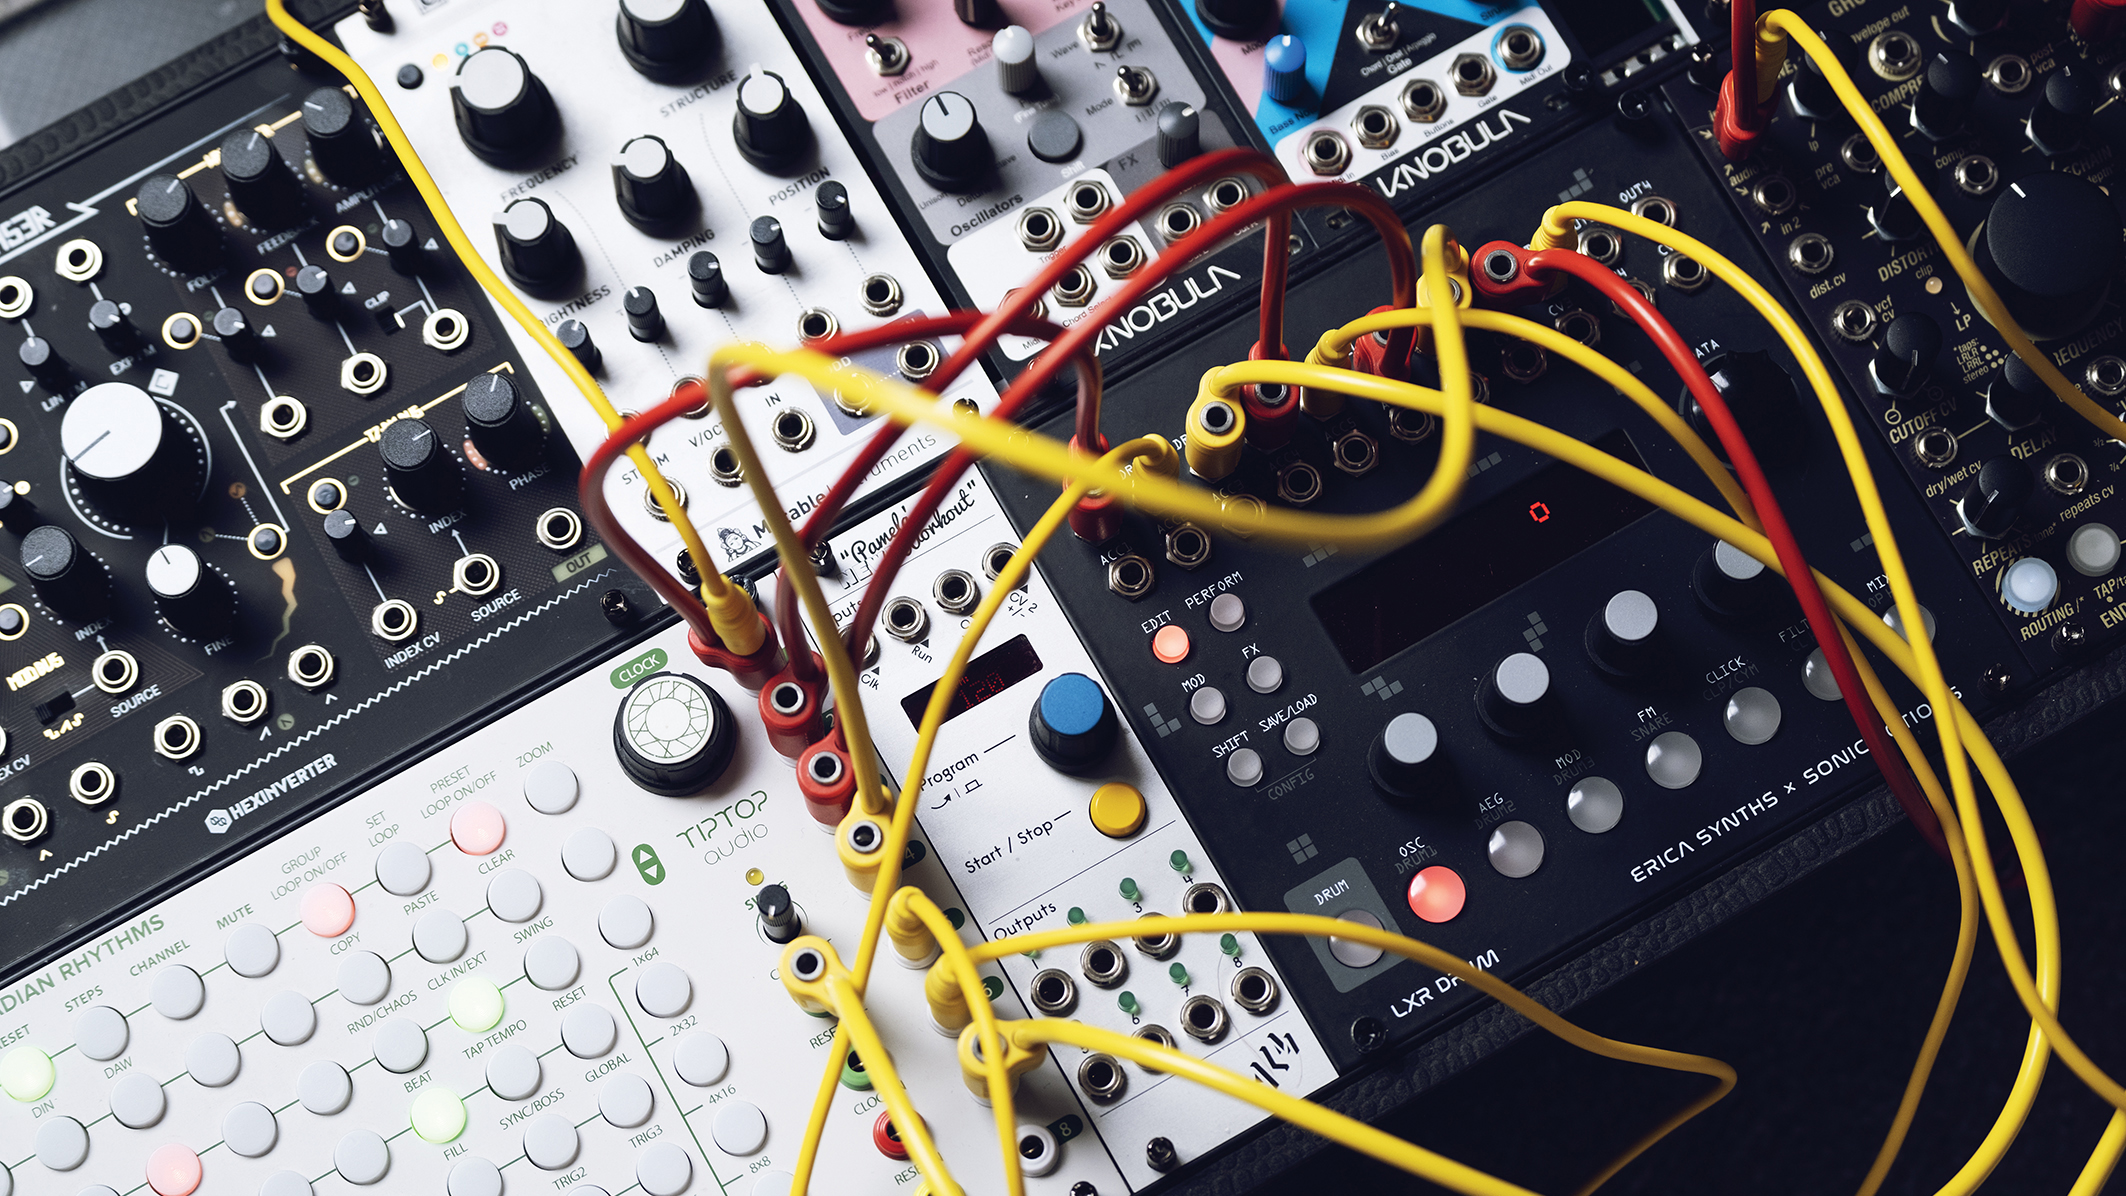
While you can stay in the box – using Logic, Pro Tools, or Ableton, etc – or you can opt for a standalone drum machine, there is nothing quite like using modular synthesisers to create your percussion tracks. Modular, especially Eurorack format, opens up a world of sound design that is hard to find anywhere else.
This is true of building a voice for each drum and just as true for the sequencing and pattern building, so join us as we learn some of the fundamentals of Eurorack drumming, from pattern building to synthesising custom drum voices and adding humanising touches to get things groovy.
Percussion in the modular world
For so many genres of music it is the drums that lay down the fundamental feel of a track, underpinning everything else and giving other instruments a foundation to play with or against, depending on the desired outcome. A drummer will do this for a band, but if you are a modular synthesist, how do you go about taking on the job of a drummer, even if your percussion voices aren’t totally (or even close to) the sounds of a drum kit?
Article continues belowWell, the answer is sequencing, where you program your drums. There are a multitude of ways of doing this, along with just as many modules to aid you in the task. Here we will look at a few basics to get you off the ground, as well as taking a look at a few modules that are great for this type of work.
Best Eurorack modules: essential oscillators, filters, utilities, effects and more
We’ll talk through creating a kick drum sound using modules you probably have in your rig, but there are of course dedicated modules for replicating specific sounds like an 808 or 909, along with claps, cymbals and so on. Those are great, and we have many in our rig, but really, the focus here is on pattern and beat creation. With that in mind let’s look at various methods and tools that can get you off on the front foot.
One thing worth mentioning is that you don’t have to be a drummer at all, although you could use an electronic kit to trigger your rig, with a MIDI to CV converter. Some drum sequencing can be completely generative, where you input some parameters and let the modular do its thing, other methods are more akin to a drum machine, where you choose an instrument and dictate which beats it plays on, rinse and repeat for each drum.
However, there are other methods like using modulation sources to generate triggers, which we will look at later.
Want all the hottest music and gear news, reviews, deals, features and more, direct to your inbox? Sign up here.
A series of books could be written on this topic, but hopefully you’ll pick up a few basics that will allow you to start your journe
A series of books could be written on this topic, but hopefully you’ll pick up a few basics here that will allow you to start your journey and aid you in either setting up a more generative patch, or give some tips on building an x0x-style system, or a modular groovebox. There is no wrong or right in this. What works for you is all that matters, but you should enjoy the process (or what’s the point?) so use these ideas as a launch pad or bootcamp to help you start your sequencing journey.
Before you get started, familiarise yourself with a couple of your favourite tracks and see if you can jot down the pattern, or at least grasp what is going on in your head – which beats do different drums fall on, are any of them non-repetitive, or a few ticks ahead or behind the groove? Then, read on…
Build a kick drum voice
No dedicated drum modules? No worries. All you need is a filter, envelope generator and a VCA.
To create a solid-sounding and pretty versatile kick drum, start with a self-resonating filter and crank the res until you get a pitch. At this point the cutoff dictates the pitch, rather than the filtered frequencies. Send the output to a VCA and use an envelope to shape the kick, with a very fast attack, short release, no sustain and a little decay. Adjust to taste.
If you have a second envelope generator, you can use a fast attack and fairly fast release, and plug that into the filter cutoff CV (probably attenuated) to add that descending pitch you often get with a kick. Modulating the envelope can produce some nice variation, akin to velocity changes.
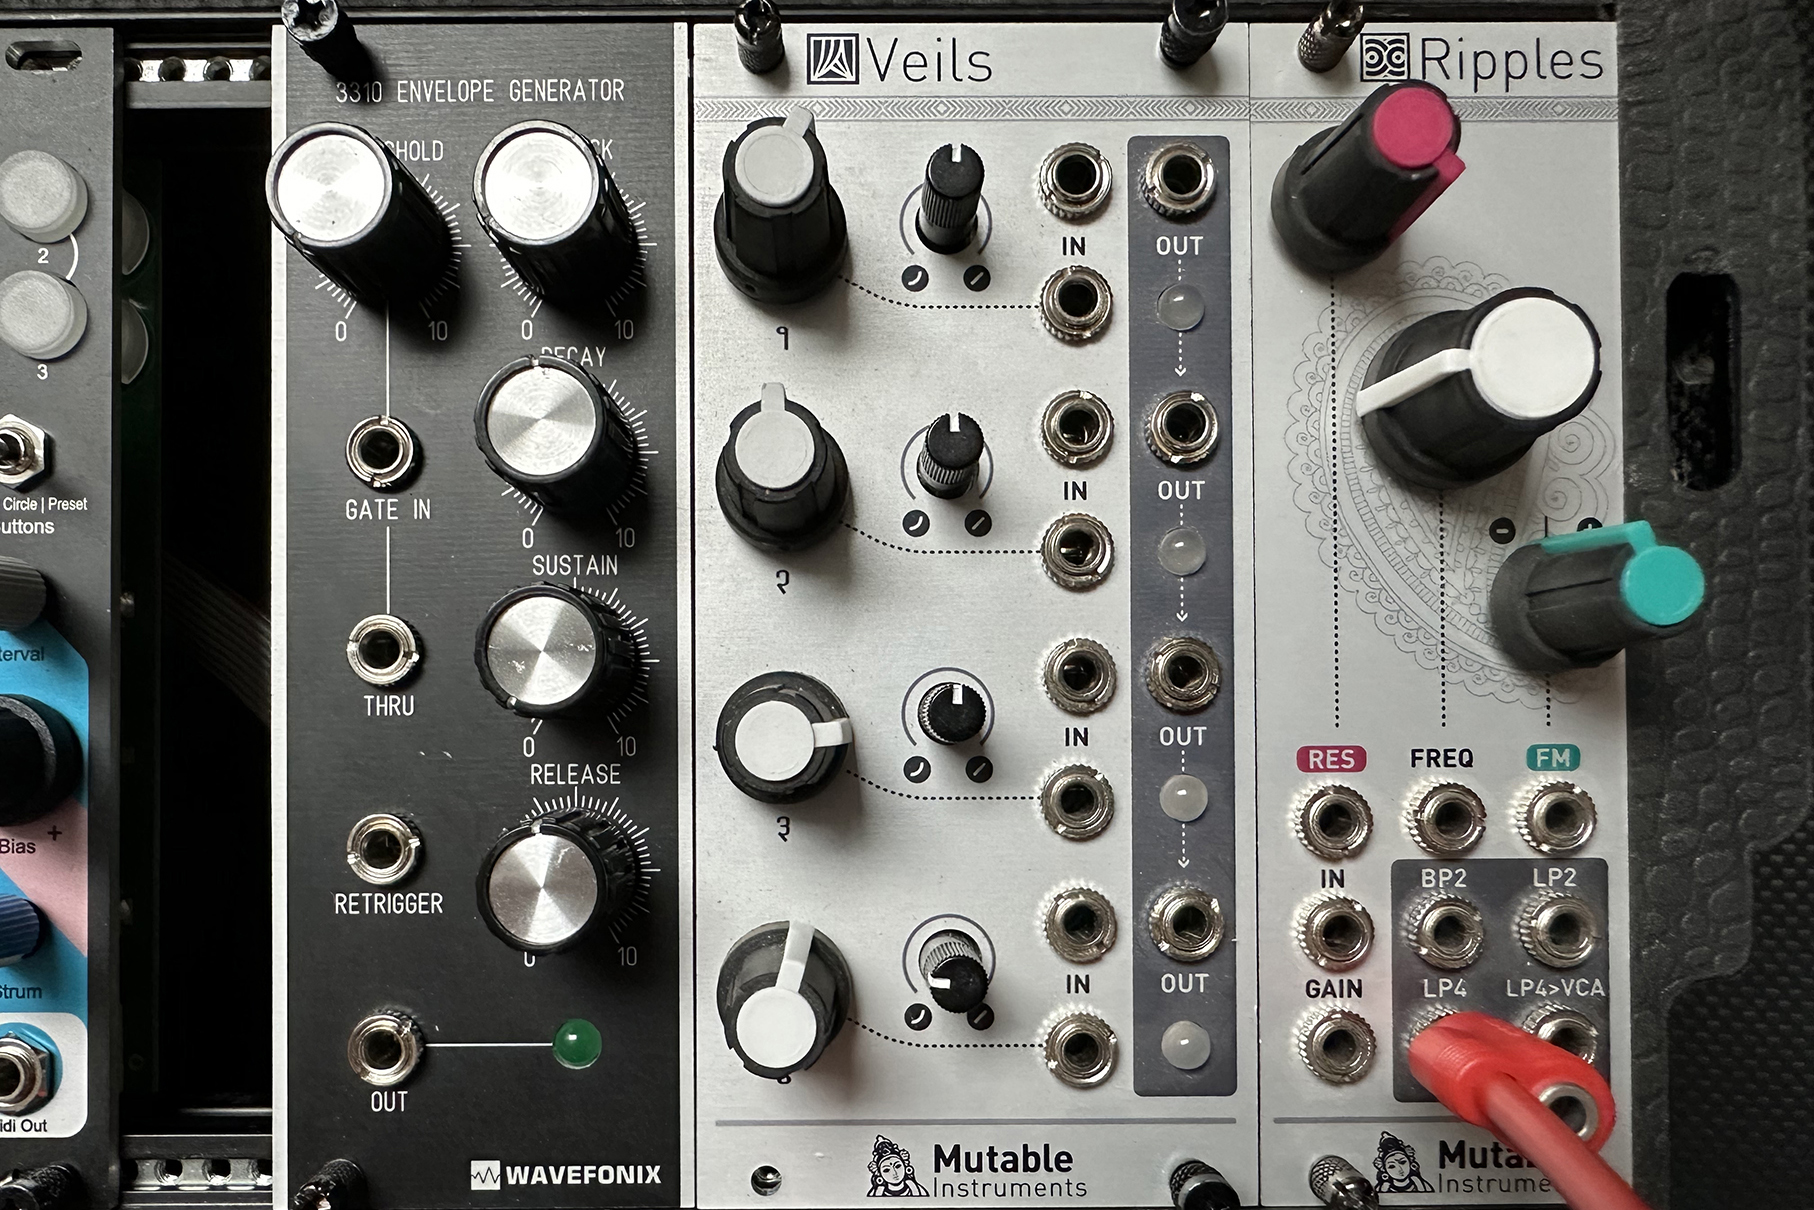
For this example, we’re using Mutable Instrument’s Ripple filter. Dialling the maximum resonance you can use the cutoff knob to set the desired pitch for your kick drum and send the output (in this case the LP2) to a VCA.
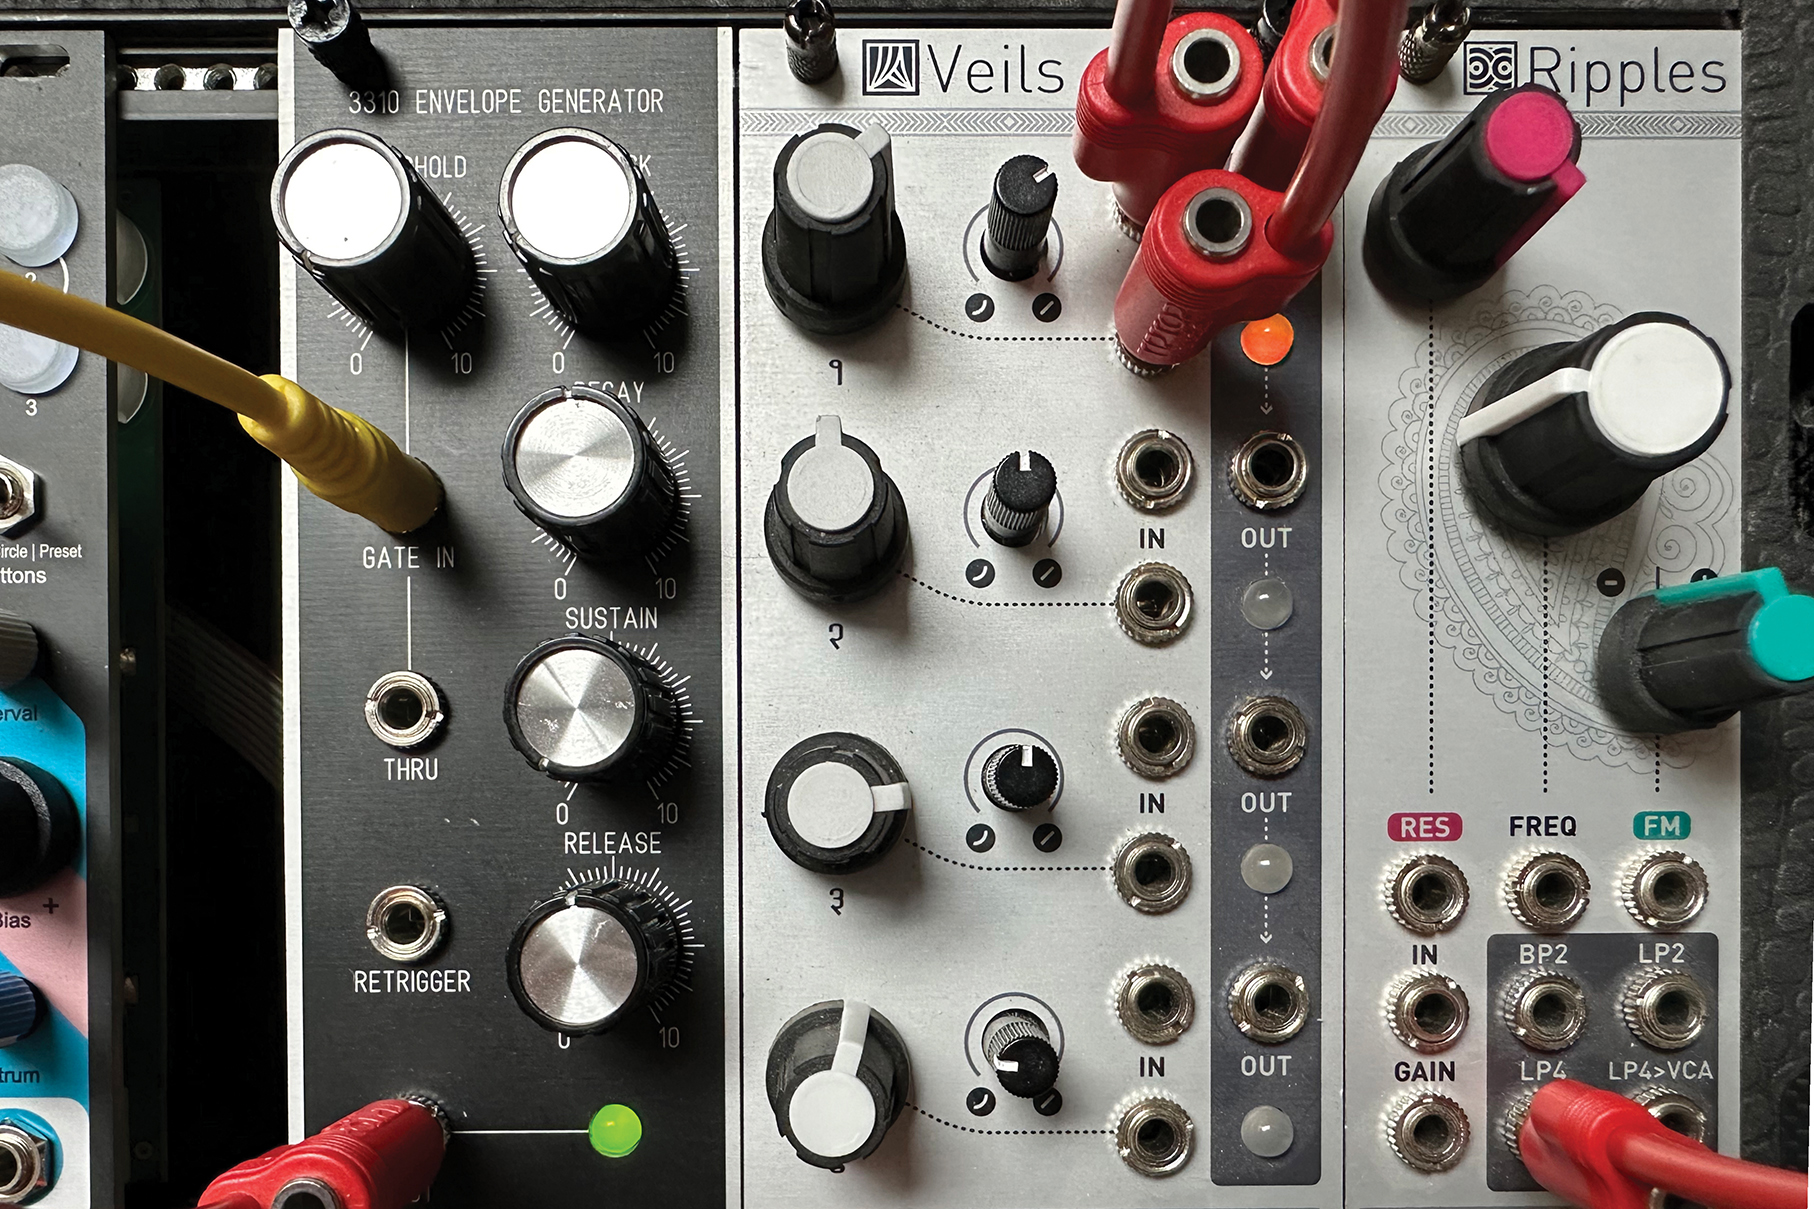
Create a fast attack, release and decay envelope and patch that into the VCA and adjust to suit how fast you want your kick to tail off. An almost immediate attack generally works best for this. A shorter release and decay can add some punch but can become clicky.
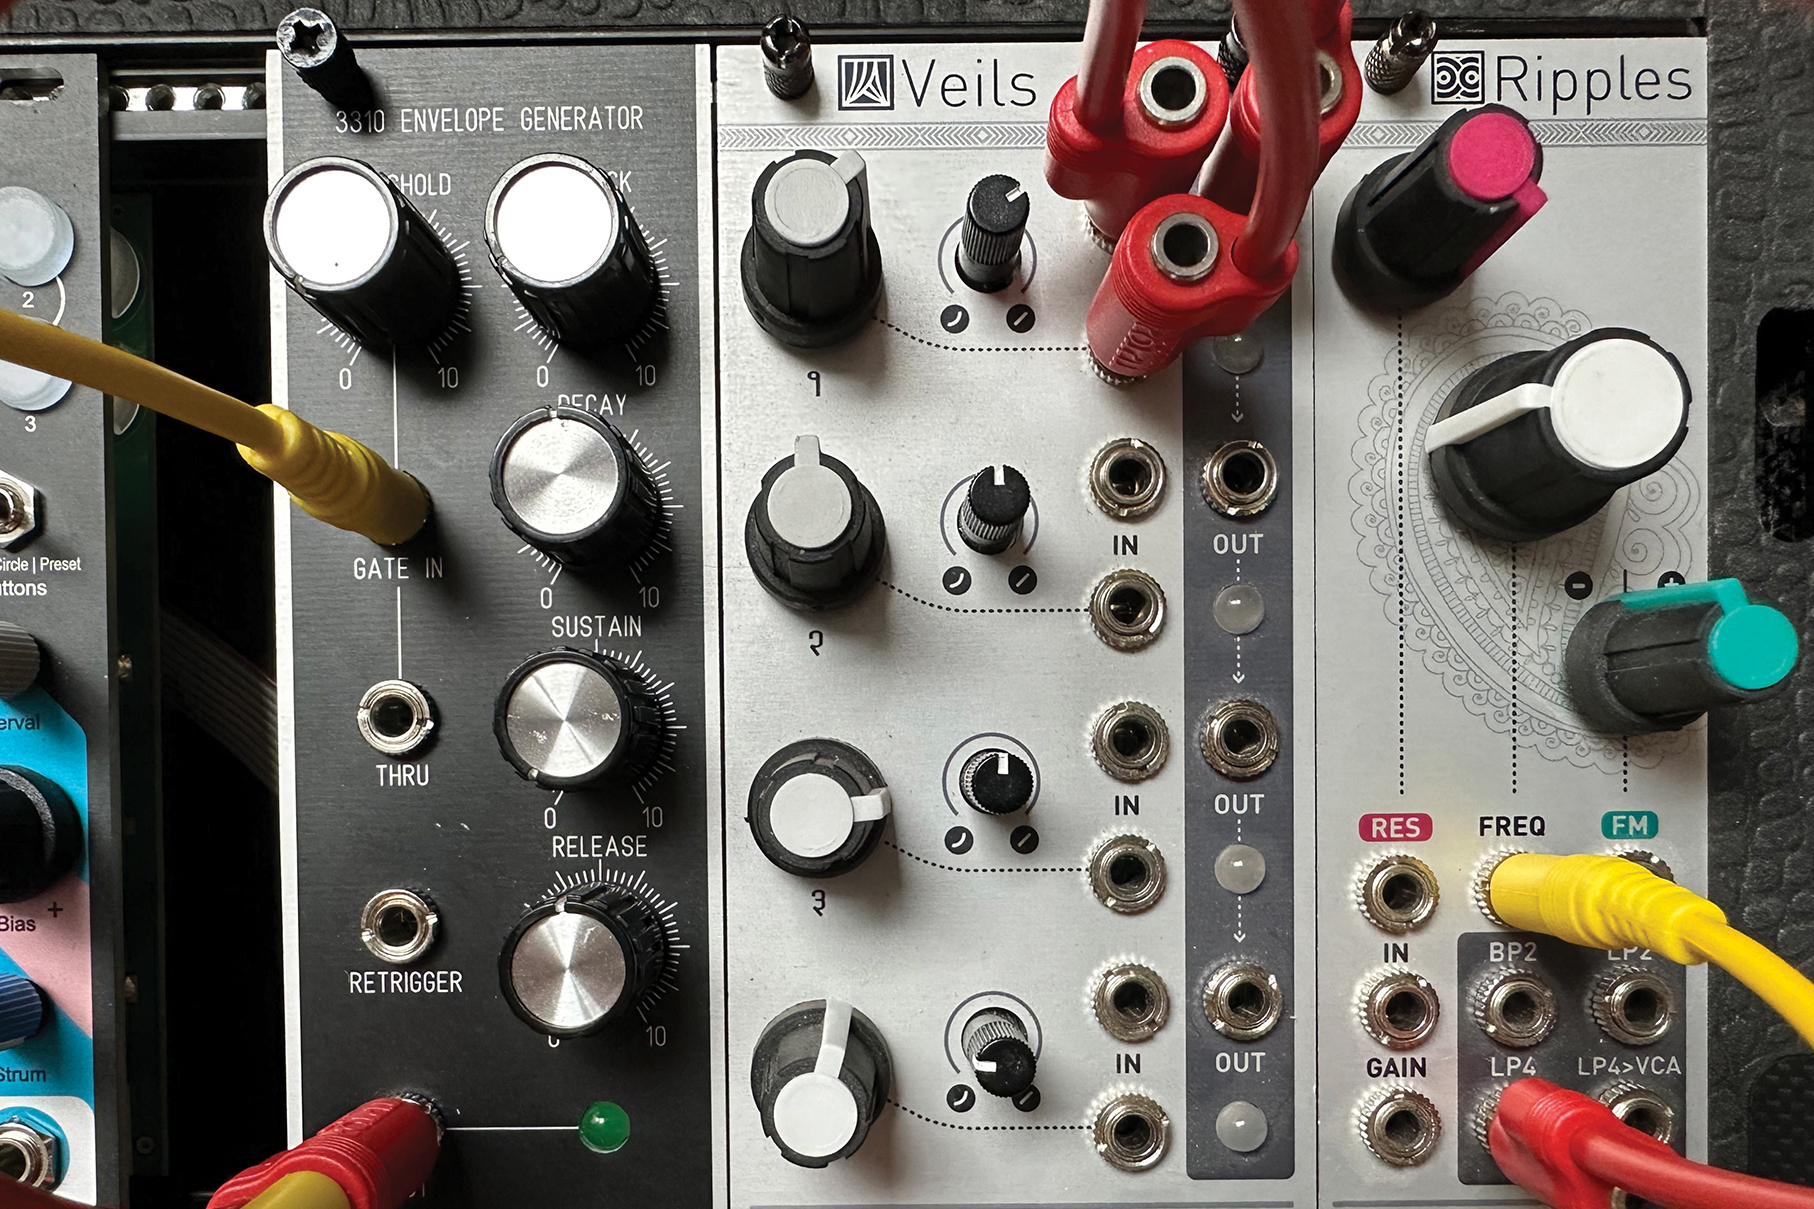
You can take a copy of this envelope with a mult, or use a second generator if you have one. Patch that into the cutoff CV of your filter to get the pitch dropoff. This works well if you’re aiming for something akin to an acoustic drum.
Using Pam’s New Workout as the powerhouse behind your beats
Use this killer modulation source as a drum sequencer, replete with timing tricks to humanise and add interest to your tracks.
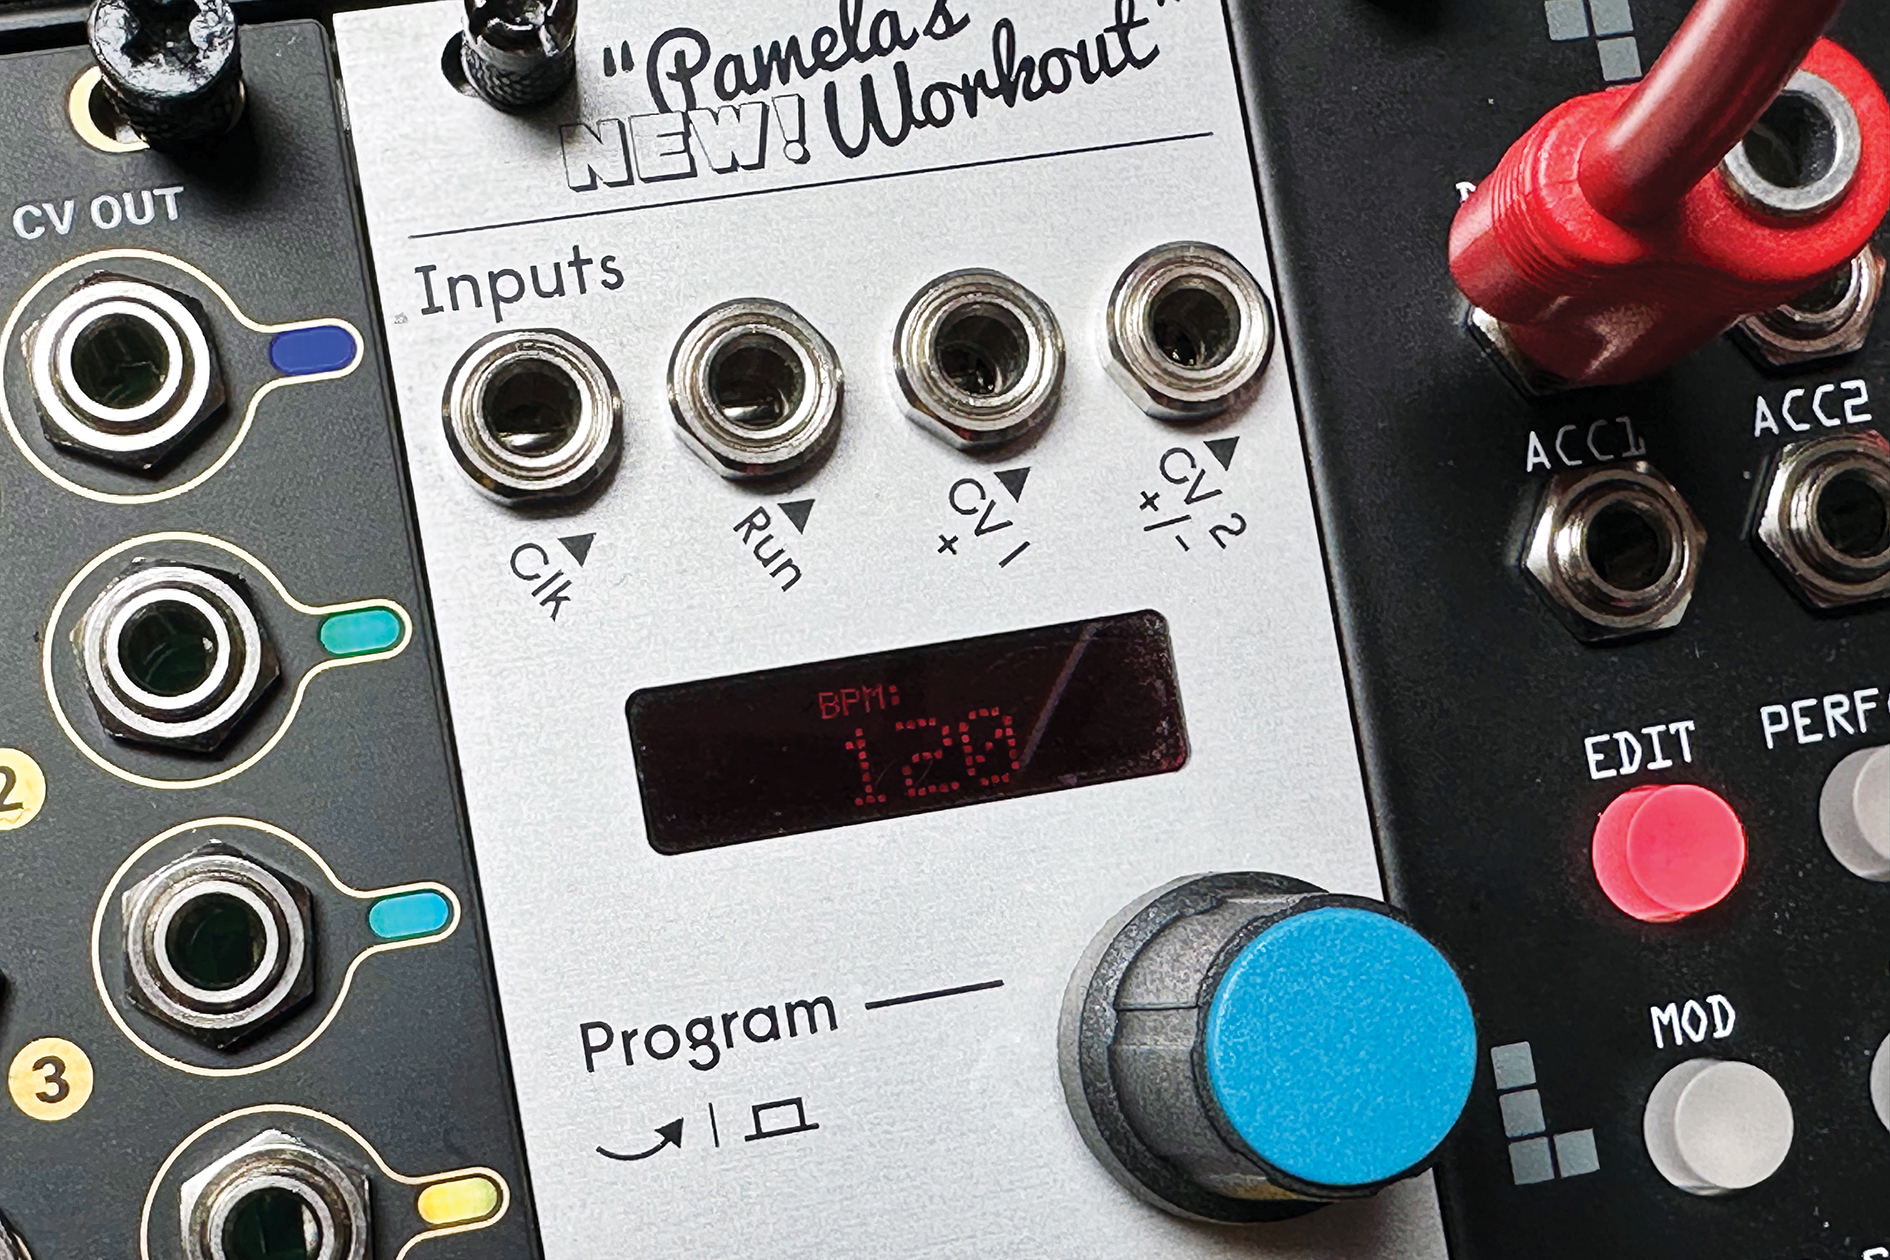
Powering on, the first thing is to set an overall tempo. Pam is a solid clock generator but it can be clocked externally. For our purposes we will stick with the onboard clock, set to whatever suits your needs. We’ll stick with a middling 120 for now.
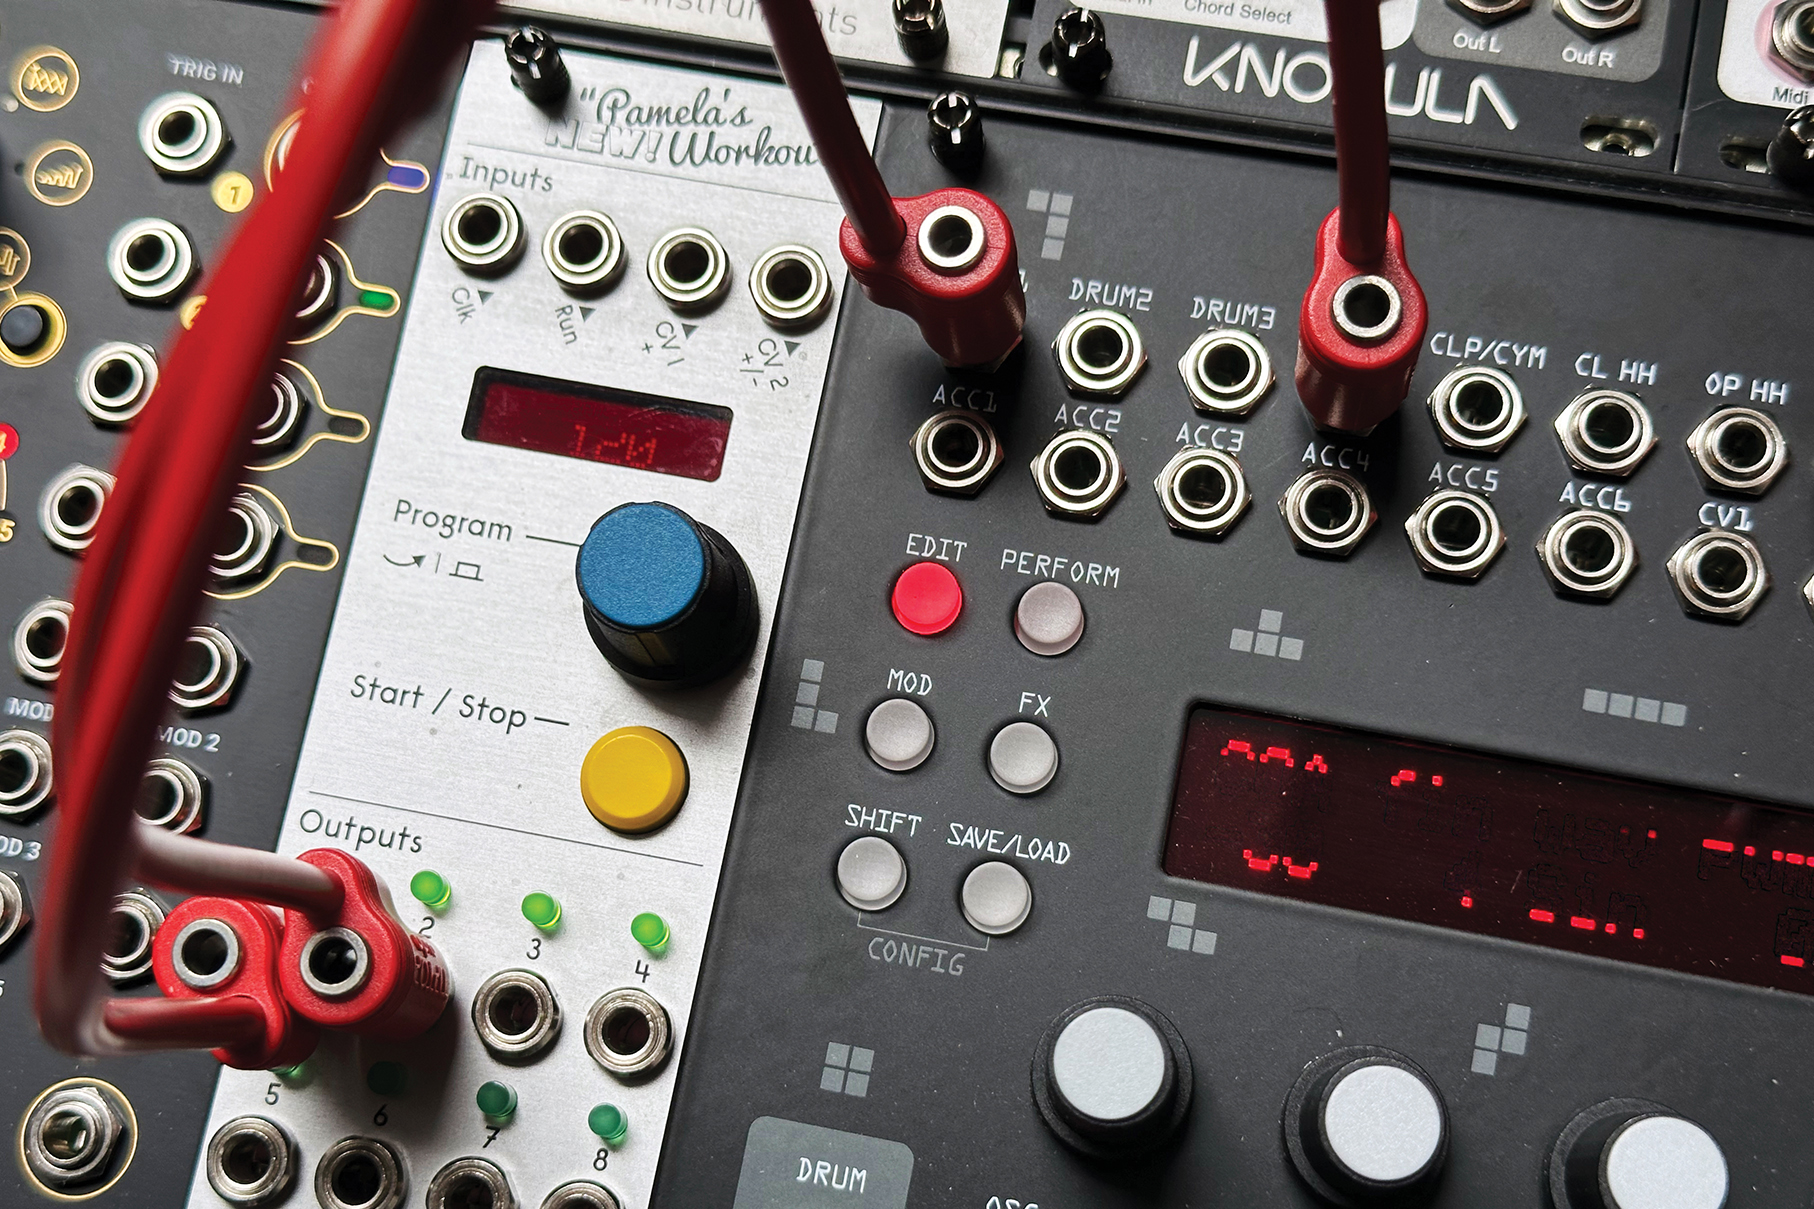
Rotate the knob to select channel 1, where you can see the current clock division. Leave this at 1x for now. This will be the kick drum pattern, which we will keep as a straight four-to-the-floor. Make sure you patch the output 1 to the trigger in of your chosen kick voice.
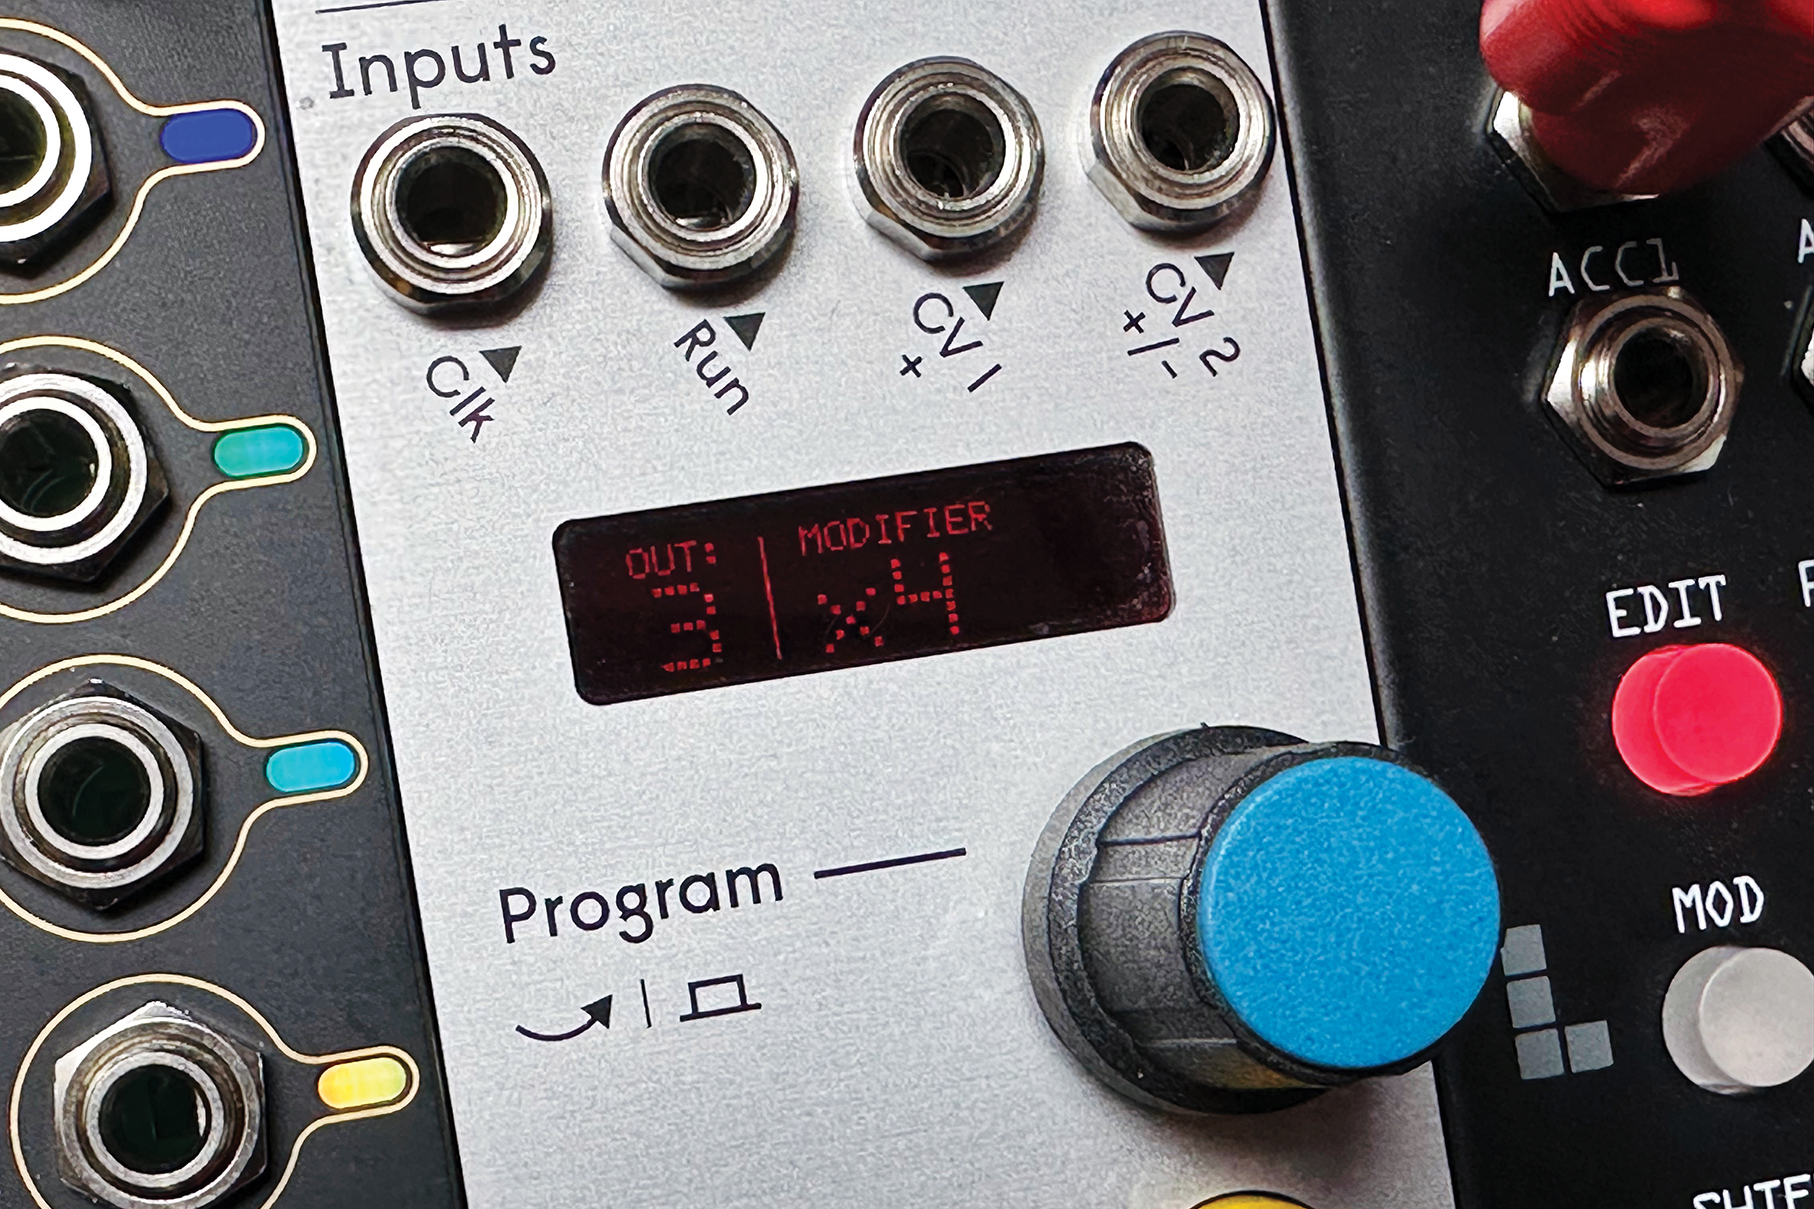
For a snare, let’s patch output 2 to the trigger in of a snare voice, select channel 2 on Pam and choose a division of /2, so we get a snare hit every other quarter note, which will currently fall at the same time as the kick.
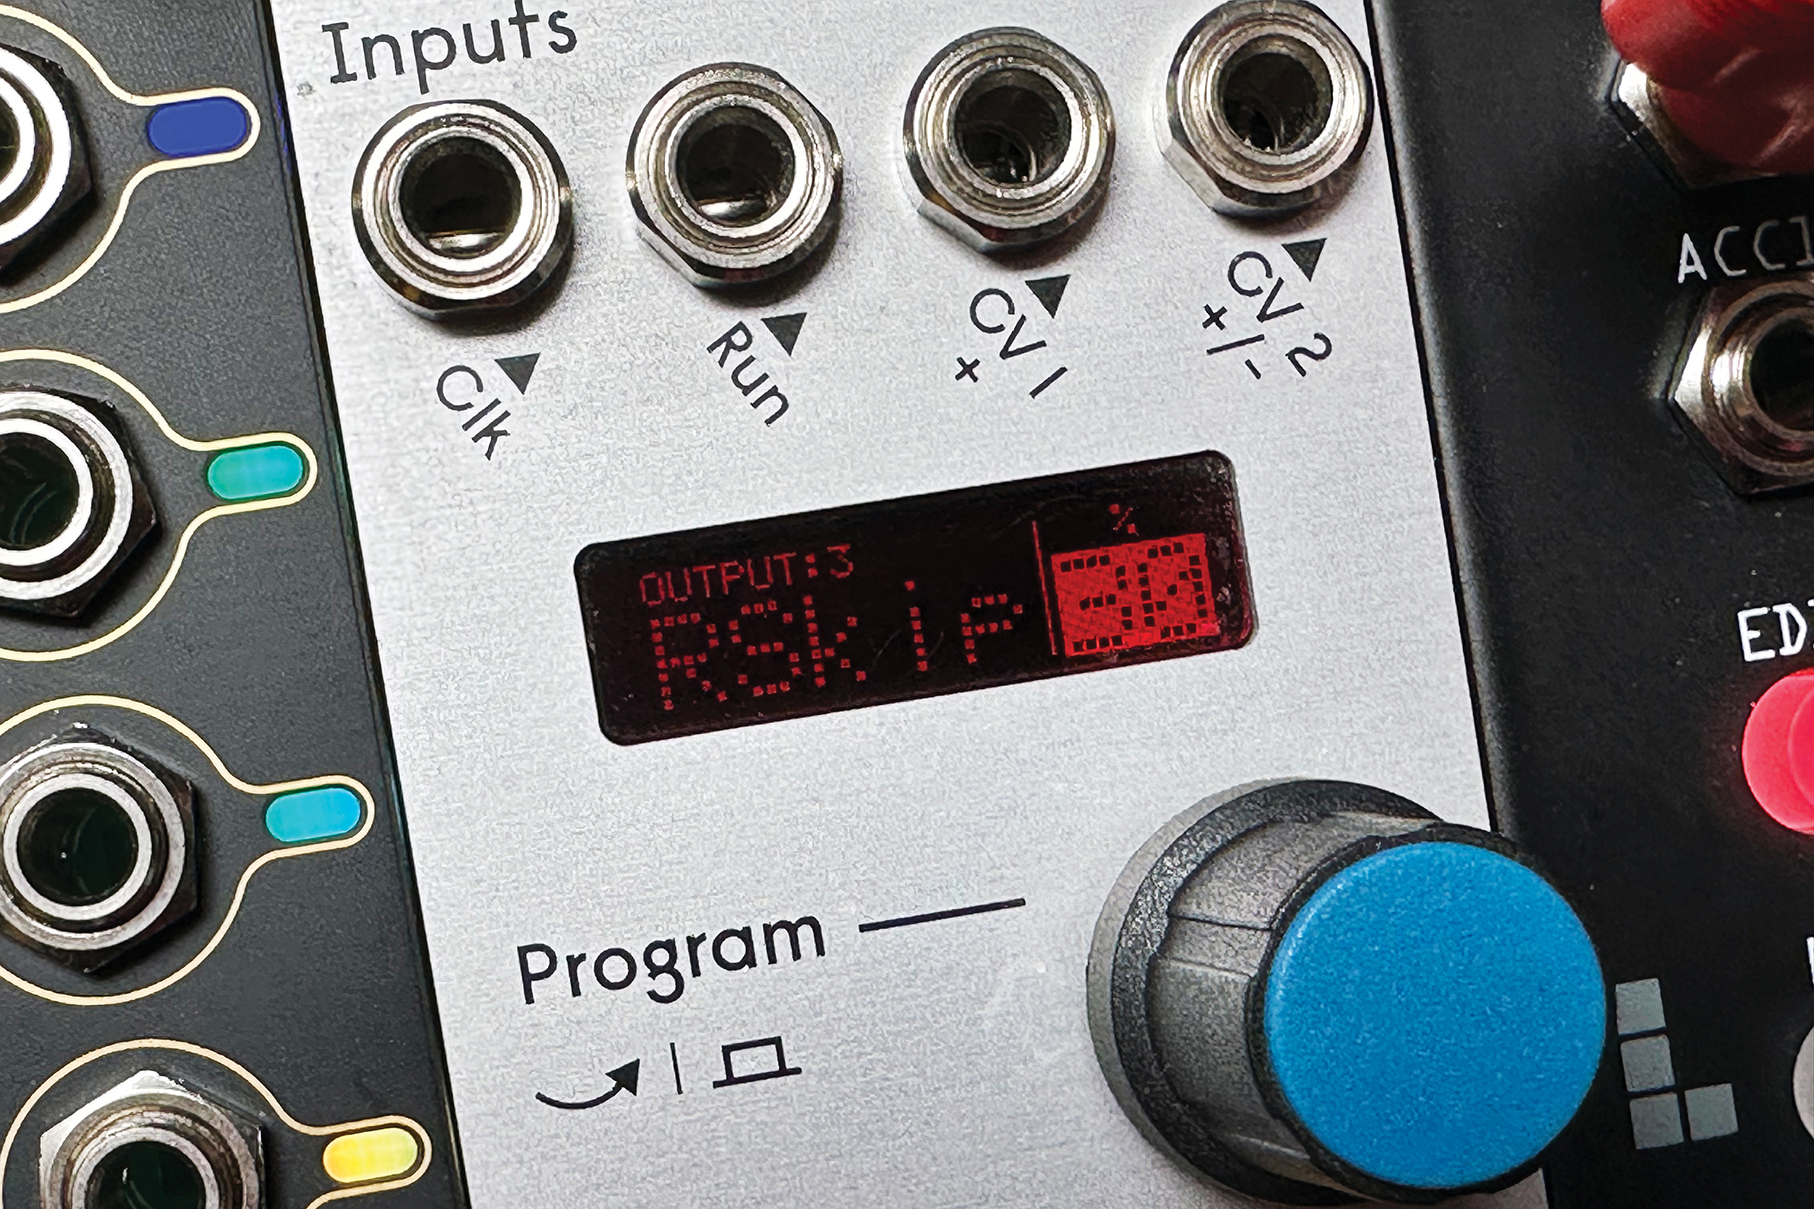
Do the same for output 3, this time triggering a closed hi-hat. Hold the blue button and navigate to Rskip and set this to 30%. This will skip triggers 30% of the time, randomly, which adds a lot of interest to the finished rhythmic pattern.
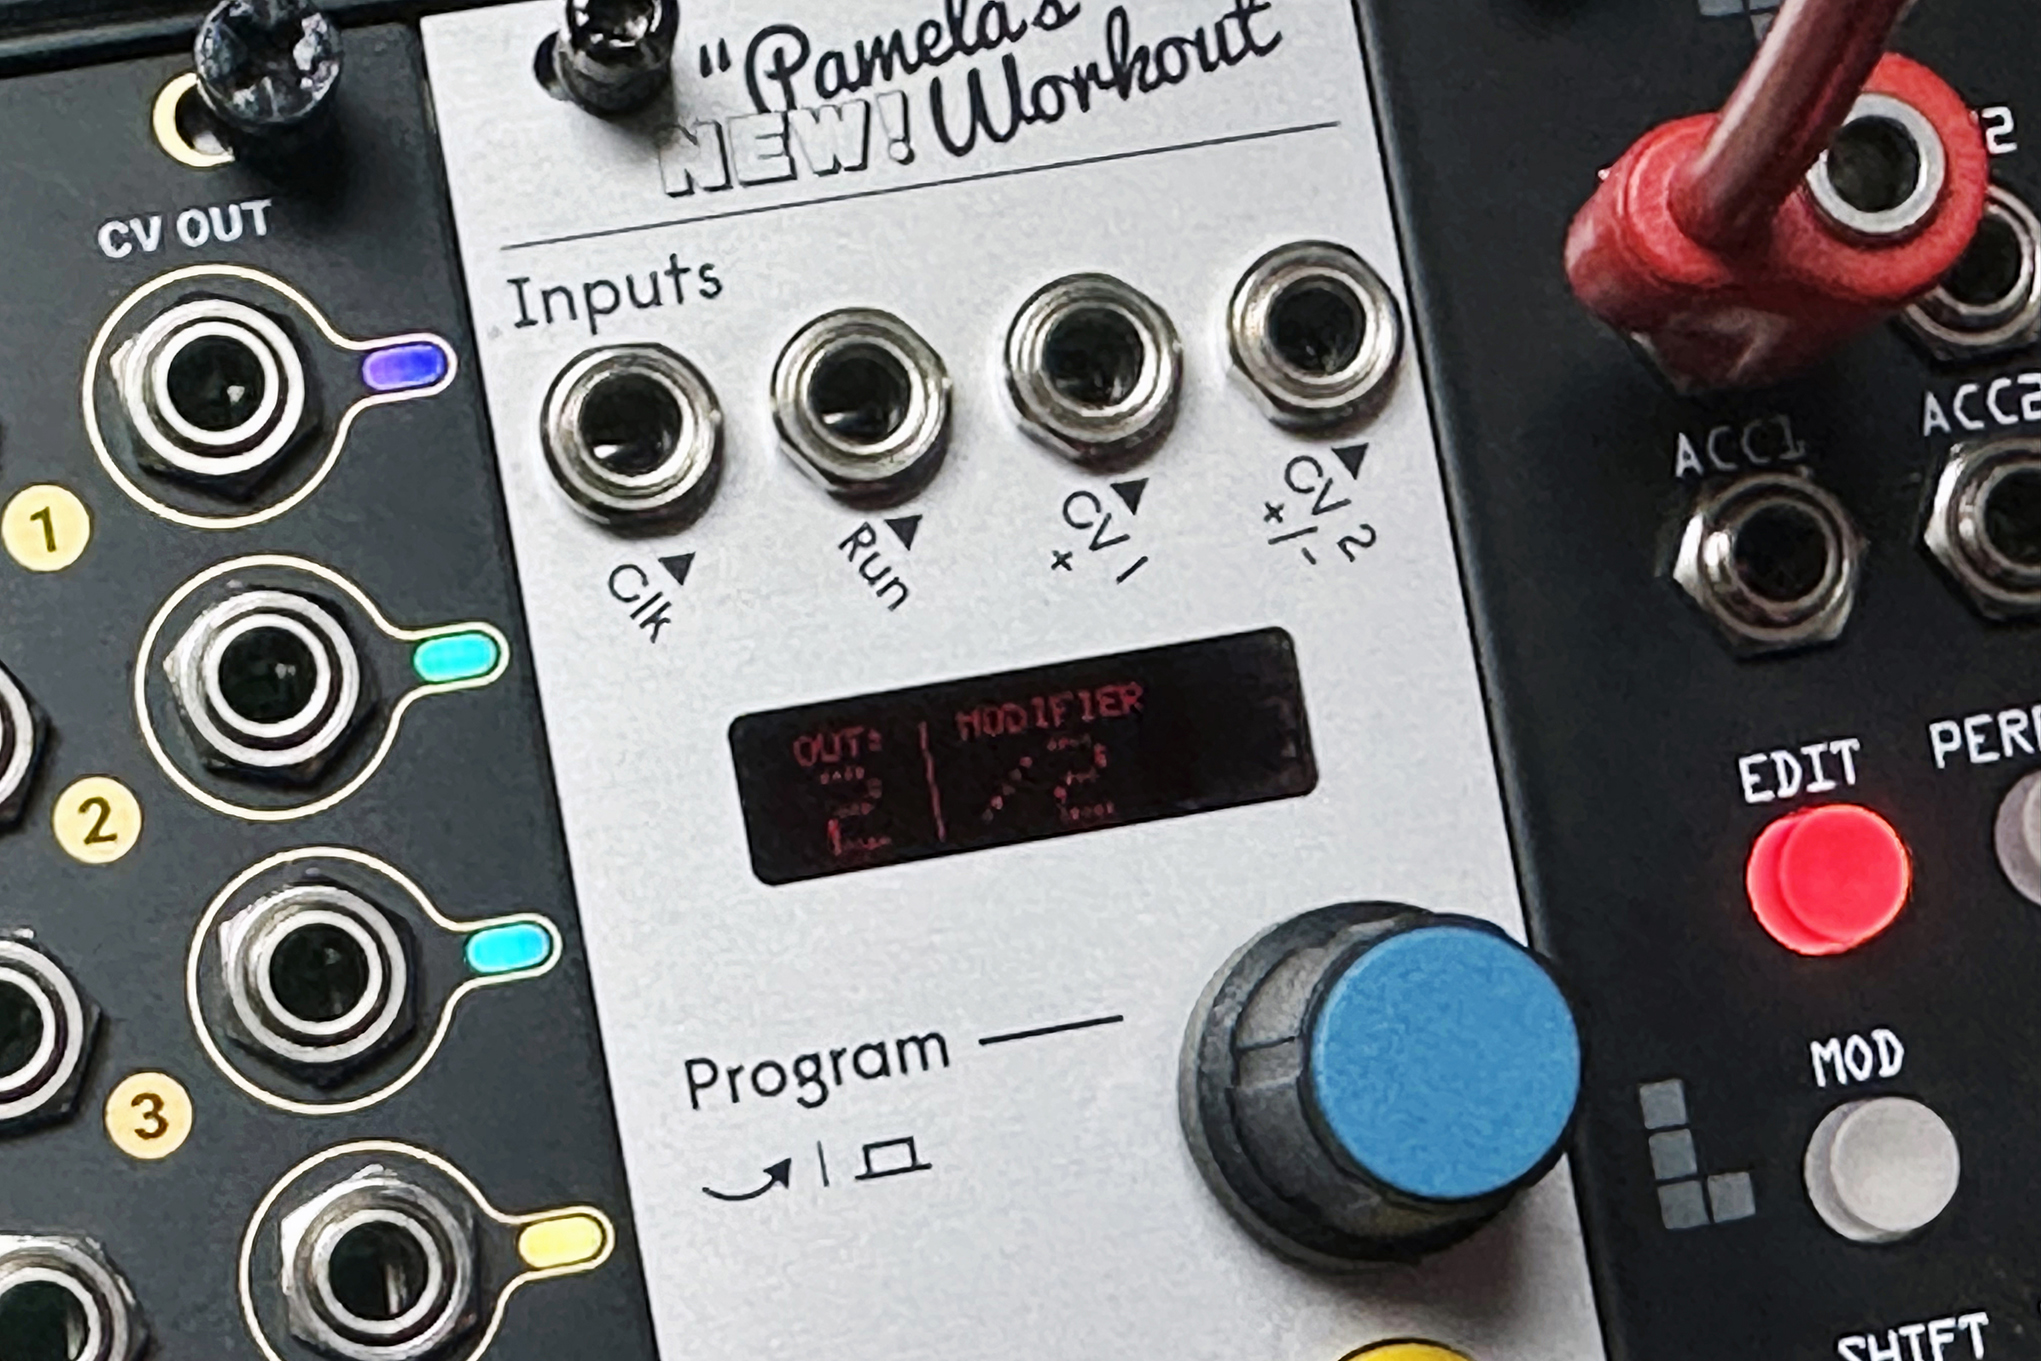
Copy step 4, but this time patch to an open hi-hat, with the clock division set to /2, or whatever works for you best. This could be patched to the hi-hat’s accent input too, which can add more subtle variance.

For any channel on Pam, you can press and hold the blue button, then turn to the slop control. Use this for more humanisation, as increasing the value will force triggers to vary from the clock by the set amount. A little goes a long way here.
Euclidean vs x0x sequencing?
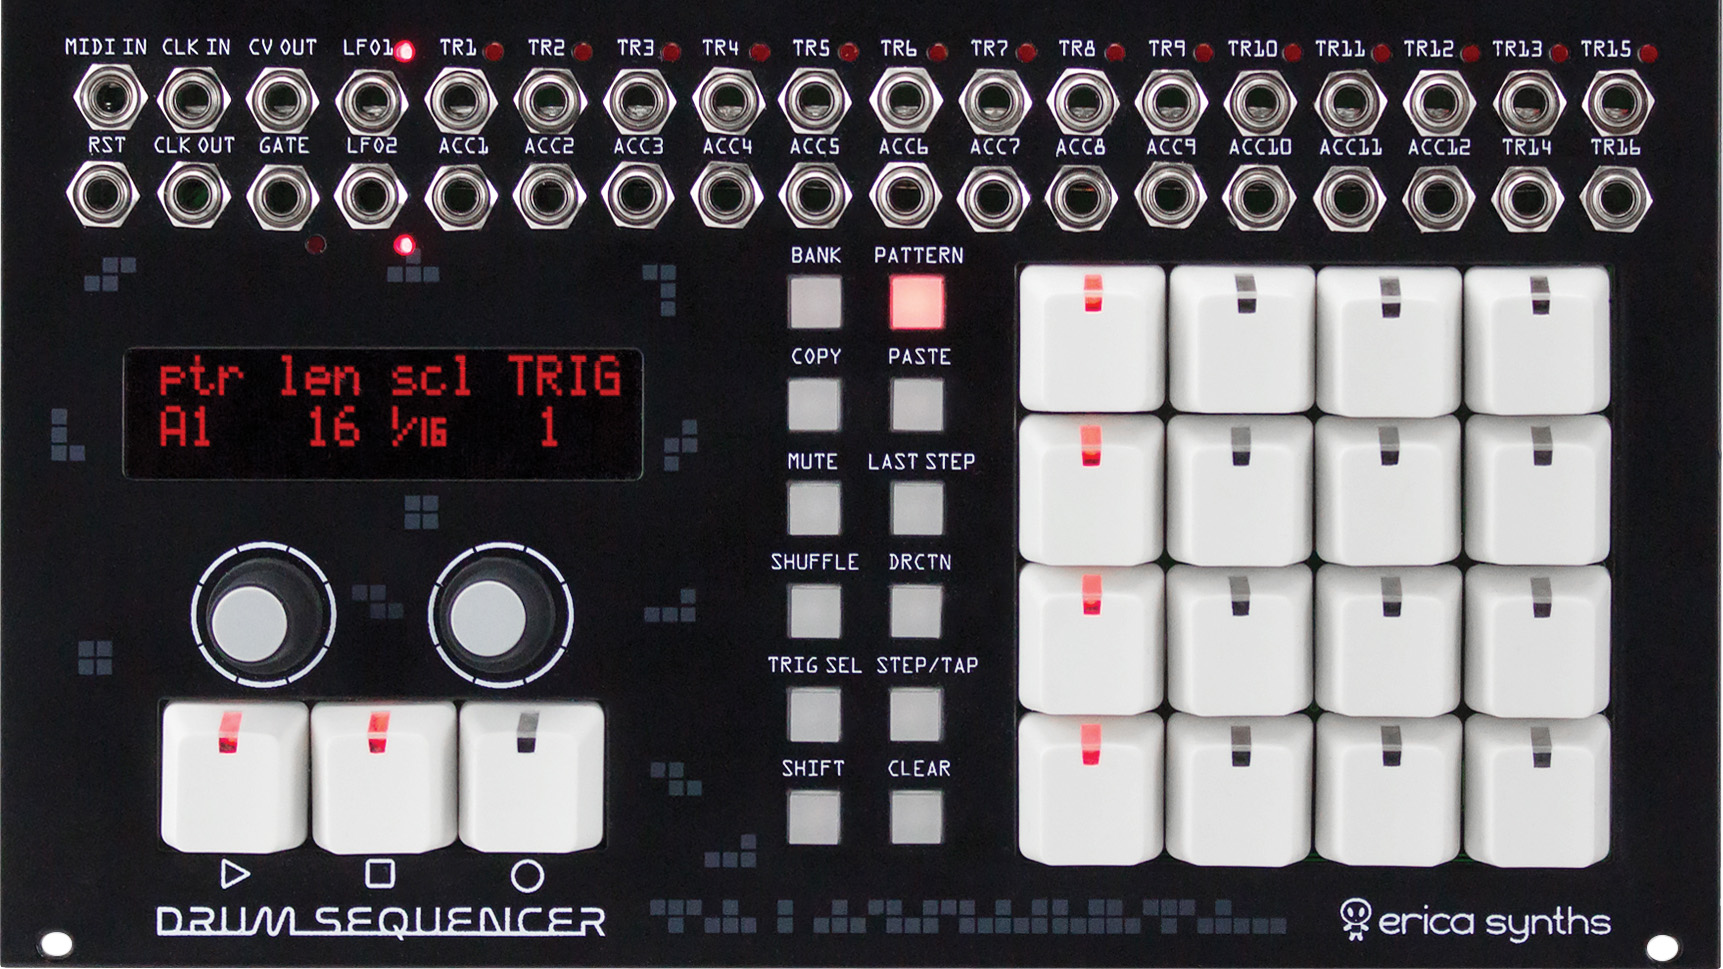
x0x is (usually) the 16-step sequencing method commonly found on machines like Roland’s TR-808 and TR-909 – hence the x0x term used. This is more rigid and, although certain sequencers allow for things like swing and accenting, the workflow is very much grid-based. If you are attempting to create something repeating and consistent then this is for you. You can still mix things up a little with accents and the like, and it’s been a firm favourite for a long time now.
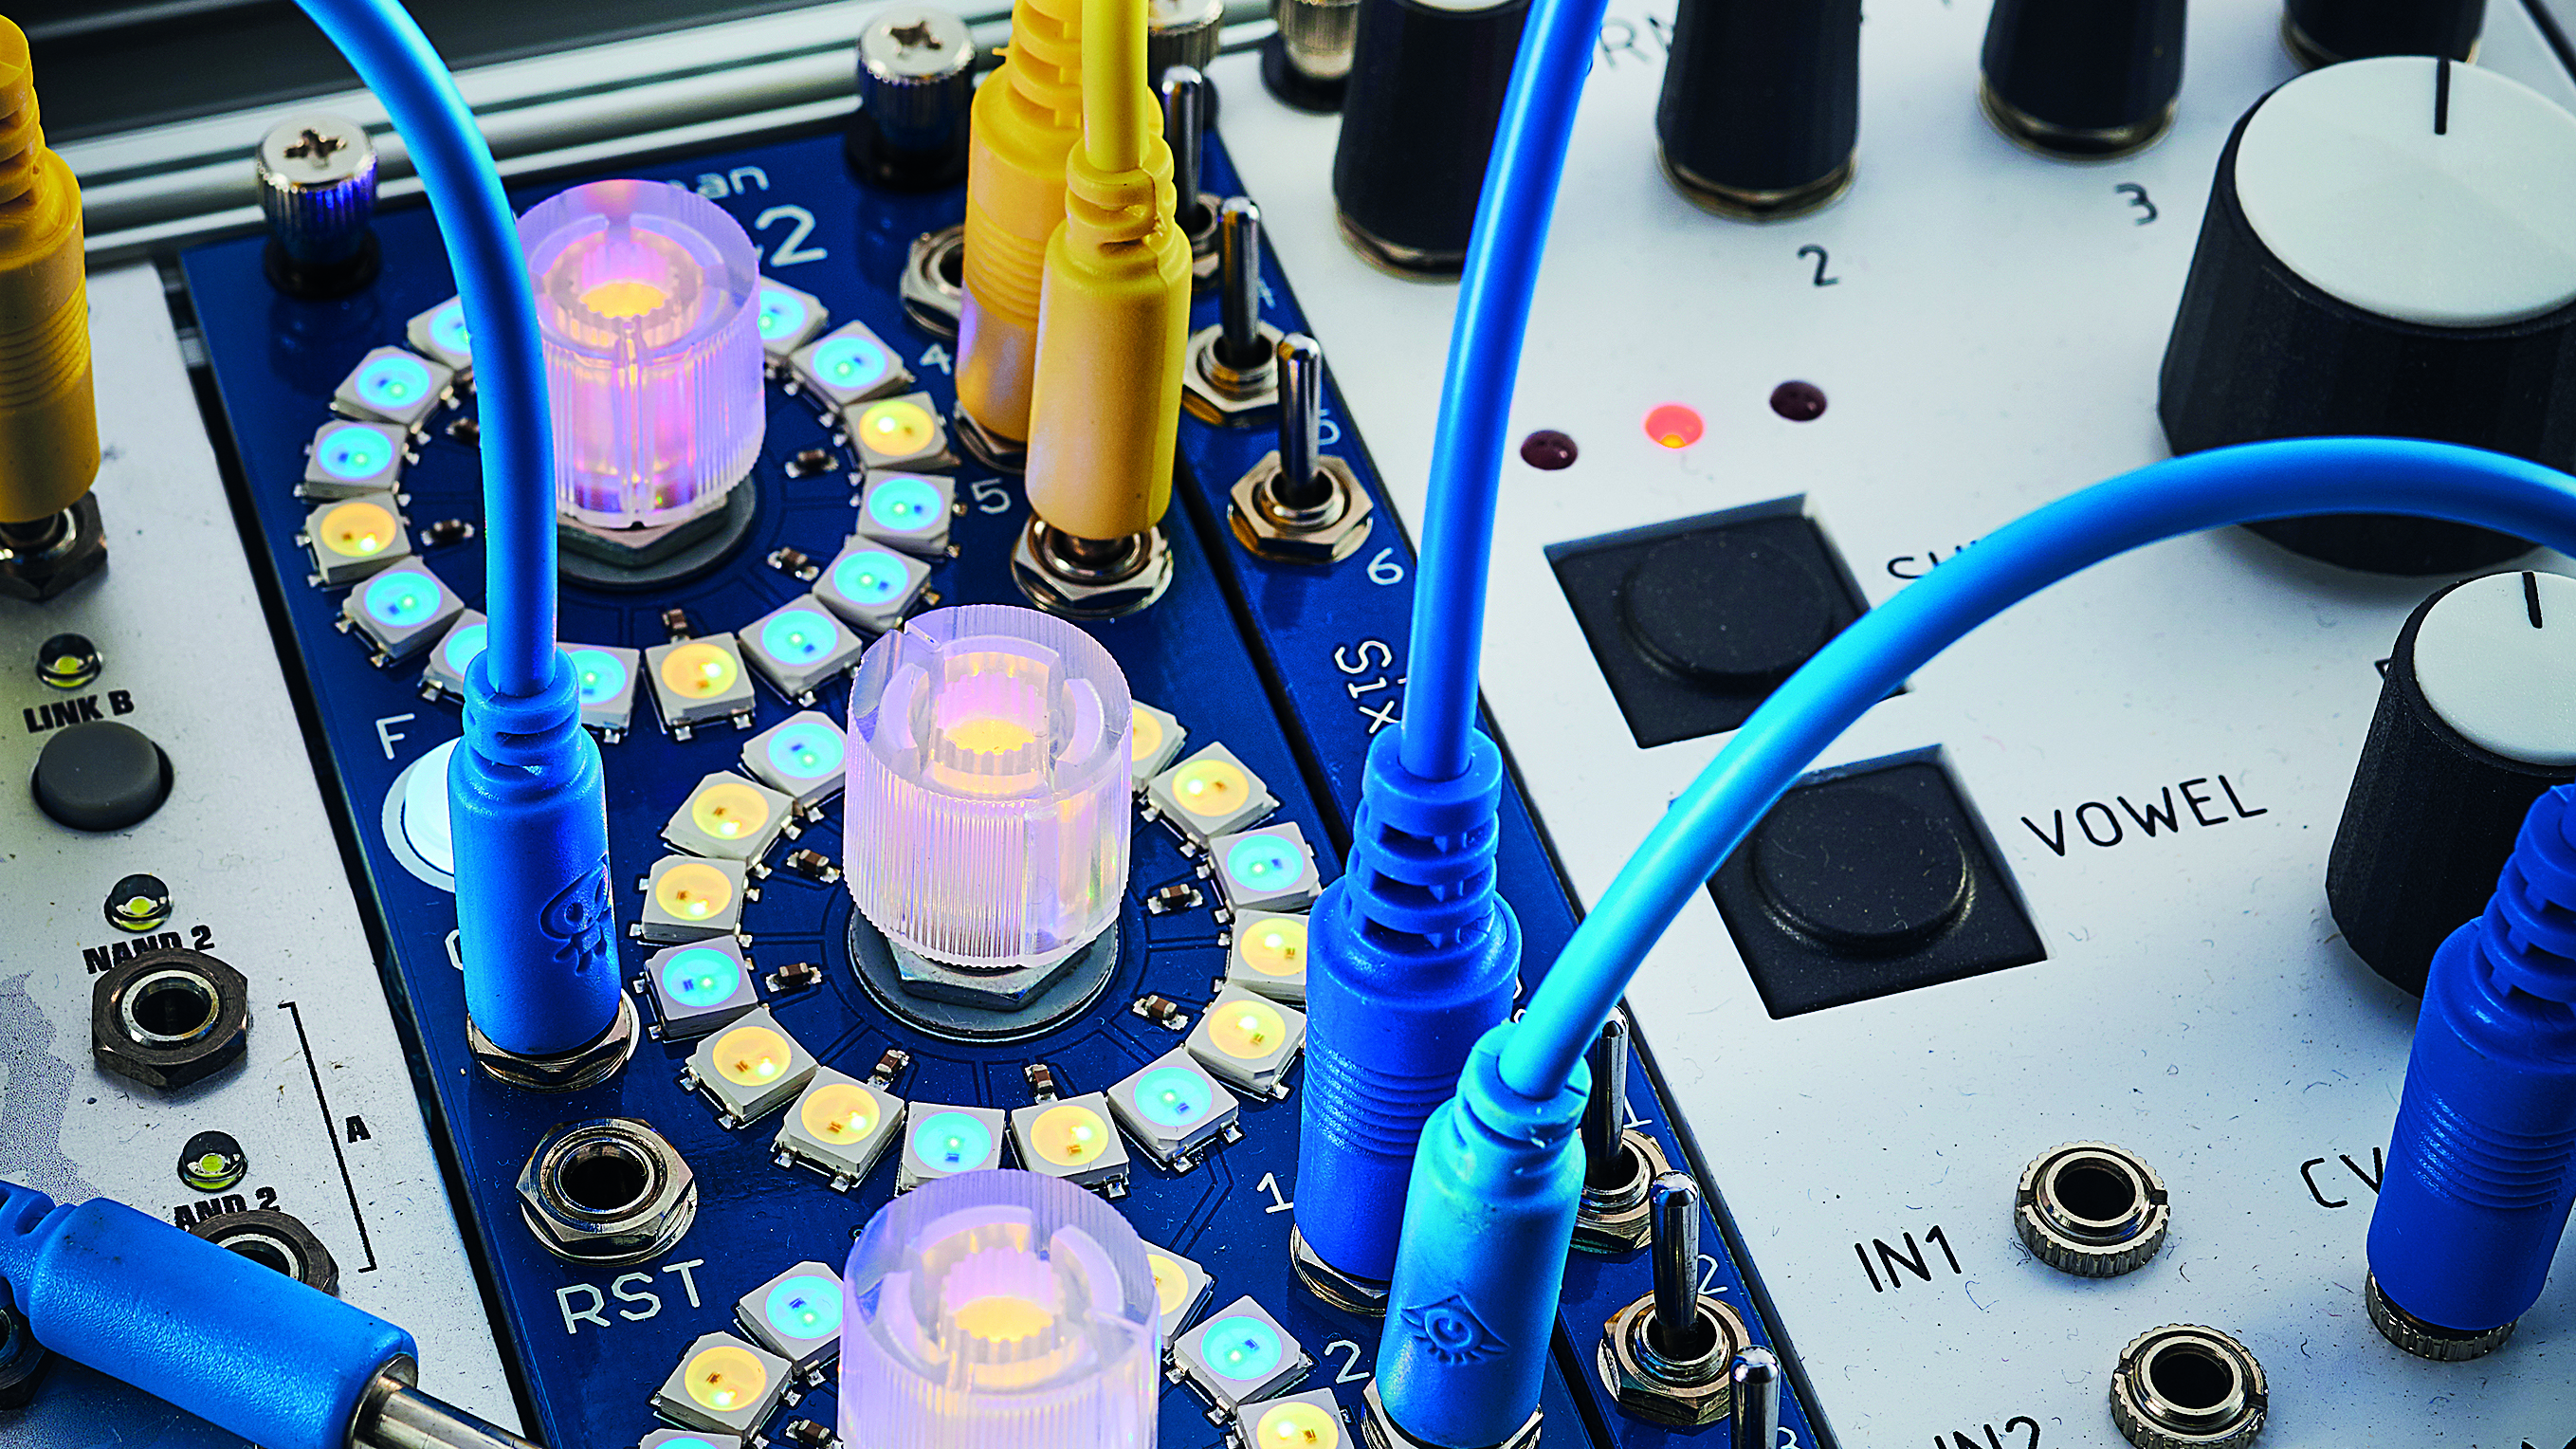
Euclidean is somewhat freer but less predictable. Programming a specific repeating pattern is difficult due its very nature, but letting it play out can produce some happy accidents you wouldn’t find elsewhere. For generative music you can’t beat euclidean patterns. They just sit right with the ever-evolving nature of the genre.
How to trigger anything
Although for the most part we trigger drum voices, there’s nothing to say a sequencer can’t be used for other purposes, such as launching a sample or triggering an envelope generator. Having a sample play in time with a beat can be very handy.
This could be a particular noise, or something a drum voice or VCO can’t produce, or a field recording you want to incorporate. We often use this method for strumming Mutable Instruments rings, using a stacked cable to save using up sequencer channels, although this does mean the strum will happen every time that drum voice is played.
How to do voice triggering
A coin toss module can be a fantastic addition to a sequencer. Plug the trigger into it, then two outputs to different voices (or whatever destination you want), set the probability control then let it decide which voice gets triggered each time. For example, one side could be a closed hat, while the other is an open one.
If you prefer more closed hats to be played, then move the probability control more to that side. It’s a little unpredictable, but in a controlled manner and can yield some wonderful moments, where your ‘drummer’ gets just a little bit extra creative.
How to make it organic
Low-pass gates have been much-loved for some time in the Buchla world, but have become more common with East Coast synthesis in recent years. While a similar effect can be achieved using envelope generators, a low-pass gate has a characteristic that makes it ideal for drum sounds.
It’s a fast attack with a gently rolling-off decay. LPGs are a kind of mix between an envelope and a VCA, based on the interaction of light in a vactrol behind the scenes. It’s this that makes them sound organic. Used in a sequence, and triggered like any other channel after even a simple low-pitched VCO, can sound wonderful.
How to layer your kicks
Sometimes, even with the very best kick drum sounds, you can be left feeling a little underwhelmed. This may be due to the mix or compression, but could also just be that you need a touch extra. One trick you can use is to layer your kick.
If you have enough room and modules, try layering one kick with a fast envelope for a more clicky sound, to give the transient attack you need, with another, set a little slower on the release. This lets you work on the pitch and fullness, where the two combined can shine. Ultimate control comes with this trick and you can sequence them differently to add some variation.
5 top modules for a Eurorack drum rig
These are some top choice modules to build a percussion skiff, ignoring all-in-one drum machine modules like LXR.
1. Acid Rain Constellation
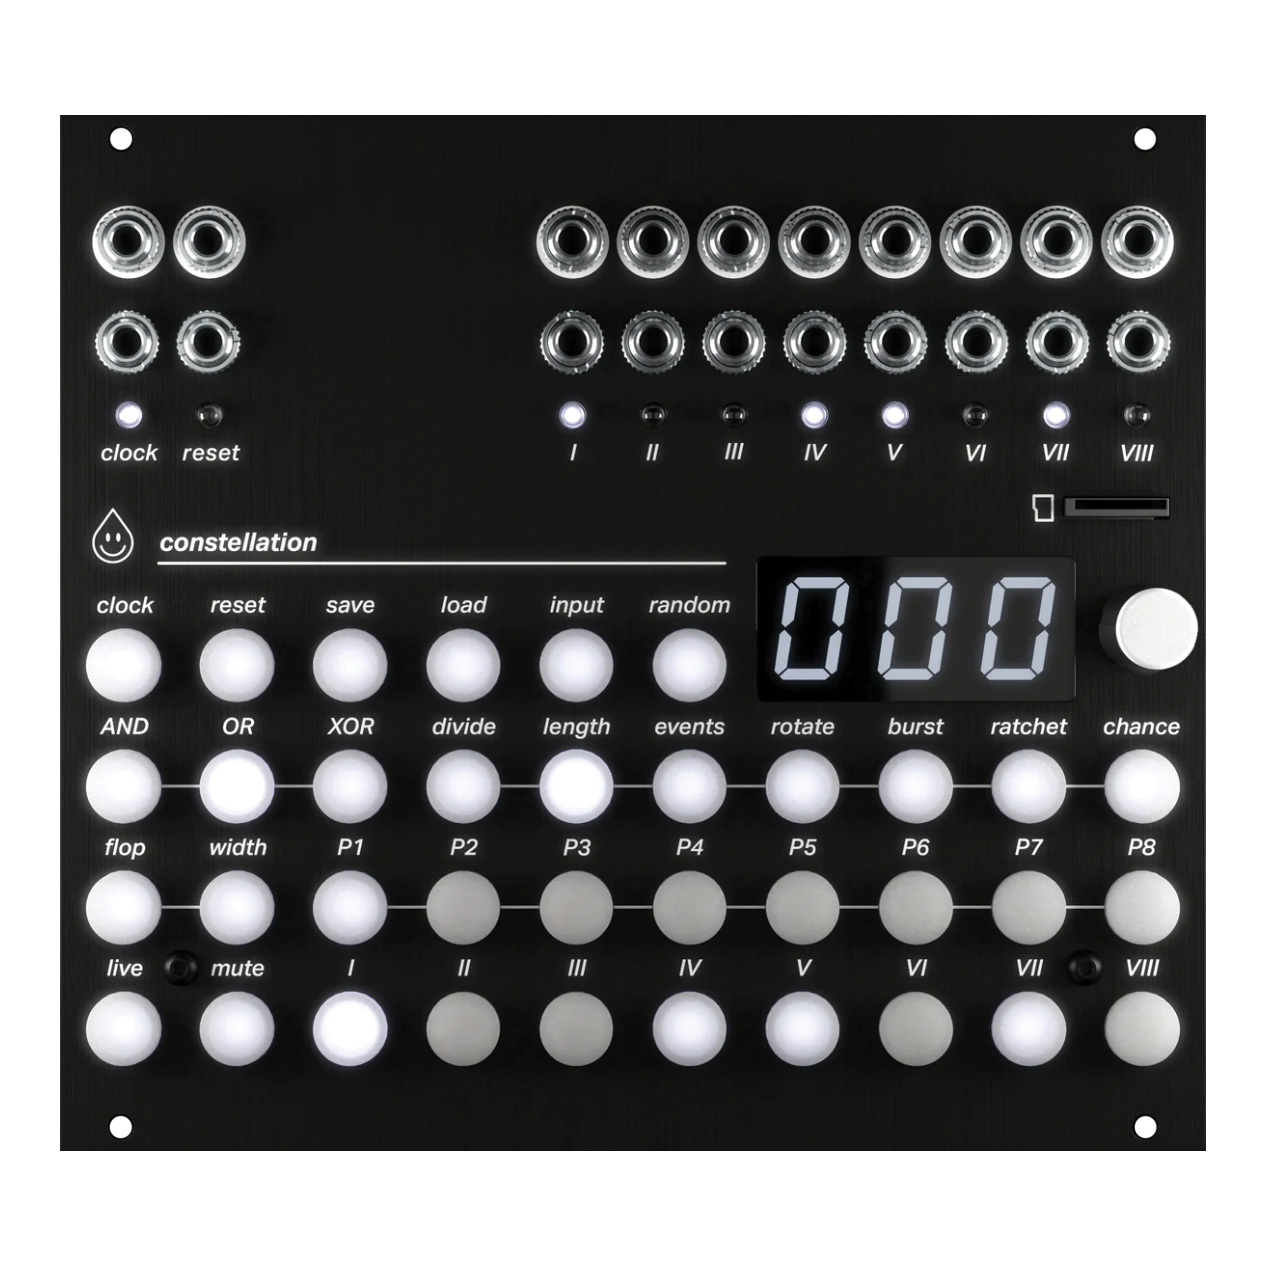
Acid Rain Constellation is an eight-channel pattern generator that allows you to build rhythms that are clocked and defined, but can be combined, creating a morphing sequence that is highly musical. It’s on the larger size at 28hp but well worth it as a rhythmic modular brain.
2. Modbap Trinity
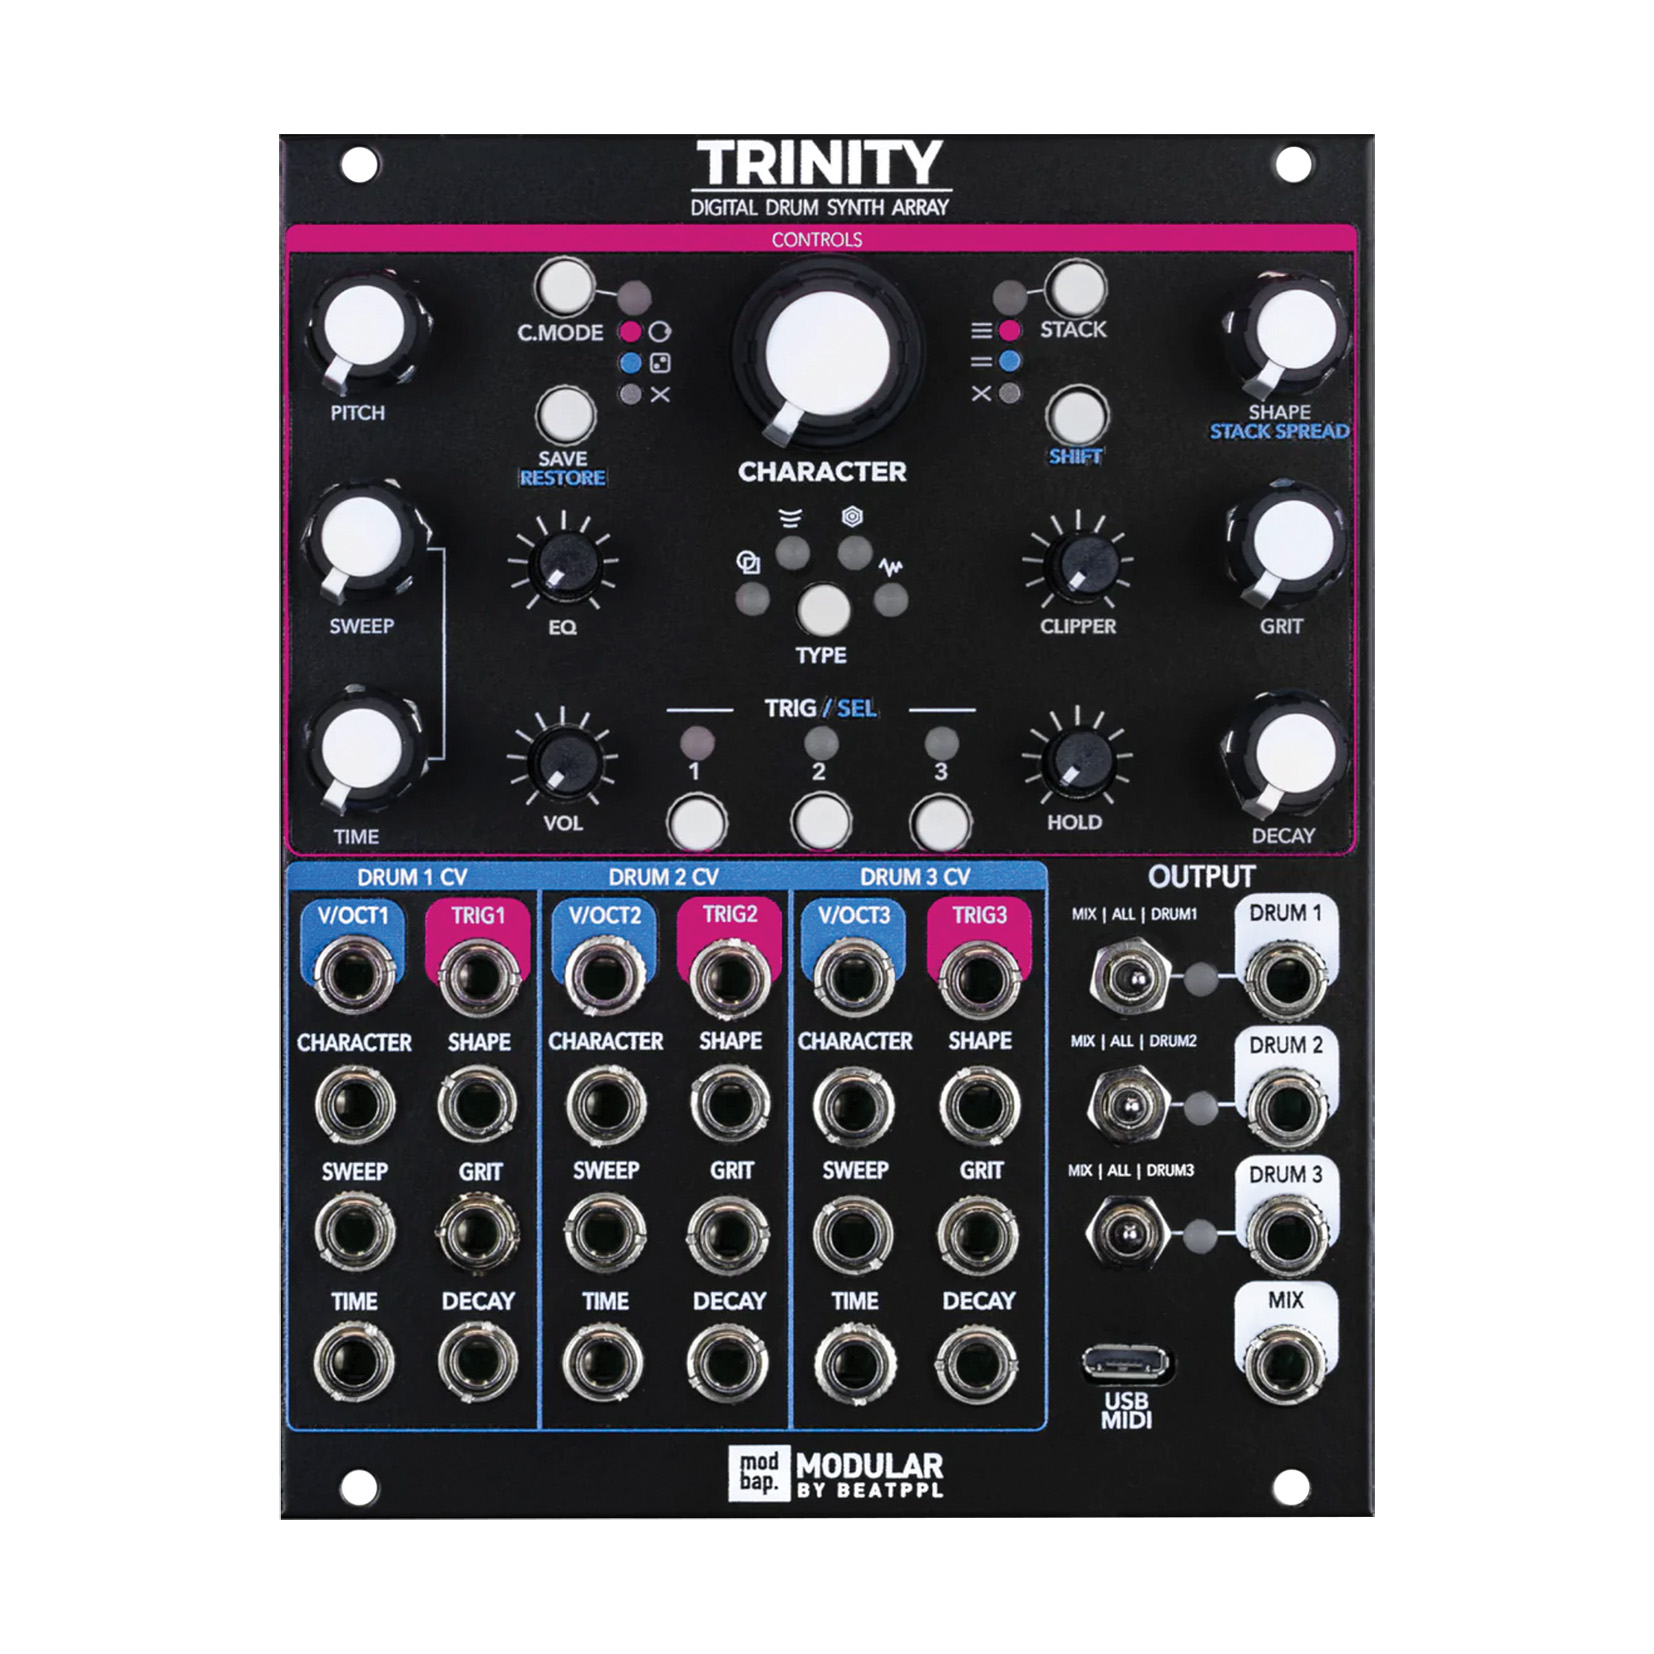
A fantastic, three-channel drum voice, Modbap’s Trinity is a 20hp module that has a huge variety of tones from the deepest of kicks to the sparkliest cymbals, plus much more. The CV control options allow lots of variation and modulation, and it has USB MIDI for connecting to outboard gear.
3. Knobula Kickain
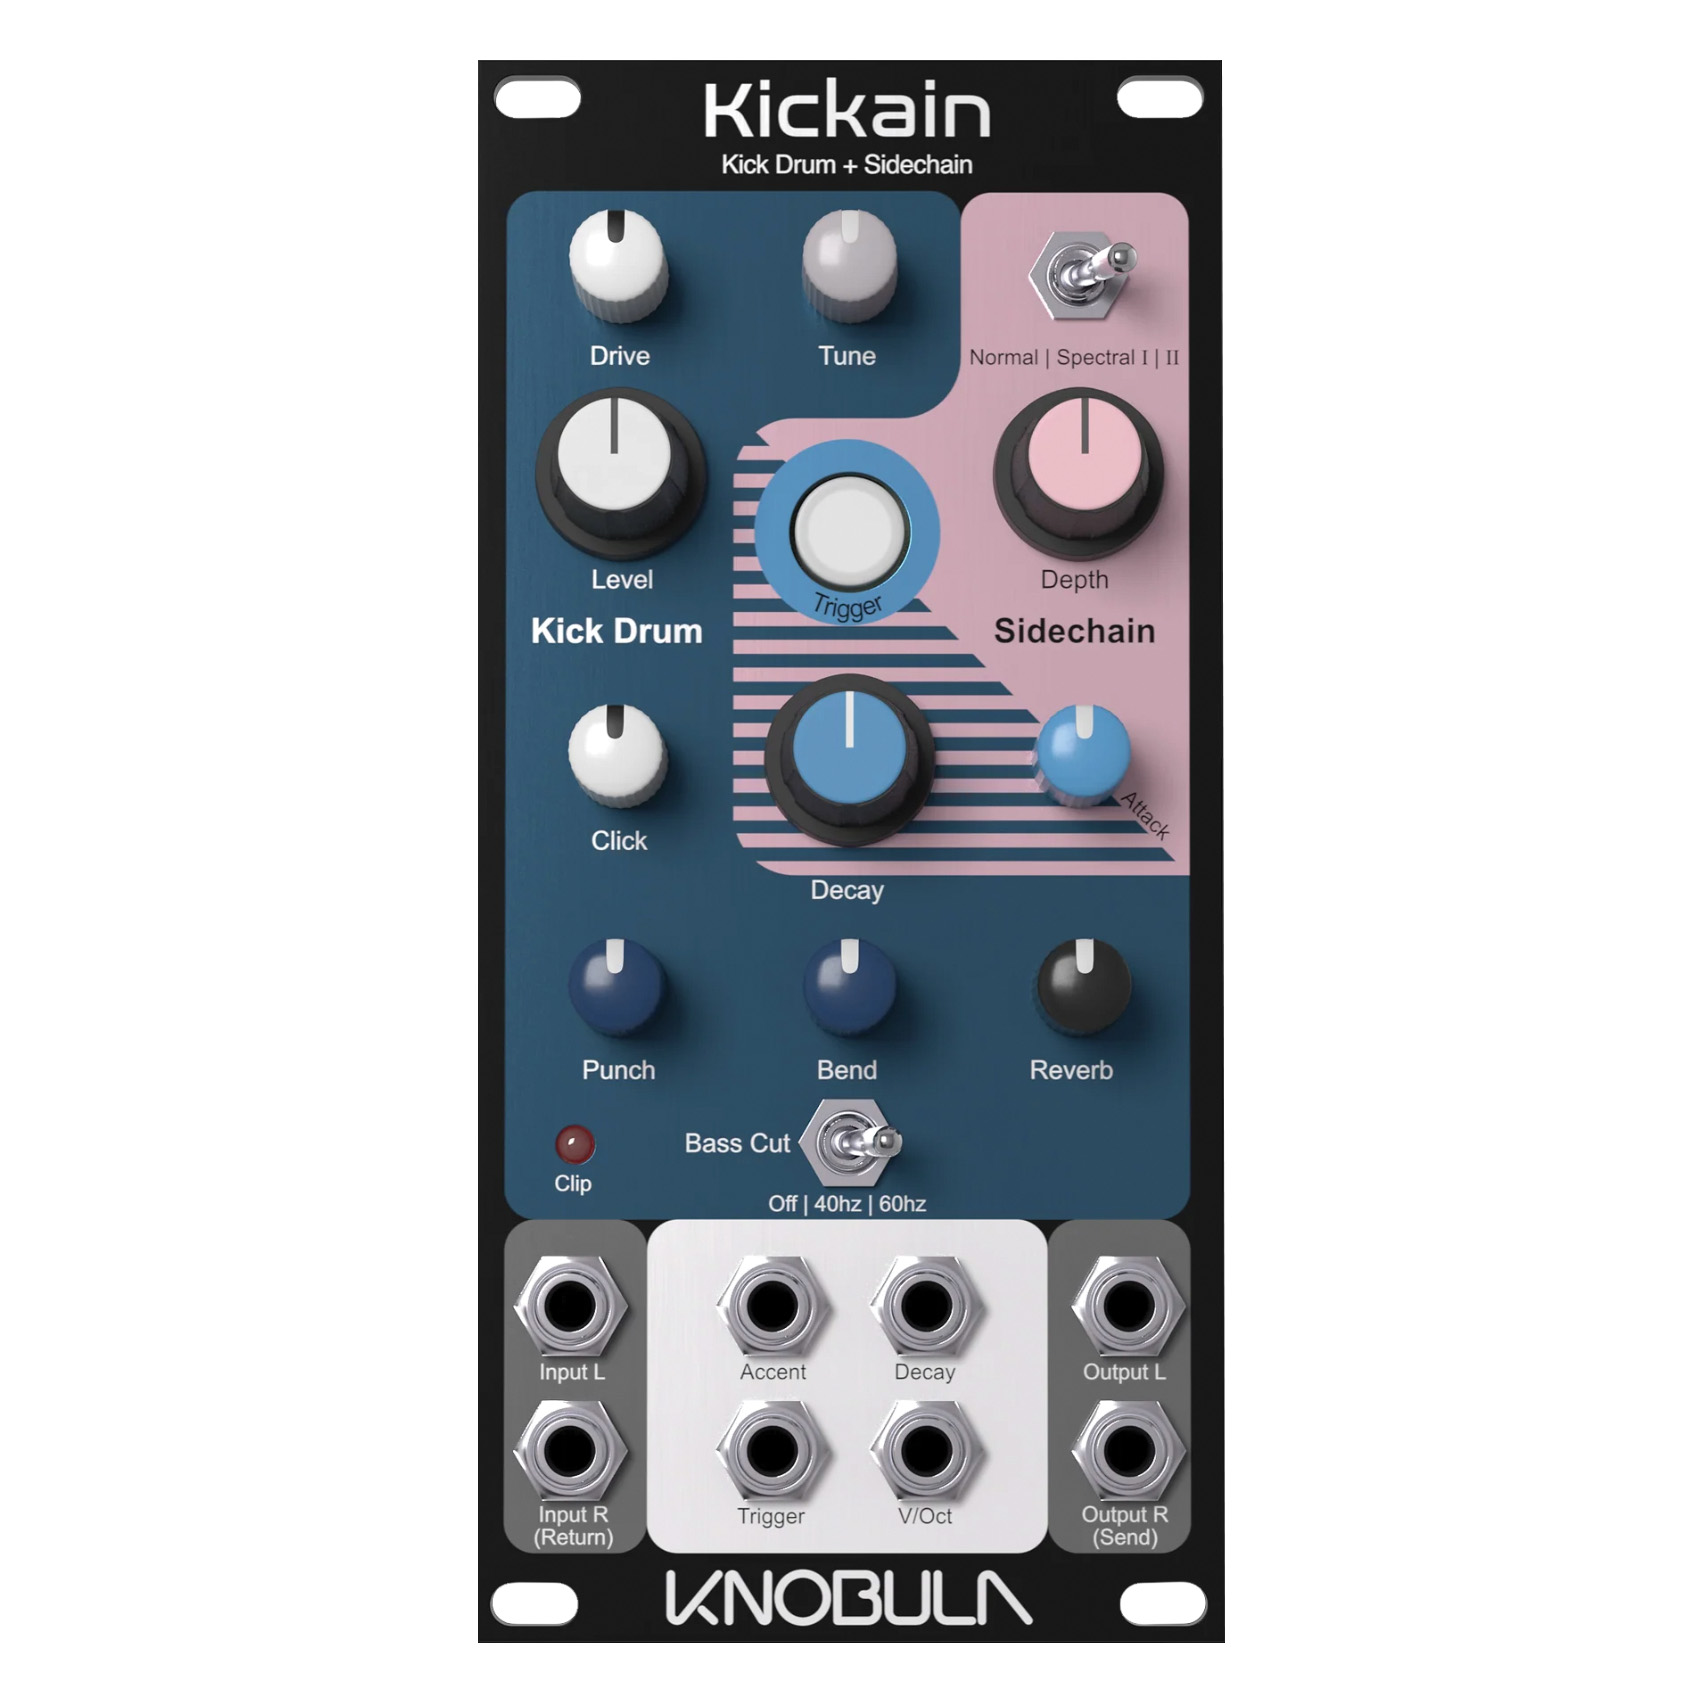
Sidechaining, based on a kick drum is a popular component of beat making. Knobula’s Kickain is a versatile kick voice in its own right but has on board sidechaining compressor and even a reverb, for the hugest sounding hits.
4. ALM Pamela's Pro Workout
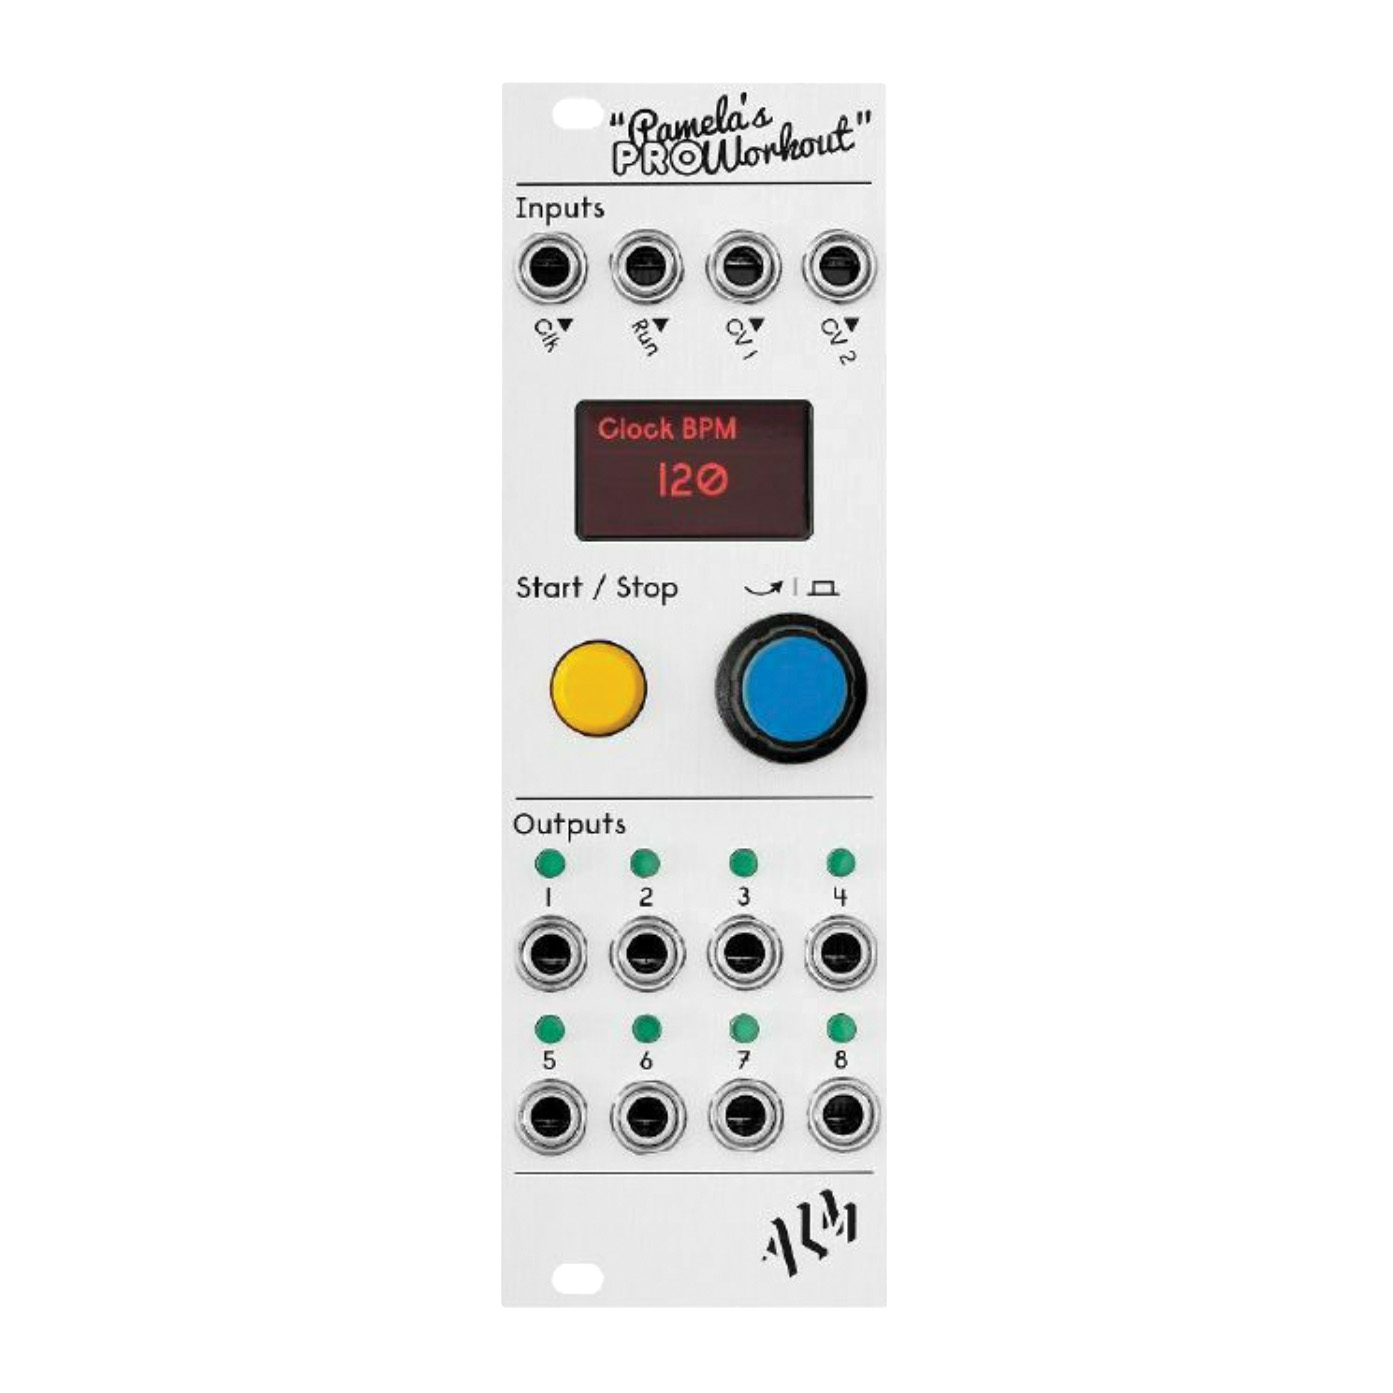
ALM Busy Circuit’s Pamela’s Pro Workout (or previous incarnations) is a real Swiss Army knife module. It can sequence in different ways, accent, modulate and essentially act as the brain of your entire rig. Eight channels as standard but the expander increases this and adds MIDI ports, too.
5. Tip Top Audio Circadian Rhythm
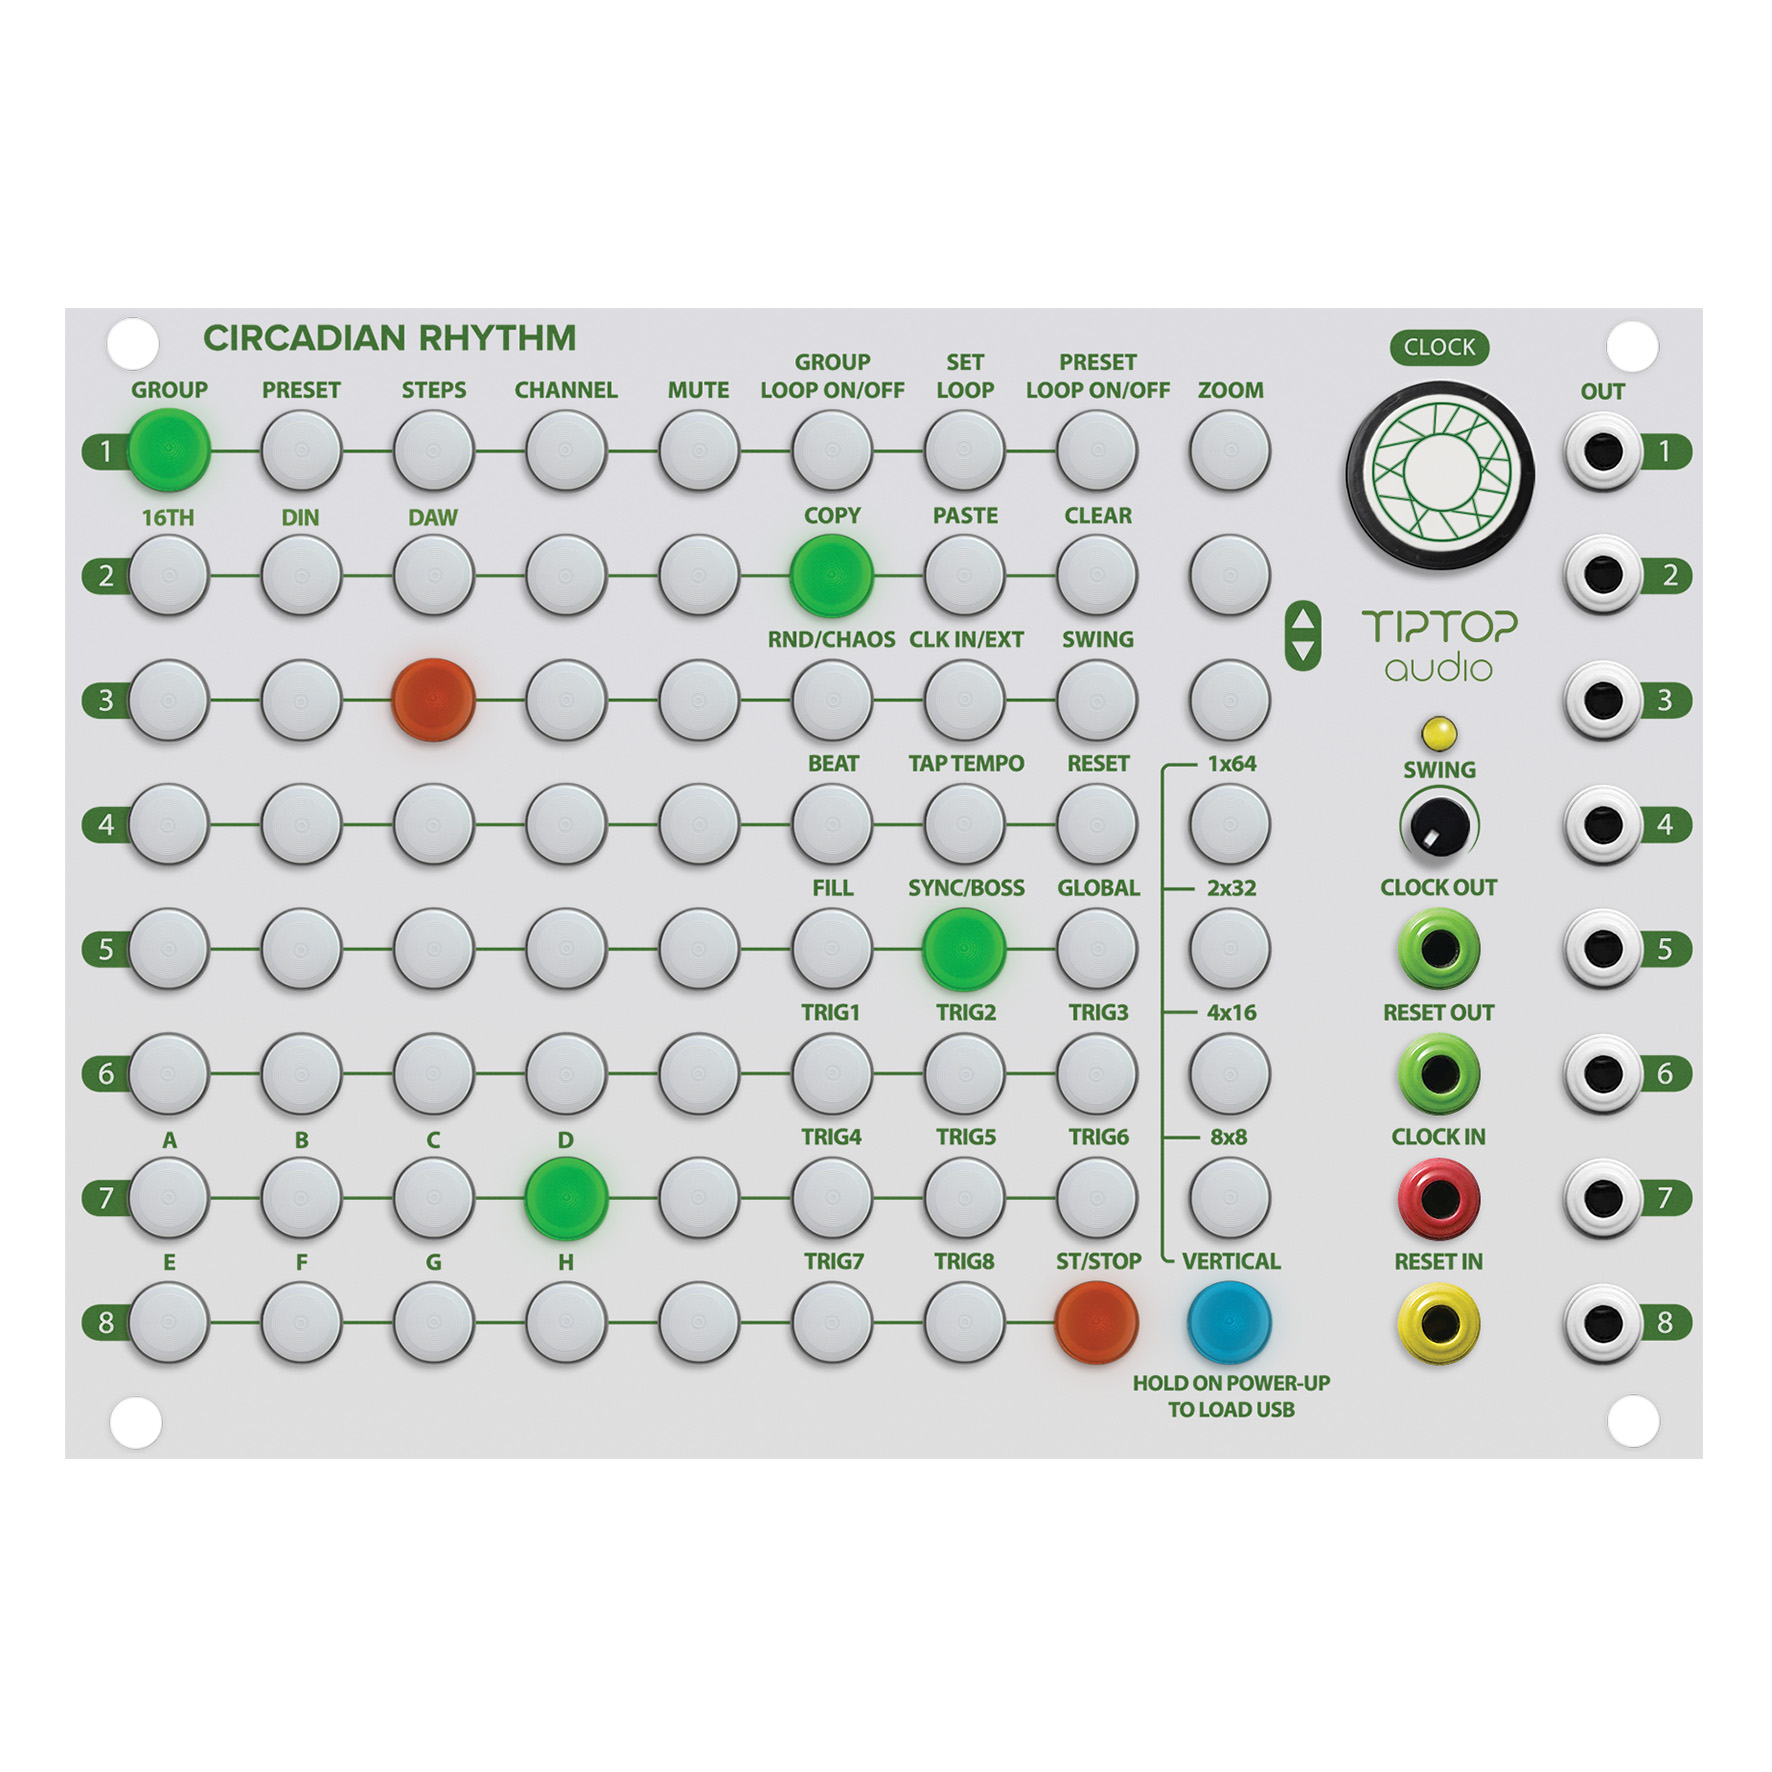
For something more x0x-based but with a lot of functionality, Tip Top Audio’s Circadian Rhythm is a wonderful sequencer. Sequences can be chained and different parts can be muted or ratcheted on the fly, making this a great performance sequencer as well as one that’s perfect in the studio for songwriting sessions.


Future Music is the number one magazine for today's producers. Packed with technique and technology we'll help you make great new music. All-access artist interviews, in-depth gear reviews, essential production tutorials and much more. Every marvellous monthly edition features reliable reviews of the latest and greatest hardware and software technology and techniques, unparalleled advice, in-depth interviews, sensational free samples and so much more to improve the experience and outcome of your music-making.
