Music Radar MusicRadar The No.1 website for musicians
Sign in
  • View Profile
  • Sign out
  • Guitar Amps
  • Plugin Week 25
  • Guitar Pedals
  • Synths
  • Guitars
  • Artist news
  • Keyboards & Pianos
  • Controllers
  • Software & Apps
  • Drums
  • More
    • Recording
    • DJ Gear
    • Acoustic Guitars
    • Bass Guitars
    • Tech
    • Tutorials
    • Reviews
    • Buying Guides
    • About Us
More
  • Plugin Week A-Z
  • You Oughta Know
  • Fake AI band
  • 95k+ free music samples
  • Wrecking Crew
Recommended reading
Yune Pinku
Tech 10 more things producers can learn from our In The Studio With... series
Roland DrumLink
Drum Gear Roland's V-Drums go wireless for new simple and seamless WT-10 sensor and DH-10 hub DrumLink system
MusicNomad fret tuition
Guitar Lessons & Tutorials Can you fix your guitar's frets yourself? We try three innovative approaches from MusicNomad to investigate how they might conquer a major cause of fret buzz
Sleep Token
Drums “We tried it as a laugh and now it’s our standard setup”: The secret sauce behind Sleep Token’s live drum sound
DrumCraft Urban Beats
Drum Kits “A good-looking kit which won’t break the bank”: DrumCraft Urban Beats review
Millenium Drums Legendary Drumbook
Drums “An extremely well-thought-out and all-encompassing piece of drum education”: Millenium Legendary Drumbook review
Best beginner DAWs: Cockos Reaper 6
Music Production Tutorials New to making tracks? Start here
  1. Tutorials
  2. Drum Lessons & Tutorials

The Workshop: How to clean your drum hardware

News
By Tom Bradley published 2 December 2016

In ten easy steps!

When you purchase through links on our site, we may earn an affiliate commission. Here’s how it works.

1. Prepare the workstation

1. Prepare the workstation

If you’re anything like us, you’ll like taking apart your bits and pieces of drum gear, either to see what makes it tick or to sort out a squeak or rattle. Makes a mess and we usually forget which bits go where.

Still, from time to time, it is a good idea to strip down your drums and give them a good going-over. By following our step by step guides to gear maintenance each month, you’ll soon have your gear tip-top. in this month’s workshop, we guide you through the simple process of removing your shell hardware and bringing it back to its former glory.

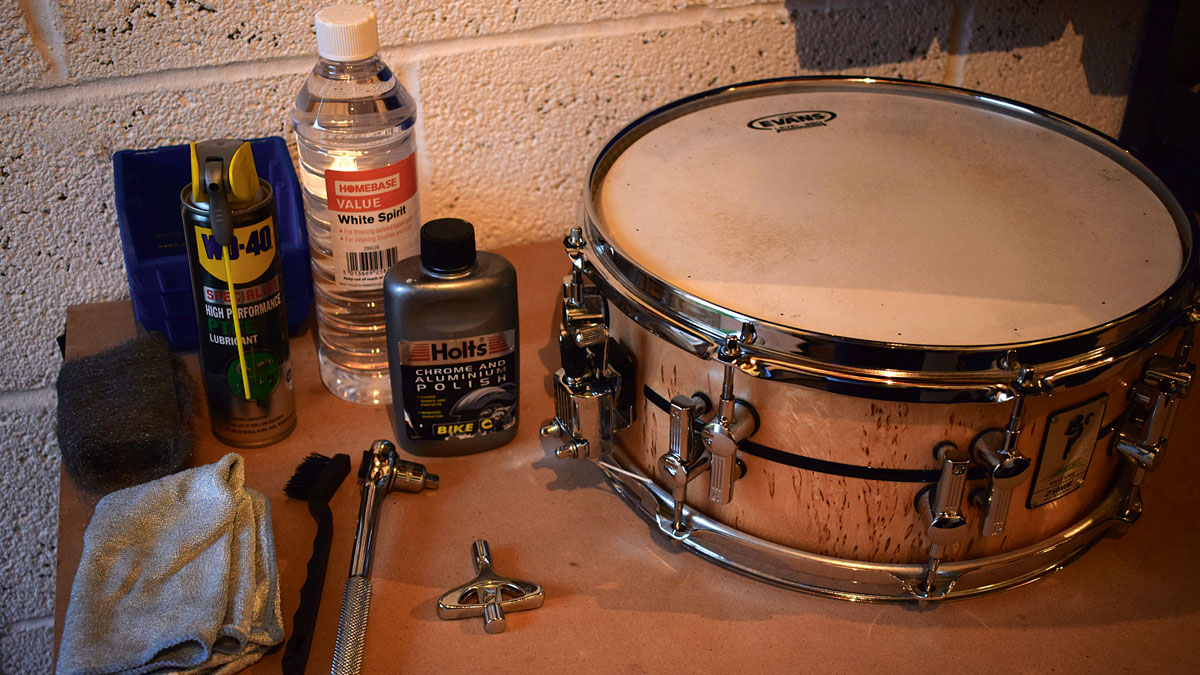
For this simple job you will need: a polishing cloth, metal polish, a screwdriver or cordless drill with the correct bit(s) and some containers to organise your removed parts.

Optional extras include fine wire wool, your choice of lubrication, a small brush and some white spirit. Of course, don’t forget your drum key.
Page 1 of 10
Page 1 of 10
2. Remove both heads

2. Remove both heads

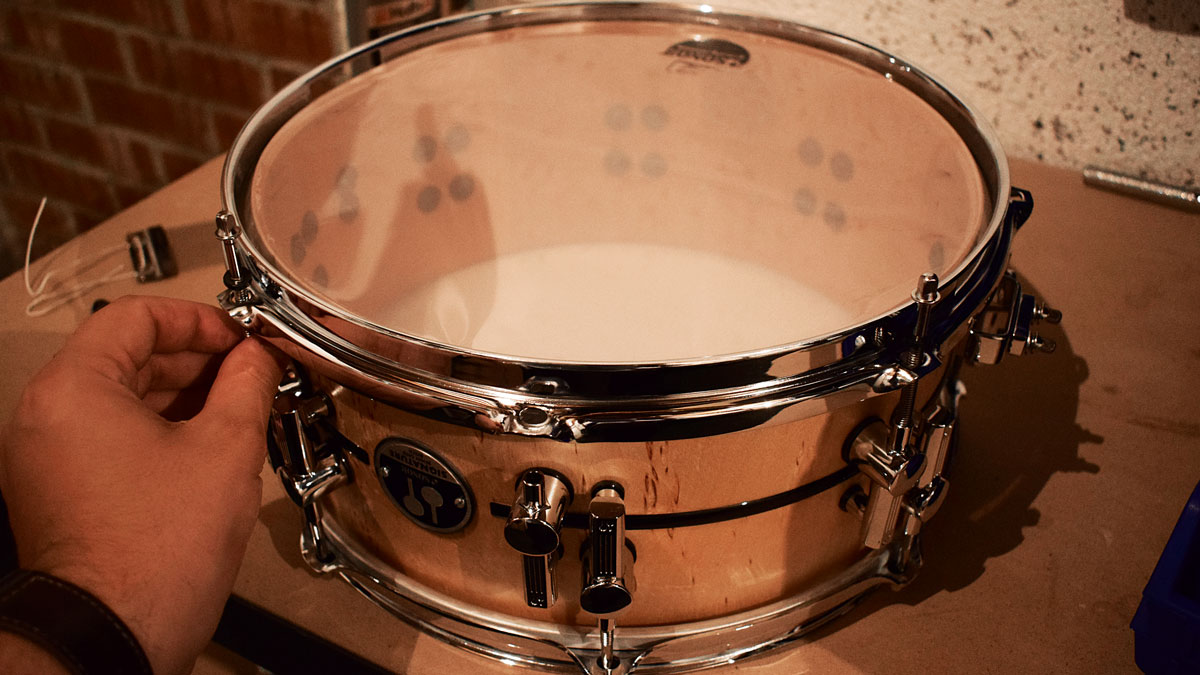
Evenly de-tune and remove the tension rods, setting them to one side. Soaking the rods in white spirit is a great way of stripping any old grease away and leaving them fresh.

Next, remove the heads and rims from the drum shell. This is necessary in order to access the fixing screws of the lugs.
Page 2 of 10
Page 2 of 10
3. Loosen the lug screws

3. Loosen the lug screws

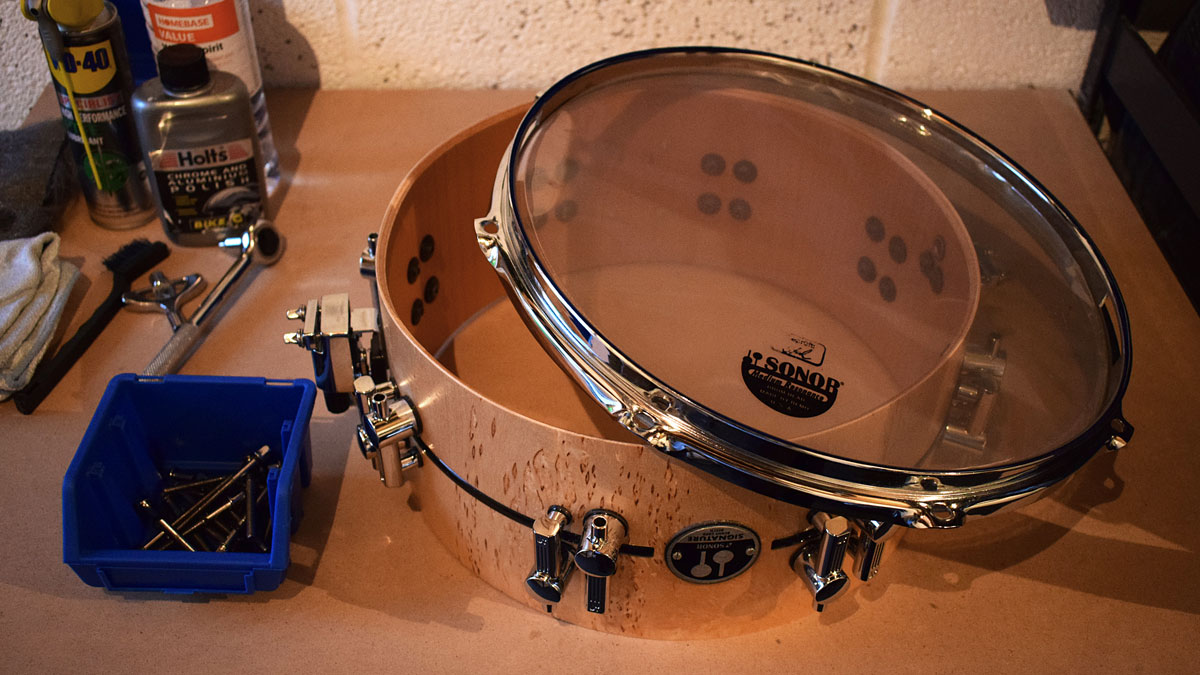
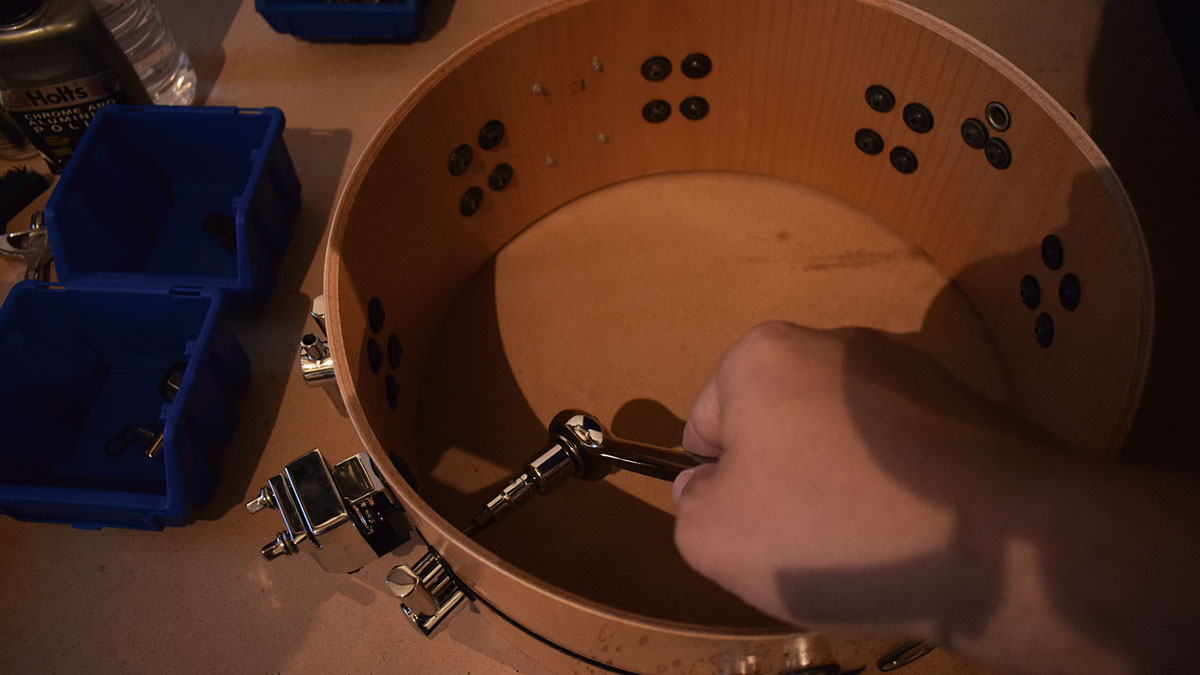
Using a screwdriver, wrench or cordless drill, loosen the bolts from the inside.

This Sonor drum requires a torx head but manufacturers will vary. If working on a snare drum, you will also find screws to remove the strainer and butt plate.

Page 3 of 10
Page 3 of 10
4. Remove the lugs

4. Remove the lugs

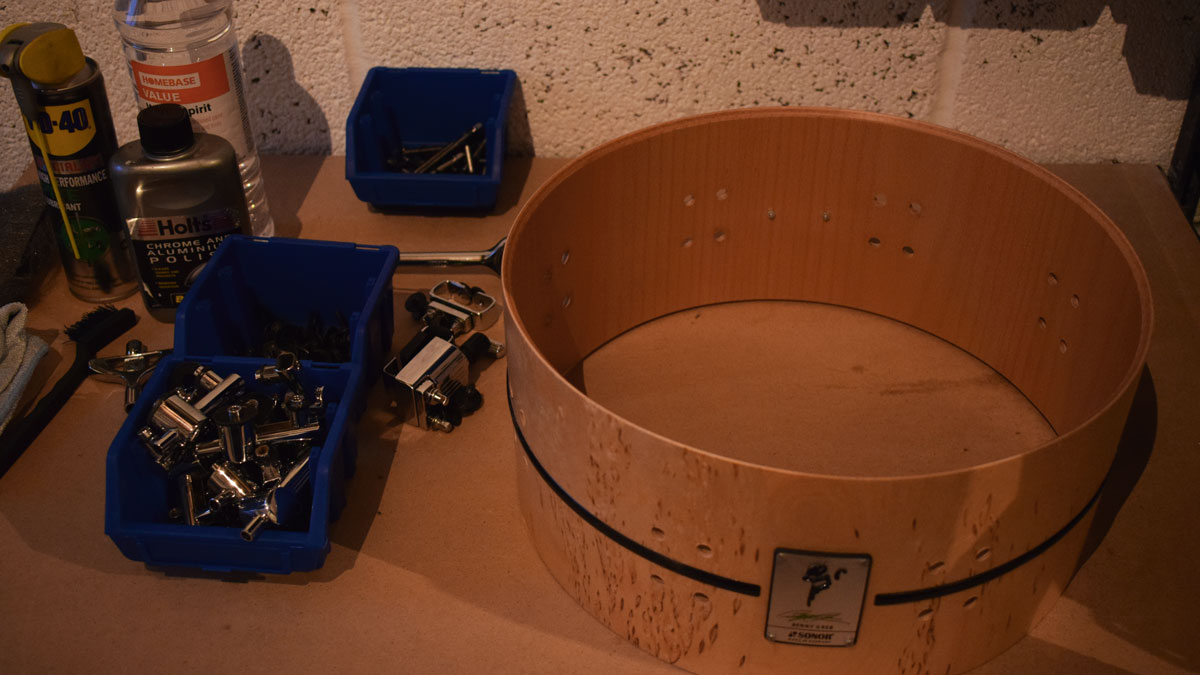
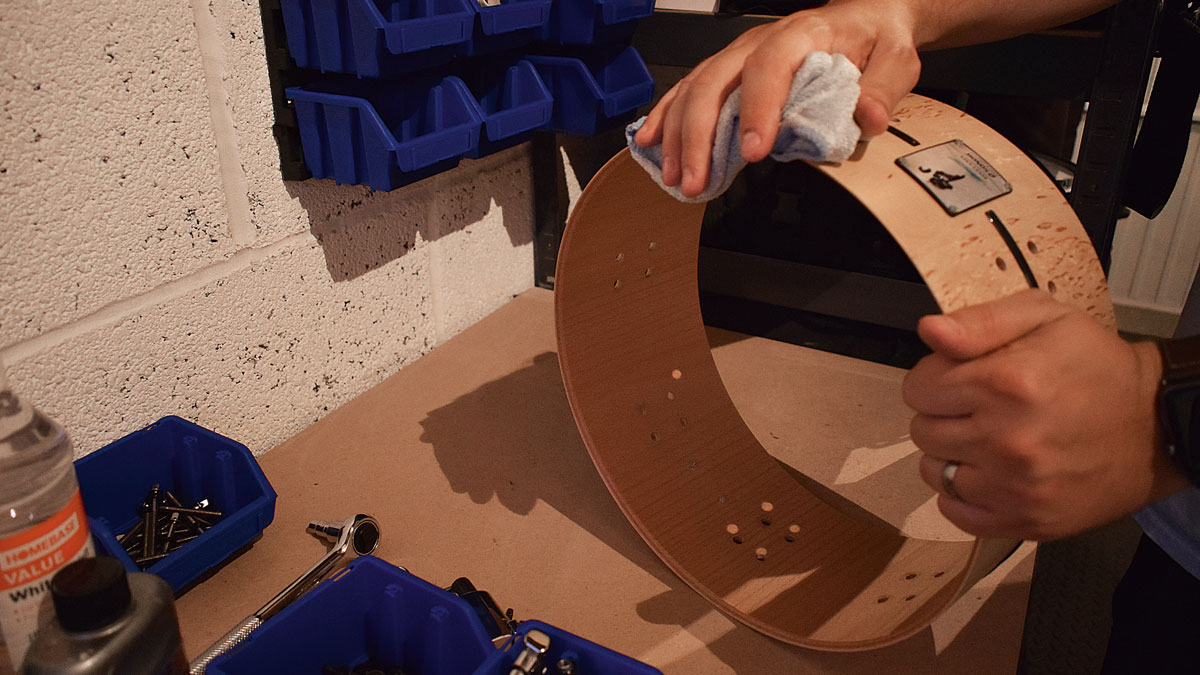
Take the lugs off completely and set to one side; paying particular attention to the order in which the fixings fit together.

It is not uncommon for there to be a spring or a rubber gasket fitted between the shell and its hardware, so make use of your containers, keeping everything where you want it.
Page 4 of 10
Page 4 of 10
5. Clean the drum

5. Clean the drum

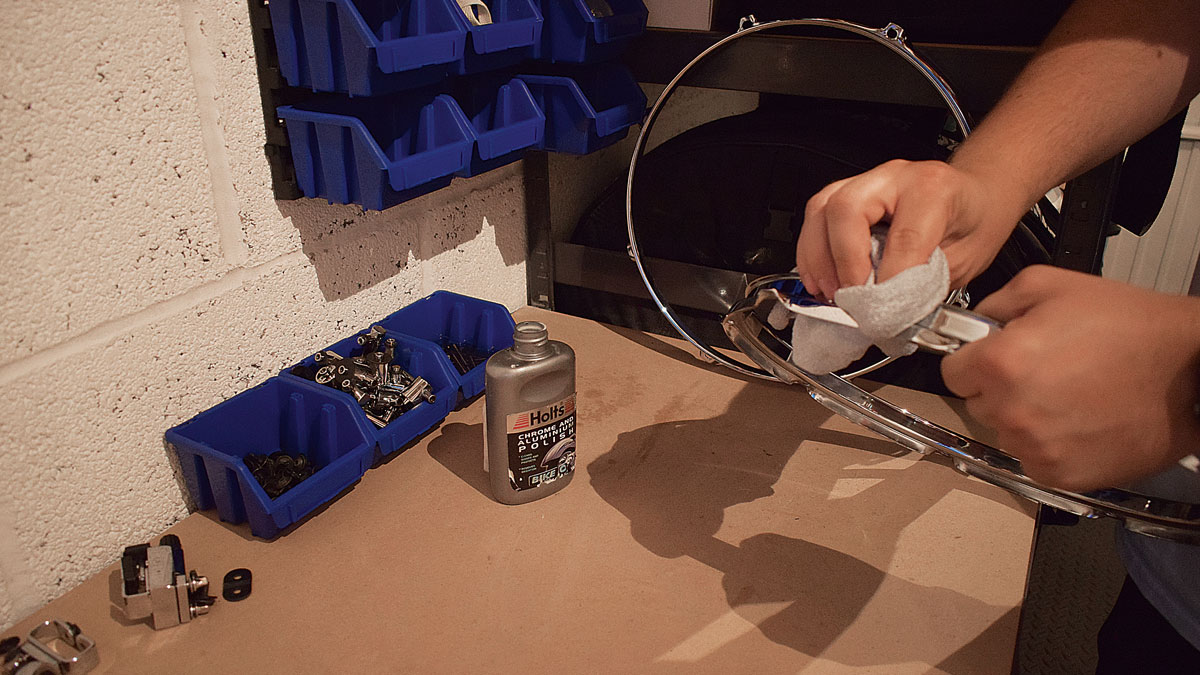
With the shell stripped down, now is a perfect opportunity to give the drum shell itself a quick once-over.

It is not necessary to use any cleaning agents, just rubbing with a clean dry cloth will work. Although, drums with a wrap or lacquer finish will benefit from a polish with something like Pledge.
Page 5 of 10
Page 5 of 10
6. Clean the hoops

6. Clean the hoops

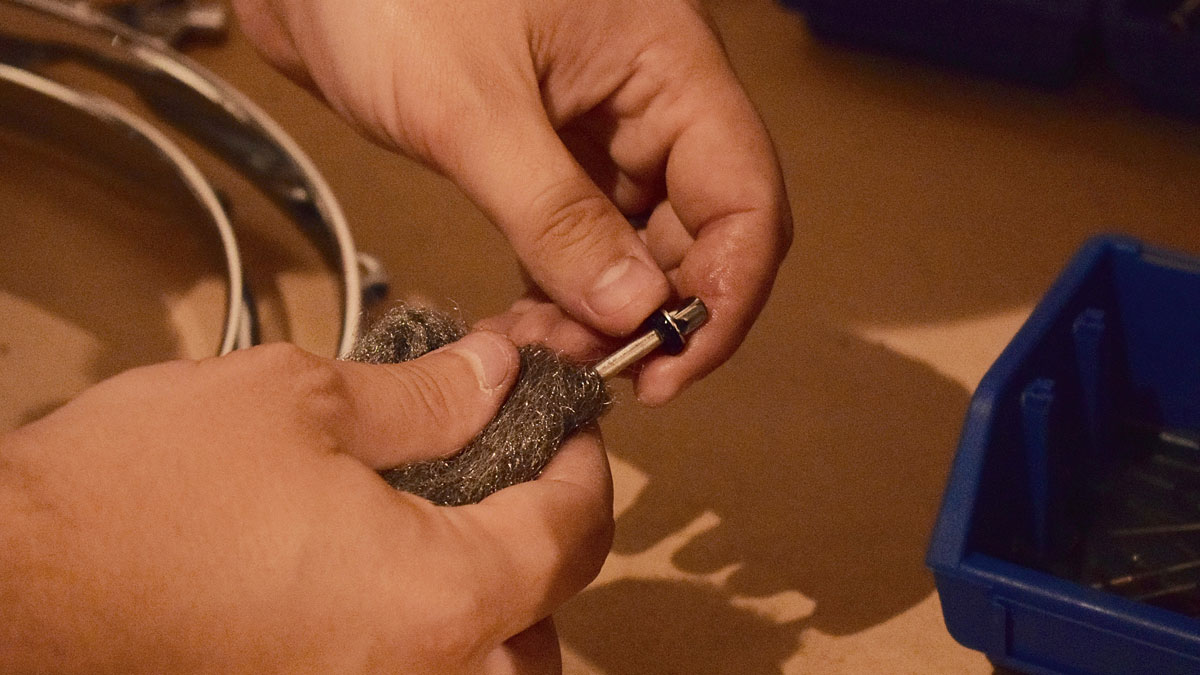
If your hoops are particularly dirty or even showing signs of rust, this is where you will want to employ the wire wool.

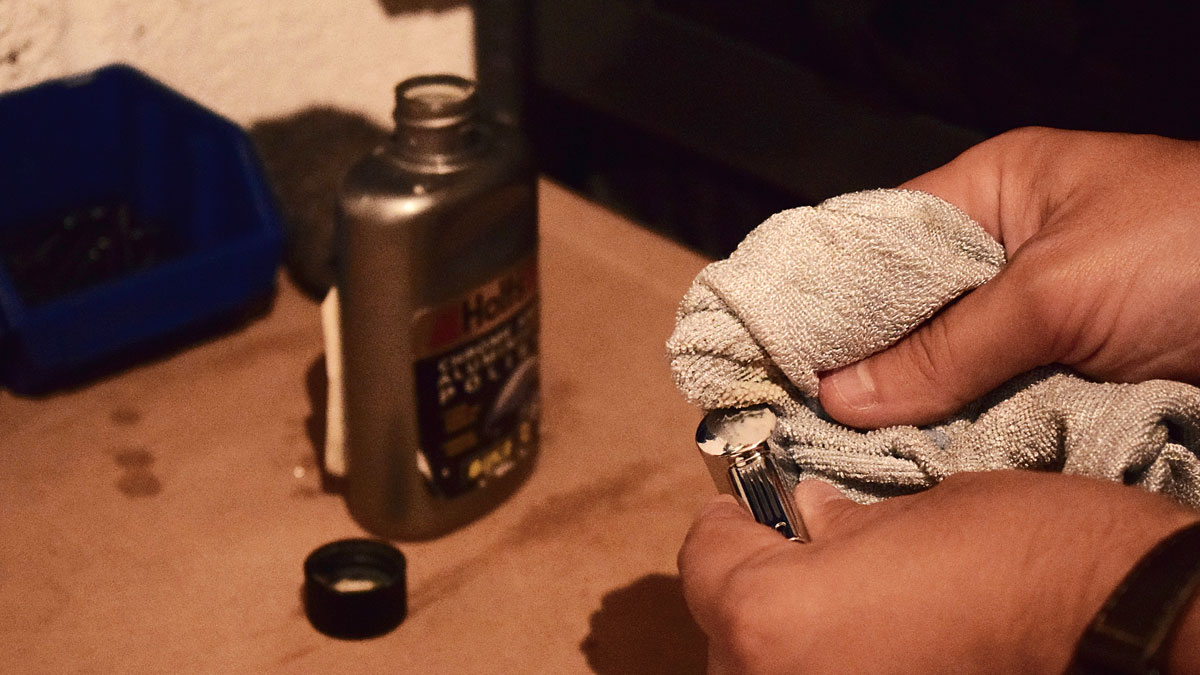
In most cases though, we usually reach straight for the metal polish. Apply with one corner of your cloth and buff away with the other, leaving your rims looking as good as new.
Page 6 of 10
Page 6 of 10
7. Clean the lugs

7. Clean the lugs

As with the hoops, rub in the metal polish and buff away with the cloth. Depending on the shape or style of the lugs, you may find it easier to use a small brush to get into all the crevices.

Page 7 of 10
Page 7 of 10
8. Clean the tension rods

8. Clean the tension rods

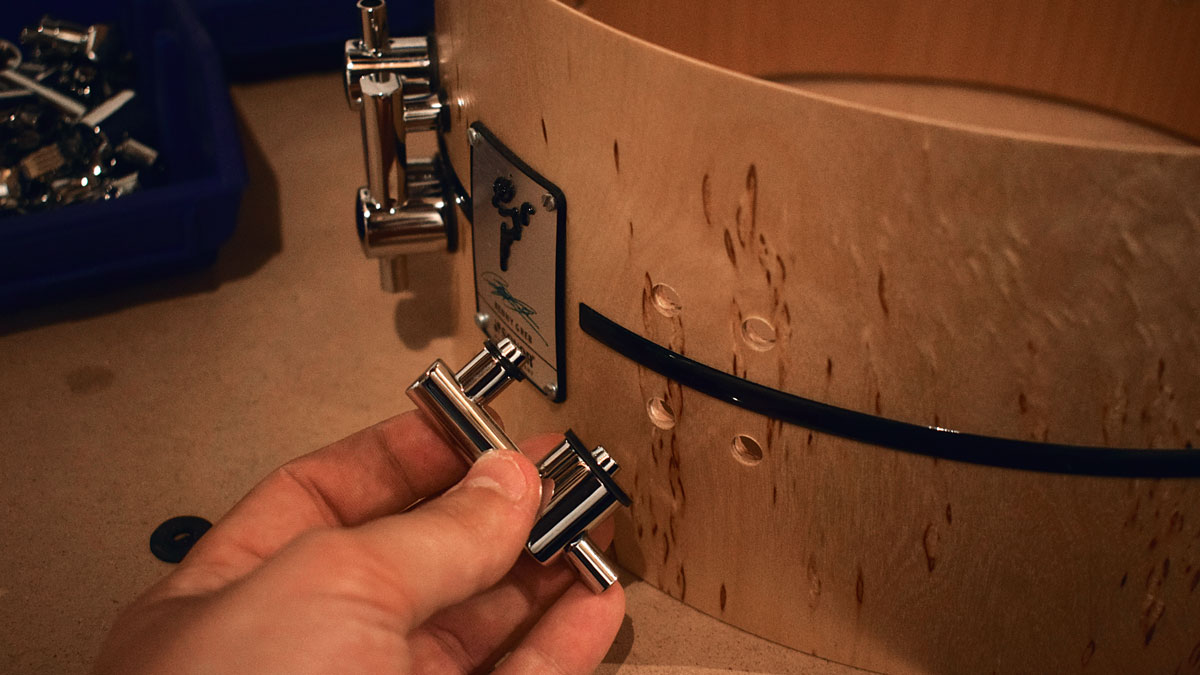
Once you have finished with your hoops and lugs, you can turn your attention back to the tension rods that have been soaking in white spirit.

Before drying them off, give them a twist in the wire wool to clean any gunk out of the threads. You may chose to re-apply some lubricant at this point.
Page 8 of 10
Page 8 of 10
9. Re-attach the lugs

9. Re-attach the lugs

Replace your shiny new lugs, ensuring that you replicate the order of the parts as before.

For instance, this Sonor snare has rubber washers which should sit between the shell and the lug.

Gently fit the lug back into position, hand- tightening the screws at first, then finishing with your drill or screwdriver.

Page 9 of 10
Page 9 of 10
10. Replace the hoops

10. Replace the hoops

Place the drum head on the bearing edges and rest the hoop in position, lining up the holes with the lugs.

Insert the tension rods carefully to avoid any cross- threading, then tension evenly to your desired tuning. Repeat for both sides.

Page 10 of 10
Page 10 of 10
Tom Bradley
Tom Bradley

Tom is a professional drummer with a long history of performing live anywhere from local venues to 200,000 capacity festivals. Tom is a private drum tutor, in addition to teaching at the BIMM Institute in Birmingham. He is also a regular feature writer and reviewer for MusicRadar, with a particular passion for all things electronic and hybrid drumming.
Read more
Yune Pinku
10 more things producers can learn from our In The Studio With... series
Roland DrumLink
Roland's V-Drums go wireless for new simple and seamless WT-10 sensor and DH-10 hub DrumLink system
MusicNomad fret tuition
Can you fix your guitar's frets yourself? We try three innovative approaches from MusicNomad to investigate how they might conquer a major cause of fret buzz
Sleep Token
“We tried it as a laugh and now it’s our standard setup”: The secret sauce behind Sleep Token’s live drum sound
DrumCraft Urban Beats
“A good-looking kit which won’t break the bank”: DrumCraft Urban Beats review
Millenium Drums Legendary Drumbook
“An extremely well-thought-out and all-encompassing piece of drum education”: Millenium Legendary Drumbook review
Latest in Drum Lessons & Tutorials
Millenium Drums Legendary Drumbook
“An extremely well-thought-out and all-encompassing piece of drum education”: Millenium Legendary Drumbook review
Chad Smith
Chad Smith just destroyed the Wu-Tang Clan in his latest drum tuition video
Mike Portnoy of Dream Theater
“I’m sorry I ruined your song!”: Mike Portnoy hears Taylor Swift's Shake It Off for the first time and plays along... with surprising results
Nile Rodgers
The music theory behind laying down the perfect groove explained
Overhead shot of electronic drum set plugged into a laptop running a VST
“At certain points in music history it became fashionable to place accents on certain beats”: How to score a drum part
Man in white t-shirt playing a Roland electronic drum set
10 common electronic drum set issues and how to troubleshoot them
Latest in News
Ernie Ball Music Man Pino Palladino StingRay: the bass legend's new signature model is offered fretted or fretless, and in a deep and luxurious 79 Burst finish.
Pino Palladino teams up with EBMM for a signature StingRay inspired by the bass that started it all
Amerie
How Amerie created a ‘00s R&B/funk classic with producer Rich Harrison
Mooer Audio F15i Li Intelligent Amp: this battery-powered take-anywhere guitar amp is packed with amp and effects models, and is an all-in-one practice solution.
Mooer’s F15i Intelligent Amp is a desktop doozie equipped with 55 amps, 69 effects and a touchscreen
lemonaide
"I love it, but a part of me is a little afraid of it": Trap producer Lex Luger releases generative AI model based on his sound
Queen at Live Aid
“Freddie rose to the occasion. I remember getting chills”: Brian May recalls the glory of Queen at Live Aid
EVH Gear Hypersonic FR-12: The newly launched FRFR speaker packs 1000-watts, is available in black or ivory, and might just be the perfect companion to your amp modeller.
EVH Gear drops the Hypersonic FR-12 FRFR speaker – 1000-watts to get the most from your amp modeller

MusicRadar is part of Future plc, an international media group and leading digital publisher. Visit our corporate site.

  • About Us
  • Contact Future's experts
  • Terms and conditions
  • Privacy policy
  • Cookies policy
  • Advertise with us
  • Accessibility Statement
  • Careers

© Future Publishing Limited Quay House, The Ambury, Bath BA1 1UA. All rights reserved. England and Wales company registration number 2008885.

Please login or signup to comment

Please wait...