The Workshop: How to change your snare wires
In 10 easy steps!
1. Choose your wires
It is easy to take for granted the constant work that our snare wires do in order to create that unique sound at the centre of our kits.
Not only can they become stretched or damaged over time but with many different materials and sizes available, there is actually a whole world of customisation that we can delve into in order to tweak our sound, using different materials than the usual steel, and numbers of wires from the common 20-strand wires you’ll find in most snare drums.
Naturally, the more wires you have, the more snare response you will get.Your drum will most likely have 20-strand wires, though varieties range from 16 up to 42-strand.
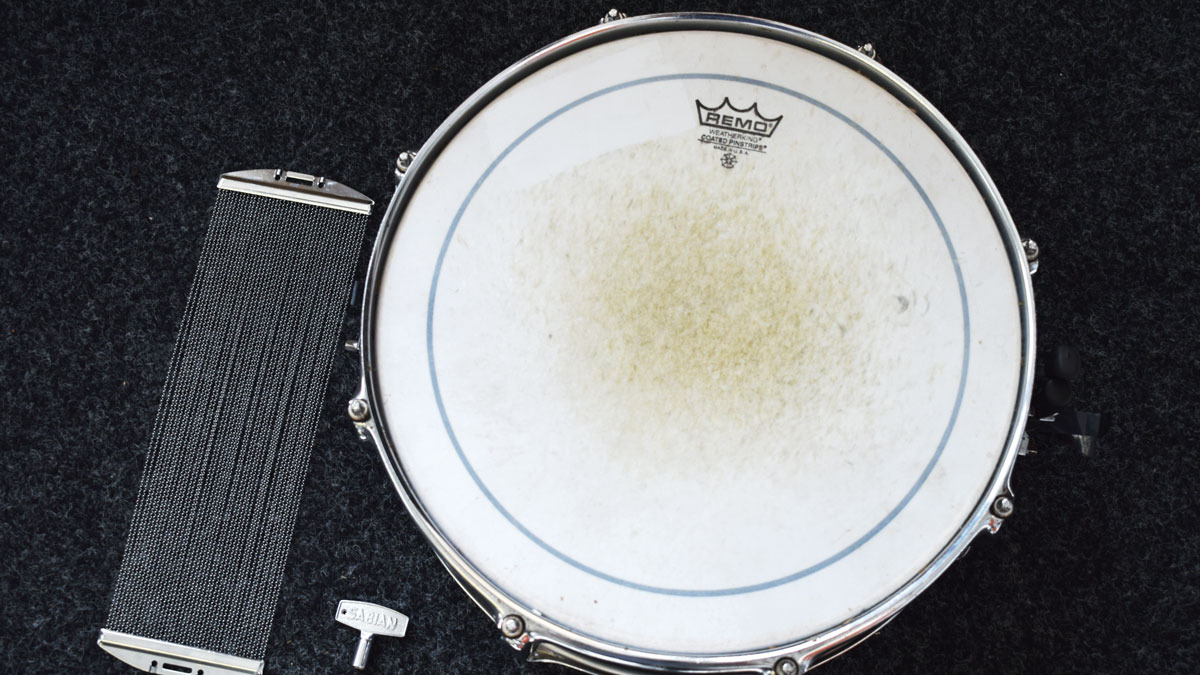
Different materials are also available, and this will also contribute somewhat to the sound. Here we are replacing our 13", 20-strand steel wires with massive 42-strand wires.
2. Turn the snare off
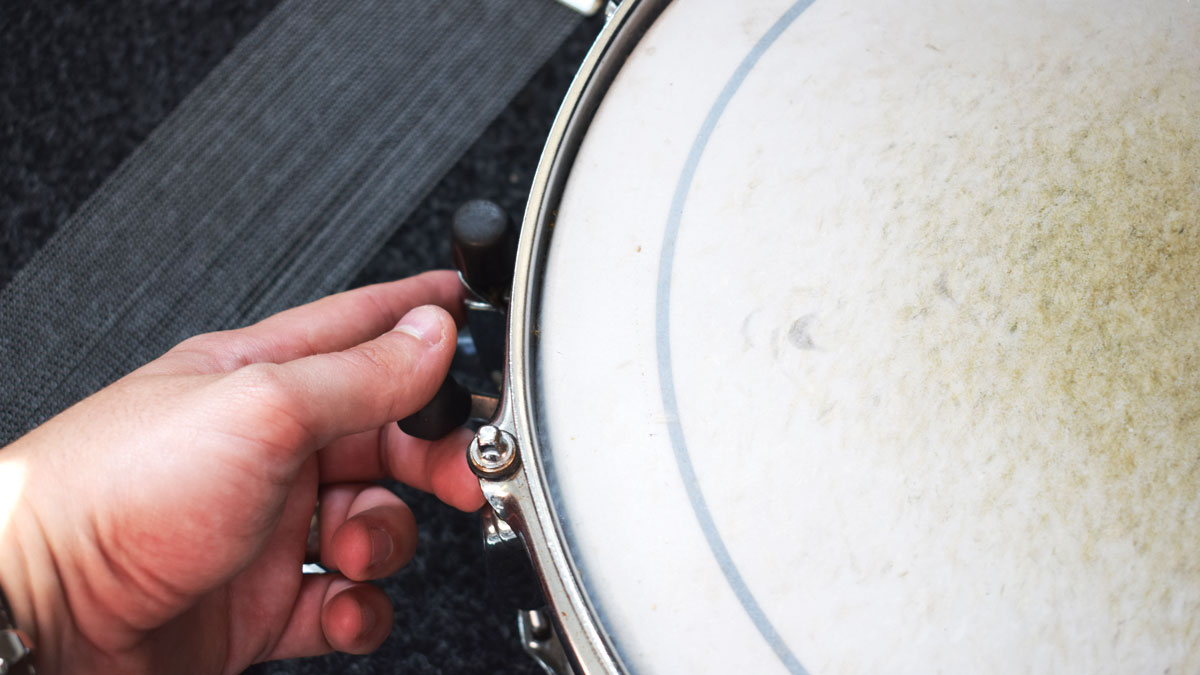
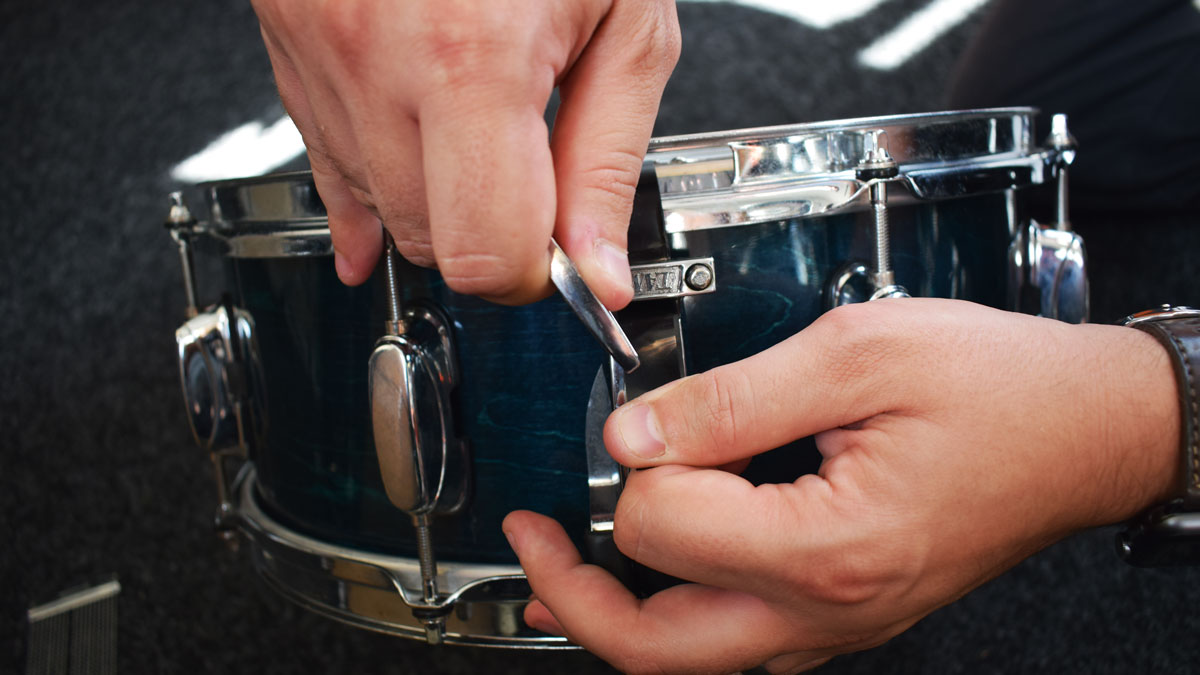
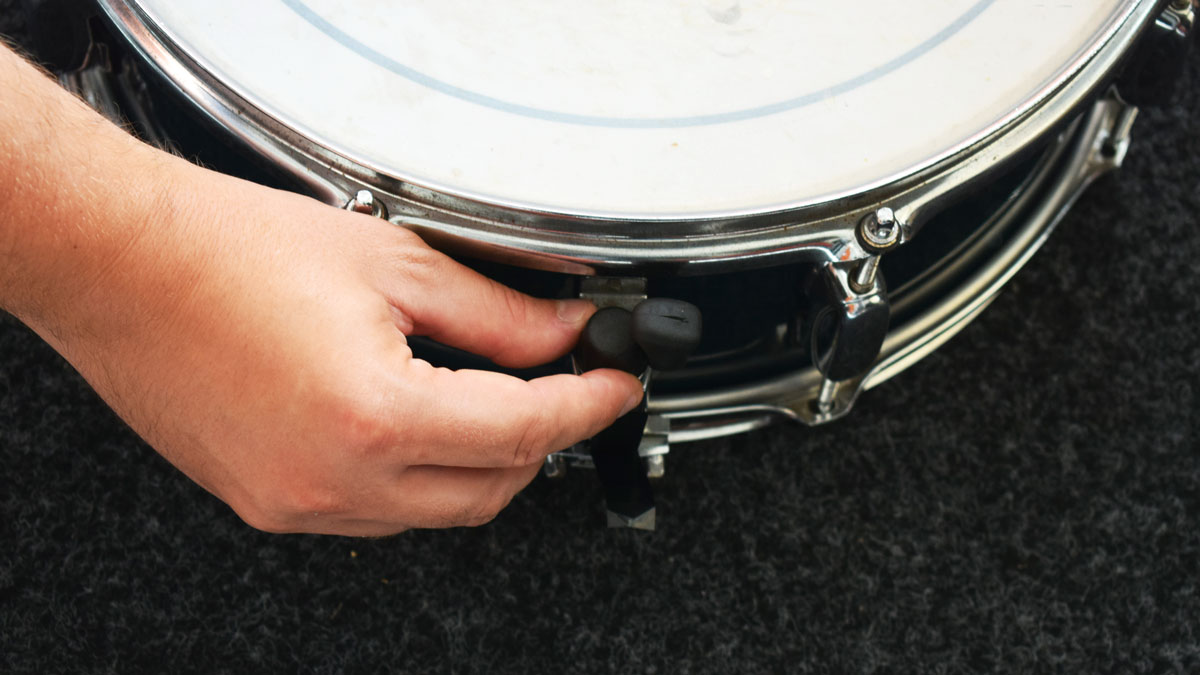
First turn the snare strainer to an off position.
This will take all the tension out of the wires and make the following steps easier. When you have done this, turn the drum upside down.
3. Loosen the straps
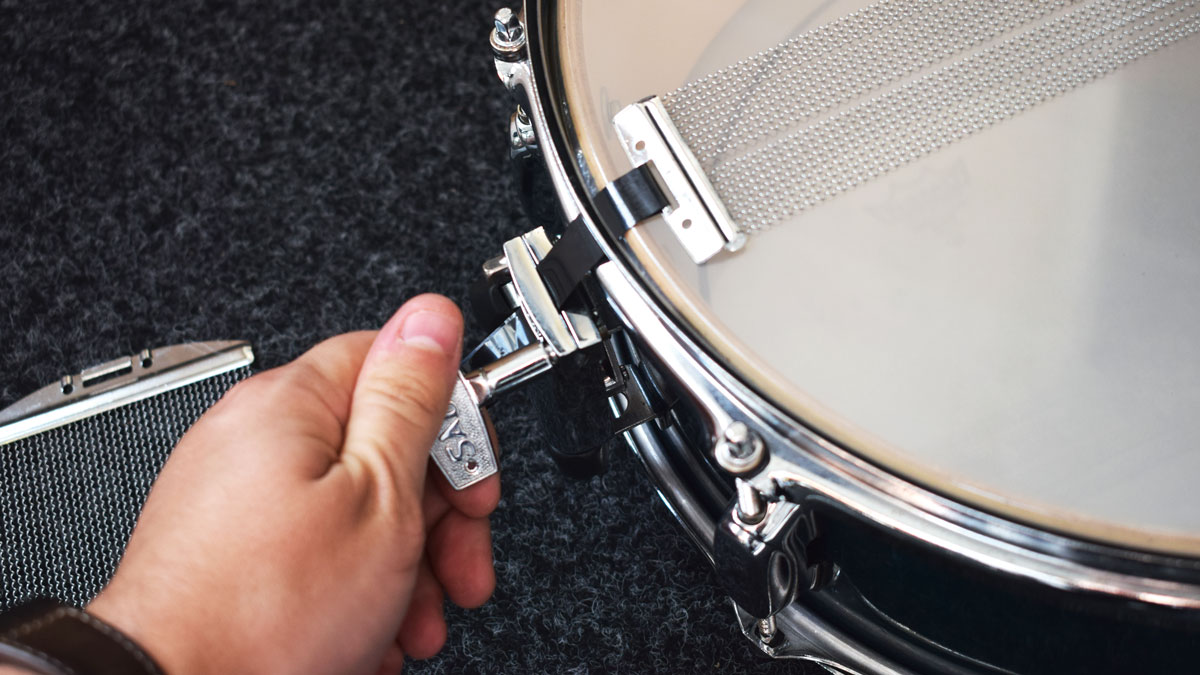
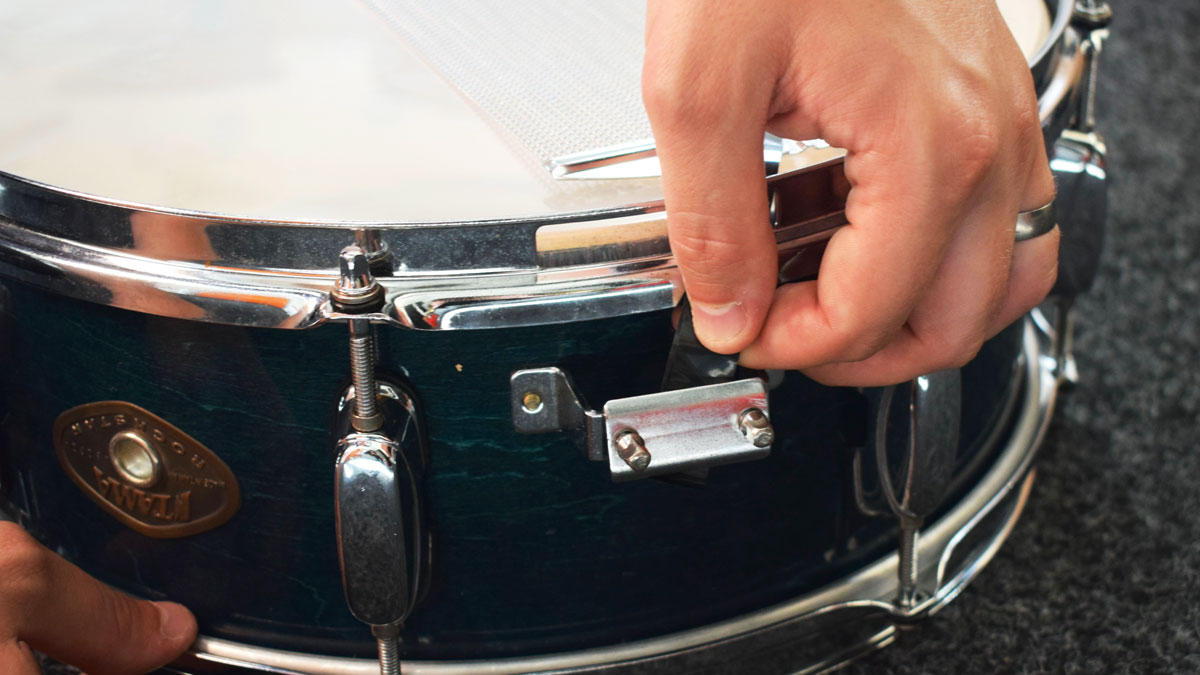
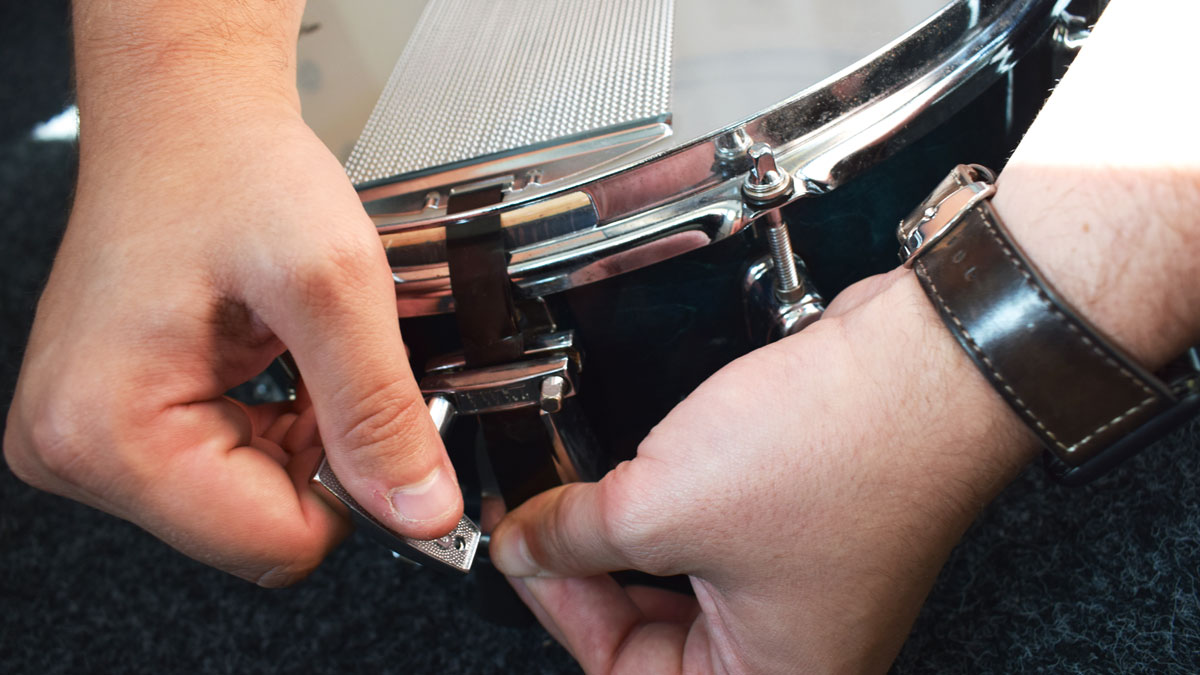
Using your drum key, loosen off the bolts that attach the straps to the strainer and butt plate.
4. Remove the wires
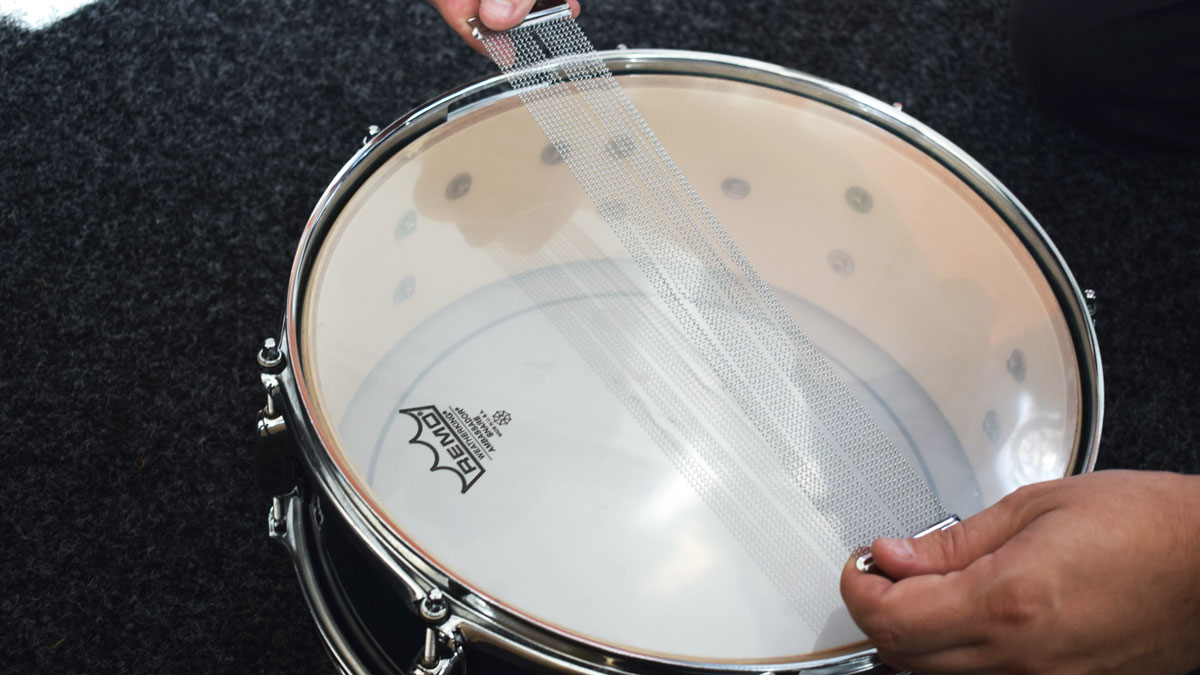
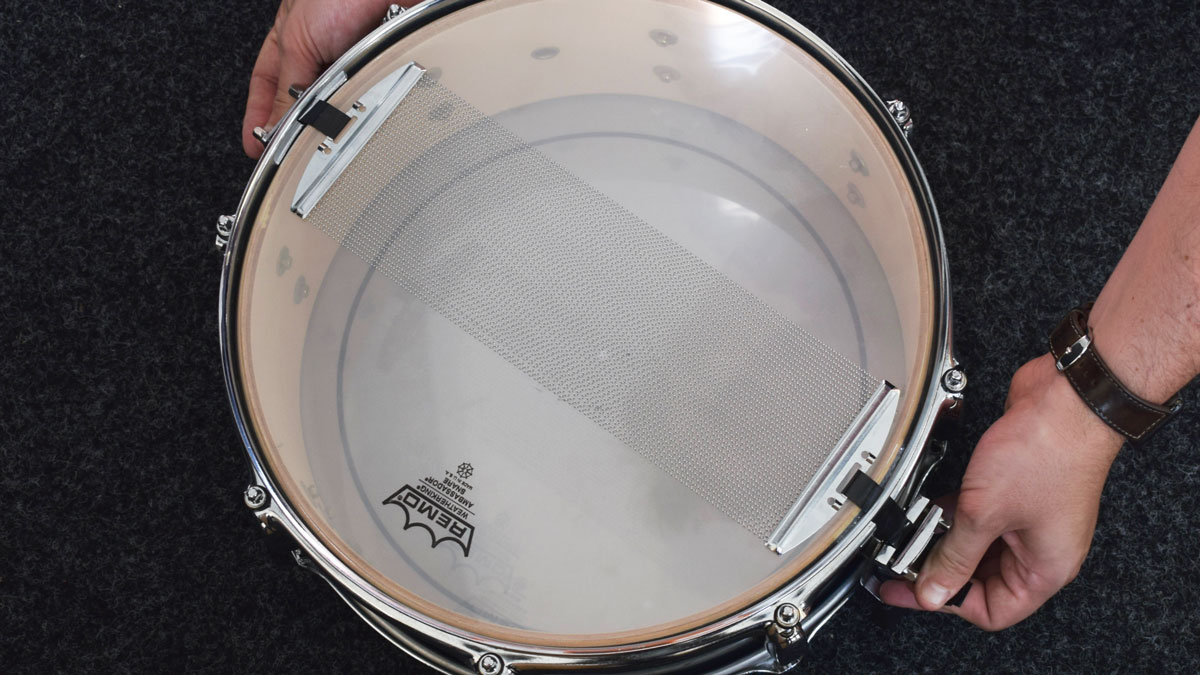
Lift the wires away from the reso head of the drum.
If the wires have been over-tightened, you may find that the head is dented or damaged and you may want to consider a replacement.
5. Switch the straps
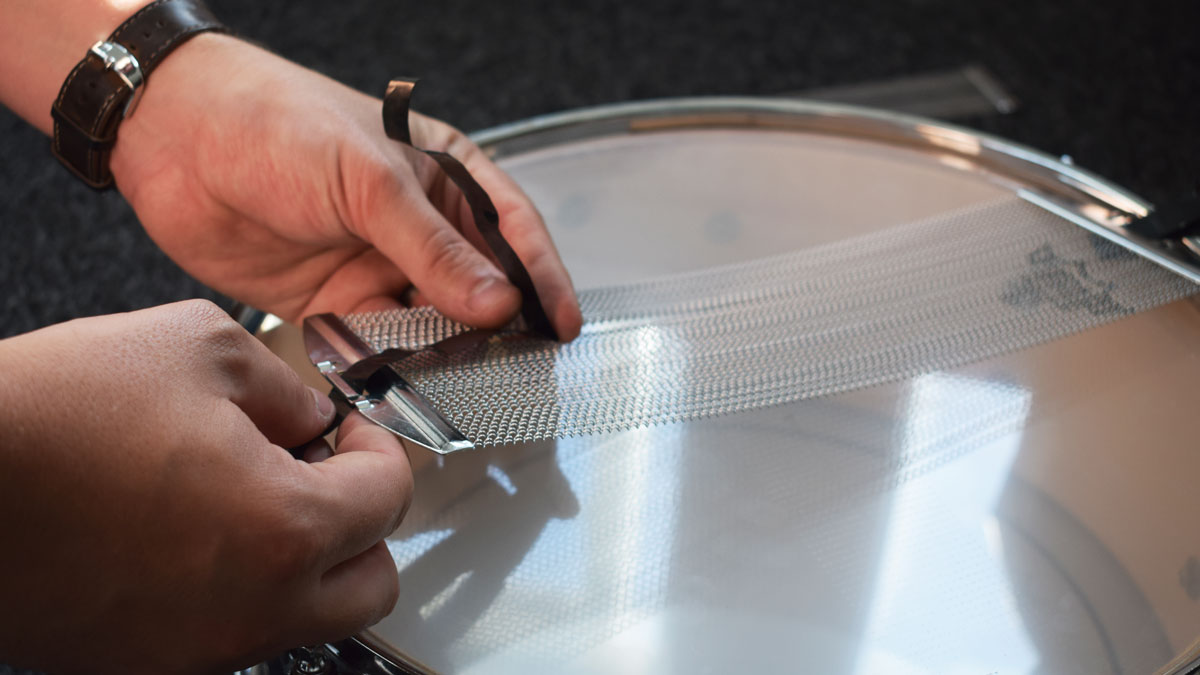
Your new wires may have been supplied with straps.
If so, simply thread them through the slot in the end-plate of the wires. If they were not, just remove the ones from your old wires and slot them into the new ones.
6. Insert the new wires
First off, make sure they are the right way up otherwise they won’t work as intended. Now, slide the straps back through the clamps on either side of the drum.
7. Position the new wires
Once the straps have been slotted through the clamps on the strainer and butt end, pull down on either side to get them nice and central on the drum.
8. Secure the butt-end side
Release the strainer side whilst holding the strap dead in place on the butt-end side.
Now, with your free hand, tighten up the bolts with your drum key, securing the strap in place.
9. Secure the strainer side
Still with the snare off, adjust the strainer to a medium setting then tighten up the clamp whilst pulling on the straps – just like the previous step.
10. Adjust the strainer setting
The strainer is set to a medium setting so you should have plenty of adjustability with your wires.
We find that there can often be some trial and error here. A good set-up should allow you to loosen the wires all the way off or set them super-tight.
Tom is a professional drummer with a long history of performing live anywhere from local venues to 200,000 capacity festivals. Tom is a private drum tutor, in addition to teaching at the BIMM Institute in Birmingham. He is also a regular feature writer and reviewer for MusicRadar, with a particular passion for all things electronic and hybrid drumming.