Fantastic (stock) plugins and how to use them: Ableton Drift
We take you on a guided tour of Ableton Live's new, MPE-enabled virtual analogue synth

Want all the hottest music and gear news, reviews, deals, features and more, direct to your inbox? Sign up here.
You are now subscribed
Your newsletter sign-up was successful
Ableton Live’s new Drift synthesiser is included in every version of Live, from Intro upwards, putting it alongside Simpler as the only instruments available to all Live users. Simpler and Drift shouldn’t be taken for granted just because they’re effectively free, however - if that’s all you’ve got, you can do a lot!
Drift is a subtractive synthesiser which has two oscillators, and a noise generator. Alongside these you get a filter, LFO, and extensive modulation options. Also importantly, Drift supports MPE - MIDI Polyphonic Expression, an enhancement to the tried-and-tested MIDI protocol.
If you play a compatible keyboard, with an MPE-capable synthesizer, you can send the initial note that you play, plus a separate control message reflecting how hard you press down on the key, and two others based on the left/right and up/down movements of your finger on the key - the result can be incredibly expressive and dynamic.
Article continues belowAbleton have added MPE support to some of their existing software instruments, including Wavetable, Collision, and Sampler, but Drift means that everybody who purchases an Ableton Push can experience MPE straight out of the box. Until now, MPE has been more or less a niche technology, but Ableton’s involvement should help it become more mainstream.
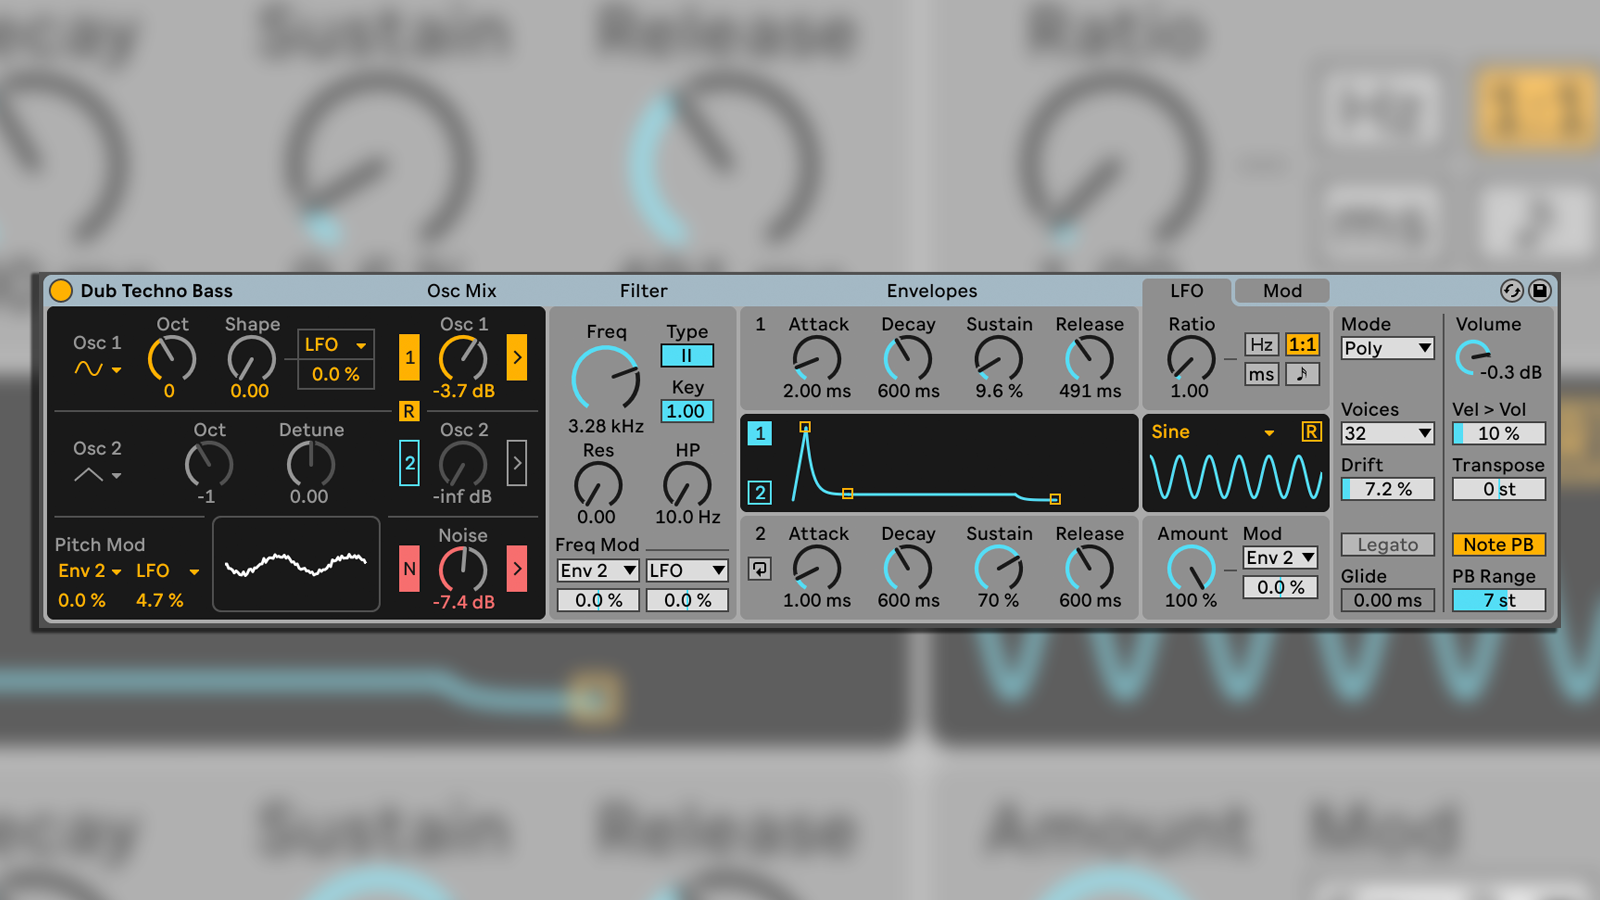
Drift includes two oscillators and a noise generator. Each oscillator lets you select a waveform, and includes an octave control. Oscillator 1 has a shape control, and we can visualise what that does in the lower display. Oscillator 2 also has waveform selection and an octave control, as well as transposition in semi tones. Below that is a global pitch mod section, and the noise generator.
A mixer section allows gain adjustment for each of those three sources, and note that it’s possible to push the oscillator values into distortion, which can sound pretty cool with synths like this (also note that it’s possible to turn off all three sources, so watch out for that).
There are switches to toggle filtering for each source, and the filter section includes two filter types - a DFM-1 filter (digitally modelled analogue filter), and a Cytomic MS2 filter (emulating the filter in Korg’s classic MS-20 synthesiser). The filter includes other controls such as key tracking, frequency, and resonance, and there are ADSR envelopes for both oscillators, followed by the final global section.
Want all the hottest music and gear news, reviews, deals, features and more, direct to your inbox? Sign up here.

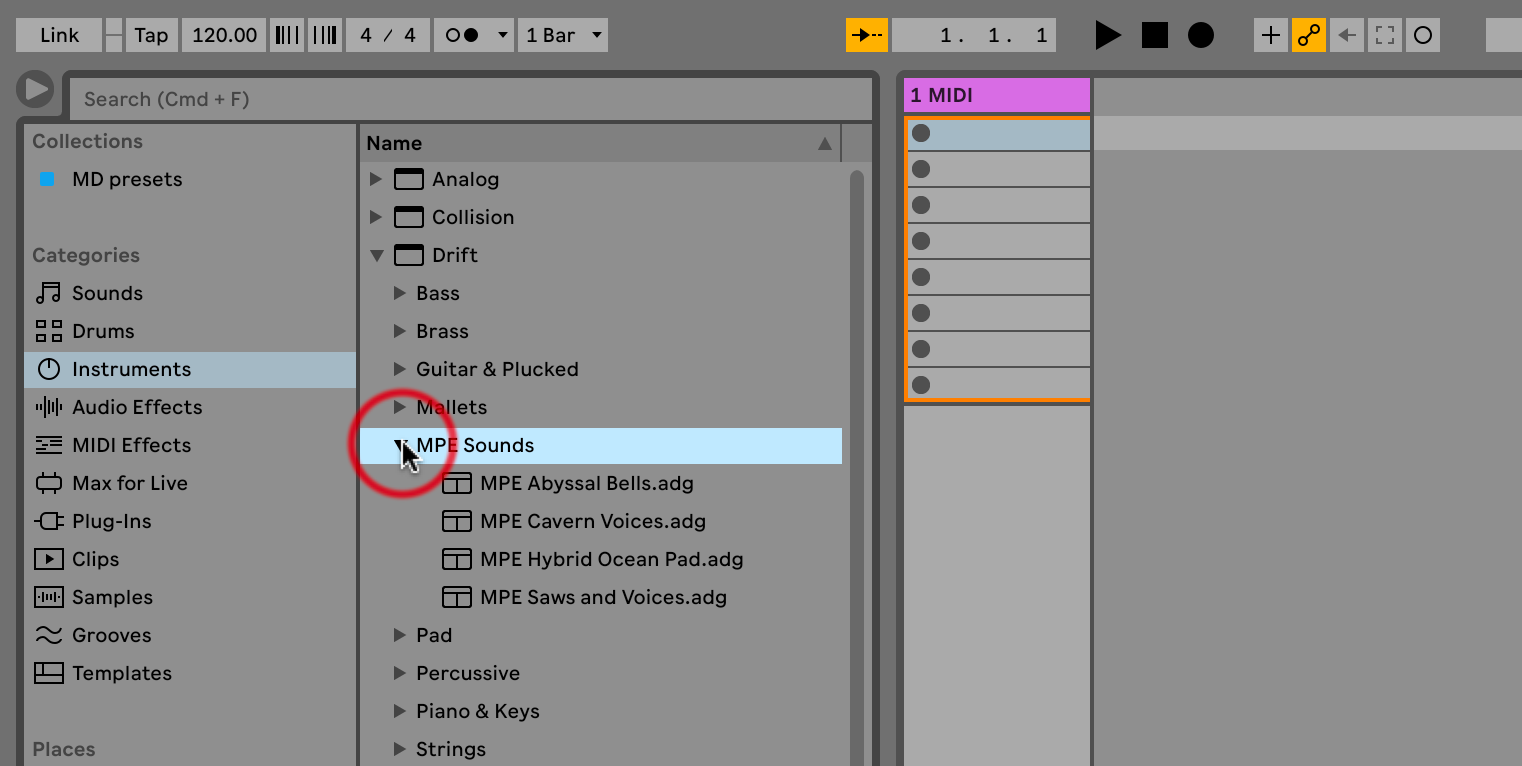
With a new synth, it helps to start by exploring the presets, to get an idea of what’s possible. This is as true with Drift as any other instrument. Unfold the Drift section in Live’s Browser, and you’ll see categories including Bass, Pad, Strings, and Synth Lead.
Take some time to enjoy these, using a controller keyboard, ideally, and remember that you can preview them by using arrow up/down to hear a short preview of each one, and arrow left/right to play or stop preview. When you hit on a preset you like, tap Enter to load it.

Load the default Drift preset. For Osc 1 choose the third waveform down in the popup - it’s called ‘Shark Tooth’. Even just changing that softens the character. Change shape to 0.50, and watch the display update as the sound changes. Bring Noise up to -13, just enough to hear it in there. Raise level of Osc 2 to - 3db.
Make sure you’re constantly playing your keyboard or launching clips while you do these steps. The coloured buttons at left of each Oscillator Gain control toggle the oscillator on/off, the buttons at the right of each one toggle filter processing.

Choose filter type 2 (the MS2). Set Freq to 1 kHz and Res to 0.80. Next we have the ADSR envelopes. Set Envelope 1’s Attack to 300ms, and set the release to 1200 ms, so we should get a nice fade in and fade out.
Raise the filter LFO amount to 30%, and it should be really easy to hear what it’s doing to the filter cutoff frequency. Go to the LFO section and choose the Square waveform shape, you’ll now hear a sharper on/off character in the sound, that would be more pronounced with a higher LFO value.

Click the LFO note icon, and set a value of 1 bar. Set the LFO amount to 50%. Go back to Envelope 2 and activate the Cycling switch - notice that the controls below that change. Go to the Mod section and set HP Frequency as the target for Env 2, with a value of 40%.
Set Env 2 to Note sync mode and a value of 3/16. You’ll now hear the slow sweep of the LFO, as well as the faster sweep of Env 2. Experiment with the Tilt and Hold controls to offset the peaks of the envelope.

In the global section, set the Mode to Stereo, and Width to 100%. Any values you set when experimenting may need to be dialled back in the final production. And in case you’re wondering why this synthesiser is called ‘Drift’ - there’s a Drift control in the global section at the end of the interface.
This is designed to have a subtle effect on the tuning of the oscillators, and on the filter cutoff, introducing a little more interesting and variation to the overall sound. Trying raising it to around 50% and listen for the almost-chorus effect that it can have.

In the Browser, you’ll notice a separate Drift preset folder for MPE Sounds, presently containing just four presets, so if you have a suitable controller, dig in and try some of those. Push 3 in either controller or standalone mode is perfect for this - the updated pads work brilliantly well with MPE.
The MPE Abyssal Bells preset is a great example - press a pad to trigger a note, and slide the same pad left/right to change pitch. You’re also free to slide entire chords around as you hold them, which is much easier than on previous versions of Push.

Drift is fully MPE-enabled, you don’t need to configure anything else, but there are options inside the synth, including new assignments, and going to the point where you can switch off pitch bend for individual notes, because - frankly - things can get a bit chaotic sometimes if you’re playing a keyboard part where you can’t be careful enough to avoid sliding left to right on a note, and getting weird pitch events happening.
In Drift, that Note Pitch Bend switch can even be mapped to MIDI, so you could automate MPE Pitch bend going on and off through a performance.

No matter what Drift preset you want to use, you can bring MPE into play. For example, set the filter Pressure to 50%, so it affects the cutoff as we hold our pad or key. In the Mod section, choose Slide as a source, and assign it to Cyc Env Rate, value 100%.
Now you have multiple possibilities from pressing just one key or pad - the note is triggered, pitch is bent if you slide left/right, filter frequency changes as you vary your downwards pressure, and Env 2 changes speed as you slide up/down on the pad.
There we have it: we've covered some of Drift's most essential functions and controls. Of course we all like to have the ‘kitchen sink’ version of our favourite software, but the addition of Drift has raised Live Intro to a new level.
It’s a fantastic synth that sounds good, and is easy to work with. With some clever sound design, and some audio effects (which we’ve purposely avoided here), it’d be possible to build an entire piece of music with Drift. Throw in Simpler and anything is possible.


Martin Delaney was one of the UK’s first Ableton Certified Trainers. He’s taught Ableton Live (and Logic Pro) to every type of student, ranging from school kids to psychiatric patients to DJs and composers. In 2004 he designed the Kenton Killamix Mini MIDI controller, which has been used by Underworld, Carl Craig, and others. He’s written four books and many magazine reviews, tutorials, and interviews, on the subject of music technology. Martin has his own ambient music project, and plays bass for The Witch Of Brussels.