"While the 909 is legendary, some of its raw sounds can seem a little weedy straight out of the box": 6 ways to process your drum machine
Whether analogue, digital or sampled, drum machine sounds often benefit from a touch of polish. Here are 6 go-to effects…
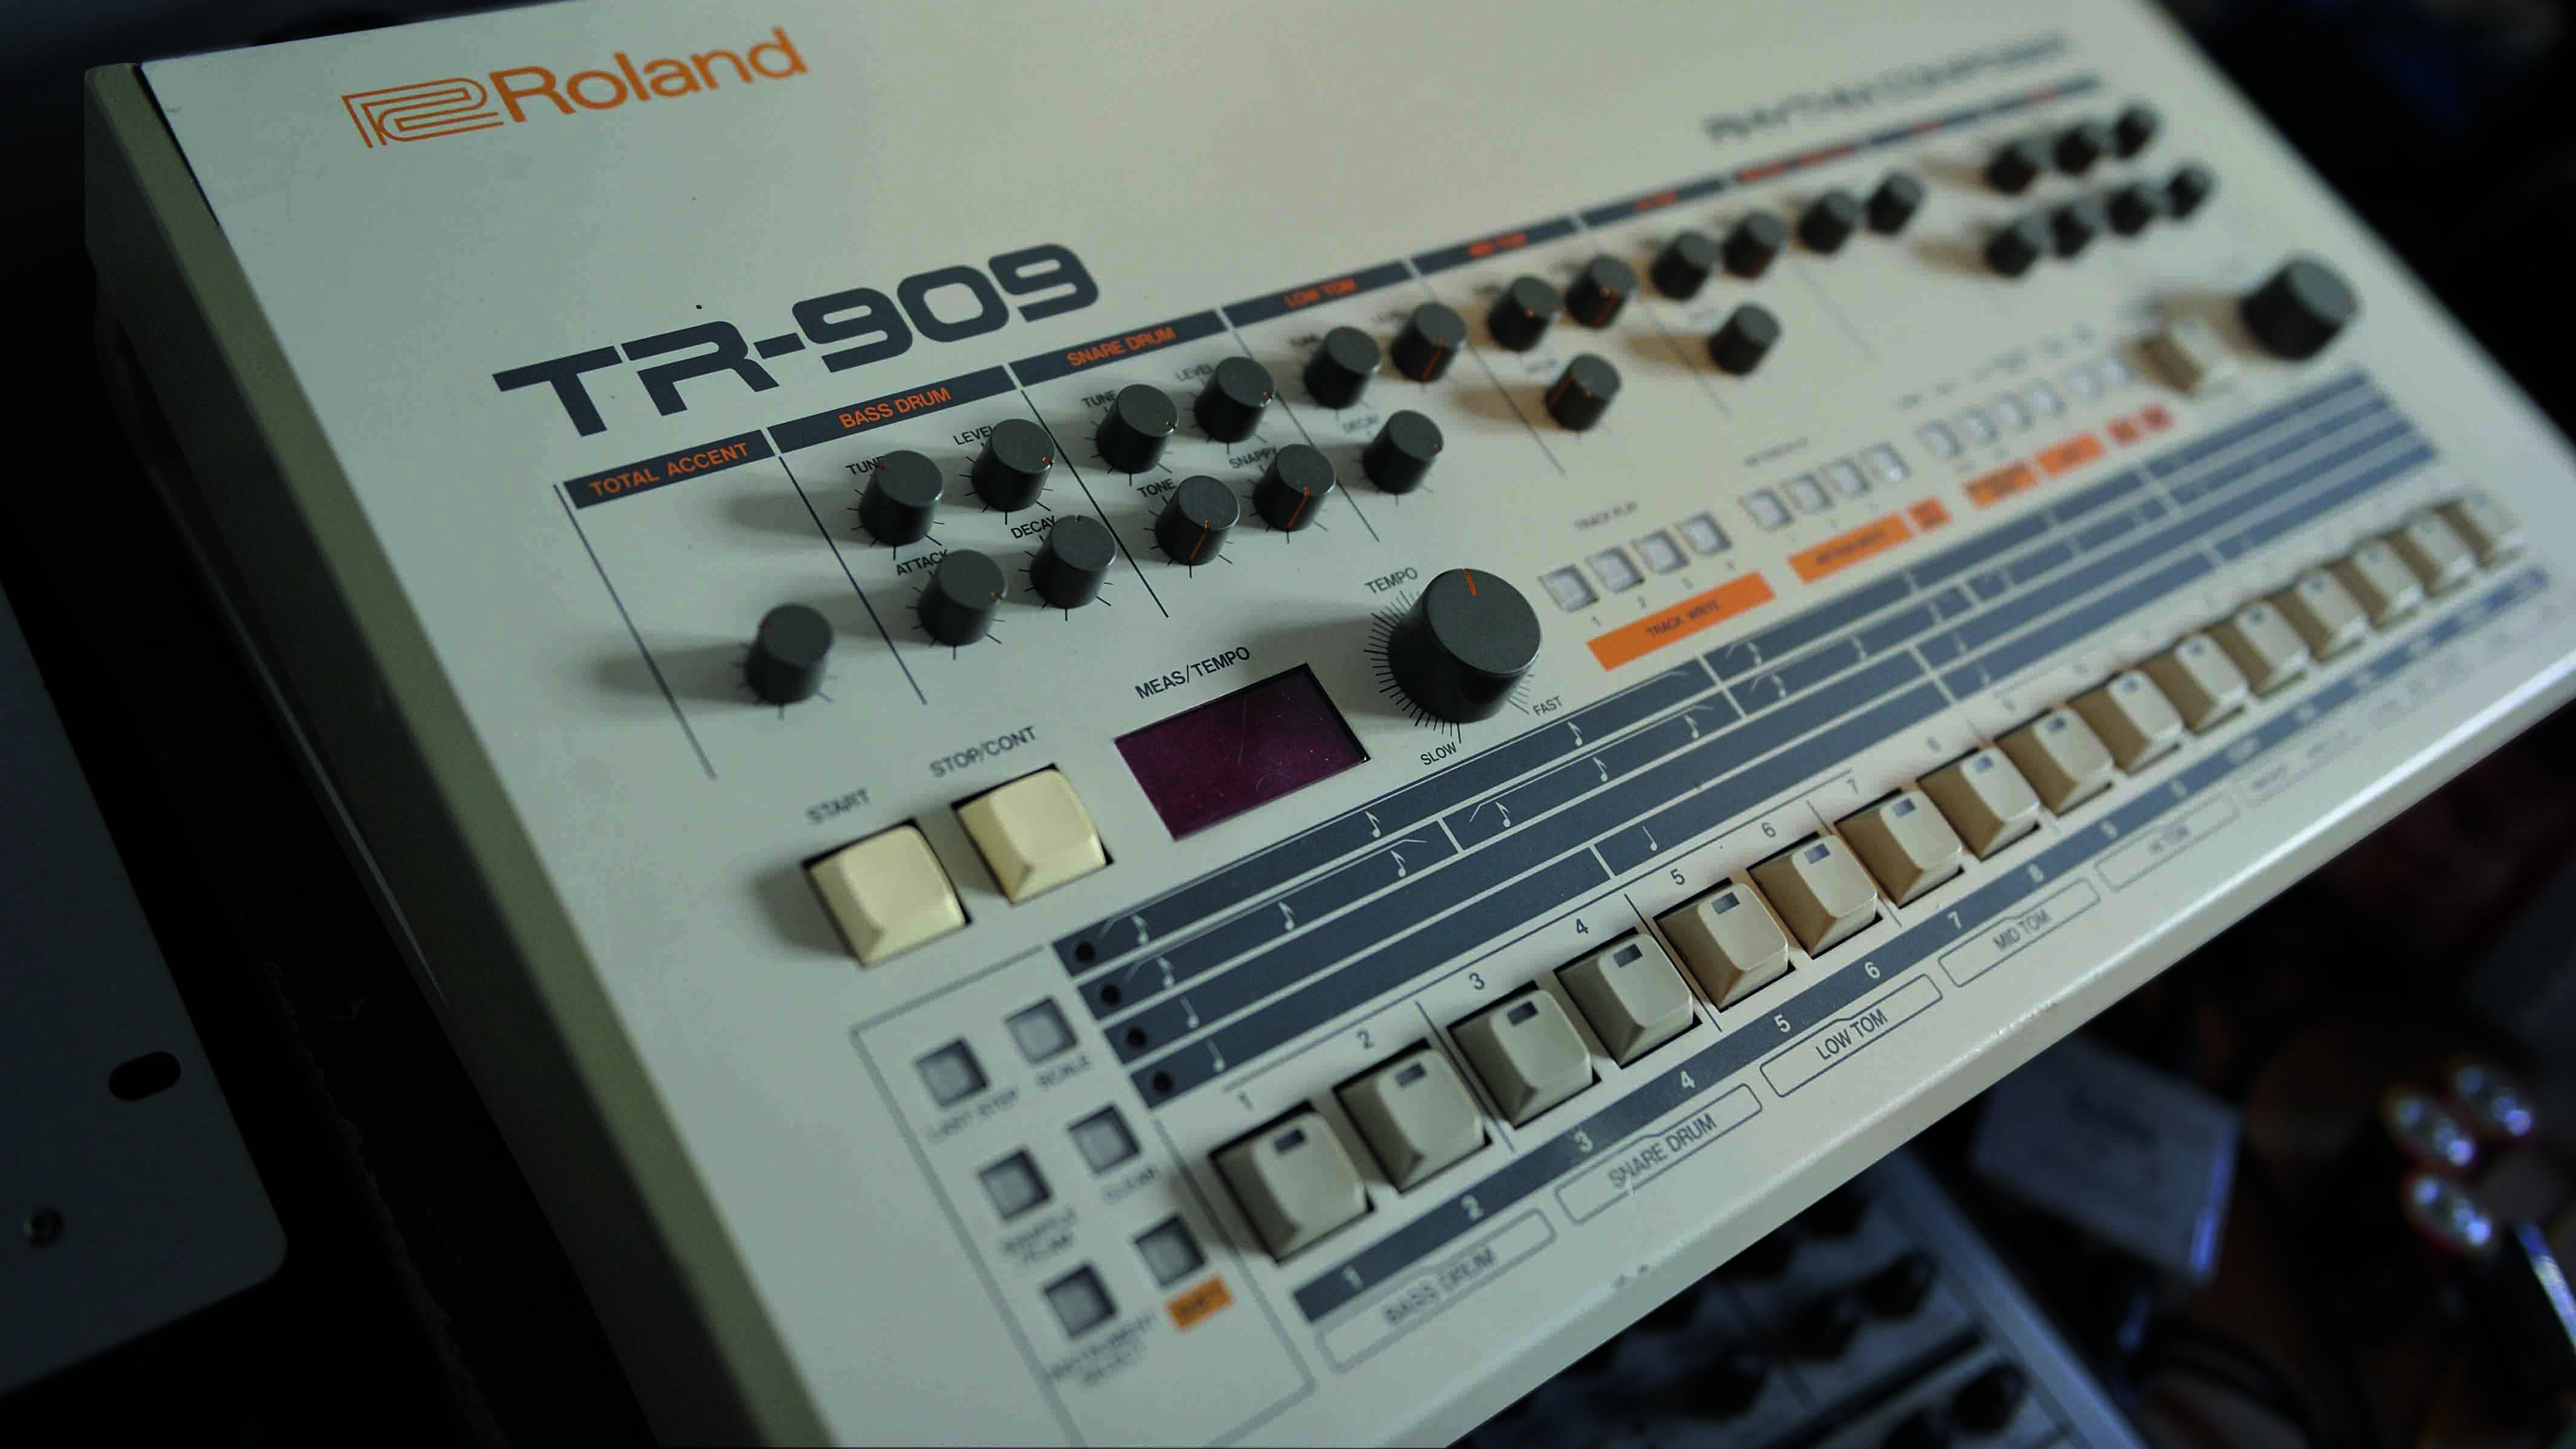
Let’s be honest – in 2024, the easiest and most flexible approach to beat-making is in-the-box. DAW tools such as Logic’s Drum Machine Designer, Ableton’s Drum Racks or the similar beat making tools in FL Studio, Reason or Bitwig are immensely powerful, allowing users to quickly sequence sampled and synthesised tones side by side, with endless editing and processing possibilities.
So why on earth would we advocate using a hardware drum machine? As is the case with hardware synths, there’s something very unique and creative about working with a self-contained machine. While DAW tools tend to offer open-ended functionality, a drum machine will lend itself to a certain sound and way of working through its selection of sounds, sequencing workflow and hands-on controls.
What’s more, there’s an inherent physicality to rhythmic creativity, and a good drum machine lets us lean into that, whether that’s through bashing out patterns using performance pads or sketching rhythms using a physical sequencer. And it’s not only software beat tools that have become significantly more advanced in recent years. Compared to vintage instruments, modern drum machines generally offer a host of tools to help you creatively use hardware and software side-by-side.
Perhaps the best way to use a drum machine in 2024 is to embrace these aspects. Rather than think of a hardware drum machine as a broad tool to replace your DAW workflow, treat it as a machine with its own personality. There's no better way to bring out that personality than through effects processing. Here, we run through 6 tried-and-tested methods for processing the sound of your drum machine, whether that's through plugins in your DAW, outboard gear or even pedals.
1. Distortion and saturation
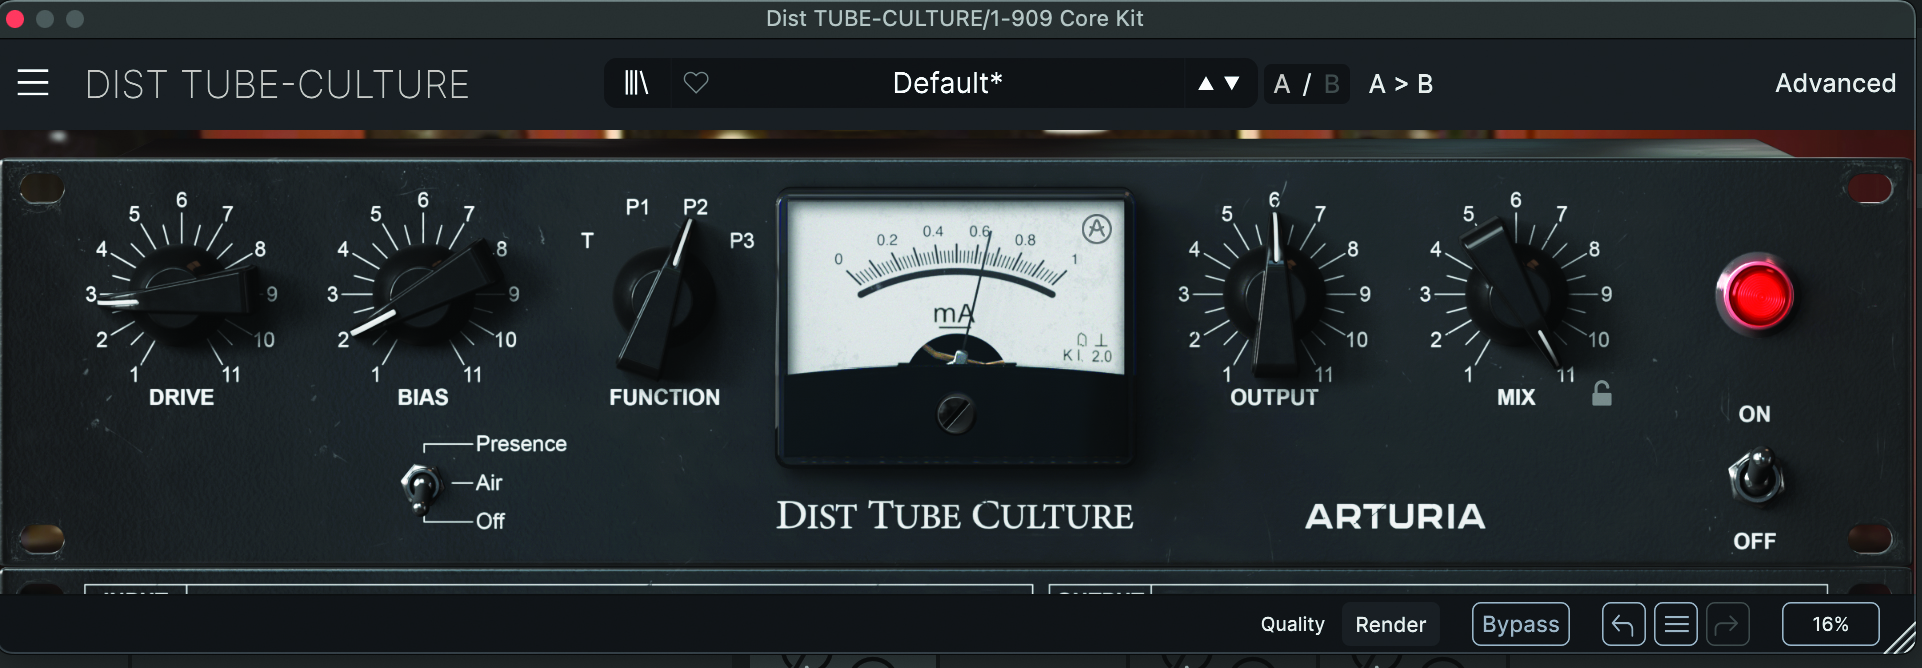
Use it on: Everything, but particularly kicks and snares
It’s a truism of music production that a touch of subtle saturation improves almost any sound, and this is particularly true of drum machines. While a classic machine such as the 909 is legendary, some of its raw sounds can (whisper it) seem a little weedy straight out of the box. Gentle analogue-style distortion/saturation will help address this, and can also add a pleasant hi-fi sheen to hats and cymbals.
While subtlety is the name of the game for the most part, more extreme distortion can work well on kicks, snares and claps. This is particularly true for sub-heavy kicks – such as a typical 808 kick – where distortion will add mid-range harmonics and help it cut through a mix.
Want all the hottest music and gear news, reviews, deals, features and more, direct to your inbox? Sign up here.
2. Compression
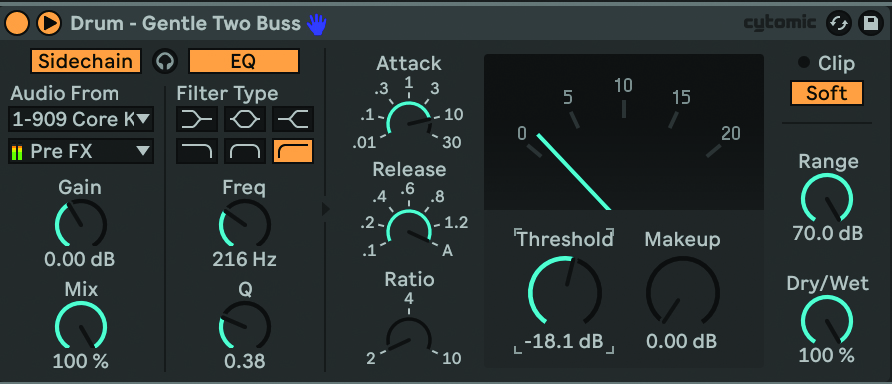
Use it on: Your drum bus or master output (minus the kick)
Compression will help tie the sounds of your drum machine together and will help add consistency to the overall level of the sound. Use a compressor across the master output of your drum machine or, if you’re routing elements into a DAW individually, group your drum elements into a single bus channel and compress there.
Vintage-style VCA and FET compressors work well in this case – the dbx 160 and its various emulations is a particular favourite. Gentle compression with a medium-slow attack to maintain transients will deliver the best results. Be warned though, a bassy kick will likely trigger your compressor before other elements, and overload the effect. Either route your kick separately or apply a high-pass filter at the compressor input stage to avoid this.
3. Reverb
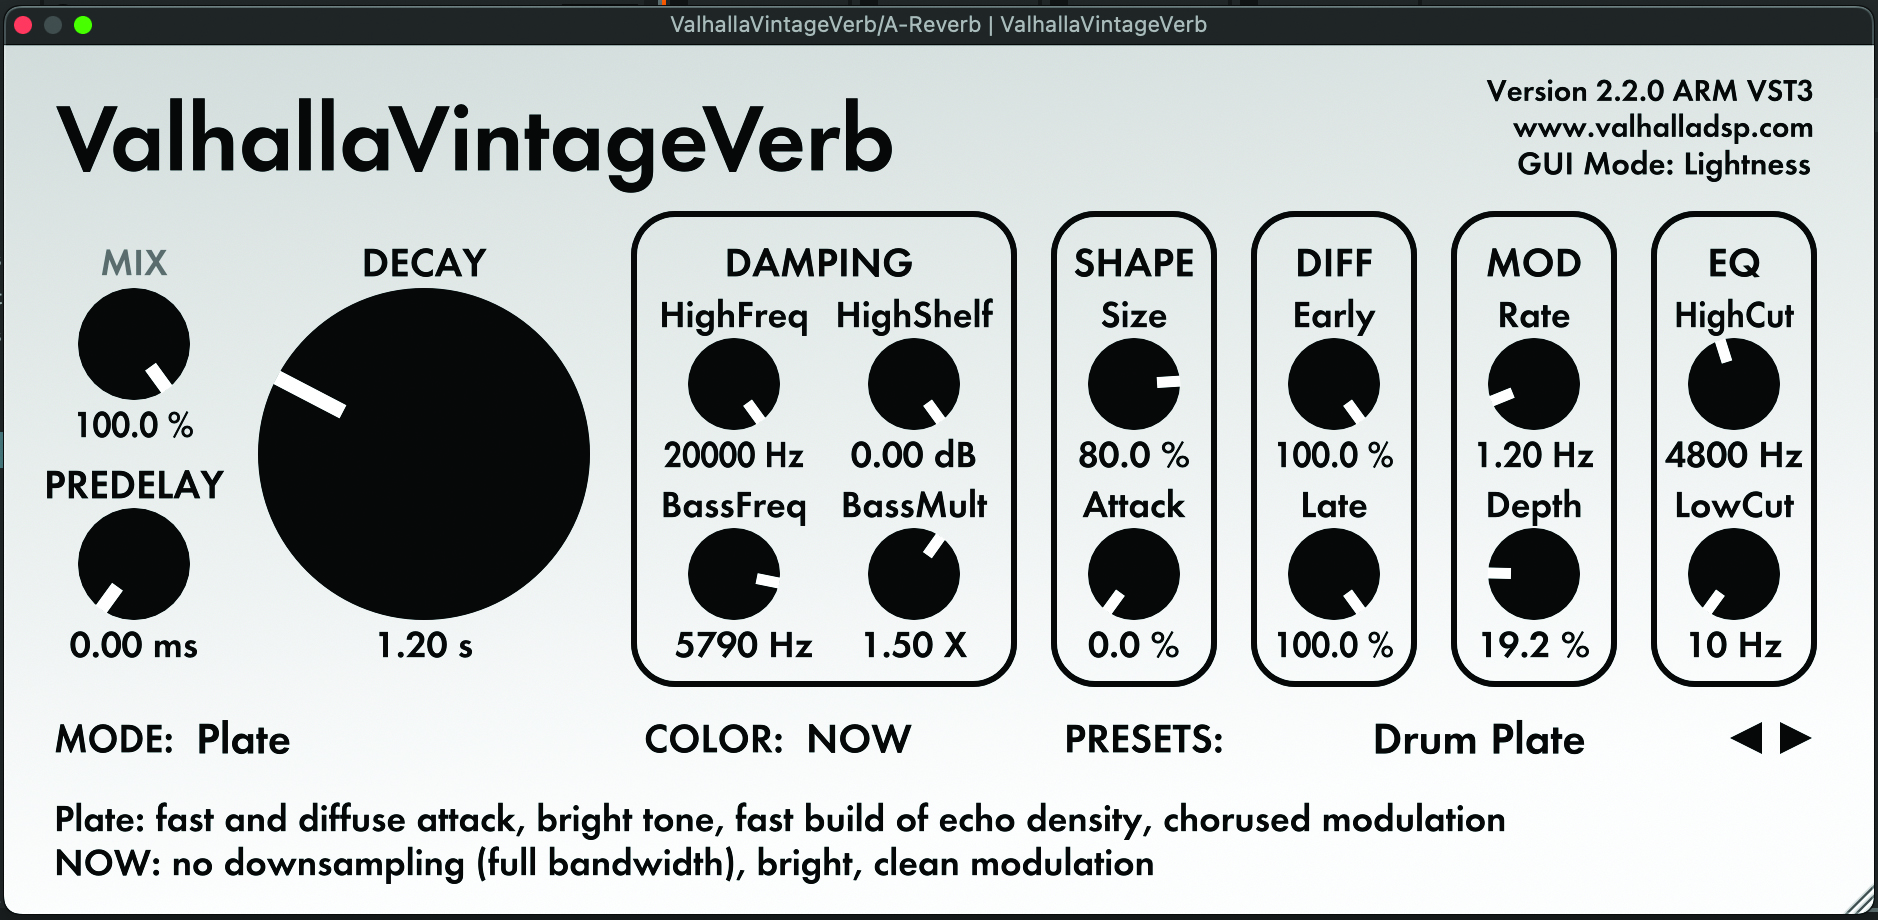
Use it on: Rim shots, claps and snares
The raw sound of a drum machine will sound remarkably dry on its own. Our ears are used to hearing drums recorded in a specific space, and a touch of reverb will help your patterns sound more natural. Using a reverb on an effect send is a good approach – allowing you to add space while keeping the dry signal in the mix to maintain transient punch.
Some machines, such as Roland’s TR-8S, are set up to apply this within the instrument itself. Otherwise, output your sounds separately and use your DAW’s send/return capabilities. We like plate reverb for this purpose. While all drum elements will benefit from a touch of ‘verb, mid-range sounds like claps, snares and rimshots sound good with a more generous helping.
4. Delay
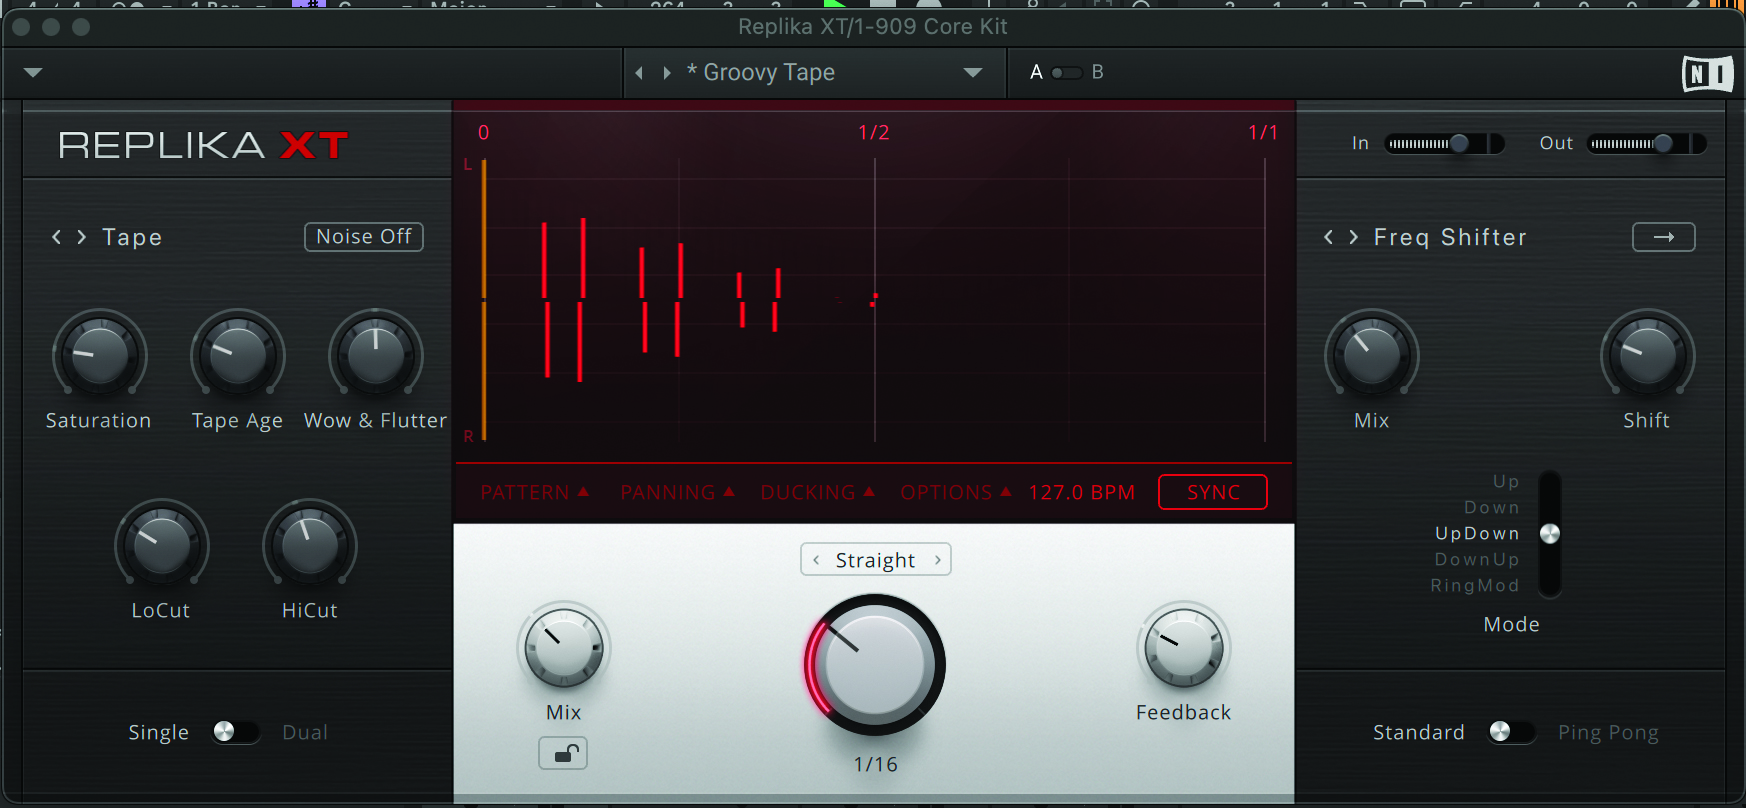
Use it on: Hats and percs
The beauty of using delay with percussive sounds is that it can alter the rhythm as well as adding space and texture. While swing and sequencing techniques can add groove to drum sounds, subtle application of delay can work wonders for adding a little feel. This is particularly true on hi-hat patterns or cymbals. What’s more, delay can be used to add stereo interest to drum machine sounds, which are often – at least in more old-school machines – entirely mono.
Use a delay effect synced to your project’s BPM, either in ping-pong mode or with a slight stereo offset to add width. Keep feedback low to avoid overloading the mix. Delay can have an interesting effect on almost any sound, but it works best on shorter, attack-focused elements.
5. Chorus, phase and flange
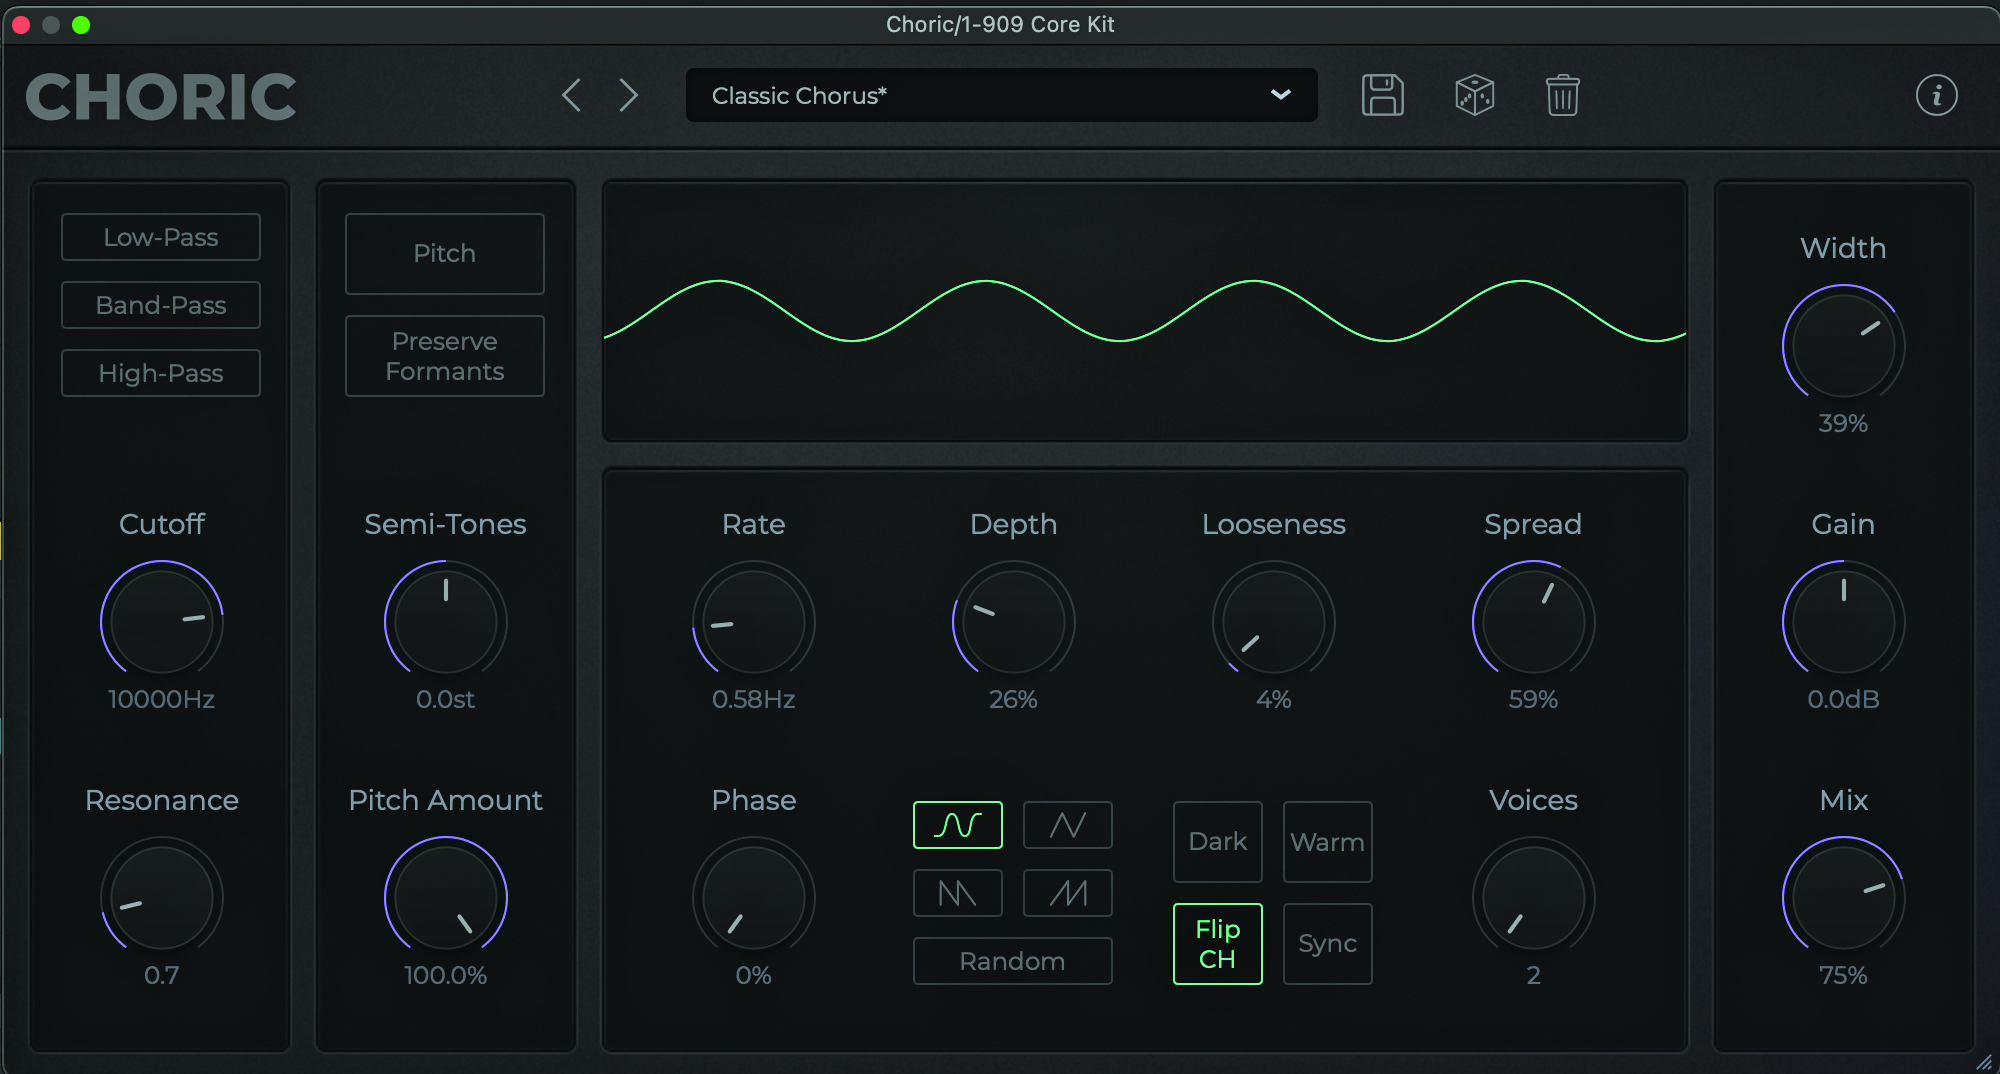
Use it on: Hats
Drum machine hi-hats can sound somewhat static straight out of the box. While this can be rectified to an extent with variation in programming, applying effects to add movement is often a good idea. Modulation effects such as chorus, phase and flange work well for this, as they can increase movement across the stereo field, adding both width and variation to a sound.
Similar effects can be achieved in other ways, though, such as applying modulated low or band-pass filtering or an auto-pan effect. In all cases, slower modulation tends to work well, creating a drifting modulation effect across both stereo channels. Sync this modulation to your project tempo for a more predictable and stable effect. Less-is-more here – modulation effects can quickly become too much if applied in a heavy-handed manner.
6. Ring modulation and pitchshifting
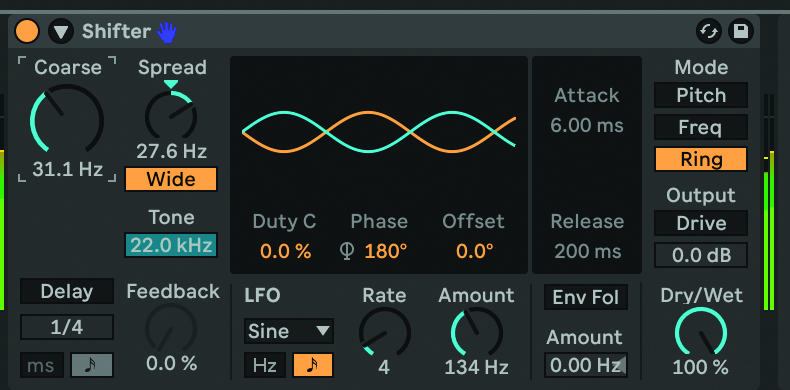
Use it on: Snares, claps and percs
Both ring modulation and pitchshifting can apply some more extreme – and each slightly different – effects that work well on drum machines. Both these effects alter the frequency of the source audio. Pitchshifting does so by moving it up or down the spectrum, ring mod by combining it with an audio rate modulation signal.
The results can dramatically alter the tonality of your drums. This works best on mid-focused sounds like snares and claps, but can also do interesting things to kicks. Try drastically shifting a sound to turn a low element into a high perc, or vice versa. Not everything you try will sound good, but play with the frequency of your pitchshifting, or the ring mod source, until you find something characterful.
Deeper editing: further sound shaping tips
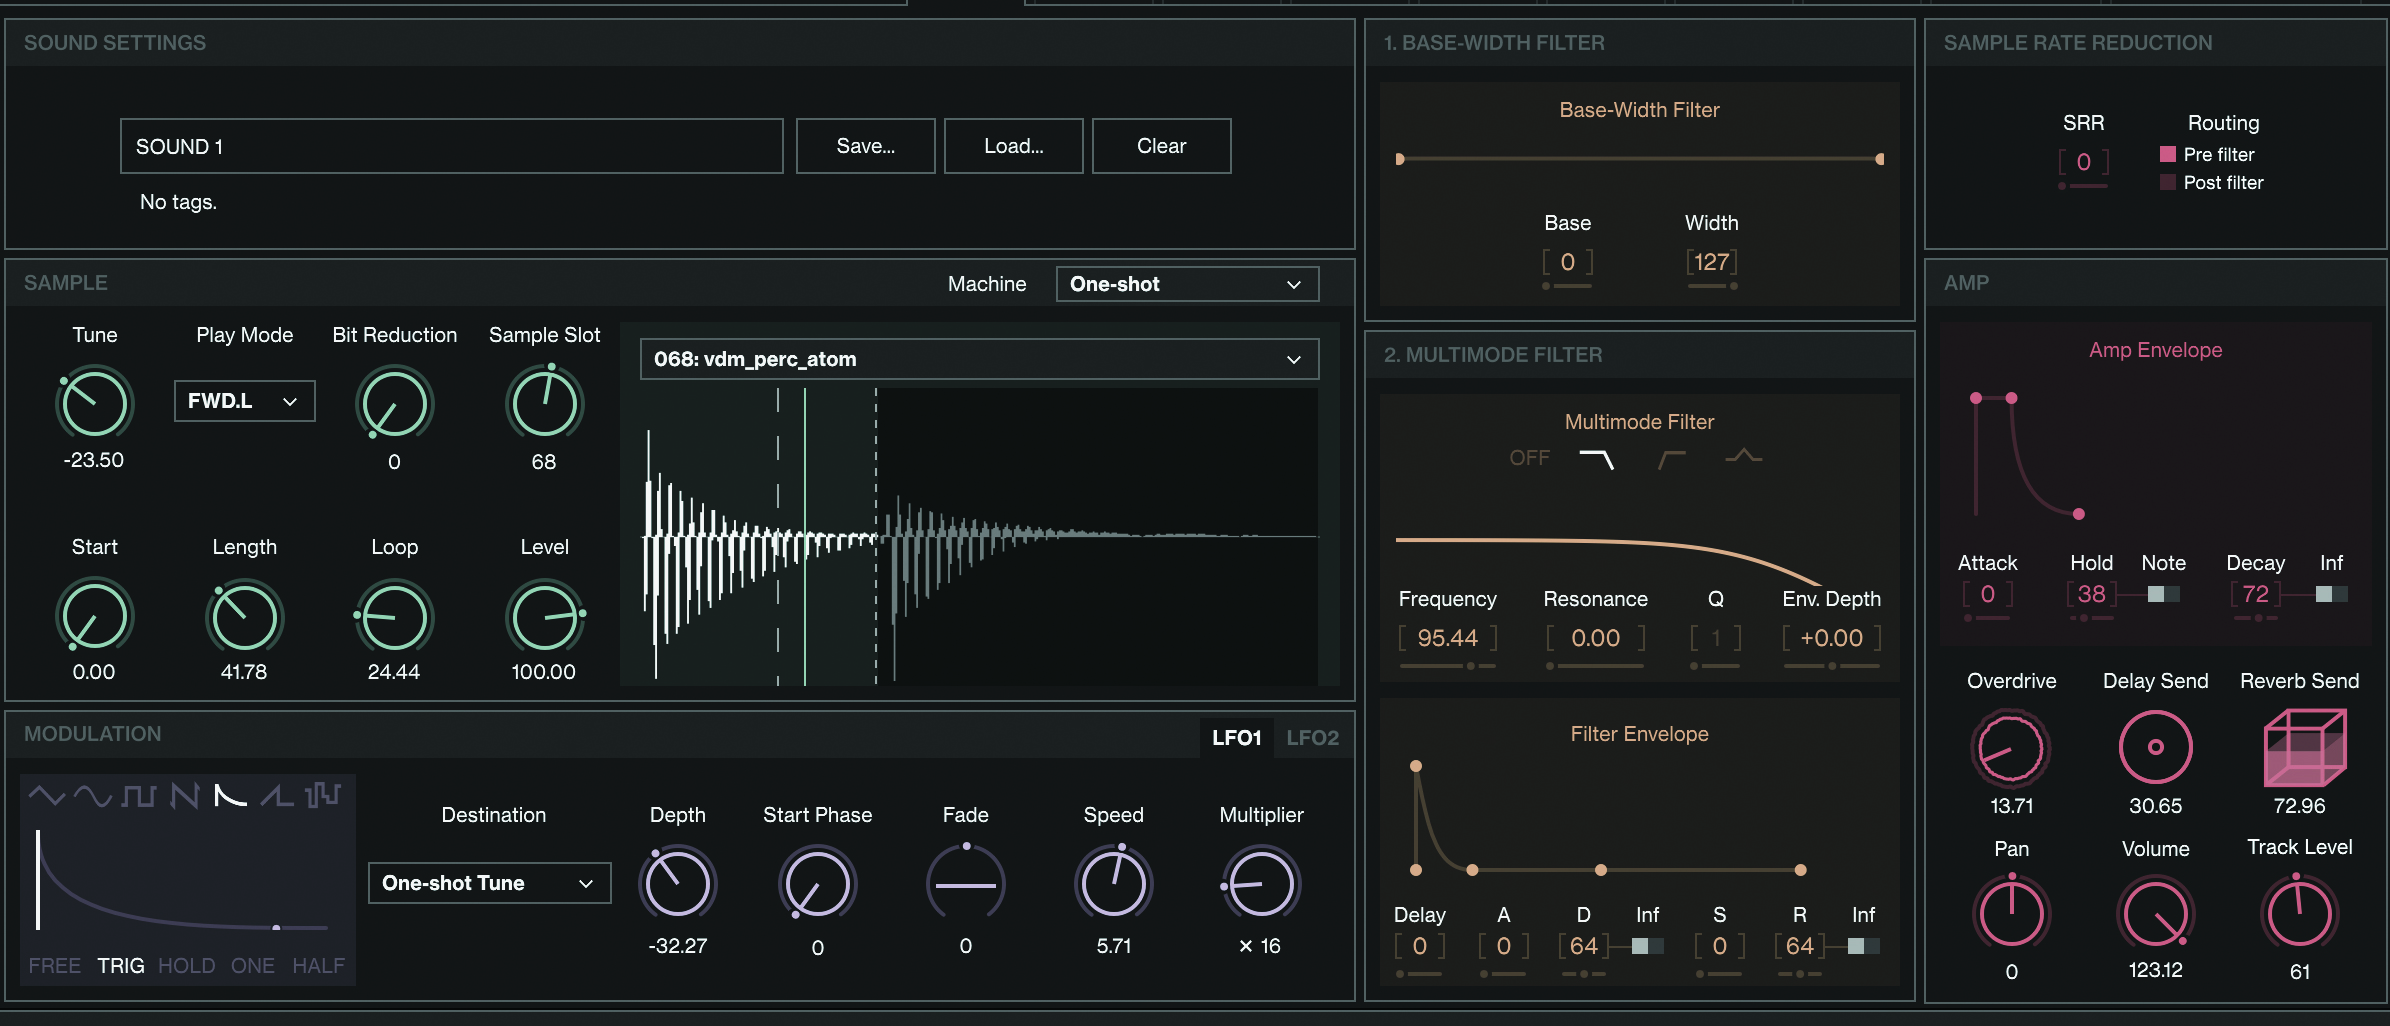
All drum hits have a static, predictable pitch. This means that, when you’re on a sound design mission and want to create unusual sounds from drums, a good thing to reach for is your drum machine’s transpose knob. Tune a hi-hat down by an octave or more to turn it into a weird snare layer; pitch kicks up into rimshot territories; or move a crash cymbal down by two octaves and swamp it in reverb to create a spooky, drone-like sound effect.
Tuning doesn’t have to be static, either: assign an LFO or envelope to modulate pitch, then experiment with LFO shapes and speeds. Or, if your drum machine doesn’t feature modulation, do it manually and twist the tune knob in real time as you print the results. Transposing all your drum parts on a global scale can create everything from creative fills and edits to complete obliteration.
Surgically alter your drum machine sounds
A drum sound is made up of the attack portion – the inharmonic transient element that provides the initial punch – and the more harmonic sustain section. Process a drum signal in its entirety, and you’ll affect these components uniformly. The more extreme the processing, the more you’ll destroy that all-important attack.
Therefore, try chopping out and detaching the smack section from the tail element. This way, you can apply different processing to each, retaining the transient’s clarity and still being able to push your processing harder on the body. If using a drum machine that allows for user sample upload, try slicing your chosen sound into two in your DAW and importing the elements separately.
Extend a short drum hit’s tail
Many drum machines and samplers have a loop function, and a cool way to extend the length of a drum hit is to loop the sustain section after the initial transient; so once that crucial ‘crack’ has fired, a short tail section is smoothly extended and sustained.
Once the loop is correctly set up, you can tweak the amplitude envelope’s ADSR settings to shape the drum’s volume response over time. This looping trick can also be abused to create granular-style buzzing effects – reduce the loop length to extremes for ultimate control.


I'm the Managing Editor of Music Technology at MusicRadar and former Editor-in-Chief of Future Music, Computer Music and Electronic Musician. I've been messing around with music tech in various forms for over two decades. I've also spent the last 10 years forgetting how to play guitar. Find me in the chillout room at raves complaining that it's past my bedtime.