"The truth is that your studio has as much potential to get in the way of your creativity as it does to unlock it": 5 creativity-enhancing studio workflow tips
Is your studio setup blocking – rather than unlocking – your music making? Get more out of every session with our guide to maximising your creativity
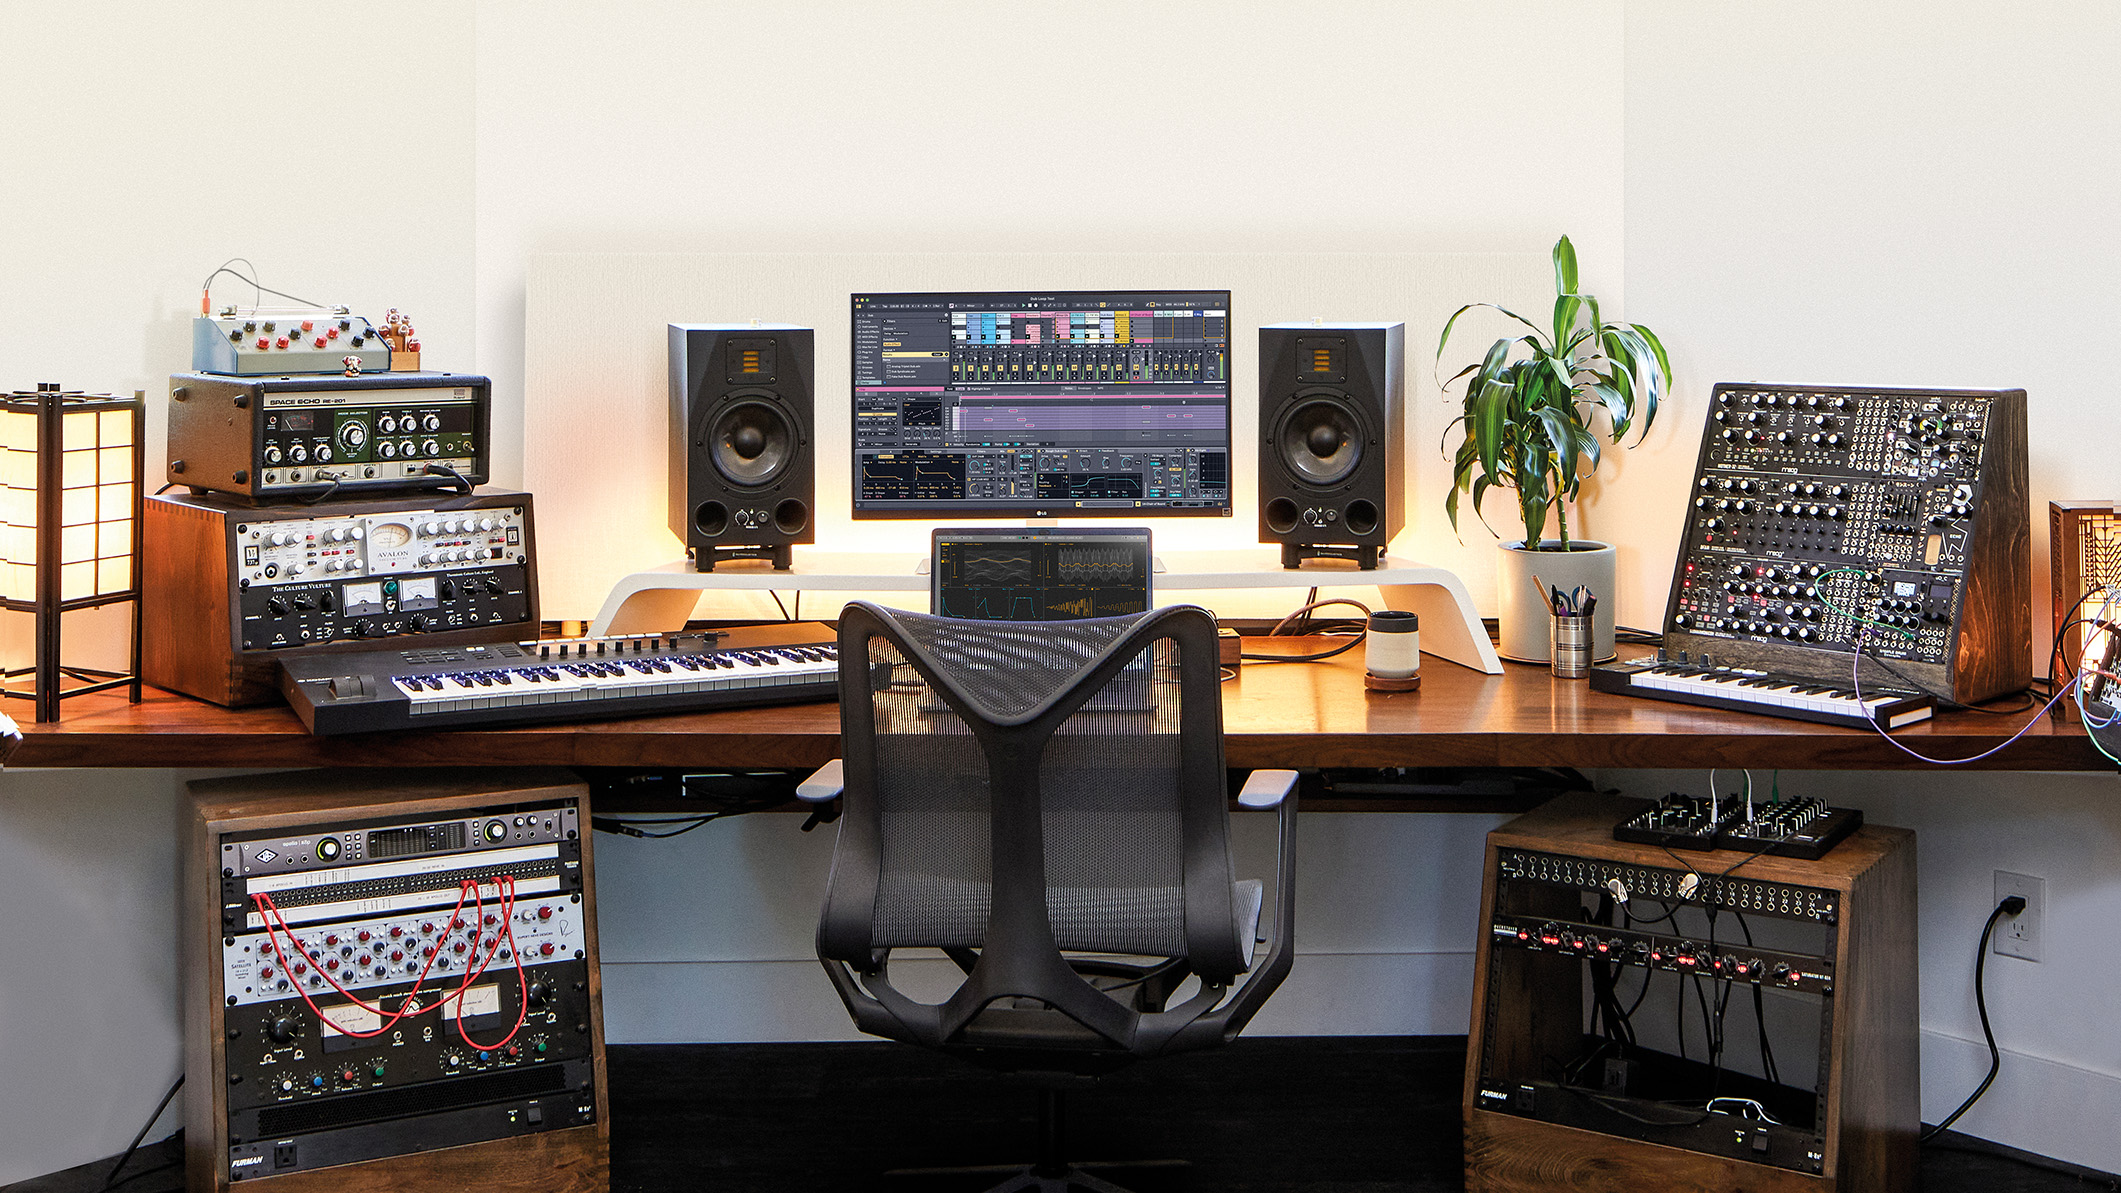
The array of plugins, synths, controllers and sequencers on the market these days offer near limitless potential. When creativity strikes, there’s no end to the roads it can lead you down.
Sadly though, alongside this comes a lot of admin, necessary preparation and potential issues, all of which can get in the way of your creativity. Unlike, say, composing a song on an acoustic guitar, where – aside from tuning and possibly changing a string – your instrument is almost always to-hand and ready to go, composing an electronic track or recording music in a DAW comes with a long list of potential pitfalls.
Whether you’re largely in-the-box or running a varied selection of hardware and outboard, the truth is that your studio has as much potential to get in the way of your creativity as it does to unlock it. Whether that’s the process of having to find, load and access the right sounds, dealing with latency or connectivity issues or struggling with an awkwardly designed or bad-sounding space.
With that in mind, we’ve collected some of the best workflow tips from our team of experts, to offer quick ideas that will help turn your studio from a hindrance to a help…
5 quick ways to get more from your studio sessions
1. Template it up
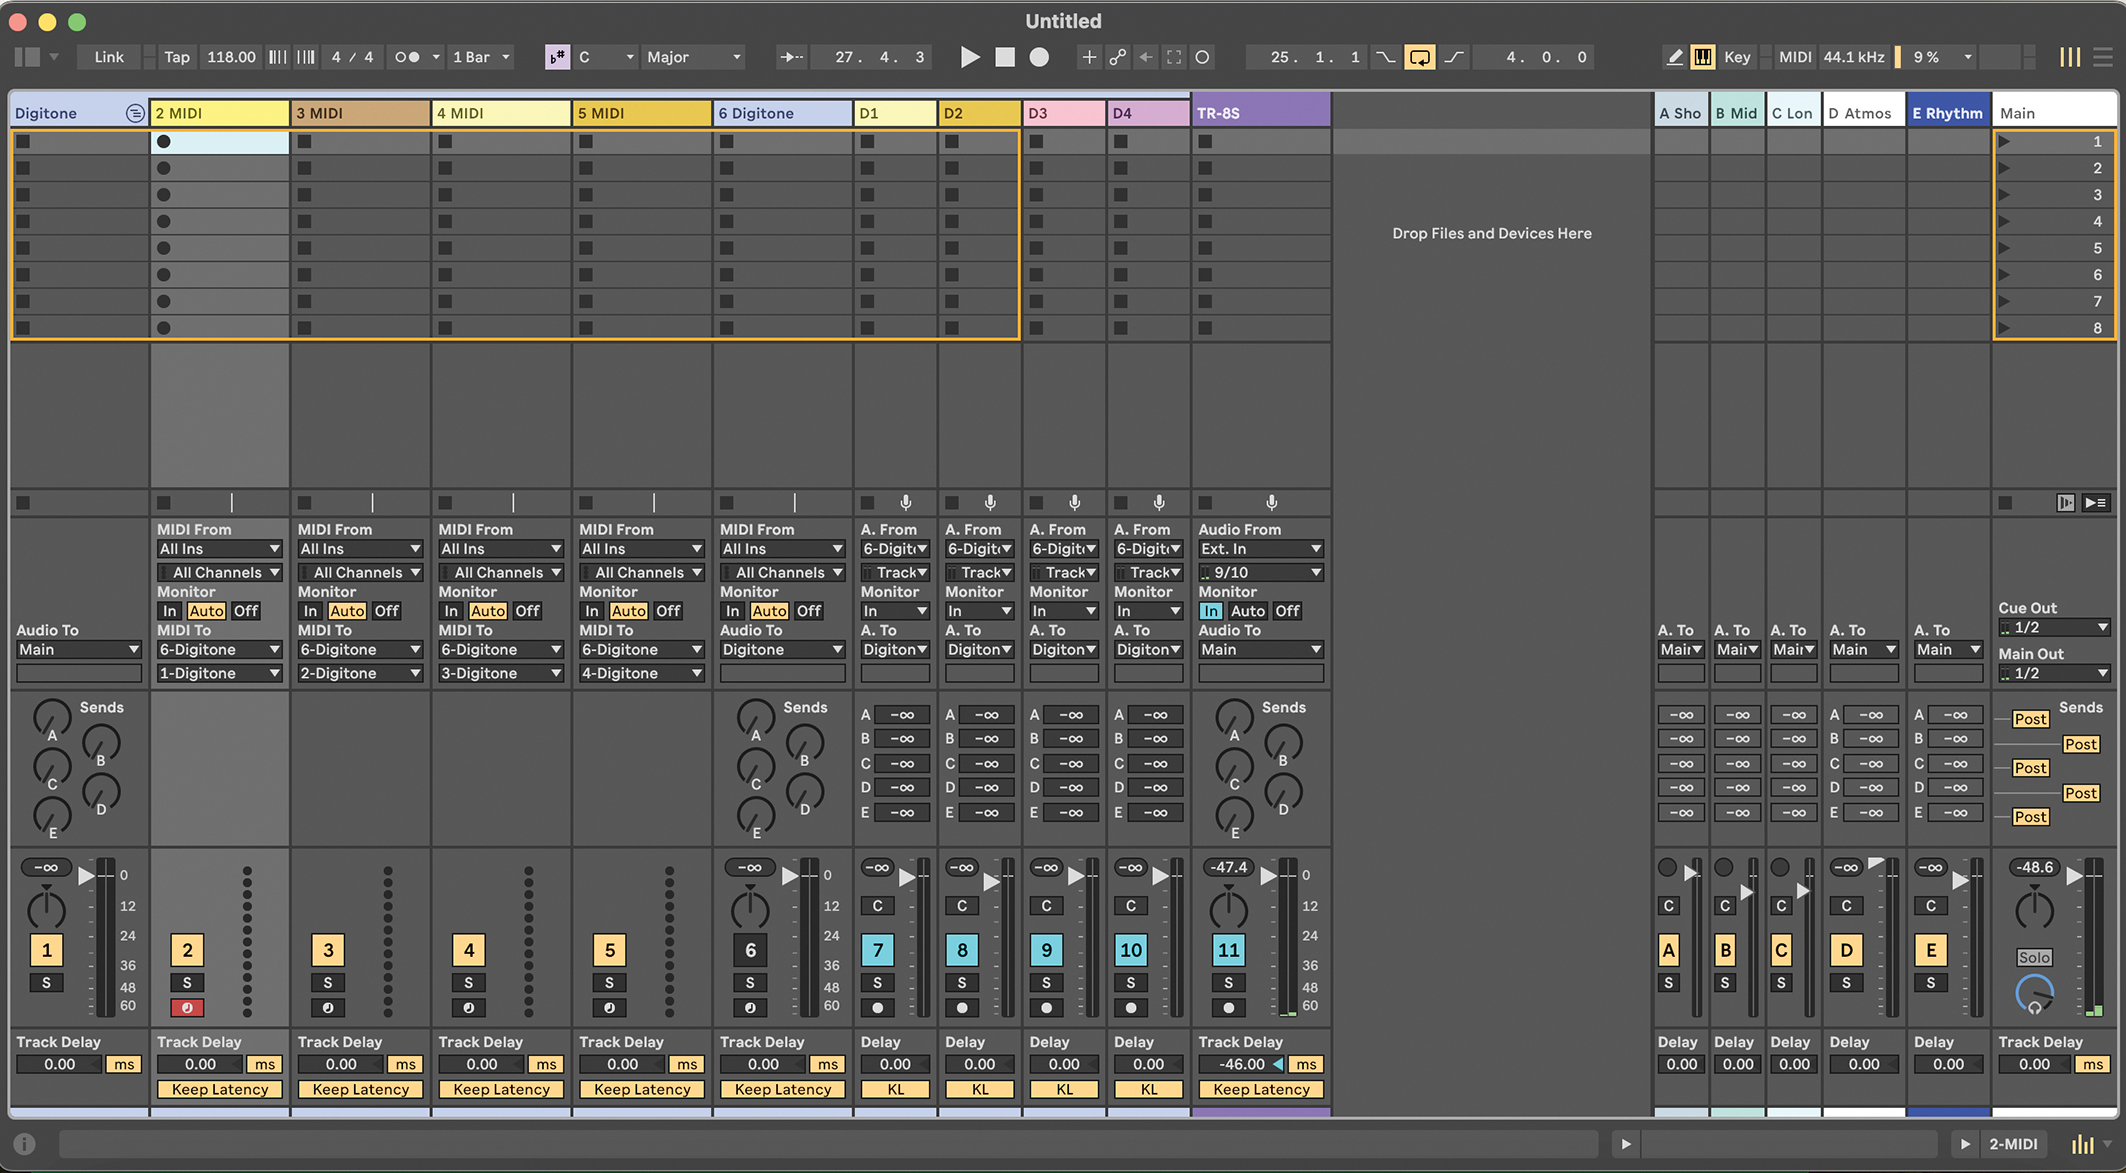
DAW templates are among the most effective ways to organise your workflow. So much time can be lost browsing and waiting for a plugin to be instantiated, and sometimes you can almost feel the excitement at a good musical idea fizzling out as you browse for a sound.
The issue for those who work with electronic music tools is that not only do we have to think about ‘the notes’, we also have to think about the sounds those notes will play, which means we’re constantly toggling between being musicians/composers and then programmers/engineers, looking for the right sounds that can do our best ideas justice.
Most musicians are prepared to compromise on the finer details of sounds until the songwriting/composing stage of their work is complete, so long as the sounds in front of them are inspiring enough to allow a good idea to be explored. Enter the template. This is a working environment for your DAW which can be tailored to your specific musical needs.
Get the MusicRadar Newsletter
Want all the hottest music and gear news, reviews, deals, features and more, direct to your inbox? Sign up here.
Say you’re a songwriter who likes to work chords out on the piano before recording guitar through a microphone, then entering a basic idea for a bassline via a favourite plugin and finally adding basic drum grooves via a specific library. Why would you open a blank document in your DAW each time if, almost always, you reach for these same instruments and audio tracks? Wouldn’t it be better and more time-saving to have a track saved with your specific preferences and instrument choices, so that you can have all of those sounds ready and waiting in front of you? Yes, it would.
Perhaps a better example would be a template for those composing music for picture. Junkie XL (aka Tom Holkenborg) has switched his career from producing stadium-filling dance music to that of a film composer (his scores include Mad Max: Fury Road and Deadpool) and his Studio Time With Junkie XL series on YouTube is well worth a watch.
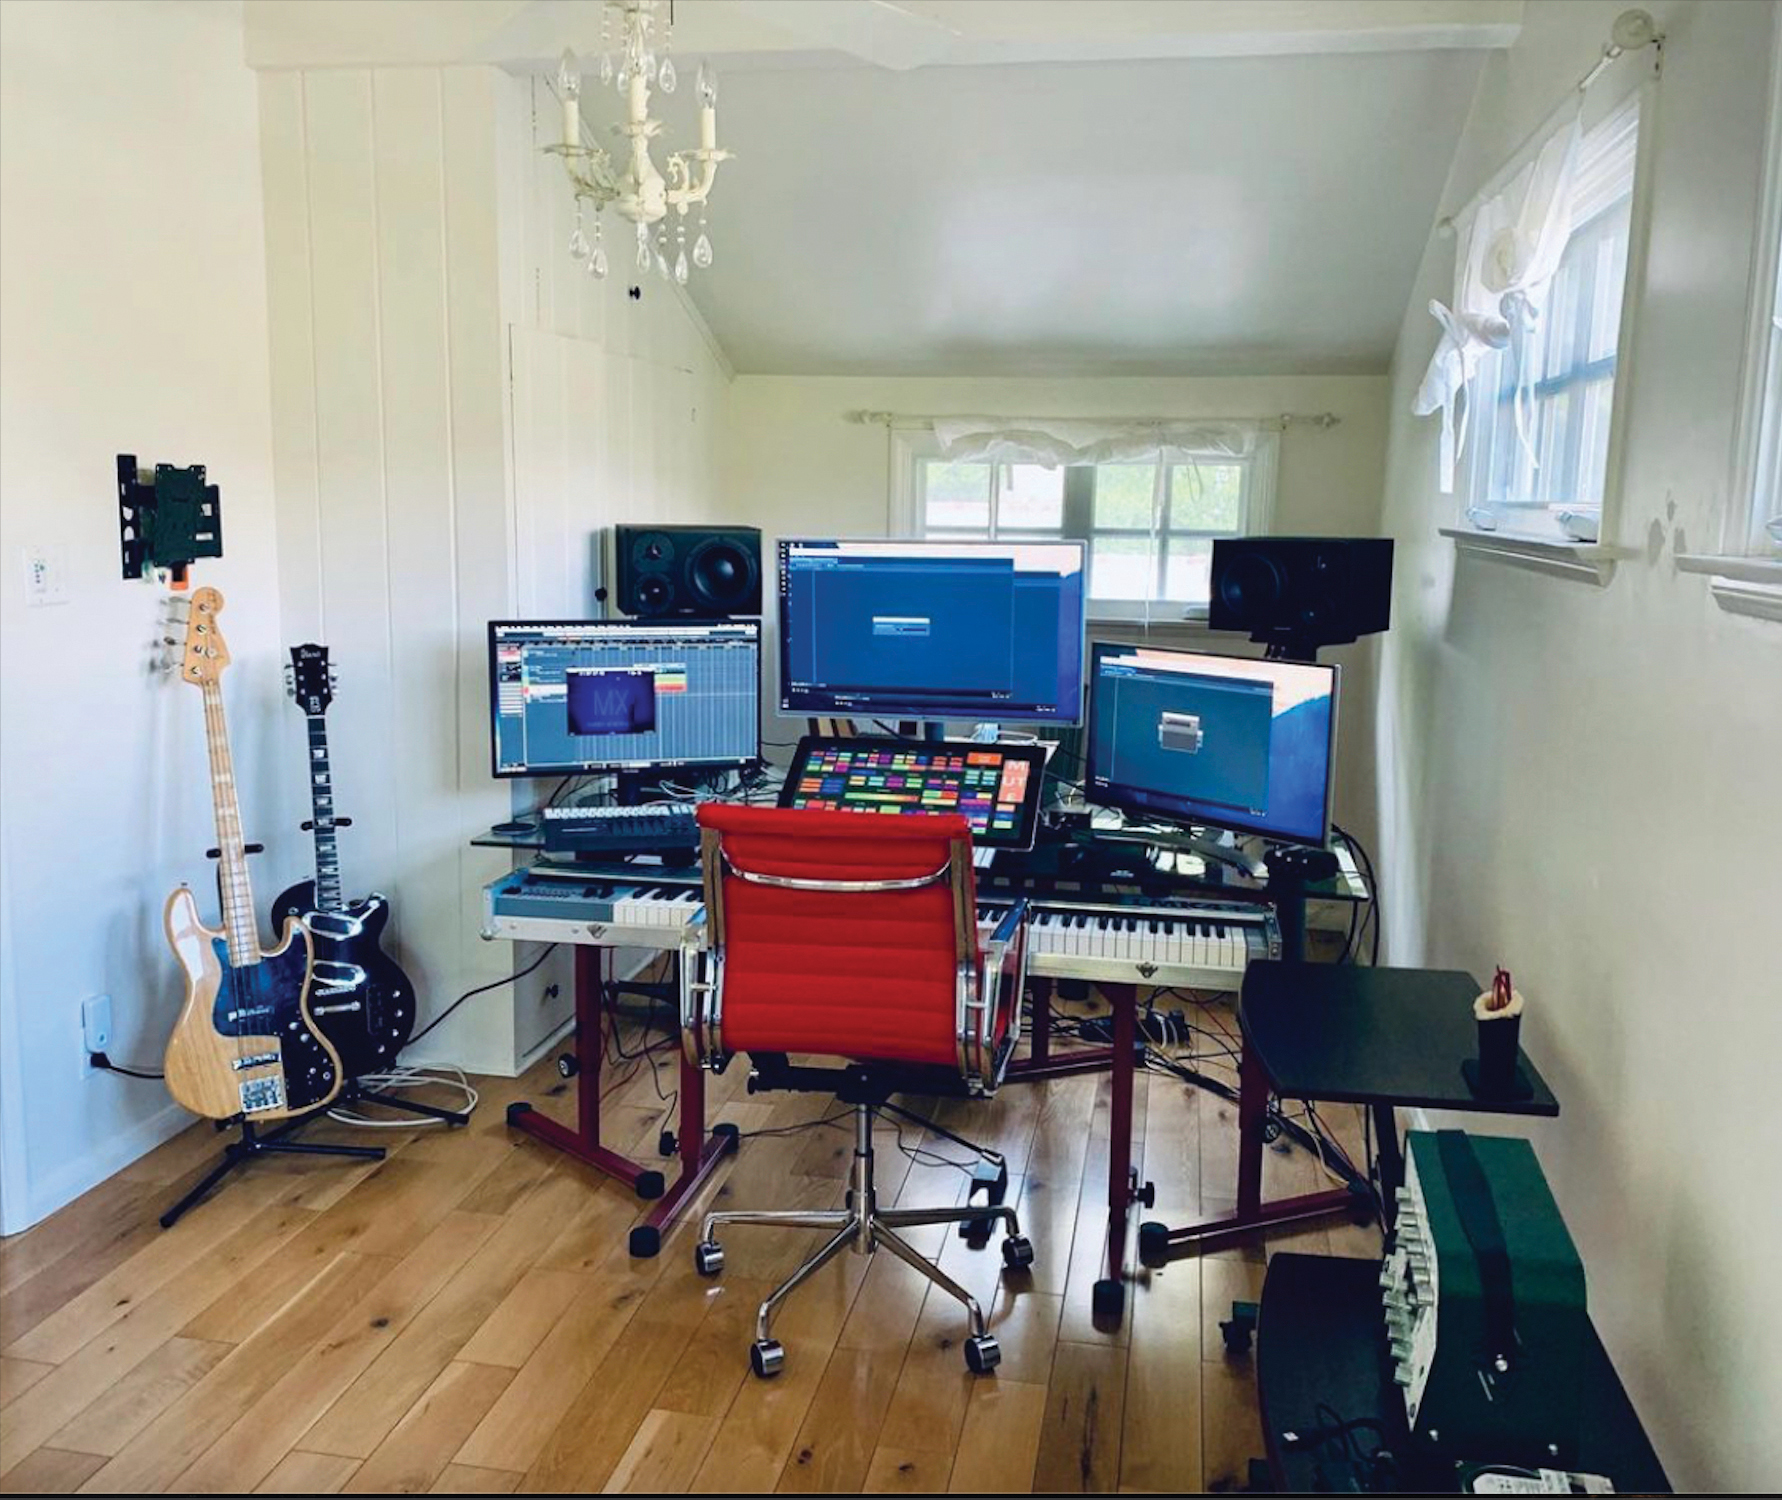
His composing template extends to over 1,000 tracks so every time he sits down to work, every orchestral section, with every possible articulation, in every different size of orchestral group from solo to massed orchestral players, is available.
Alongside these, he has a huge array of drum libraries (third-party ones, as well as those he’s made himself), access to a phenomenal collection of hardware synths and vast swathes of instrument plugins too. Add to this effects solutions aplenty, when he finds a sound he likes, he’s ready to place it in one or more ‘spaces’.
At the very beginning of the writing process, limiting yourself to provide momentum might be enough to allow you to get up and running quickly
Now, you might be thinking, isn’t that overkill? Even the fastest computers in the world would take several minutes to load up that level of track count, so what do you do if inspiration strikes and you don’t want to drum your fingers on the table, restlessly awaiting your computer to complete the loading process just for you to have access to a single piano plugin? The solution is to make several templates to cover your assorted needs.
At the very beginning of the writing process, limiting yourself to provide momentum might be enough to allow you to get up and running quickly: perhaps just use a piano, some ensemble strings (rather than dedicated instruments for every string section) and a couple of percussive instruments.
This will be particularly effective if the instruments and effects settings within this smaller template are a pared-down version of the larger one, as translating these scratch ideas into more sophisticated ones will be more straightforward. Templates aren’t the only way to streamline your creative process but they’re among the most worthwhile.
But avoid template fatigue…
For all that we’ve advocated building templates to kickstart your creative process, it’s incumbent upon us to address the elephant in the room…
If you always work with the same template sounds, won’t that make your music dull and predictable? Of course, there’s no fixed answer to this question as it fails to take into consideration the kind of music you make and the size of template you’re intending to build.

8 recording tactics to work smarter and save money in the studio
Let’s suppose you’ve been commissioned to write a computer game soundtrack for a hybrid ‘symphony orchestra plus electronic texture’ kind of score. Are you really going to set up every instrument of your strings, woodwind and brass instruments every time, from scratch, for every cue? That would waste a lot of time, as those instruments are going to be ‘common’ to each cue. However, the electronic textures might well vary from one cue to the next, so potentially not including a specific group of these in every cue might help keep this side of the soundtrack fresh.
The same rules can be applied to any other kind of production. If you write electronic music and you’re working through songwriting ideas with a singer, having a ‘known’ collection of sounds in a template might well save you valuable time when a great new hook or lyrical idea needs putting down quickly. You can then abandon the template altogether when the production really starts. If the alternative is setting up every sound from scratch, templates will – at the very least – get you making music more quickly.
If you’re lazy enough not to modify or adapt each track with the bespoke choices your music needs… well maybe that says more about you than it does your template!
2. Get organised

Searching for the right power adapter, audio connection or MIDI lead can cause an unnecessary slow down in your workflow. Or worse still, plugging all your gear in only to find there’s some kind of fault you need to find and address. Take some time to make your accessories neat and tidy!
Group your cables
This will make fault-finding easier, allow gear to be moved and patched quicker and help reduce cable-borne noise problems. Keep cables grouped together by type (ie, audio, power, MIDI, etc) as this will make it quicker to find a particular line.
Putting some distance between types will reduce the potential for EMI problems (electro-magnetic interference), as mains cables can induce a 50Hz hum on audio cables. If mains and audio cables must cross paths for any reason, then do so at a 90° angle to minimise hum induction.
Tidy your cabling
Use Velcro cable-ties, easy-release plastic ties or flexible trunking to keep your grouped cables together. This means that the bunches can be arranged to allow for maximum floor space and minimal cable treading.
Save money by getting lengths of sticky-backed Velcro and making your own loops. Don’t bunch cables with electrical or gaffer/duct tape as they leave an annoying sticky residue after only a day or so – only use tape as a temporary measure.
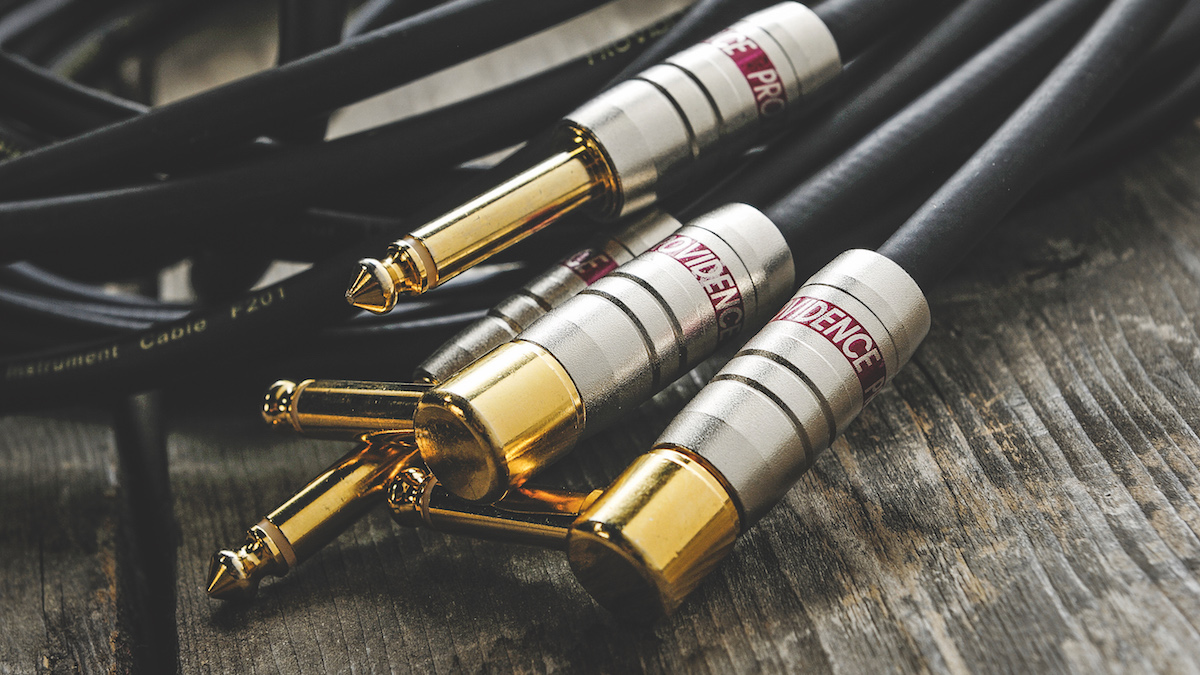
Cable storage
Having organised and tidied your installation cabling, why not treat those patch and instrument leads to some respect, instead of leaving them in tight coils and tangles on the floor? Most music gear outlets sell cable hangers, but you can also make your own by adapting any number of shelving brackets, coat racks and long screws wrapped in foam and cloth.
Start a ‘faulty’ box
Every dodgy cable or faulty stompbox should go in this box so you can either repair it or recycle its components, instead of putting it back in the collection only to disappoint you again. Don’t put up with a cable that needs a wiggle when you use it – put it in the box now and rid yourself of its time-sapping ways. Every now and then recycle/repair the contents or sell it as a job lot on eBay.
Organise your gear
Identify any items that you don’t use and consider selling or swapping them – space is always at a premium. Are there items that you don’t use because they’re not wired up? If it’s not hooked/racked up, it’s rare that you’ll use it. If you can’t bear to part with it, then hook it up to the patchbay or set it up ready for later use – you never know when it might provide just the right sound or treatment.
Access and elbow room
Spend some time considering the layout of your equipment with regard to workflow. Make sure that items you use regularly are within arm’s reach from your seat and that the controls and displays do not require you to bend and stretch too much. Try to arrange gear so that nothing else needs to be moved before you can work with it. If something is loose enough that pressing buttons, turning dials or plugging into it makes it move (ie requires one hand to hold it in place) get it racked up or secured in some way.
Buying stick-on rubber foot pads can prevent slippage on work surfaces. Use a lot of stompboxes? Why not have a go at sticking some Velcro (hook side) to their undersides and stick the opposing strips (loop side) to a wooden board so that they can be kept patched together and placed anywhere.
3. Set up a patchbay
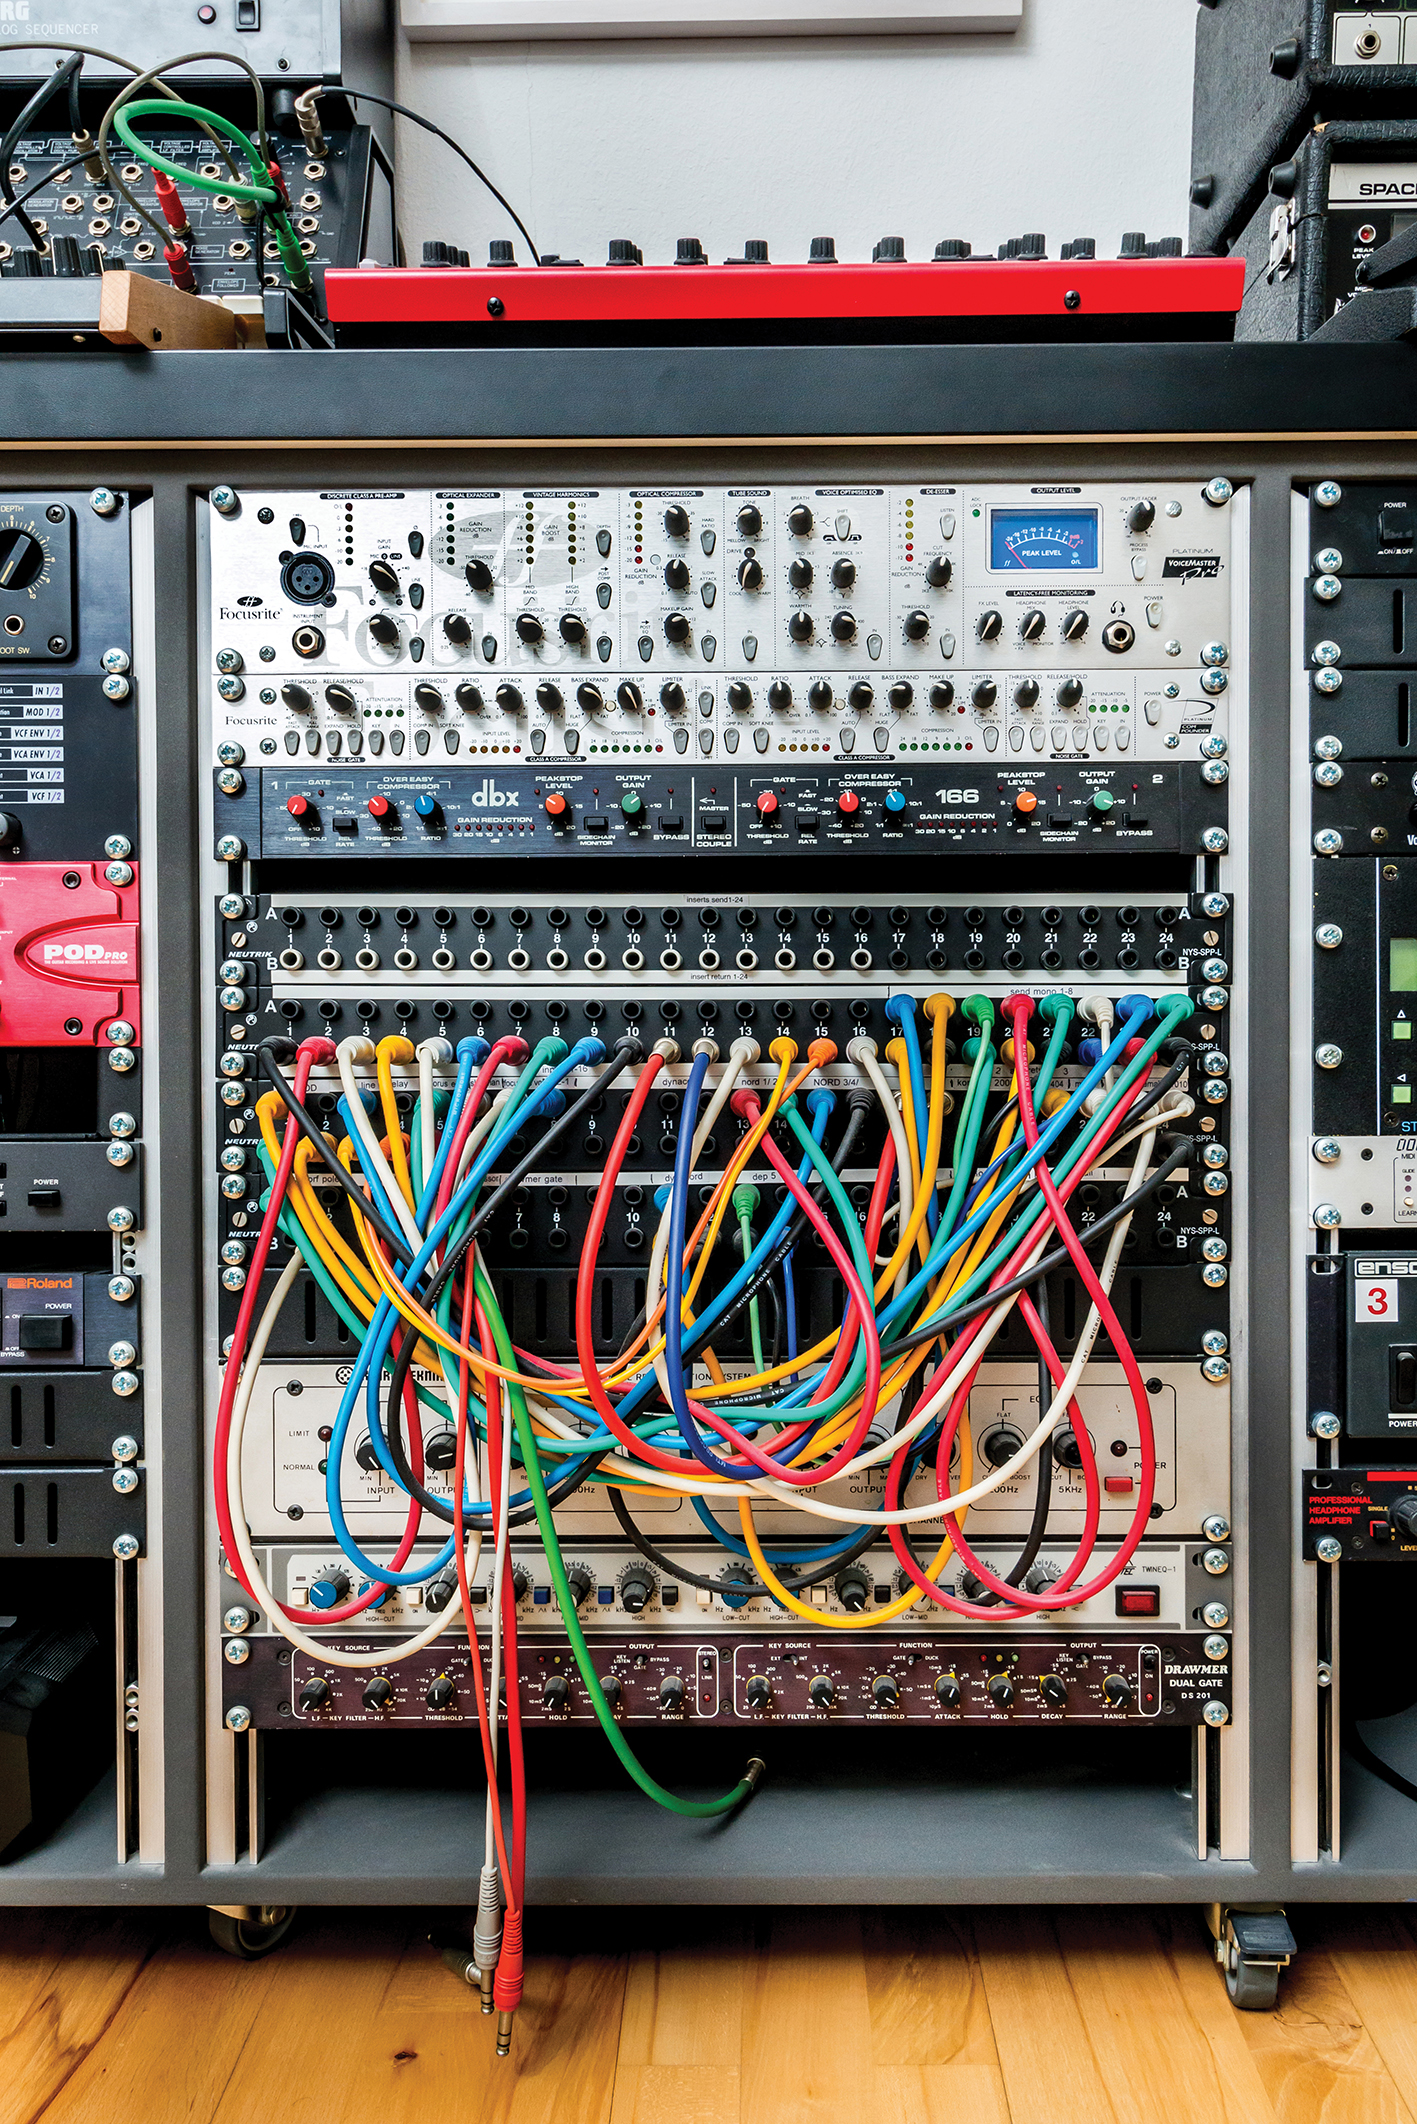
In our modern world, analogue patchbays might seem a little like antiquated tech. Certainly, as multiple input interfaces become more affordable – or ones that can be easily expanded using ADAT – you might think there’s little need for something as apparently old school as a patchbay. There are, obviously, some musicians who will have absolutely no need for one.
It goes without saying that if you’re entirely in-the-box, or you’re confident your audio input needs won’t exceed that of your interface, then there’s little point. But for those with a growing collection of hardware instruments or those wanting to make use of hardware effects, patching up can be an affordable route to I/O flexibility. Here’s why…
Organise
A well set up patchbay (ie all equipment I/Os connect to it and are labelled accordingly) will save time when routing signals as you will no longer go fumbling around the back of your rack (or gear pile). It will save wear and tear on the connections of your equipment and experimentation with routing options, thus making the most of what you’ve got. The patchbay centralises the grounding of your gear and reduces the potential for ground loop noise problems – where loops occur a ground ‘lifted’ patch cord can be used to alleviate the problem.
Connections
Most patchbays also feature user-configurable signal flow options referred to as ‘normalling’. A ‘normalled’ patchbay will feature a permanent connection between the top and bottom row connections that is broken when a jack is inserted into either top or bottom row sockets. This will, for instance, keep a mixing desk channel insert send and return connected until they are routed into an external processor.
A ‘half normalled’ patch restricts this signal breakage to the bottom row only so that, for instance, the insert send can be routed to another destination while keeping the flow uninterrupted. Patchbays can also be configured to be ‘non-normalled’ so that there is no connection between top and bottom rows without the use of a patch cord.
Labelling
As a final note, it might be obvious but a patchbay is only ever as good as its labelling – you do have to know where everything is, otherwise it’s useless. Having said that, the patchbay ‘lucky dip’ can produce some unexpectedly creative results, though often you’ll just get silence or a slight hum.
4. Saving and mining sounds
You’ll often hear it said that you should record everything you do in the studio, and save any project or ideas, even if you hit a creative dead end. This is definitely good advice; even if something doesn’t inspire you in the moment, you never know when a forgotten idea might gel perfectly with a new project. Devising a good system of saving and labelling ideas – whether as DAW projects or bounced audio – is a must-do for maximising your workflow.
But how should you actually engage with these old ideas? One of the most interesting ways in which you can bring new levels of creativity and originality to your workflow is to find new ways of thinking about sound. Most of the time, if we’re working with software plugins and instruments, we tend to think about making new sounds in fairly ‘traditional’ ways: dial up an instrument, browse presets, make tweaks or build sounds from scratch and then play them into our DAWs, usually via MIDI keyboards. But this does tend to lead us along familiar musical avenues, as the muscle memory in our hands makes us reach for the same kinds and shapes of chords.
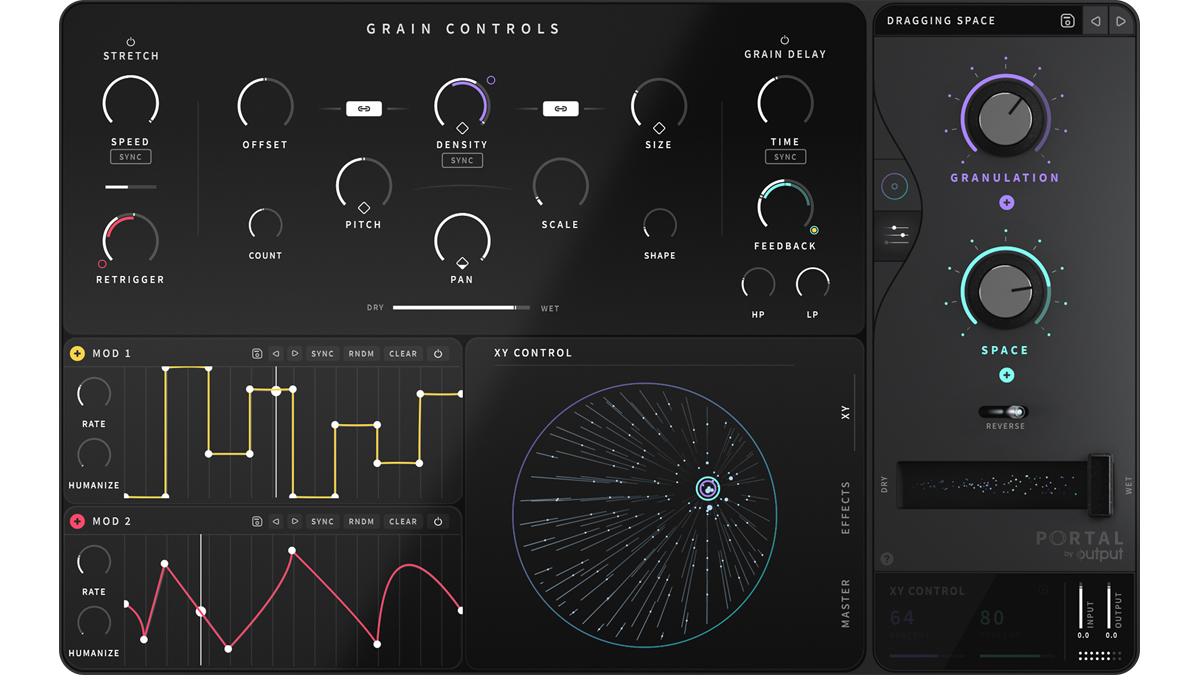
One way around this is to turn your creative brain upside down, so that rather than it feeling responsible for creating sound in this way, you can imagine instead that a huge lump of it exists and it’s your job to ‘sound mine’ it, chiselling away at it until it becomes your own. So instead of reaching for a MIDI keyboard, find a way to get a chunk of promising audio into your workstation and then start to probe at it, looking out for sonically rich bits.
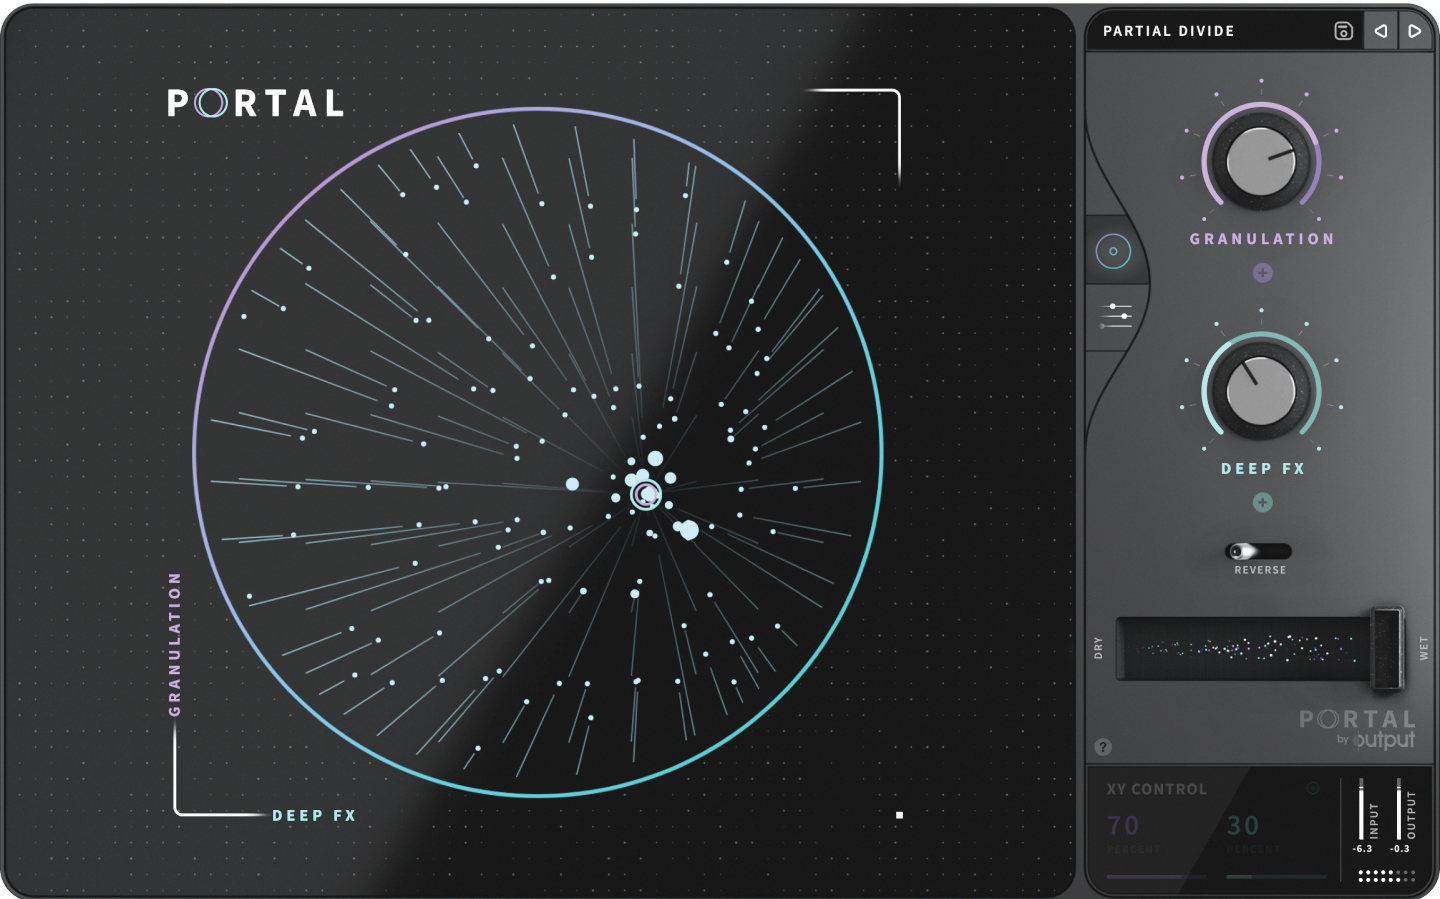
Listen for little moments where something odd happens, or where a surprising ‘pitch’ emerges out of something noisy. The moment might only last for a moment and yet, with timestretching, pitchshifting, looping, effects processing and more besides – granular tools like Output’s Portal, a favourites of ours – you can take a ‘rough diamond’ and mine it into something original, new and entirely yours, without a note having been pressed on your keyboard.
The beauty of working this way is that, because the ‘sonic details’ which catch your ear will be different from one day to the next, the range of potential music you could make as a sound miner will be correspondingly diverse. Start with a different chunk of sound and you’ll make completely different choices. So once you’ve explored the ideas and techniques we showcase, go your own way from your own starting point.
5. Stay updated
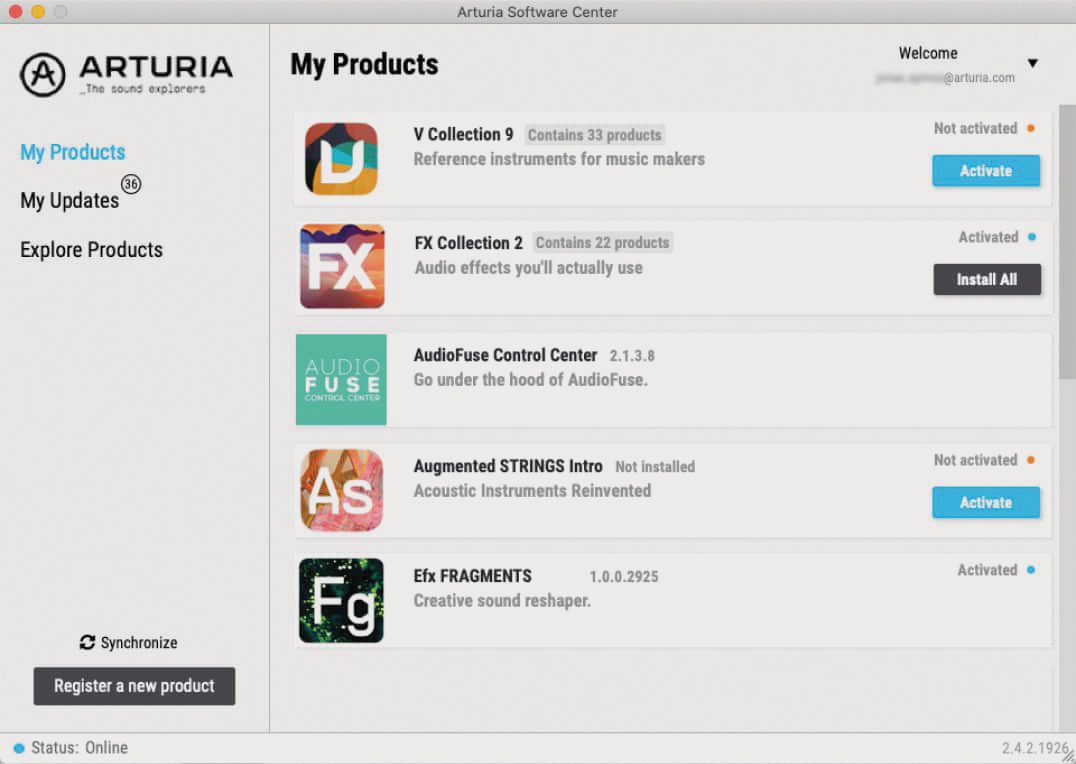
In order to hit the ground running during your creative studio sessions, it’s important to set aside time to tick off those non-creative admin chores that can otherwise get in the way and cause you to lose momentum. One important such chore is to ensure your gear is updated to the latest version. This is obviously most relevant to software, where the latest update to a DAW or plugin is likely to include important bug fixes and workflow improvements, but may also add new features, sounds or presets.
Some software applications will check for updates automatically, but others require you to open up an additional update application – such as Arturia’s Software Centre – or even such on the developer’s website manually. It’s worth setting aside time to check that all of your most used apps are up-to-date.
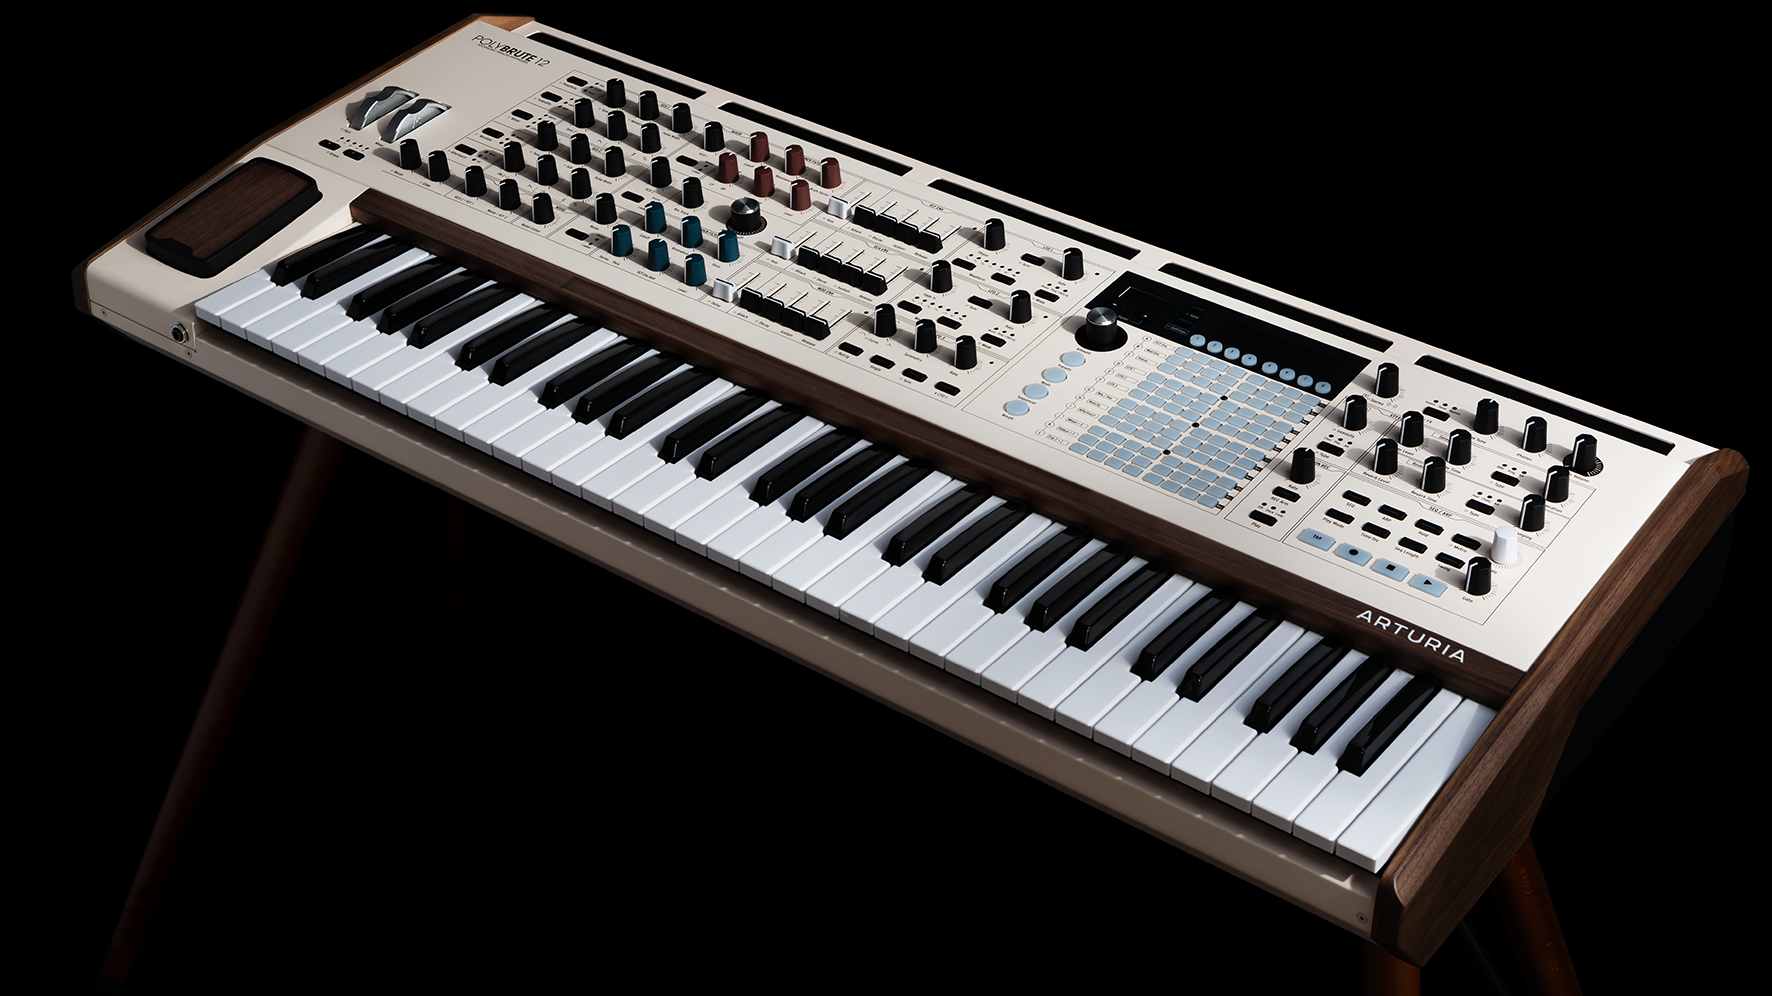
Arturia unveils PolyBrute 12 with doubled polyphony and improved aftertouch
This goes for hardware gear too; while software updates are a common consideration, many of us overlook the benefits of checking our hardware is running the latest firmware. As with software, doing so can help avoid bugs, but in modern times firmware updates often bring new features to instruments and controllers. Take time to read the release notes for each firmware update; exploring the possibilities of a new feature or capability could inspire you for your next session.
One caveat to all of this is that you should pick your moments for OS updates. While updating your operating system is a necessary part of digital existence, rushing into it can cause issues; particularly for Mac users. Hold off a few weeks to make sure your DAW, interface and plugins are compatible with any new OS. And don’t even consider making an update in the midst of an important project.


Future Music is the number one magazine for today's producers. Packed with technique and technology we'll help you make great new music. All-access artist interviews, in-depth gear reviews, essential production tutorials and much more. Every marvellous monthly edition features reliable reviews of the latest and greatest hardware and software technology and techniques, unparalleled advice, in-depth interviews, sensational free samples and so much more to improve the experience and outcome of your music-making.


