15 essential synth patches every producer should know
From classic bass sounds to evolving pads, quick drums and FX, we’ll show you how to rustle up these go-to patches from scratch
We live in an age of presets, and that’s a good thing. Sure, some might tell you that relying on presets is in some way cheating but having access to a vast array of premade and readily available sounds is not only inspiring but also a massive time-saver.
There are, however, considerable benefits to knowing how to build your own synth sounds from scratch. For one thing, with the resurgence of cheap analogue gear, we’ve seen a rise in synths that forego the inclusion of presets entirely, which can present a challenge for anyone not familiar with building a patch from scratch.
More significantly though, understanding the core principles of how classic sounds come together can be of significant use even to those who rely largely on presets. Sure, your favourite synth might come stocked with a wealth of usable and inspiring sounds, but even the most generous library is never going to tick every box for every track you’ll ever work on.
What happens when you discover a patch that is almost perfect but needs a little reshaping to work with your project? It’s moments like these when it’s invaluable to have a grasp of what makes a synth patch sound the way it does – how changing an oscillator type can alter the timbre of a sound, how to set an envelope to change a stab into a pad, or how effect types can drastically change the style of a sound.
In this article and a number of others linked below, we’ve selected 15 classic, bread-and-butter patches that make great go-to resources to have at your disposal. These are straightforward, transferable sounds that can make jumping-off points for a variety of more complex ideas and approaches. More importantly, they’re selected to give an overall grounding in the key elements of patch design.
A quick recap
Although creating sound from synthetic means (ie, not from the mechanical or physical movement) is not a new technique – it in fact extends back to the earliest days of experimentation with electricity – it is only really since the early 1980s that it has come to dominate whole genres of commercial music. This perhaps explains our current ‘vintage analogue’ fetishism – especially for a select band of synths produced between 1978 and 1984.
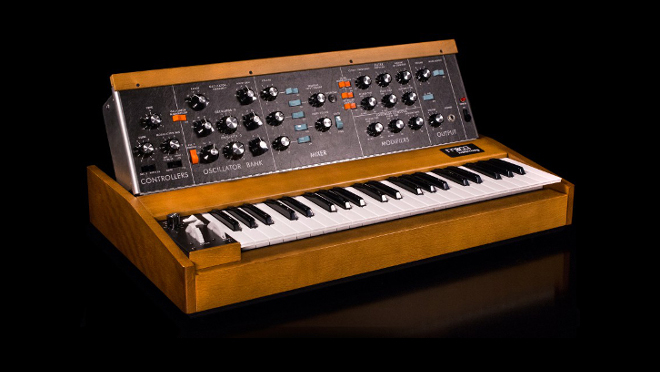
Subtractive synthesis is the usual starting point for those new to synth programming. This is explainable for a number of reasons – one that it was the dominant synthesis method of the first wave of commercial hardware, and another (perhaps more importantly) being that the concepts it uses are easy to understand and applicable elsewhere.
Get the MusicRadar Newsletter
Want all the hottest music and gear news, reviews, deals, features and more, direct to your inbox? Sign up here.
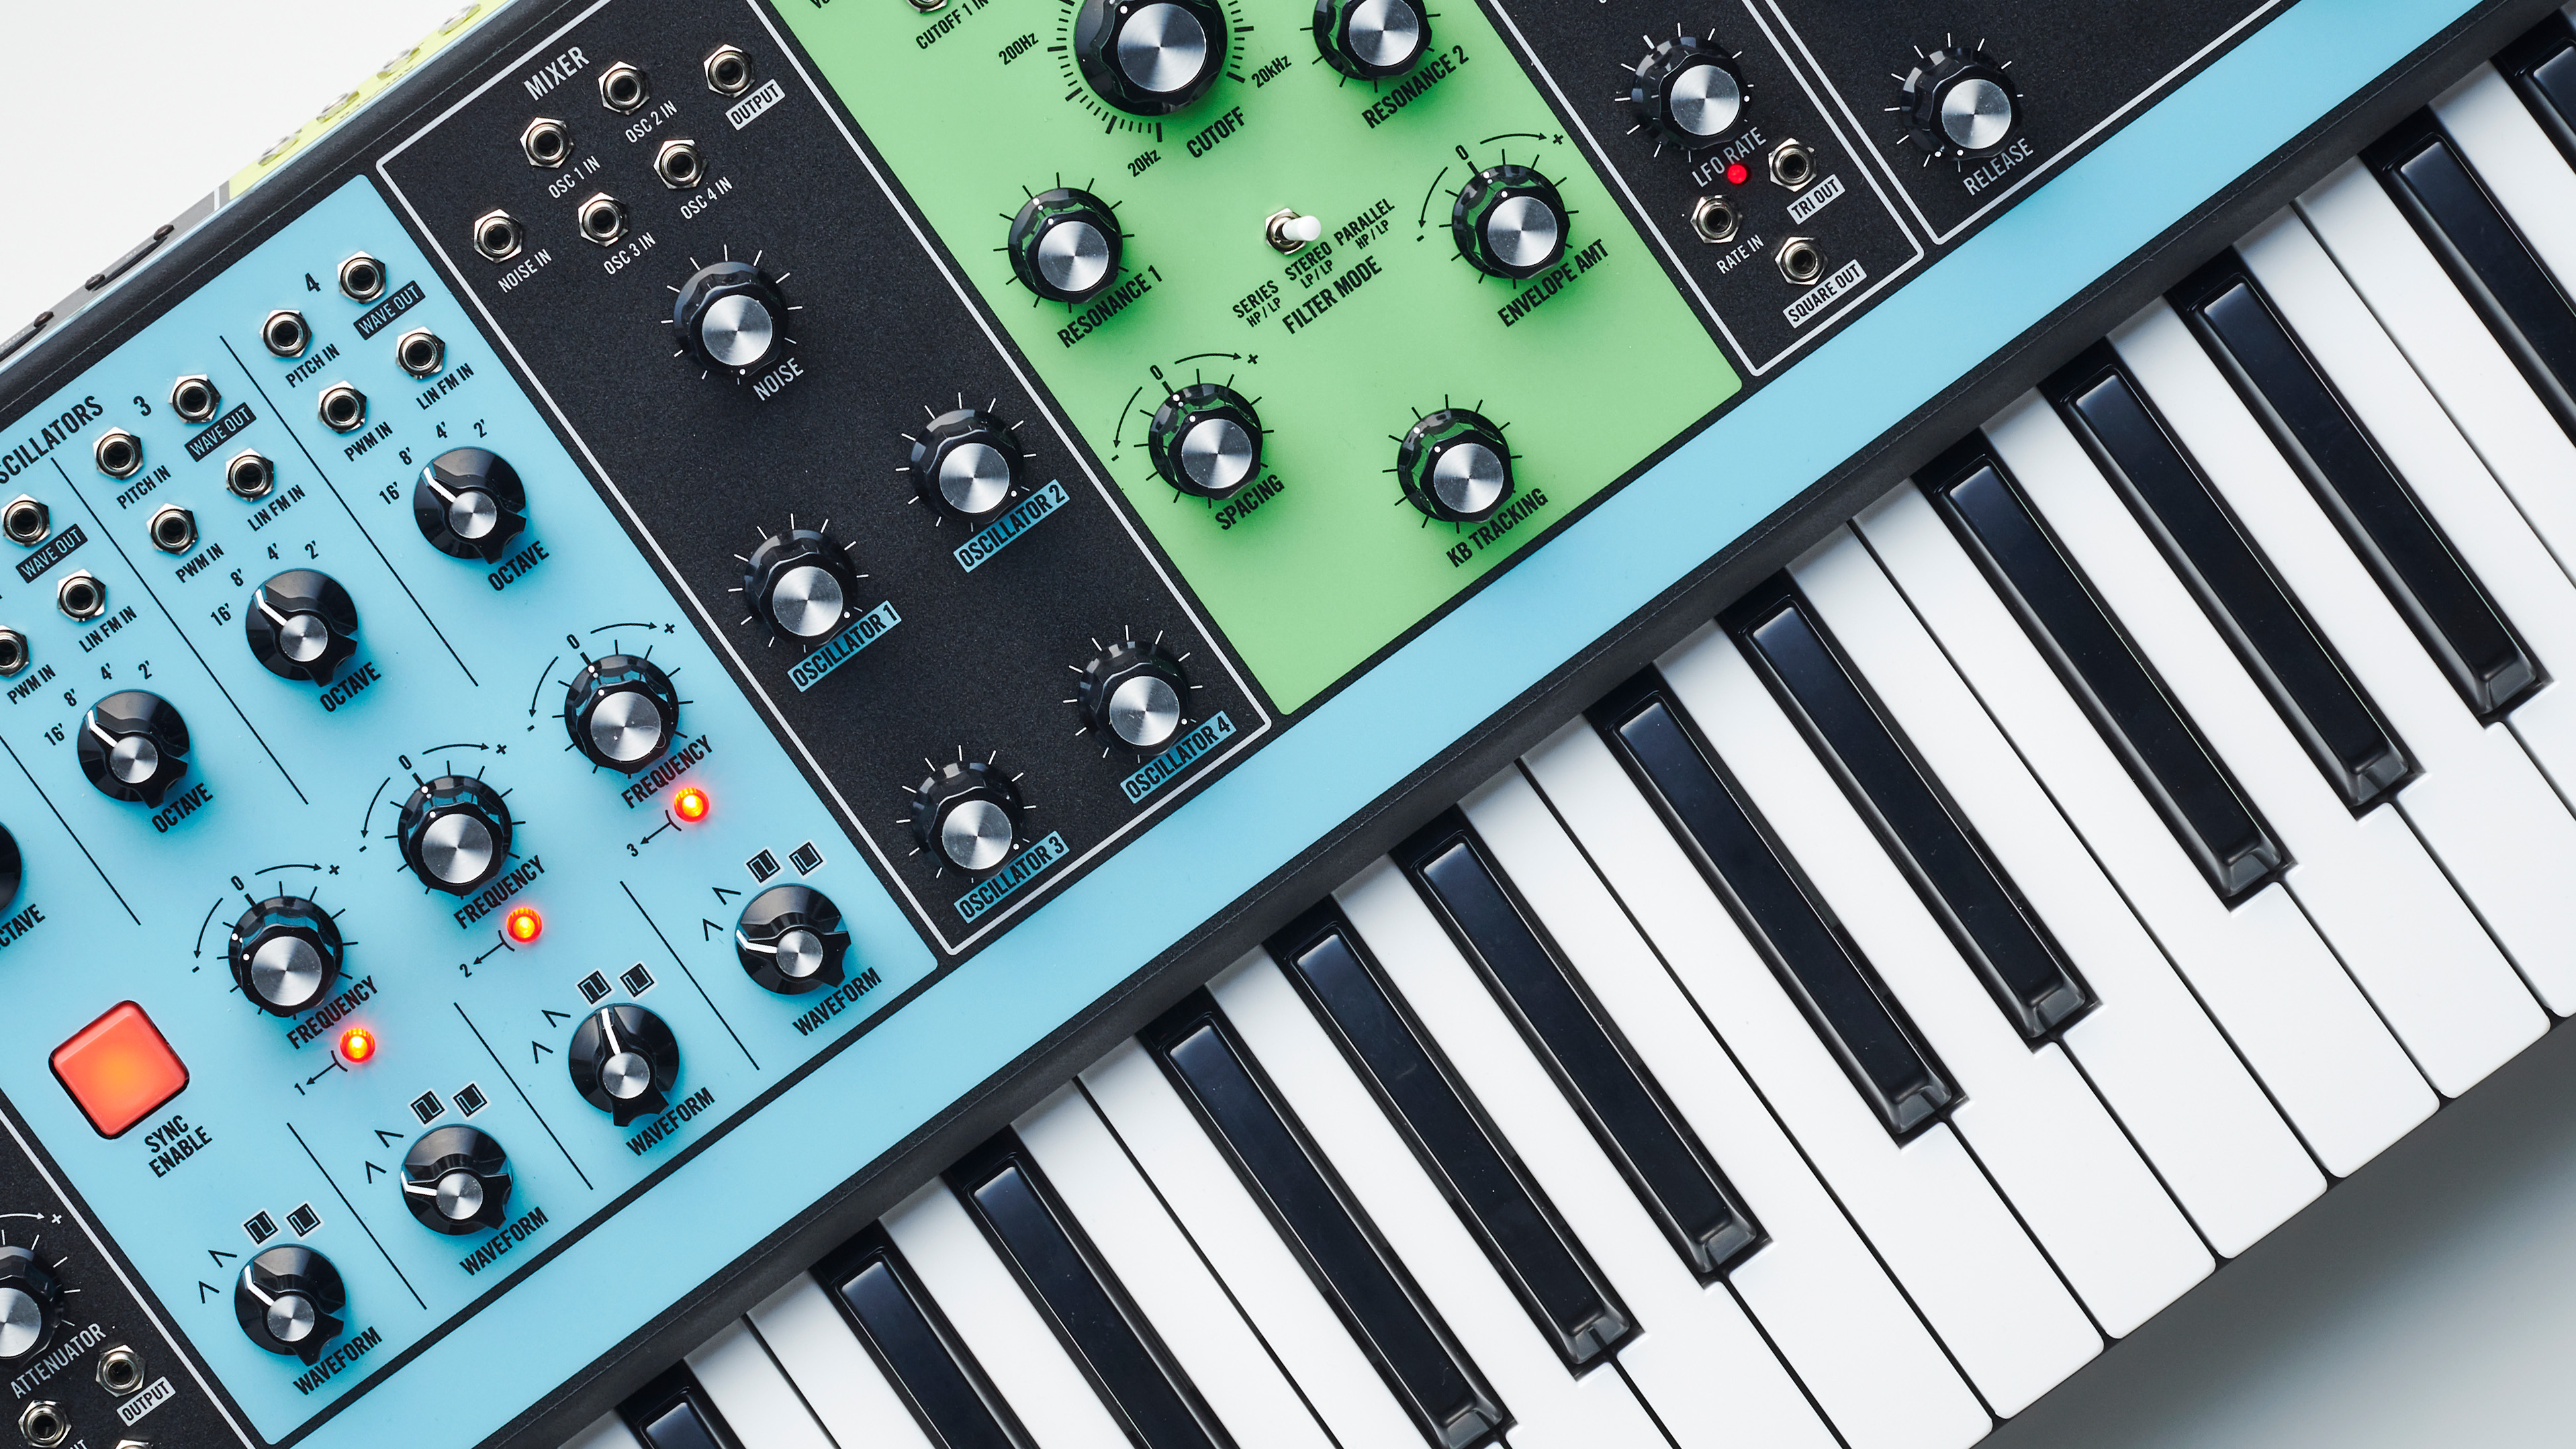
Nowadays when the term ‘analogue’ is applied to a synth, it usually means it is based around certain fundamental subtractive synthesis building blocks. So why ‘subtractive’? In essence, because you start with something harmonically rich, and remove areas of the frequency spectrum using audio filters.
The source of all this harmonic niceness is the oscillator section – in ‘proper’ analogue synths usually consisting of a few simple waveform types (square/pulse, sawtooth, triangle, sine etc). These all have their own distinct timbre, based on their different harmonic signatures.
Harmonic history
All sound can be reduced to a series of sine waves changing in level over time. Most common musical sounds have a frequency make-up that, as well the main frequency, includes frequencies at fixed ratios to this, the fundamental. The more of these harmonics that are present, the ‘richer’ the sound.

The ‘subtraction’ is taken care of by a filter section that usually features a low-pass filter (LPF), though other filter types may also be present, including high-pass (HPF) and band-pass (BPF). Besides describing filters in these terms, we are usually given information about how severely they roll off frequencies at the ‘cutoff’ point, measured in decibels per octave (dB/oct). For example, an 18dB/oct HPF with its cutoff control set to 500Hz will reduce the level of anything at 250Hz (one octave below) by 18dB.
To create a sound that evolves over time, we use envelope generators. These create rising and falling control signals that can be used to alter filter cutoff, amplitude, or any other parameter. To this we might add LFOs to create vibrato or other faster cyclical modulation.
Since the arrival of affordable digital electronics in the 1980s, synths began to use digital oscillators with increasing numbers of waveforms. This eventually moved on to the larger scale sample storage systems used in ‘ROMplers’, that by this time had also digitised the filters, envelopes – everything in fact.
However amidst this, manufacturers also seized on ‘digital’ methods to realise synths such as the Yamaha DX7 (FM synthesis), Korg Wavestation (wave sequencing), Kawai K5 (additive), among many others. Some of the techniques behind these systems were not new, but digital power allowed them to be realised in a commercially usable way. Flash forward several decades and current technology gives us easy access to all of these approaches: sometimes even several at once!
5 patches you need to know
1. Synth drone
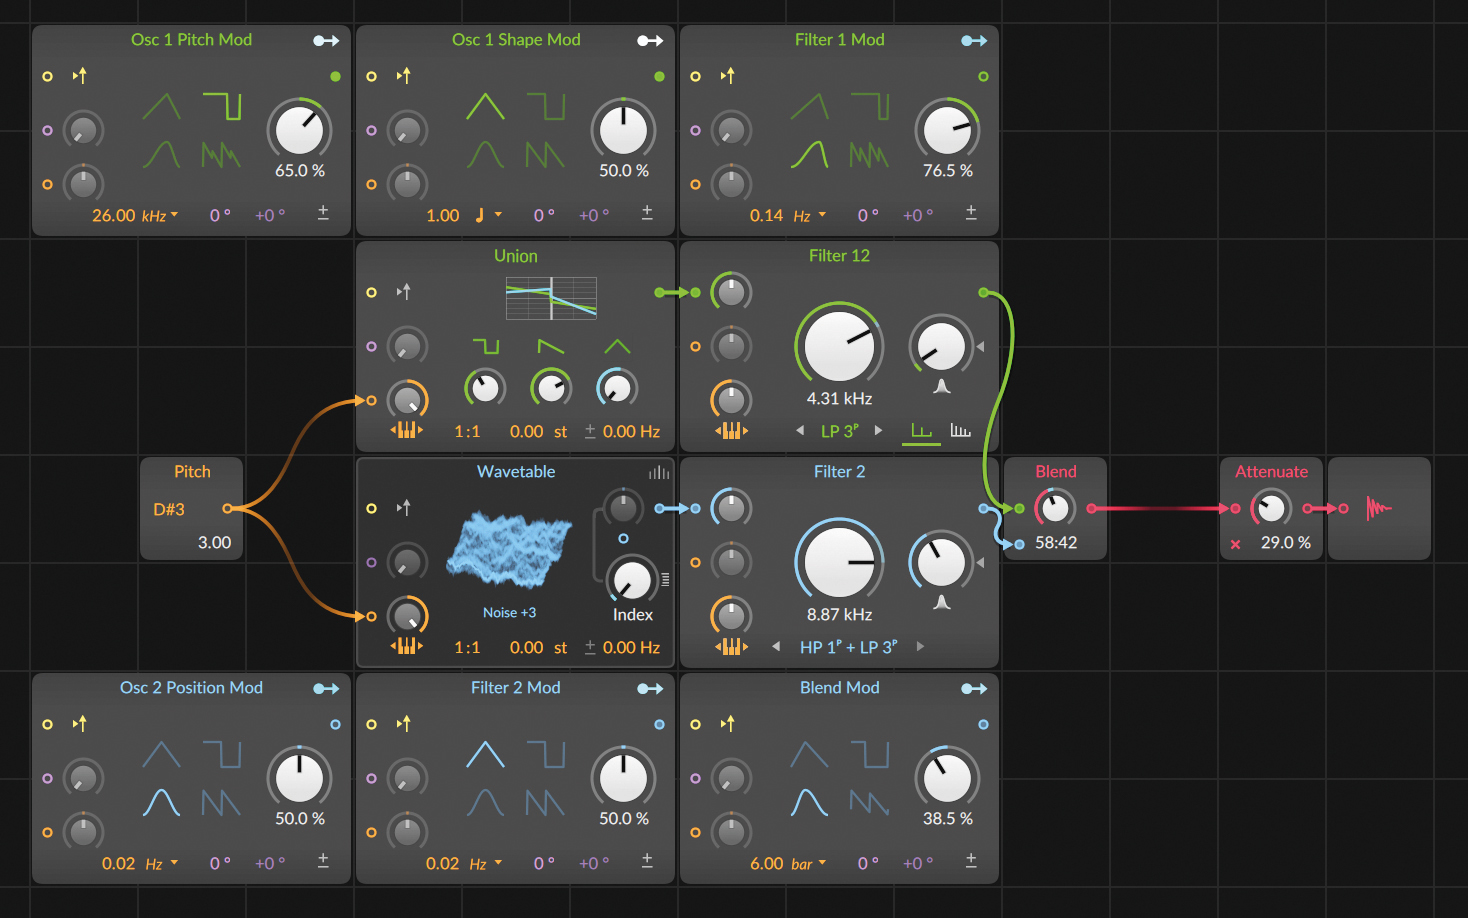
Creating a drone is, in theory, incredibly basic. It simply involves setting a synth’s amp envelope to being ‘always on’. There are several ways to go about this. Lots of synthesisers let users raise the amp level independently of any envelope, creating an instant drone.
Alternatively, if your synth keyboard has a ‘hold’ function, you can use this to create a lingering note while keeping hands-free for tweaking parameters. In your DAW you could program either a single long note throughout your track length or, probably easier, a shorter looping one, then set your synth to ‘legato’ mode, so the envelopes aren’t retriggered with each new note.
These approaches will create a boring static sound though, and the key to making drones work is movement. Slow modulation and lots of it is the order of the day – try routing LFOs to alter oscillator shape and pitch, or filter cutoff. The more parameters you can modulate, the more interesting the results.
2. Synth snare
Much like analogue kicks, classic drum machine snares are easy to replicate with a simple synth. Select a triangle wave as the first oscillator source and modulate its pitch with an envelope that provides just a little ‘bend’ during the Attack portion. Use a white noise generator as a second sound source and set a volume balance between this and the triangle wave.
Then, use an amp envelope with no sustain, and decay is set to produce a more ‘snare like’ volume shape. To add more body to the sound, add a third oscillator – a duplicate of oscillator 1 but pitched down by 12 semitones. Finally, add some subtle distortion or saturation. There’s the basic snare sound done!
3. Synth hi-hats
Synthesising a hi-hat is incredibly easy – simply set a white noise generator as your source and use an attack/decay amp envelope to adjust the length of your hat as needed. To get rid of unnecessary frequencies, a high- or band-pass filter is a good addition to a hat patch.
To create the interplay between short closed hats and longer open ones, try routing one of your synth’s LFOs to the decay length of the amp envelope. Sync this LFO to your project tempo, program an eighth or 16th-note hat pattern, then experiment with different shape and rate settings to create a groove that suits your track.
4. Percussive synth arp
Arpeggiated synths are a staple of electronic music; think Donna Summer’s I Feel Love or the theme tune to Stranger Things. While there’s no such thing as a set ‘arp sound’, these kinds of riffs work best with a percussive ‘pluck’ sound that’s simple to create.
Any oscillator type will work – try a square/pluck for a vintage arp or stacked supersaw for something more EDM-like. The key is shaping a snappy amp envelope with 0 attack, a short decay and some release to taste. Use a similarly shaped envelope to modulate a low-pass filter, and adjust the amount of filter modulation to add movement and progression.
5. Synced lead
Hard sync is the ‘locking’ of one oscillator to another, so that the ‘locked’ oscillator’s waveform is retriggered every time the master oscillator repeats its wave cycle. The resulting sound is brash, with a strong attack. This is a classic approach for getting hard-hitting lead sounds.
Set your synced oscillator pitch to -12 semitones below that of the master osc. As you play or trigger your riff, sweep or modulate the synced oscillator’s pitch to create searing timbral changes. This approach sounds great coupled with other approaches, like basic two oscillator FM or wavefolding – anything that can allow you to get creative with the relationship between the two synced oscillators.
10 more...


I'm the Managing Editor of Music Technology at MusicRadar and former Editor-in-Chief of Future Music, Computer Music and Electronic Musician. I've been messing around with music tech in various forms for over two decades. I've also spent the last 10 years forgetting how to play guitar. Find me in the chillout room at raves complaining that it's past my bedtime.
“Excels at unique modulated timbres, atonal drones and microtonal sequences that reinvent themselves each time you dare to touch the synth”: Soma Laboratories Lyra-4 review
“A superb-sounding and well thought-out pro-end keyboard”: Roland V-Stage 88 & 76-note keyboards review

