14 tips for producing better techno: "Automate the low-pass filter frequency to create a rhythmic pattern on your bassline"
The pulsing momentum of techno is built upon some essential core components. Here are our top tips for making floor-filling techno bangers

Yesterday, we published our definitive guide to producing techno in 2023, covering everything from structure and arrangement to plugins and sound design. Today, we're following that up with 14 quick and easy tips for to help you make floor-filling techno bangers.
1. Add reverb on a kick
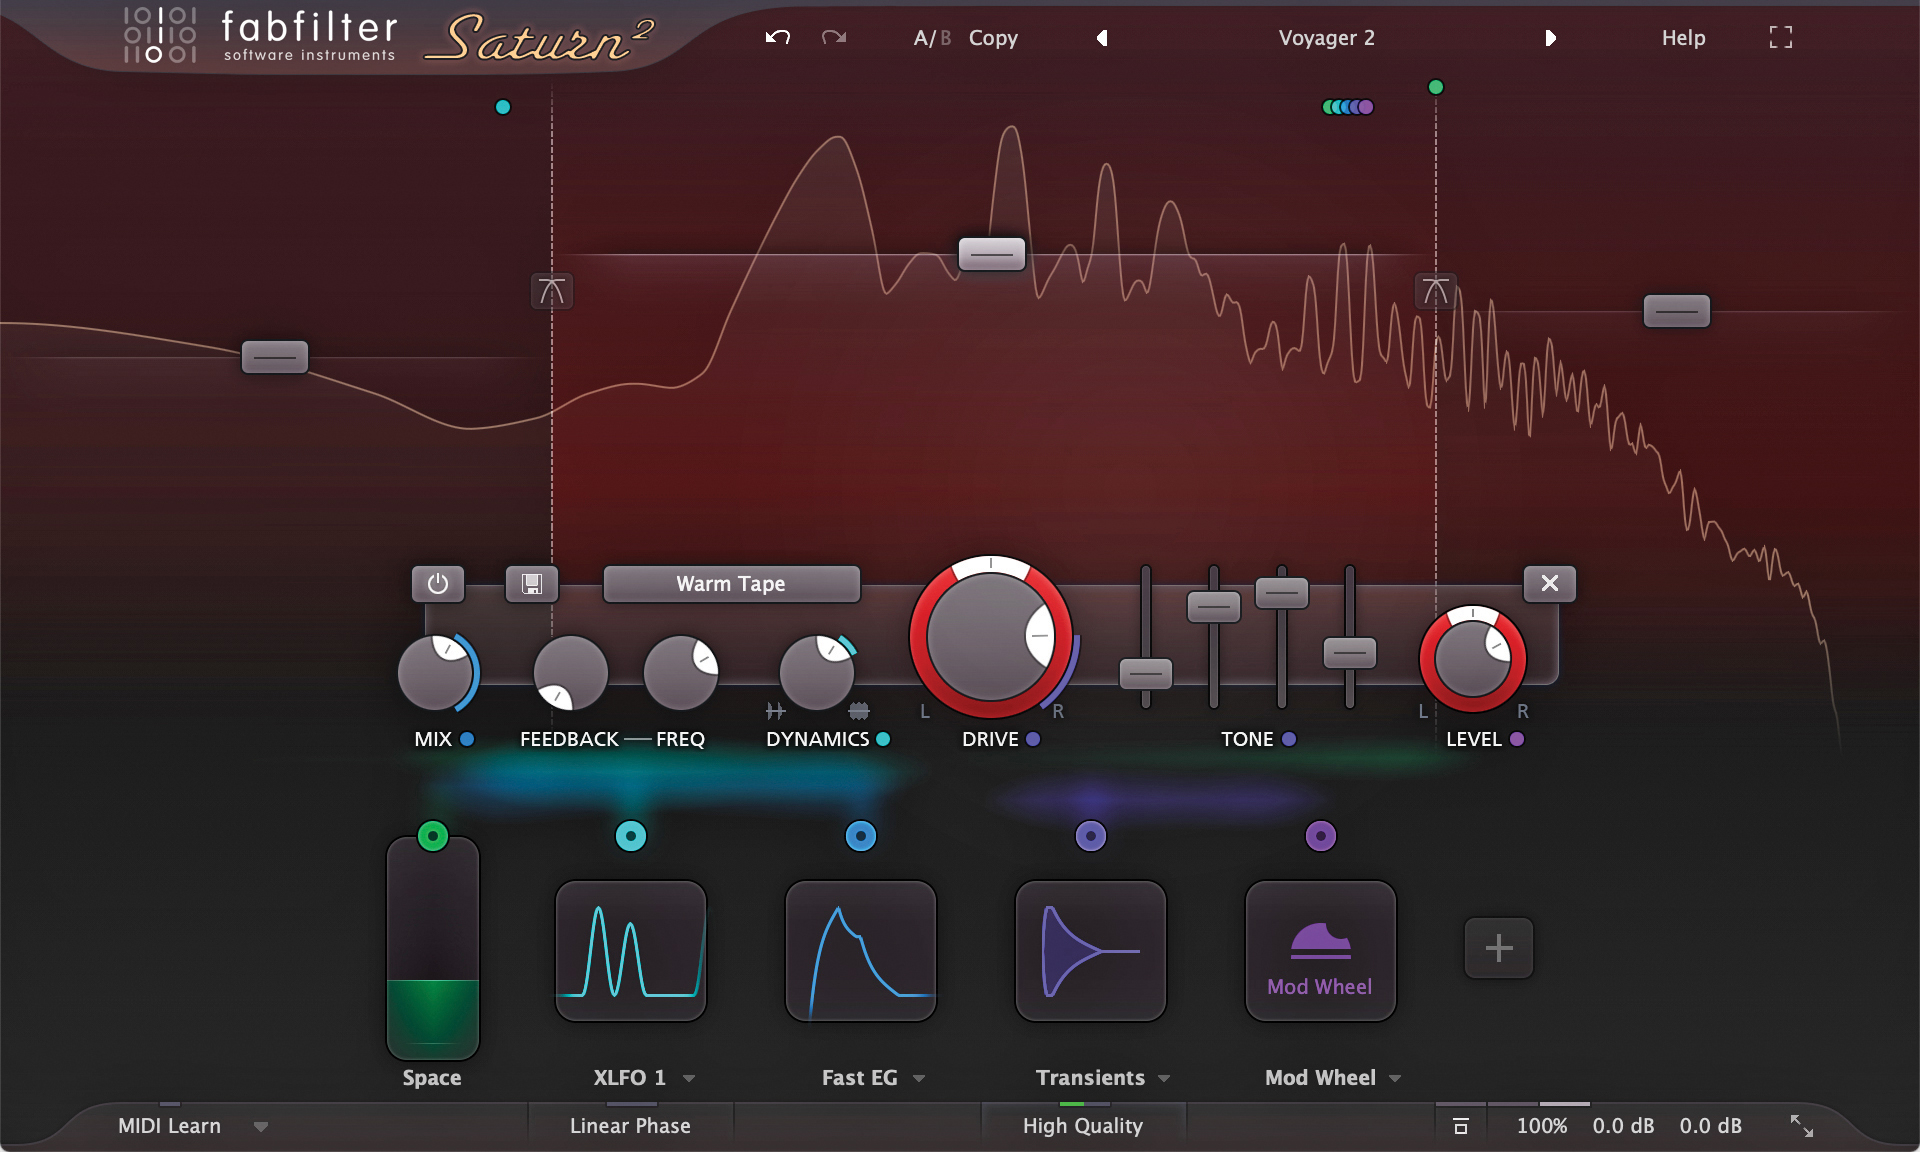
There are a lot of ways to process your kick, depending on the type of sound you’re going for. Add a reverb plugin directly to your kick and it adds a distinct vibe. Use an EQ or filter after the reverb and filter out the high end to make the sound darker.
Try adding a distortion or saturation plugin like FabFilter Saturn 2 after the EQ. If you decide you want to use the processed reverb as a layer on top of your main kick, try adding a volume side chain like Kickstart 2 so that the reverb plays after the main kick.
2. Parallel drum processing
After you have finished creating your drums, group them together and send them to an aux/bus track with a parallel compressor on it. Use a compressor like Arturia Comp FET-76 for parallel compression with a fast attack, fast release and the ratio set to ALL.
Add an EQ and cut out all of the low end and bring down the volume of parallel comp aux/bus in the mix. The parallel comp will help make the elements in your drum group blend well together.
3. Automating parameters
As techno is built around grooves, it’s especially important to use automation to add movement to sounds to keep them flowing and sounding natural. On a synth, automate the filter cutoff as it comes into tracks and during the breaks.
Other important parameters to automate on a synth are attack, decay, sustain and release. For example, you could automate the decay and release up before a break and bring them down for the drop.
Get the MusicRadar Newsletter
Want all the hottest music and gear news, reviews, deals, features and more, direct to your inbox? Sign up here.
4. Shadow Hills Mastering Compressor
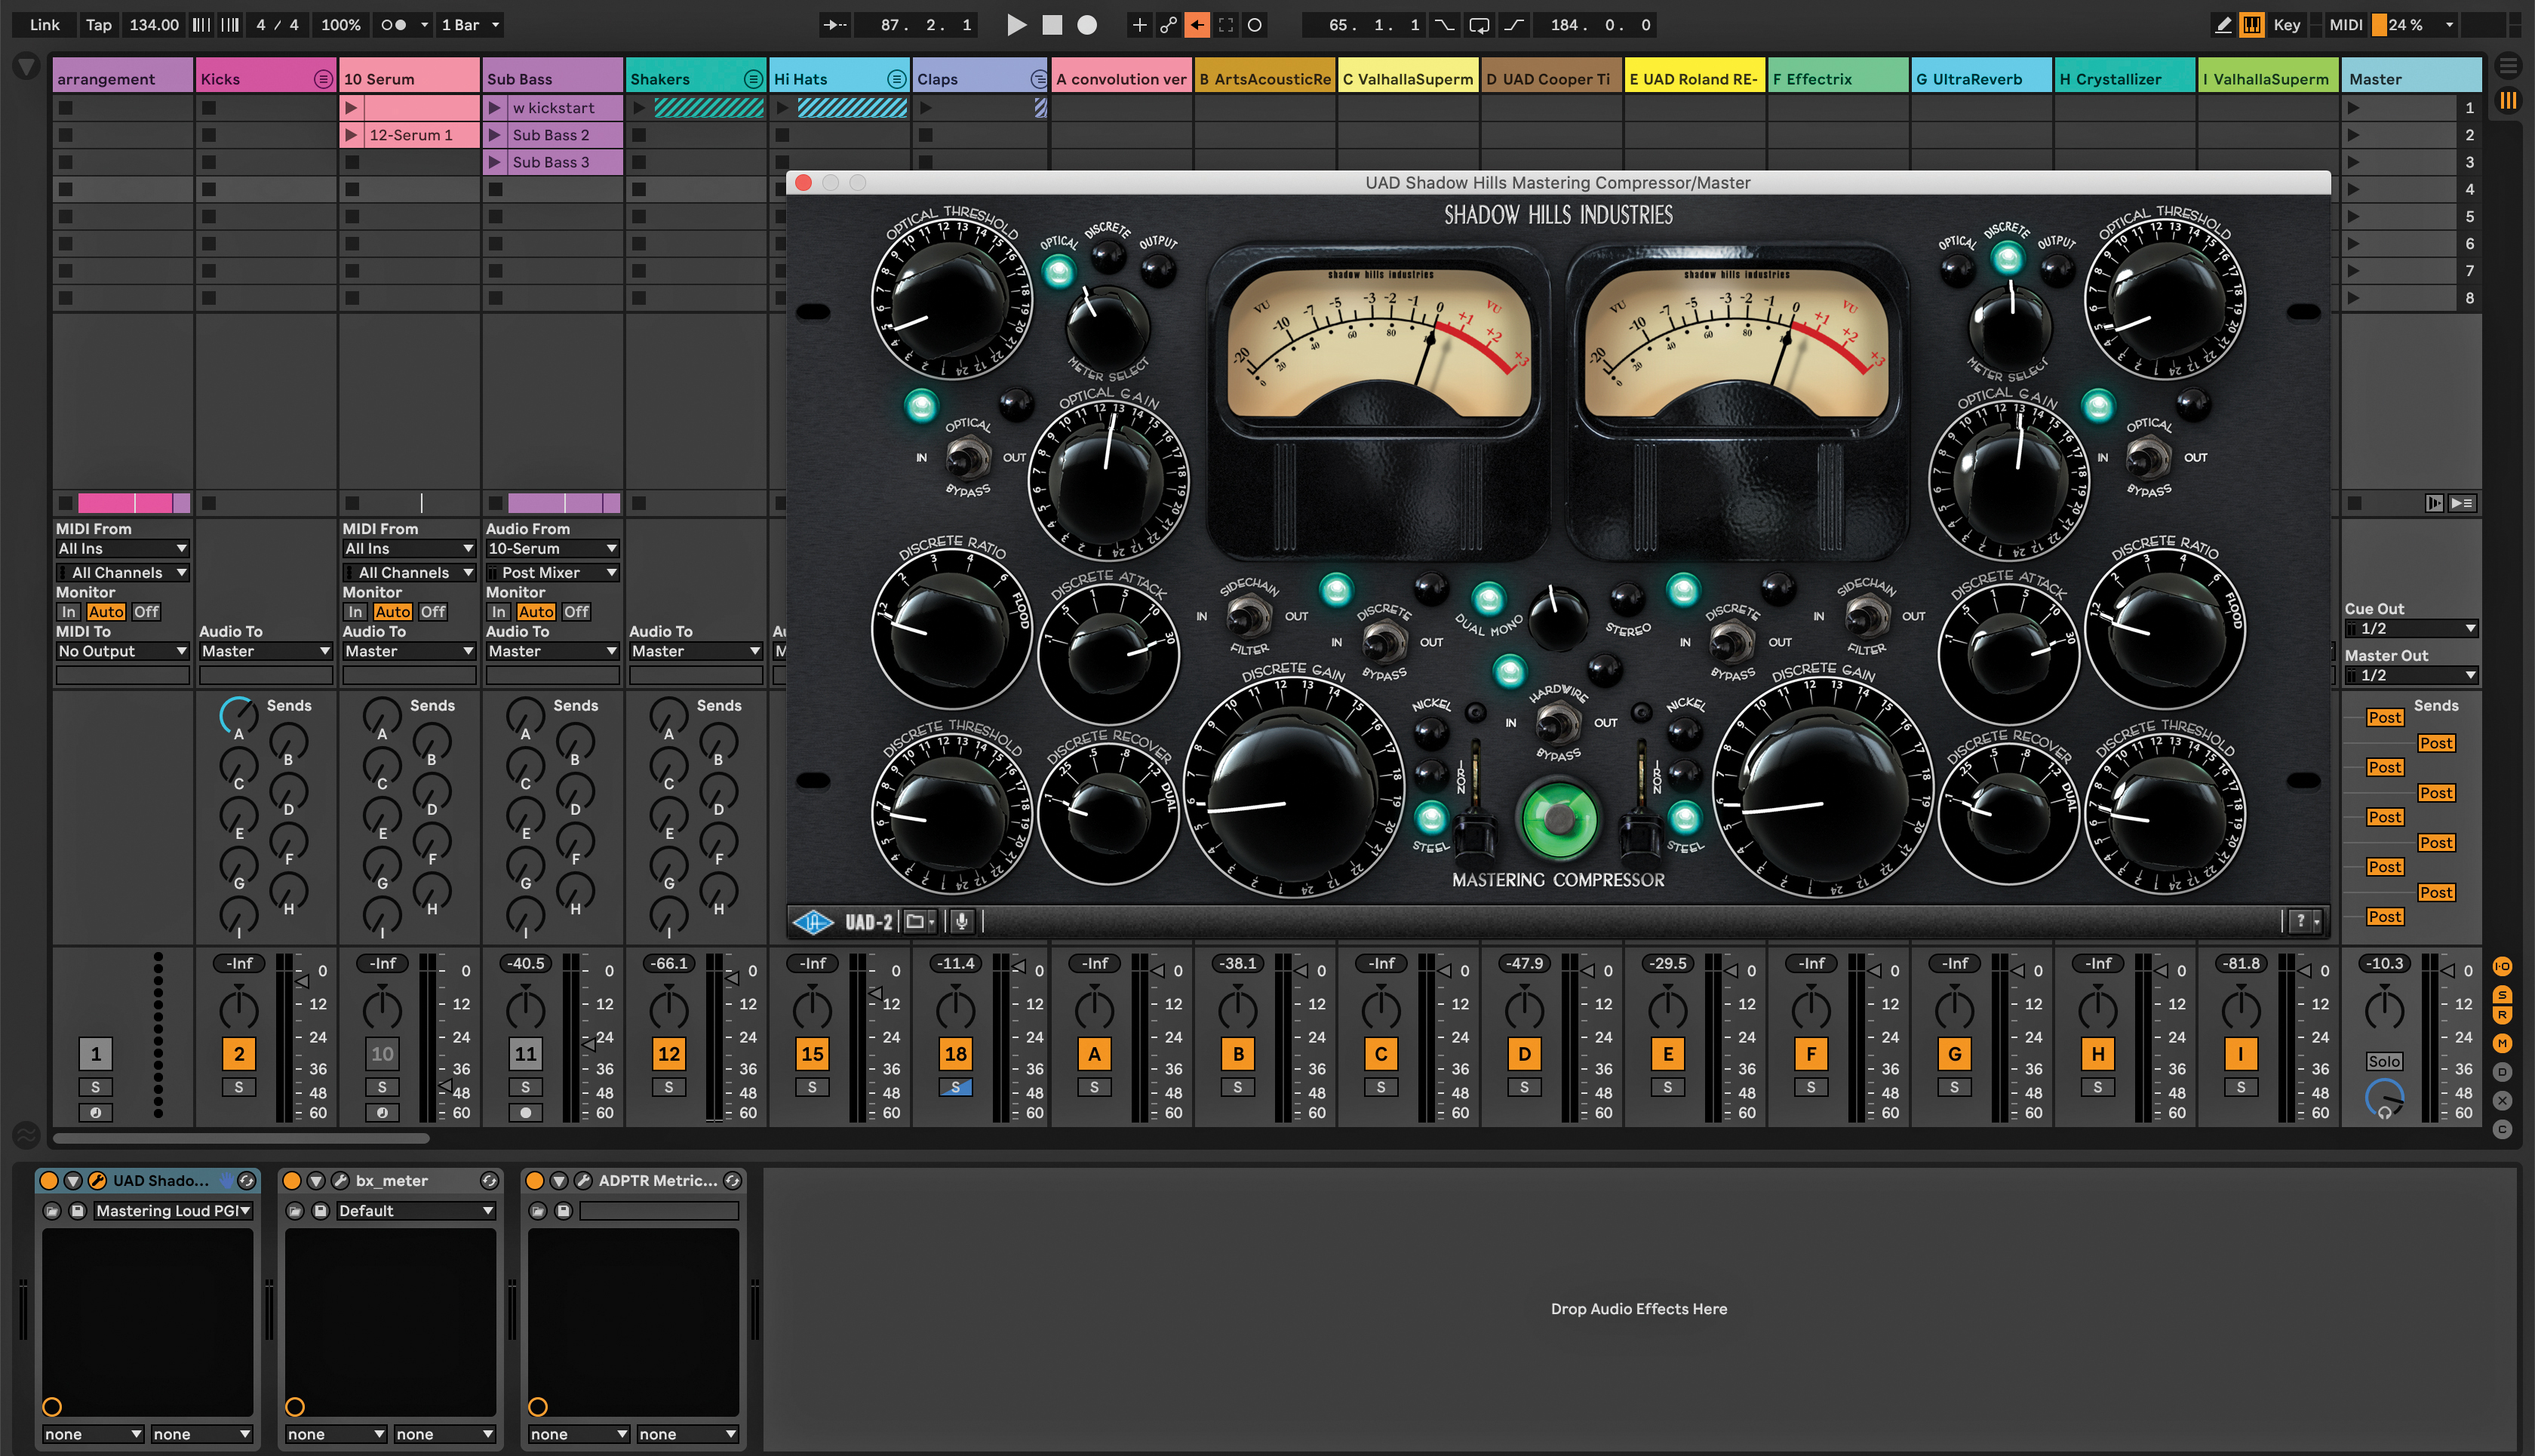
Try putting the Shadow Hills Mastering Compressor on your Master bus when you start a session. Techno should feel compressed and squashed and this plugin will help you achieve this sound.
5. Clap layers
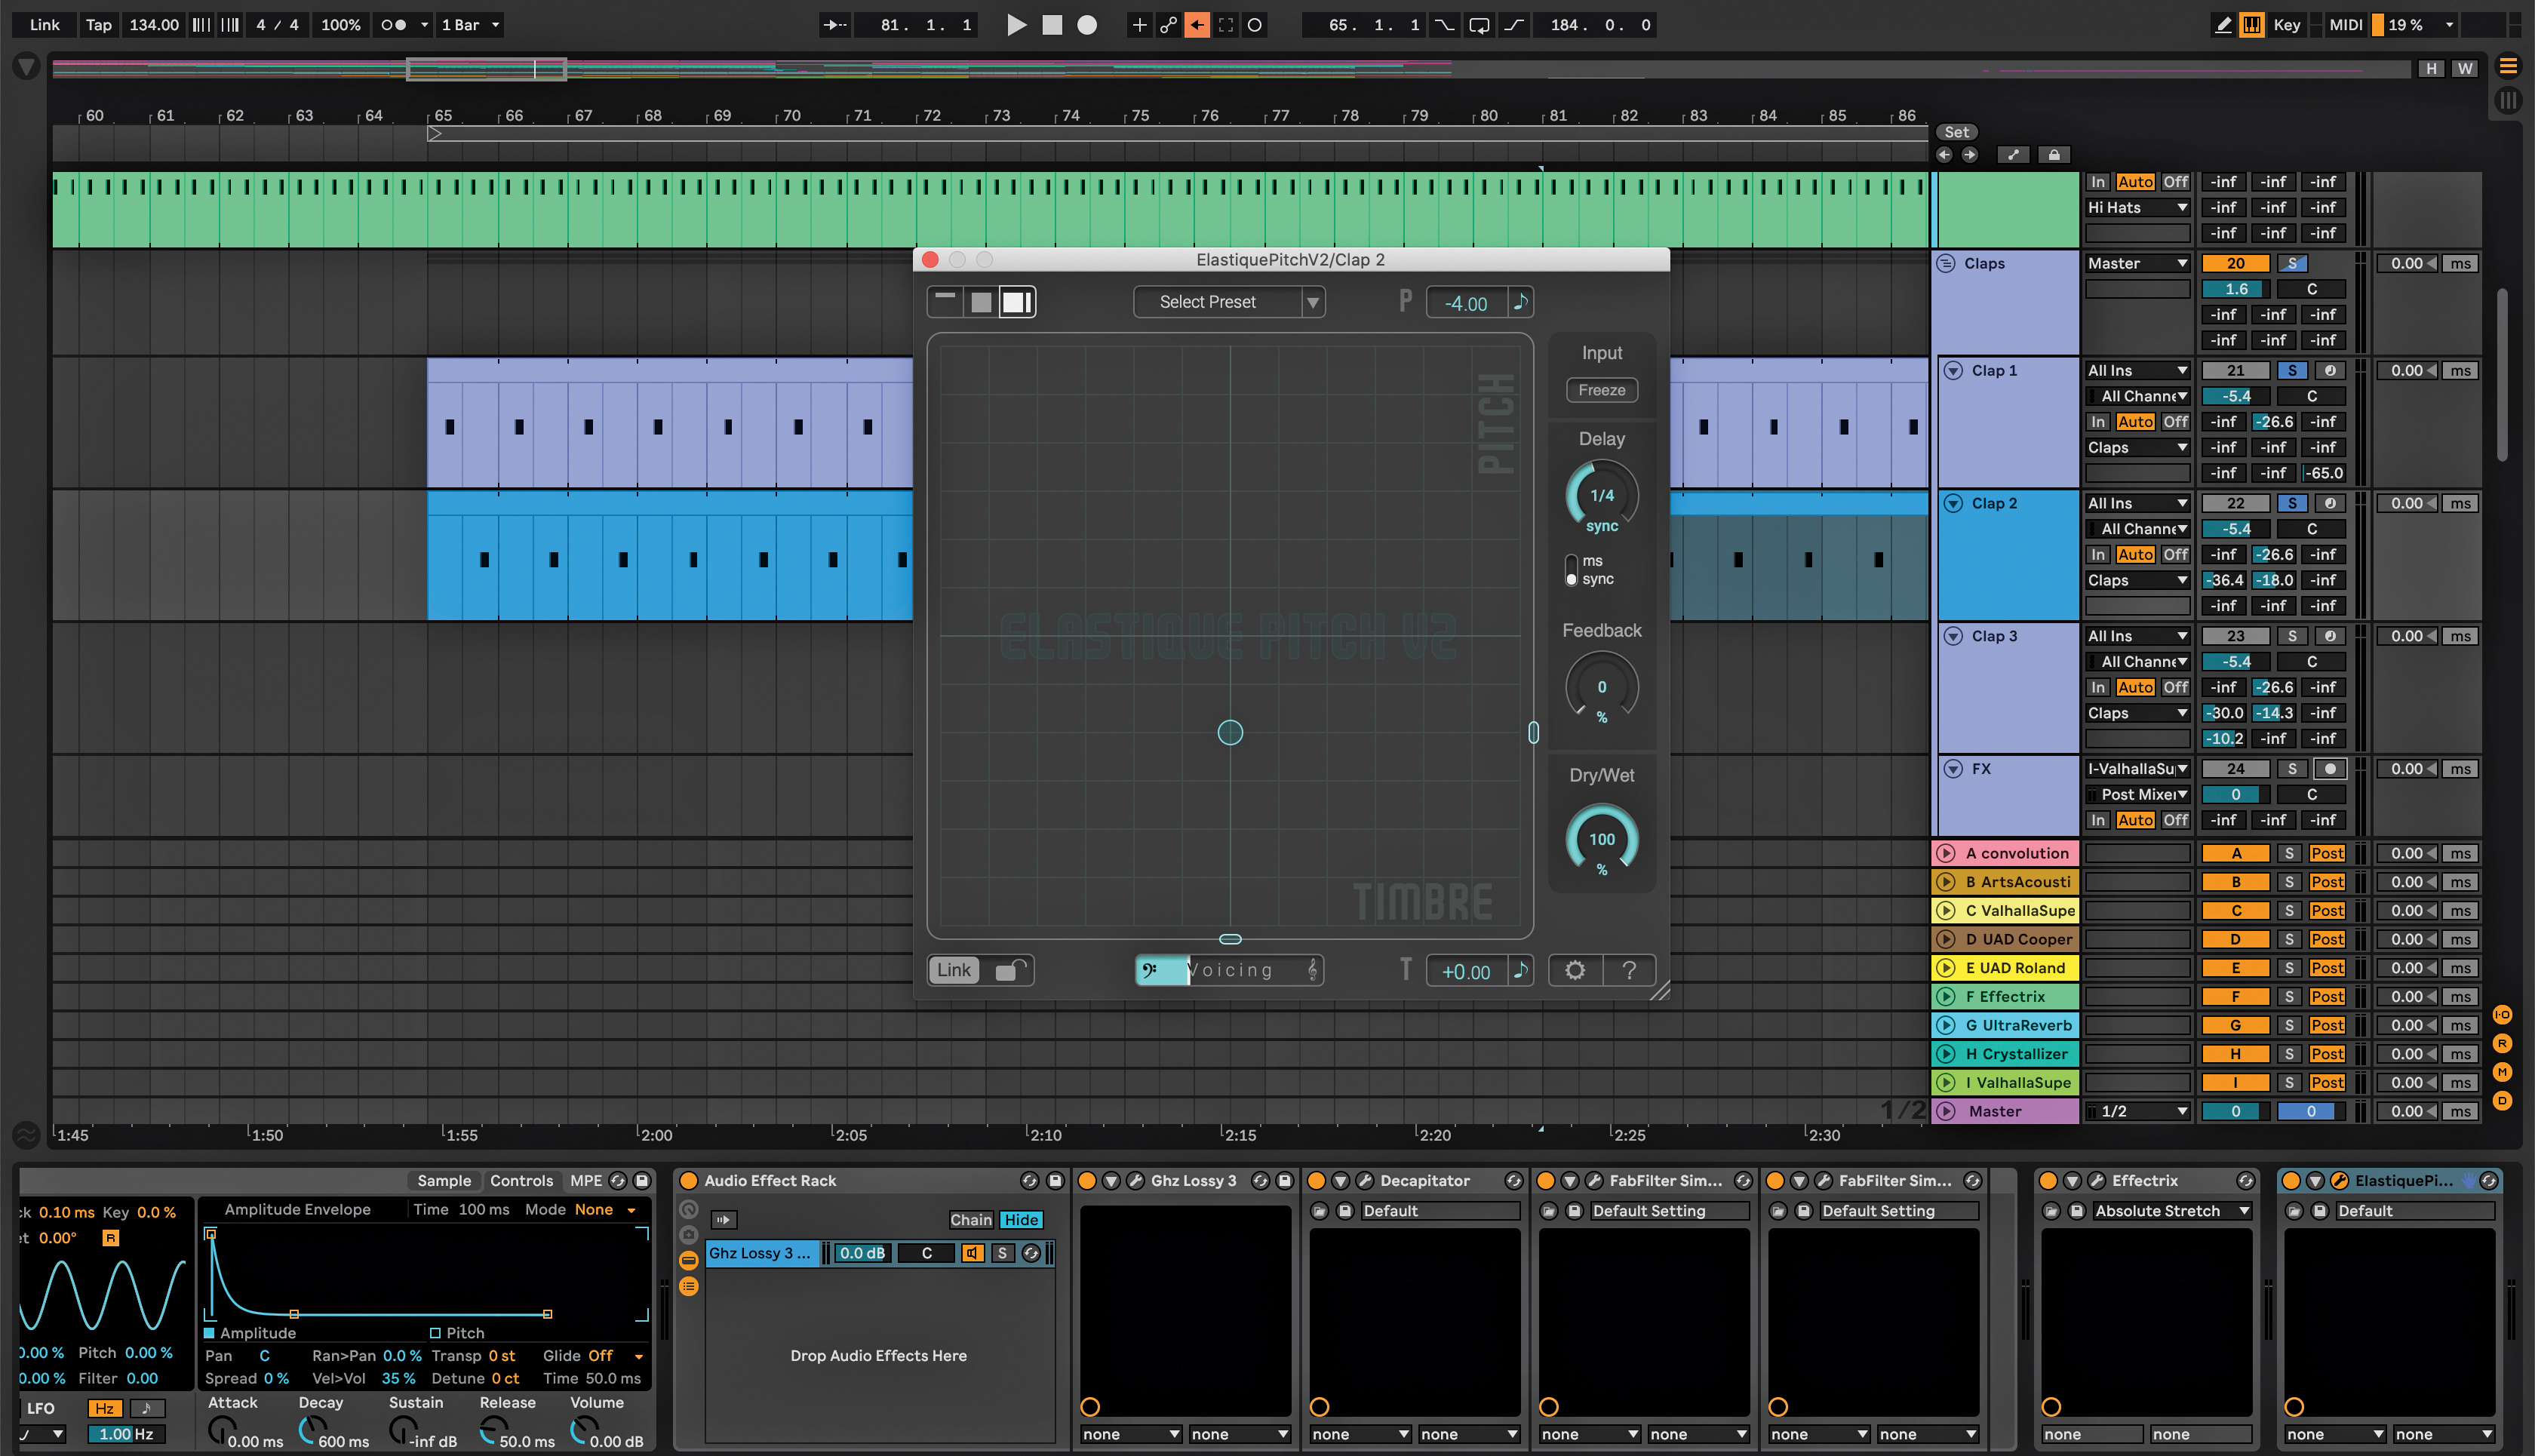
To add movement to your drums, try layering every other clap or every fourth clap in the rhythm. Choose a clap that complements your main clap. Try detuning the clap layer, or use zplane Elastique Pitch to pitch it down. Add a bitcrushing plugin on top or FabFilter Saturn 2 to saturate the sound.
6. Drum bus
Create a simple drum bus by sending multiple percussion parts (eg the open hi-hat, closed hi-hat, cymbal, ride and/or top loops) and send them to an aux/bus. Process them with tape saturation (eg Universal Audio’s Studer A800 Tape Recorder or Waves Abbey Road Vinyl Plugin) then an EQ like the API-2500.
Follow with Slate Digital’s VBC FG-MU or a similar bus compressor then an EQ that can add some air to the top end, like the Maag Audio EQ4. An idea to finish off the chain could be a plugin like the SPL TwinTube to add character.
7. Pitching down the ride
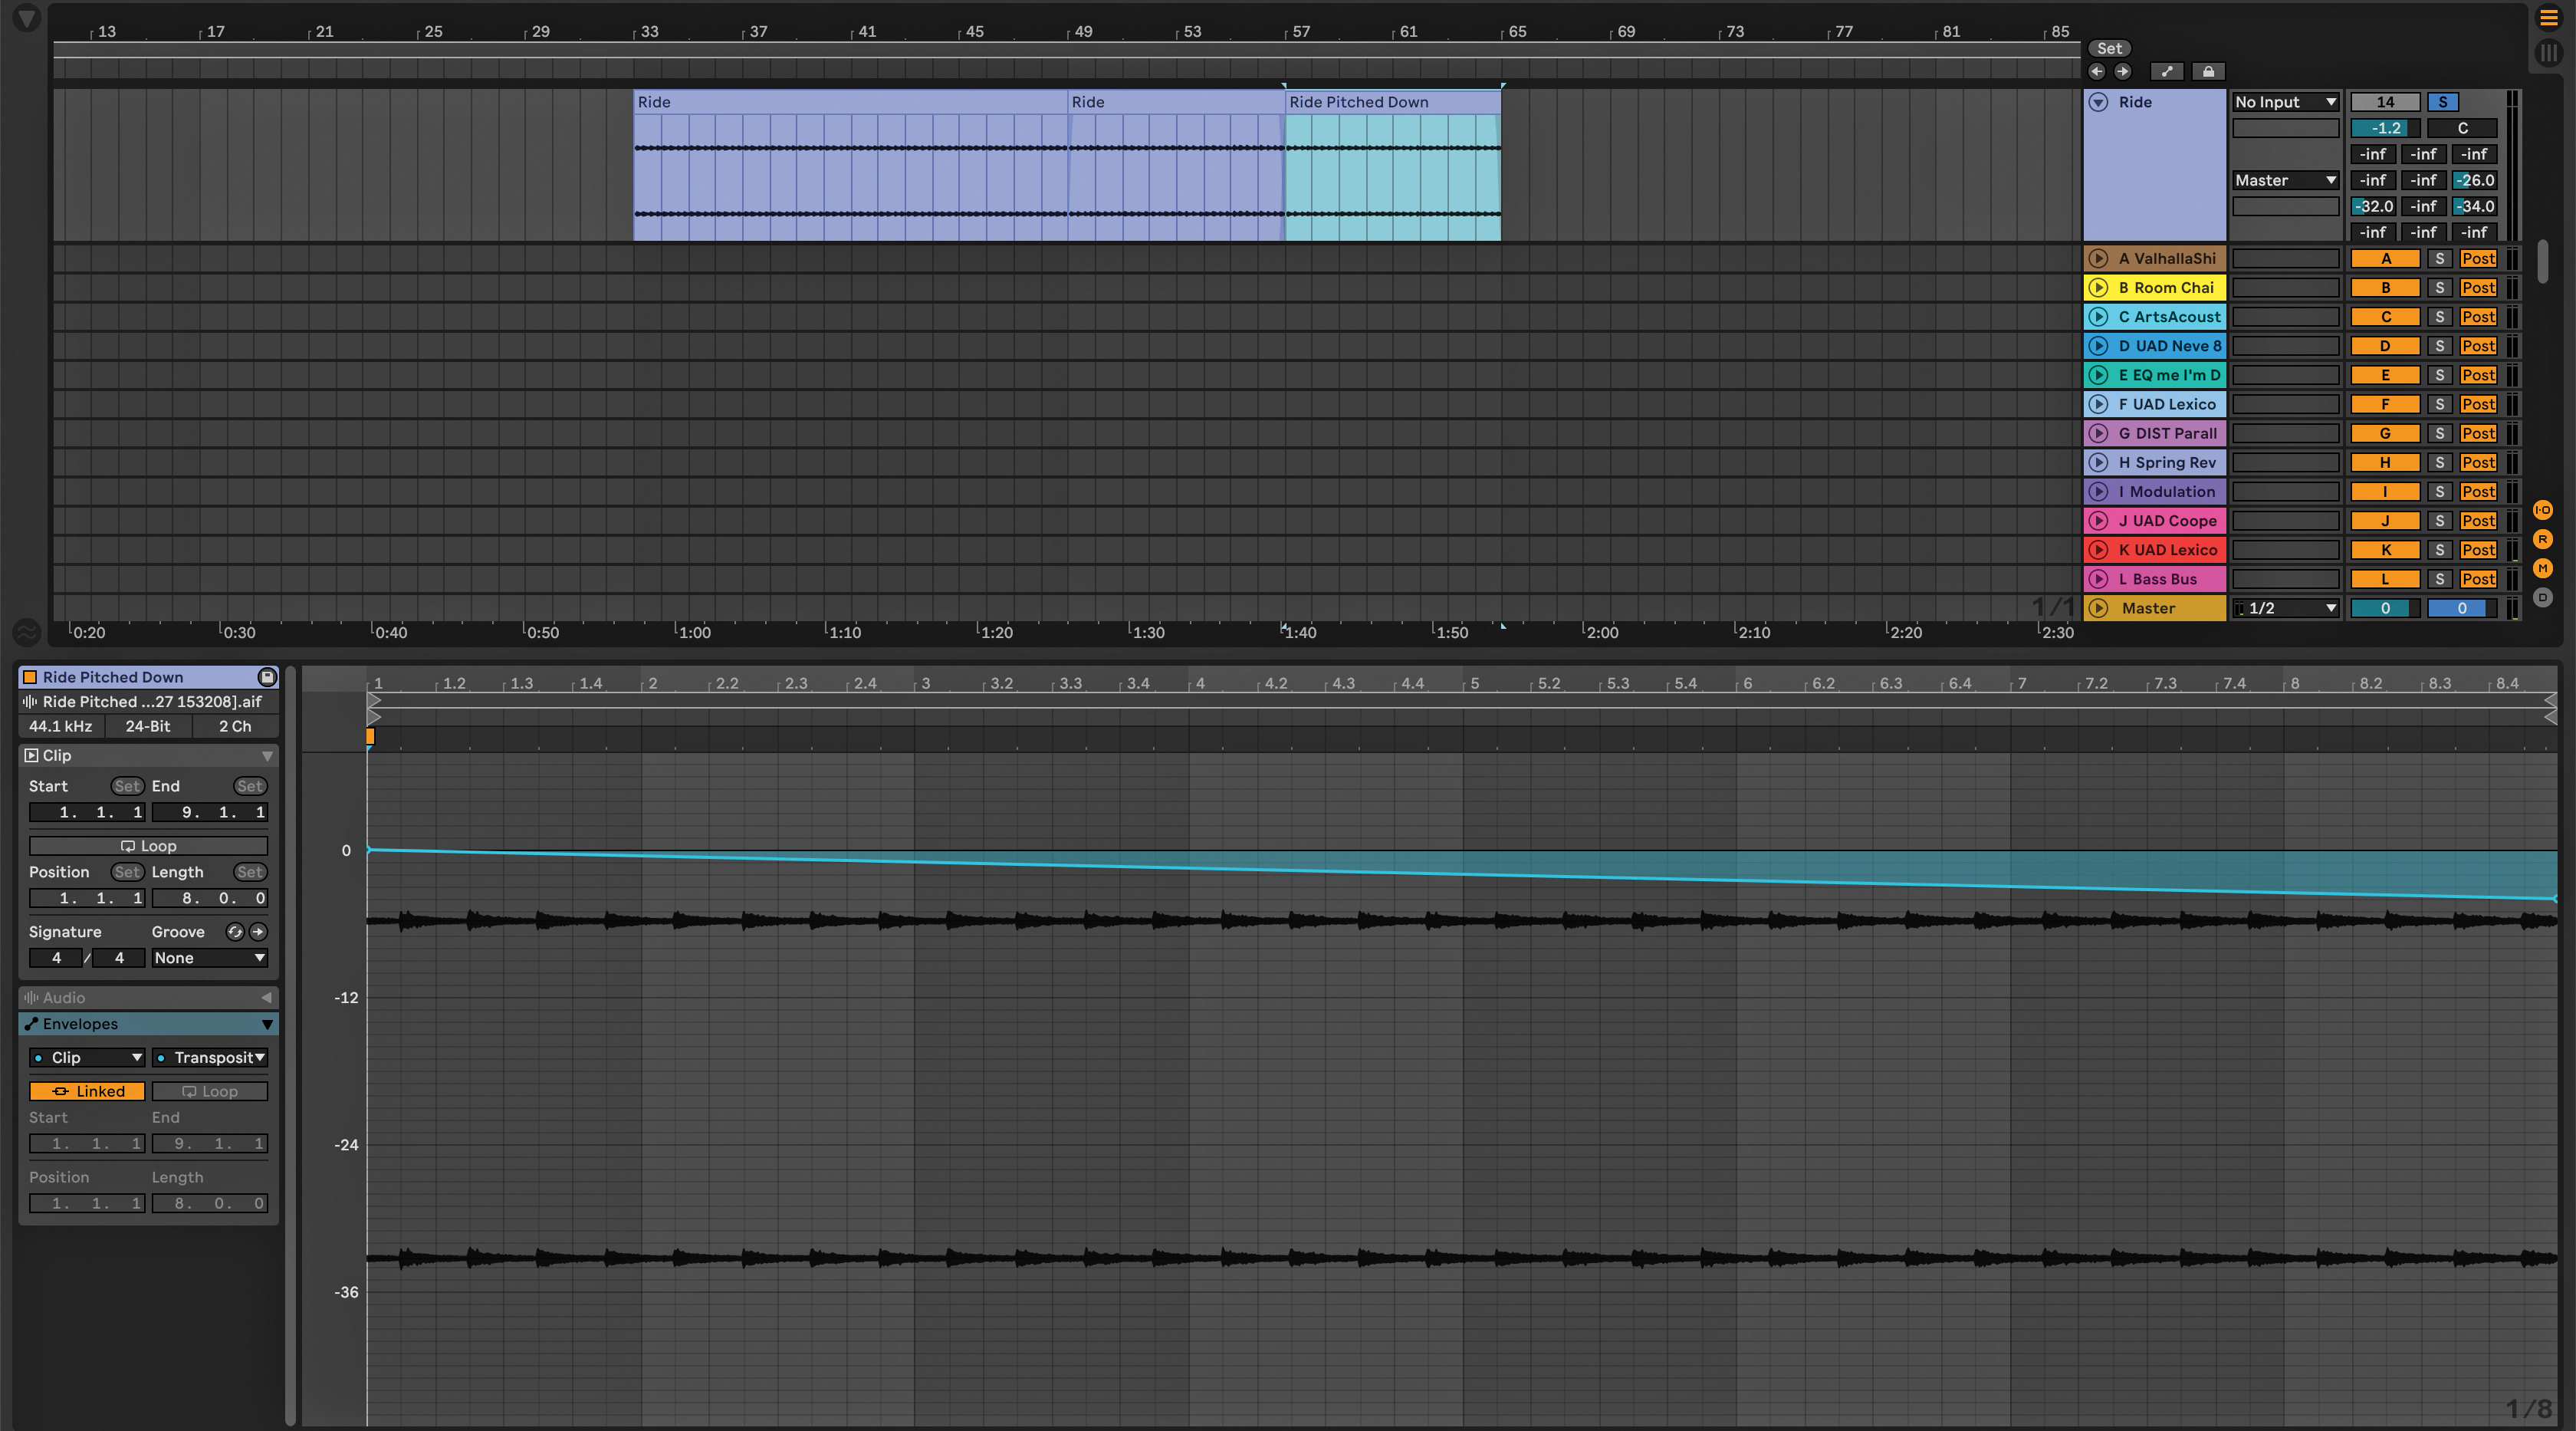
Pitch down the ride (or hi-hat) in an arrangement. This is a simple trick that can be used during transitions, like the end of a buildup section. Over a four or eight-bar period, use a plugin like zplane Elastique Pitch V2 and automate the pitch down on the hi-hat or ride.
You can also use Pitch Automation in a DAW. In Ableton, open the clip and navigate to the Envelope section. Select Clip and then Transposition, and automate the pitch down. Return the pitch to normal (zero) after the transition section.
8. Add movement to basslines
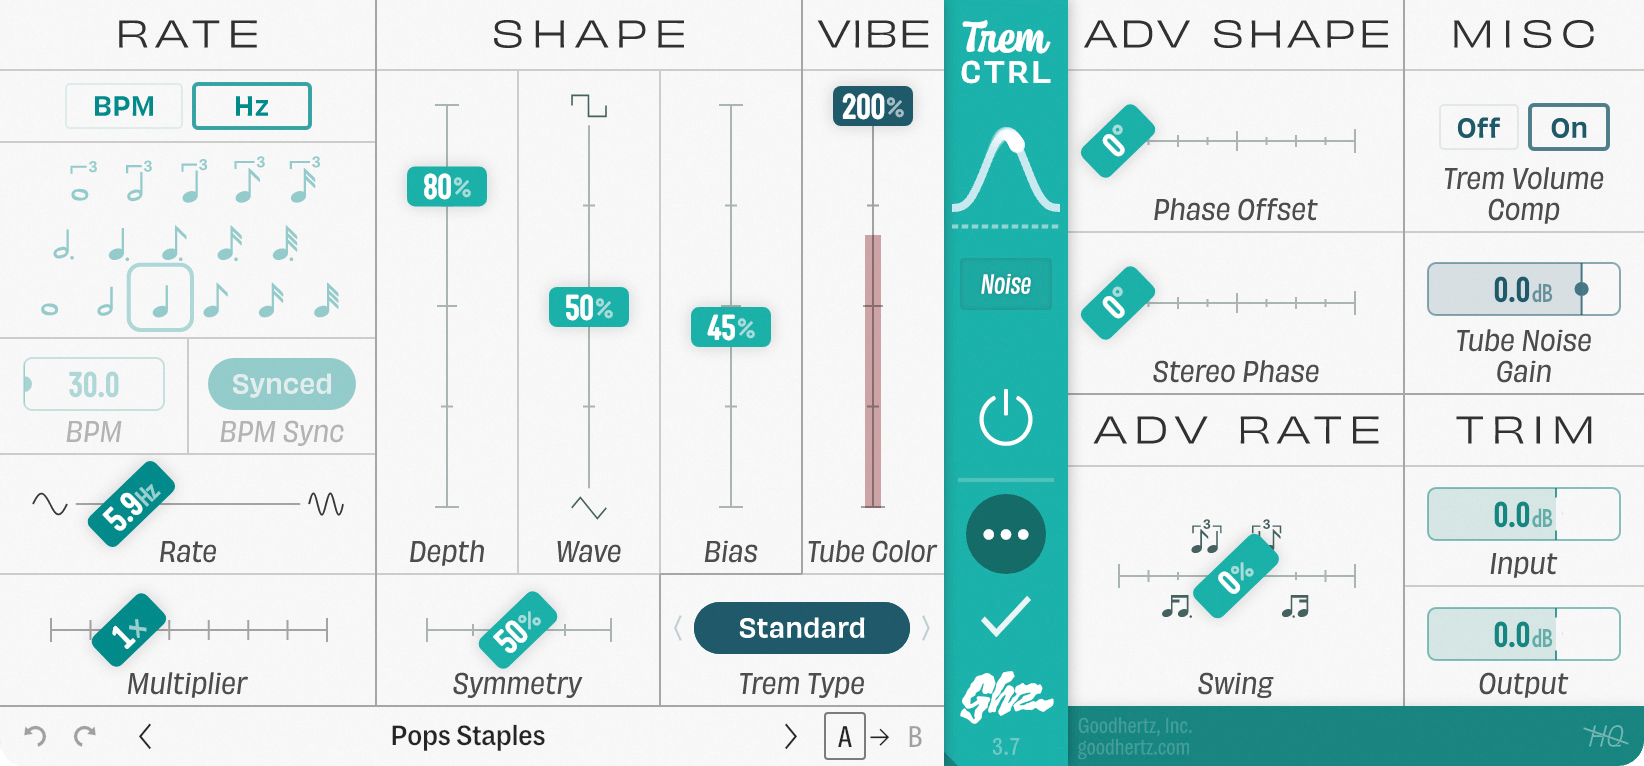
Make your basslines more interesting using a Tremolo plugin like Goodhertz Trem Control, Ableton’s Auto Pan or similar and automate the modulation. Next, add a filter like Simplon for automation on top, and automate the low-pass filter frequency to create a rhythmic pattern on your bassline.
9. Study arrangements
Many producers can create a loop that sounds good but an entire track requires a different skillset. Listen to arrangements from other producers to learn how to tell the story of a track, and how to build up tension and release by using contrast and automation. A good exercise is to listen to an arrangement, and write out the elements you hear playing in each eight-bar sequence.
10. Reverb automation
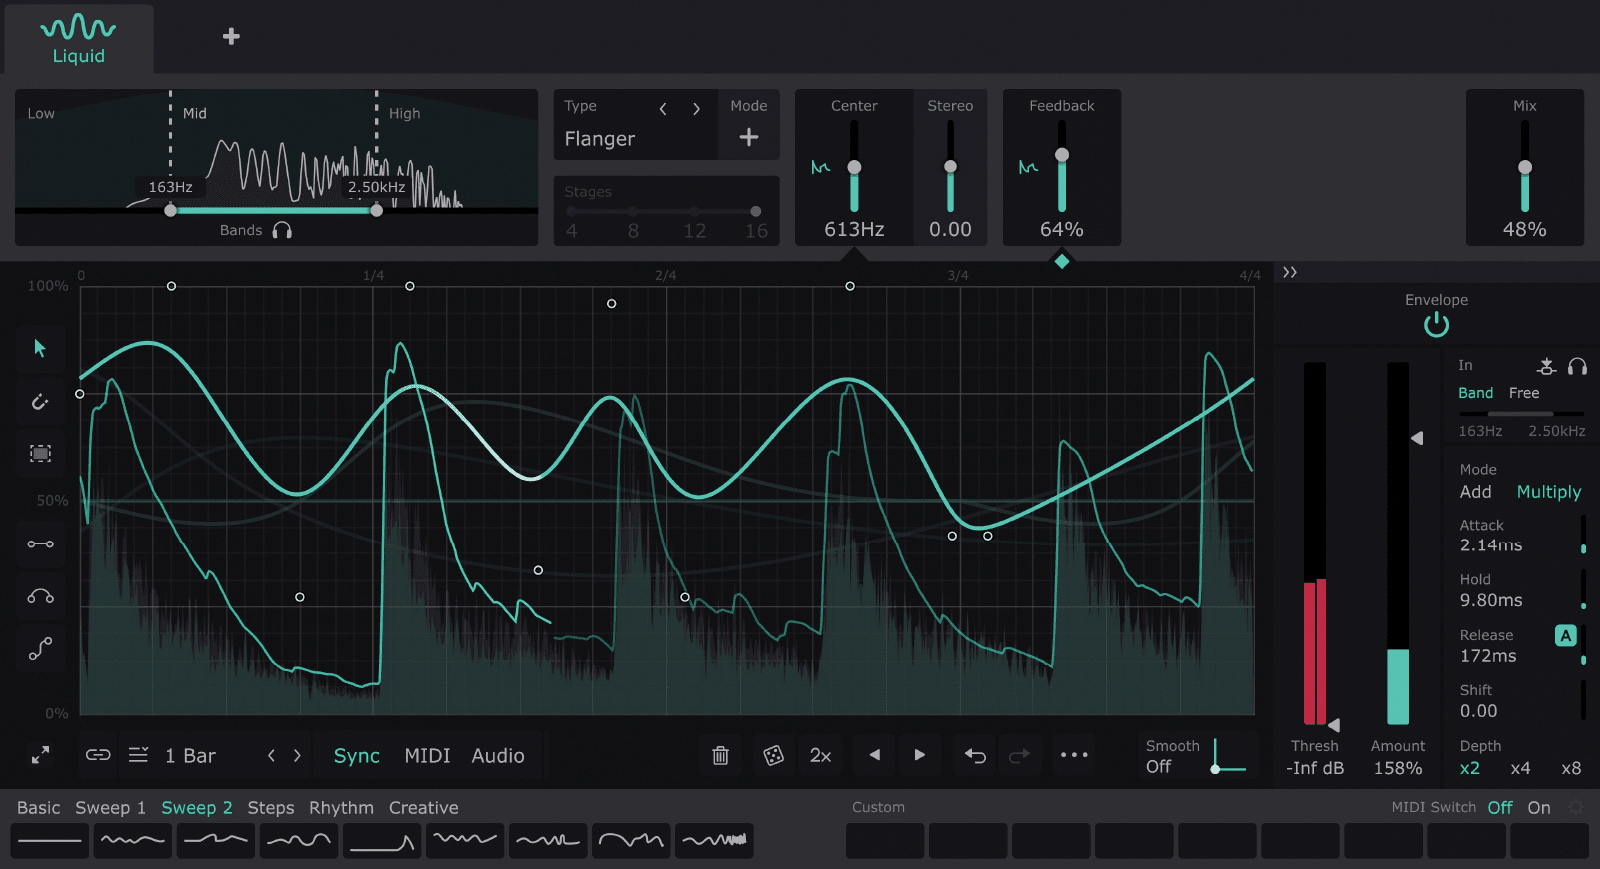
Automate synths, supporting melodic lines or effects with reverb. Create an aux/bus track and put your favourite reverb on it. Make the reverb long by setting the pre delay to around 7.5 or 8ms and set the decay time to six seconds or longer.
Add a rhythmic inspiration tool like Cableguys ShaperBox to the chain to create a fresh groove and lastly add an EQ or filter to cut out the high end and make the sound darker. During the buildup, try automating the send to the aux/bus on the reverb chain up and bring it back to normal before the drop.
11. Make your snare rolls more interesting
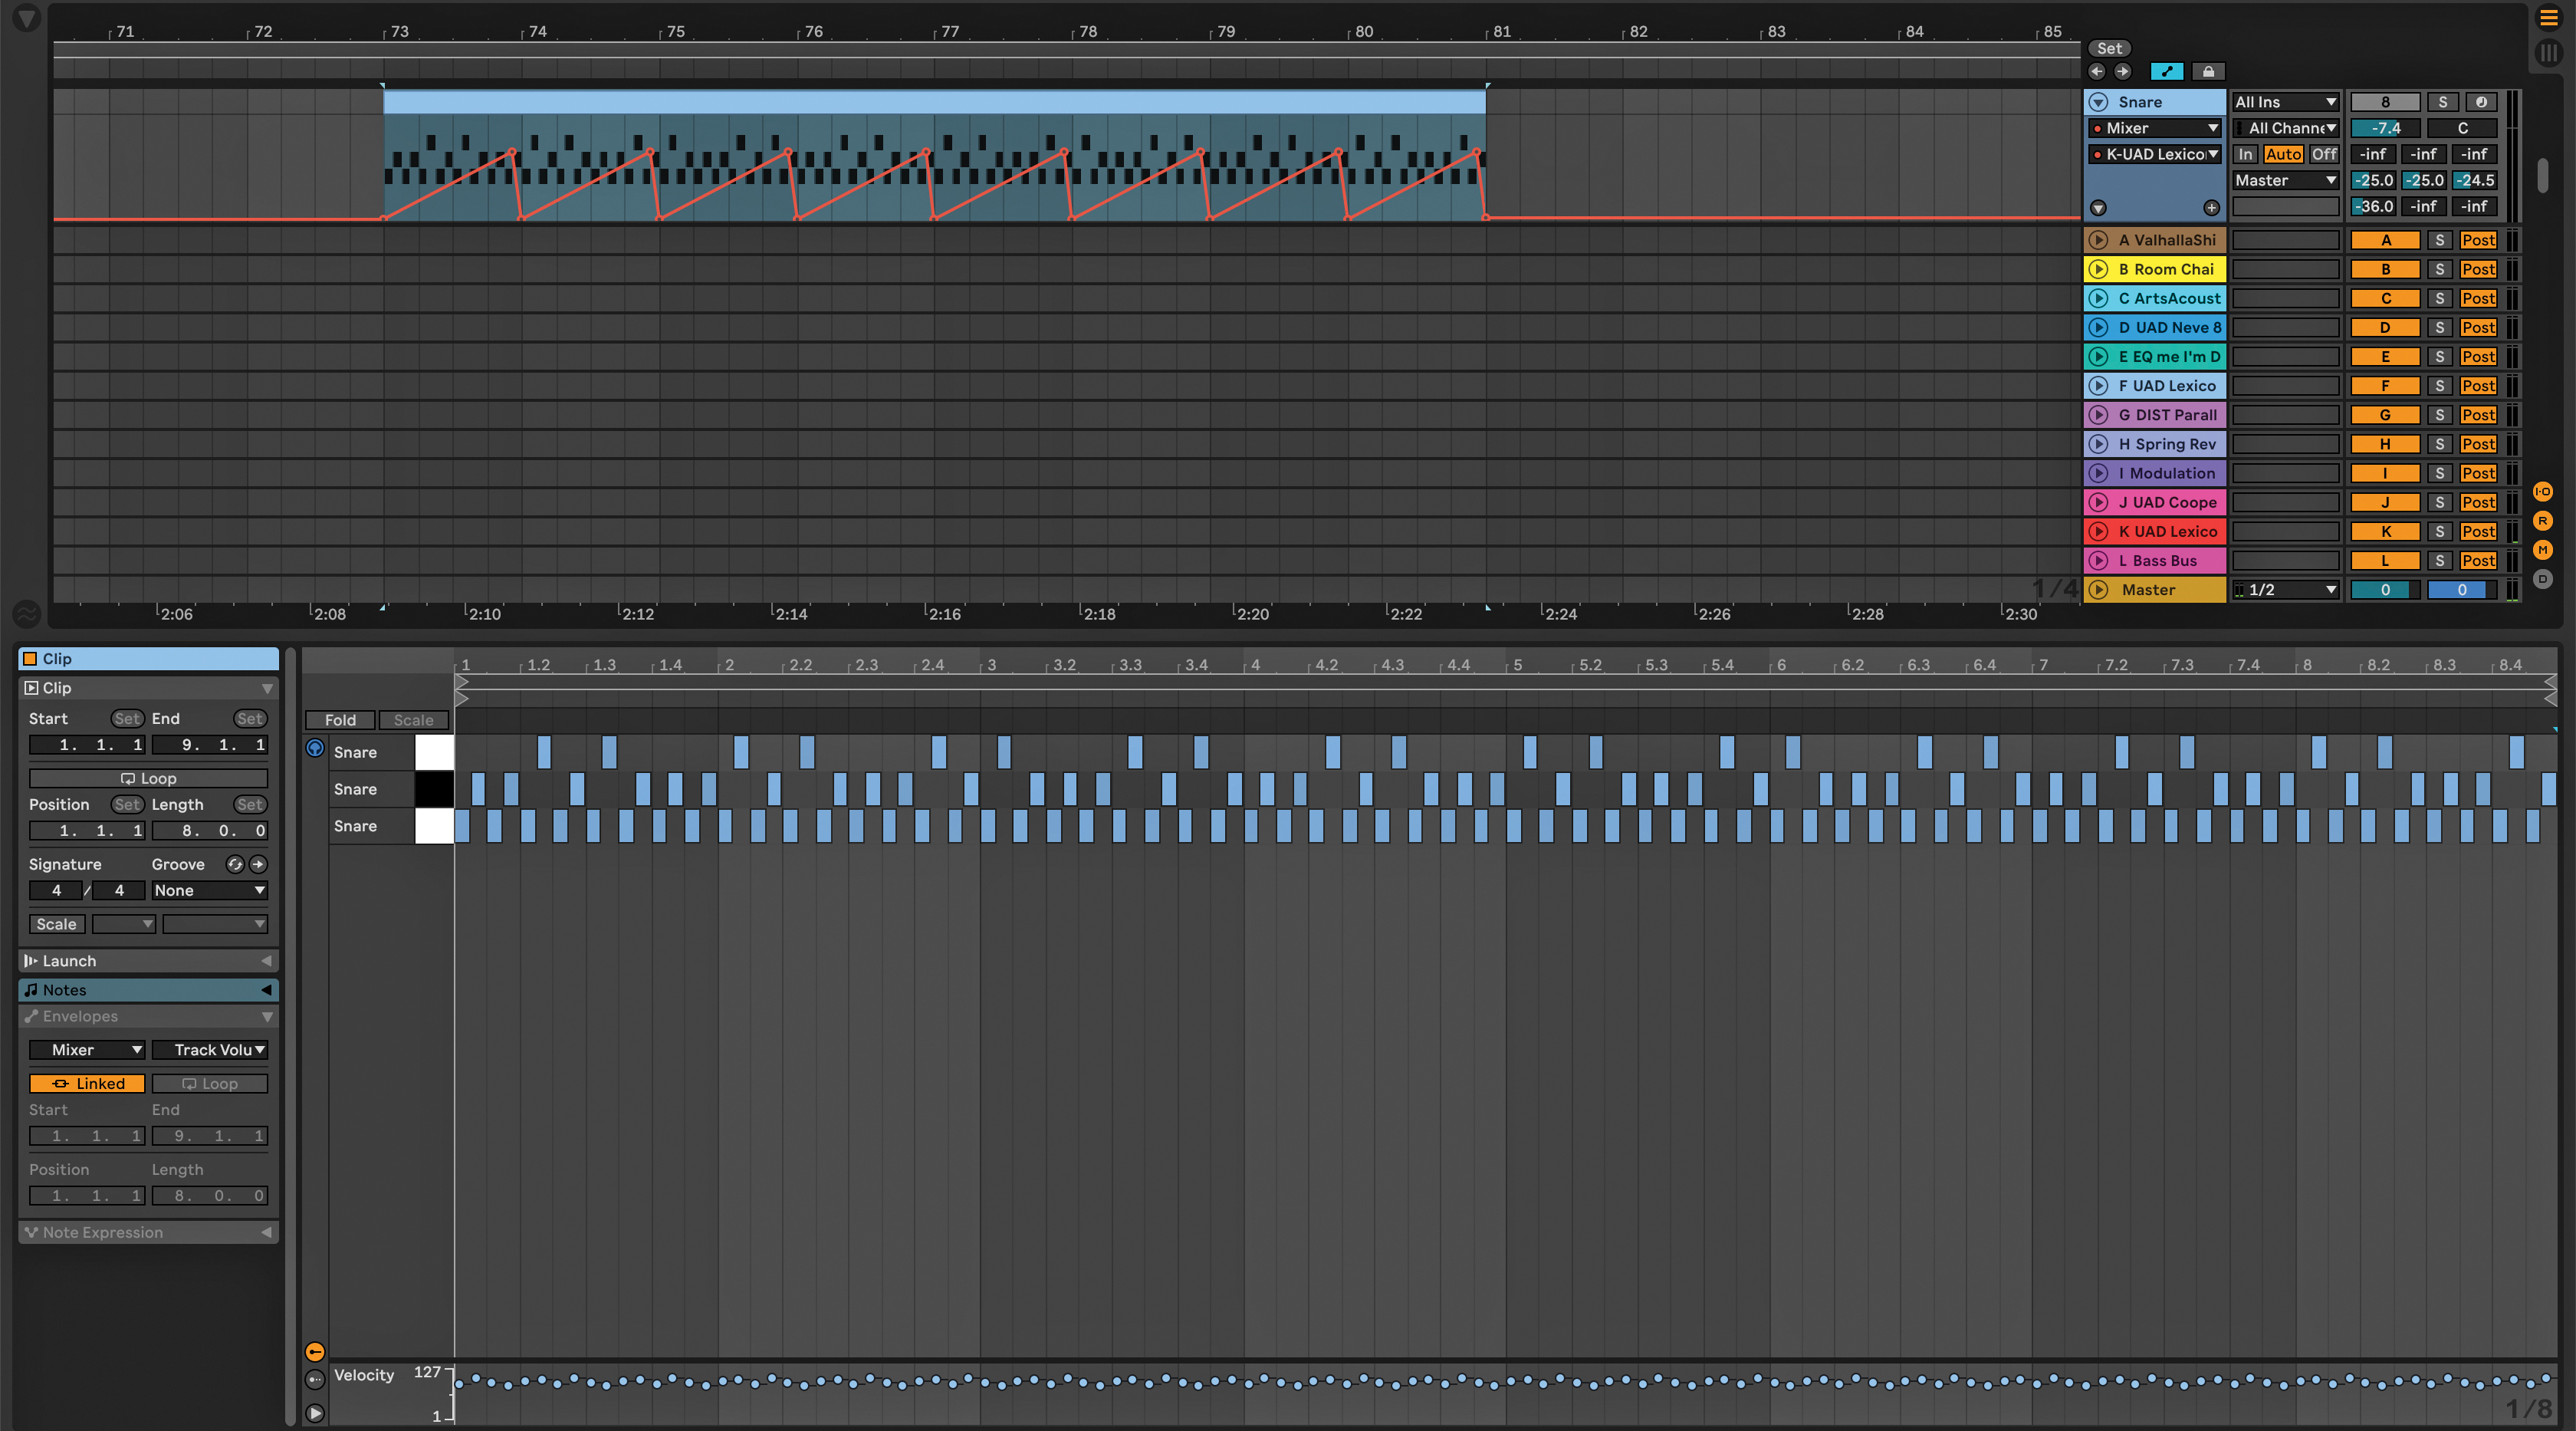
Make your snare rolls more interesting by processing each of them a little differently. In a Sampler like Battery, or Drum Rack in Ableton, put the same snare on three different MIDI notes and EQ each one a little differently. This way when the snare roll plays, there will be a variation in sound each time.
Program in a 1/16 note snare pattern, and assign the first six notes a different velocity. This will create more of a polyrhythmic groove over the top of a four-on-the-floor drum pattern. Double the length of your pattern, and move your MIDI notes to different notes.
12. Using delay to add movement
You may want to add more movement to your main synth line or a supporting part by using delay. Copy the part you’d like to work with to a new track and add a delay to it, like Soundtoys Echoboy or Waves H Delay. Pan the original track to the left and pan the delayed channel to the right. Now that the track is doubled, adjust the volume of both tracks accordingly in the mix.
13. Work with references
It’s a good idea to use a reference track when creating a song, whether it’s for the sound design, melodic or percussive ideas or arrangement. On your master bus, load up a plugin called ADPTR Audio Metric AB. This plugin allows you to load up multiple references and A/B your mix with your reference track. For example, if you would like to use a similar kick or bass to one that’s in the reference track, Metric AB allows you to quickly check how close or far you are from your desired sound.
14. Washy rides
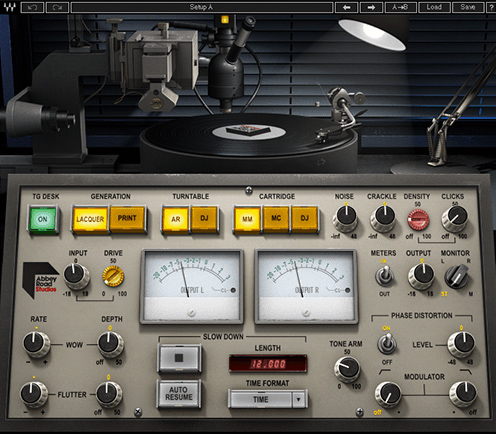
An element that works well in techno is washy rides. To create this sound, add an EQ like the Pultec MEQ-5 to a ride track. Set the peak to 500Hz and add 3dB of gain, and lower 5kHz by 5dB. Add the Goodhertz Vulf Compressor and use the 2-Bus Glue Parallel preset. Send the ride to the aux/bus that has the main reverb on it. Create another aux/bus, add a saturation plugin like Waves Abbey Road Vinyl Tape and an EQ to cut the lows and boost around 2700Hz.
On another aux/bus, add Universal Audio Cooper Time Cube MkII Delay and try the Pseudo Spring with Echo preset. Send your ride to the Cooper Time Cube aux/bus and adjust to taste.


