10 pro tips for adding punch and power to your mixes
These are the tricks the pros use to get their mixes sounding harder than ever

Achieving the huge, powerful sound heard in the best pro mixes is the holy grail for most producers and engineers. Today’s biggest and best records strike the perfect balance between transient punch and powerful weight, and sound consistently fantastic across all manner of speakers - from a tinny mobile phone to the largest festival soundsystem.
And stylistically, most genres of music must pack serious punch and weight, which is why many of us music-makers dedicate years of our lives learning how to get mixes punching like a true heavyweight.
In a nutshell, the most effective way to dial in perfect mixdown punch and power is by picking the right sounds during the tracking and sample selection stages. Assuming your choice of sounds is on point, though, this isn’t always enough to extract the maximum impact from a track – so how can we add an ultimate dose of power to our own productions? Well, you’re about to find out as we hit you up with ten tips and techniques guaranteed to get your mixes slamming.
1. Snappy saturation
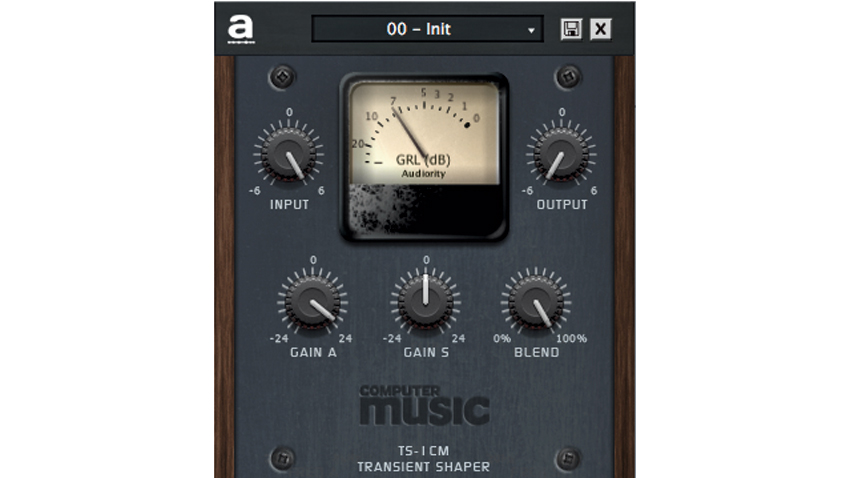
Great results can be had from combining transient shaping with saturation. You can make your own custom processing chain by, for example, combining a big attack boost from a transient shaper with a classic reel-to-reel tape plugin to give your attack a bigger yet classically fuzzy sound.
- Read more: 12 of the best analogue saturation plugins
2. Minimalist arrangements
Something that’s often overlooked in the quest for a powerful, punchy sound is the actual arrangement of a track. A lot of modern music typically features a sparse structure for the simple reason that keeping things minimal in your arrangement will instantly free up headroom in the mix.This extra headroom will then allow you to add more weight and power to the elements that are there, giving a bigger, louder overall sound.
As the human brain can only make sense of about seven distinct sounds at a time, keeping a careful eye on what’s happening in your arrangement can also have the added benefit of making your track more catchy to the casual listener - check out tracks from the likes of ambient techno mastermind Jon Hopkins or EDM titans Dimitri Vegas & Like Mike to hear stripped-back yet powerful arrangements at work.
3. More power, captain!
Following on from the first tip, experiment with various mixing effects placed before and/or after a transient shaper. Pushing a signal’s attack into a stage of limiting or clipping shaves some level off it, for example, and although you might think the addition of front-end crack followed by its removal sounds counterintuitive, we suggest you give it a try. It’s a surefire trick for adding impressive punch to drum hits without the pokey, headroom-swallowing effect of a transient boost on its own.
Get the MusicRadar Newsletter
Want all the hottest music and gear news, reviews, deals, features and more, direct to your inbox? Sign up here.
4. Attack from the sides
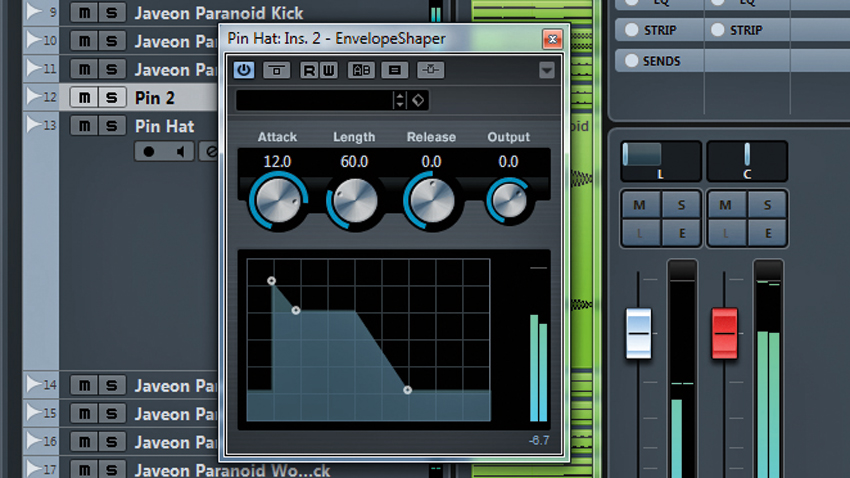
When adding punch to drums, it always pays to be careful about how much snap you add to sounds that sit wide in the stereo field. A little extra attack on wide-panned hats, rides or congos can sound great, but overdoing it will not only take focus away from the centre of the stereo field, but will result in most of that extra attack getting lost when the sound is heard in mono, thanks to phase cancellation.
5. The crying game
Did you know that our ears are most sensitive to frequencies around the 3-4kHz area? This comes from the dimensions of the open ear canal, which resonate at about this frequency (although this can vary from person to person). Keeping that in mind, you can boost this area using EQ or saturation to push the sound forward and increase perceived impact.
Take it steady with this one, though, as build-up in the 1-4kHz area can quickly create a harsh, raspy sound. A great tip is to boost the sound (a vocal, for example) you want to push forward in the mix, then make an opposing cut to the other instruments around it (pads, keys etc) to maintain a balanced overall timbre.
6. The pen is mightier than the sword
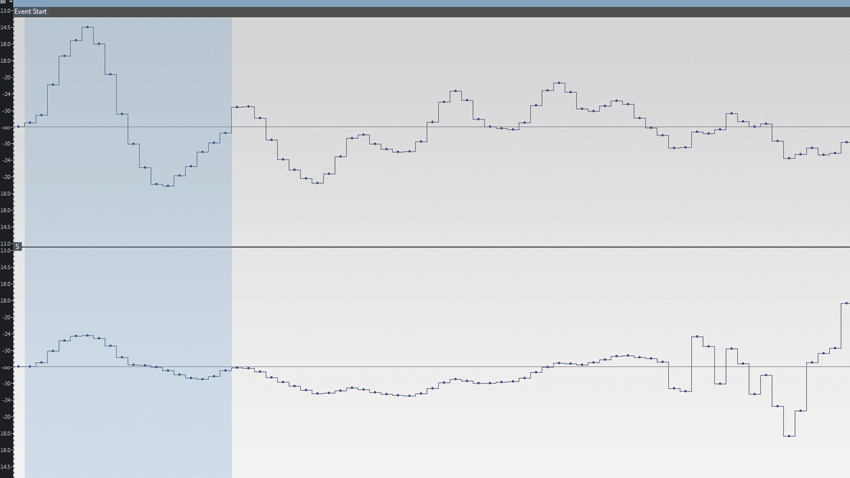
A crafty way to add extra punch to an overly sustained or flabby sample is to edit the audio manually using an audio editor. Simply open the sample and zoom all the way in – now, when you select the Pen tool, you’ll be able to redraw the waveform amplitude to your taste.
Although this is a top tip for adding punch, it works equally well for taming overly spiky transients and reducing the loud pops or clicks often found in samples taken from vinyl.
7. Check your phase
Paying careful attention to the phase relationships of layered sounds can pay serious dividends. Phase correlation is especially important if you’re working with multiple signals recorded in tandem - live drums or full band recordings, for example. If the phase alignment of the individual mic signals isn’t corrected at the recording/tracking stage, certain signals’ frequencies will clash with others, resulting in phase reinforcement or cancellation due to nasty comb filtering.
If manual alignment and basic polarity flipping isn’t working, try rotating the signal’s phase between 0 and 360 degrees (using a plugin such as UA’s Little Labs IBP) until you find the spot where the comb filter effect is minimised.
Another expert plugin for phase correction is Waves InPhase - aside from operating in stereo, mono and mid/side, you can even use it to align one signal’s phase to another’s via sidechain capture.
8. Keep your plates spinning
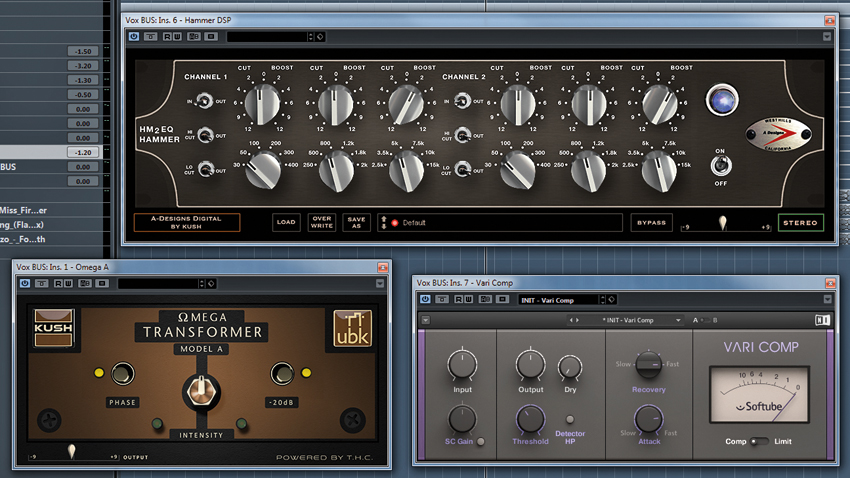
When carefully crafting a beefy blend of track elements, a mix can be likened to a house of cards: one processing decision can have a drastic impact over the relative balance of the track as a whole.
To illustrate the point, imagine you’re trying to fatten up your drum bus with parallel compression. Applying this to the entire drum group will pull up the quietest parts of the signal, adding instant weight; but as a downside, this will probably affect the transient punch of the snare that you spent ages perfecting! So, have an overall gameplan from the start, and be sure that every processing move you make is contributing to the bigger picture.
9. Nice and tight
Give added emphasis to the kick and snare by using tight, invisible sidechain compression to pull other transients down at the points where the core hits occur. For ultimate control over your compressor’s reaction time, use a silent ‘ghost’ signal - a short, percussive sound such as a hi-hat or click works best - to trigger the compression, then shift the muted trigger signal earlier in time by a millisecond or two.
Once set up, adjust the compressor’s release, threshold and ratio to dial in the perfect amount of imperceptible ducking. This is also great for removing the clicks and artefacts that sidechaining often creates.
10. Crackers for parallel
Parallel compression is typically used to increase the sustain and weight of a sound without the dulling of transients and sonic coloration that’s often a byproduct of regular downwards compression. However, it can also be used to increase the initial punch of a sound: set a slower attack time, then mix in this snappy signal to taste.
Unlike processing the sound directly, this parallel balance gives you a finer degree of control, and leaves the source sound untouched. Finally, try using an EQ to manipulate the parallel signal’s tone in the mix for ninja-like control over perceived punch.

Computer Music magazine is the world’s best selling publication dedicated solely to making great music with your Mac or PC computer. Each issue it brings its lucky readers the best in cutting-edge tutorials, need-to-know, expert software reviews and even all the tools you actually need to make great music today, courtesy of our legendary CM Plugin Suite.


