“It’s a task that most of us can’t be bothered with, but it’ll pay off in the long run”: Never cleaned your synths? Here's how – and why – to do it properly
Follow these top tips to keep your 'boards clean, in tune and ready to play, whatever the day

The best day of owning a synth or keyboard is the one it arrives at your doorstep. You've been looking forward to this day for weeks, perhaps saving your hard-earned cash for an instrument which, most likely, will change your music making fortunes.
On this first day, you unpack it and wonder at its gleaming and sparkling finish – it's ready to make some noise and change your life. Three weeks later, it's blended in with everything else you own, is covered in dust, and is about as appealing to play as, well... just about every other keyboard you own.
So here's how to keep your synths and keyboards as new and as fresh as the day you bought them, to keep them inspirational, approachable and fun enough to play and compose with, and to keep those musical ambitions alive.
Dust for life
As the famous synth/keyboard player Moby once said 'we are all made of stars', but what he probably really meant was that 'we are all made of dust', and that it gets everywhere, not least on, in and around your keyboards.
Dust is your basically your worst enemy. Not only will it become the biggest removal chore you face when you come to sell your 'board – your camera phone will enhance any spec of dust you don't remove in your eBay/Reverb photos – but dust has a habit of building up inside any electrical device to the point where mild heating will become a basic issue, or further, more serious damage can become a possibility. If you feel confident enough to open up your 'board without infringing the warranty (unlikely) then a good vacuum never goes amiss.
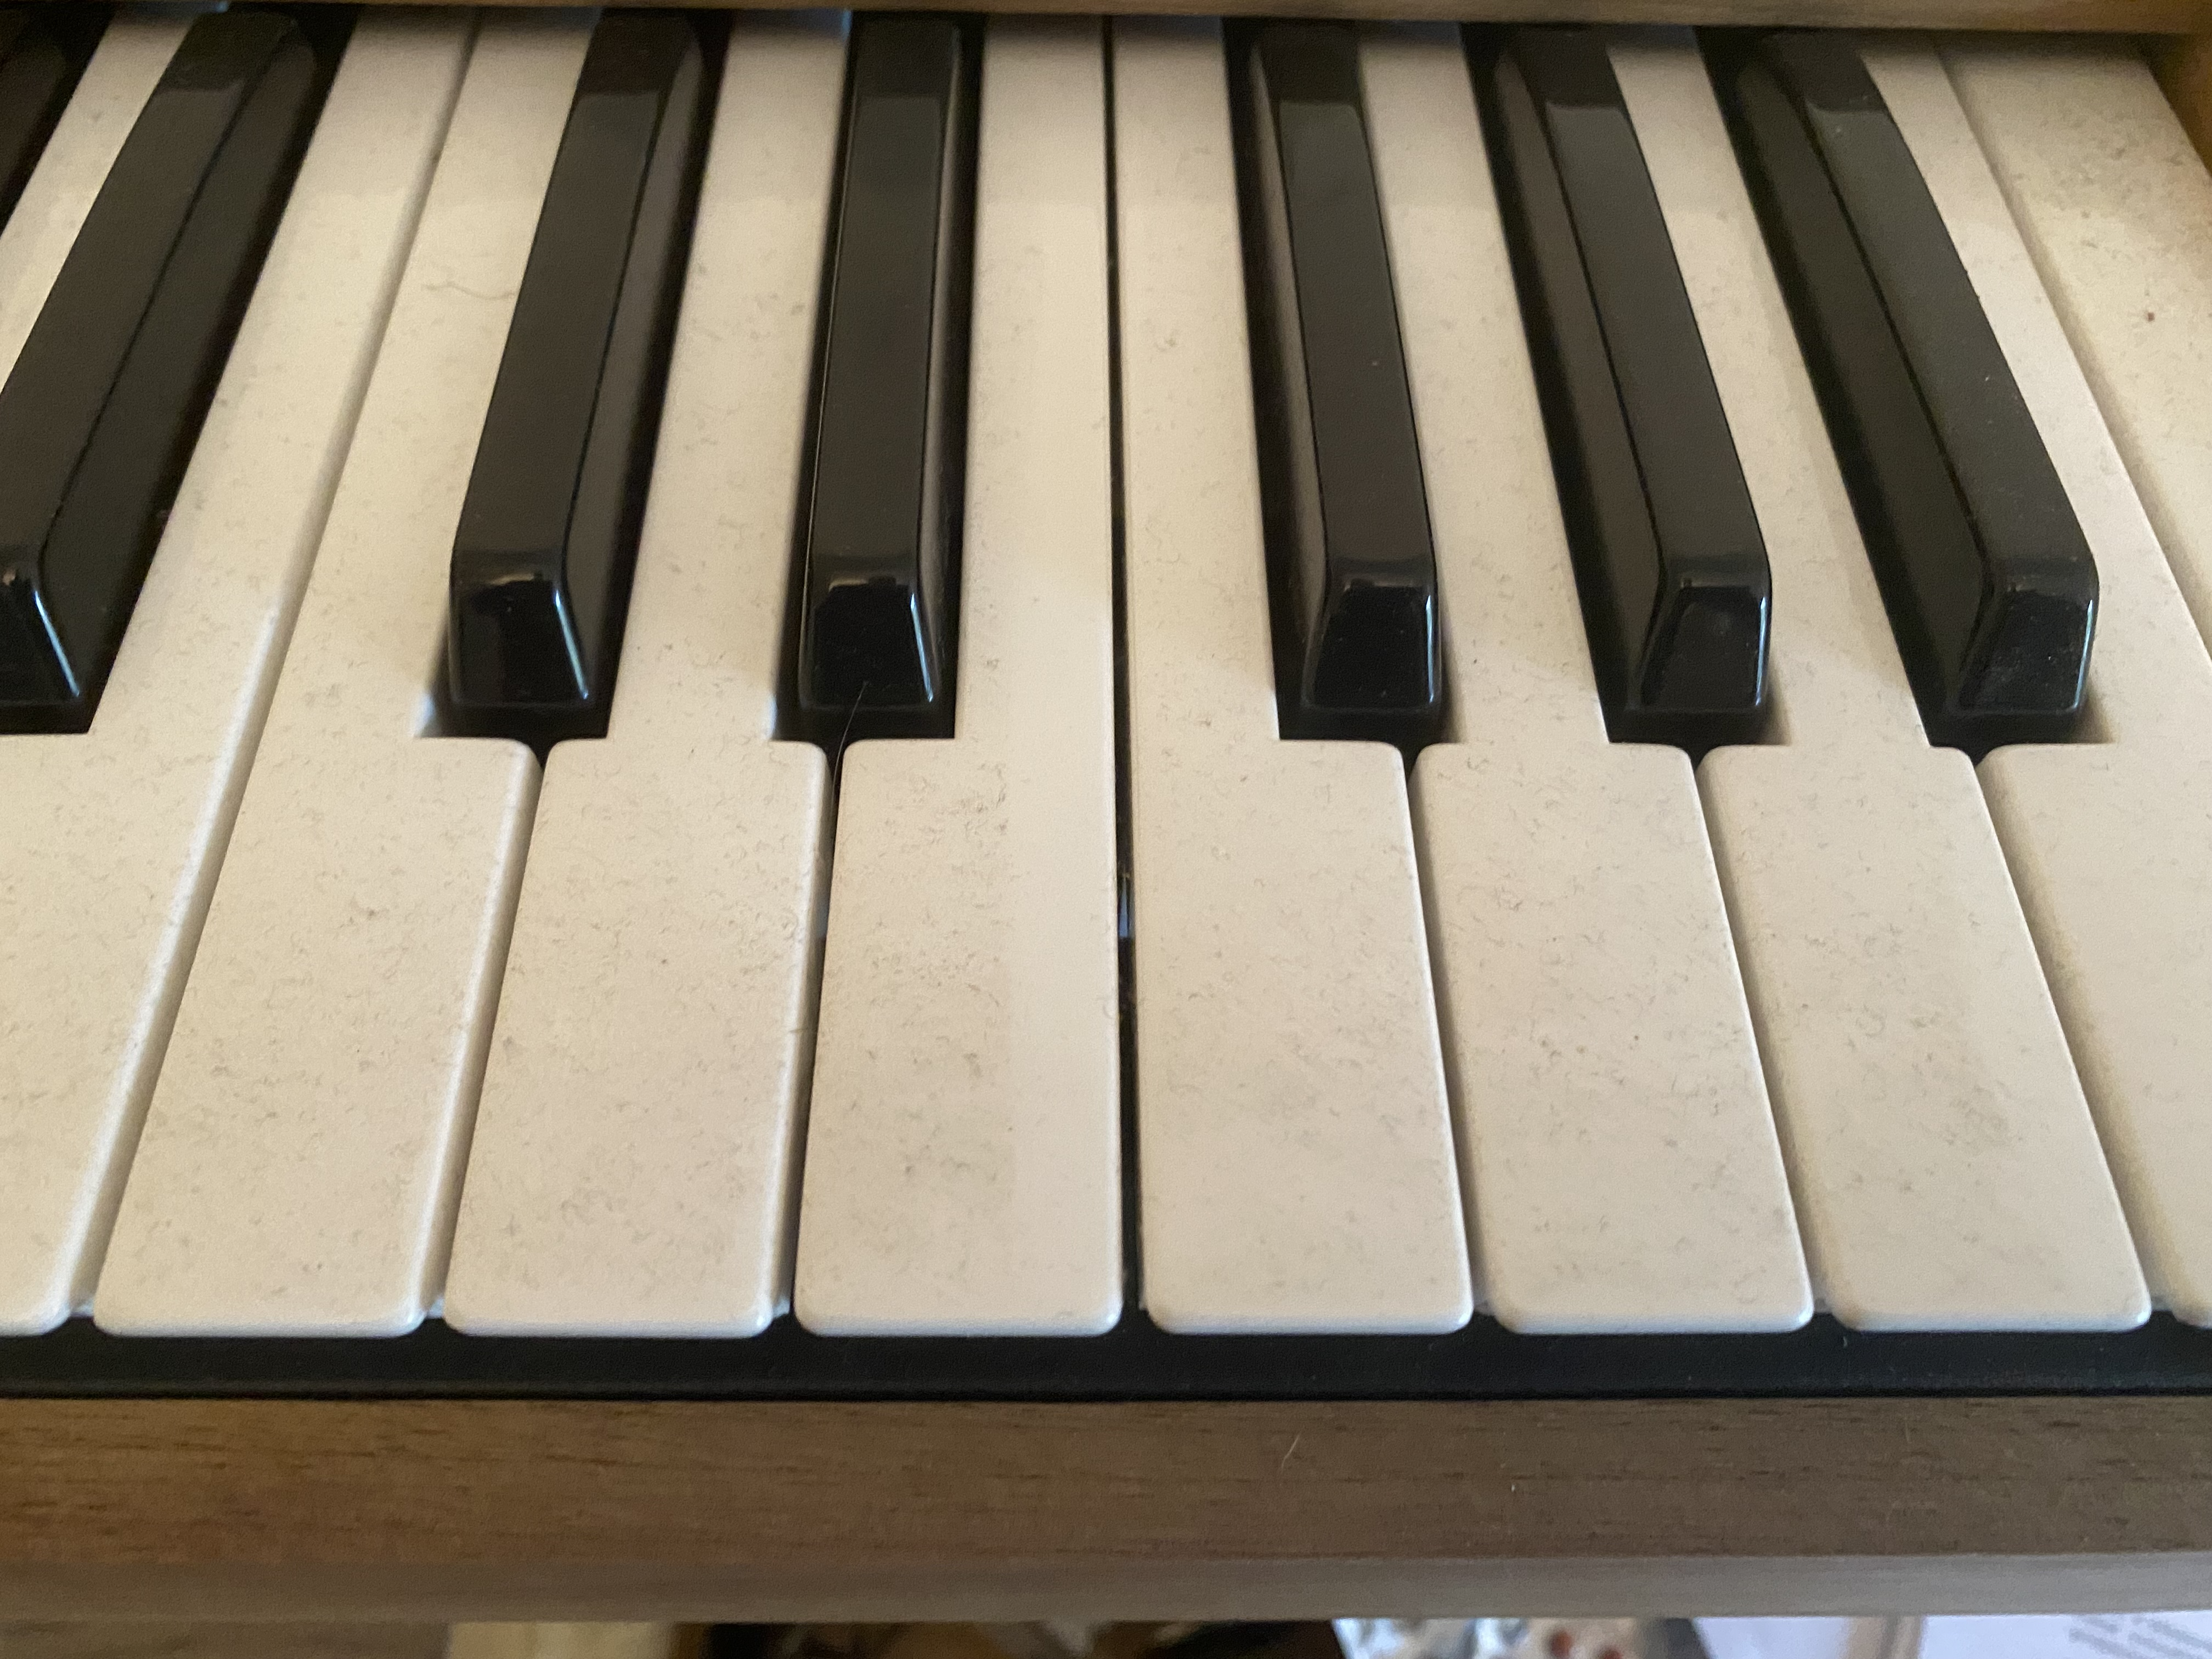
Of course the best way to avoid constant dusting is to avoid constant dust in the first place. Aside from keeping your keyboard room completely dust-free – perhaps by turning it into some kind of germ-free hospital ward – you could simply invest in some keyboard covers.
These can range from free – we once used the polythene that our keyboard arrived in as a 'better than you might think' dust cover scenario – to 'logo branded' (especially useful if you like showing off your synth collection while simultaneously keeping is safe from dust), to Decksaver-style see-through moulded plastic covers. This latter option varies in cost – from around $20 to $150 – but, importantly, lets you see those appealing keyboard knobs and sliders that draw you into actually lifting the case and playing the damn keyboards in the first place.
Want all the hottest music and gear news, reviews, deals, features and more, direct to your inbox? Sign up here.

Get atmospheric... or not
There's nothing a keyboard – acoustic or electronic – likes less than a varying atmosphere, both in terms of temperature and humidity. Avoid damp environments, then, and try to keep the temperature fixed and, well, temperate and constant – around 18-22 degrees is good, although this will obviously depend on where you live.
If you reside in a damp house, consider a dehumidifier for your studio, even if you only use it occasionally. You'll be surprised at how much damp can build up, especially older buildings, and how much such a machine can help. If you live outside, or on the North or South Pole, consider another hobby.
Dealing with yellow keys
Yellowing keyboard keys can make a keyboard look older than it really is. For ivory keys, yellowing is a natural process, while for plastic keys, it is often caused by direct sunlight reacting with the bromine in the keys.
It's a good idea, then, to keep your plastic keyboard keys out of direct sunlight, but conversely, and slightly confusingly, keeping your ivory keys in indirect sunlight can reduce yellowing. Confused? Just keep the lid (or fallboard) down or your keyboard if you have one, or use the aforementioned dust cover – always good advice for protection against both yellowing and dust.

However, if you find yourself with a keyboard with yellowed keys, there are a number of ways of reducing the colouration. Most rely on using a chemical reaction, either using hydrogen peroxide-based beauty salon gel (the same stuff that is used to bleach hair) to remove any yellow in plastic, or using other acidic – but less dramatic-sounding – solutions. Try anything from lemon juice to toothpaste to milk to provide a gentler cleaning experience for both plastic and ivory.
Whatever you choose, take care with acidic pH levels (you're looking at around a pH of no less than 3), so obviously don't use anything too strong. Be very careful as you clean, and try whatever solution you opt for on a single key first to test the effect.
Constant cleaning
Avoiding dust and yellowing keys shouldn't be one-off issues you deal with when looking after your keyboards. Giving a keyboard a regular clean is also a must – it's a task most of us can't be bothered with, but it'll pay off in the long run.
Using a not-too-damp cloth on the outside and a compressed air canister for the electronic guts will pay dividends and stop the dreaded dust build-up, while also reducing other, inevitable dirt build-up – yes, food and a lot more – that comes from hands making physical contact with keys.

And talking of physical contact, again this is obvious, but don't play your keyboards too heavily or aggressively. Basically treat your keyboard as you would an expensive item of furniture and you won't go far wrong. (In terms of cleaning it, rather than sitting on it, that is.)
Tune up
For acoustic pianos, regular tuning is wise and, like a car service, needn't be a one-off expensive nightmare if you do it regularly. Yes, there's something vaguely honky and characterful about a piano going gently doolally in the tuning department, but if you wish to record your acoustic and mix it in with any other instruments, getting it in tune within the mix will be easier dealt with before you press record and by a tuning expert.
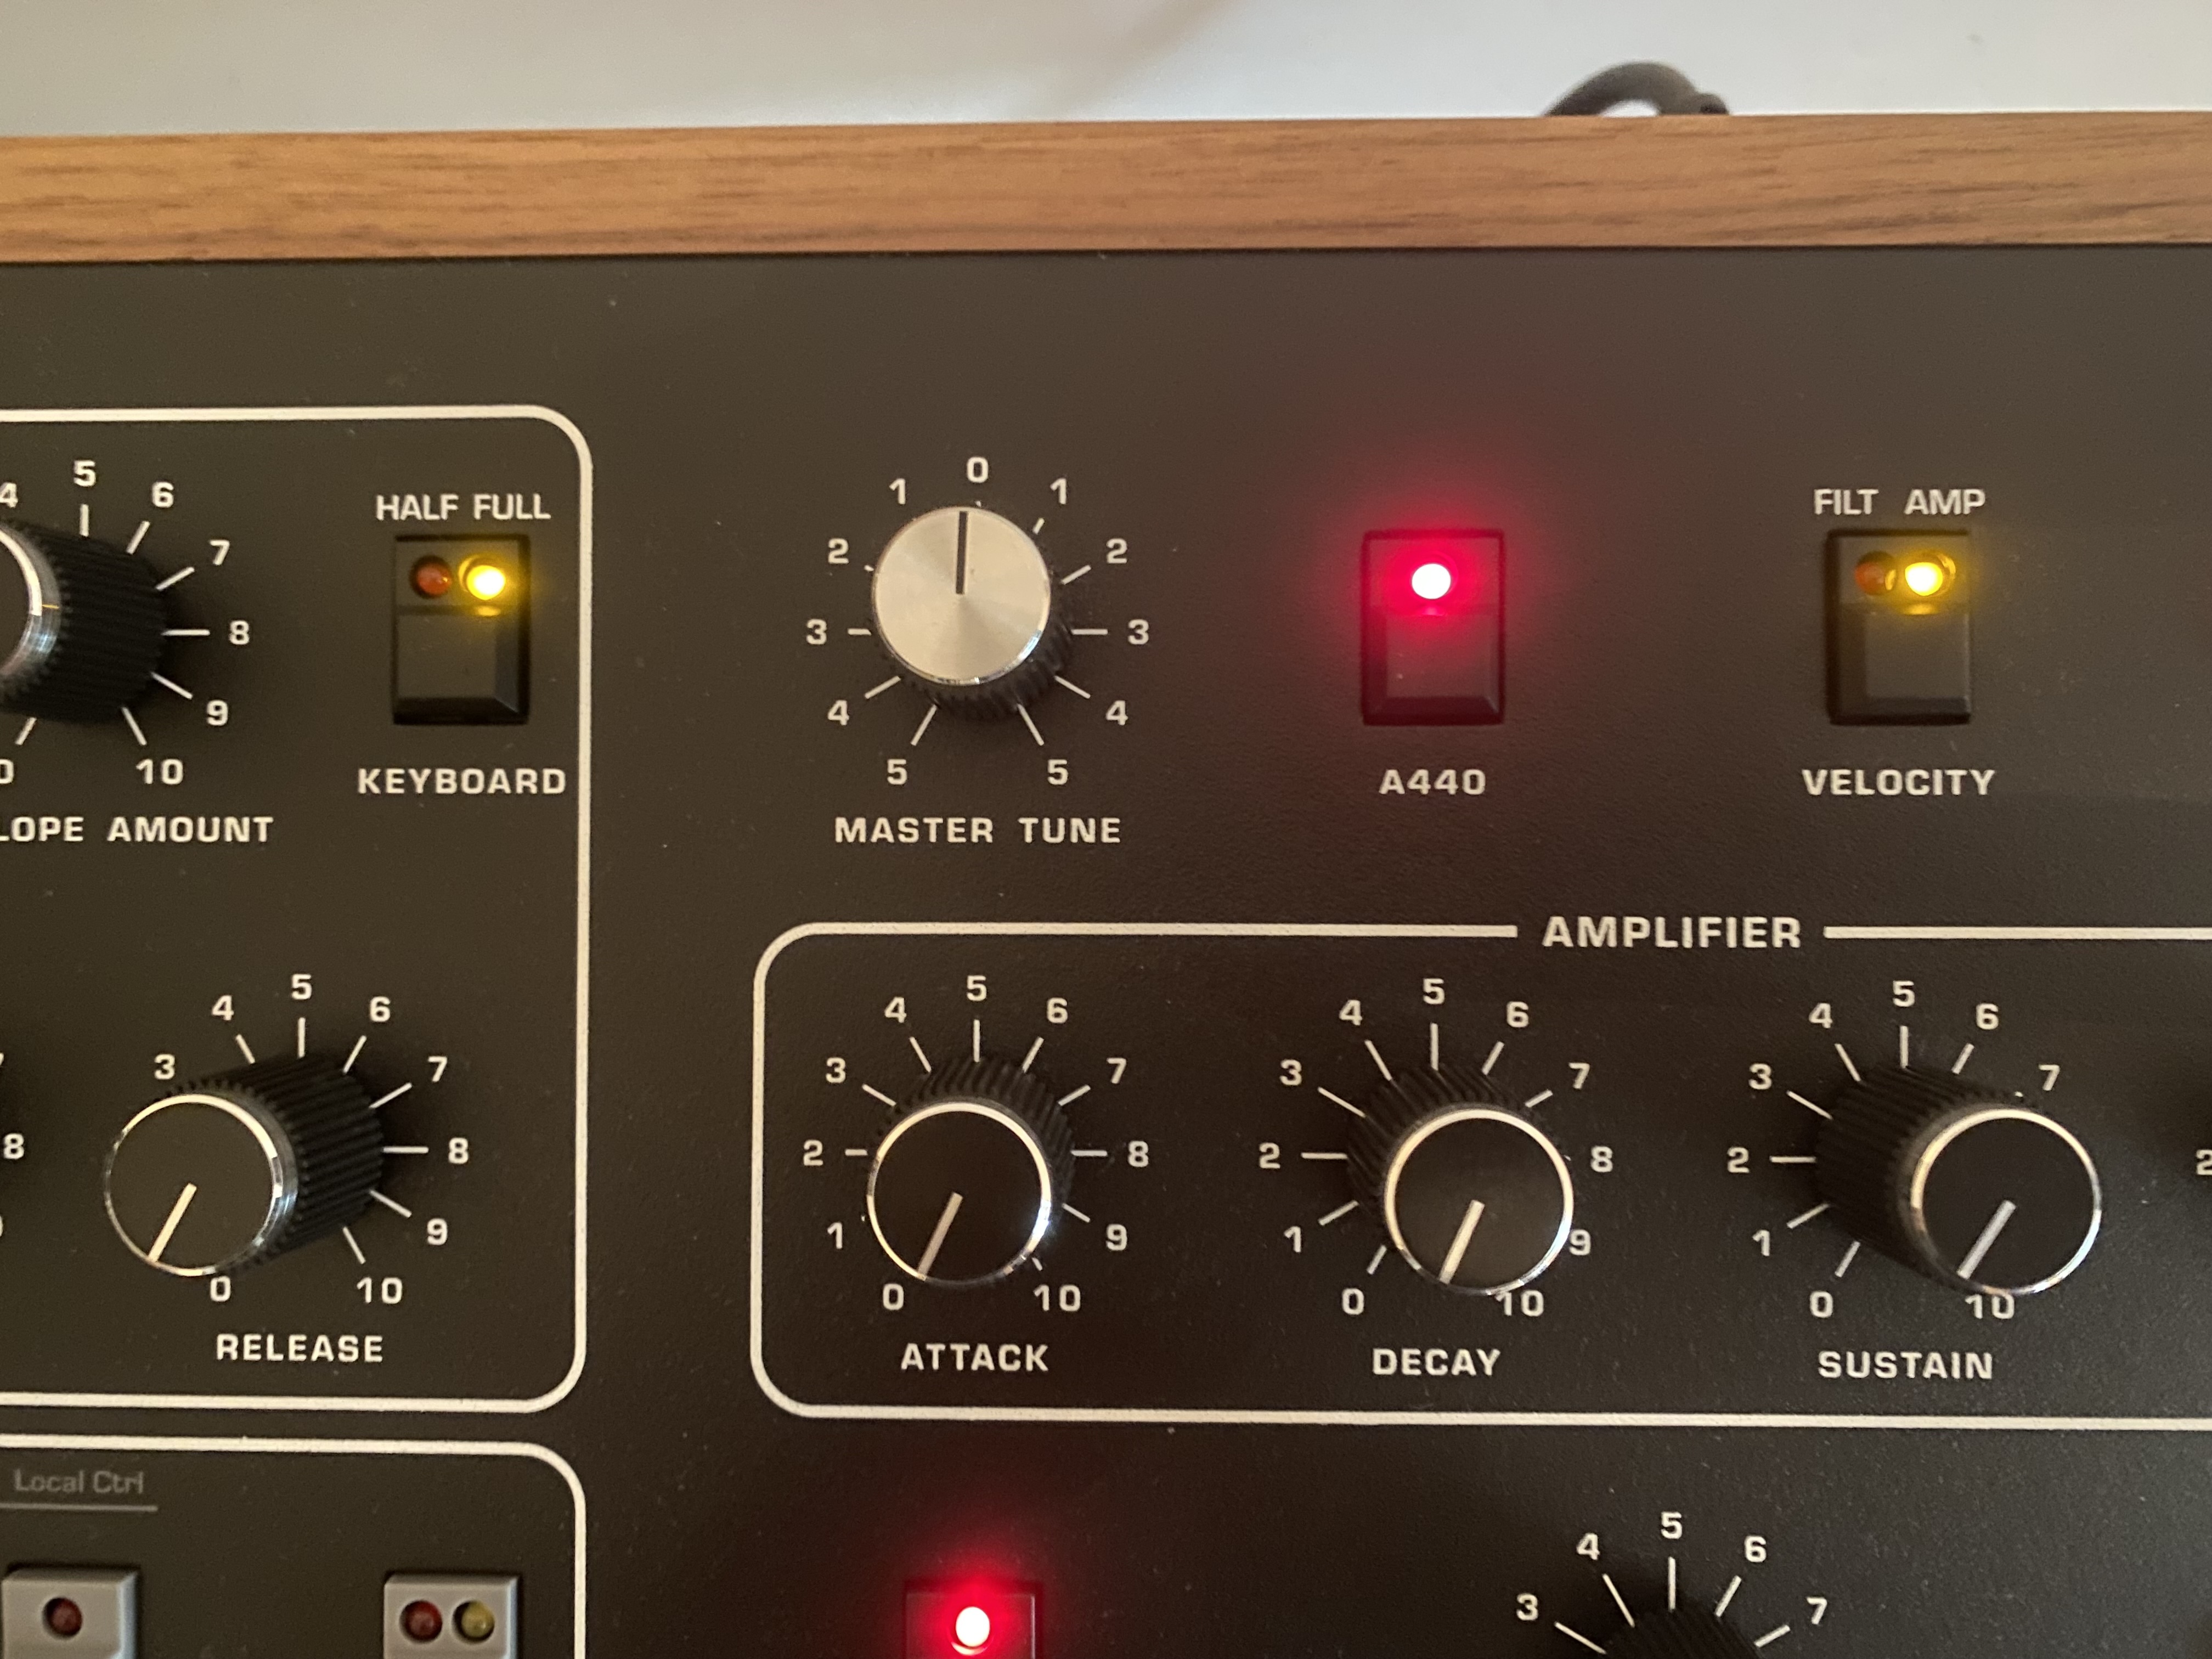
Tuning isn't just reserved for acoustic pianos. In this day and age, especially with the proliferation of newer analogue synths, tuning is almost as important as it was when the synth was first born back in the '60s. Fortunately, most analogue synths that need an occasional tune have it built-in as a quick 30-second or so function, or even do it automatically on boot up. Check your synth tuning regularly by comparing note-for-note with your DAW instruments, if you can – you'll be surprised by how much some analogue synths do drift, and just how often.
Get protection
If you are a gigging musician in particular, then a keyboard carry case is an essential purchase and there are many and varied shapes and sizes out there for you to choose from. The more gigging you do – especially if your keyboard will be stowed in a plane or coach storage – the more protection you will need, so while padded material protective cases might seem like a cheap and lightweight option, they will be 'lightweight' in protection in any aircraft storage situation, so consider an aluminium or a solid moulded case for this scenario.
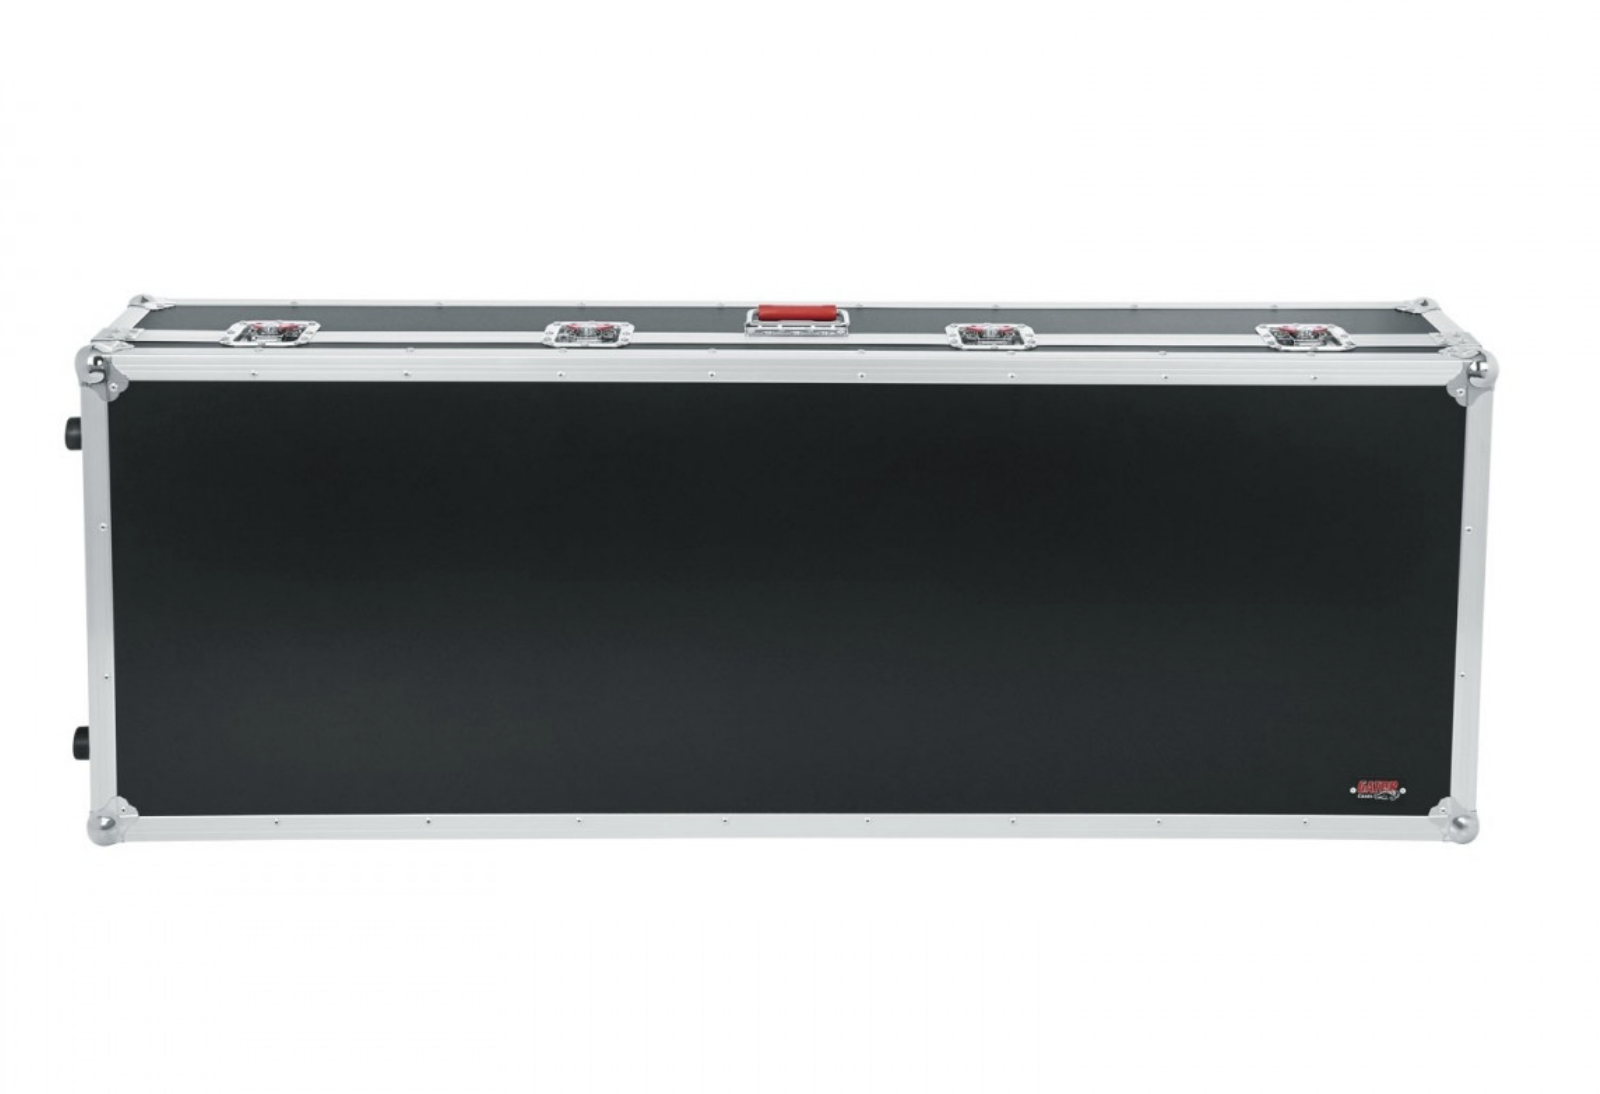
One other big consideration – aside from protection – is weight. Your ideal combination is light and durable, so that's probably an aluminium, moulded plastic case or combination of the two. We once owned the most protective keyboard case ever built – honestly, it would have protected Indiana Jones in any kind of fridge/nuclear situation – but it weighed thrice as much as the keyboard. It meant every gig was a chore and we ended up with one arm five inches longer than the other. A common top weight limit for a keyboard/case combination is around 40lbs/18kg. Any more and your lust for a live keyboard life might quickly diminish.
Andy has been writing about music production and technology for 30 years having started out on Music Technology magazine back in 1992. He has edited the magazines Future Music, Keyboard Review, MusicTech and Computer Music, which he helped launch back in 1998. He owns way too many synthesizers.
