“Some producers will still insist that you just can’t beat the real thing”: Want to record external synths? Start here
How to bring your hardware synths inside your DAW to blend the two worlds
RECORDING WEEK 2024: While you’ll often hear us extolling the virtues of the virtual studio, and there’s no end of music being made with ‘just a laptop’, the truth remains that there’s something innately cool about a studio full of hardware synths and drum machines.
Whether it’s for their specific quirks, or just for the hands-on authenticity of making music with real keys, knobs and faders, seems you can't beat 'the real thing'.
But how do you get them working in the context of a 2024 studio, and appearing as playable instruments in your DAW?
This feature is all about getting your hardware and software speaking to your DAW before recording their output to audio, allowing you to incorporate their unique qualities into your software project.
Why should you add external synths to your software project?
Not too long ago making electronic music required producers to go out and buy (or at least borrow) different physical keys and combinations in order to flesh out a track and hit all the bases. Some synths were great for leads. You could effectively lean on a workstation for all your studio staples such as piano and strings. And for bone-shaking bass, every producer had their own analogue answer.
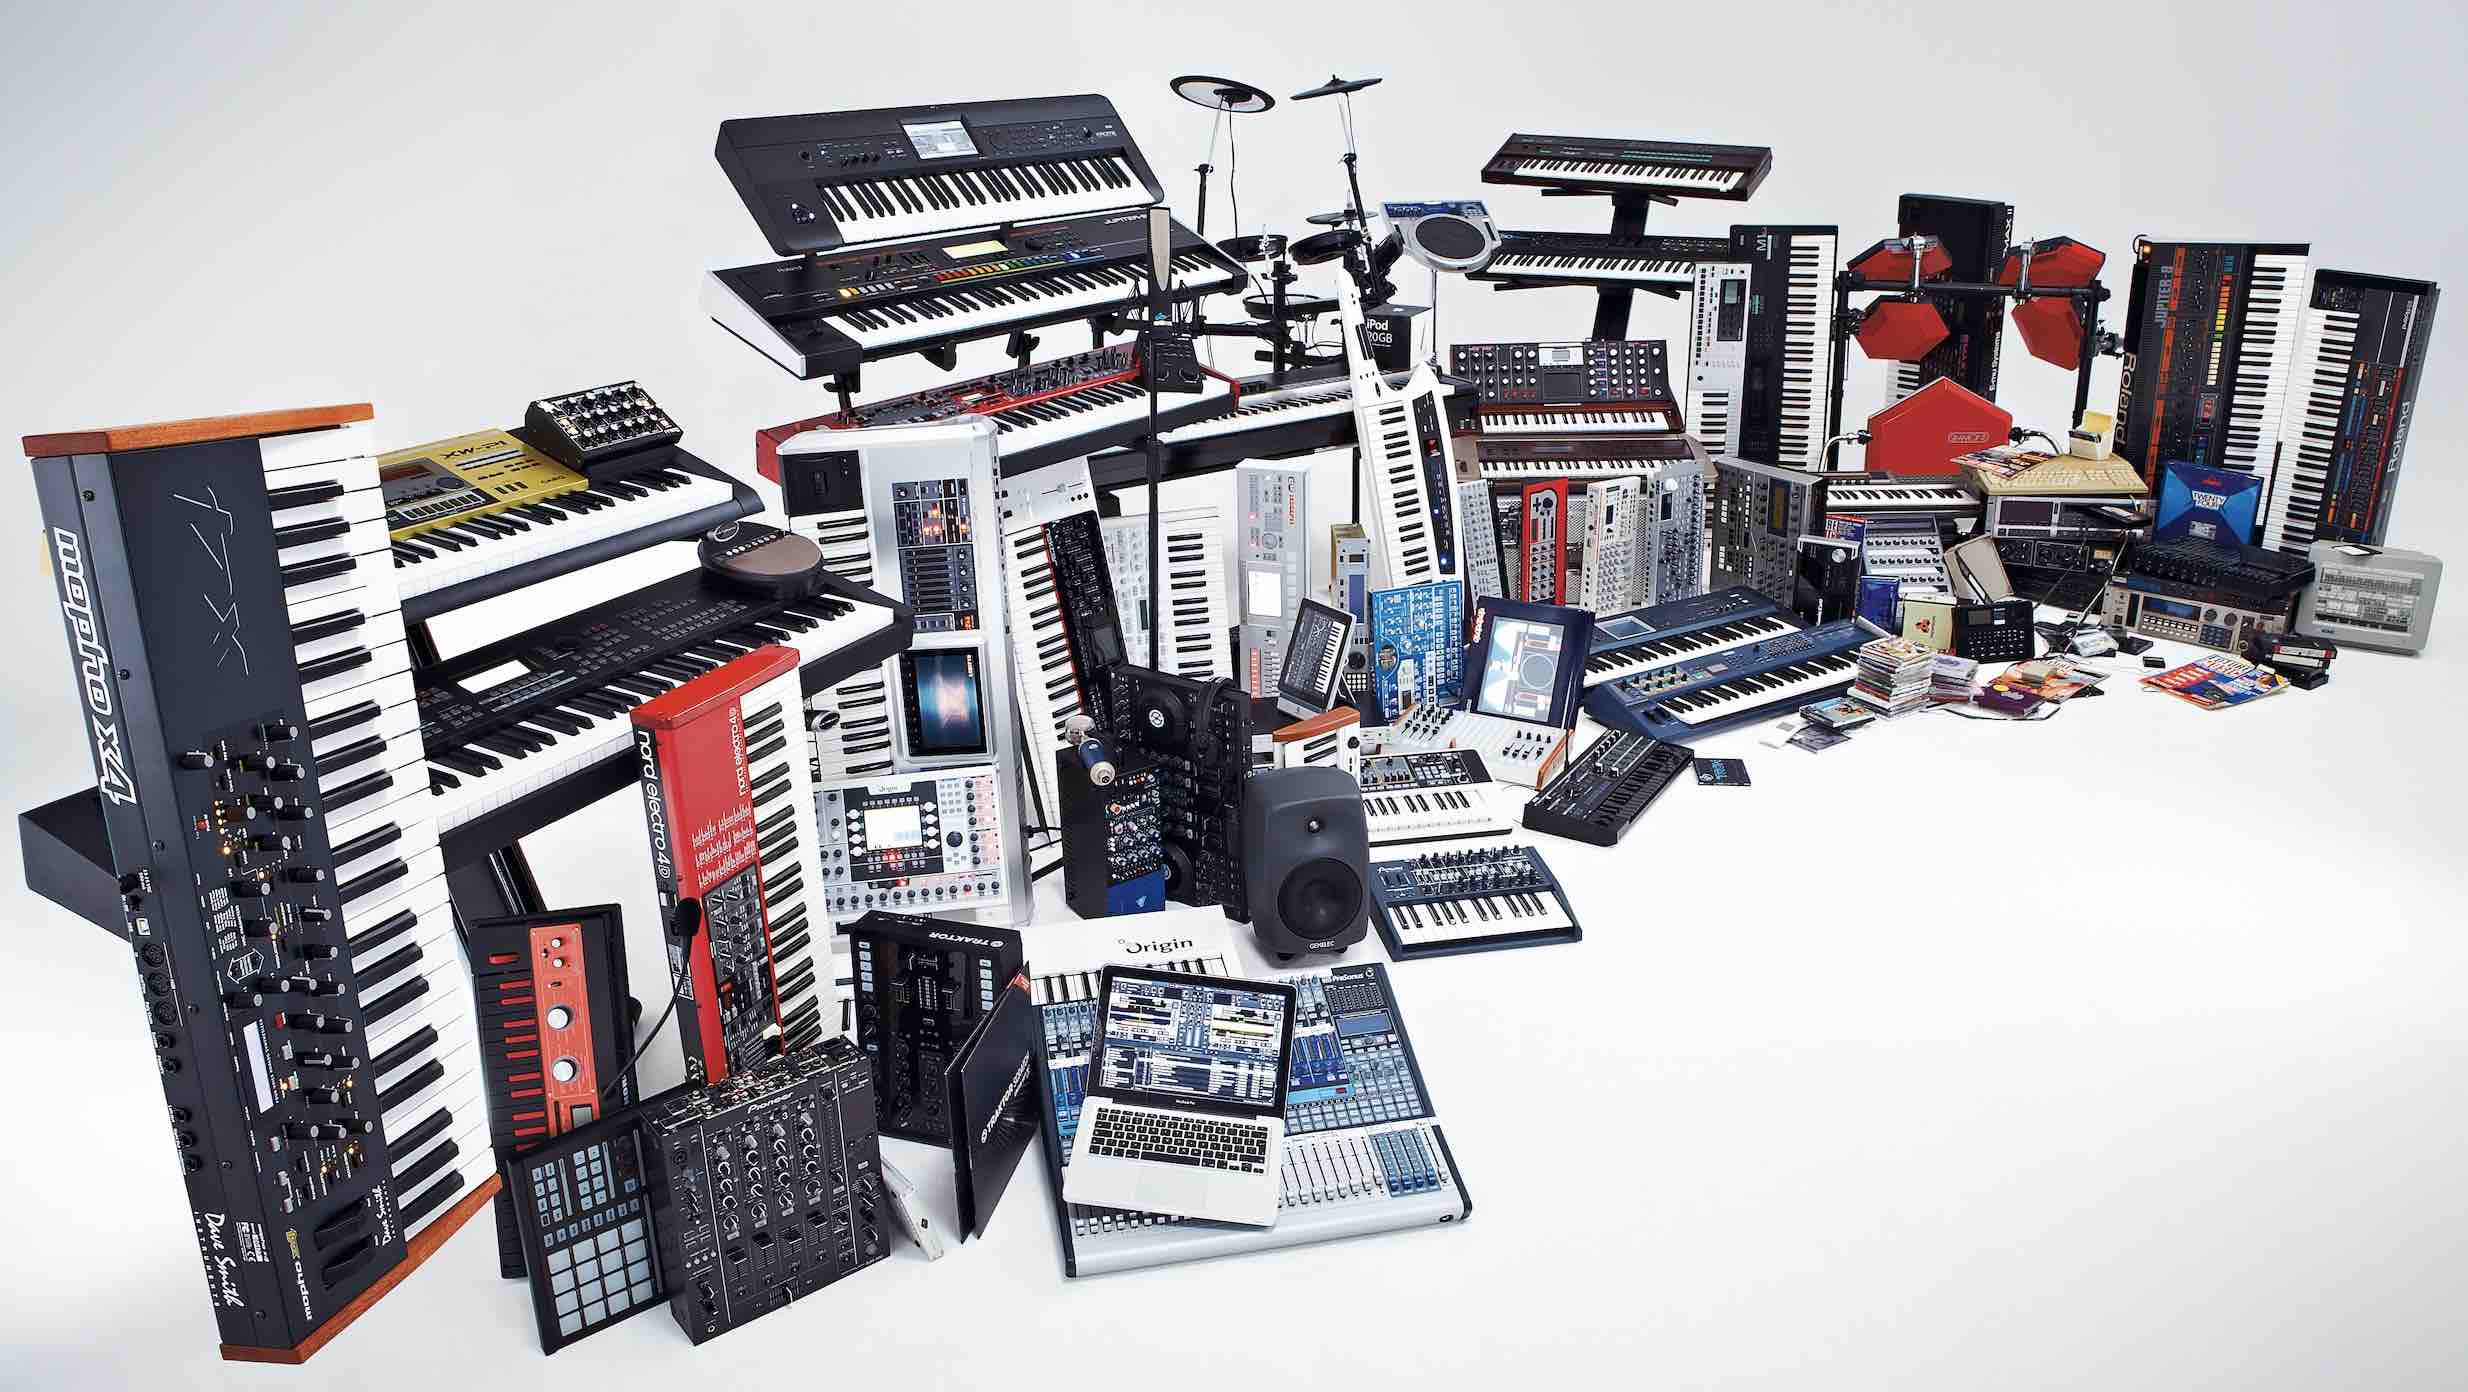
While softsynths and plugins have certainly given the classics (both old and new) a run for their money, some producers will still insist that if you close your eyes and concentrate you just can’t beat the real thing.
So, if you want to add physical instruments to your music, to get more hands-on, or if you’re a synth aficionado who wants to get their classic collection talking 2024’s language, your first step to making music with external synths is to get them talking to your computer. Or, more accurately, listening to and performing what your computer tells them.
Want all the hottest music and gear news, reviews, deals, features and more, direct to your inbox? Sign up here.
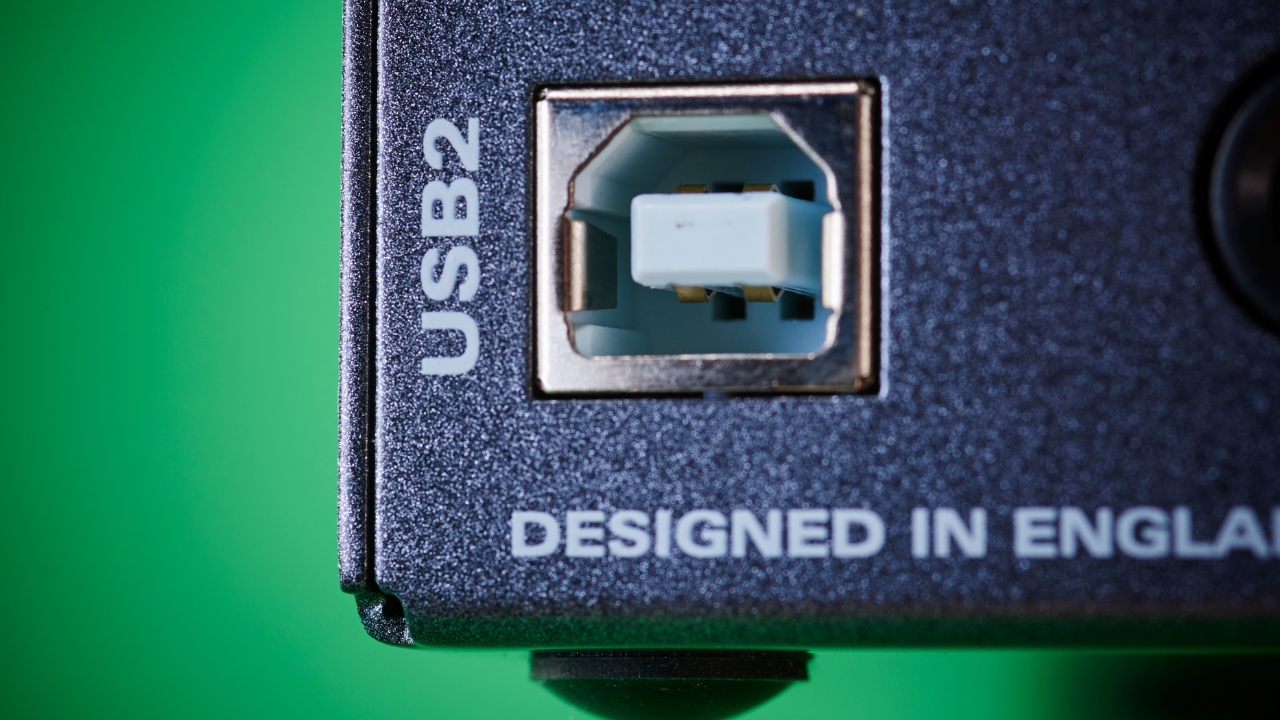
While plenty of modern keyboards feature a modern USB connection - allowing the trading of notes back and forth with your computer, and a majority even enabling audio to appear in your DAW too - many of the real classics that are beloved today are far less enabled.
If your keyboard features USB, connecting it up (USB-A into your keyboard and USB-C at the computer end) and finding it in your DAW’s menu to send note data to it should be a simple process. However, if you’re wanting to drive multiple hardware synths in this fashion you’ll need multiple USB inputs… Probably more than your computer has spare… And once you’re in the world of using USB hubs be prepared for glitchy connections and dropouts…
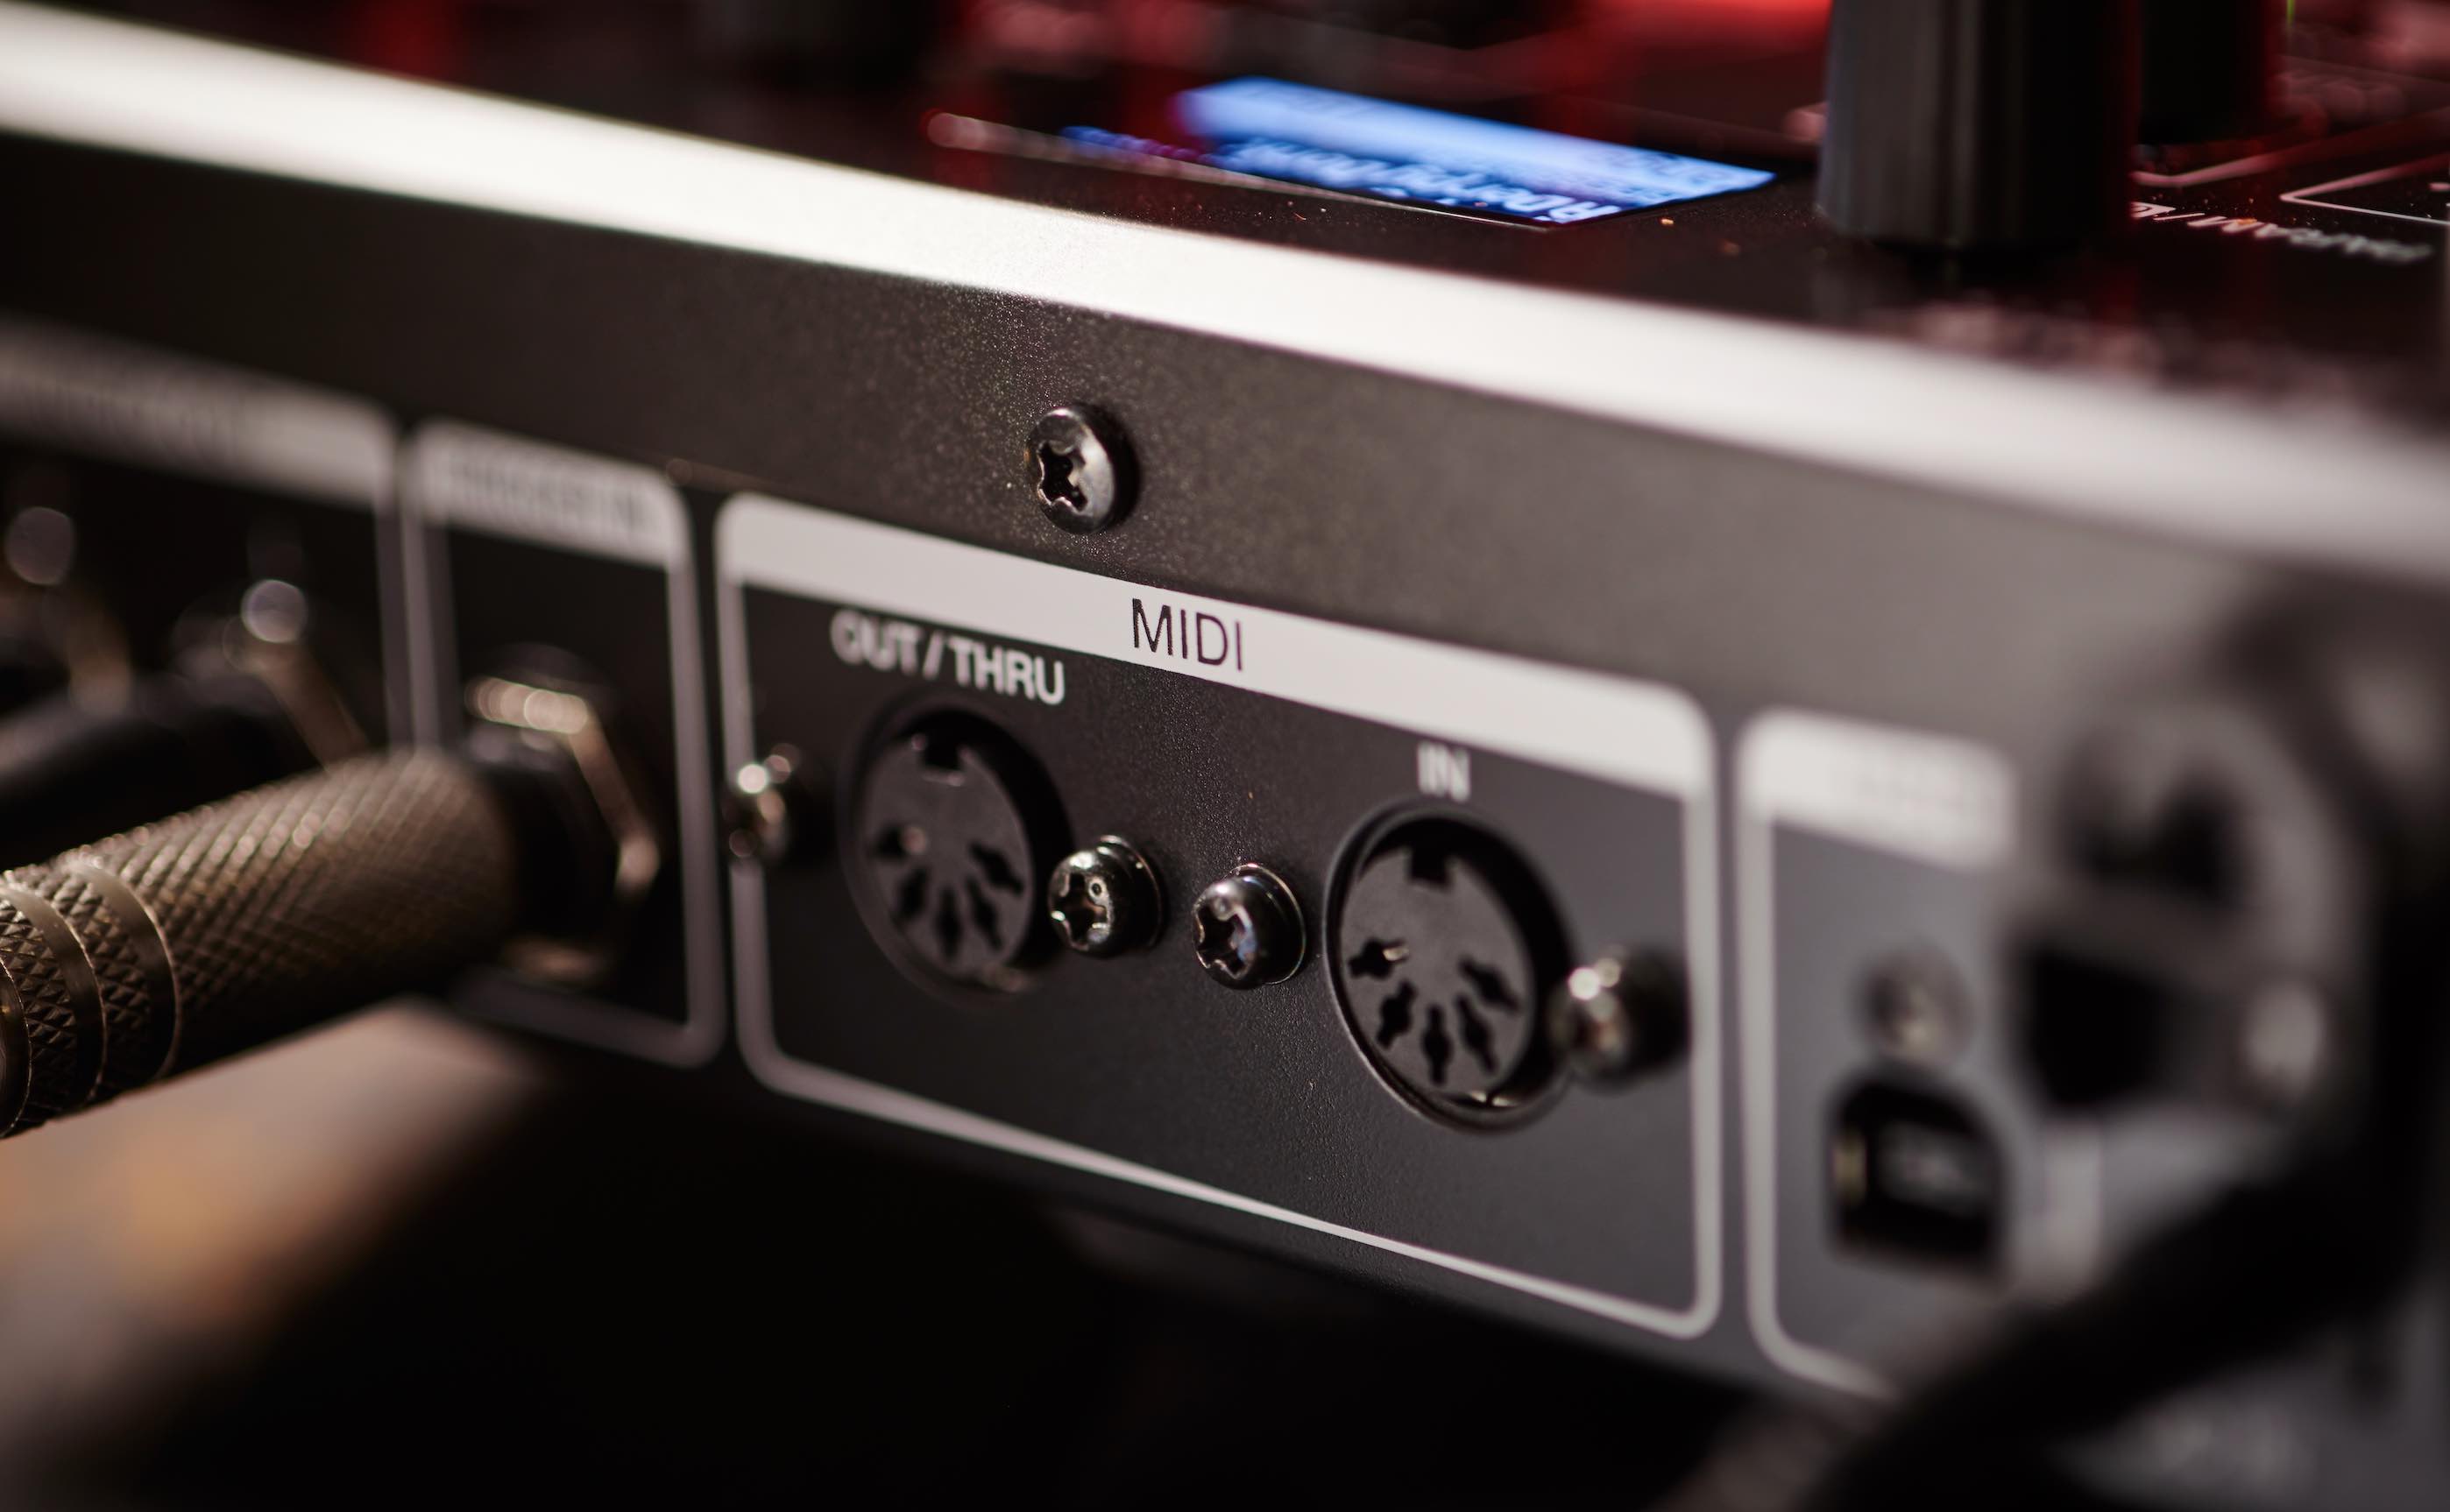
Why is MIDI control recommended?
Incredibly, if all you want to do is play external synths via your DAW - most likely with a view to recording them to audio alongside other real instruments - then old-school MIDI control could be the way to go.
MIDI (invented back in 1982) allowed a hardware sequencer unit (soon to be replaced by a computer running software) to send note ons and offs and other data such as patch changes, pitch bend and modulation down a wire to a synth that would do its bidding just as if its owner was there manually pushing its controls.
Notes could now be painstakingly drawn on screen or played in tremulously with unskilled hands, then corrected to the millisecond and played back at any speed. Music became perfectly in time, editable and improvable right up until its final master, and within the grasp of anyone willing to pay for the pricey gear that made it.
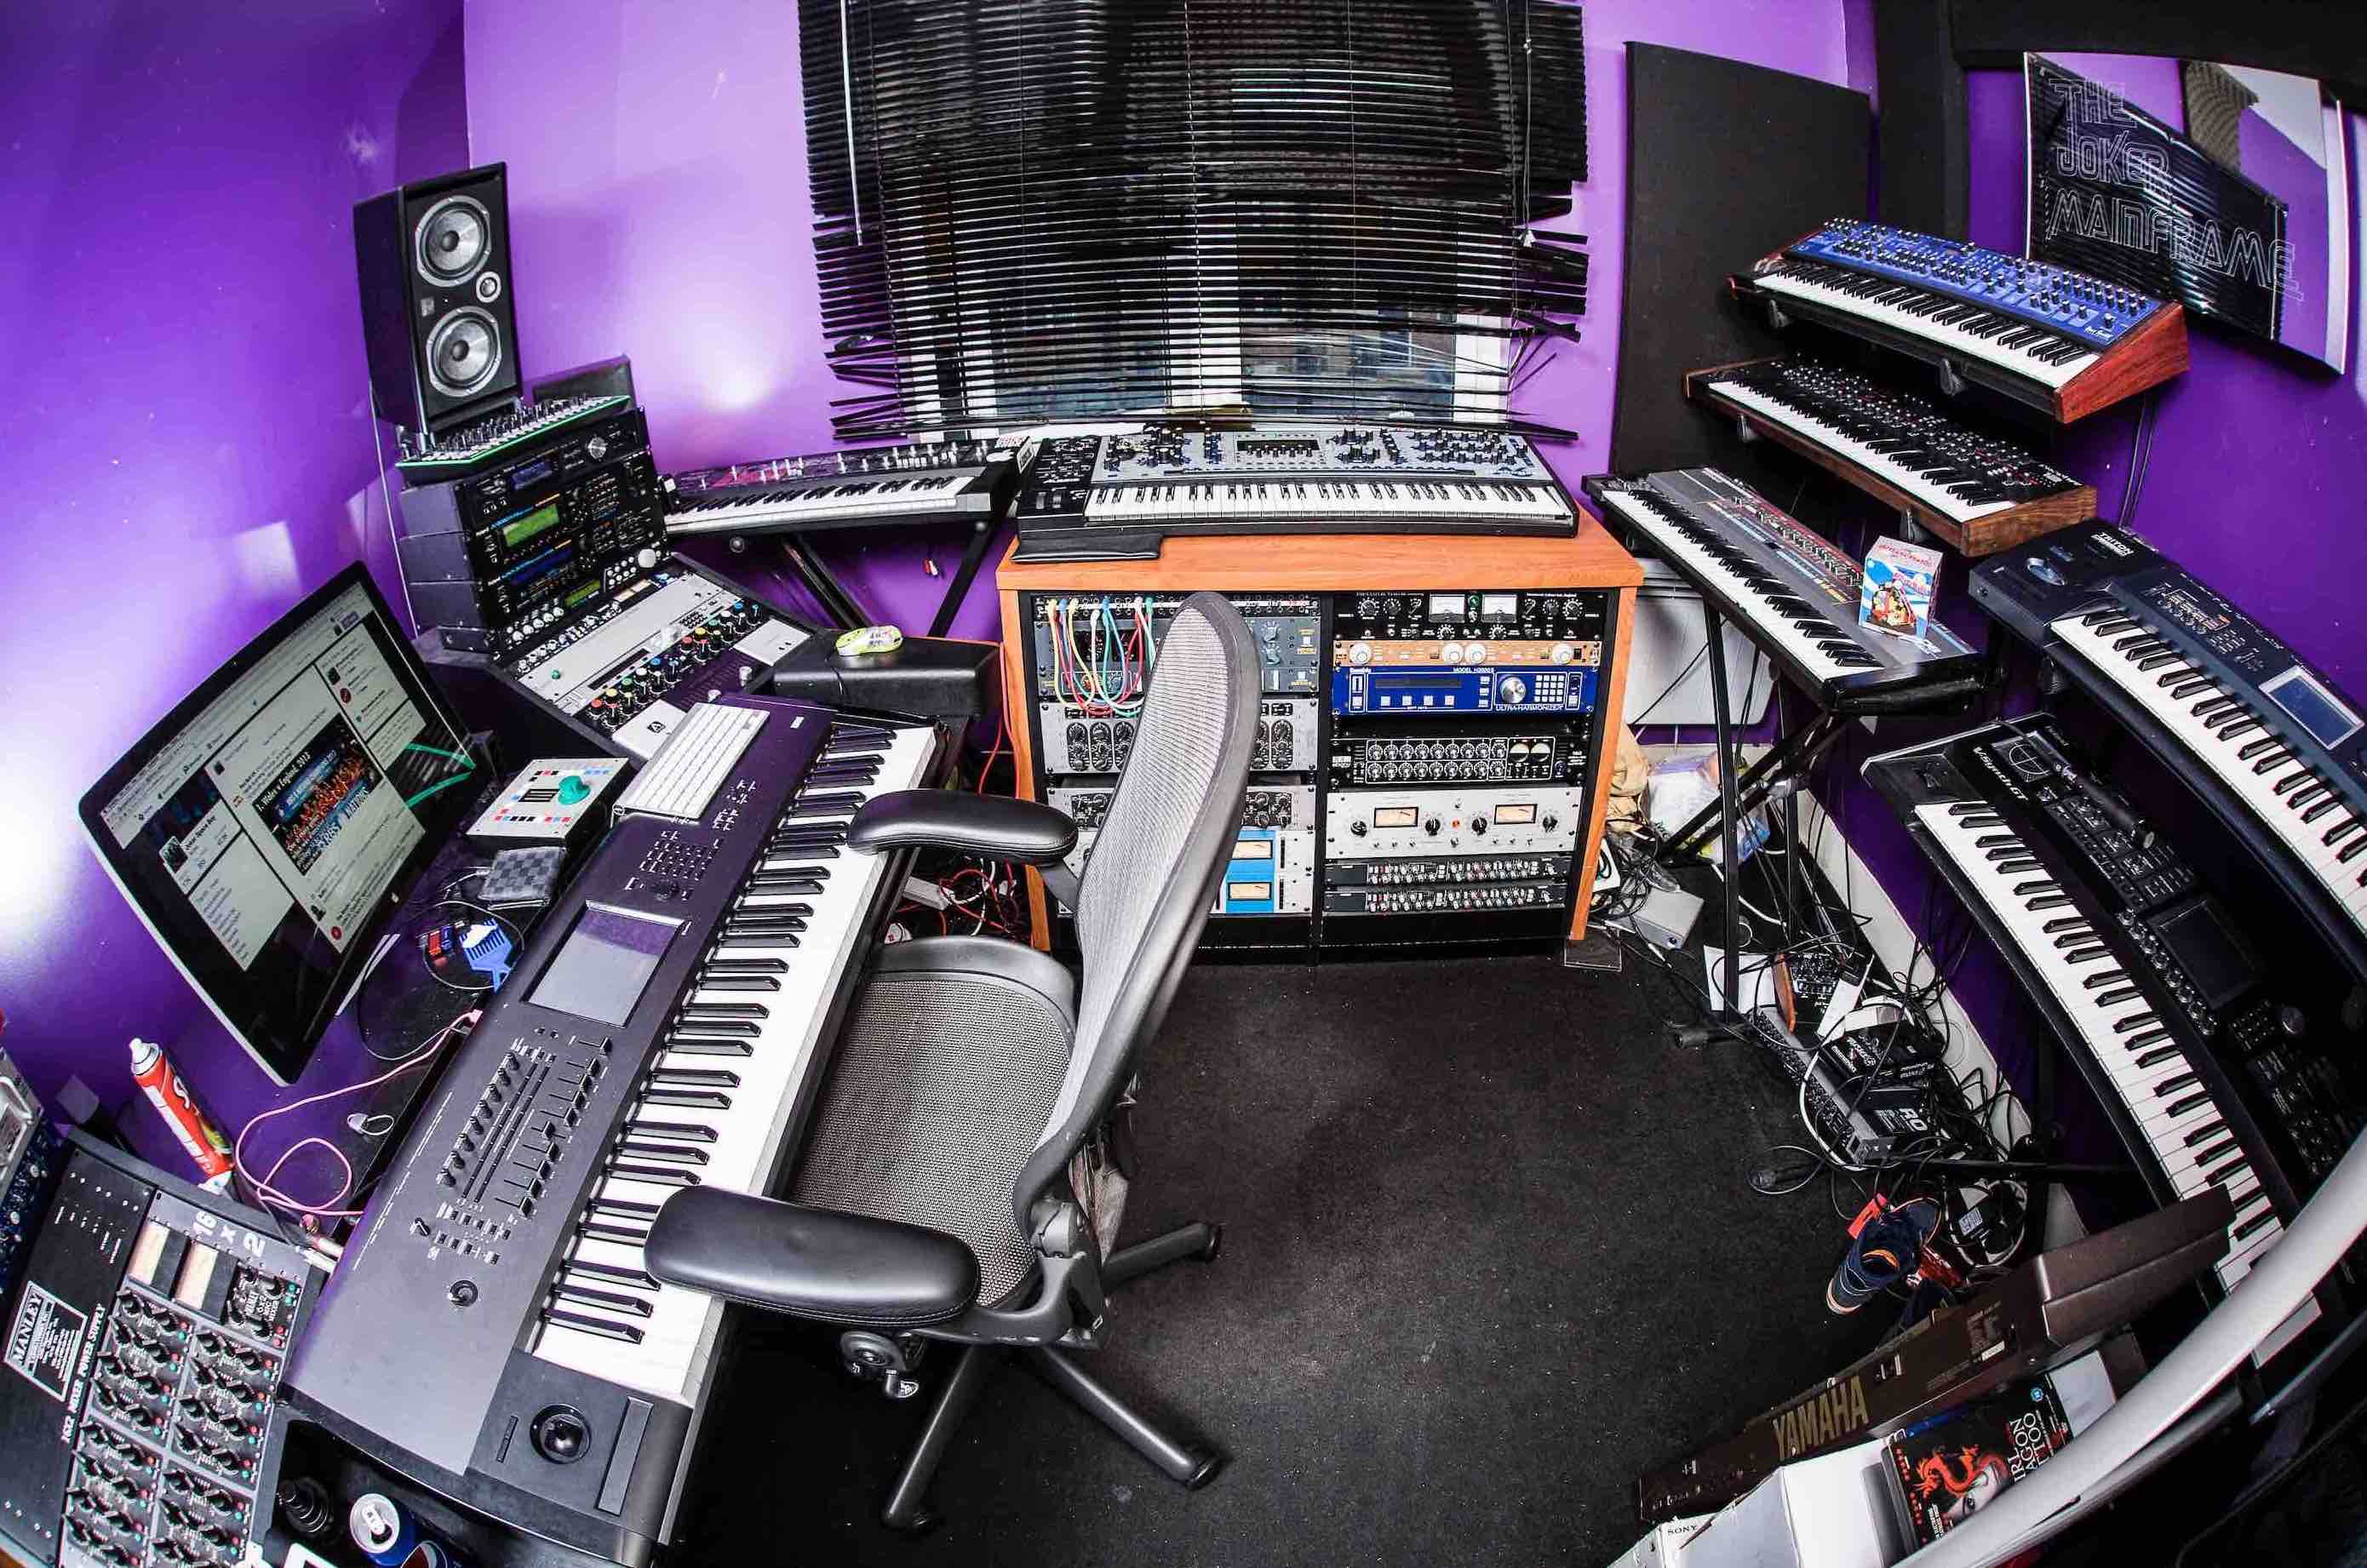
And, thanks to the fact that MIDI was never particularly improved upon, its implementation remains unchanged even within the depths of the latest software. The result is that today’s modern DAW and audio interface still have all you need to drive a retro MIDI-equipped synth, and today’s modern synths still have MIDI ports on board. To make use of them, you’ve just got to make the right connections.
Before your DAW and hardware synth can make sweet music, you’ve got to get them connected. Your interface’s MIDI Out port (and any modern audio interface worth its salt will have one) sends data out from your computer, while your keyboard’s MIDI In port is there to receive it.
Connecting a MIDI cable from your audio interface’s ‘Out’ to your hardware synth’s ‘In’ is therefore all you need to send MIDI instructions to your synth and hear your synth output it back. If you want to play your synth’s keyboard but have those notes editable via your computer, then you’ll need to reverse the direction - take a MIDI cable from the synth’s MIDI Out to your interface’s MIDI In.
You’ll find your DAW’s MIDI settings within its Tracks menu. Send the note data on a track out through the port on any one of 16 MIDI channels. Then set your synth to ‘listen’ to the same channel and it’ll spring into life, playing that part.
Special mention to your synth’s MIDI Thru port at this point. A synth’s Thru port echoes whatever arrives at its MIDI. Essentially, it mirrors the MIDI Out of your computer. That means you can now connect the first synths Thru port to other synths ‘In’ port… And so on… Daisy-chaining up to 16 machines together.
If each machine is set to receive on a different channel then you’ll soon be living the dream - conducting your own robo orchestra wall of synths.
Controlling external drum machines via MIDI
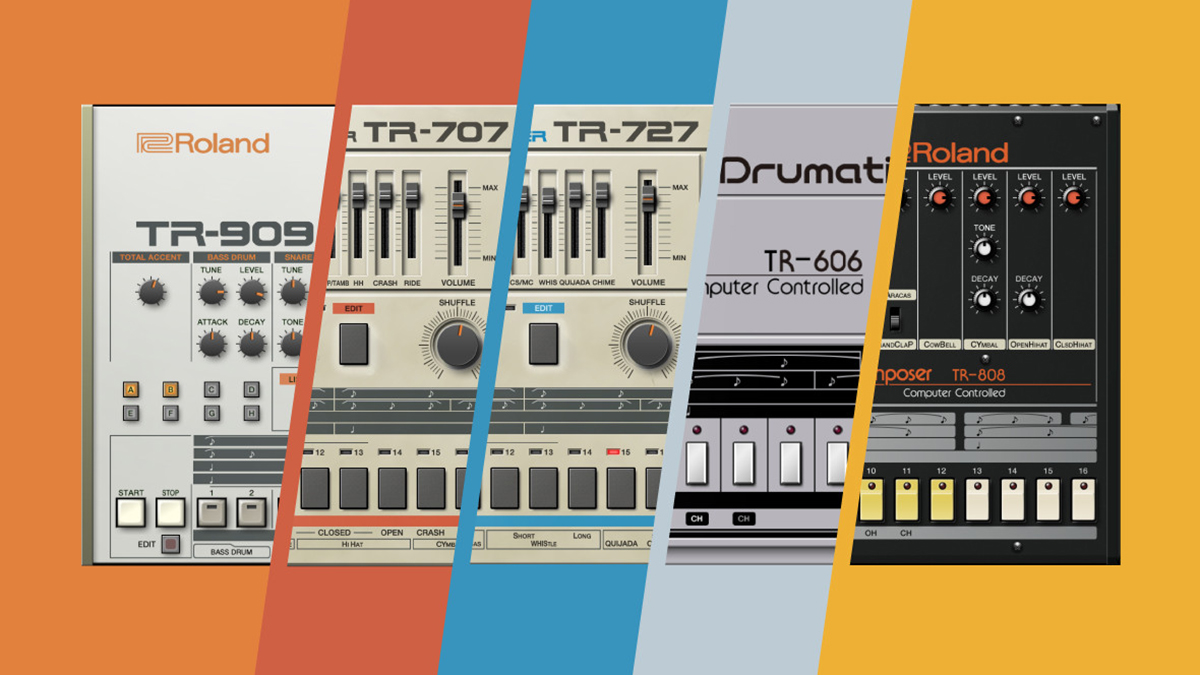
All this external hardware is going to need a bit of synchronisation, and that’s where a MIDI timing clock comes in. MIDI clock is part of the MIDI Out signal, being an in-built instruction to ‘start’ or ‘stop’ playback and transmit a continuous tag as to the speed of playback of the source. If you really want to go old skool at this point and own a retro, MIDI equipped drum machine, program up a beat on the machine, hook it up in your MIDI chain and set it as a ‘slave’ to your computer’s MIDI clock.
Now when you hit play on your DAW it’ll start the drum machine playing too. If you change tempo, no problem. Your drum machine will always keep pace with your computer as you ride the tempo control trying to catch it out.
This is basically how they did it in the old days, and - arguably - it was a lot simpler, a lot easier to understand (and a lot more likely to work first time) than today’s deep menu diving through digital audio settings and MIDI and signal routing options within your DAW…
How do you connect a direct audio feed?
Let’s presume you’ve got a mix of modern USB equipped and old ‘MIDI only’ synths at play. Driving and recording your USB synths - provided you’ve got the spare ports for them and USB behaves itself when working with multiple such connections - should be easy. Note data can flow out to them and audio can flow back, all through each’s USB cable.
If things aren’t working out on the audio side, you can always go the old fashioned route and take an audio feed out of your synth instead, taking it into your computer via your audio interface’s inputs, i.e exactly as you would for your older ‘MIDI only’ gear.
Chances are that if you’re working with multiple hardware synths (or drum machines) that you’ll have some kind of external, physical mixer. We recommend one if you don’t have one. A physical mixer will take multiple analogue audio inputs, allows you to set levels and EQ for each, then feeds everything out to a combined audio output.
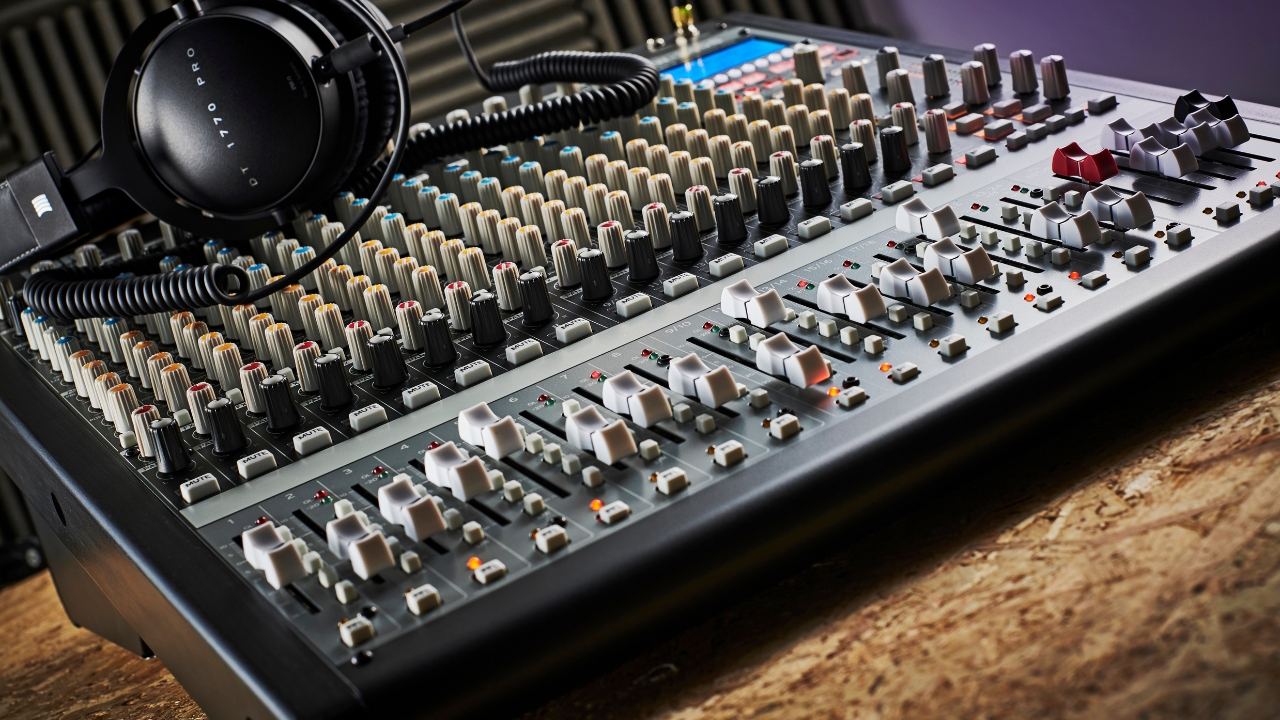
Alternatively you may have enough inputs on your audio interface to forgo an external mixer and take each one through to your DAW’s internal mixer. Nice and simple, and one less bit of hardware to buy!
Either way, after choosing your target audio track for your recording and assigning it’s input to your chosen output (either the output from your mixer, your synth’s audio at one of your interface’s audio inputs, or an audio channel appearing via USB) engaging record and hitting play should produce the desired result - your DAW will run, controlling your hardware synth, while committing its sound to audio.
If you’ve enough inputs you could run multiple synths and record them simultaneously, each to their own track. Alternatively, if you’re limited for inputs on your interface, simply record each synth part (or synth) one at a time. An advantage in doing like this, of course, is that the same synth can now double up for multiple duties. Have your hardware make the bass sound, then rewind and use it for a lead and then perhaps add some string stabs to finish. One synth: three parts.
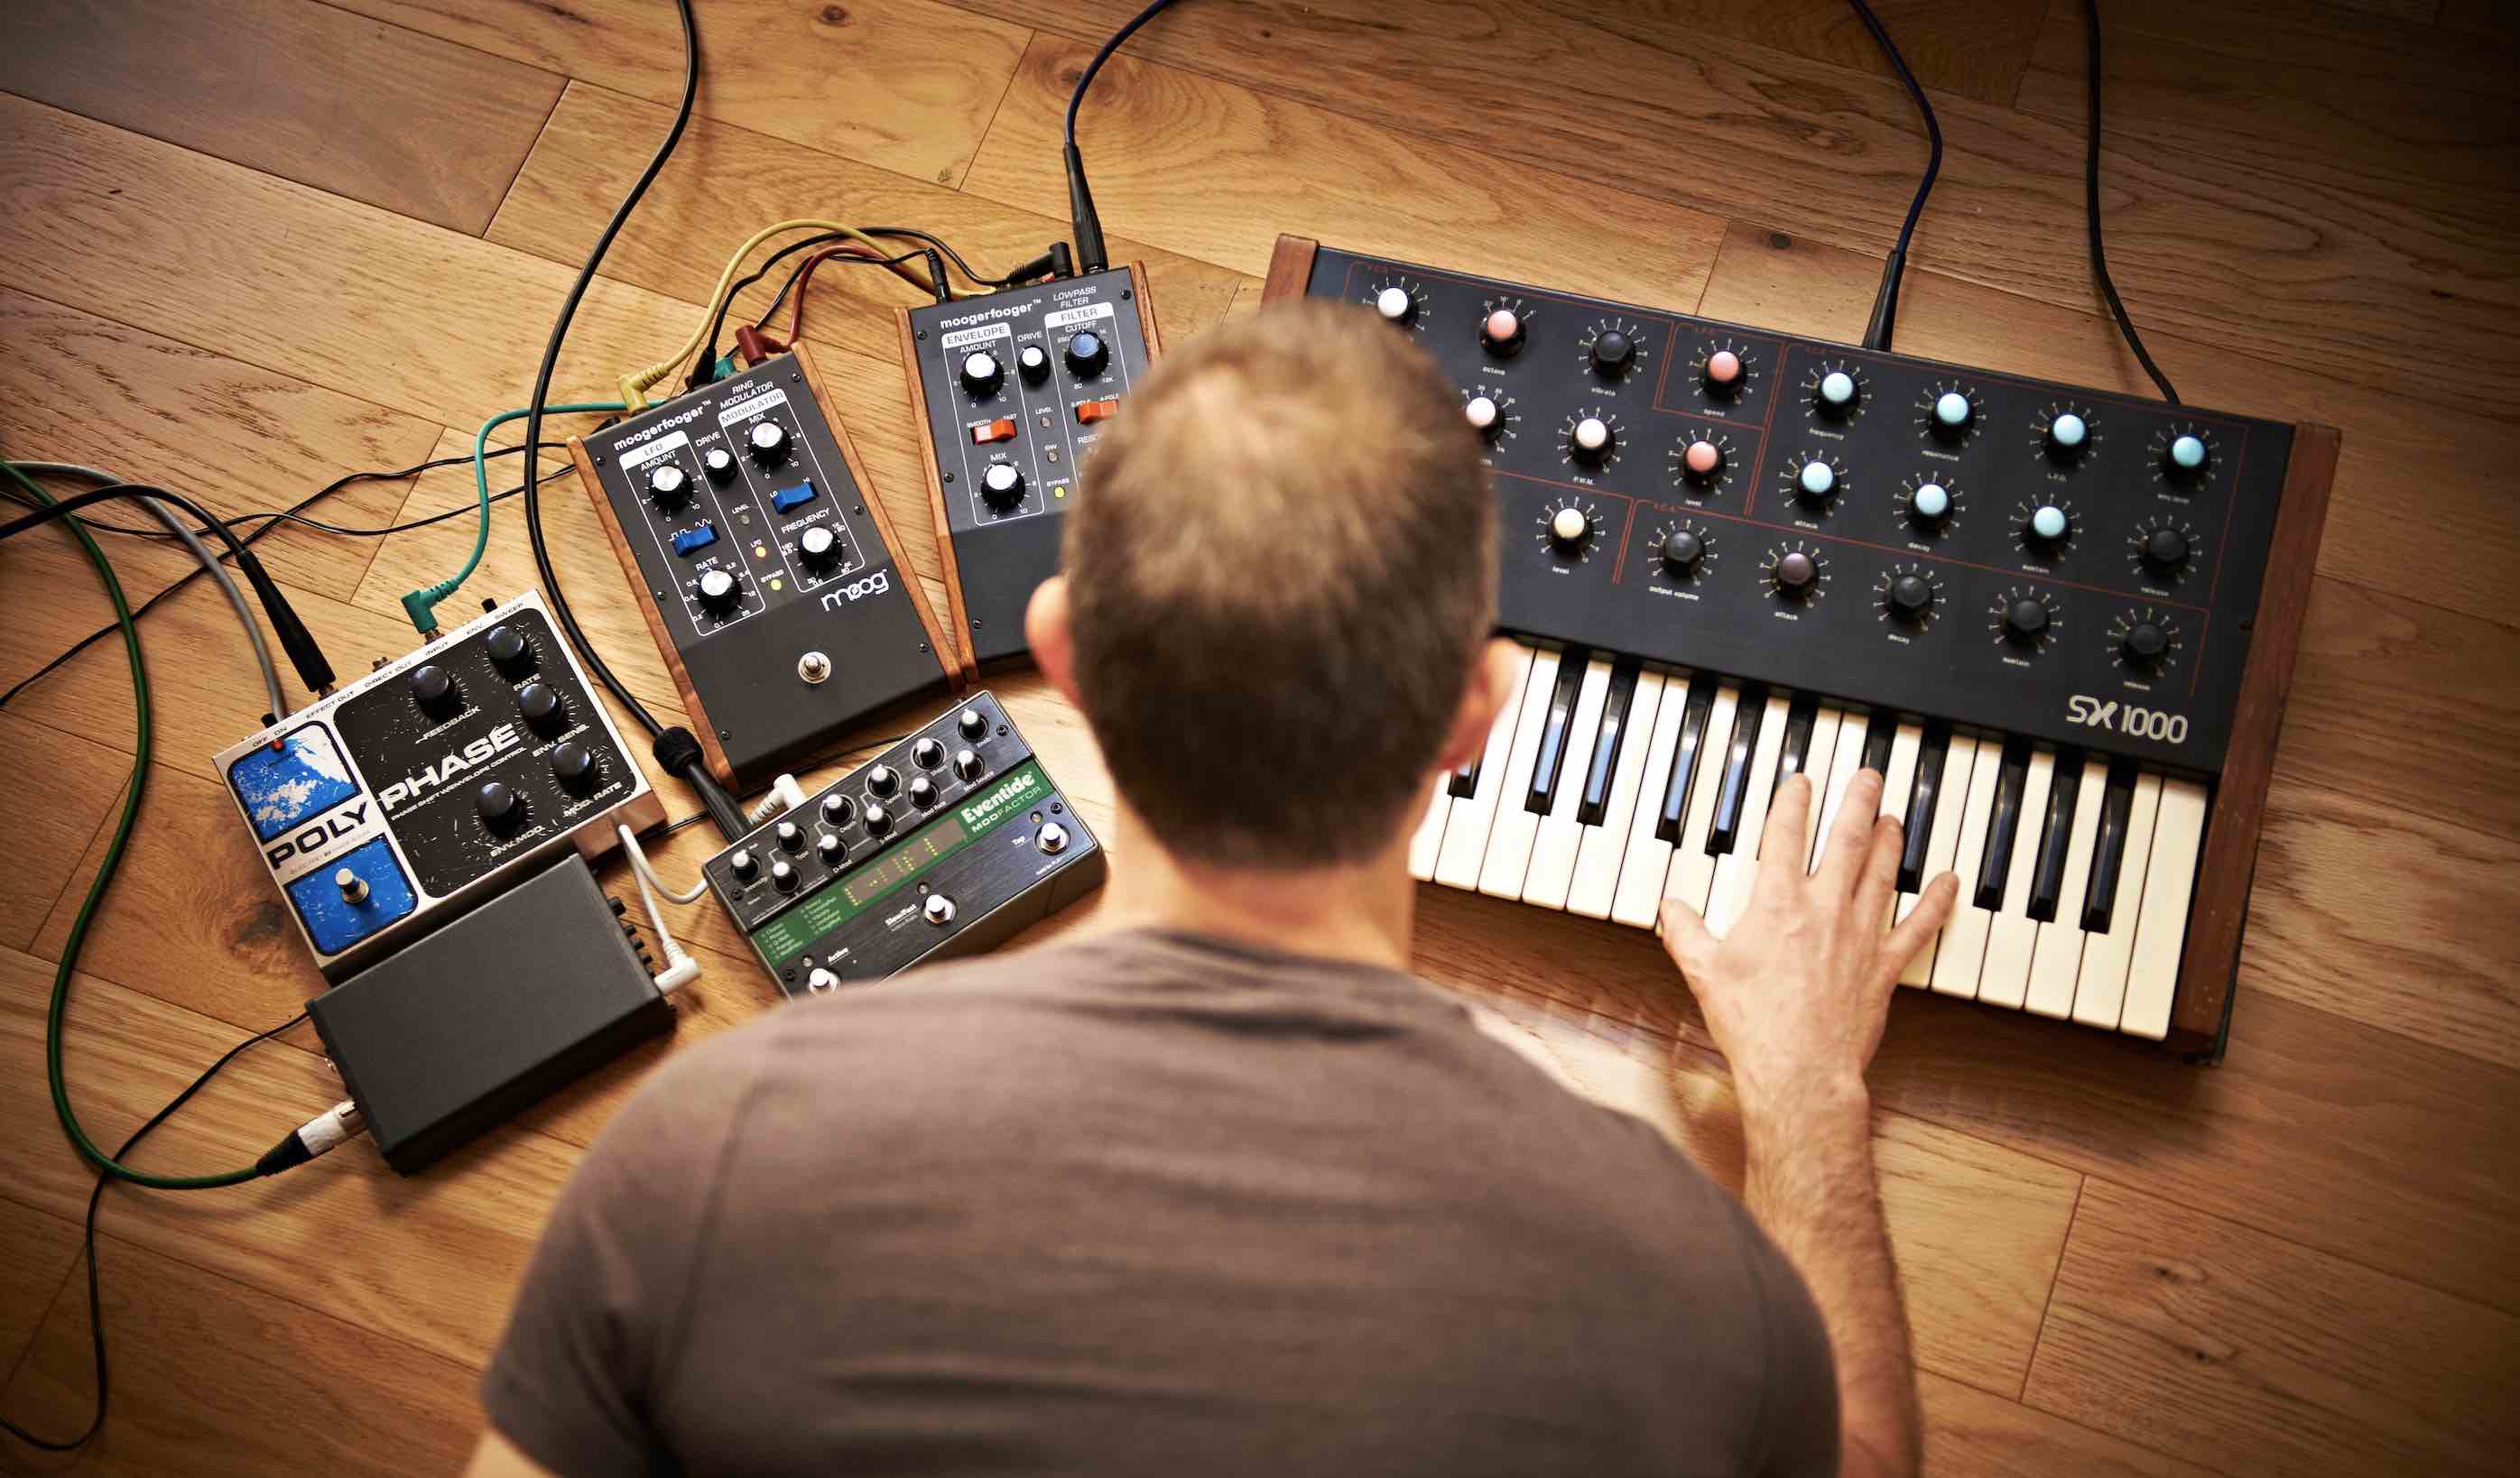
With your hardware synth parts now appearing as audio tracks in your DAW your days of worrying about connections and levels and the small matter of owning, looking after, powering and transporting delicate classic synths around, are over.
Of course, there are drawbacks to rendering synths as audio. Once committed you can kiss goodbye to fine tuning that lead sound, or changing that overly long sustain, or swapping out the string section for an organ. So, it’s best to be sure that your synth tracks are working at a basic context level of tone and purpose before you commit them to a recording therefore.
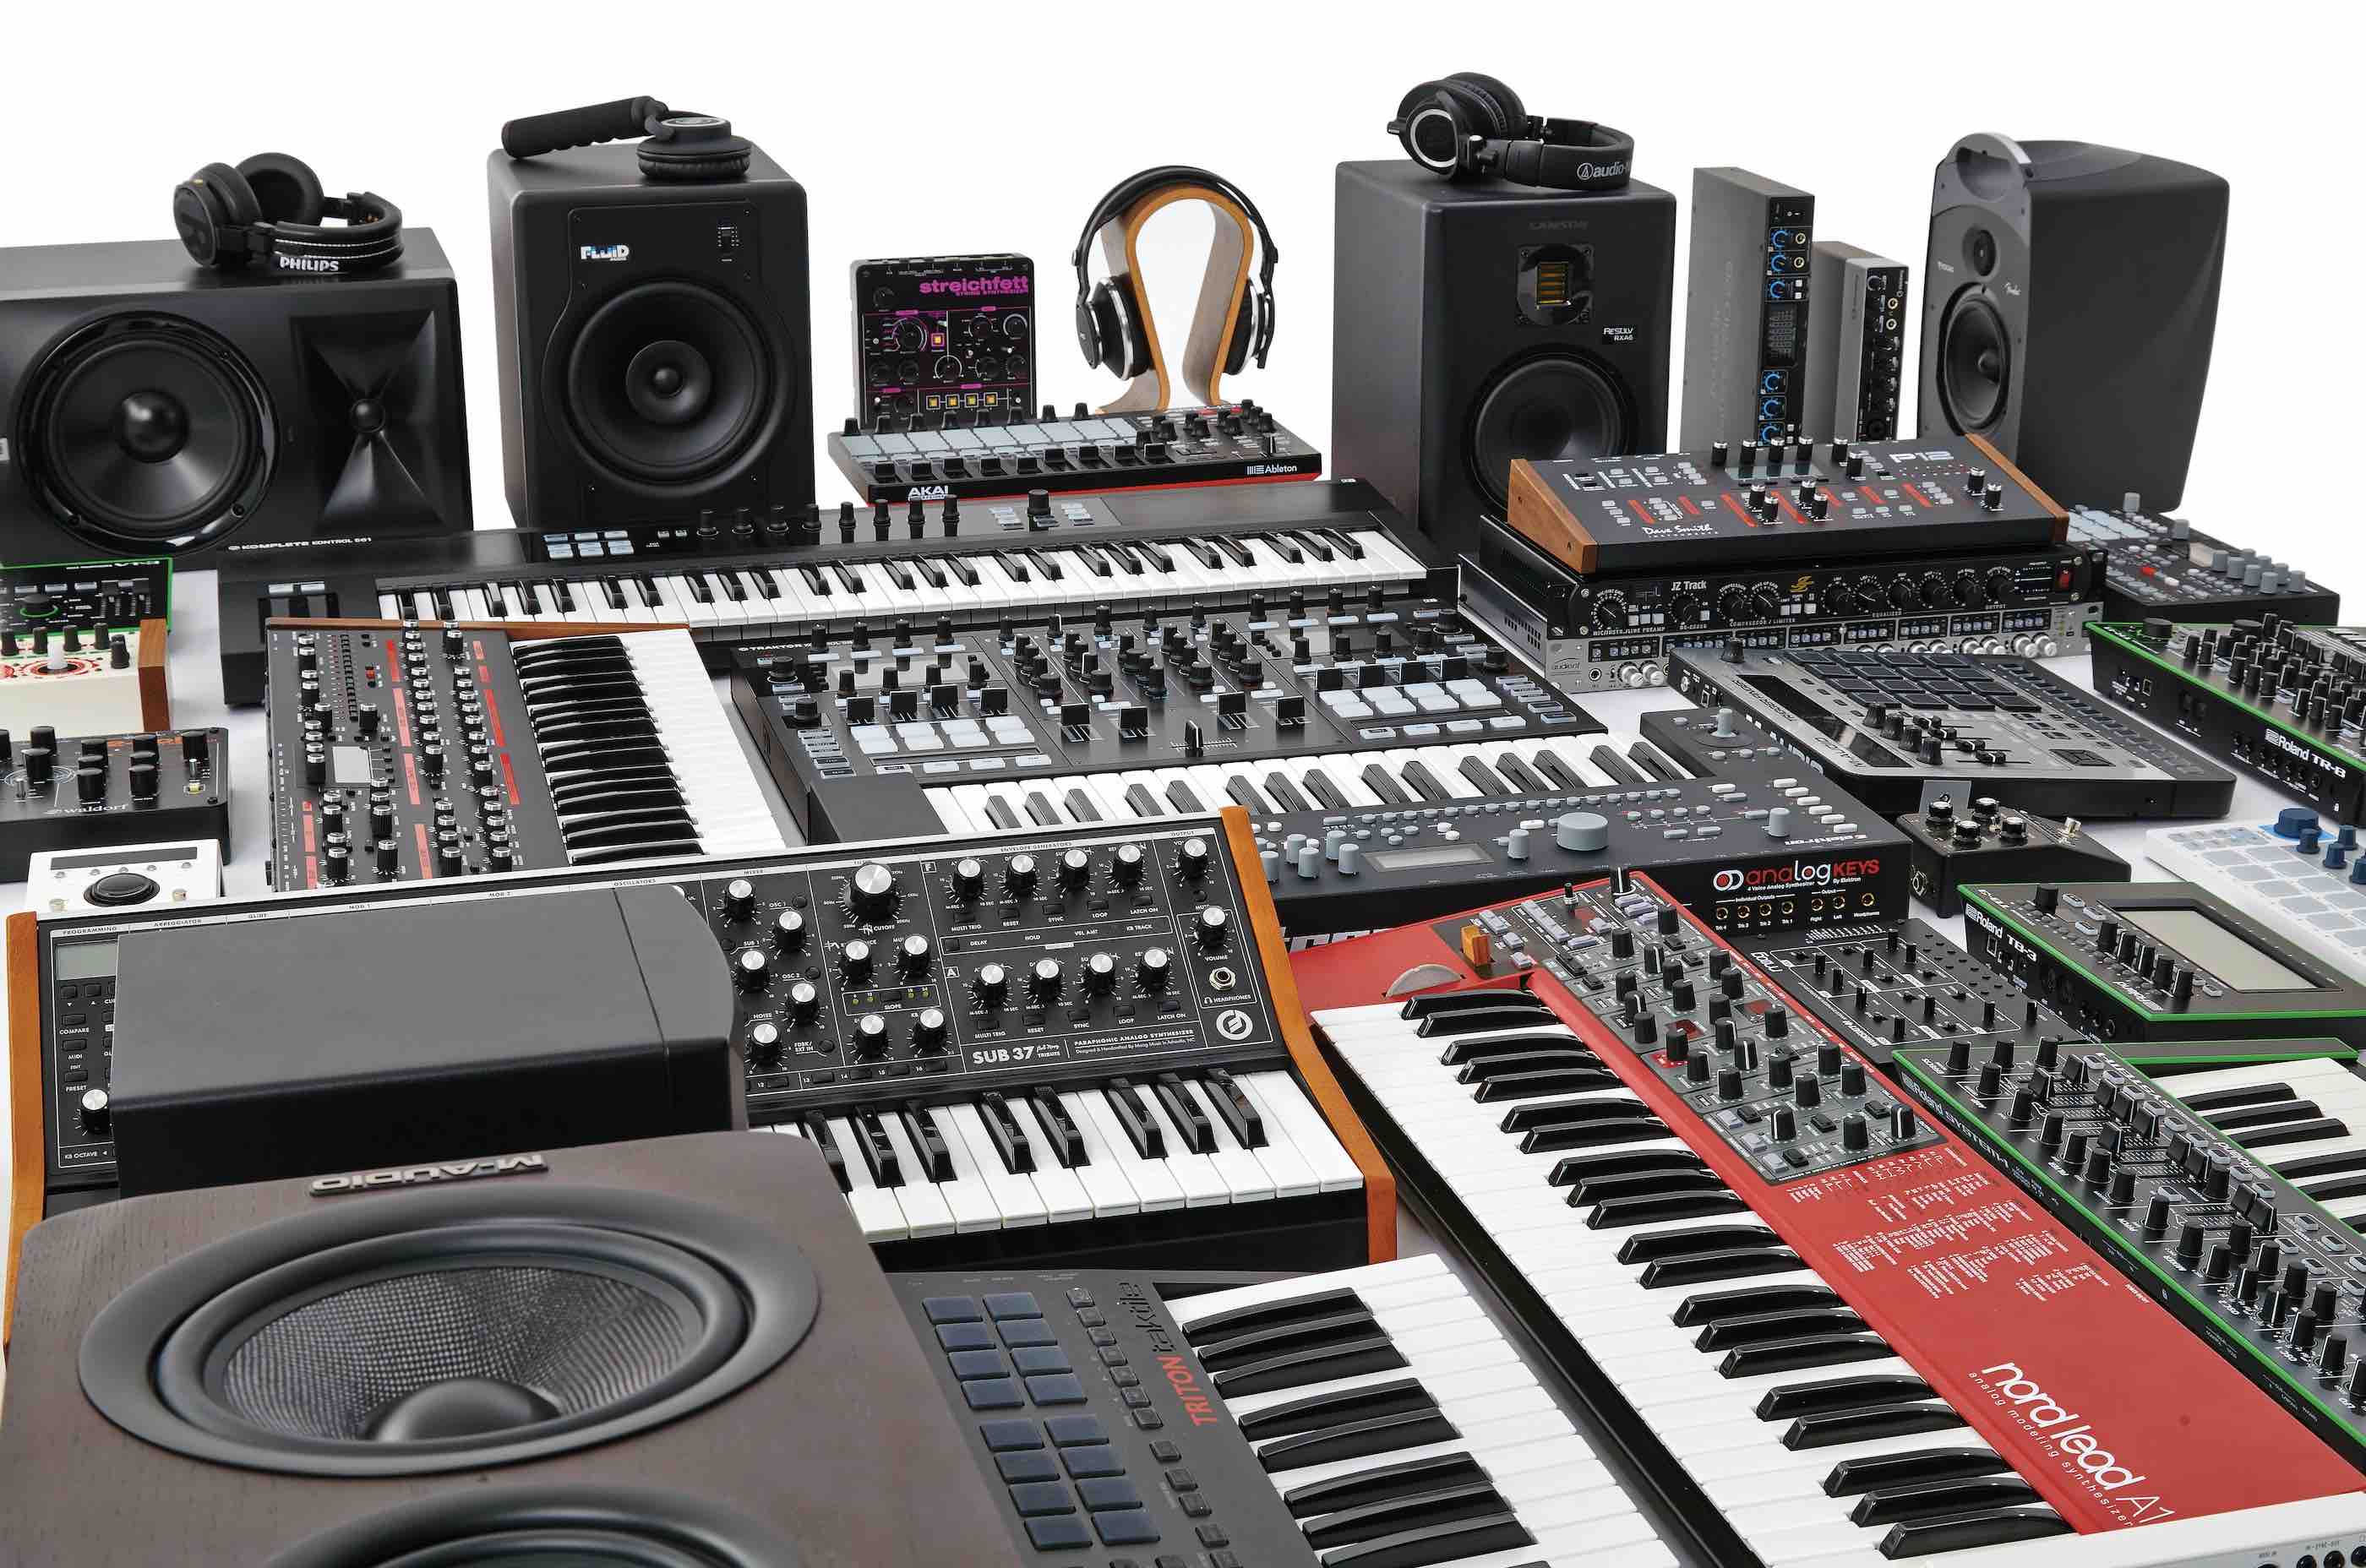
And a word of warning, while it may be tempting to ditch the MIDI data that initially drove your synths (if you wired up with MIDI cables), remember it's no hardship to keep that note data there, muted, as part of the project. Who knows. If you have a brainwave or get your hands on a new synth you may want to change the part later on.
Further reading
Start here: New to audio interfaces?
A basic guide to getting sound in and out of your computer.
Start here: Build an affordable home studio
Your one-stop essential guide for creating your own studio. It’s faster, easier and cheaper than you think.
Start here: How to recording vocals
The basics of how to capture your vocals.
New to MIDI? Start here
Everything you ever wanted to know about modern MIDI.
Synth wars: The story of MIDI, the one interface that ruled them all
Get the full story of how the synth industry ended their format wars and instead opted to create a single musical interface standard.
5 pro recording setup ideas: from recording bands to mixing and mastering
Want to see what a typical hardware and software studio setup could look like? These recommended rigs will get the job done.
The ultimate guide to studio workflows
MIDI, CV/Gate and interfaces of all kinds explained. Here’s how to get all your gear talking the same language.
Using a digital piano as a MIDI controller
How to repurpose that boring digital piano and make it the centre of your workstation.
Audio interface vs mixer: Which should you choose for your home studio?
Because there’s more than one way to get audio in and out of your computer - we look at two of the most common options for musicians.
• Get more recording stories and features at Recording Week 2024 here!
Daniel Griffiths is a veteran journalist who has worked on some of the biggest entertainment, tech and home brands in the world. He's interviewed countless big names, and covered countless new releases in the fields of music, videogames, movies, tech, gadgets, home improvement, self build, interiors and garden design. He’s the ex-Editor of Future Music and ex-Group Editor-in-Chief of Electronic Musician, Guitarist, Guitar World, Computer Music and more. He renovates property and writes for MusicRadar.com.
