“Once you hear these unwanted sounds you'll never be able to unhear them - and they could ruin your mix”: 10 things to avoid when recording
To make noise-free recordings you need to avoid those common pitfalls
RECORDING WEEK 2024: Recording real instruments, vocals or foley sound is not without its perils. There are a number of things that could go wrong during the process, even if you’re equipped with the most versatile, high-end microphone that money can buy…
The real world is a noisy place, and while sound-proofing your studio or recording space can help, there are still subtler dangers that could creep into your recordings at any moment. And once you hear these unwanted, captured sounds you'll never be able to to unhear them, and they could ruin your mix.
But, help is at hand. These tips will help you isolate both typical and un-typical problems that you might encounter while recording
1. Noises
Unwanted noises both from inside and outside your recording space can easily compromise your recording. In some cases we can remove them later, but this can be a time-consuming and frustrating task. It’s simpler to just avoid them in the first place.

Keep doors and windows shut to minimise annoying infiltration of birdsong, aeroplanes and other human activity. Meanwhile, within your space keep mics away from machine noise such as computers and drives. Finally, encourage performers to remove any noise-making jewellery, to play cleanly (acoustic guitar string scraping can be particularly annoying), and to avoid bumping the mic stands!
2. Level overloads
Whether it’s overloading your mic preamps or the subsequent A/D conversion, neither will deliver a clean outcome and this is something you cannot repair later.
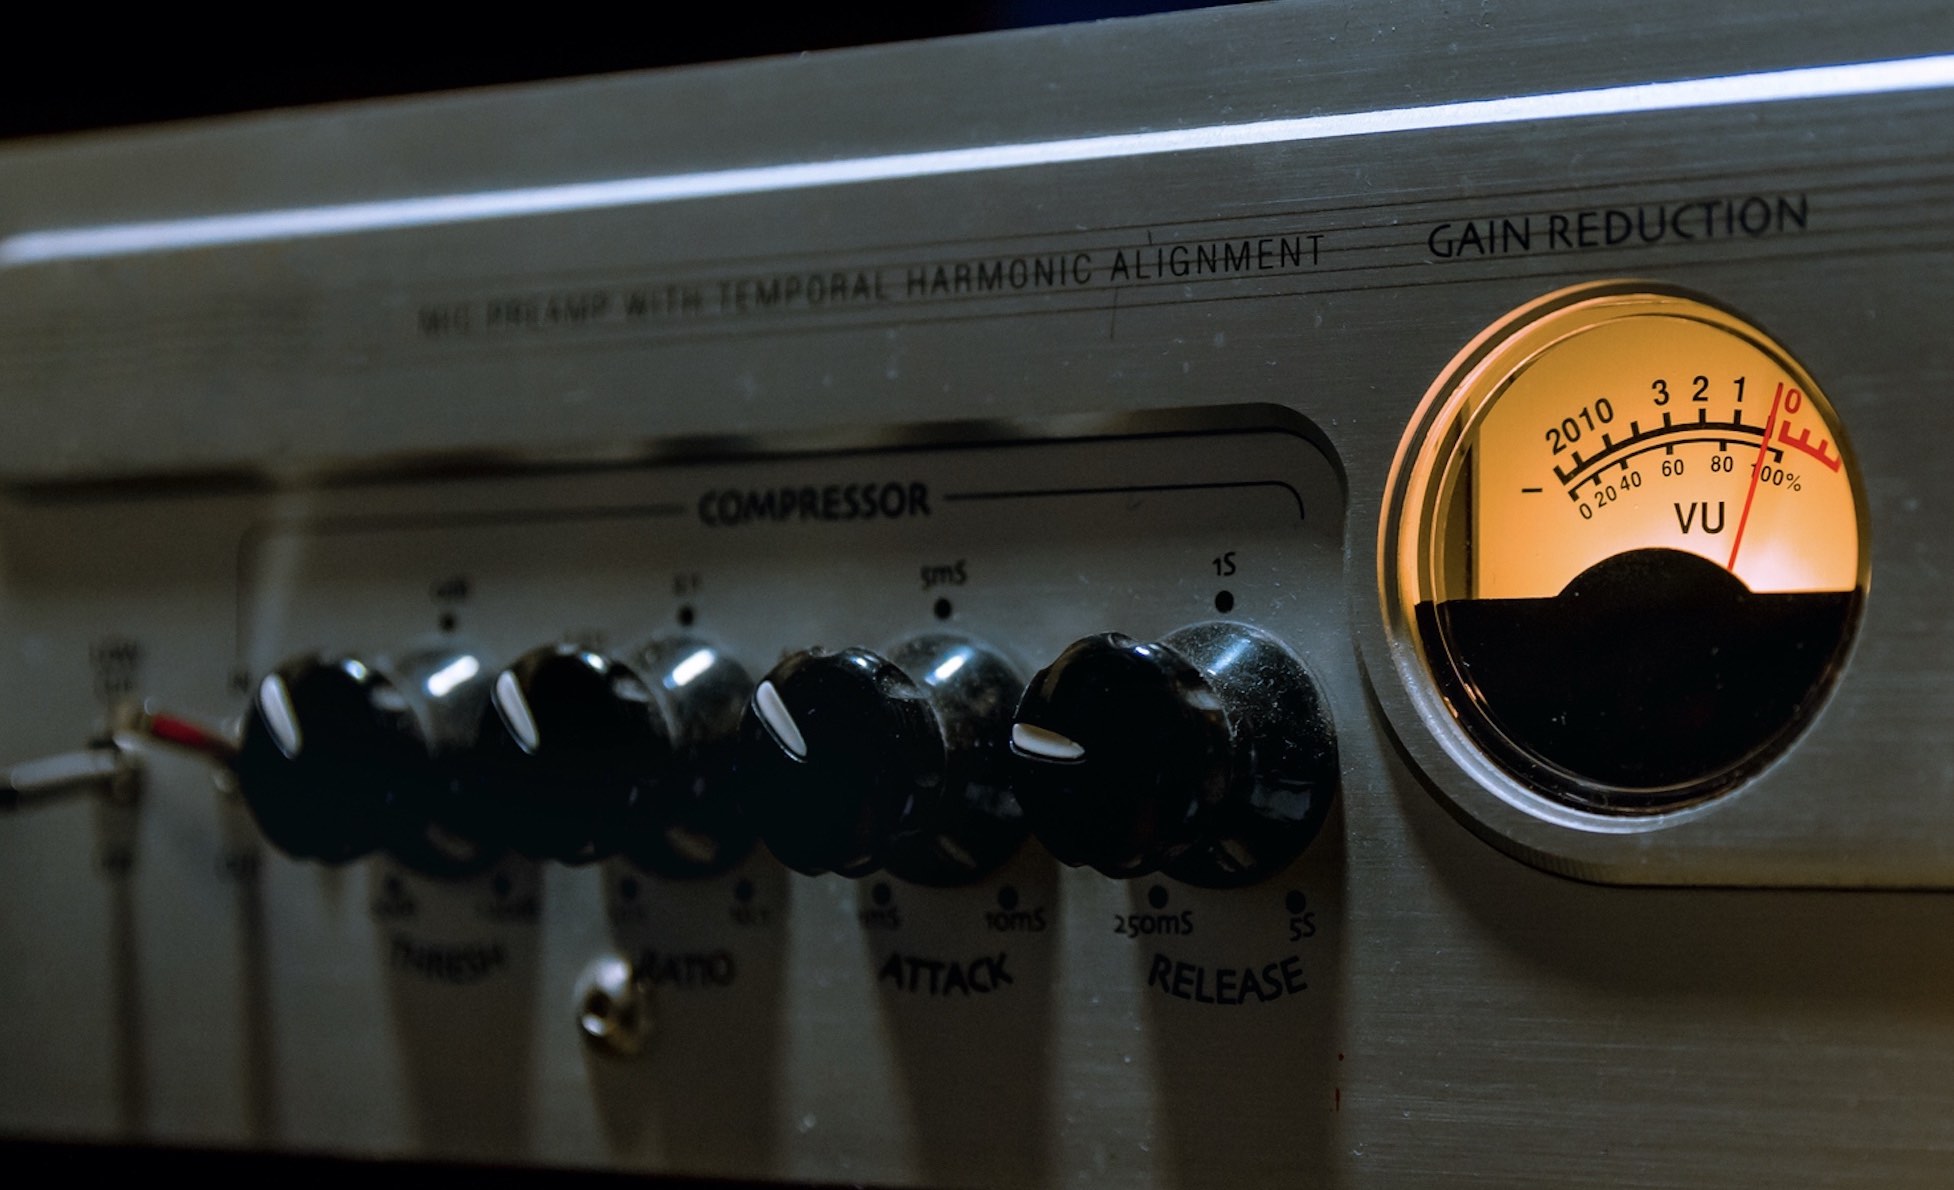
Recording at 24-bit provides plenty of dynamic range and if you set your preamp levels to achieve peaks that are typically -10dBFS you should be good to go. This allows plenty of leeway for performers, who sometimes get a bit louder when you actually start recording. What’s more, if you tap 0dBFS, it will likely be momentary and shouldn’t create audible distortion.
Want all the hottest music and gear news, reviews, deals, features and more, direct to your inbox? Sign up here.
3. Headphone bleed
Using closed-back headphones considerably reduces the headphone bleed that is picked up by the mics and is best practice for most recording situations. Nevertheless, even with closed-back headphones bleed can still be problematic. This is particularly true when recording quiet sources where percussive cue mixes including click tracks can be very invasive.

What’s more, singers sometimes remove one side of the headphones to help with their pitching. Work with performers to set a headphone level that works for both of you, and focus on quiet sections of the production to minimise potential problems.
4. Spill
If you record multiple instruments at the same time in the same space with multiple mics then spill is unavoidable and needs to be embraced. That said, although it can’t be avoided it can be controlled and tailored to some degree by using directional mics.
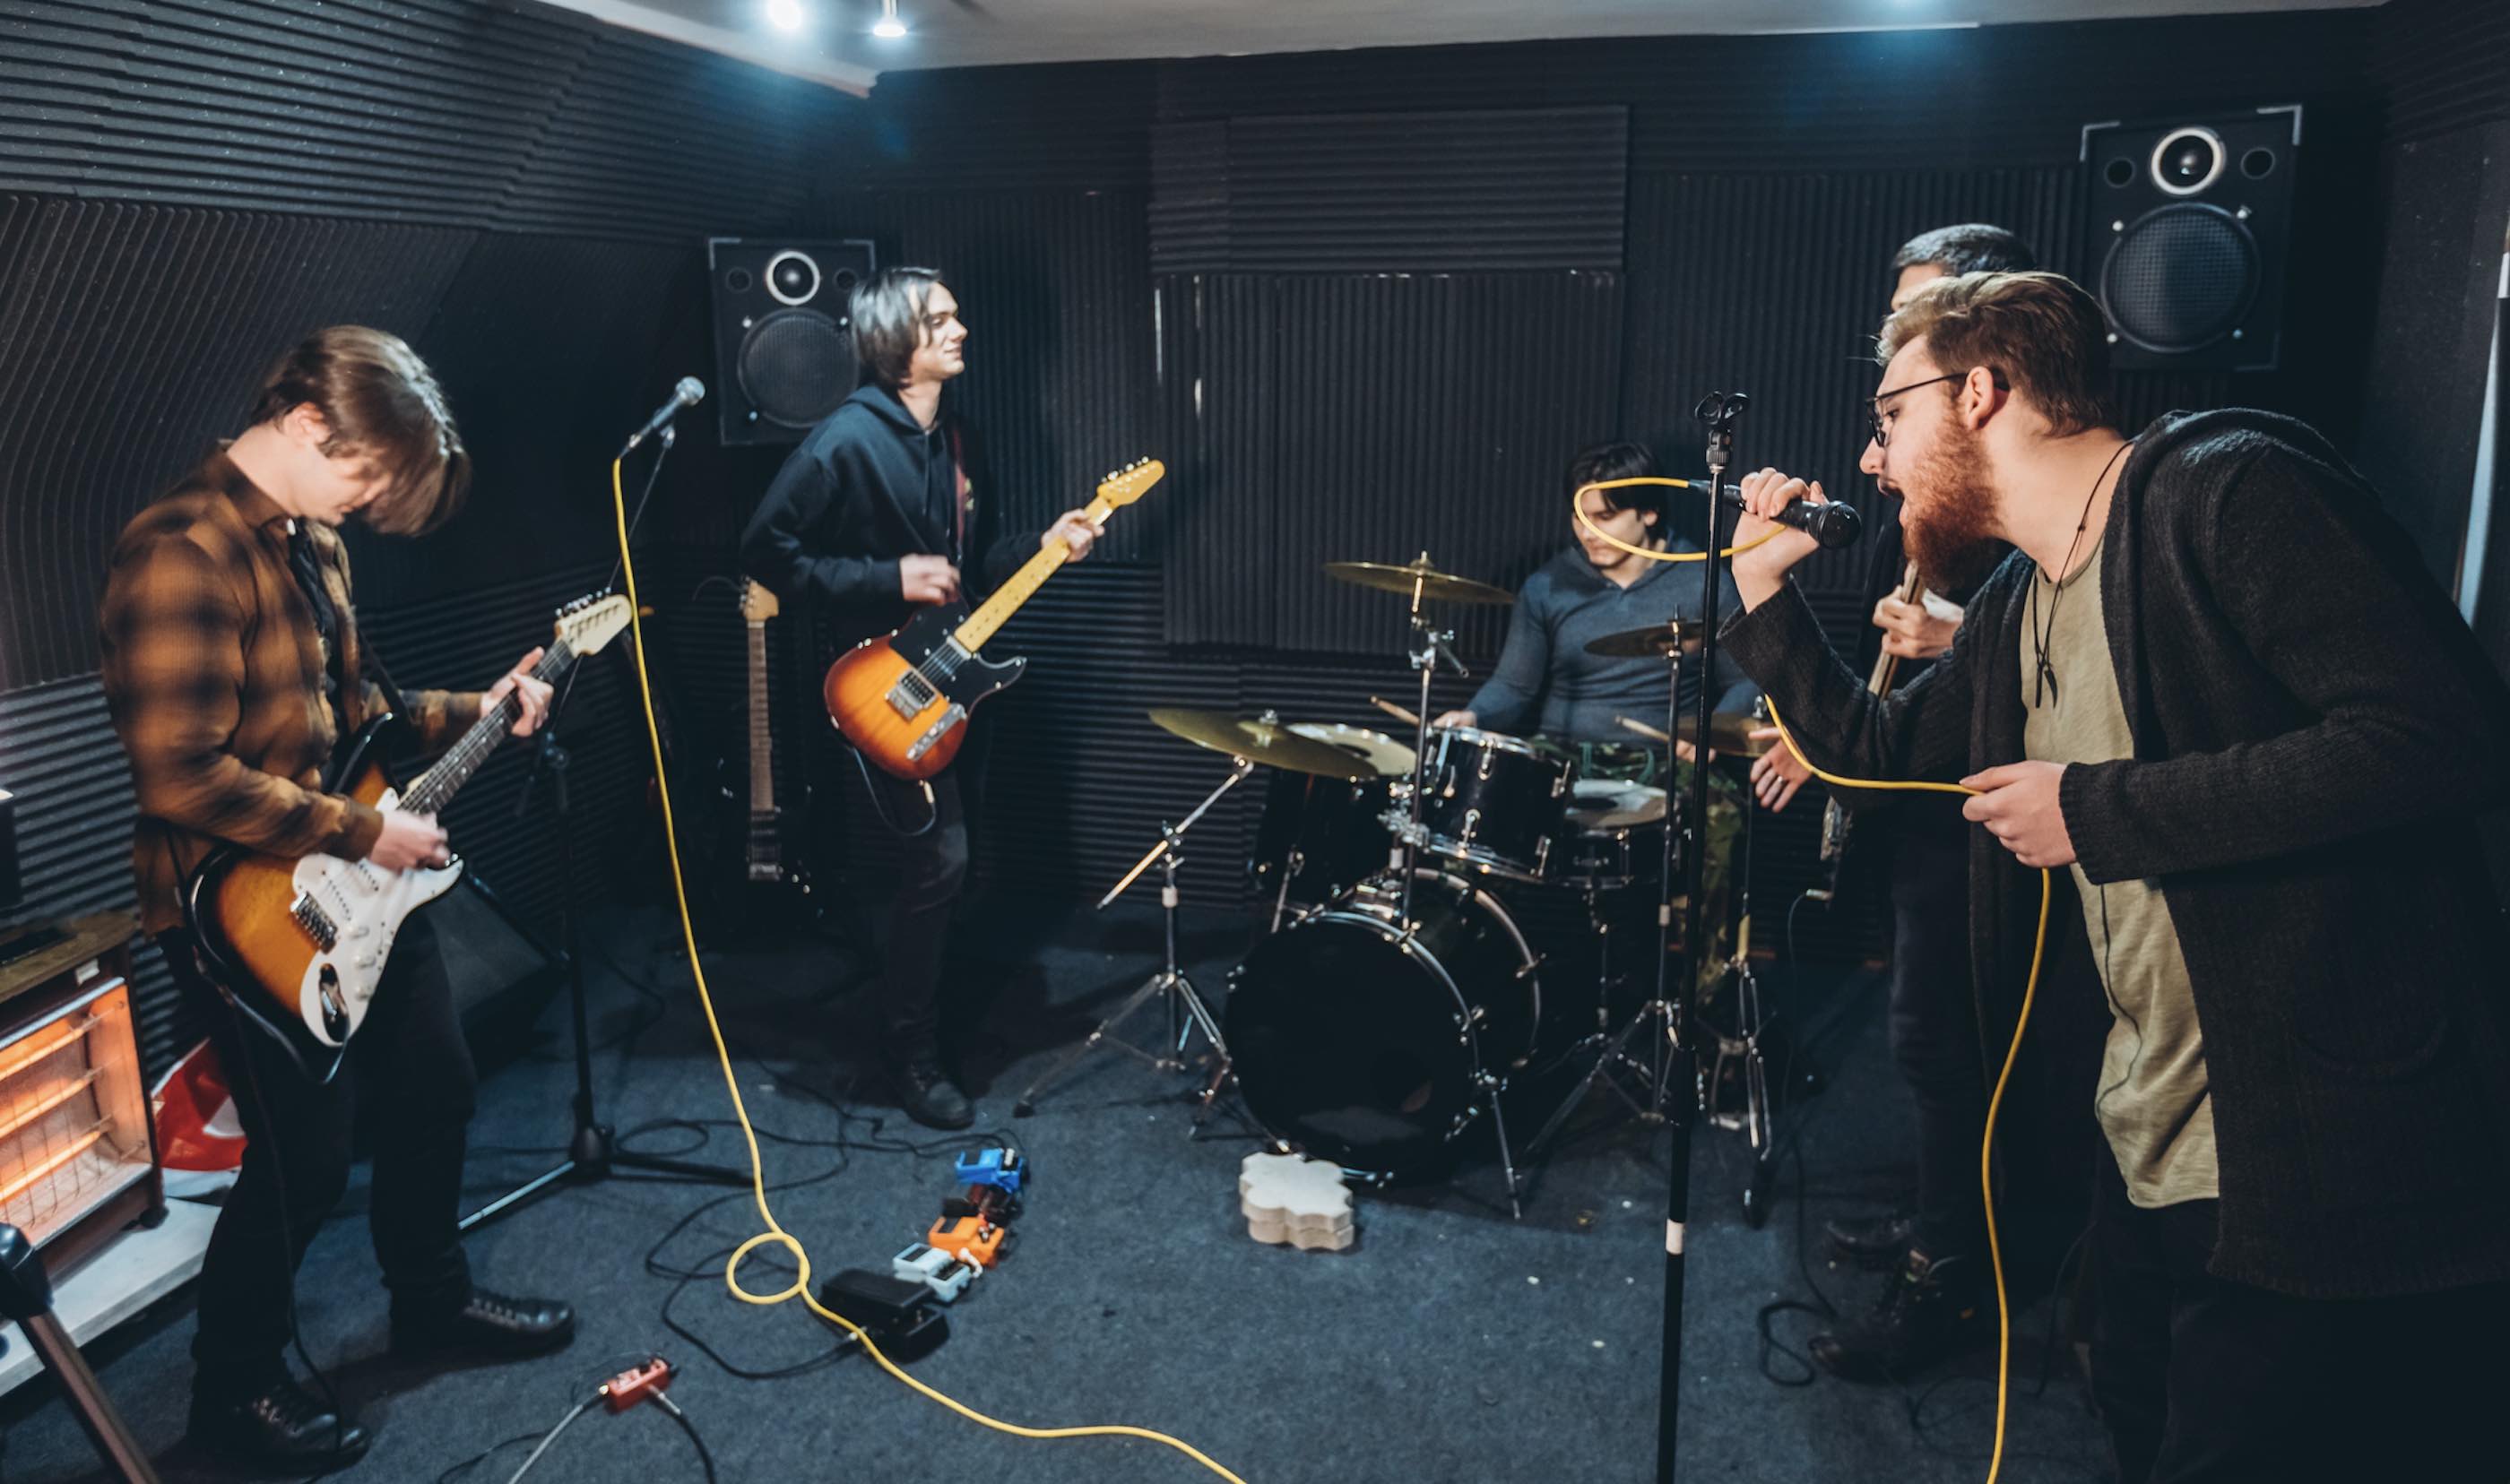
What’s more, if you have isolation spaces available then using them to minimise spill can be very handy, particularly with loud instruments such as drums and guitar amps.
5. Plosives
Whenever we record anything that produces sudden bursts of air there’s always the potential for the mic to struggle, resulting in a thump of low frequencies. The most common culprit is mouth plosives and these are at their worst when coupled with a sensitive directional mic such as a cardioid condenser.

The solution is a pop shield positioned equidistant between the source and the mic. Aim for a two-layer pop shield design, as these are substantially more effective.
6. Poor tuning
What constitutes a good performance can be very subjective and can include some pitch variation such as bends and vibrato. Nevertheless, in a production context the core tuning needs to be consistent and poor tuning, particularly within polyphonic instruments such as guitars, can become a nightmare as you start to layer up tracks.
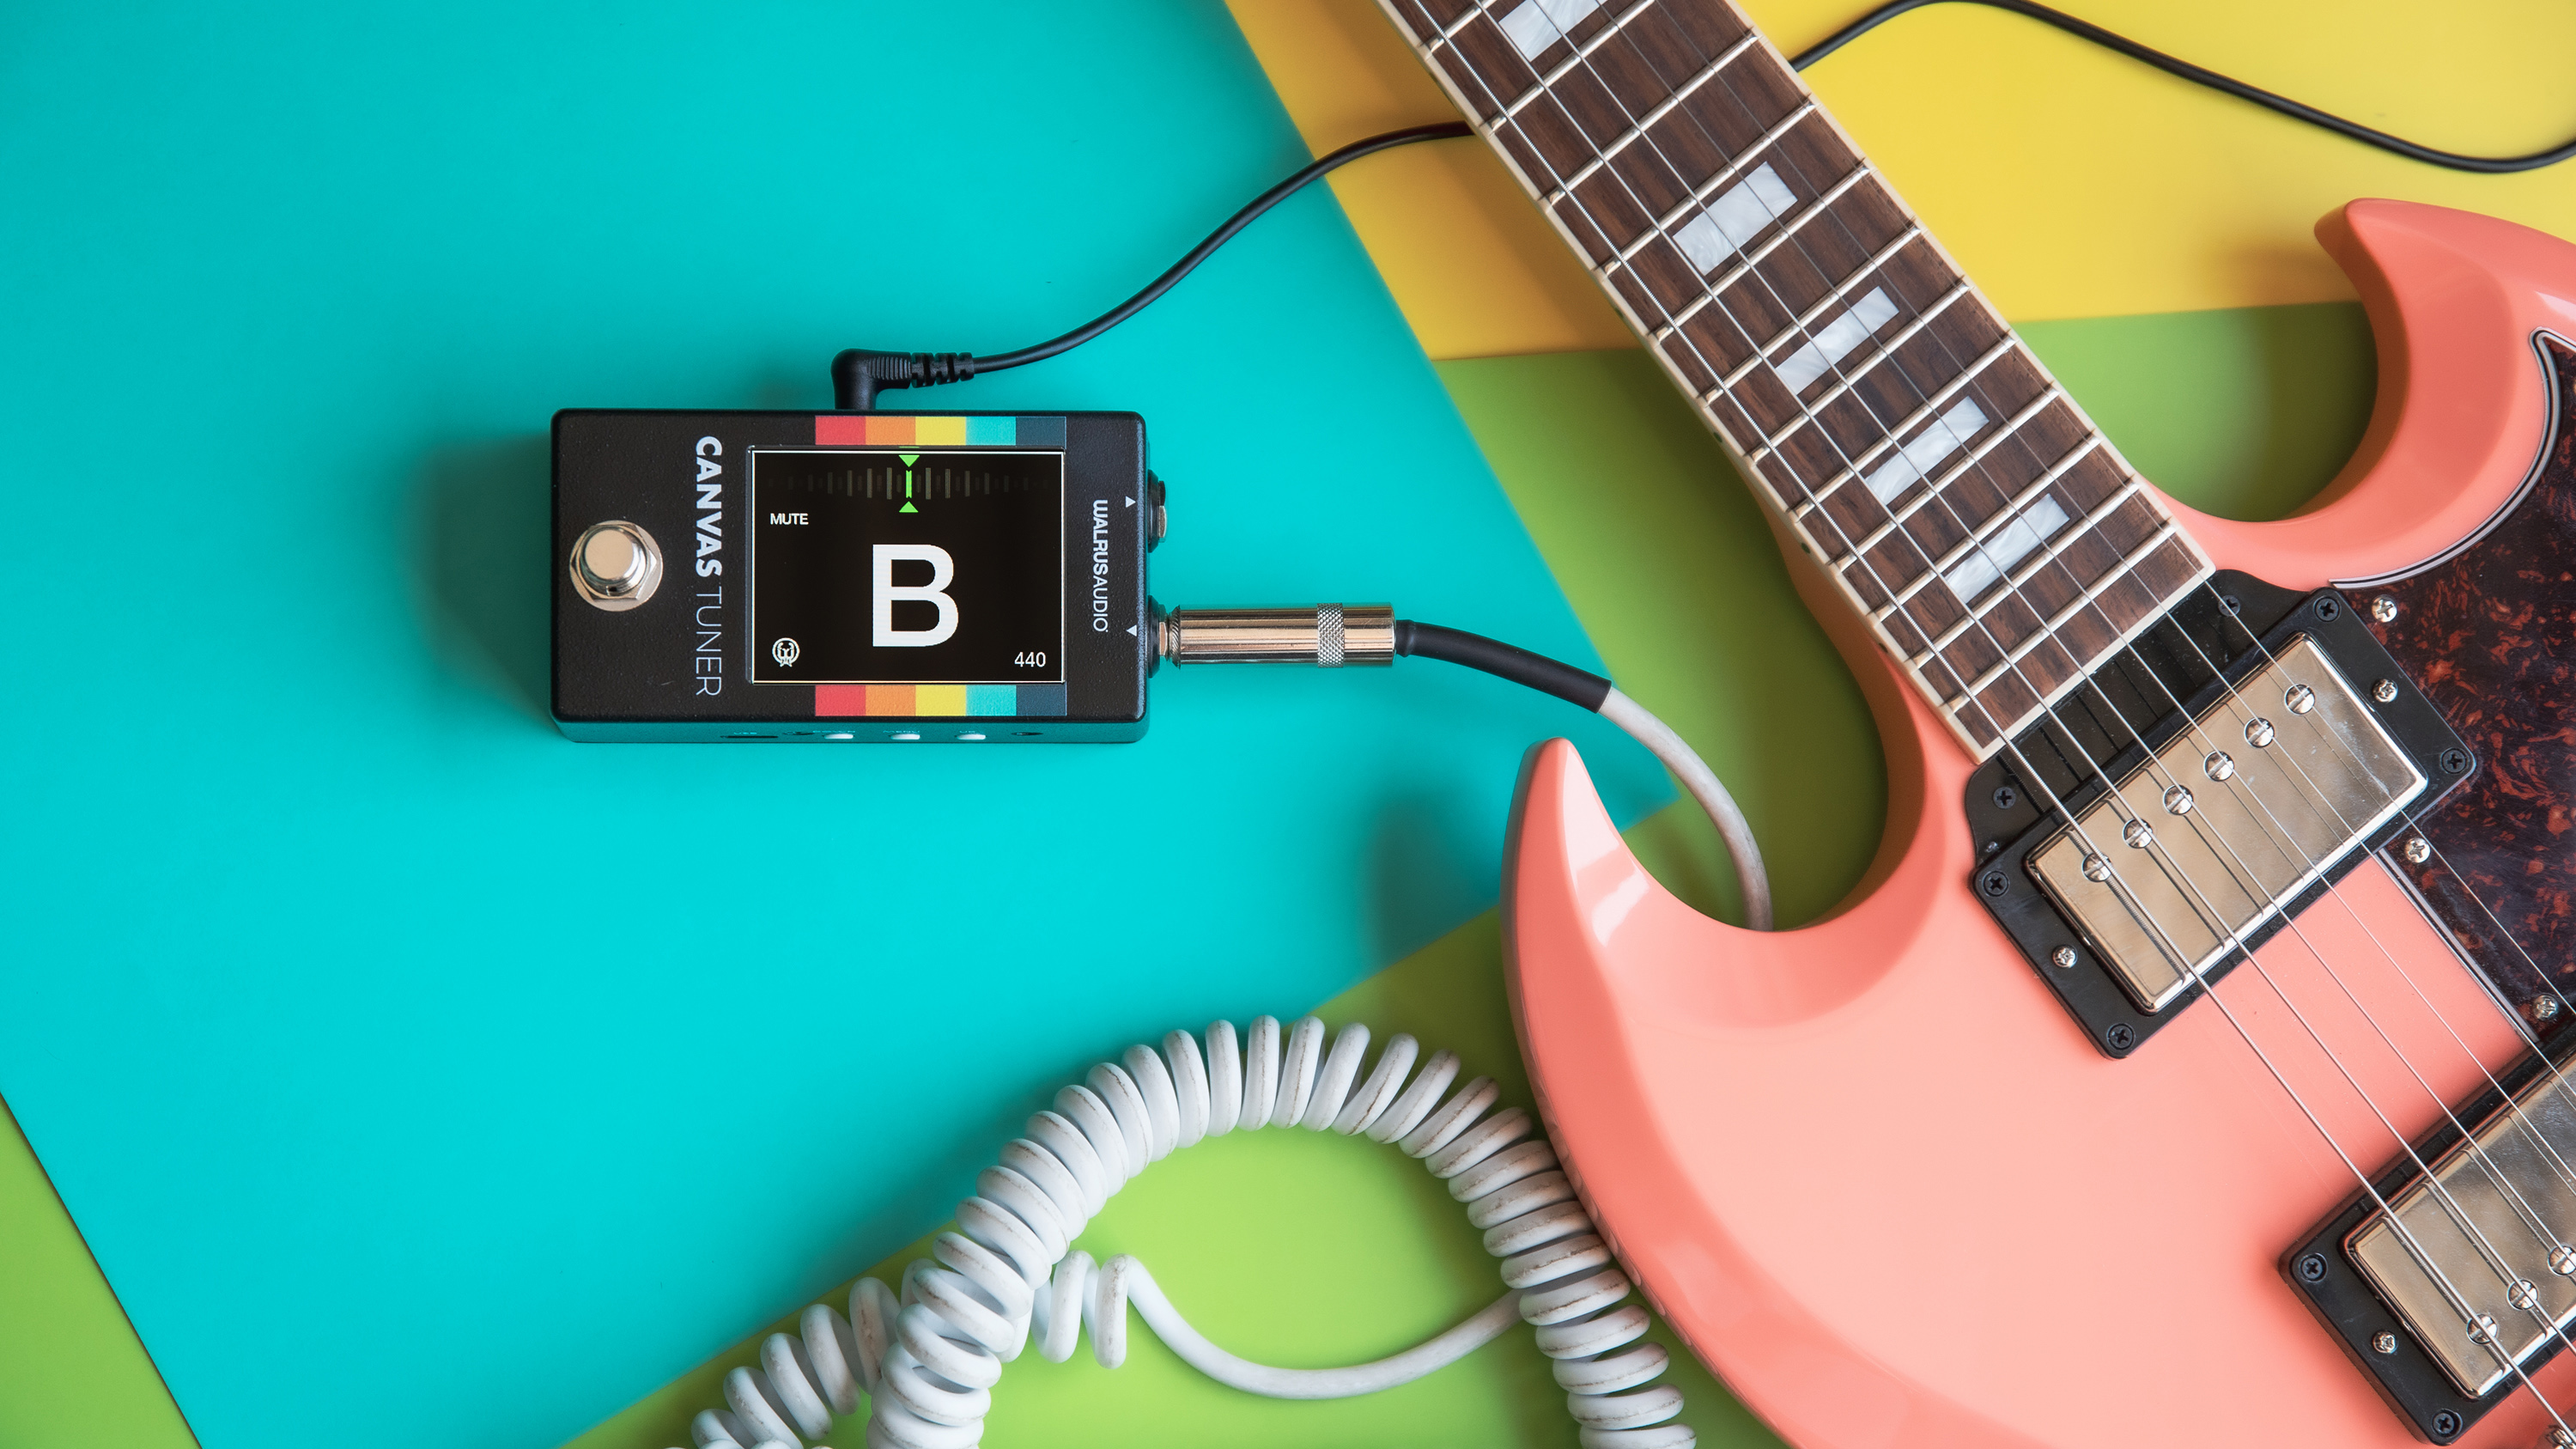
Pick a tuning standard or work to a software instrument within your production such as a piano. Retune between takes if your ears tell you this is necessary.
7. Sibilance
Sibilance is caused by fast bursts of high frequencies, and in a vocal performance can happen with words beginning with ‘s’, ‘t’ and ‘f’. It’s something we often need to tackle at the mixing stage, and we have various ways of dealing with it. That said, if you find your vocalist (or your own voice) is particularly sibilant then it’s wise to do something at source.

The simplest solution is to use a microphone with a less prominent high frequency lift. But if this isn’t an option, mic position can help. Try turning the mic slightly off axis and position it slightly above the mouth.
8. Electrical Interference
Interference either on source sounds or the mics recording them can be very tricky to resolve, so it’s much better to avoid it in the first place. The most obvious culprit is mobile phone signals, but other things to watch out for are screens, lights and general mains hum.
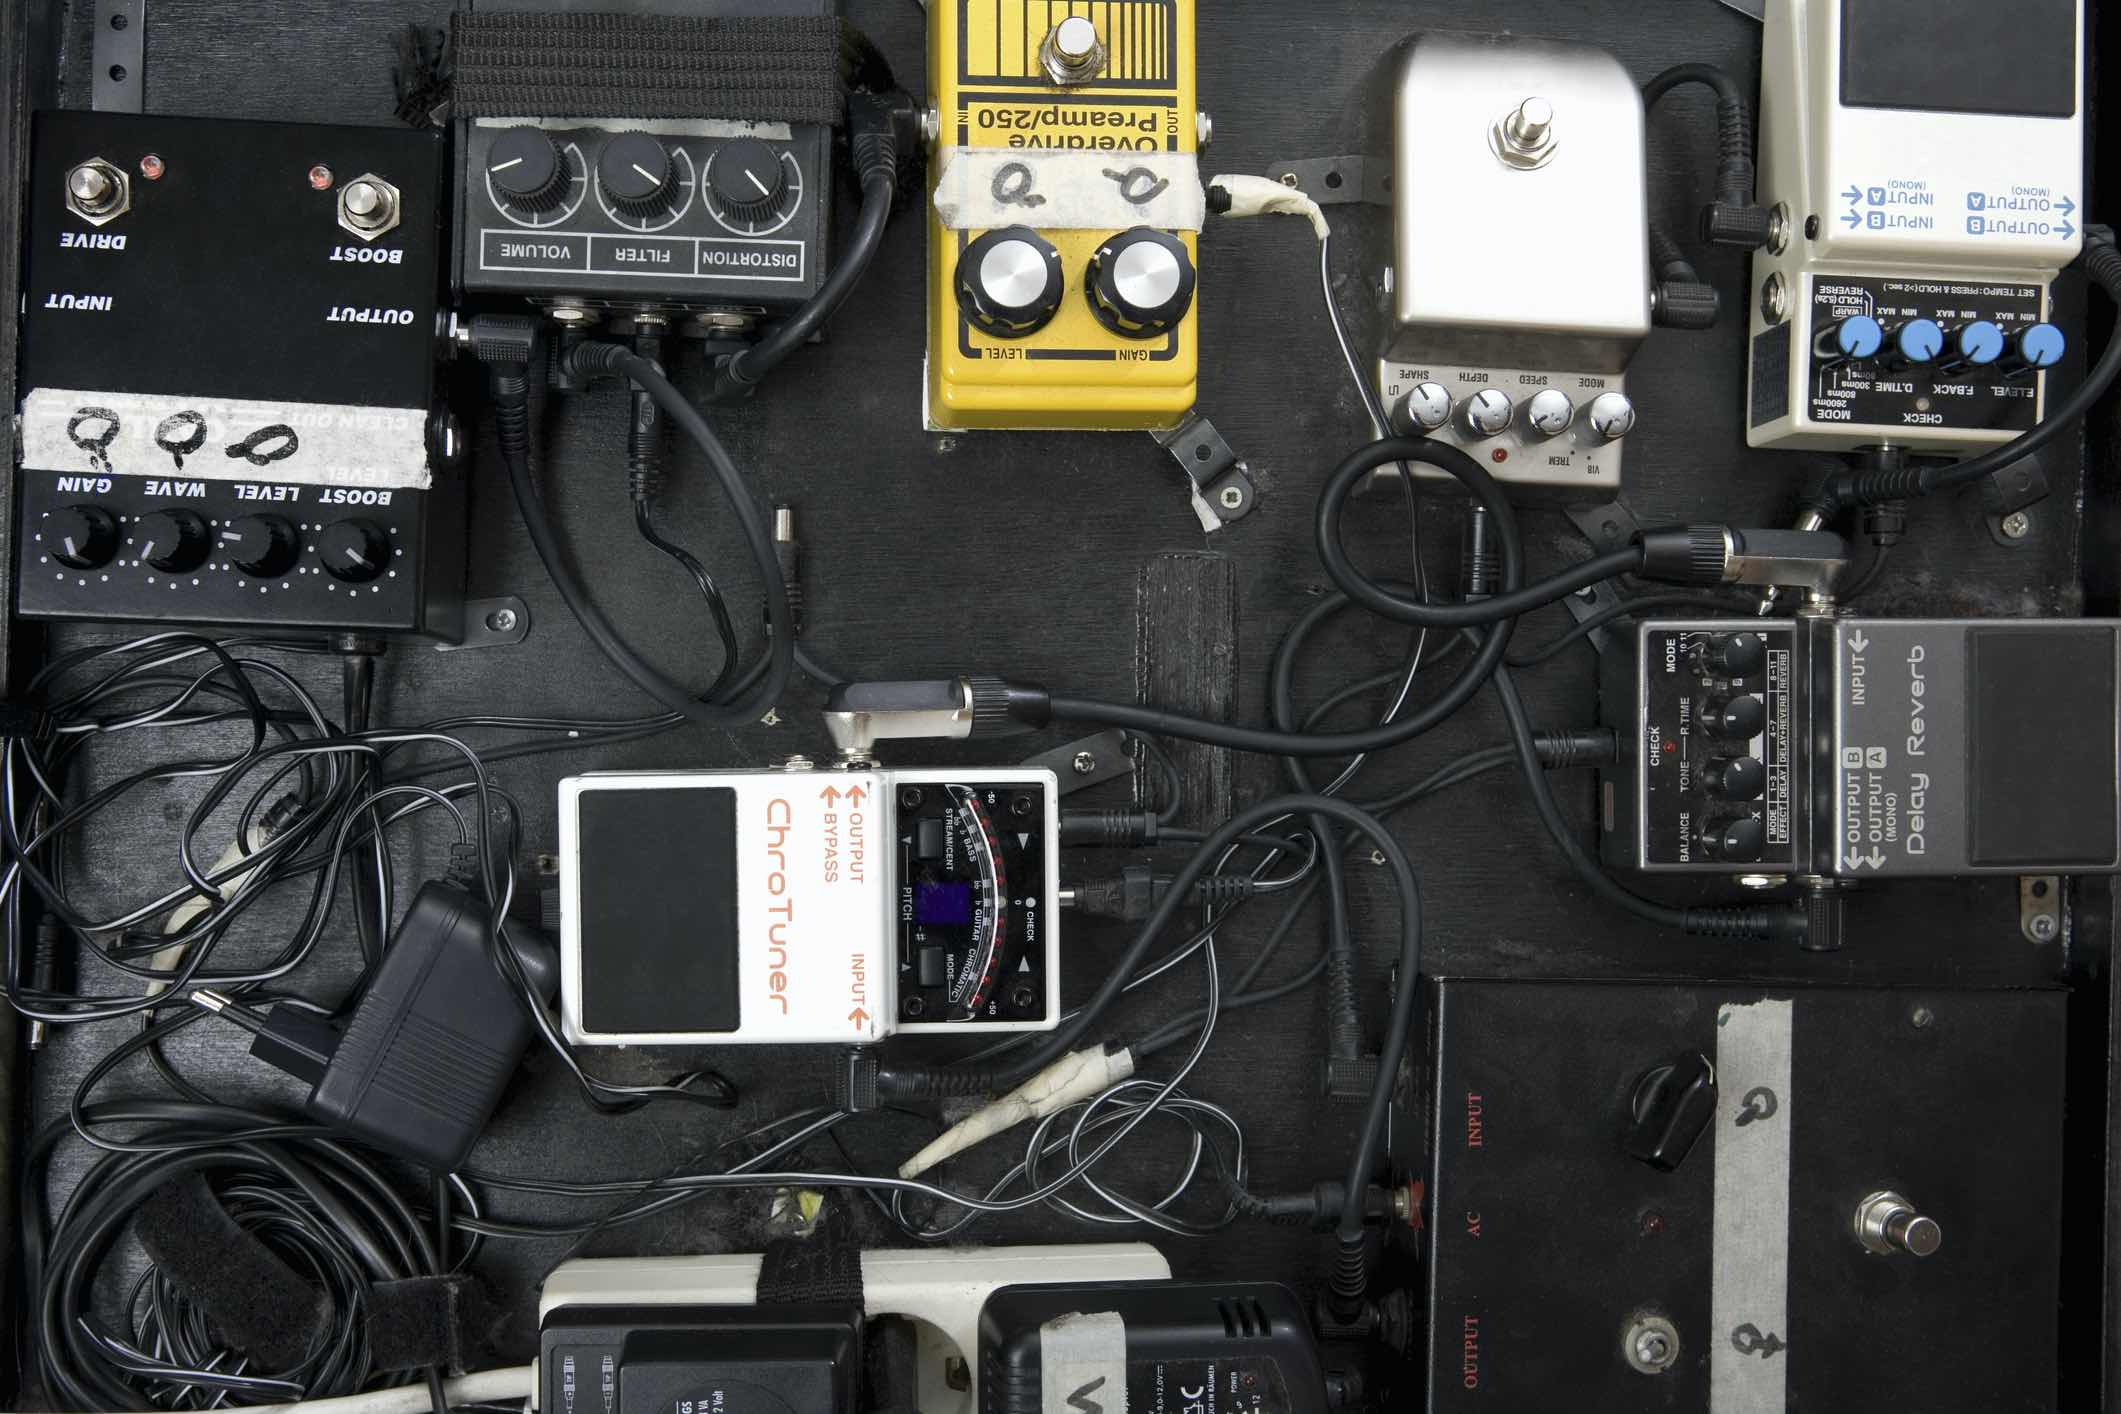
Meanwhile with anything that uses pickups, proximity to interference sources is often the key, so just keep your distance or orientate the instrument to minimise the problem.
9. Unlabelled takes
When you’re setting up for recording the focus is understandably on getting the sounds and performance you want. That said, a little bit of time spent configuring your DAW session can save you loads of time and hassle down the line.

Ensure your tracks are labelled and that the recorded files carry the same name. Also, once you start doing takes, make sure you understand how your particular DAW labels consecutive takes.
10. Unwanted phase cancellations
When recording with multiple mics on a source it’s important to check for obvious phase cancellations. These can be particularly annoying in the lower frequencies, resulting in a loss of punch in drums for example, and big changes in sound when you mono a stereo balance.
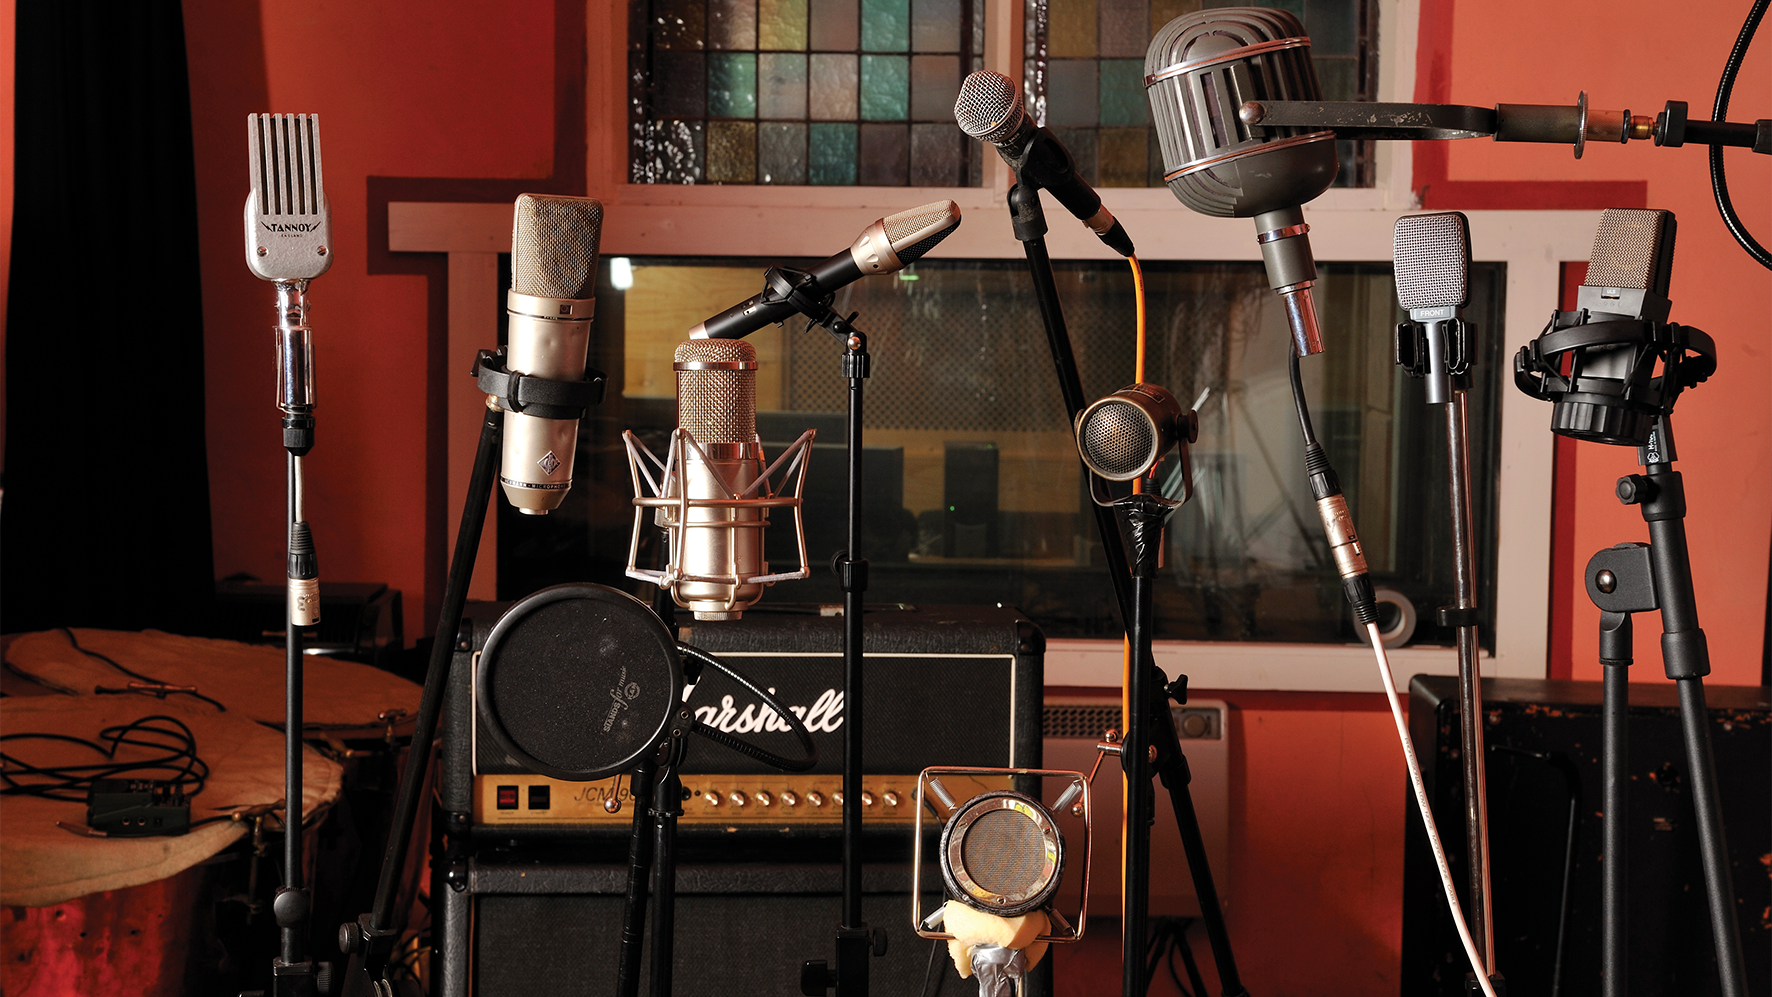
Using techniques such as the 3:1 mic spacing ratio are a good starting point and with some careful mic adjustment and checking in mono you should be able to get a better outcome.
• Get more recording stories and features at Recording Week 2024 here!
Jon is a London based platinum award winning mixer, producer, composer and club remixer with a diverse CV that spans dance, pop, rock and music for media. He’s also a long term contributor to MusicRadar's music technology tutorials and reviews. Whether working alone or collaborating he usually handles final mixdowns, so you’ll also find MusicRadar peppered with his handy mixing tips.
