How to connect your audio interface to your iPhone or iPad
My expert guide to hooking up a mobile music-making rig using an iPhone or iPad
Apple devices are everywhere, and have been for a long while. In fact, I’m willing to bet that almost everyone reading this is in possession of an iPhone, iPad or laptop of some description. Granted, Android users aren’t chomping at the bit to learn about mating audio interfaces with Apple tech, but if you;’ve got an Apple device you’re in the right place.
Today’s topic is that of union. The union of contemporary recording equipment with contemporary portable smart-things named for a popular fruit. iPads and iPhones are exceedingly powerful little things, and that presents incredible opportunities for mobile, versatile creativity by virtue of both their power and their form factor. But to make the most of this potential, you need to be able to connect your gear to them. Read on to find out how.
1. What’s your Apple device?
First, let’s address the elephant in the room. Historically, it’s been quite difficult to pair audio equipment and iOS devices, even if just for the persnickety nature of Apple’s older-school proprietary connectors. Some devices were designed specifically with the iPad in mind – remember the Focusrite iTrack? But in order to connect anything not designed as such, you needed to invest in some adaptive gubbins and perhaps a little patience.
Even with all the right connectors, there was no guarantee that any two devices would play ball; this rang true even for some specifically designed products, which became unsupported as new Apple devices and new iterations of iOS were released.
This sorry state of affairs is, prospectively, a thing of the past. EU regulation required Apple to ditch the proprietary plugs, and all new Apple devices now boast USB-C connectivity – hence, a less problematic route to connectivity for many different devices.
The following steps will first assume that you have a new iPhone or iPad, with USB-C connectivity and a much friendlier approach to device recognition. If your device is old enough to have a Lightning port, do not fear. Things might be a little stickier with respect to compliance and backwards compatibility, but you’ll find some more targeted advice a little later on in step 4.
2. What’s your interface?
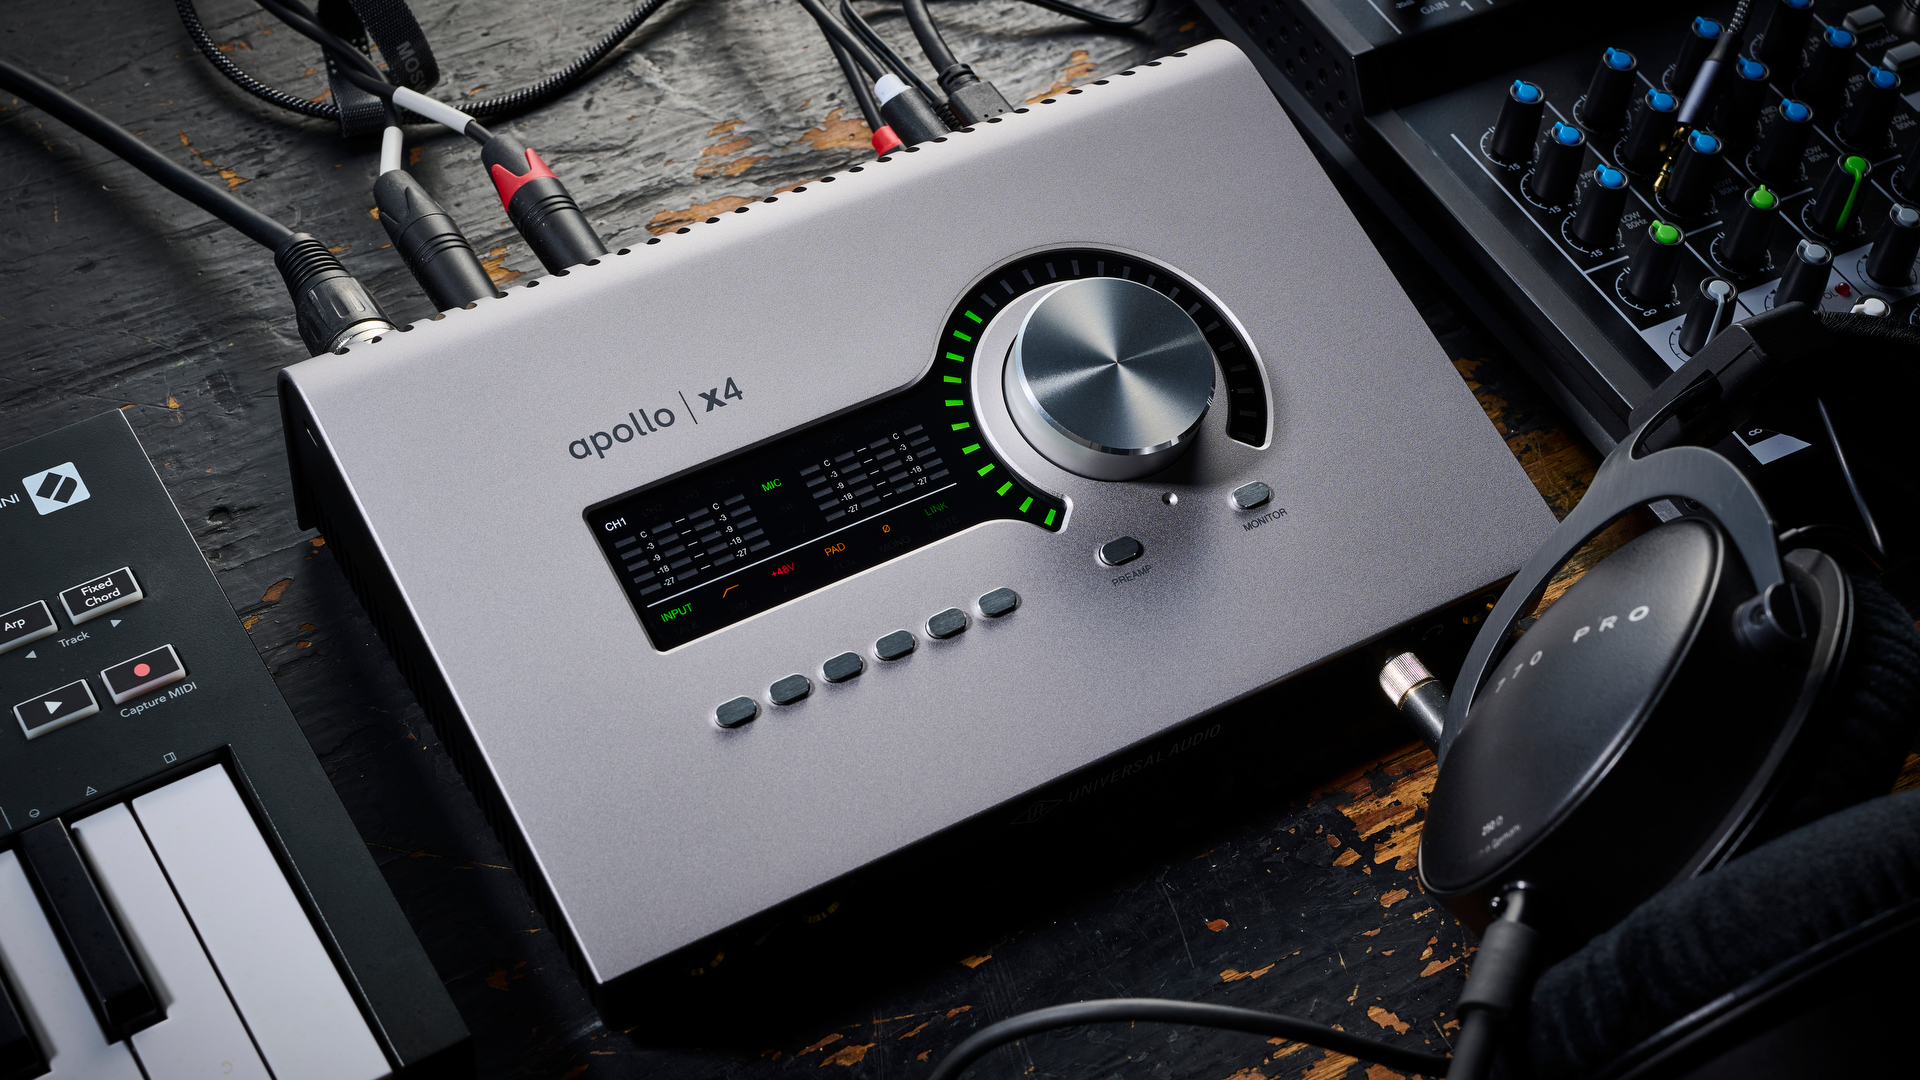
The other side of this audio-gear coin is, of course, your interface. As mentioned earlier, there’s a whole host of Apple-specific interfaces and audio tools on the market, one of which you may well have in your possession – including the aforementioned iTrack, and Line 6’s Sonic Port interface.
Get the MusicRadar Newsletter
Want all the hottest music and gear news, reviews, deals, features and more, direct to your inbox? Sign up here.
With the new capabilities of USB-C, as well as the advanced nature of smartphones and tablets, there are fewer choke points between standard audio interface technology and these portable powerhouses. As a result, most modern bus-powered interfaces (i.e. smaller interfaces that do not require a separate power plug to operate) will be just as happy seeing an iPhone as they will a laptop or PC.
Just as Lightning-equipped Apple devices pose some issues with connectivity, so too do older interfaces that might not be as easily plugged in – but don’t worry, we’ll get to this too. In the meantime, and for the rest of you…
3. Plug it in
If you have a newer iPhone or iPad with a USB-C port, and a newer audio interface with straight USB-C connectivity – like Universal Audio’s Volt 1 or a Focusrite Scarlett 4th Gen, then your journey begins and ends here; just plug one into the other via a USB-C cable, and you’re likely to be done.
4. Use an adapter
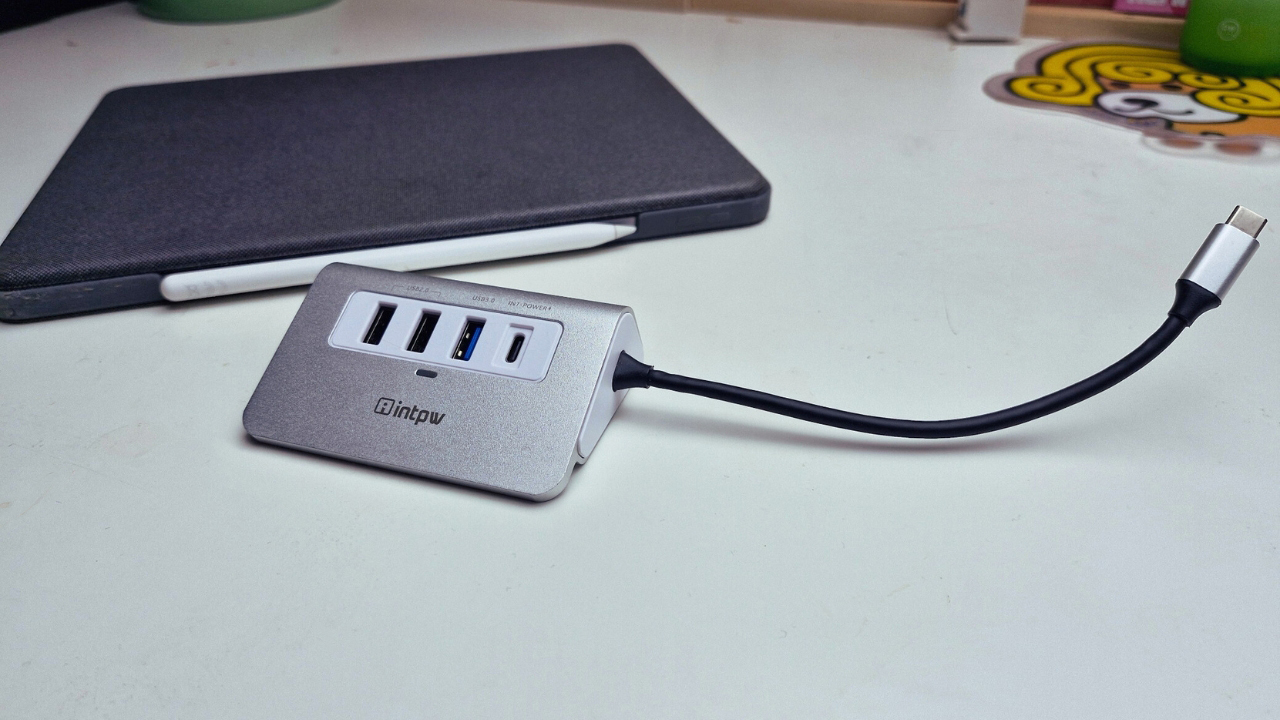
There’s an ancillary consideration here, though, in the form of power. Your Apple device will be powering your interface from its battery, which may not be ideal if you’re planning a long recording session, like a lengthy crime podcast or a live band. As such, you might benefit from using a USB hub that can route power through as well as data.
An adapter could be a good shout anyway if you're doing something beyond basic recording. You may want to use a larger audio interface that requires mains power, an older interface that doesn’t come with the right USB-C cable, or an older Lightning-port Apple device with your interface, so an adapter that goes in between all of these could prove to be an invaluable part of your set up.
Apple has its own branded adapters, but most third-party adapters will do the trick (and some will offer more functionality, too). In the above picture you can see the USB-C hub I used to connect a 2nd generation Focusrite Scarlett 2i2 to my long-suffering partner’s workhorse iPad Pro.
5. Set up your audio interface on a computer
Some interfaces are happier talking to Apple devices than others – and some interfaces have some internal workings that you can’t quite access on an Apple device, which could frustrate your usage of them when it comes time to record.
For instance, Focusrite’s 4i4 interface uses Focusrite Control software to manage routing and settings – meaning you’ll need to make adjustments on a computer before you can use this interface the way you want to on an iPad or iPhone.
6. Device settings
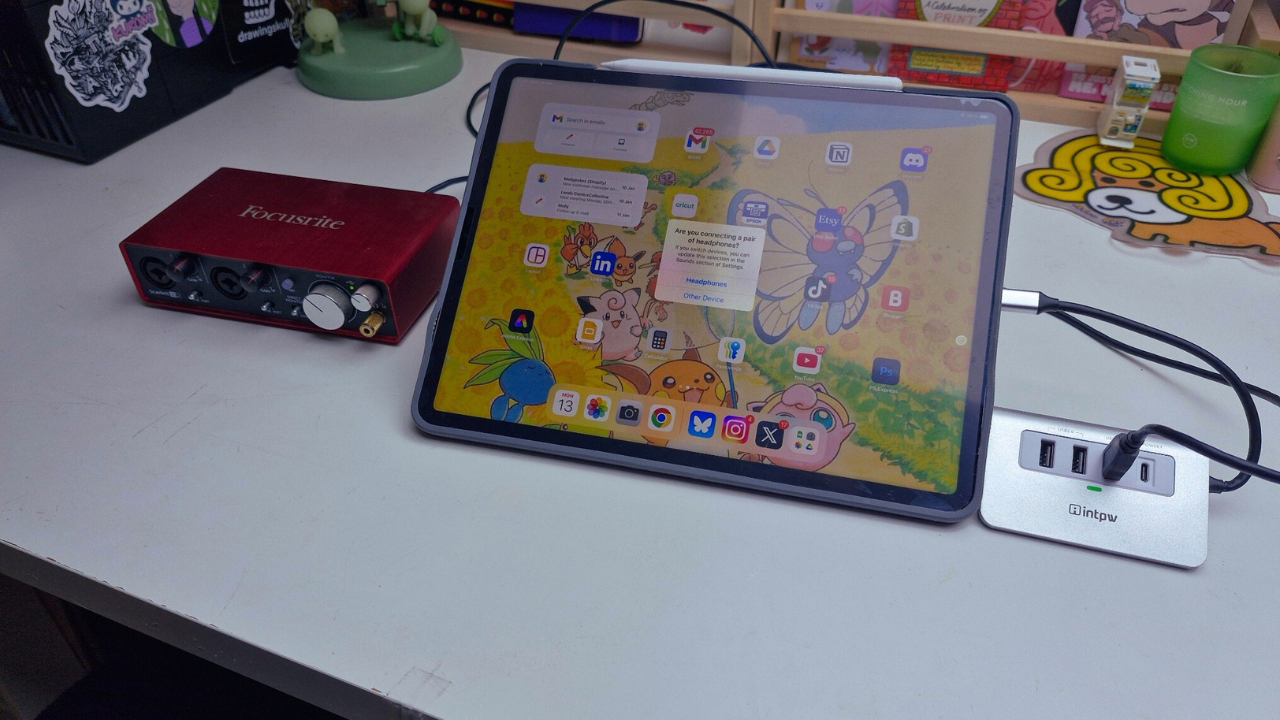
With your audio interface plugged into your device – and once you’ve verified that it powers on – you should now be able to see it in your device’s apps. In most instances, setup is instantaneous; if you see a pop-up that asks if your new device is headphones, just select ‘Other Device’.
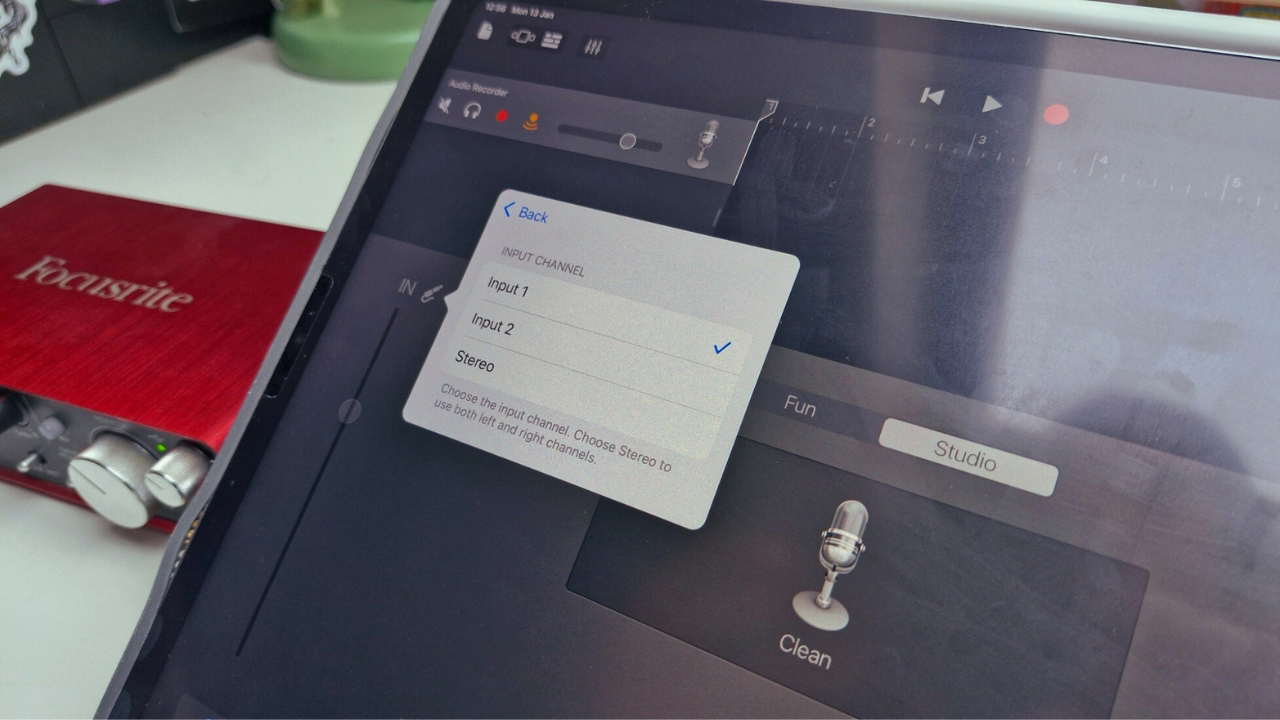
There’s no need to go into your Apple device’s settings, like you might have to with a Mac or a PC. Just go into your DAW of choice and use the device settings therein. In GarageBand, my Focusrite was automatically detected; going to the input settings of a given track, you should see the channels of your device ready to pick from.
Conclusion
That’s all there is to it, for most of you at least! My Focusrite 2i2 is an older-gen model and has absolutely no trouble mating with a recent iPad Pro, which is great news for many of the older interface havers amongst you.
However, there will be certain brands that have more trouble than others, particularly with legacy interfaces that may no longer be class-compliant with iOS’ core audio driver. If your interface is a little long in the tooth, you may need to be prepared to invest a little in order to fully realise your Apple-brained music-making setup.

James Grimshaw is a freelance writer and music obsessive with over a decade of experience in music and audio writing. They’ve lent their audio-tech opinions (amongst others) to the likes of Guitar World, MusicRadar and the London Evening Standard – before which, they covered everything music and Leeds through their section-editorship of national e-magazine The State Of The Arts. When they aren’t blasting esoteric noise-rock around the house, they’re playing out with esoteric noise-rock bands in DIY venues across the country; James will evangelise to you about Tera Melos until the sun comes up.


