Where to start with learning the piano: coordination, chords and more
Start playing today with these piano basics
In this lesson from online piano lessons platform Pianote, tutor Lisa Witt talks you through everything you need to know about where to start when learning the piano. So, if you’ve just bought yourself a beginner keyboard, or you’re planning on becoming a digital piano superstar, this lesson is a great starting point covering everything from how to formulate the right practice routine to learning your first chords.
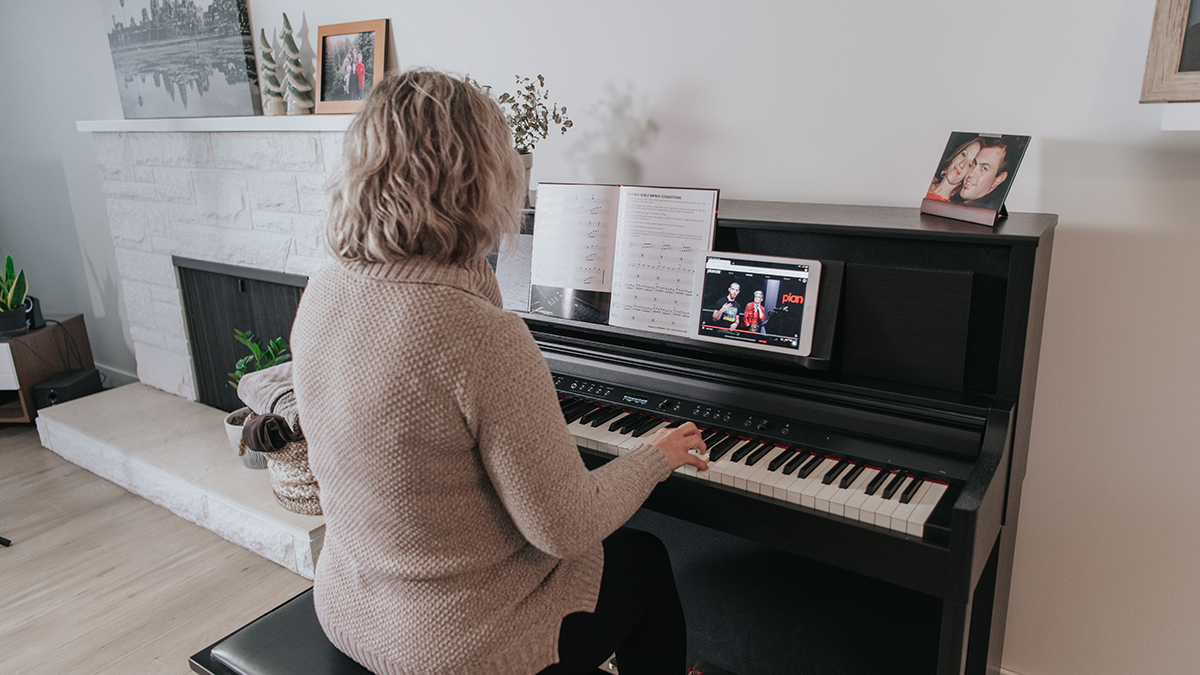
Pianote delivers quality online piano tuition for beginner to pro players, led by expert tutors. Content includes a step-by-step curriculum, playalong songs, live sessions and personal feedback from Pianote coaches. Try Pianote for 7 days totally free.
Knowing where to start and the right way to approach your goals at the piano can feel overwhelming to begin with. In this lesson, Lisa walks you through the essential information you should know from day one, to help you get comfortable behind the piano, get your practice routine locked in and well on your way to learning key techniques like finger and hand coordination, and learning your first chord progressions.
These lessons are part of a new piano series where we'll be sharing some exclusive how-tos and tutorials provided by Pianote.
Right, let's get started...
1. Environment
Now you have your piano home, for starters you should create an environment that you will love to practice in. Think about decorating your space. Place your piano in an area of your home where you’re most likely to use it. If you put your piano all the way down in the basement and you’re never in the basement, the chances are you’re never going to practise. Lisa says “I have my piano in the living room. At the end of the day I sit down, I’m relaxing, there’s my piano, the space is beautifully decorated. It sort of calls me in, I sit down and get my practice in.”
2. Schedule your practice time
Lisa like to use her trusty Pianote planner, but you can really use any scheduling tool that works for you. The main thing is that you’re taking the time to think about when you can practise and committing to it. It doesn’t have to be a really long period of time. 10-15 mins a day consistently is way better than one hour a month. Get your planner out, plan your practices, create a schedule and you’re more likely to play.
3. Work out your practice strategy
As a beginner it’s really important that you focus on three main areas when it comes to the piano:
Want all the hottest music and gear news, reviews, deals, features and more, direct to your inbox? Sign up here.
- Keyboard familiarity: Understanding how to move your hands around on the piano, where all the notes are located. That’s a really challenging thing to master at the beginning.
- Hand coordination: Getting your fingers to cooperate and playing with both hands together. There are thing you can do to develop that right from the beginning, which Lisa demonstrates in the video above.
- Songs: As a new piano player, songs are going to be what inspires you to do the hard work and do the practicing. That’s why we learn the piano in the first place, we want to learn how to play songs.
So, we’re going to get started right now with working on some of these areas. In the video above, Lisa walks you through a quick and easy routine that’s going to target understanding the keyboard - where all the notes are - it’s going to help you target getting those fingers to cooperate and coordinate and then actually get you started playing songs that you love. We’ve made some notes from the video below, but if you’d rather just watch video, this part of the lesson starts from 2:04.
Keyboard familiarity
Every single one of the keys on your piano or keyboard have a name. Those names are attached to the musical alphabet which starts on A and goes to G. You want to get really comfortable with your musical alphabet. It probably sounds simple, but when it comes to the piano it’s going to be super helpful to say your alphabet forwards and backwards. This is going to help set you up for success when you’re starting to move your hands around.
The next step would be to get comfortable with the notes and what they’re called on the keyboard. The easiest way to do that is to look at the black keys to help you get the landscape of the keyboard. You’ll notice you have a group of two black keys, then three black keys, then two, then three and so on. If you look at the white keys underneath each group of two black keys, the first note of the three is called C. To begin with, my advice to you is to simply go to your keyboard and find every group of two black keys and play all the Cs.
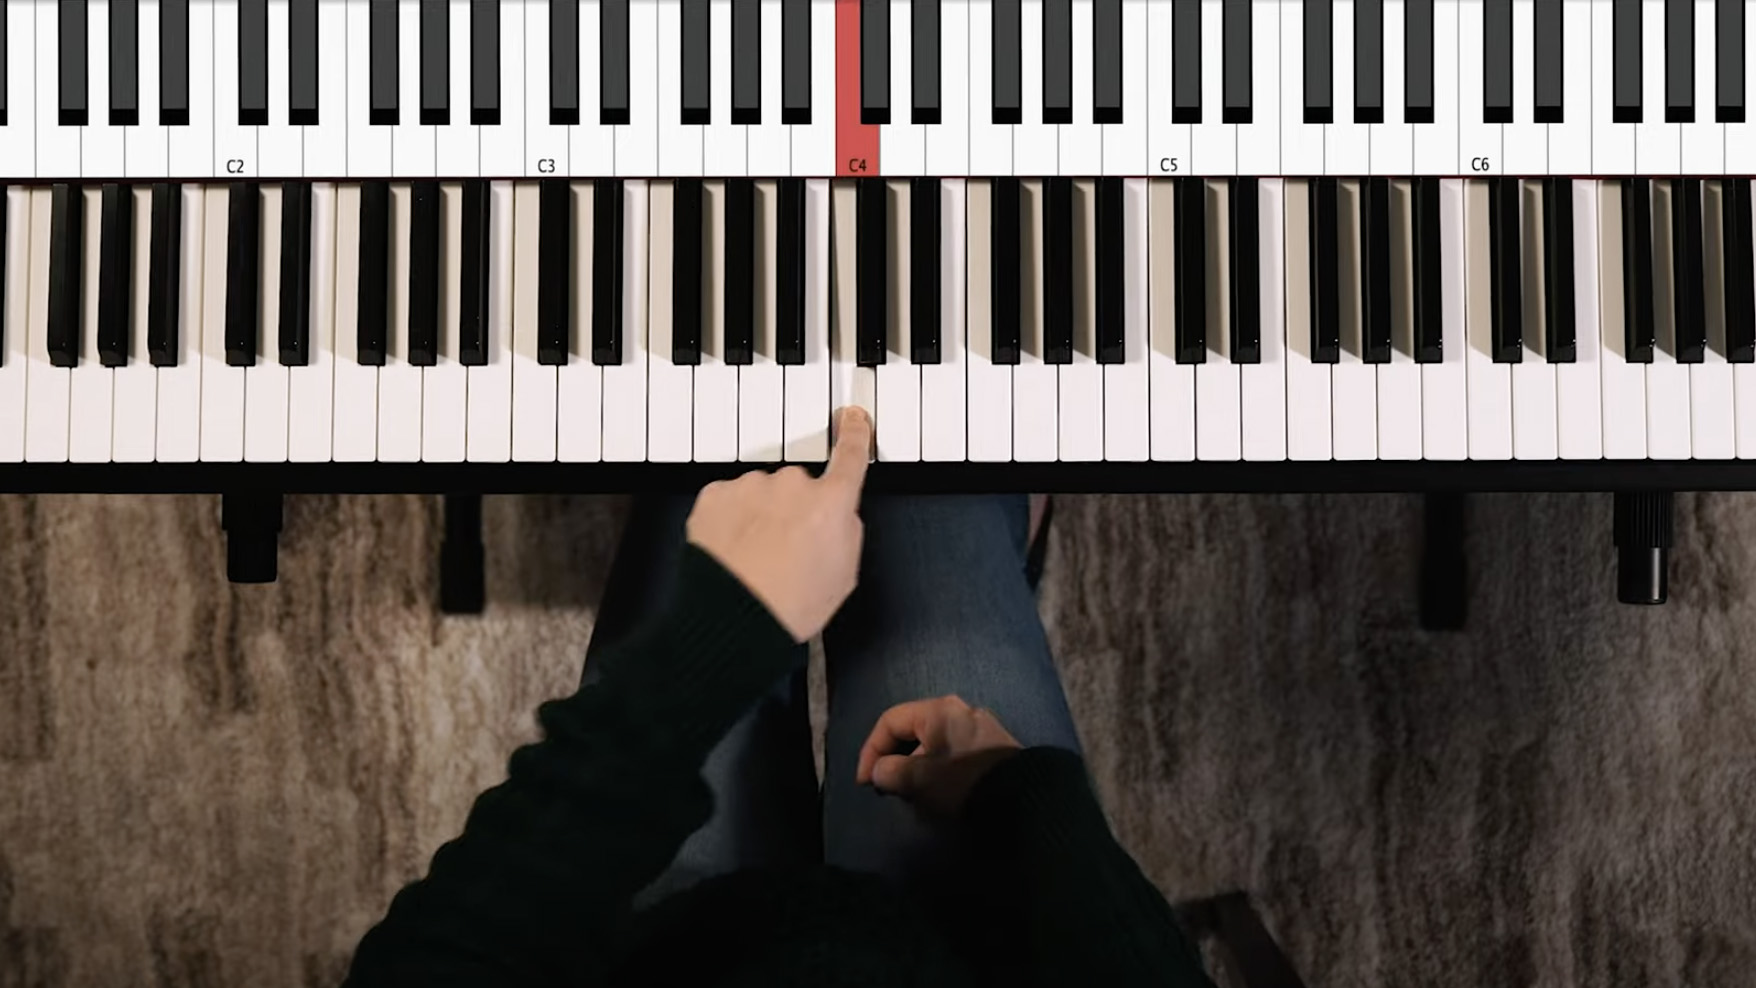
Lisa says “I really use that as a landmark, because if I’m on C I can just count up to D, E, F, G, A, B then back to C at the next group of two. It really helps to set you up so you know where you are and where you can go.”
The other landmark to use is at the white notes beneath the group of three black keys. If you go to the first white key in that group of four you have the note F. It’s another easy one to memorise. Then, as before, find the groups of threes, play all the Fs and then you’re going to be well on your way to understanding the geography and layout of the keyboard.
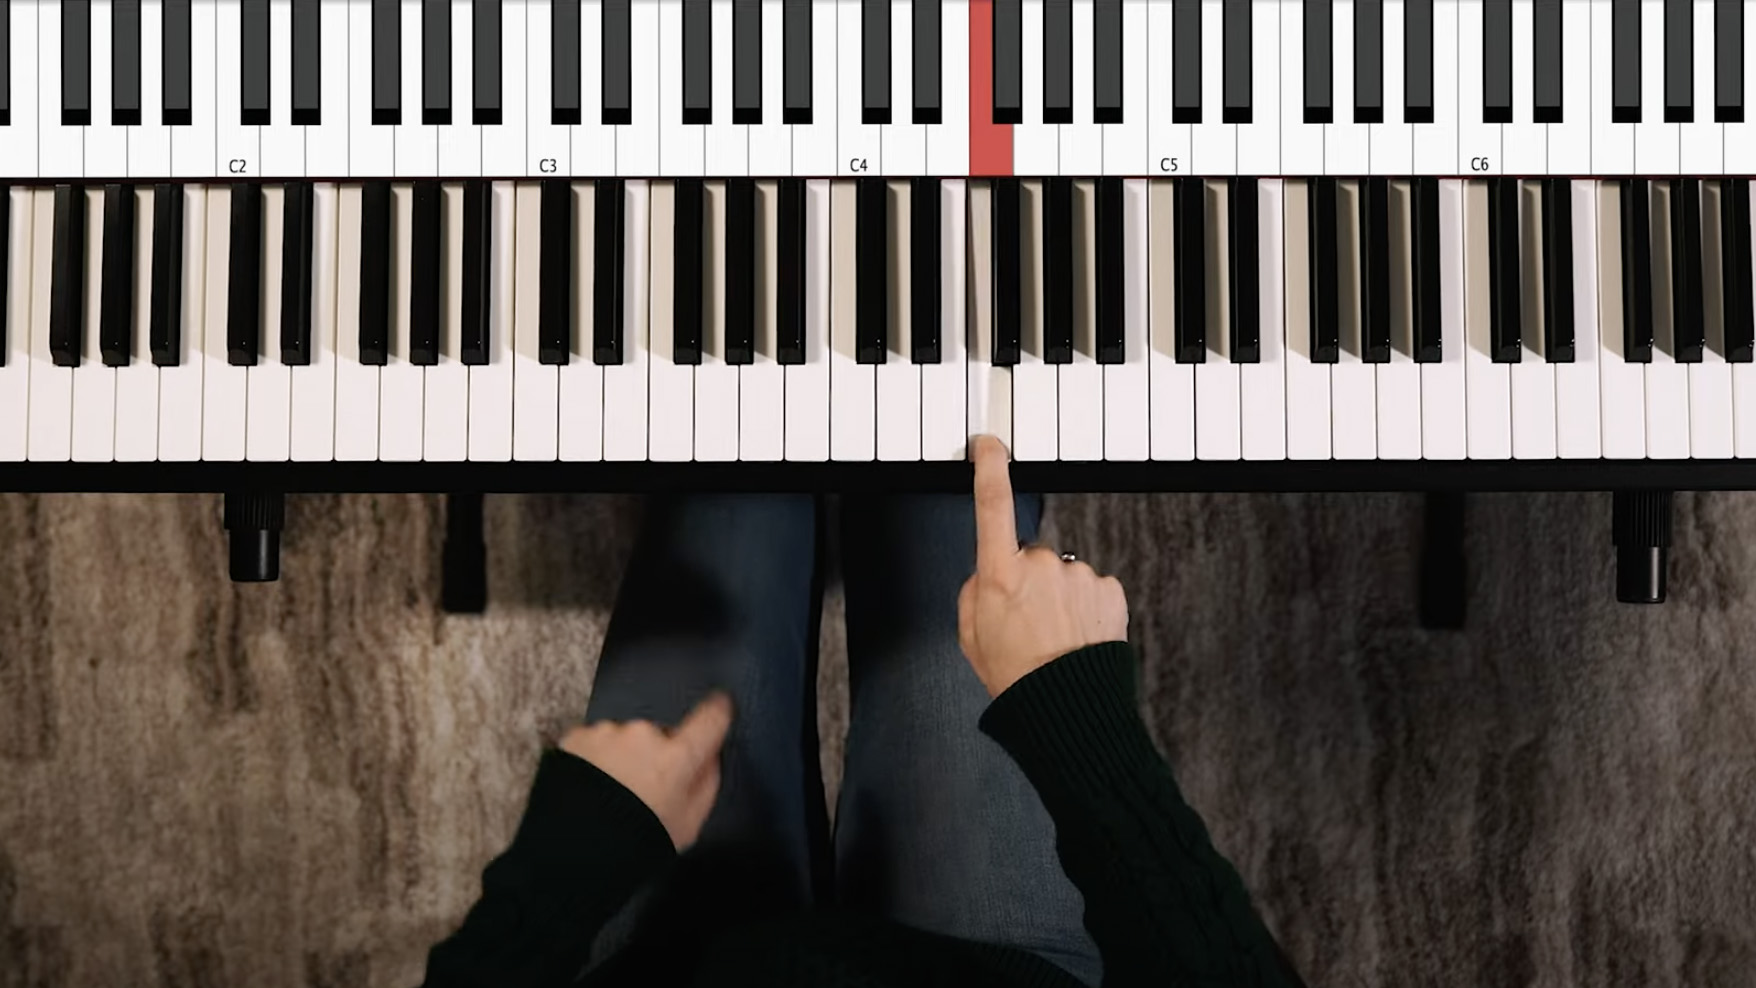
The next thing we can look at is getting comfortable with moving our fingers and having them cooperate. Take the thumb of your right hand (which we’ll refer to as the 1 finger). Place it on the C that you’ve practised finding. Relax your hand. Your fingers should have a nice curve in them. Pretend there’s a bubble under your hand that you don’t want to pop. Once you’re in position you’re simply going to apply pressure down with your thumb (or 1 finger) and release. Then push down with your 2 finger and release. Then your 3, 4 and 5 fingers.
This might look simple on the video, but if you’re new to the piano and this is a new coordination for you it may not be so simple. The secret is to breathe, relax your shoulders, smile and try again. This is going to take some practise. It may not be clean and smooth at the beginning. Eventually you’ll get to the place where you can tell your fingers to press down in the right place and they will cooperate.
Next, do the same with the left hand. This time start with your 5 finger - the baby finger - on the low C below that middle C. Practice this for a few minutes then, if you feel ready, you can try doing this with both hands together going up and down the notes!
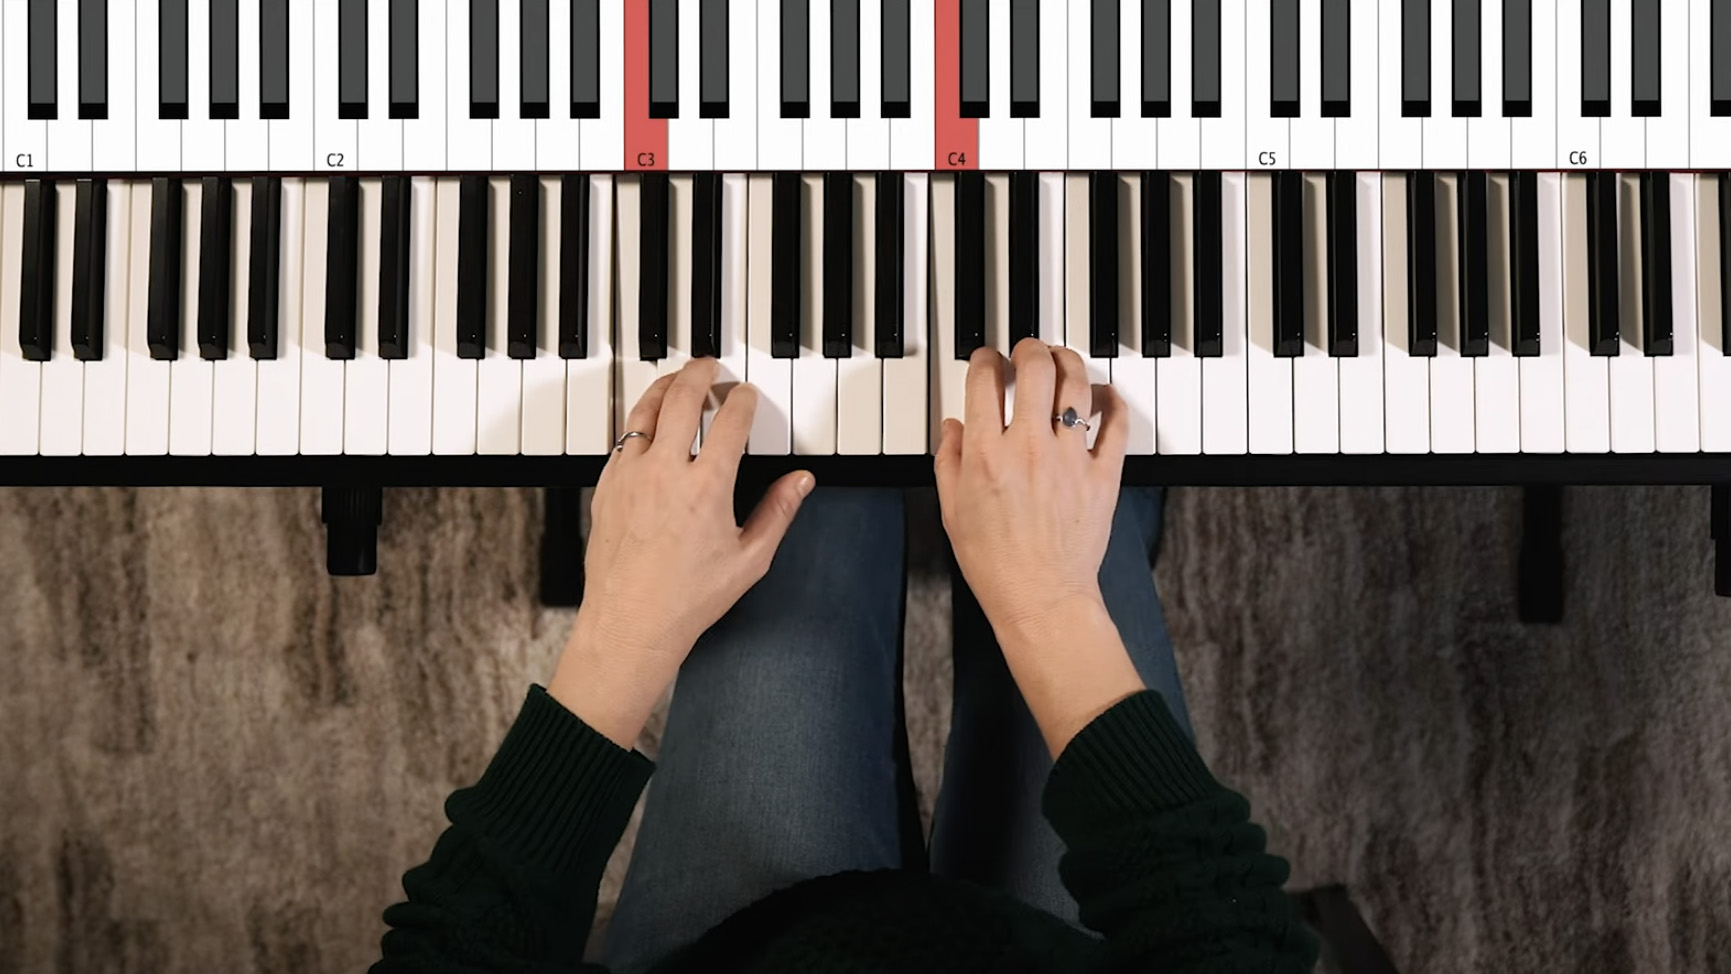
Lisa’s biggest tip for when using both hands together is to make sure you’re thinking in terms of bottom to top, rather than 1, 2, 3, 4, 5. It can feel confusing otherwise. This might look easy, but if this is your first time playing the piano this is going to feel really difficult. Don’t be worried about your piano future if this takes you a few days or even longer to master. That’s totally normal.
Chord progressions
Chord progressions will get you started playing songs you love. For this exercise you’re going to look at the notes from C to C. We’re going to number them 1 2 3 4 5 6 7 1. Your right hand thumb is going to go on C and your 5 finger is going to play the note at the top of the little pattern we played earlier, but you’re going to play them at the same time. Repeat that four times.
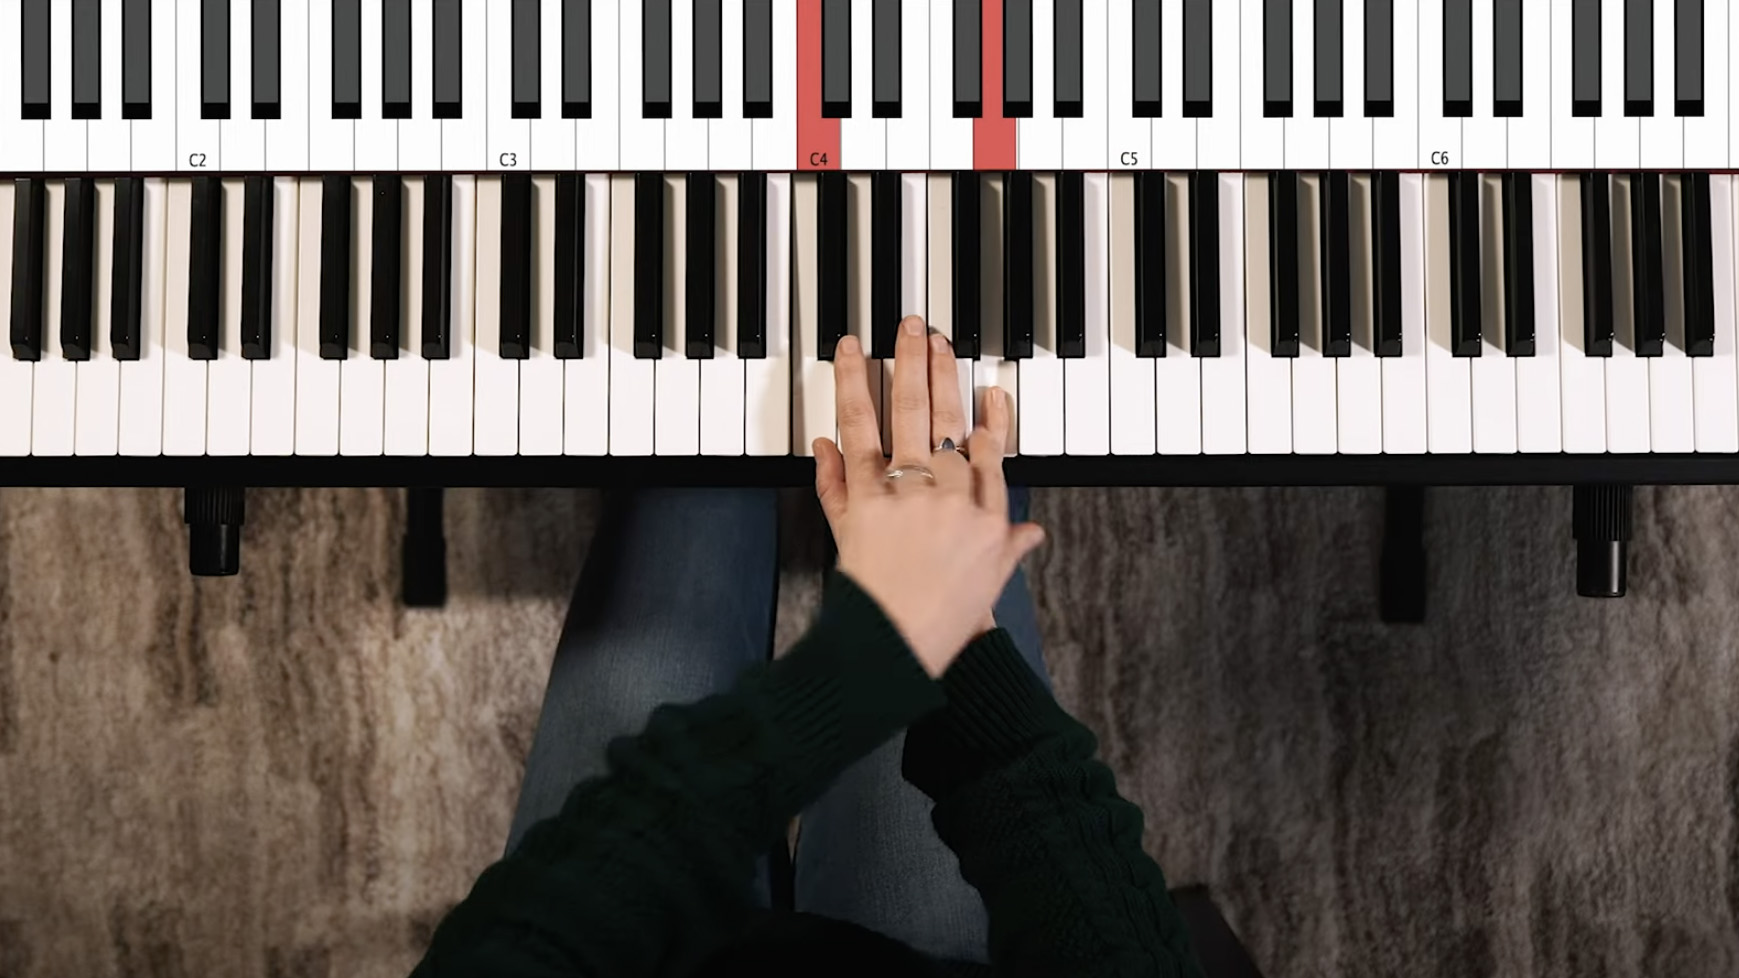
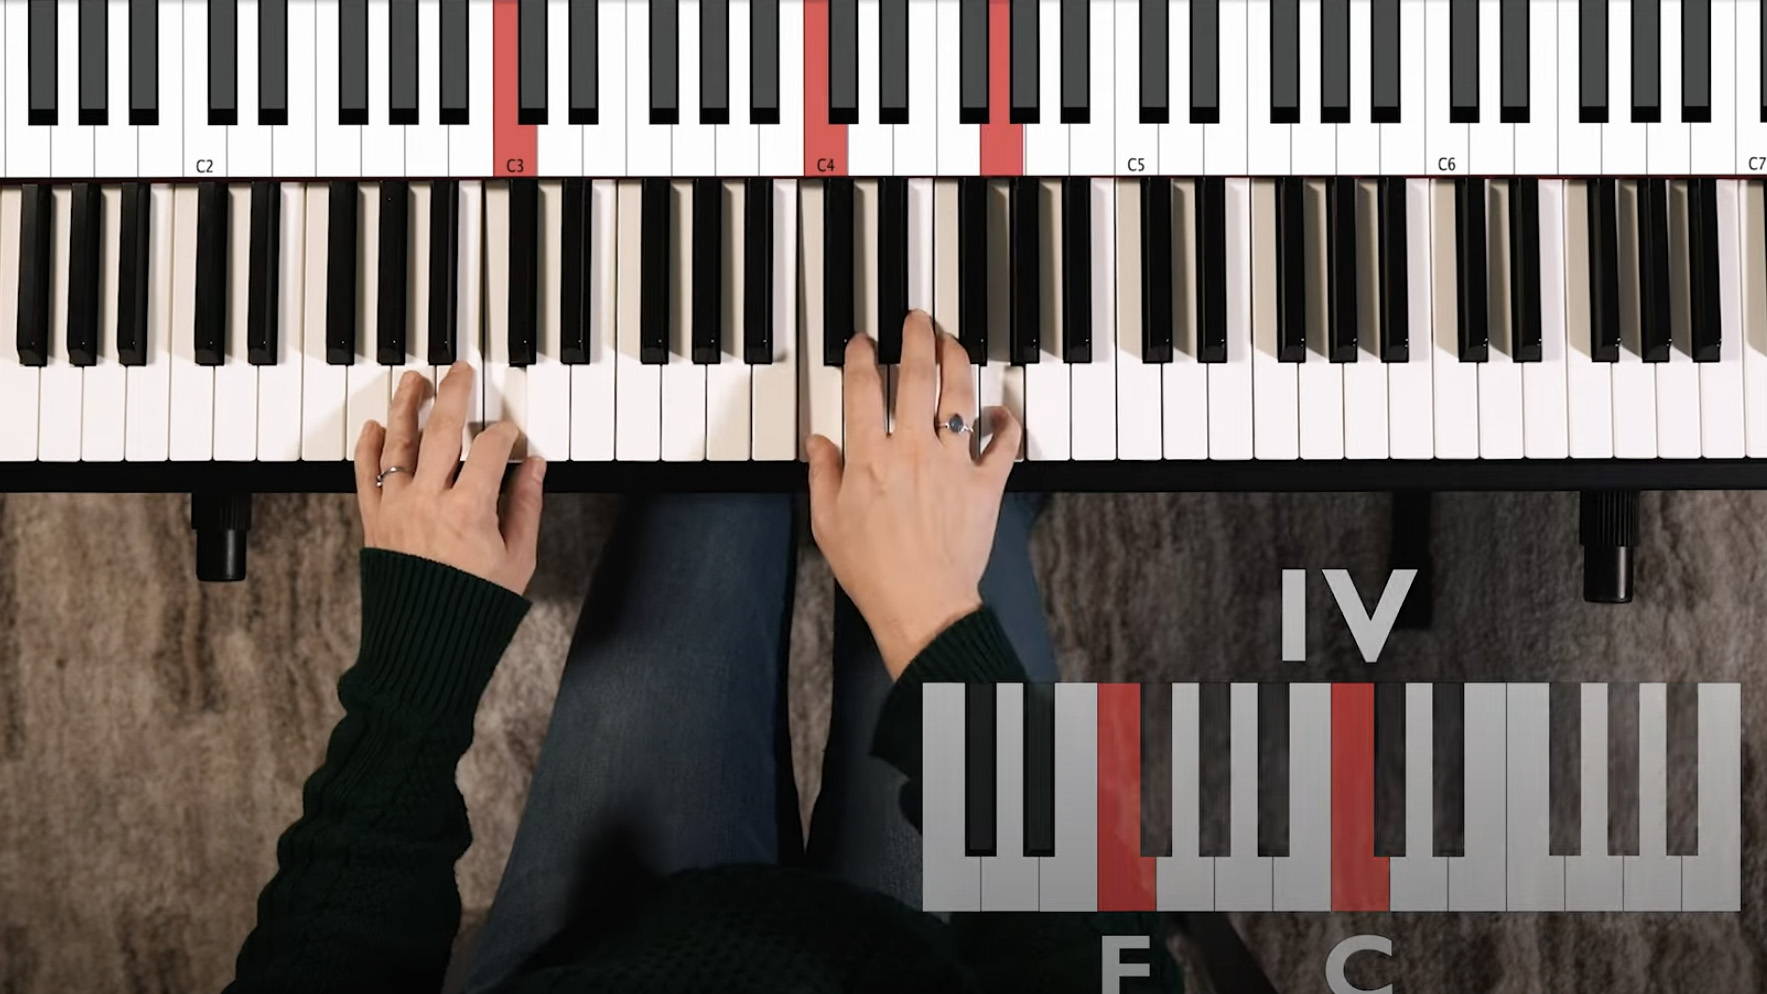
Now take your whole hand, keep that shape and head up the keyboard with our thumb on G (the 5th note of the scale we just counted out). Then we’re going to move up another step to A (or the 6th note). Then we’re going to go down to F (at the bottom of the group of three black notes). You’ve just played something called the 1, 5, 6, 4 progression!
You’re going to need to practice getting comfortable playing those shapes. Eventually you can get to a point where your left hand is playing the same note that your right hand thumb is playing. You’re just matching them. Master that and you’re basically playing every pop song ever written, from Let It Be to Don’t Stop Believing (or any Taylor Swift song ever written!). They all use these four chords.
Conclusion
You’ve just learned the fundamental skills you need to get comfortable with the layout of the piano. You’ve learned how to start working on that finger and hand coordination and you’ve also learned your first chord progression. This is all in your first sit down at the piano! We hope you’re feeling inspired. This is only truly the beginning. It gets better and more exciting and more rewarding from here.
Want to know more about Pianote? Read our full Pianote review, or get a taster by signing up for a 7-day free trial.
- 8 great beginner piano songs to learn
Lisa is one of the lead coaches at Pianote. She has 20 years of piano teaching experience alongside training through the Royal Conservatory of Music. Lisa has embraced all styles of playing which has equipped her to teach just about anything you'd ever want to learn on the piano, whatever you level.
