How to upgrade Jaguar and Jazzmaster guitar bridges
We show you how to tame this famously idiosyncratic piece of Fender hardware
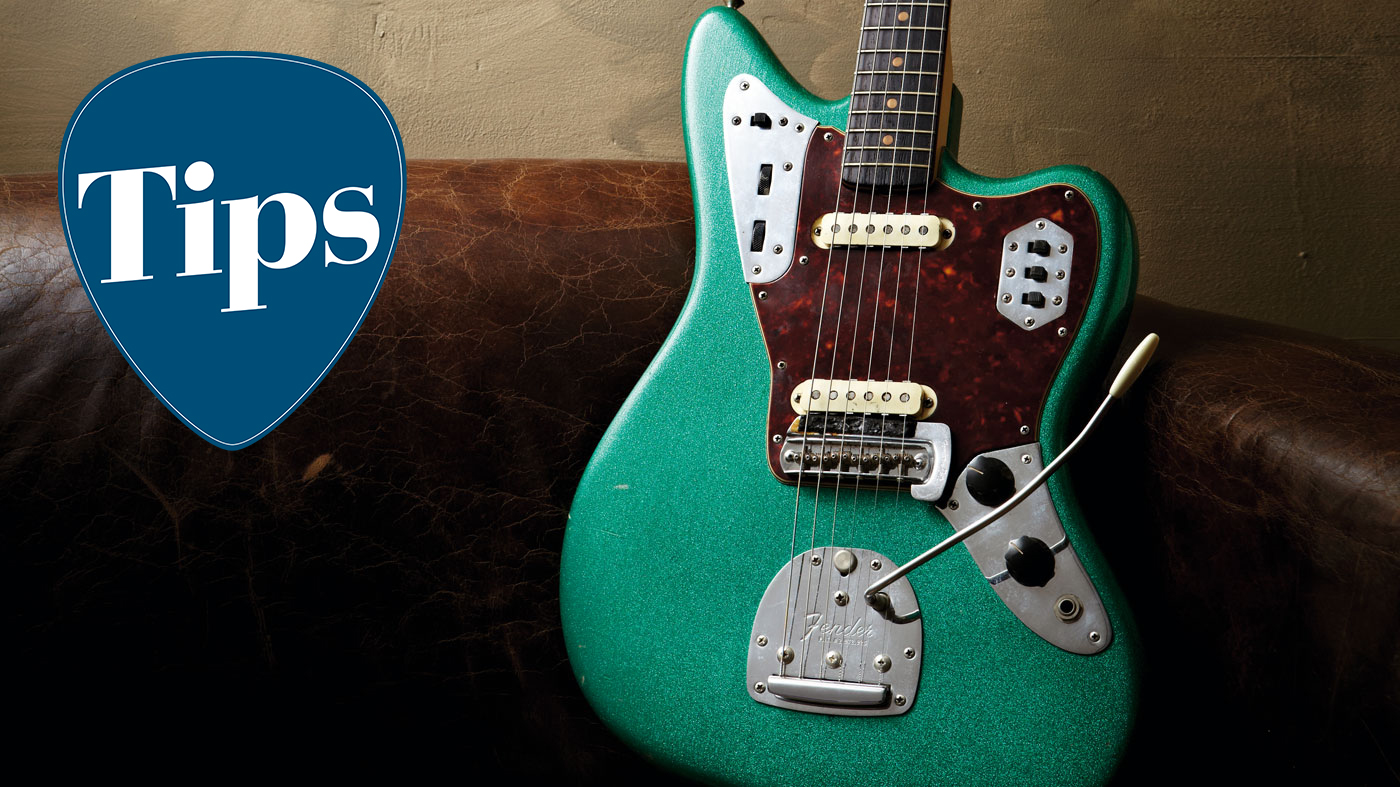
Fender's Jazzmaster and Jaguar bridge design is best described as 'idiosyncratic' and certainly worthy of this how-to article as it can and often does present a few problems. However, it’s also loved for its foibles.
If you want crazy sustain the Jaguar is not the guitar for you, put simply: the classic bridge ‘leaks’ vibration through its parts but also due to a shallow break angle over the bridge.
The downward angle over the bridge is lesser on these guitars than others meaning that the bridge allows the strings to resonate behind the bridge.
On the Classic Player Jaguar, Fender have made some changes to the bridge and tremolo to combat these issues, such as moving the tremolo unit forward creating a sharper break angle. It also put in a Gibson style tune-o-matic bridge, which is more solid.
This modernised the Jag, but took away some of the ‘Jaguar-ness’. The merit of the bridge is much debated: some rate it, some hate it. Here’s how you can effectively wrestle with it and, hopefully, you will come out on top.
Tools for the job
- Patience
- Tuner
- Short lead
- New strings
- String winder
- String cutter
- Loctite 222
- Blue roll
- 1.5mm
- Allen wrench
- PH2 screwdriver
- Engineer’s rule
1. How it works
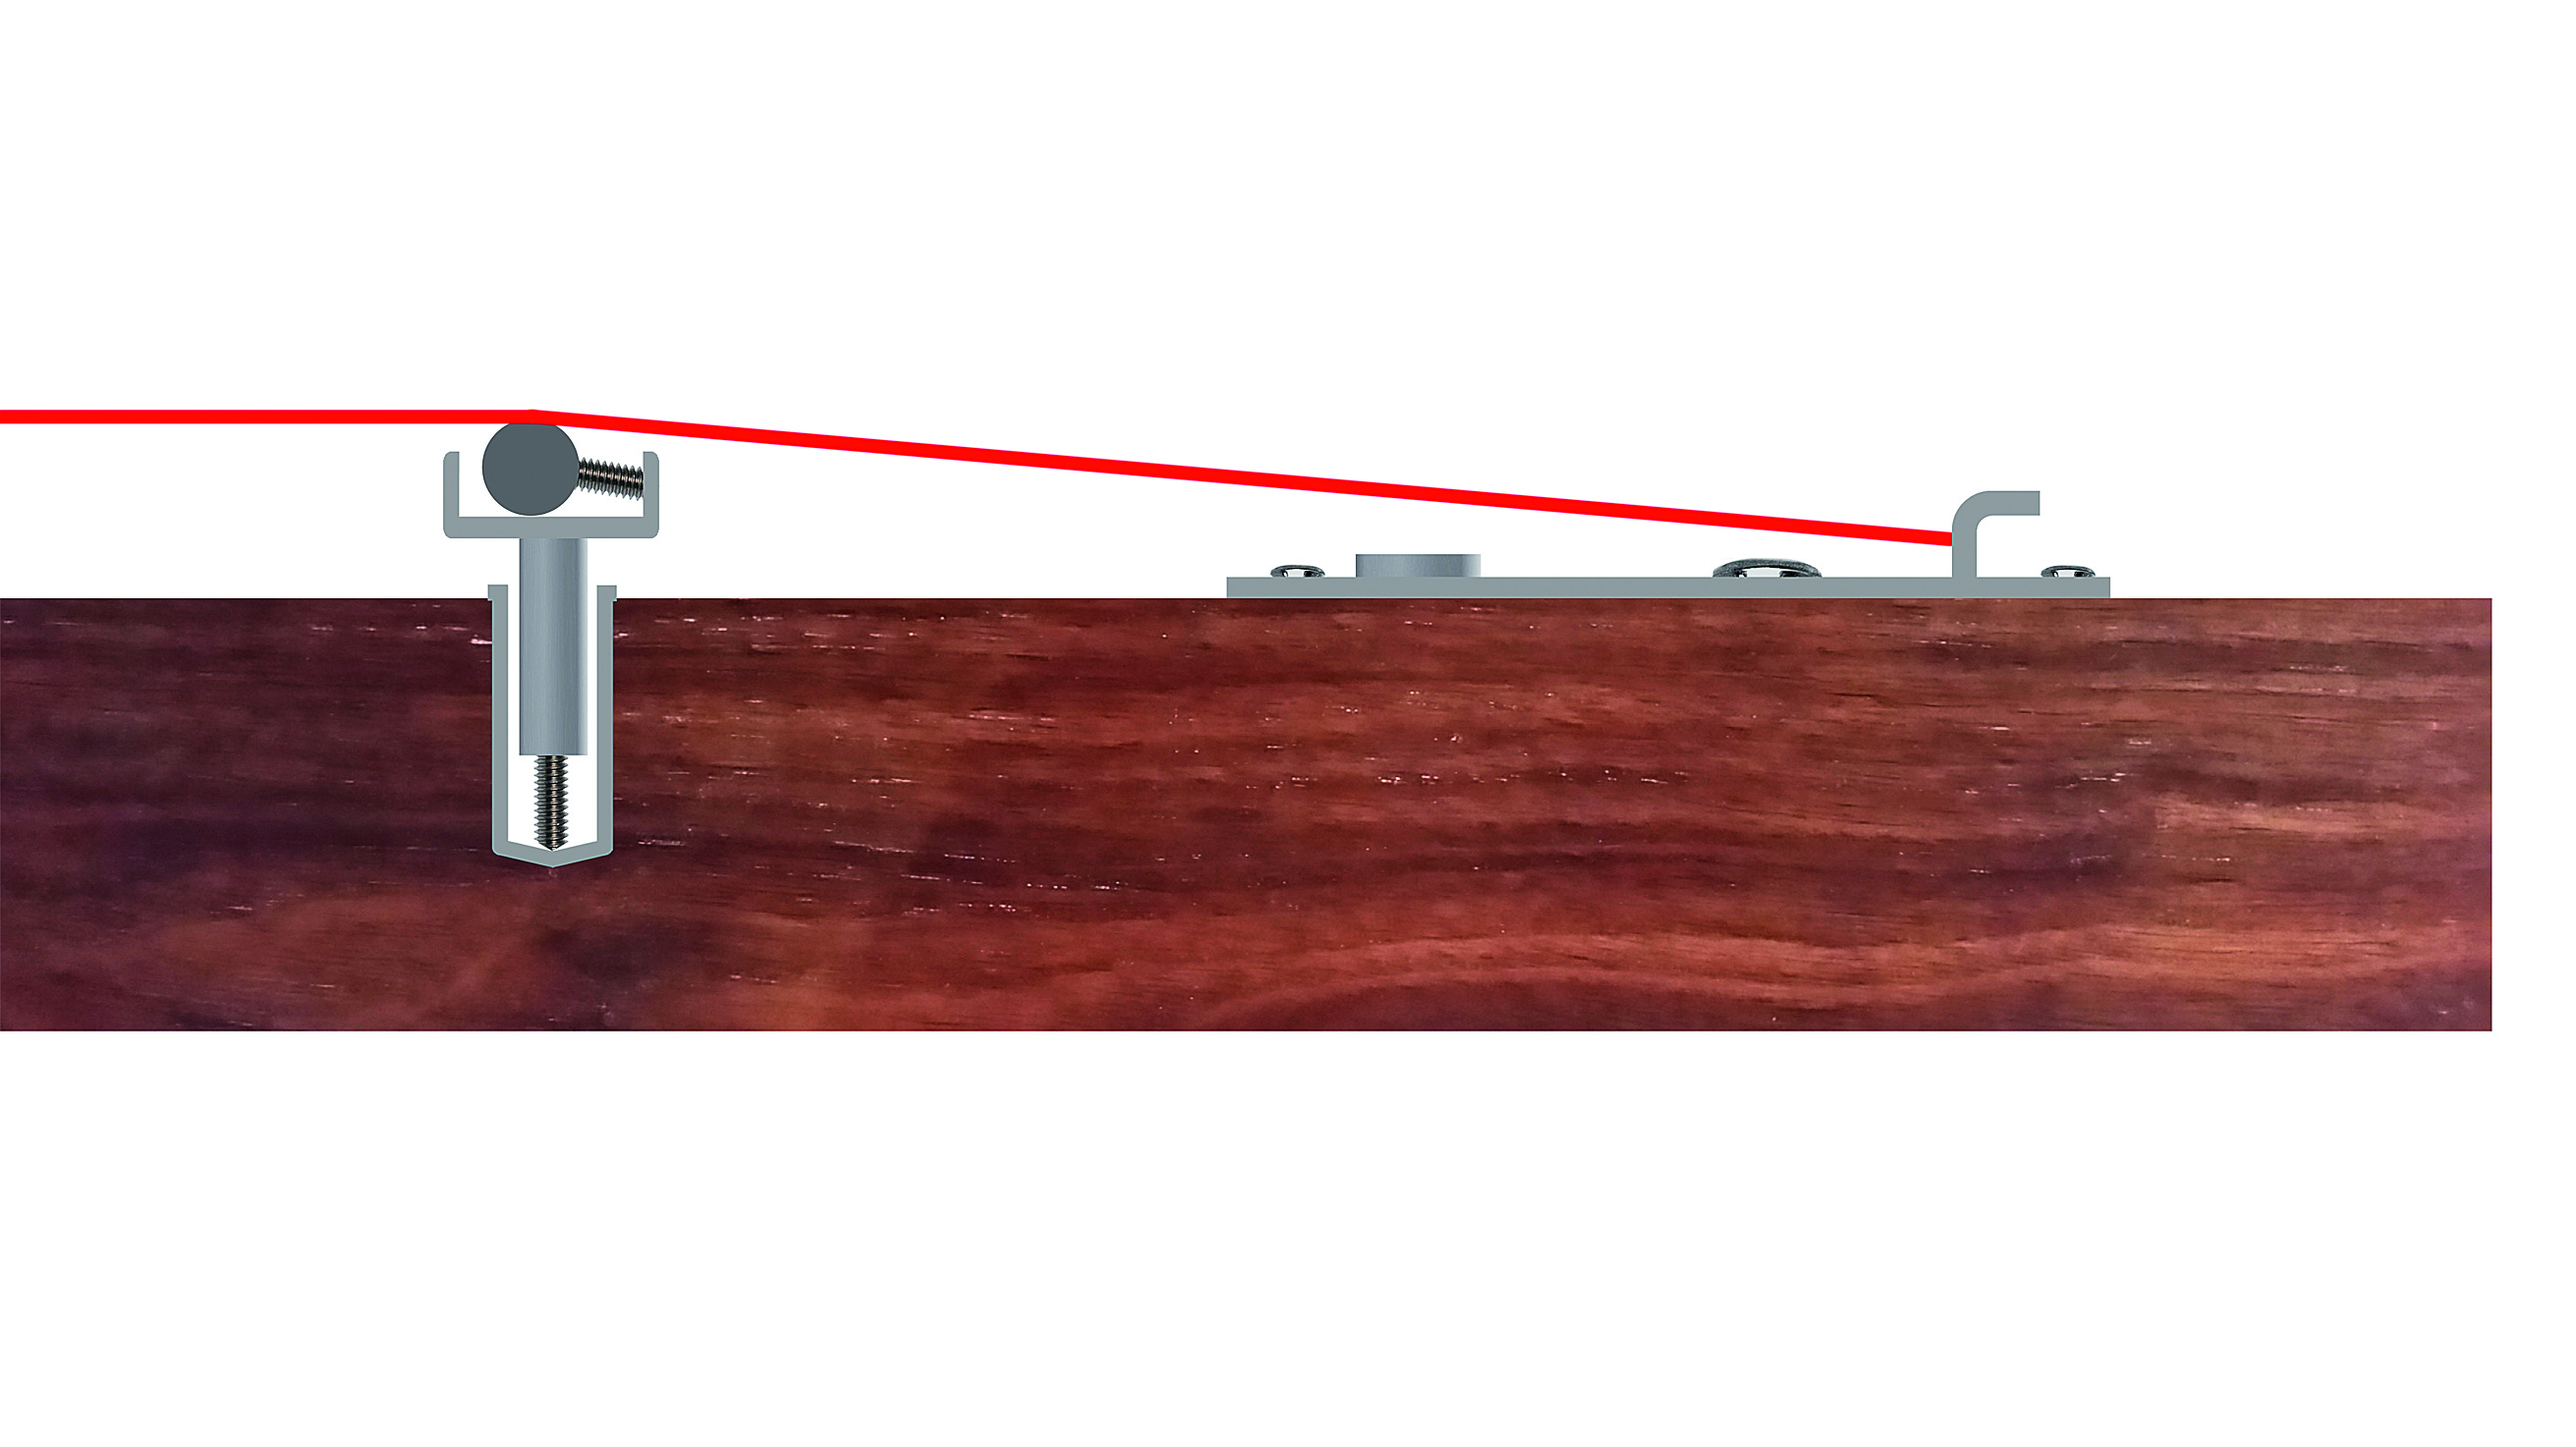
First, let’s get to grips with how this works; here’s a cross-section of the tremolo system, we have the rocking bridge, plus the tremolo behind it where the string ball end is anchored.
You can see that the bridge rests in a special thimble and is supported by a grub screw. When you move the tremolo the bridge rocks backward and forward.
Get the MusicRadar Newsletter
Want all the hottest music and gear news, reviews, deals, features and more, direct to your inbox? Sign up here.
2. Drawbacks
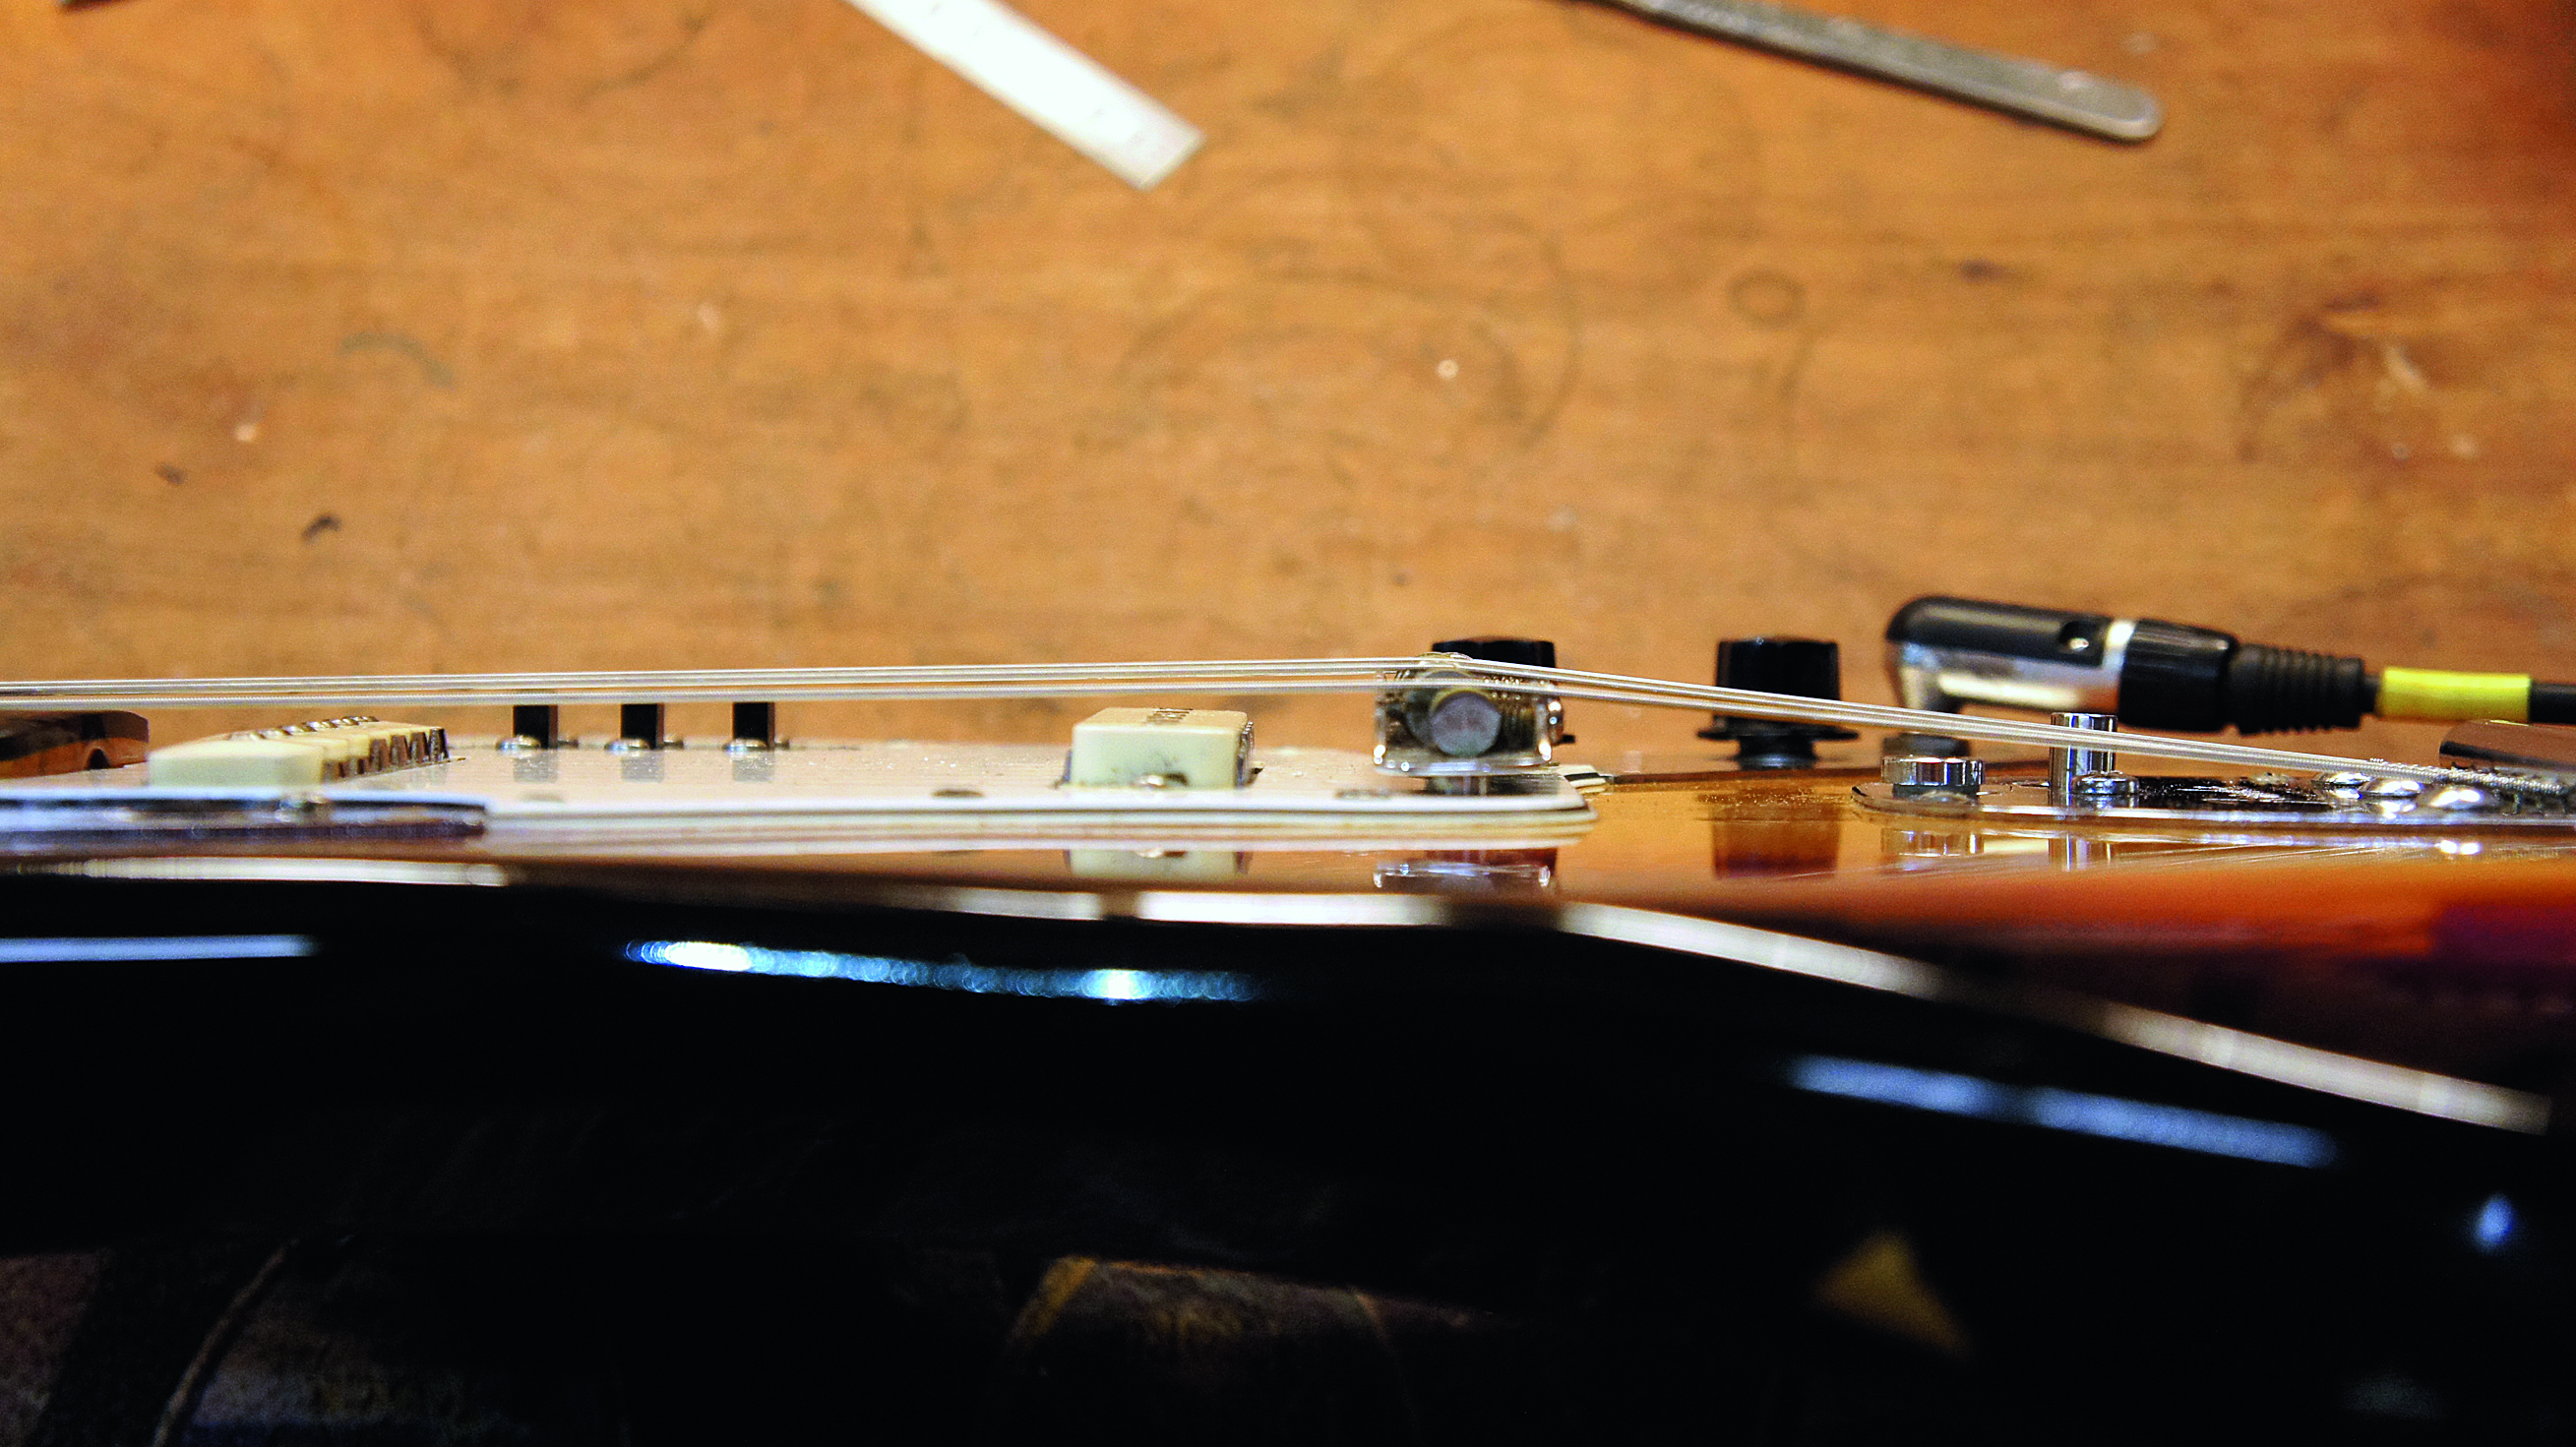
One of the main design issues with the Jaguar and Jazzmaster tremolo is that there’s not enough down tension angle behind the bridge to keep the strings in their slots. This means that when you strum hard or do big bends, the string goes walkies. You may also hear the string ringing out behind the bridge.
3. Bridge type
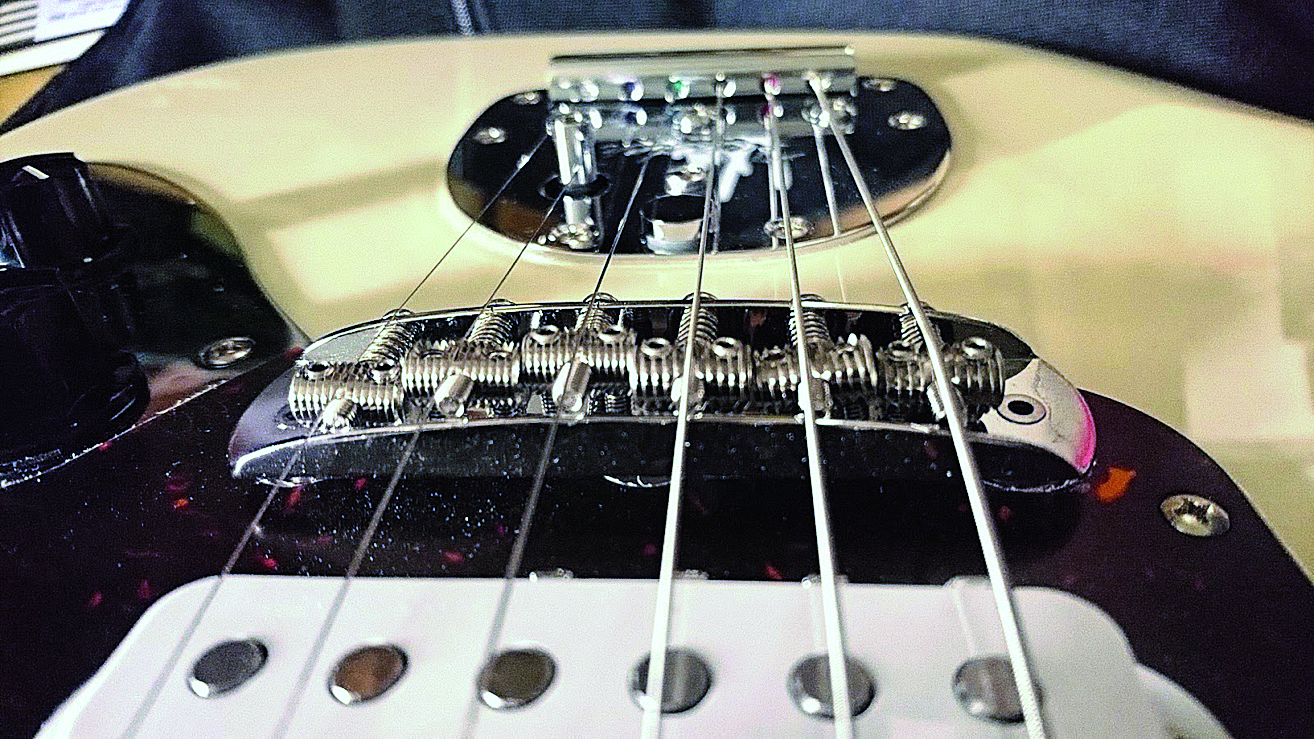
Many Jaguars or Jazzmasters come with this type of bridge. It has an extra 12 grub screws on it allowing you to change the saddle height on top of the bridge. This may be useful in some cases but once the radius curvature of your fretboard is set and matched at the bridge, why would you change it…
4. The Mustang bridge upgrade
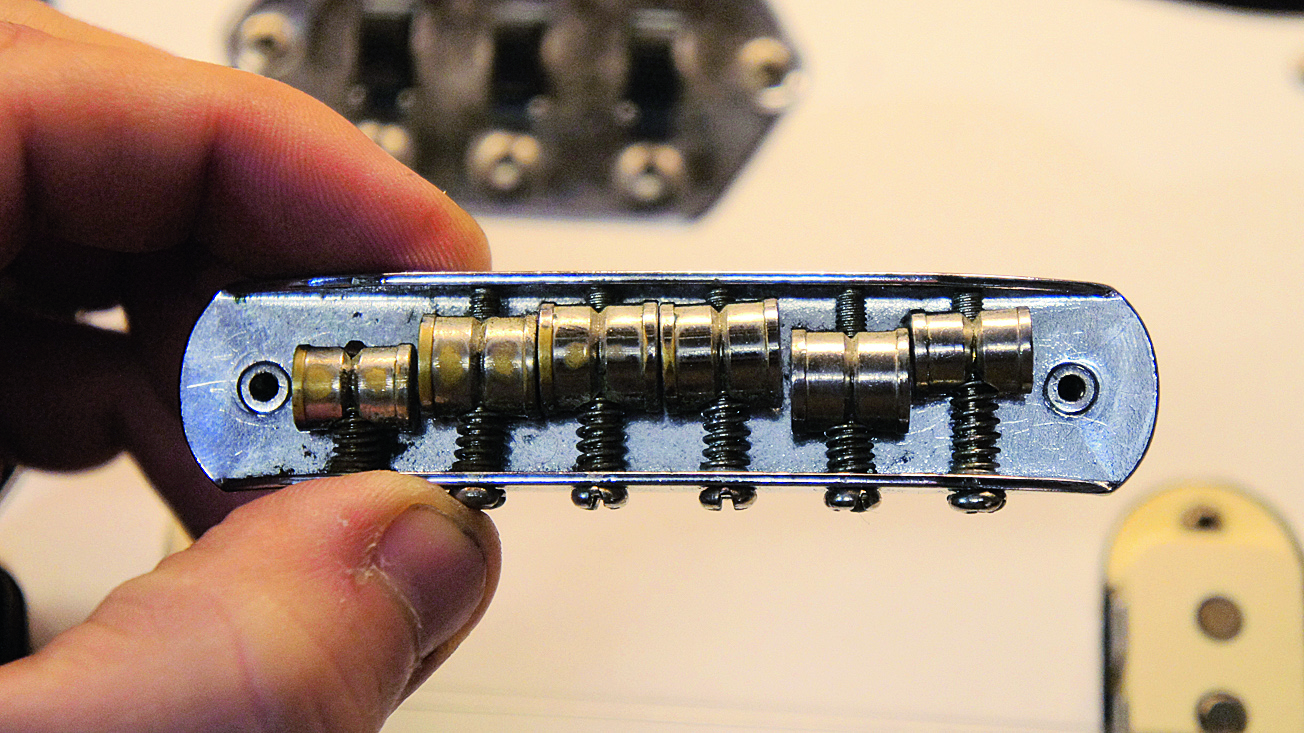
Here’s a (used) upgrade bridge. The same as used on Fender Mustangs. It’s the same fit but they’ve lost the adjustable saddles, so 12 fewer rattly parts and a more practical string slot. This doesn’t solve the down-tension problem but helps keep the bridge sturdier and the string in its slot better. Be sure that the radius matches first.
5. Grub screws
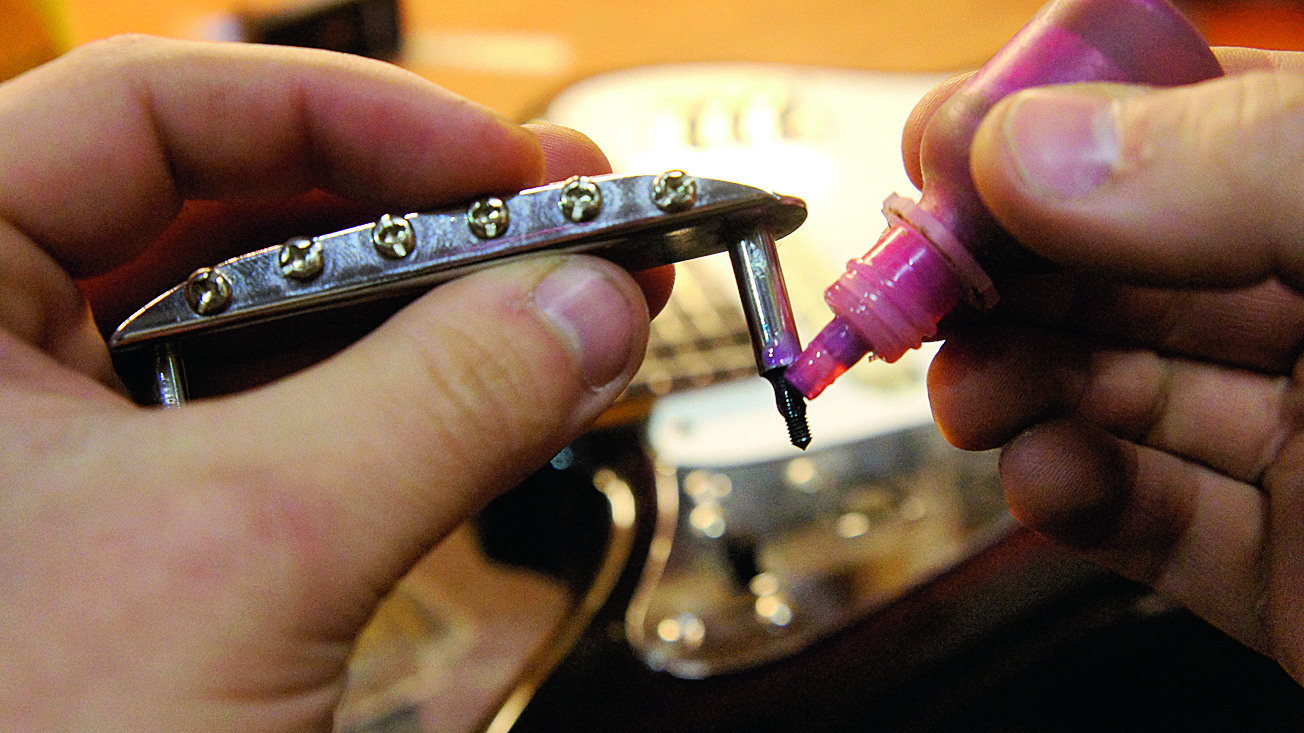
Let’s talk about those two master action grub screws sticking out the bottom of the bridge. They have a big job; under very little down-tension, they support the whole bridge and therefore the string’s height. Given a chance, the bridge will drop down - putting a spot of Loctite 222 threadlock on those grub screws holds it in place.
6. Restringing
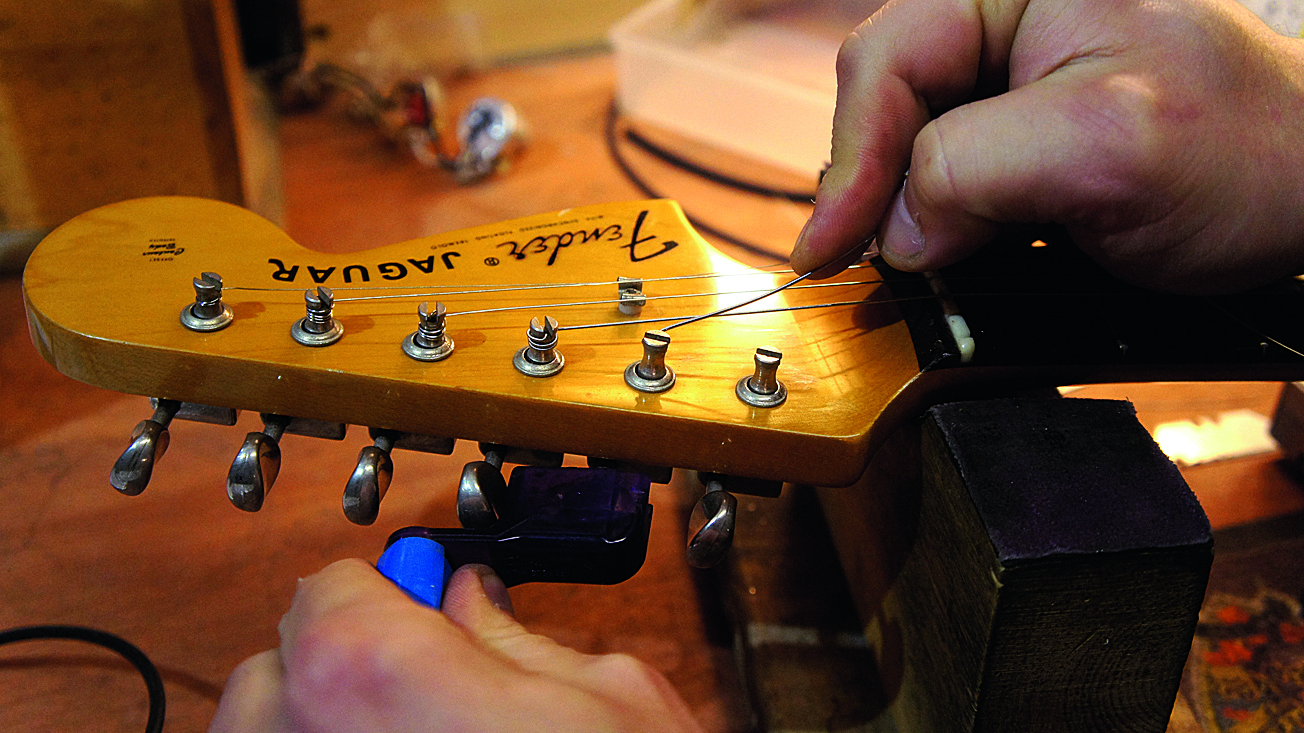
Pop the bridge back into its two thimbles, making sure that you have it the right way around - then let’s get on with it! Pick a pack of strings and wind them up.
Quick tip: pre-trim the strings by putting the string through the bridge etc then lay it on the tuner you’re going for, add an extra two inches of string on, then cut there.
7. Truss rod
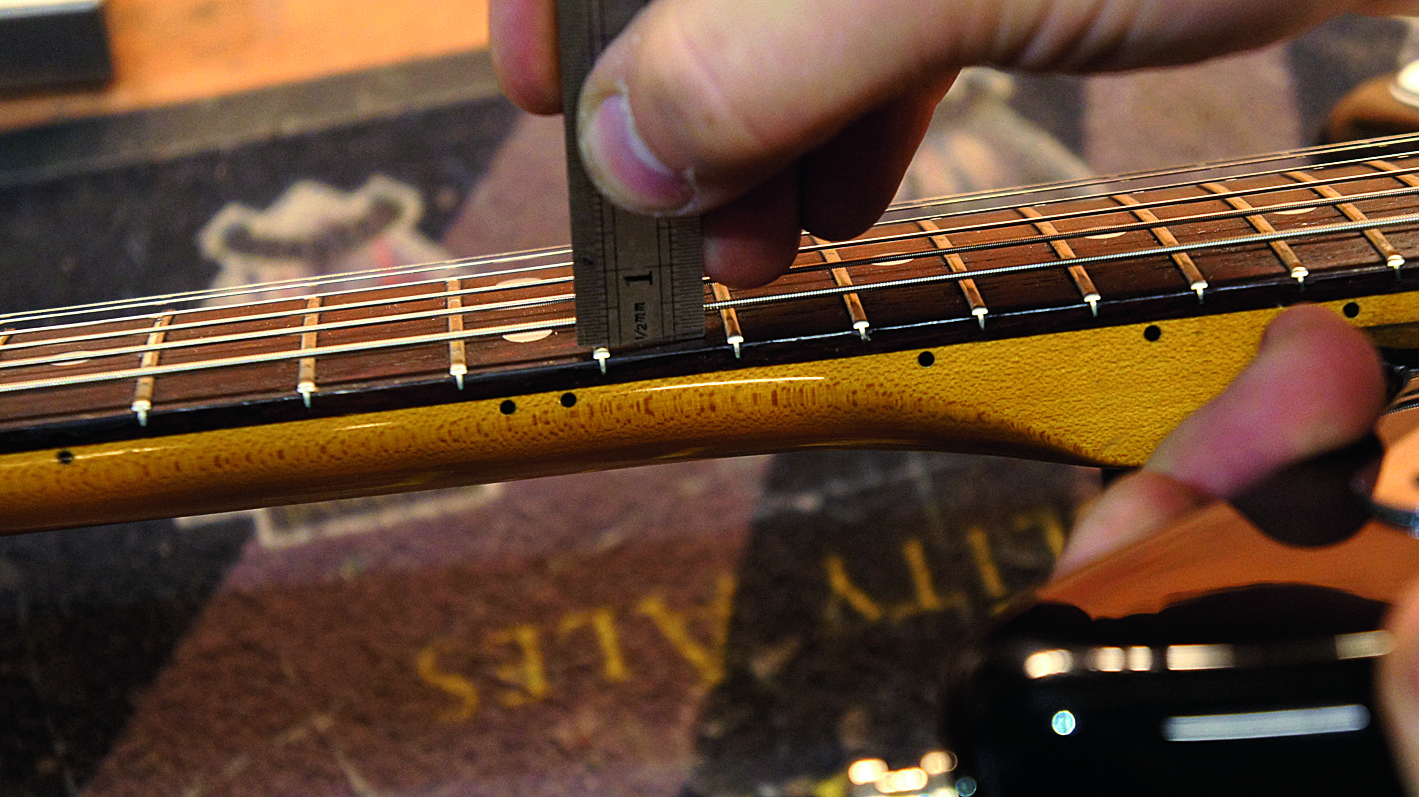
Okay, we want to make an action adjustment but we need to be sure that the other things that affect action are checked. Tune up first.
Primarily, the truss rod must be set right. We like a forward bow of .007", which is good for most people. The nut must also be set right but this is often fine from the factory.
8. Setting bridge height
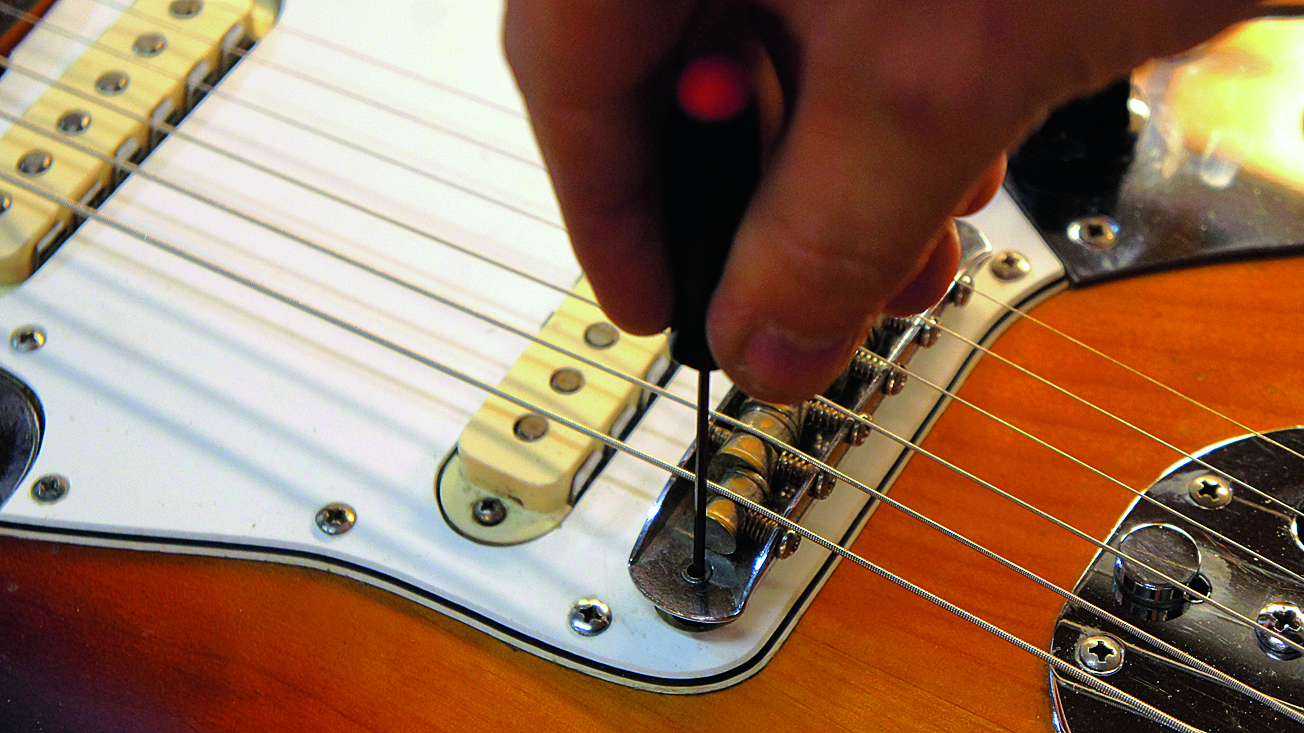
Let’s set our bridge height. Time for those two thread-locked grub screws to do their thing. We’re going for a nice medium to low setup here.
At the 12th fret, the gap between the string and the top of the 12th fret is 2mm on the sixth string and 1.5mm on the first string. Tweak the grub screws to get those heights.
9. Set the bridge
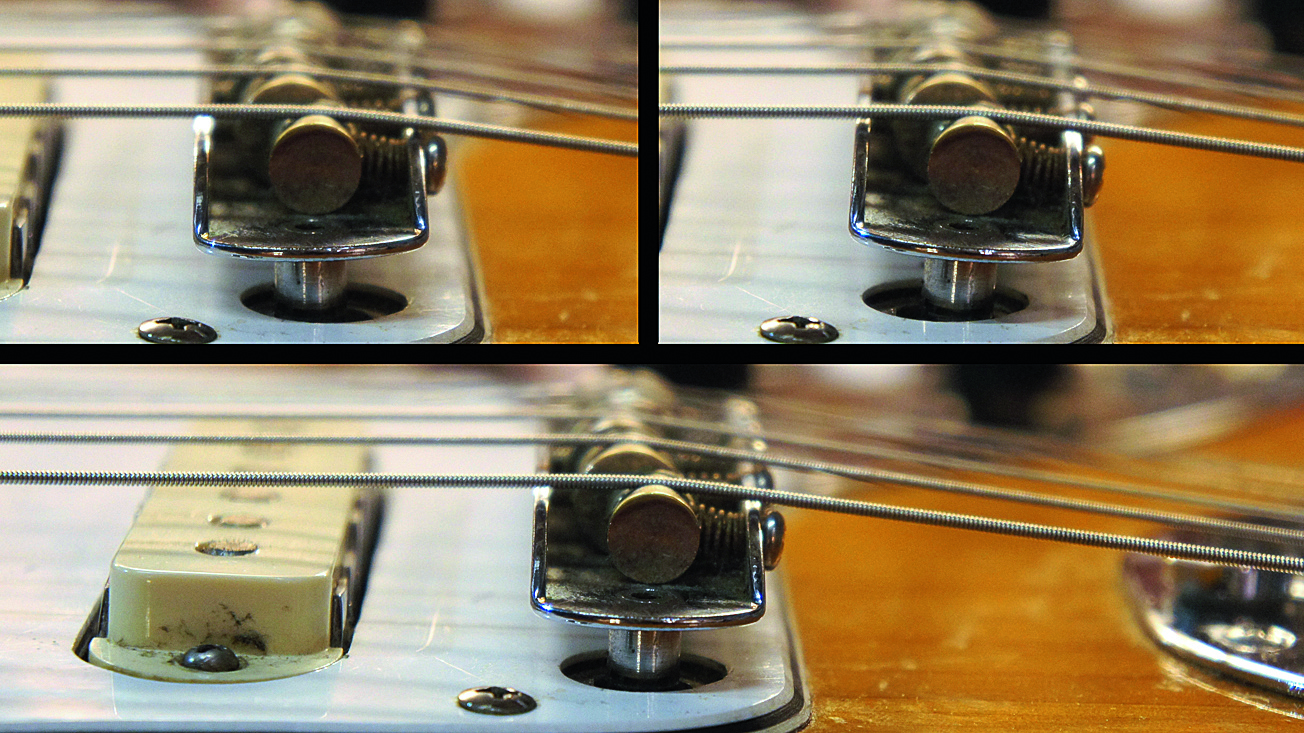
Now let’s deal with this rocking bridge. We need to set an intonation that’s a fine lateral adjustment, but it’s tricky to do this on a wobbling bridge.
The best thing is to set the bridge in the middle of its travel, this gives the bridge all of that room to rock both ways when you use the tremolo, just slide it side to side with your hand.
10. Saddle adjustment
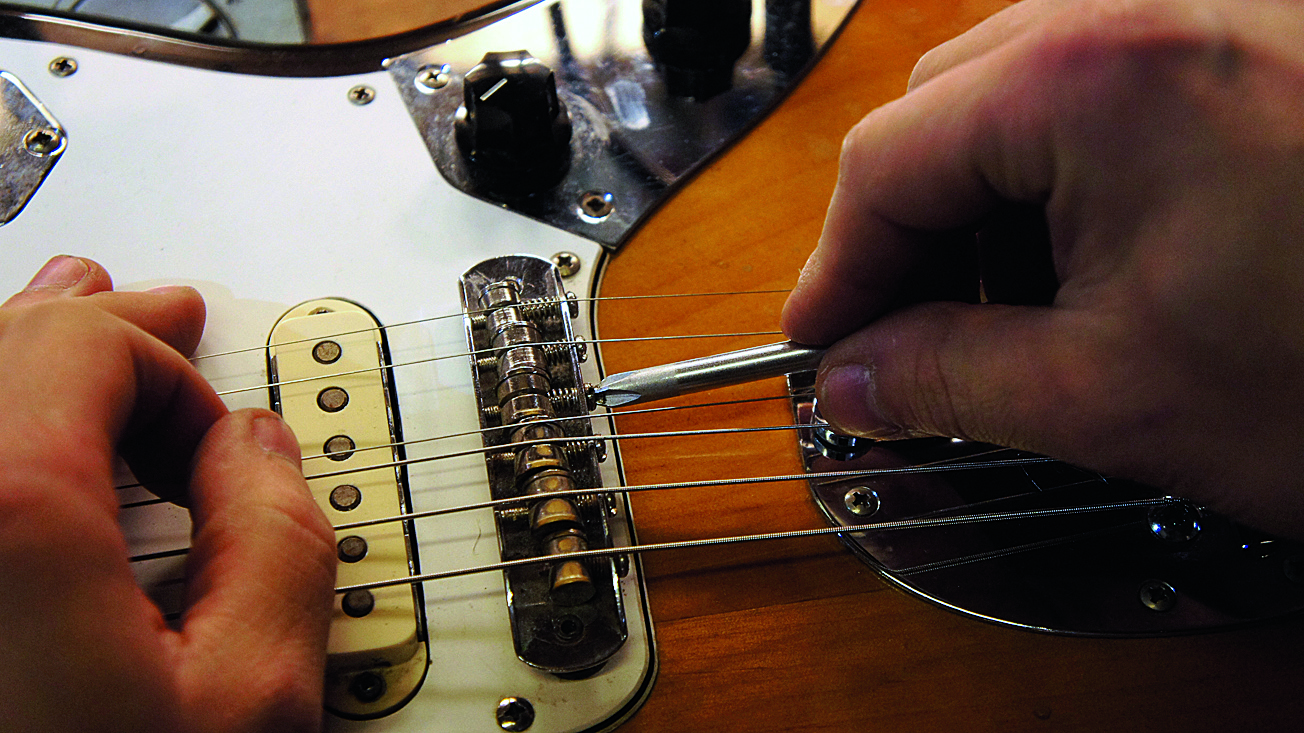
Without knocking the bridge out of its now central location, let’s twiddle those saddles. A PH2 screwdriver fits most.
Compare the harmonic at the 12th fret to the fretted note at the 12th fret on a tuner. If it’s flat when fretted, move the saddle forward (anticlockwise). If it’s sharp, move the bolt clockwise and repeat for each string.
11. Tremolo
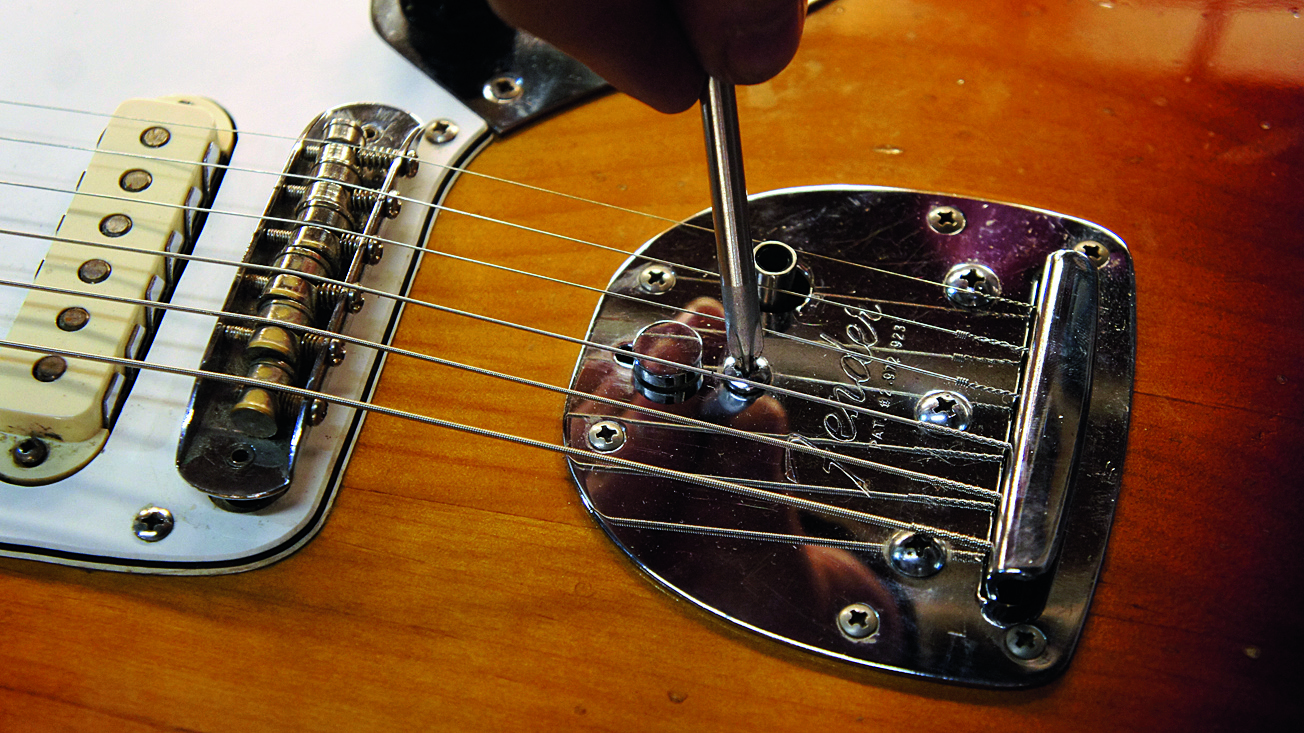
Now that the setup is done let’s look at the tremolo itself. These often get a lot of criticism but we don’t think that’s fair. The bridge is the part that needs wrestling with.
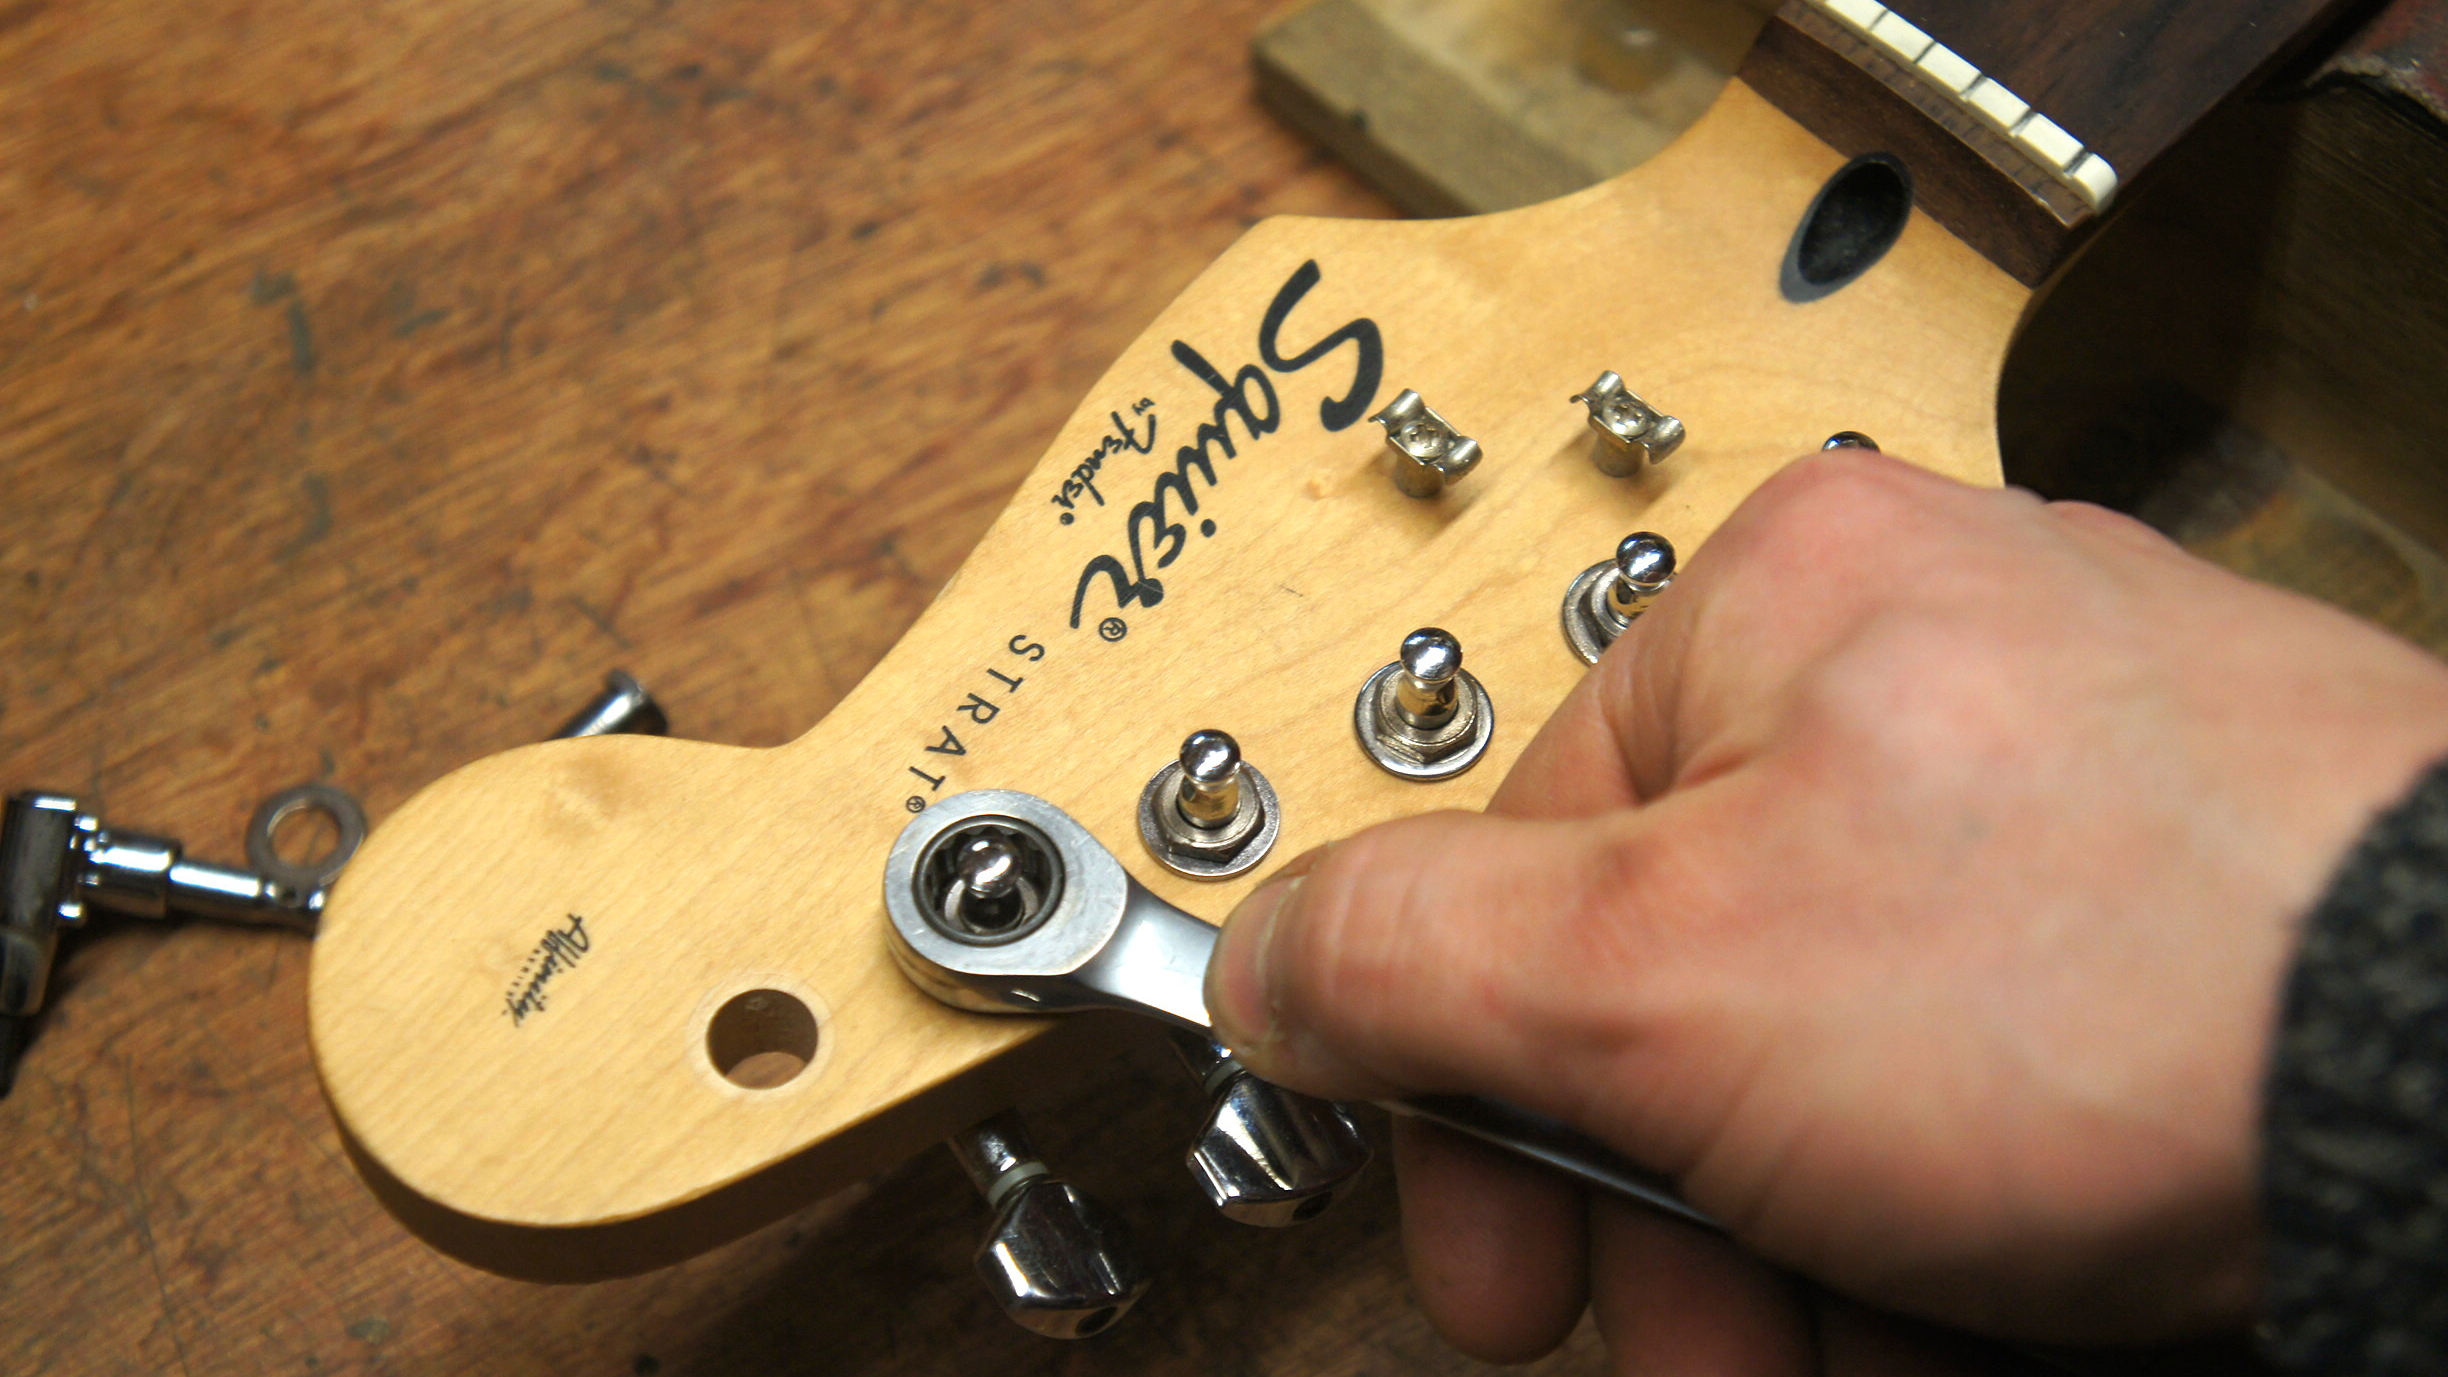
This large bolt is responsible for setting the tremolo’s tension. Turn it clockwise to add tension, this will also lower your tremolo arm. Don’t unscrew too much though!
12. Further upgrade options
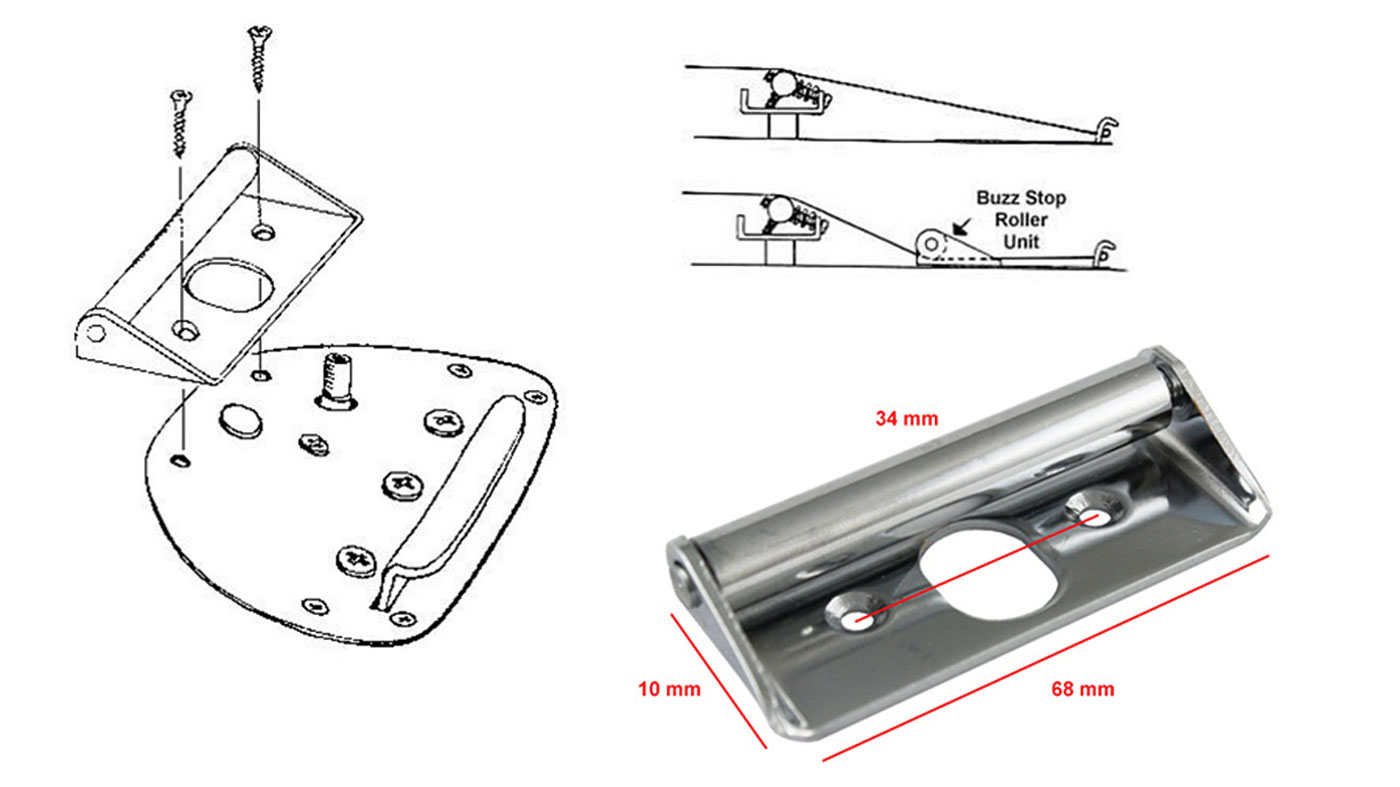
The Whizzo Buzz Stop roller is a worthy upgrade for Jazzmasters and Jaguars. This little bad boy cures the down tension angle at source and doesn’t make you drill any extra holes on your beloved guitar by sharing two screw holes. It will improve your Jaguar and make it more playable.
13 great Fender Jaguar and Jazzmaster guitar player moments
Jack runs an independent guitar setup and guitar repair service in Manchester, England. He serves the musicians of the Northwest of England, working on electric guitars, bass guitars, acoustic guitars and more. Jack has been writing the Fix Your Guitar column in Total Guitar Magazine since 2017.


