The ultimate beginner's guide to Ableton Live 11 Lite: Scenes and moving over to Arrangement view
Learn how to structure your tracks in Ableton Live 11 Lite's Arrangement view
Ableton Live is a DAW that needs no introduction, and its combination of performance and production features mean it’s as popular with performers and DJs as it is with creators.
Live 11 Lite is a cut-down version of Ableton Live, with all of the essential workflows, instruments and effects, but with limited track count, and for many years this has been bundled with apps and hardware products. This month, you can grab a free copy of Ableton Live 11 Lite with the latest issue of Computer Music Magazine.
To mark this momentous occasion and also to get you started using this fabulous software, we’ve put together a series of tutorials that run through everything you need to get acquainted with Ableton Live 11 Lite, so you can learn how to build a track from scratch.
Our tutorials are primarily for new users, but that said, we’ll also flag some of the new features you’ll find in Live 11 Lite, so even if you’ve used Live Lite before, there may be some things for you to learn here.
Finally, although Live 11 Lite is awesome software, there are more fully featured versions of Ableton Live available on Ableton's website. So, let’s get creating in Live 11 Lite!
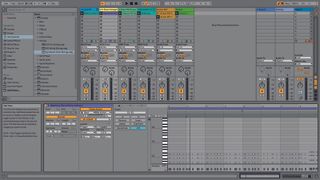
Step 1: Now we have some clips to work with, we can start building some ‘scenes’ – or rows of clips – but first some explanation. The way clips play in Session View is based on the loop settings and on the Follow Actions settings if it is active. Fold open the Follow Actions tab in the clip settings and look at the options.
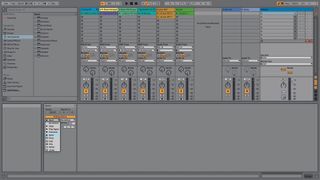
Step 2: Follow Actions are not limited to clips and also exist for scenes, and the Follow Actions tab is visible in the Scene View when you select a scene. In both cases, the Follow Actions decide what happens when a clip or scene has finished playing. Options include stop, play next, play again and so on.
Get the MusicRadar Newsletter
Want all the hottest music and gear news, reviews, deals, features and more, direct to your inbox? Sign up here.
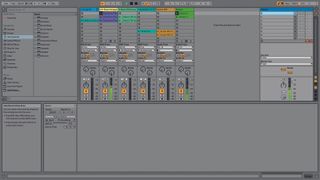
Step 3: We can use these to influence the columns or ‘groups’ of clips in a track, or as we will do here, add them to scenes so we can try out various song structures. So, the next stage is to start arranging our clips into useful song sections that we can then jam with, and apply some Actions.
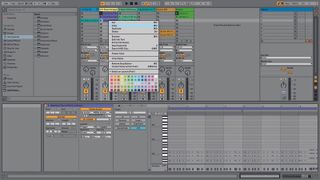
Step 4: Clips can be dragged, copied and pasted within the Session View either via the Edit menu or using standard copy and paste key commands (Ctrl/Cmd+C and Ctrl/Cmd+V). Using this technique, build up different combinations as rows of clips.
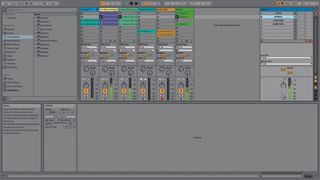
Step 5: Once you’ve created a few scenes, you can name them so they make sense to you. Here we’ve started with a couple of intro scenes and then a couple of scenes we’ve called A Section and B Section. We’ll continue with this until we’ve created enough variants.
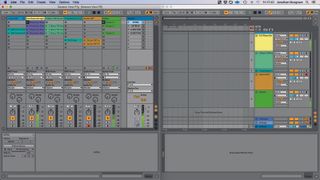
Step 6: Jamming with our scenes is not only fun but helps us try out combinations of loops – great for intros, drops and so on. Nevertheless, to complete our track we need to move into the timeline-based Arrangement View. To make this easier to accomplish, try opening a Second Window for the Arrangement View.
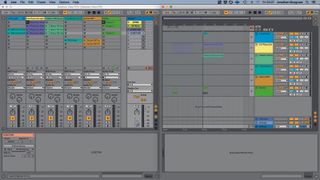
Step 7: The first way we can move clips into the Arrangement View is to drag them. This may not seem impressive, but you can also drag and drop scenes as well. So we could simply drag all our scenes into the arrangement and continue building the track from there.
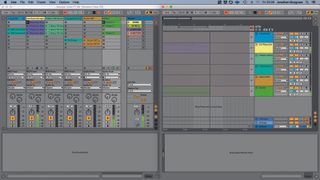
Step 8: For a more improvised approach, we can play the clips in the Session view and record this into the Arrangement timeline. You can do this on the fly by activating the Arrangement Record in the main transport. Even better, select Shift and Record, and recording only starts when you play a clip.
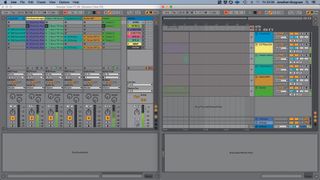
Step 9: The most organised option is to actually organise the Scenes using Follow Actions and specific Action Times, so the scenes essentially play back an arrangement. Then all you have to do is select the Arrangement Record as above, then trigger the first scene and record the whole lot into the timeline.
Computer Music magazine is the world’s best selling publication dedicated solely to making great music with your Mac or PC computer. Each issue it brings its lucky readers the best in cutting-edge tutorials, need-to-know, expert software reviews and even all the tools you actually need to make great music today, courtesy of our legendary CM Plugin Suite.

"If I wasn't recording albums every month, multiple albums, and I wasn't playing on everyone's songs, I wouldn't need any of this”: Travis Barker reveals his production tricks and gear in a new studio tour

“My management and agent have always tried to cover my back on the road”: Neil Young just axed premium gig tickets following advice from The Cure’s Robert Smith


