The Workshop: How to repair a cracked cymbal
In 10 easy steps!
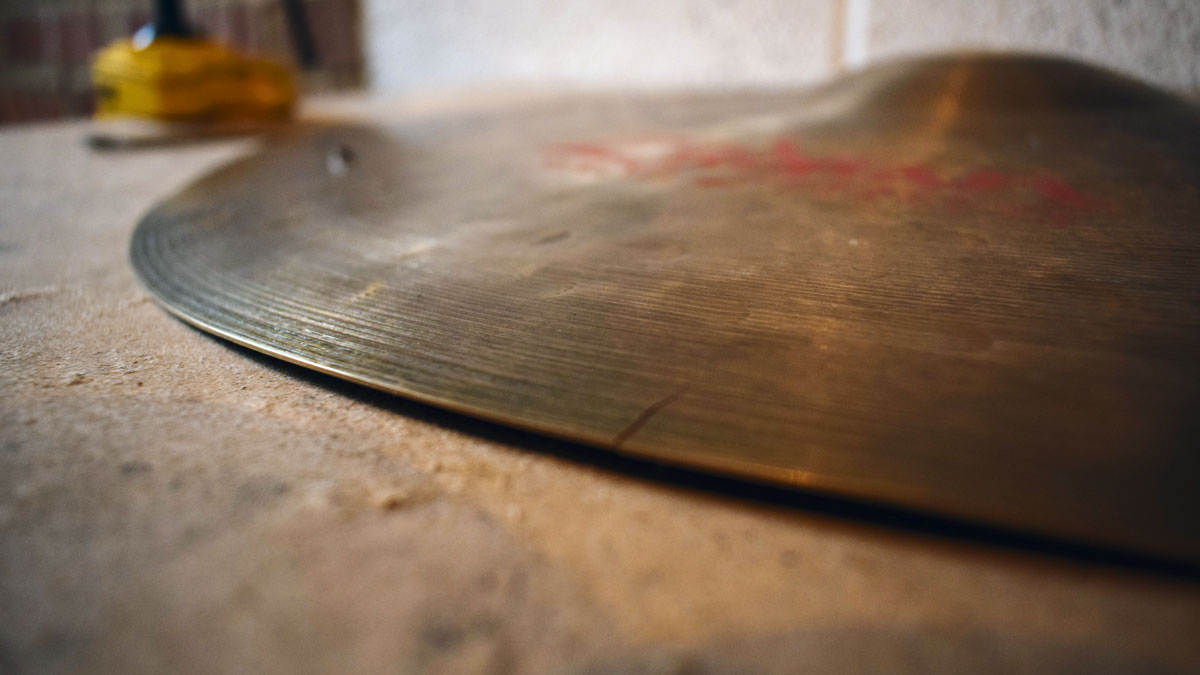
1. Identify the crack
Drumming is an expensive enough game as it is, never mind when your beloved gear decides to give up the ghost.
Cracking a cymbal, though, doesn’t have to mean game over. The following steps will add extra longevity to your prized metals.
1. Identify the crack
Most cracks will start from the edge and travel inward toward the bell, although some appear horizontally across the bow.
If yours is the latter, the best option is to drill the crack which we will cover first. In the event of the edge split, we’ve also played out a couple of other options.
2. Mark the crack
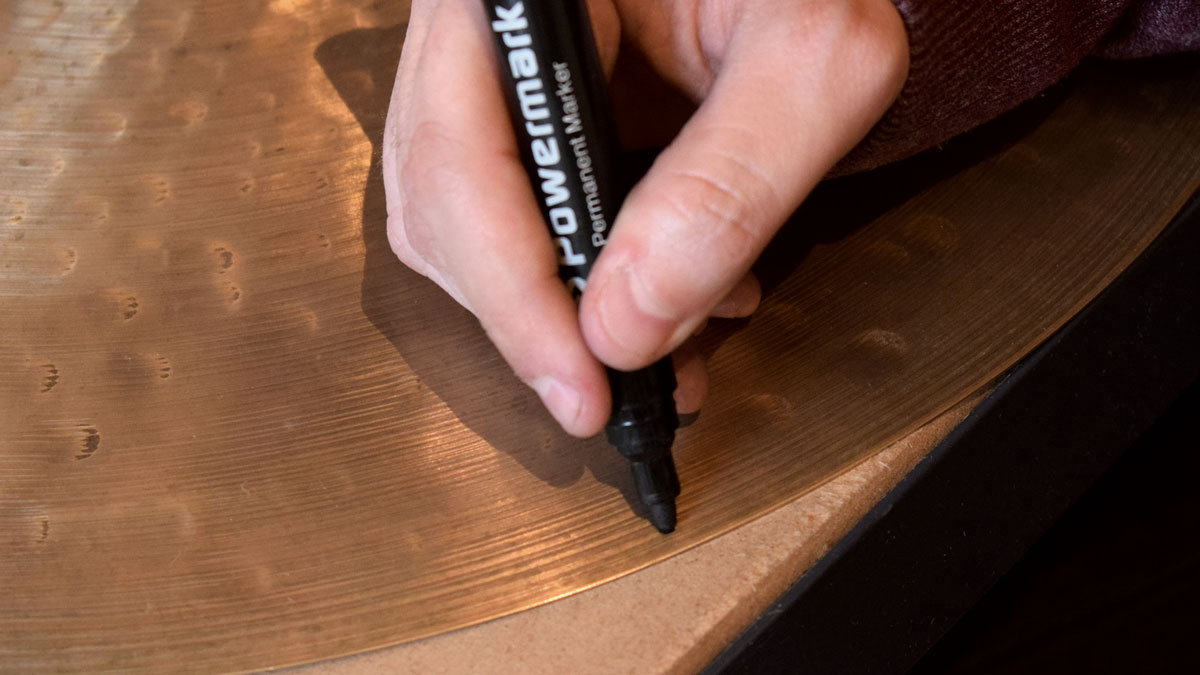
Grab a marker pen and mark out the highest or widest points of the offending split.
Not only does this make more subtle cracks easier to re-locate but also makes things generally easier for the following steps.
3. Option One: Prepare to drill
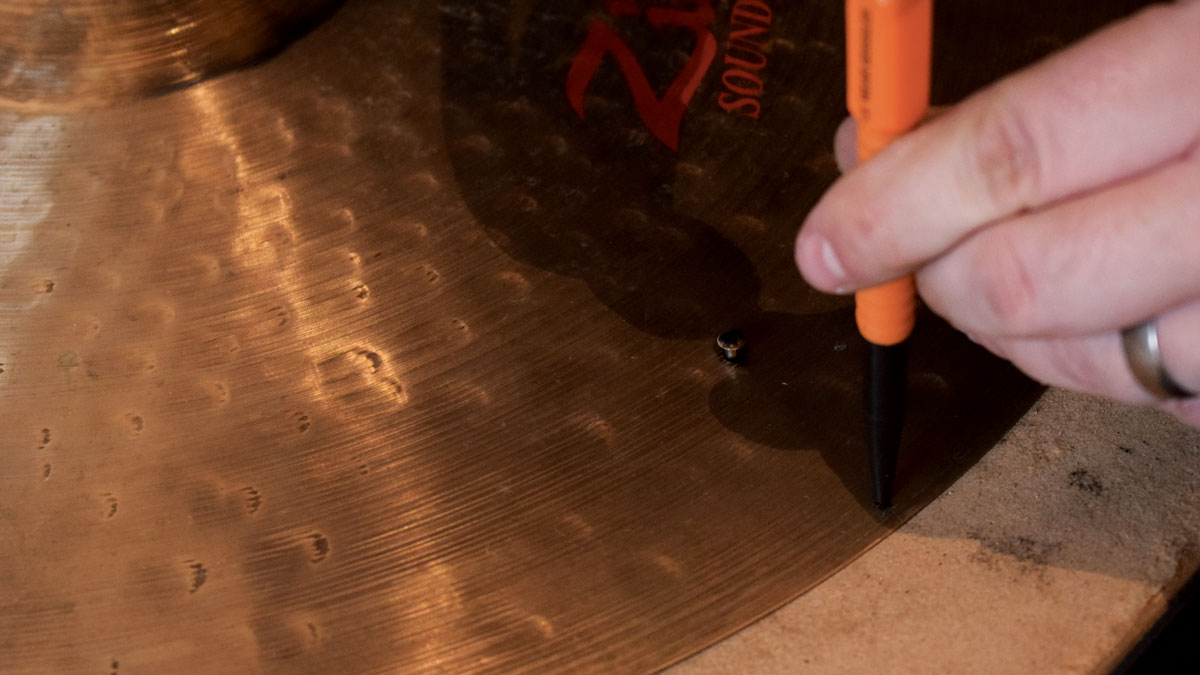
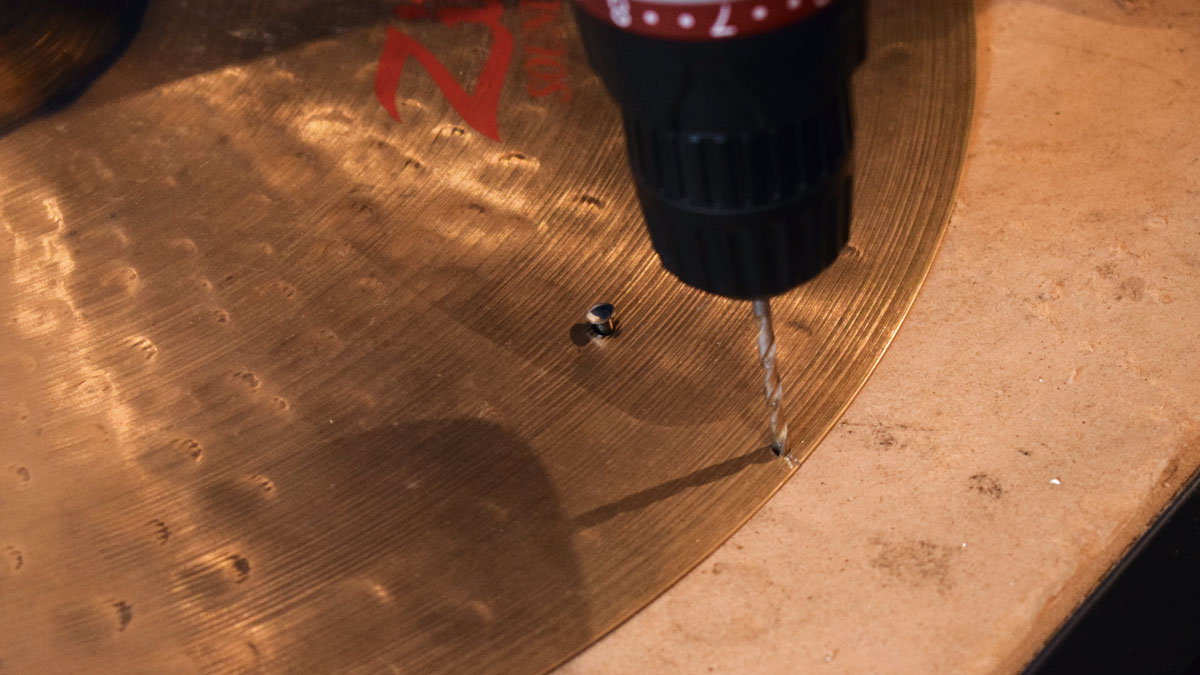
The quickest and easiest option is to drill the end(s) of the crack which should stop it spreading any further.
Before drilling, as with any metal work, use a centre-punch to create an initial path for the drill bit, preventing any skipping.
4. Drill
Using a specific metal drill bit is definitely advised here as it will cut through the bronze with ease.
The larger hole you drill, the more effective it will be against the crack spreading, although it will also have more effect on the tone of the cymbal. For this tiny crack we are using a 4.5mm bit.
5. Option two: Cutting disc
The second option is to go down the power-tools route.
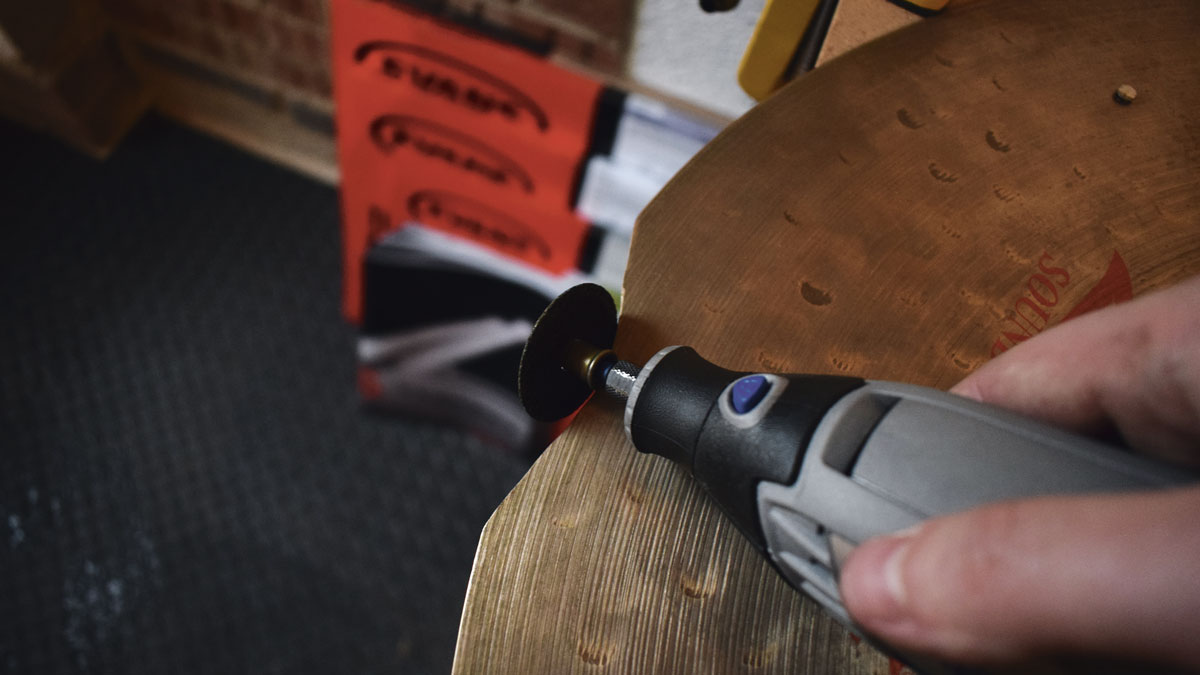
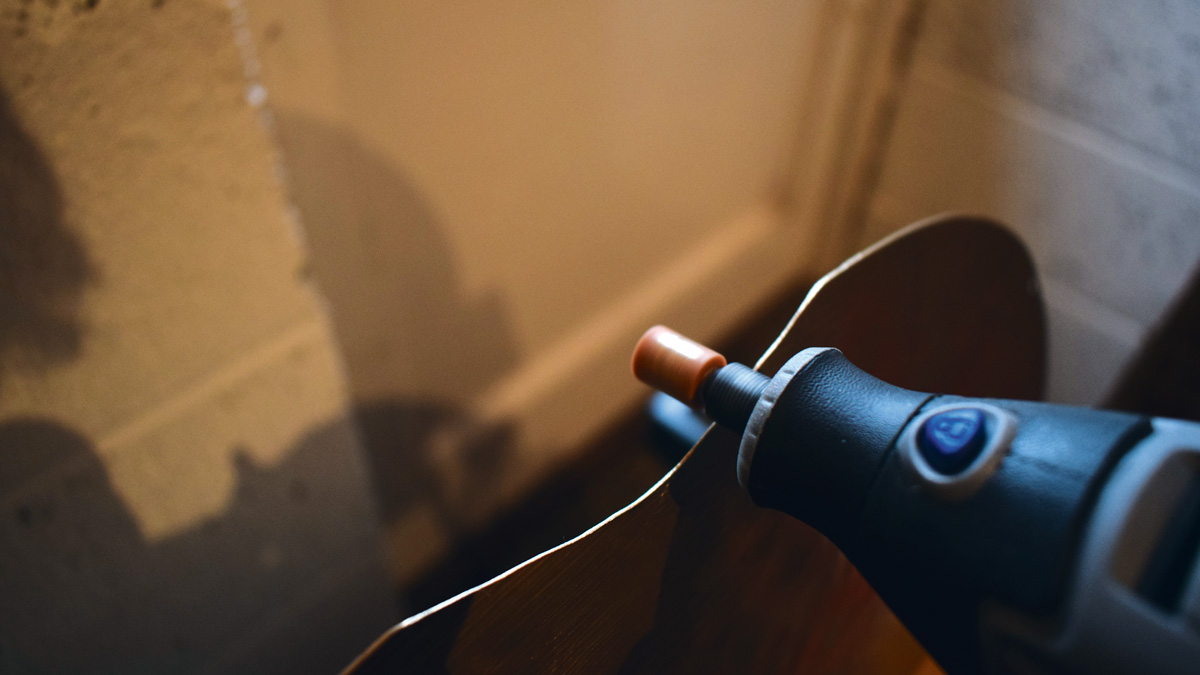
If you fancy splashing some cash or can get your hands on a Dremel tool, this multi-purpose rotary tool will pay for itself over and over. The first step is to use a cutting disc and simply cut out the crack.
6. Shaping the edges
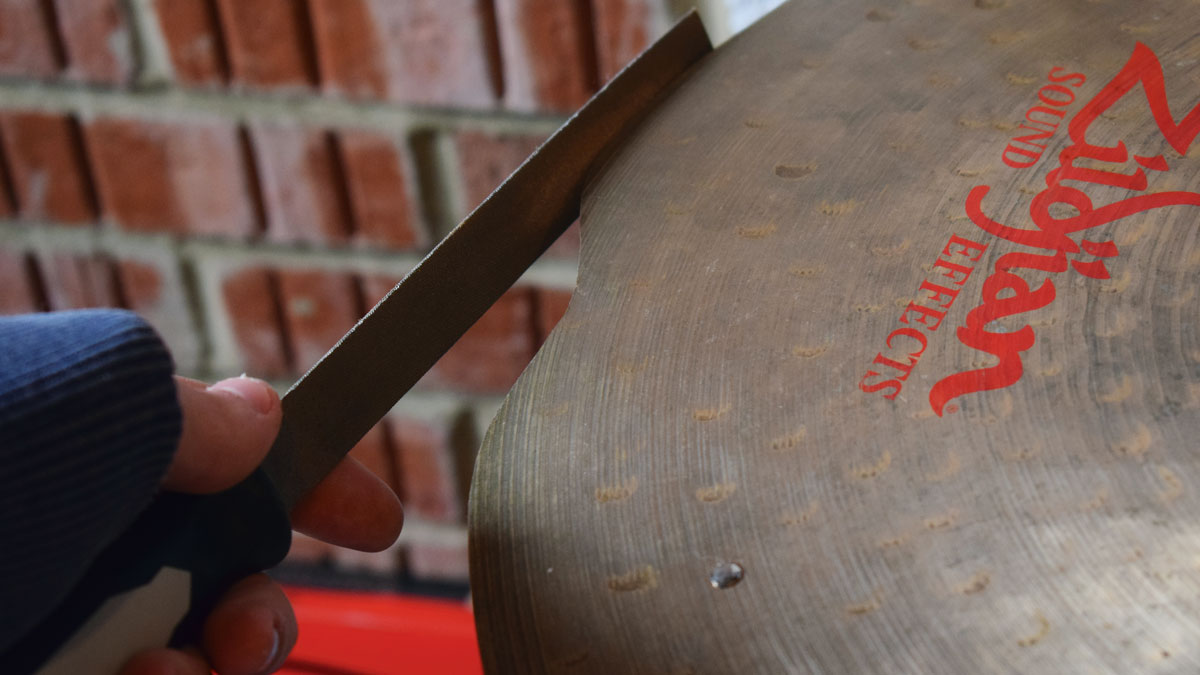
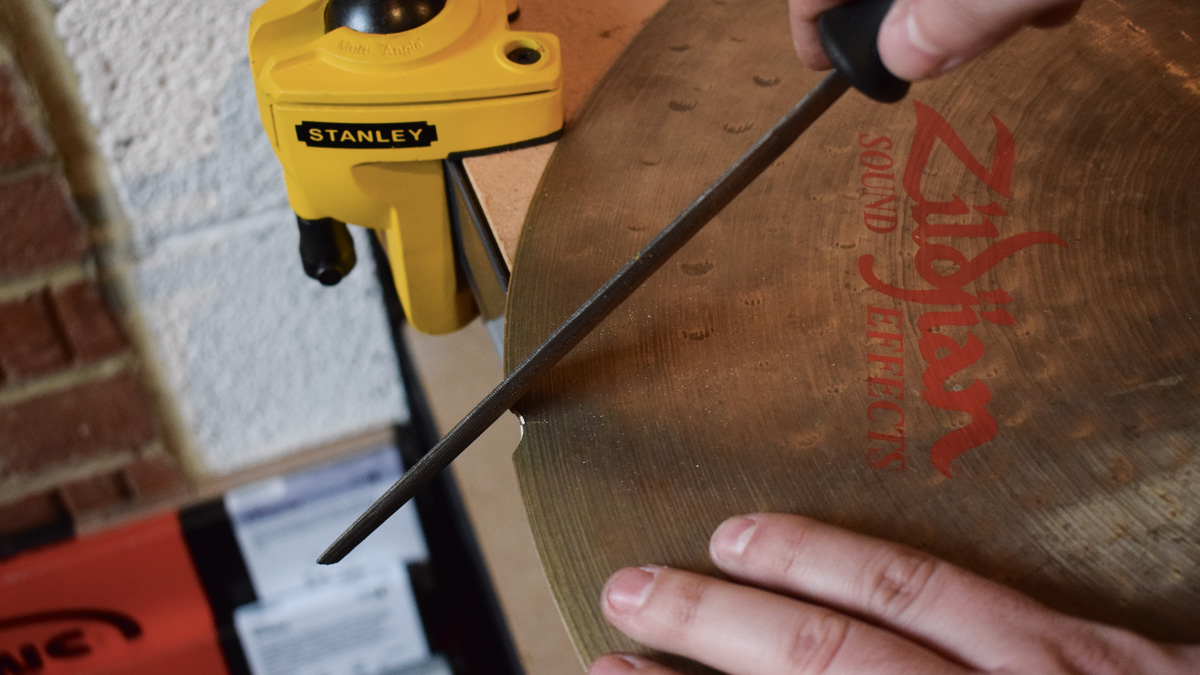
Once you have taken a roughly semi-circular piece out of the cymbal using the cutting disc, you can use a hand file to round off the edges a little and give it some shape.
7. Smoothing the surface
The edges will be rough after cutting and filing which is not only a safety concern, but will probably also mangle your sticks.
Coming back to the Dremel again; use the grinding stone attachment to finish the edge to a super-smooth finish.
8. Option three: File back
If you don’t fancy spending cash on power tools but prefer the idea of getting shot of the crack altogether rather than drilling, simply use a hand file to cut back into the metal until you reach the top of the crack, then finish with sandpaper.
9. Drill - finished
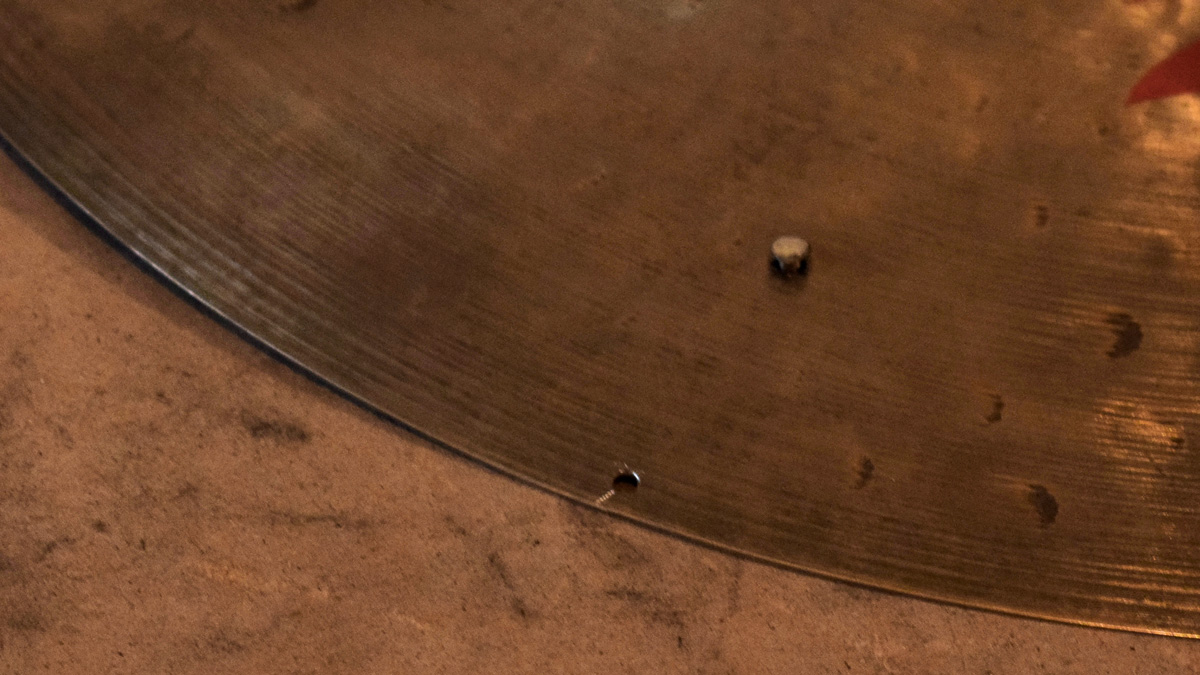
If you chose the drilling option, this is what it will end up looking like.
Definitely the more subtle option both visually and tonally, but not always 100 percent effective.
10. Cutout - finished
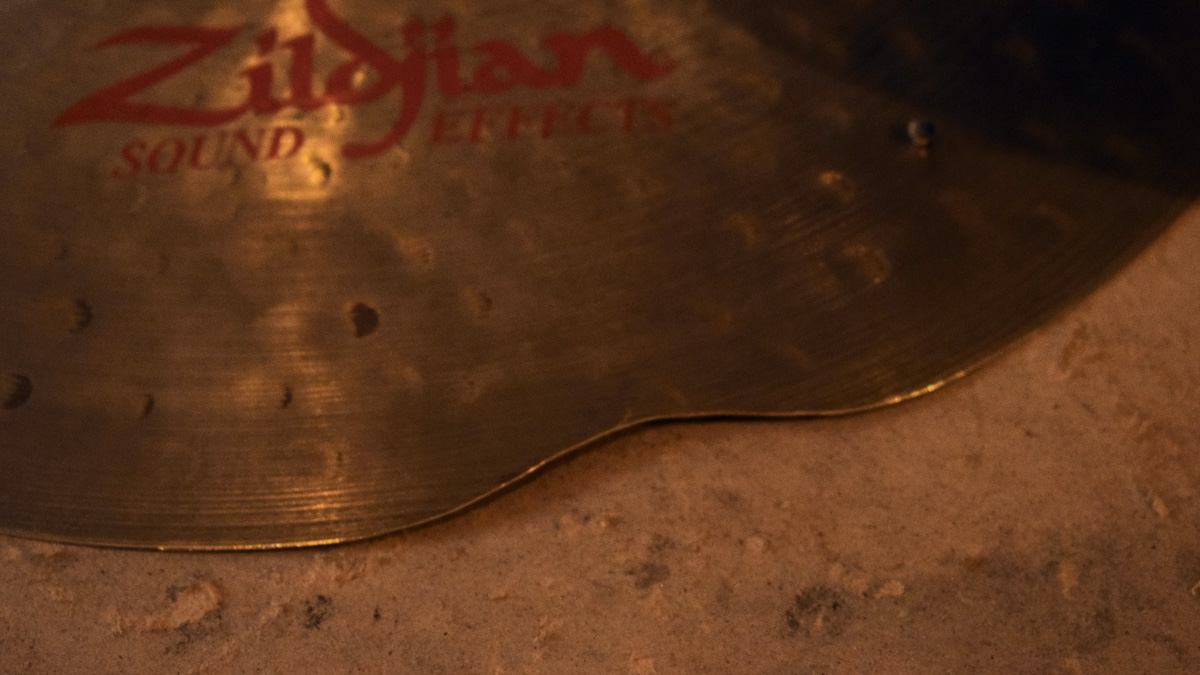
If you chose the power option, this is what you could end up with.
It may look pretty drastic and will likely dry out the sound of the cymbal but will do away with the crack all together.
Tom is a professional drummer with a long history of performing live anywhere from local venues to 200,000 capacity festivals. Tom is a private drum tutor, in addition to teaching at the BIMM Institute in Birmingham. He is also a regular feature writer and reviewer for MusicRadar, with a particular passion for all things electronic and hybrid drumming.