How to create an ambient techno atmosphere
Ambience, space and atmosphere are key elements of any immersive techno track. Here's how to create them in your DAW
Want all the hottest music and gear news, reviews, deals, features and more, direct to your inbox? Sign up here.
You are now subscribed
Your newsletter sign-up was successful
Last week, we showed you how to produce club-shaking techno in 2023. Today, we shift our focus to another important aspect of techno production: atmosphere.
Ambience, space and atmosphere are all pivotal to making your techno track translate and resonate with people. Here’s a tried-and-tested method of concocting some serious vibes.
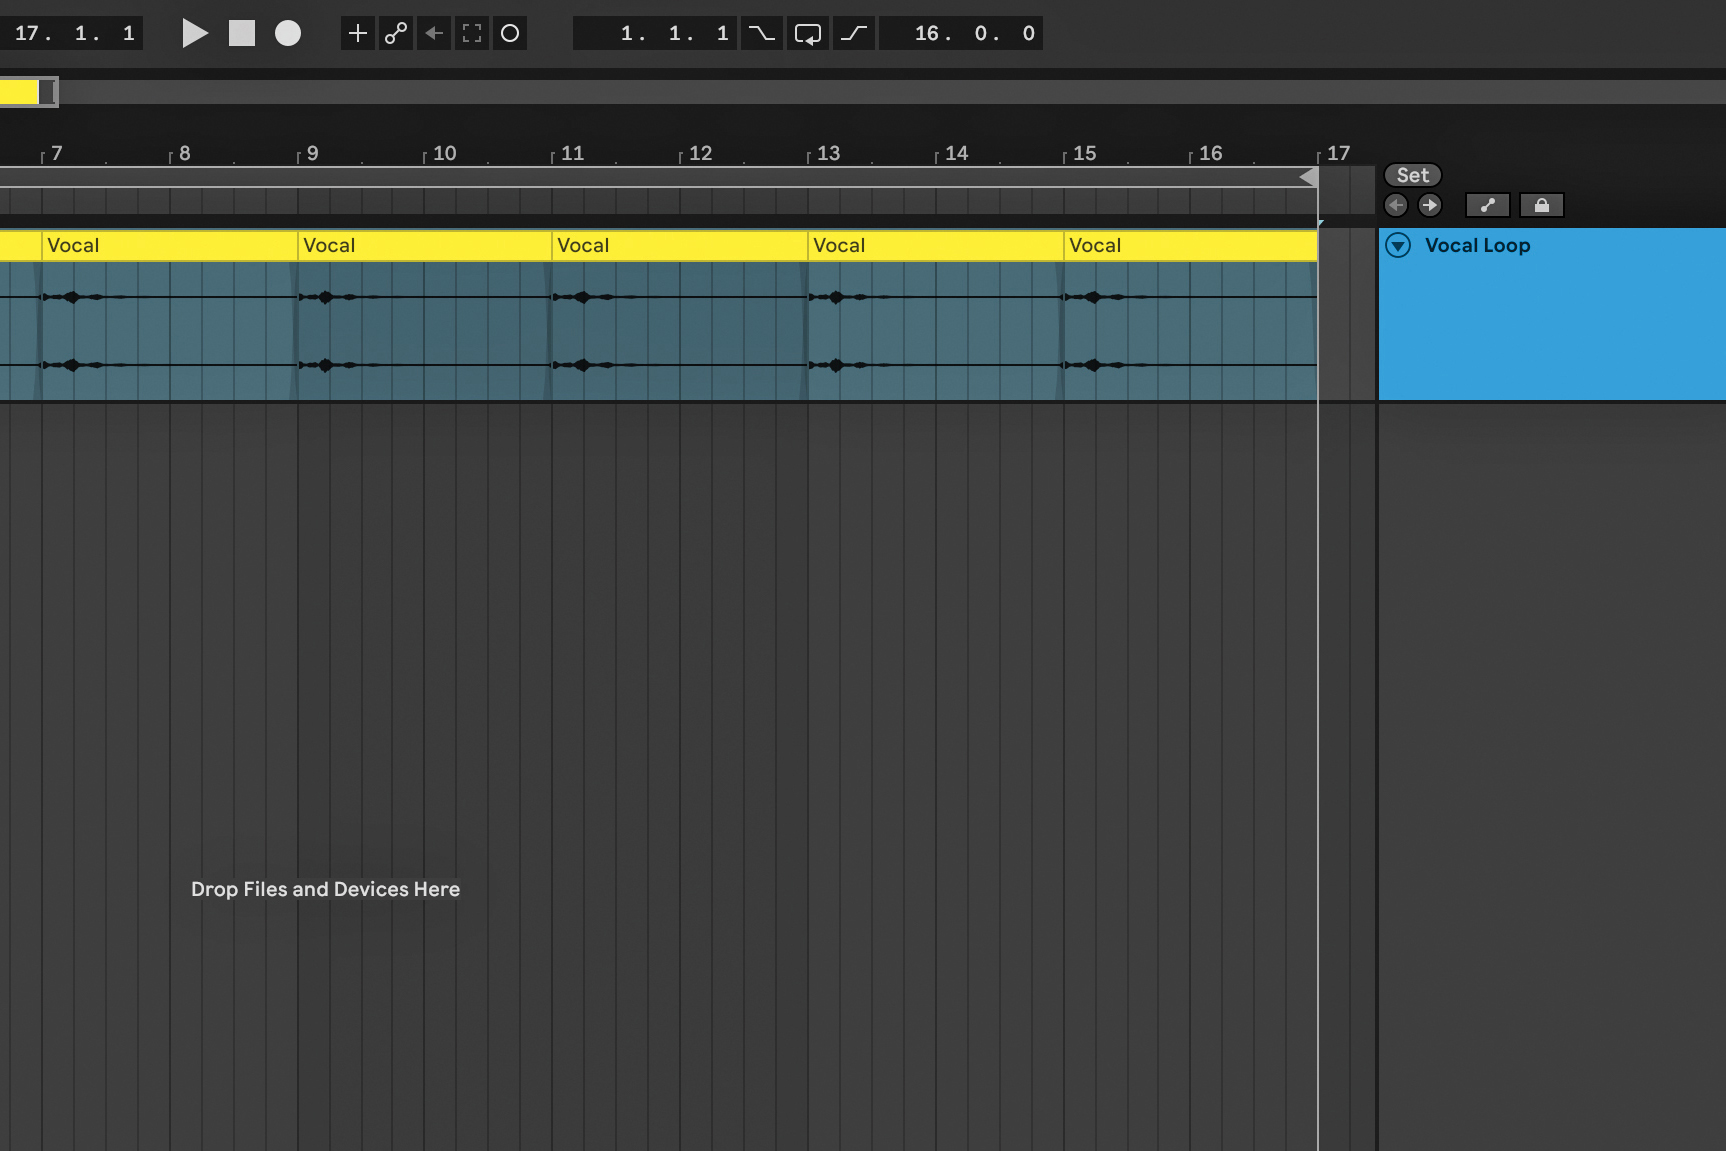
Take an element from your track in order to create an ambience in the main key of your track. A few elements that could work are a vocal, synth part or percussion loop. If you are using a vocal sample, cut the audio down to your favourite section and copy/paste this section so it repeats in a consistent pattern for an eight-bar loop. If you are using MIDI, repeat the MIDI note several times.
Article continues below 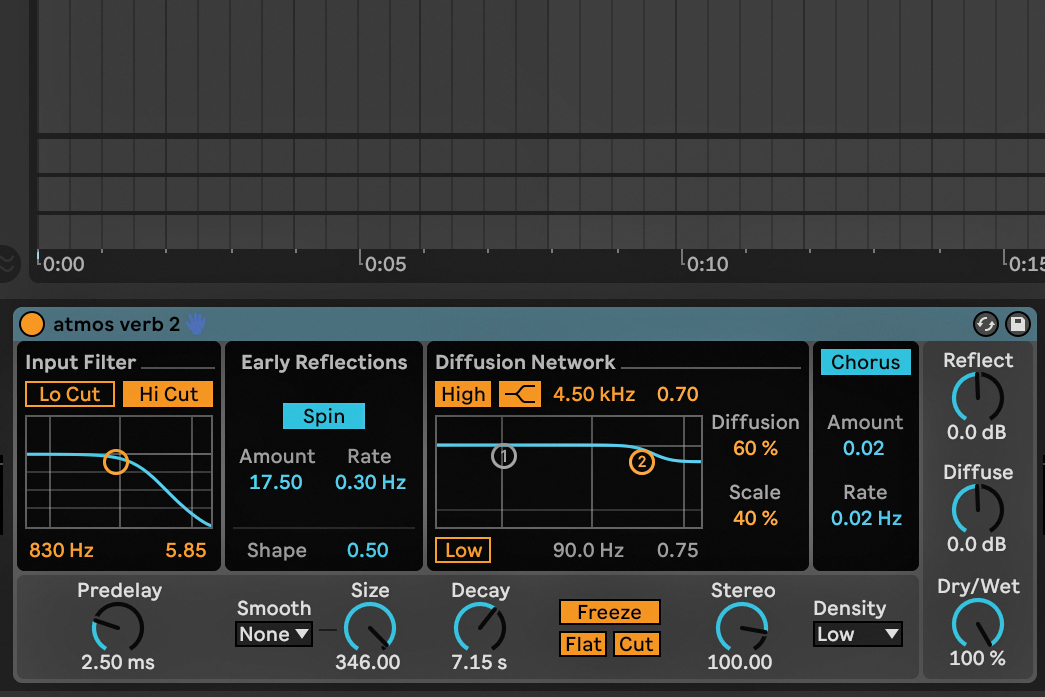
Drop your DAW’s reverb or another reverb that has a freeze function onto the track, and increase the size and decay time. Turn the D/W to 100% and play your loop. Once you hear a section you like, press Freeze on the Reverb.
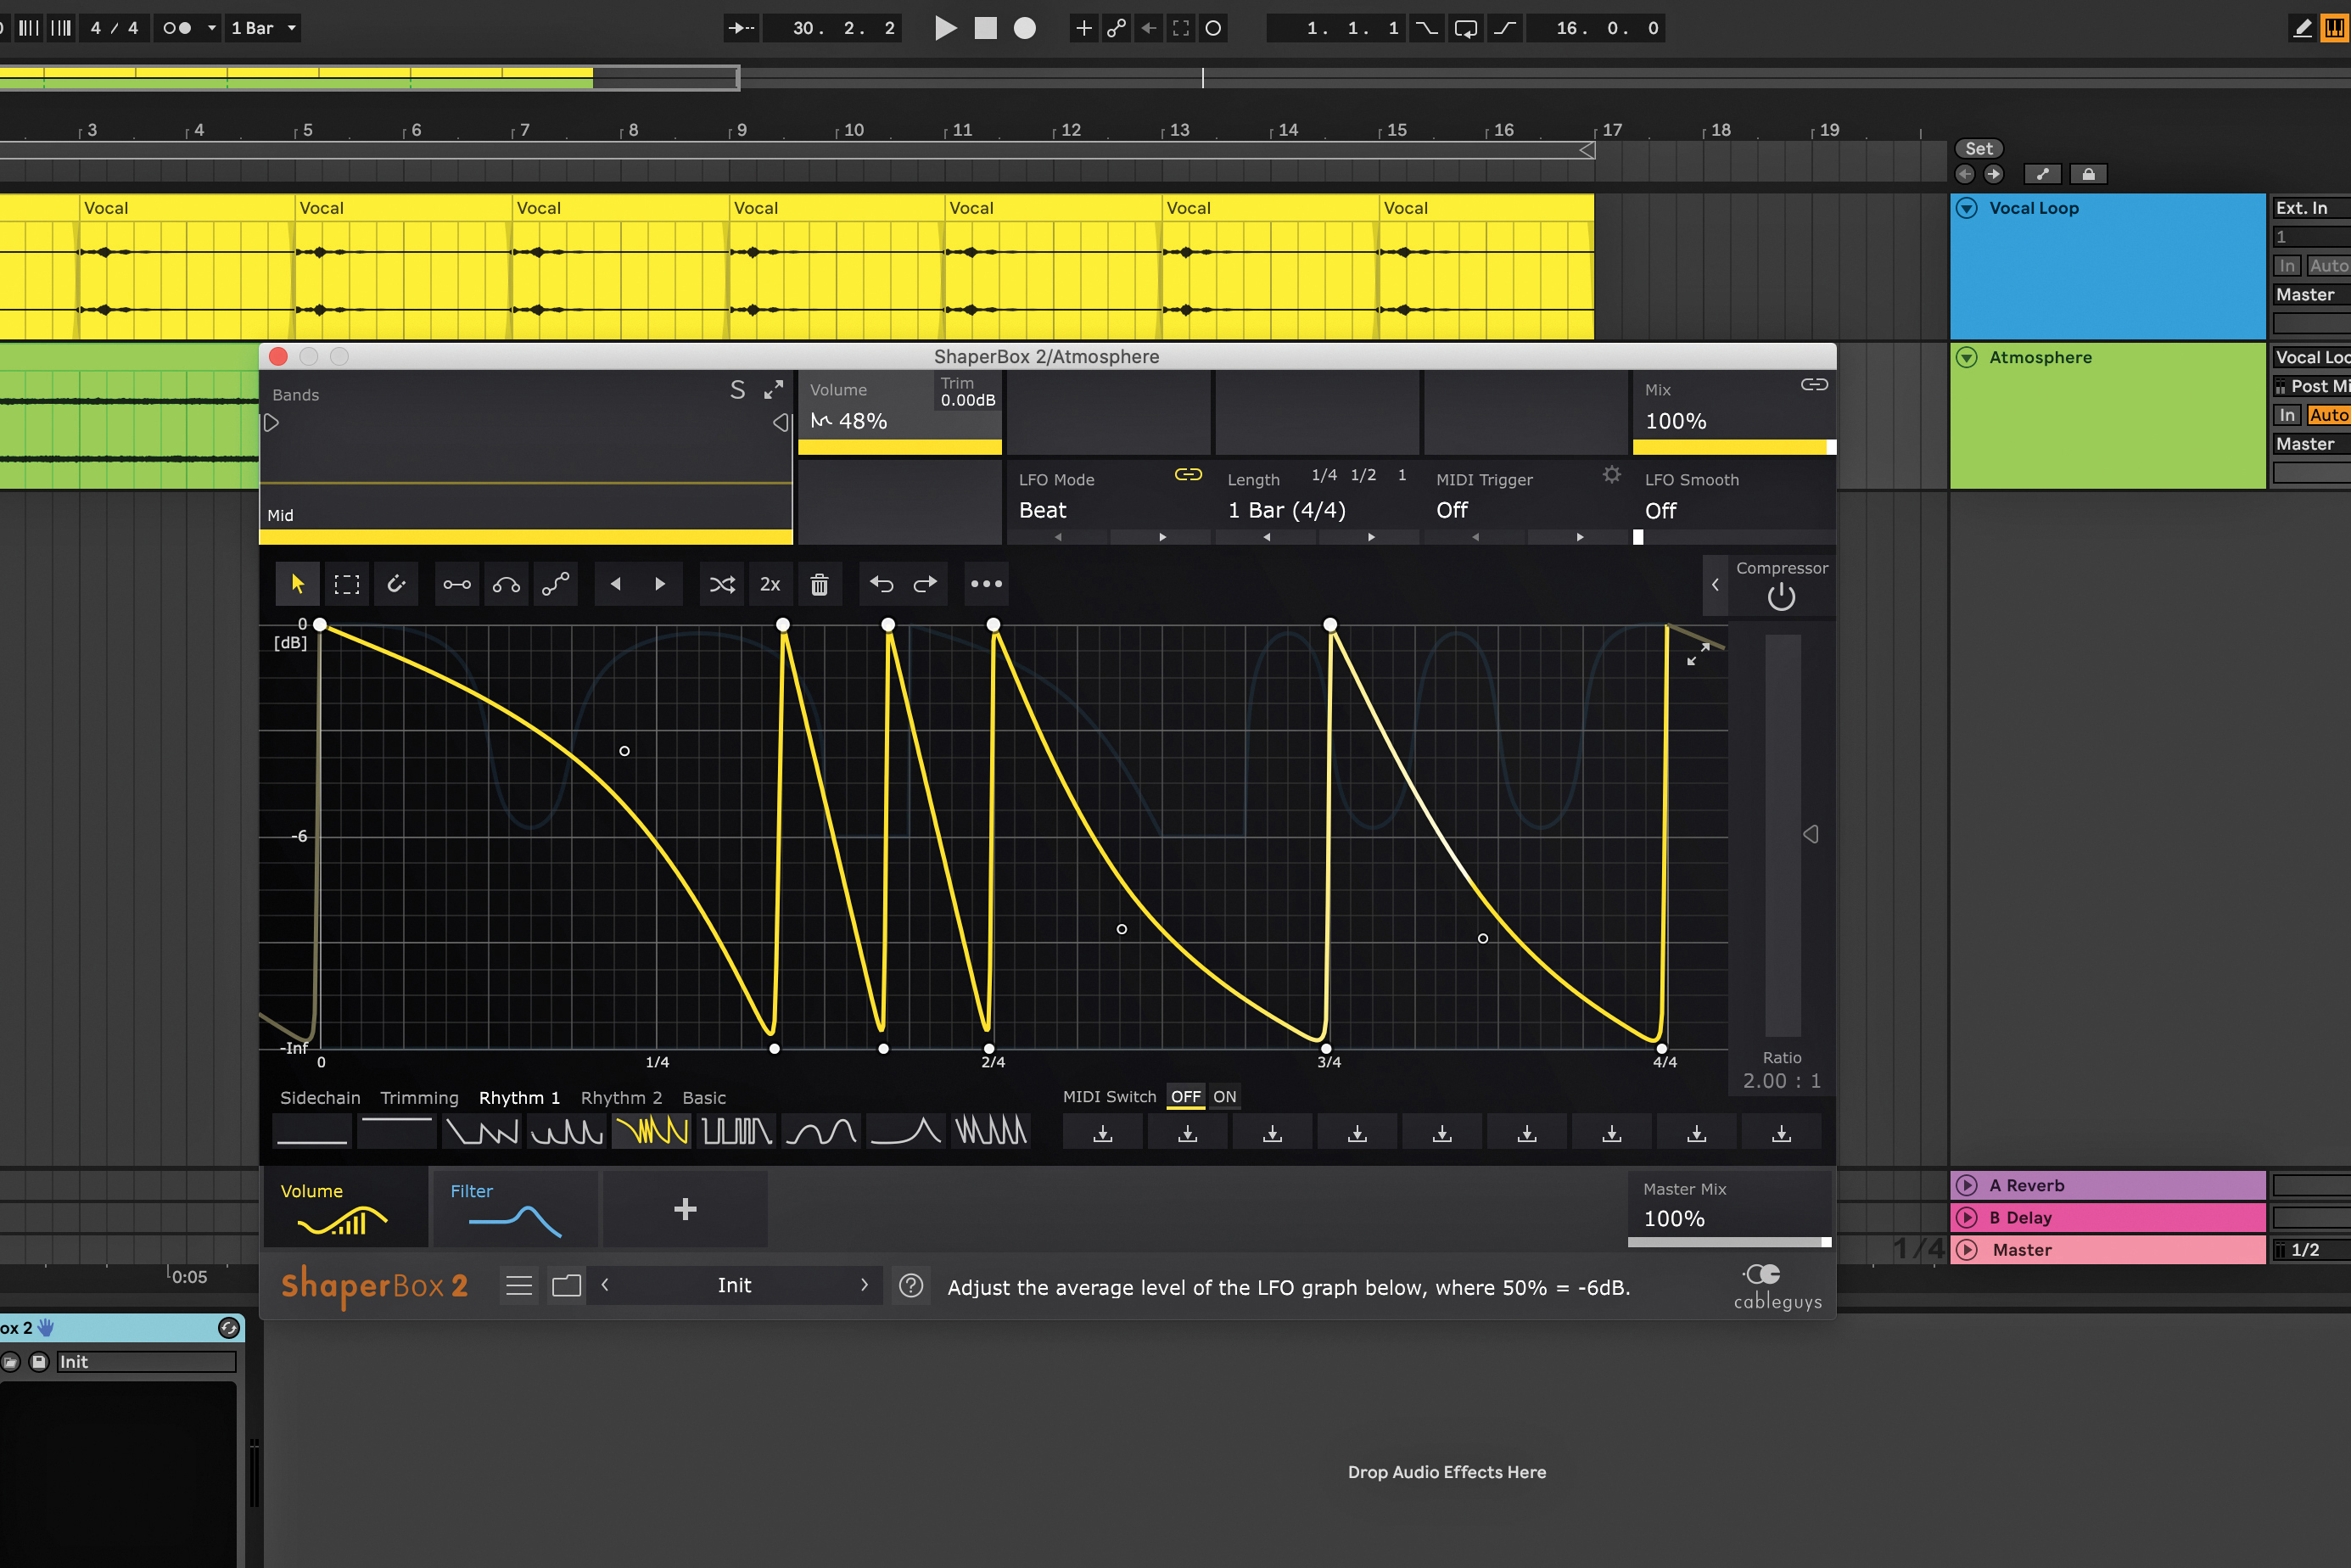
Create a new audio track, and route the audio from the track with reverb to the new track. Record in the audio from the track with reverb to the new track. Make the atmosphere sound even more interesting by adding a shaping plugin like ShaperBox on the recording to give it a groove. In ShaperBox, try using a volume effect and apply a rhythmic pattern.
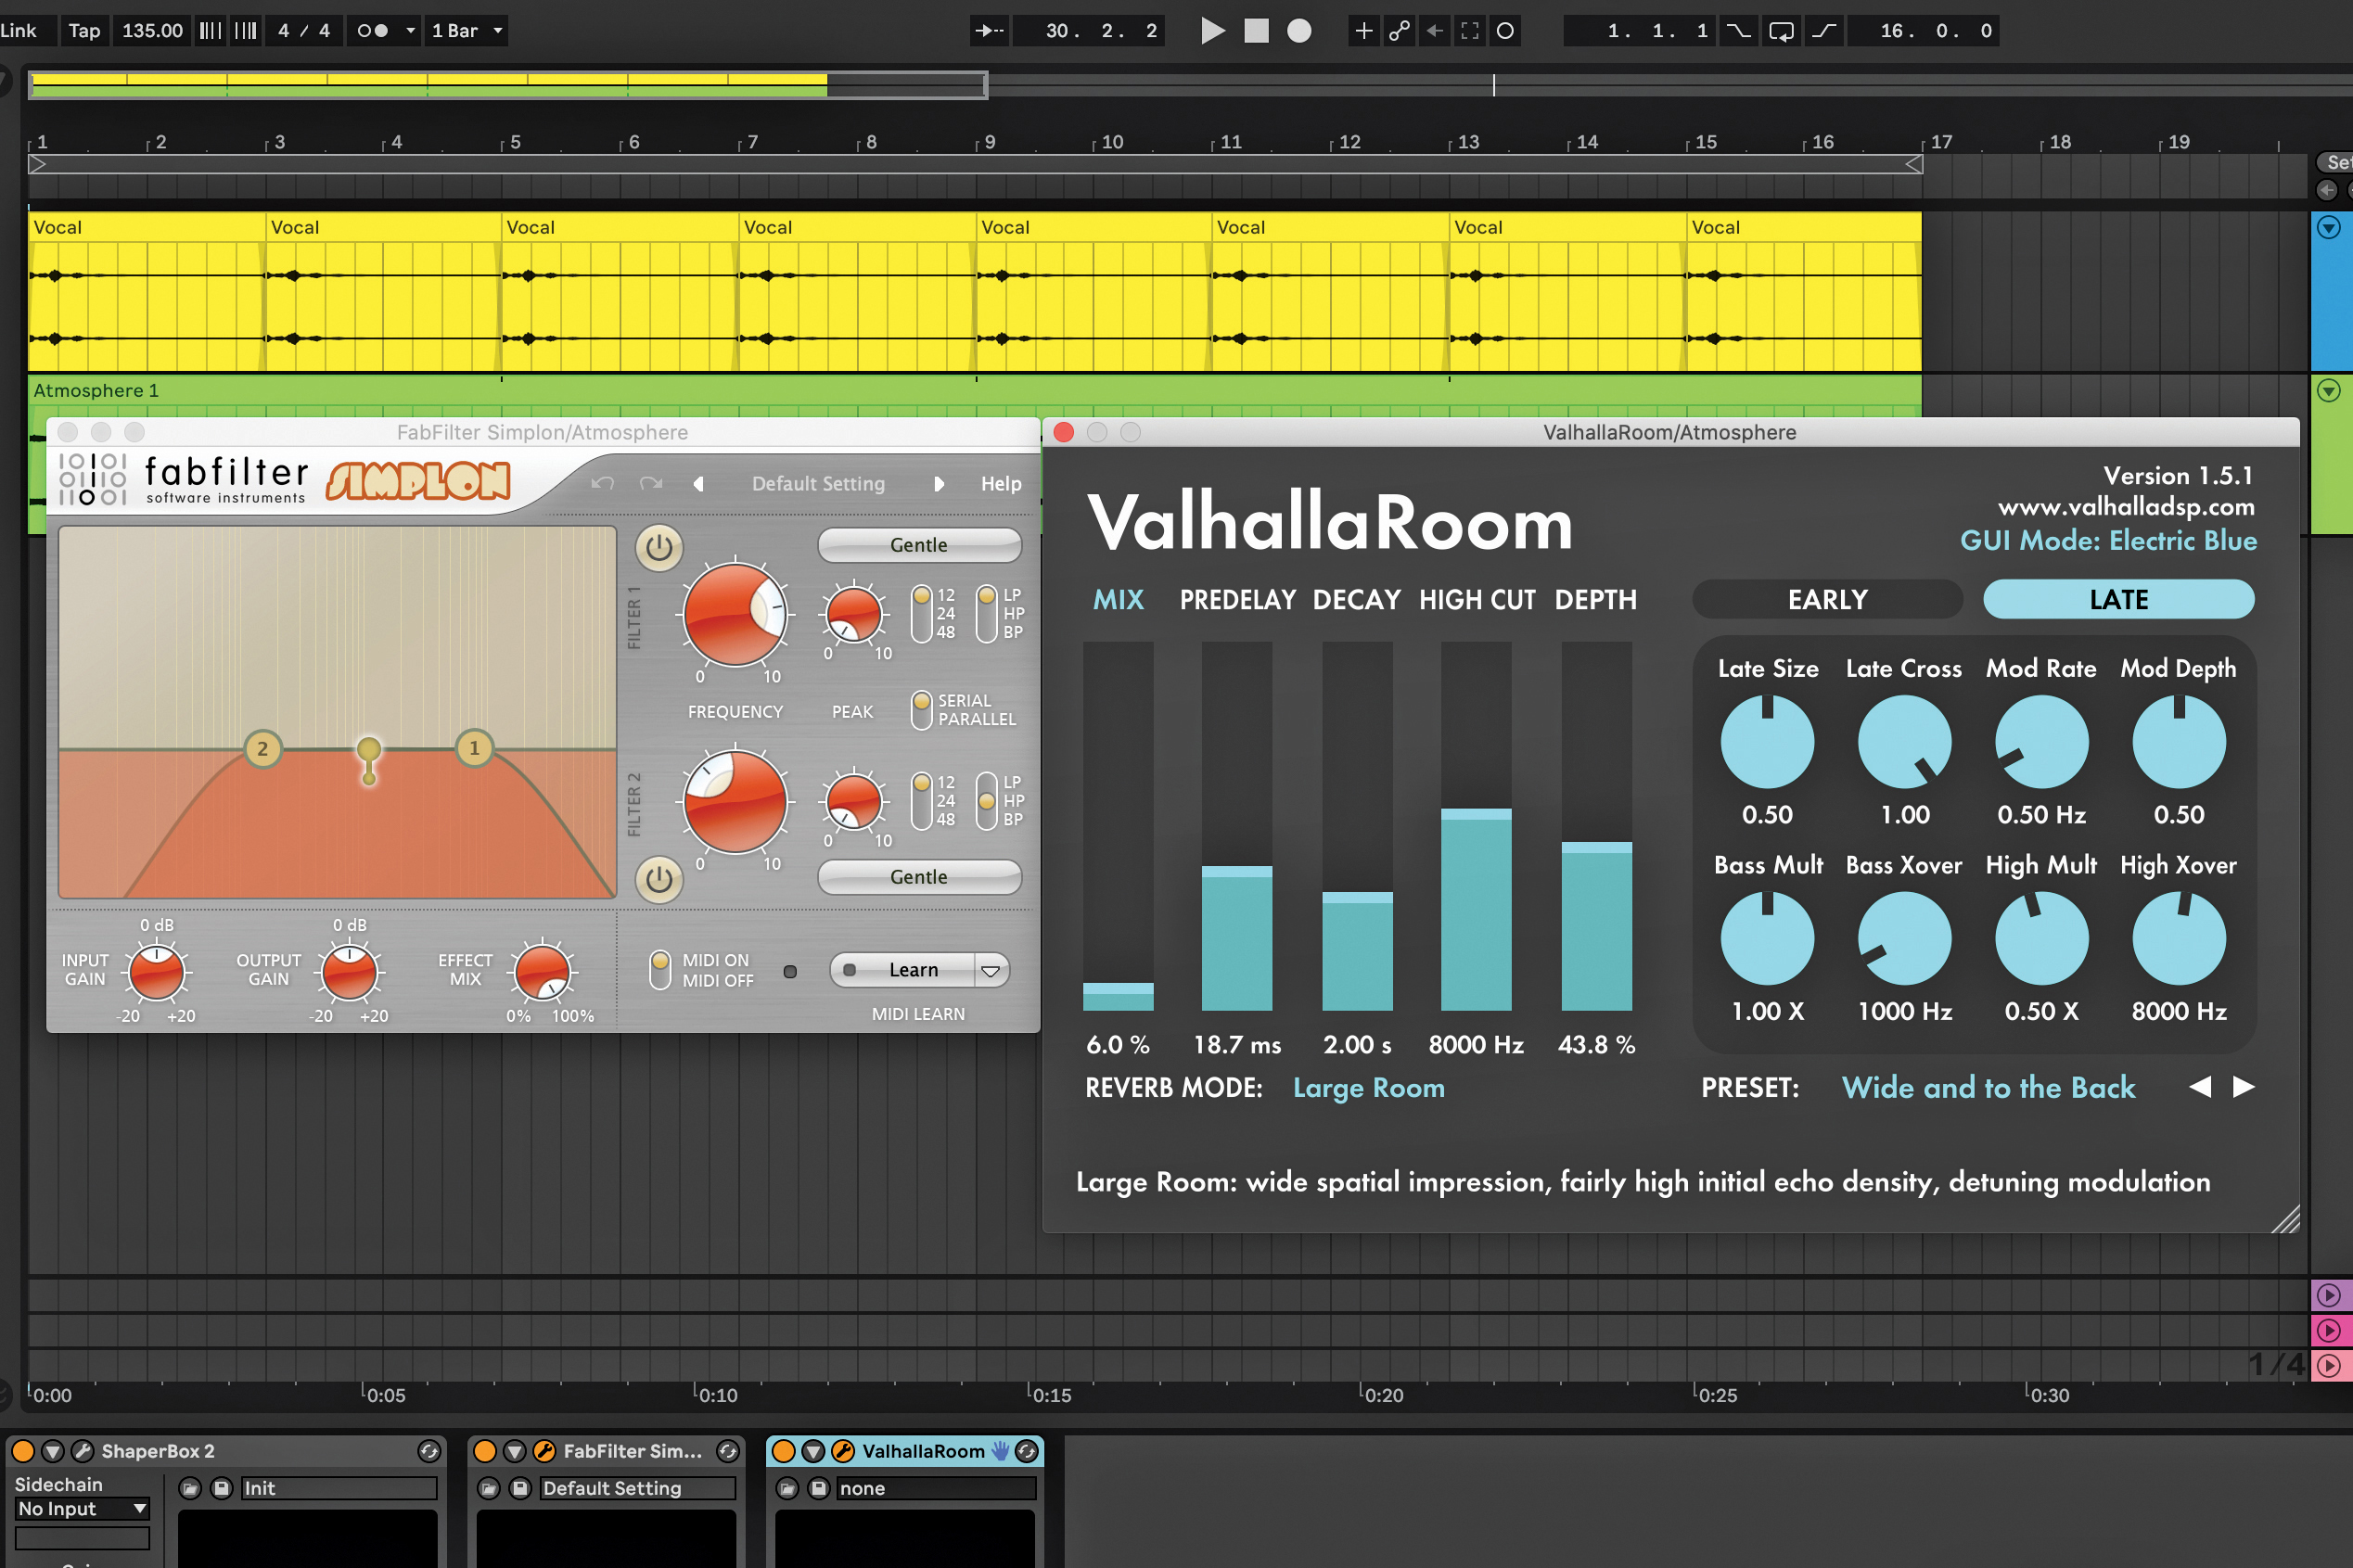
Add a filter like Simplon or EQ to the track, and use low and high-pass filters to cut the low and high frequencies to shape the sound. Add another reverb to push the sound to the side and back even more.
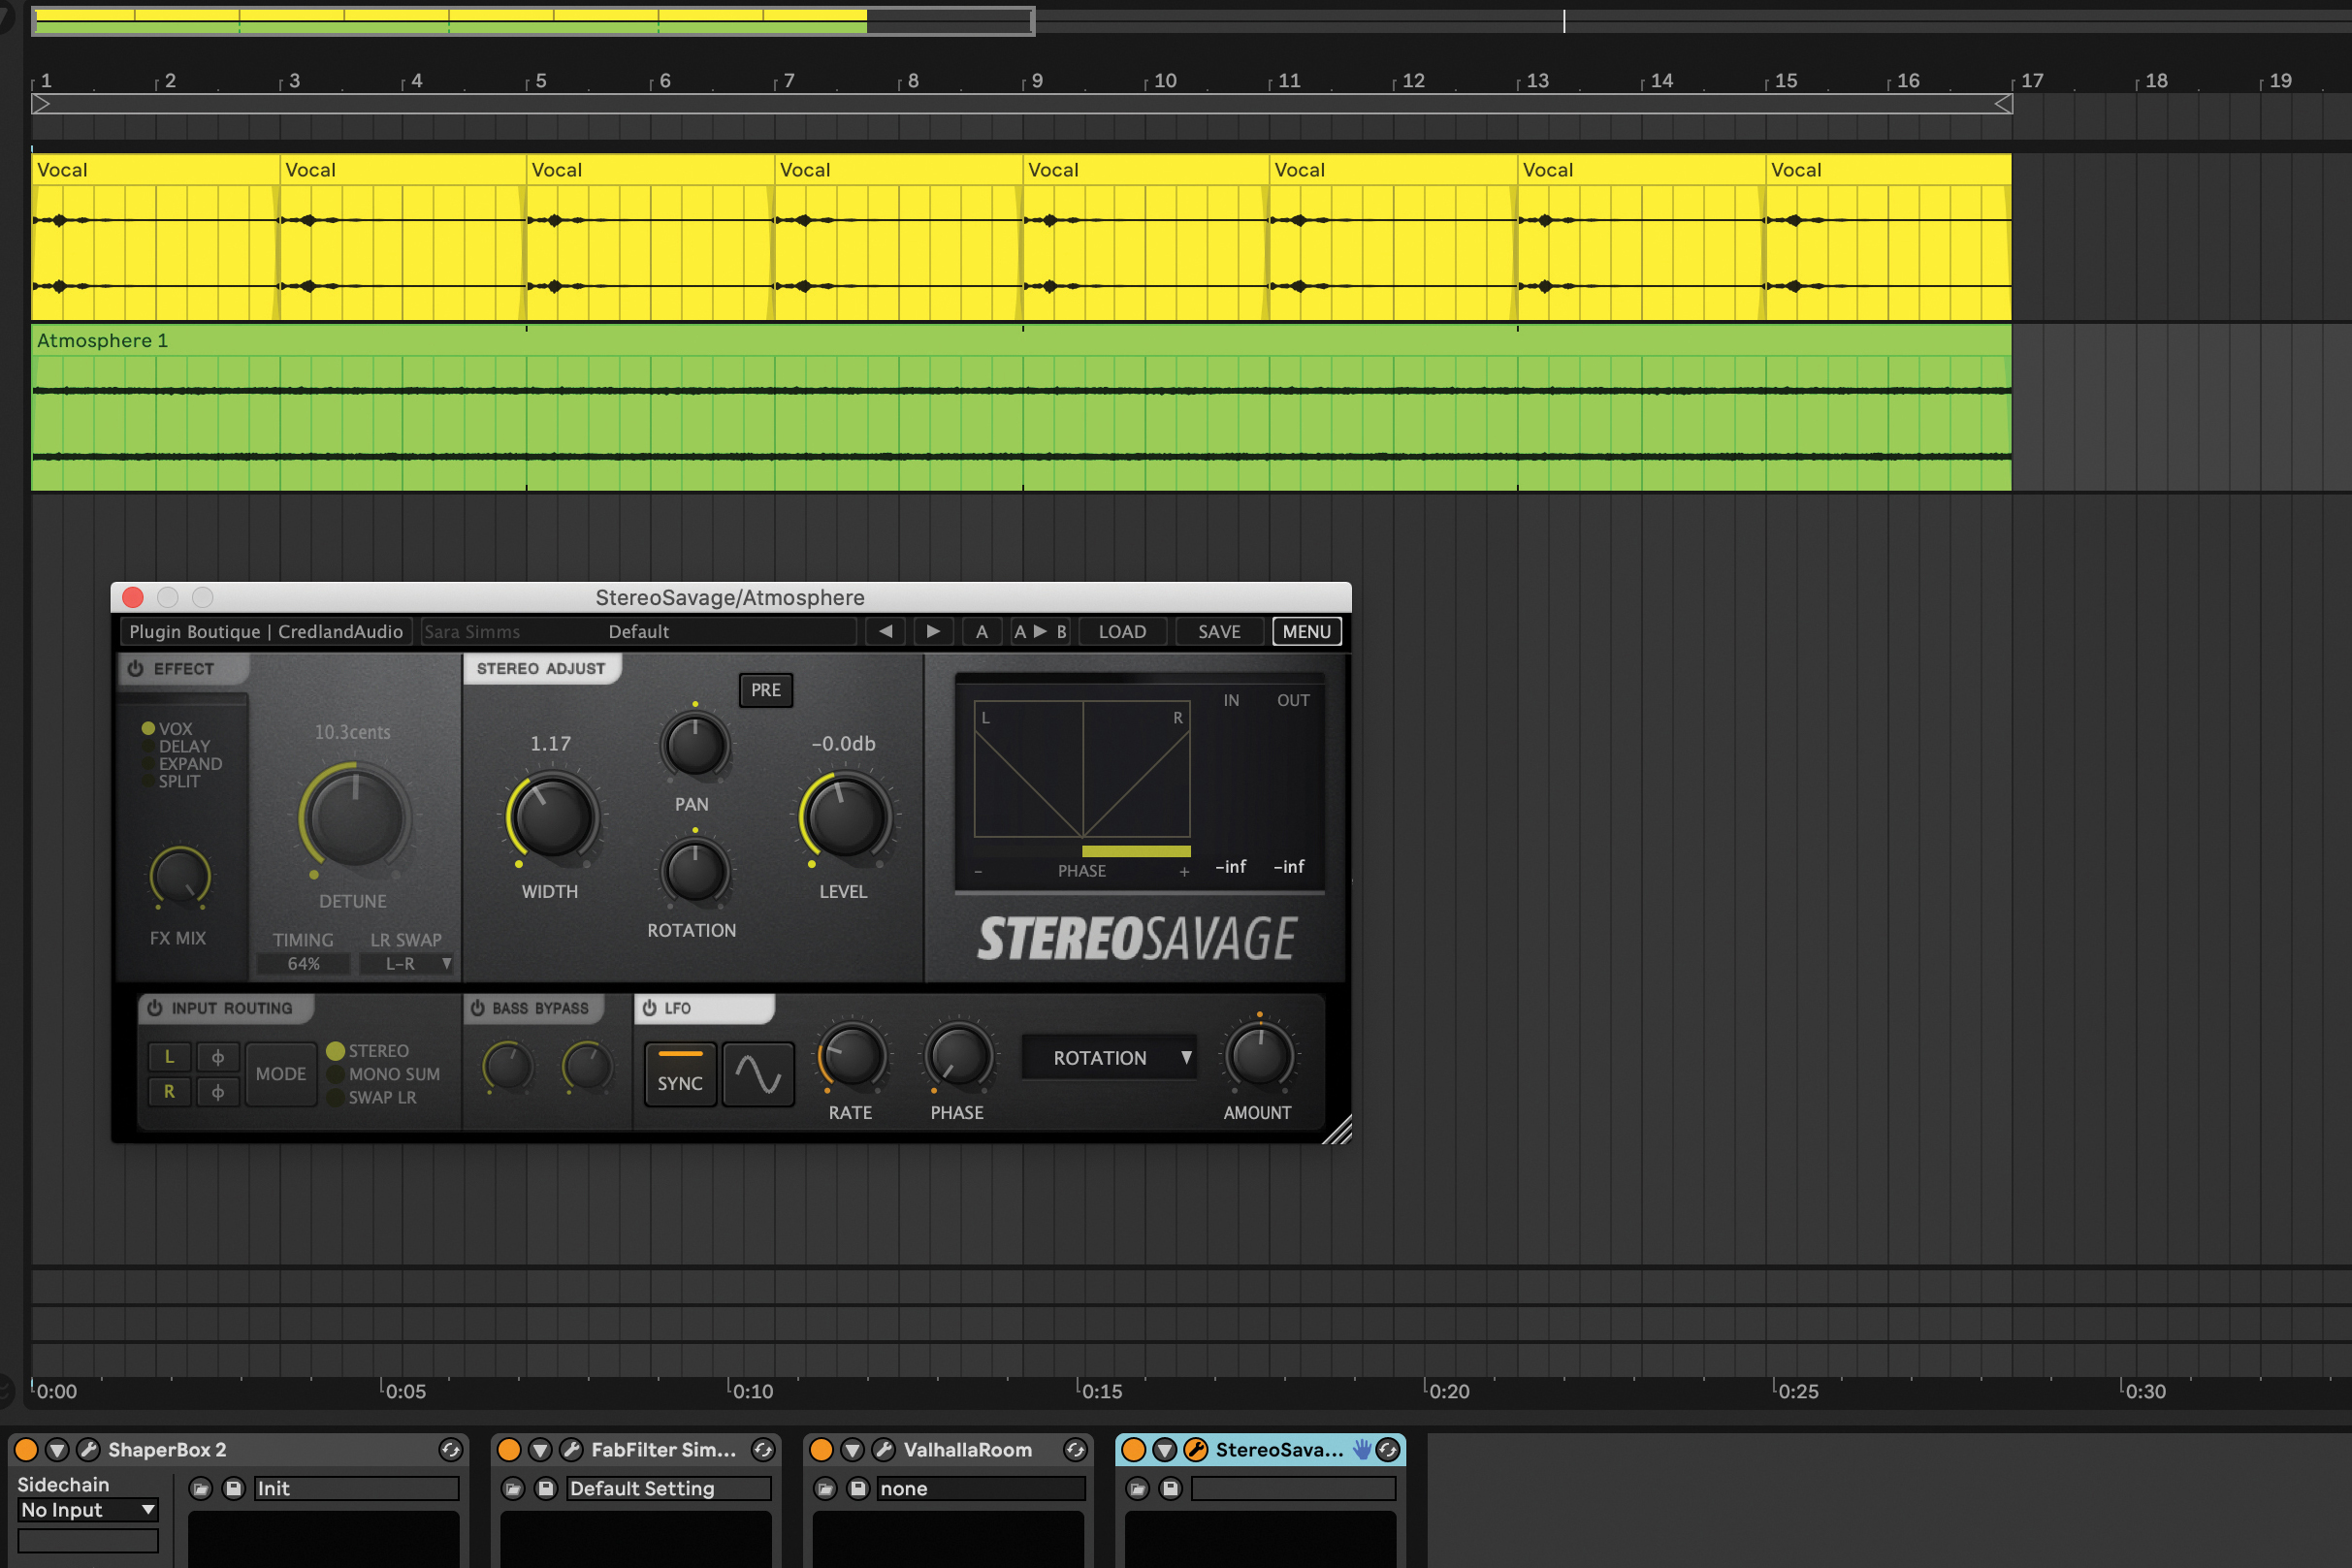
Enhance the stereo width of the atmosphere by adding a stereo-widening plugin like iZotope Imager, or StereoSavage. Try using the rotation effect for a natural-sounding panning effect. Play the atmosphere in your mix, set it to the correct volume and adjust the EQ to taste.
Want all the hottest music and gear news, reviews, deals, features and more, direct to your inbox? Sign up here.
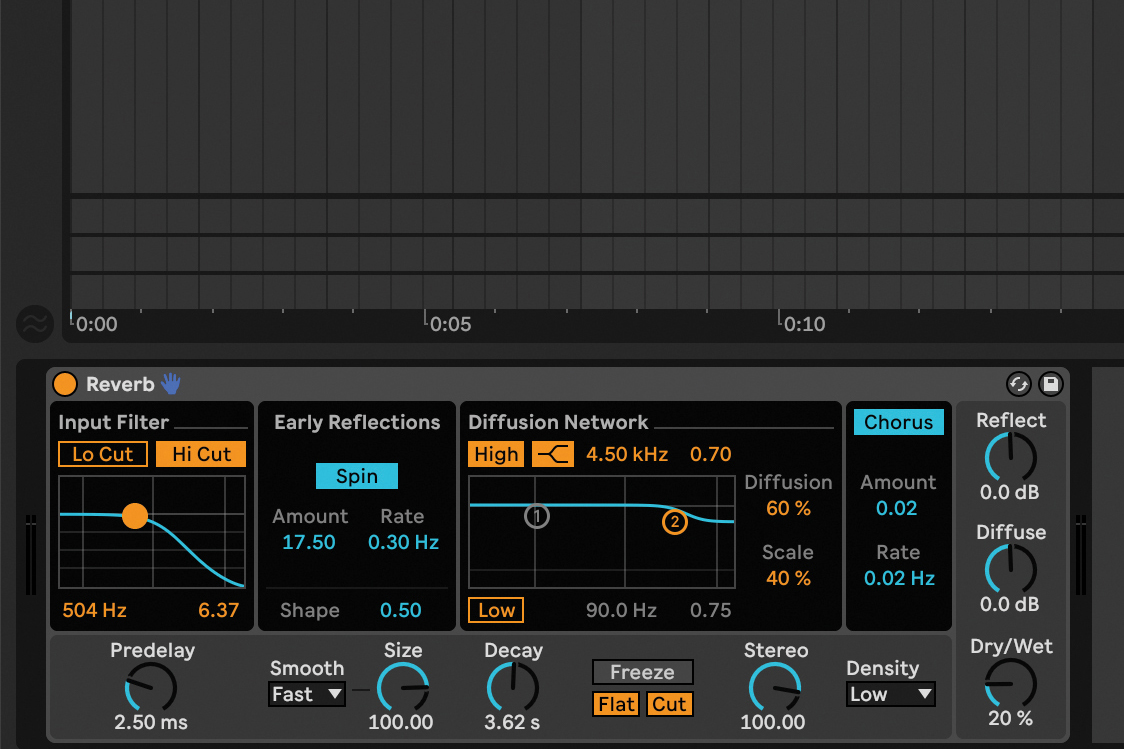
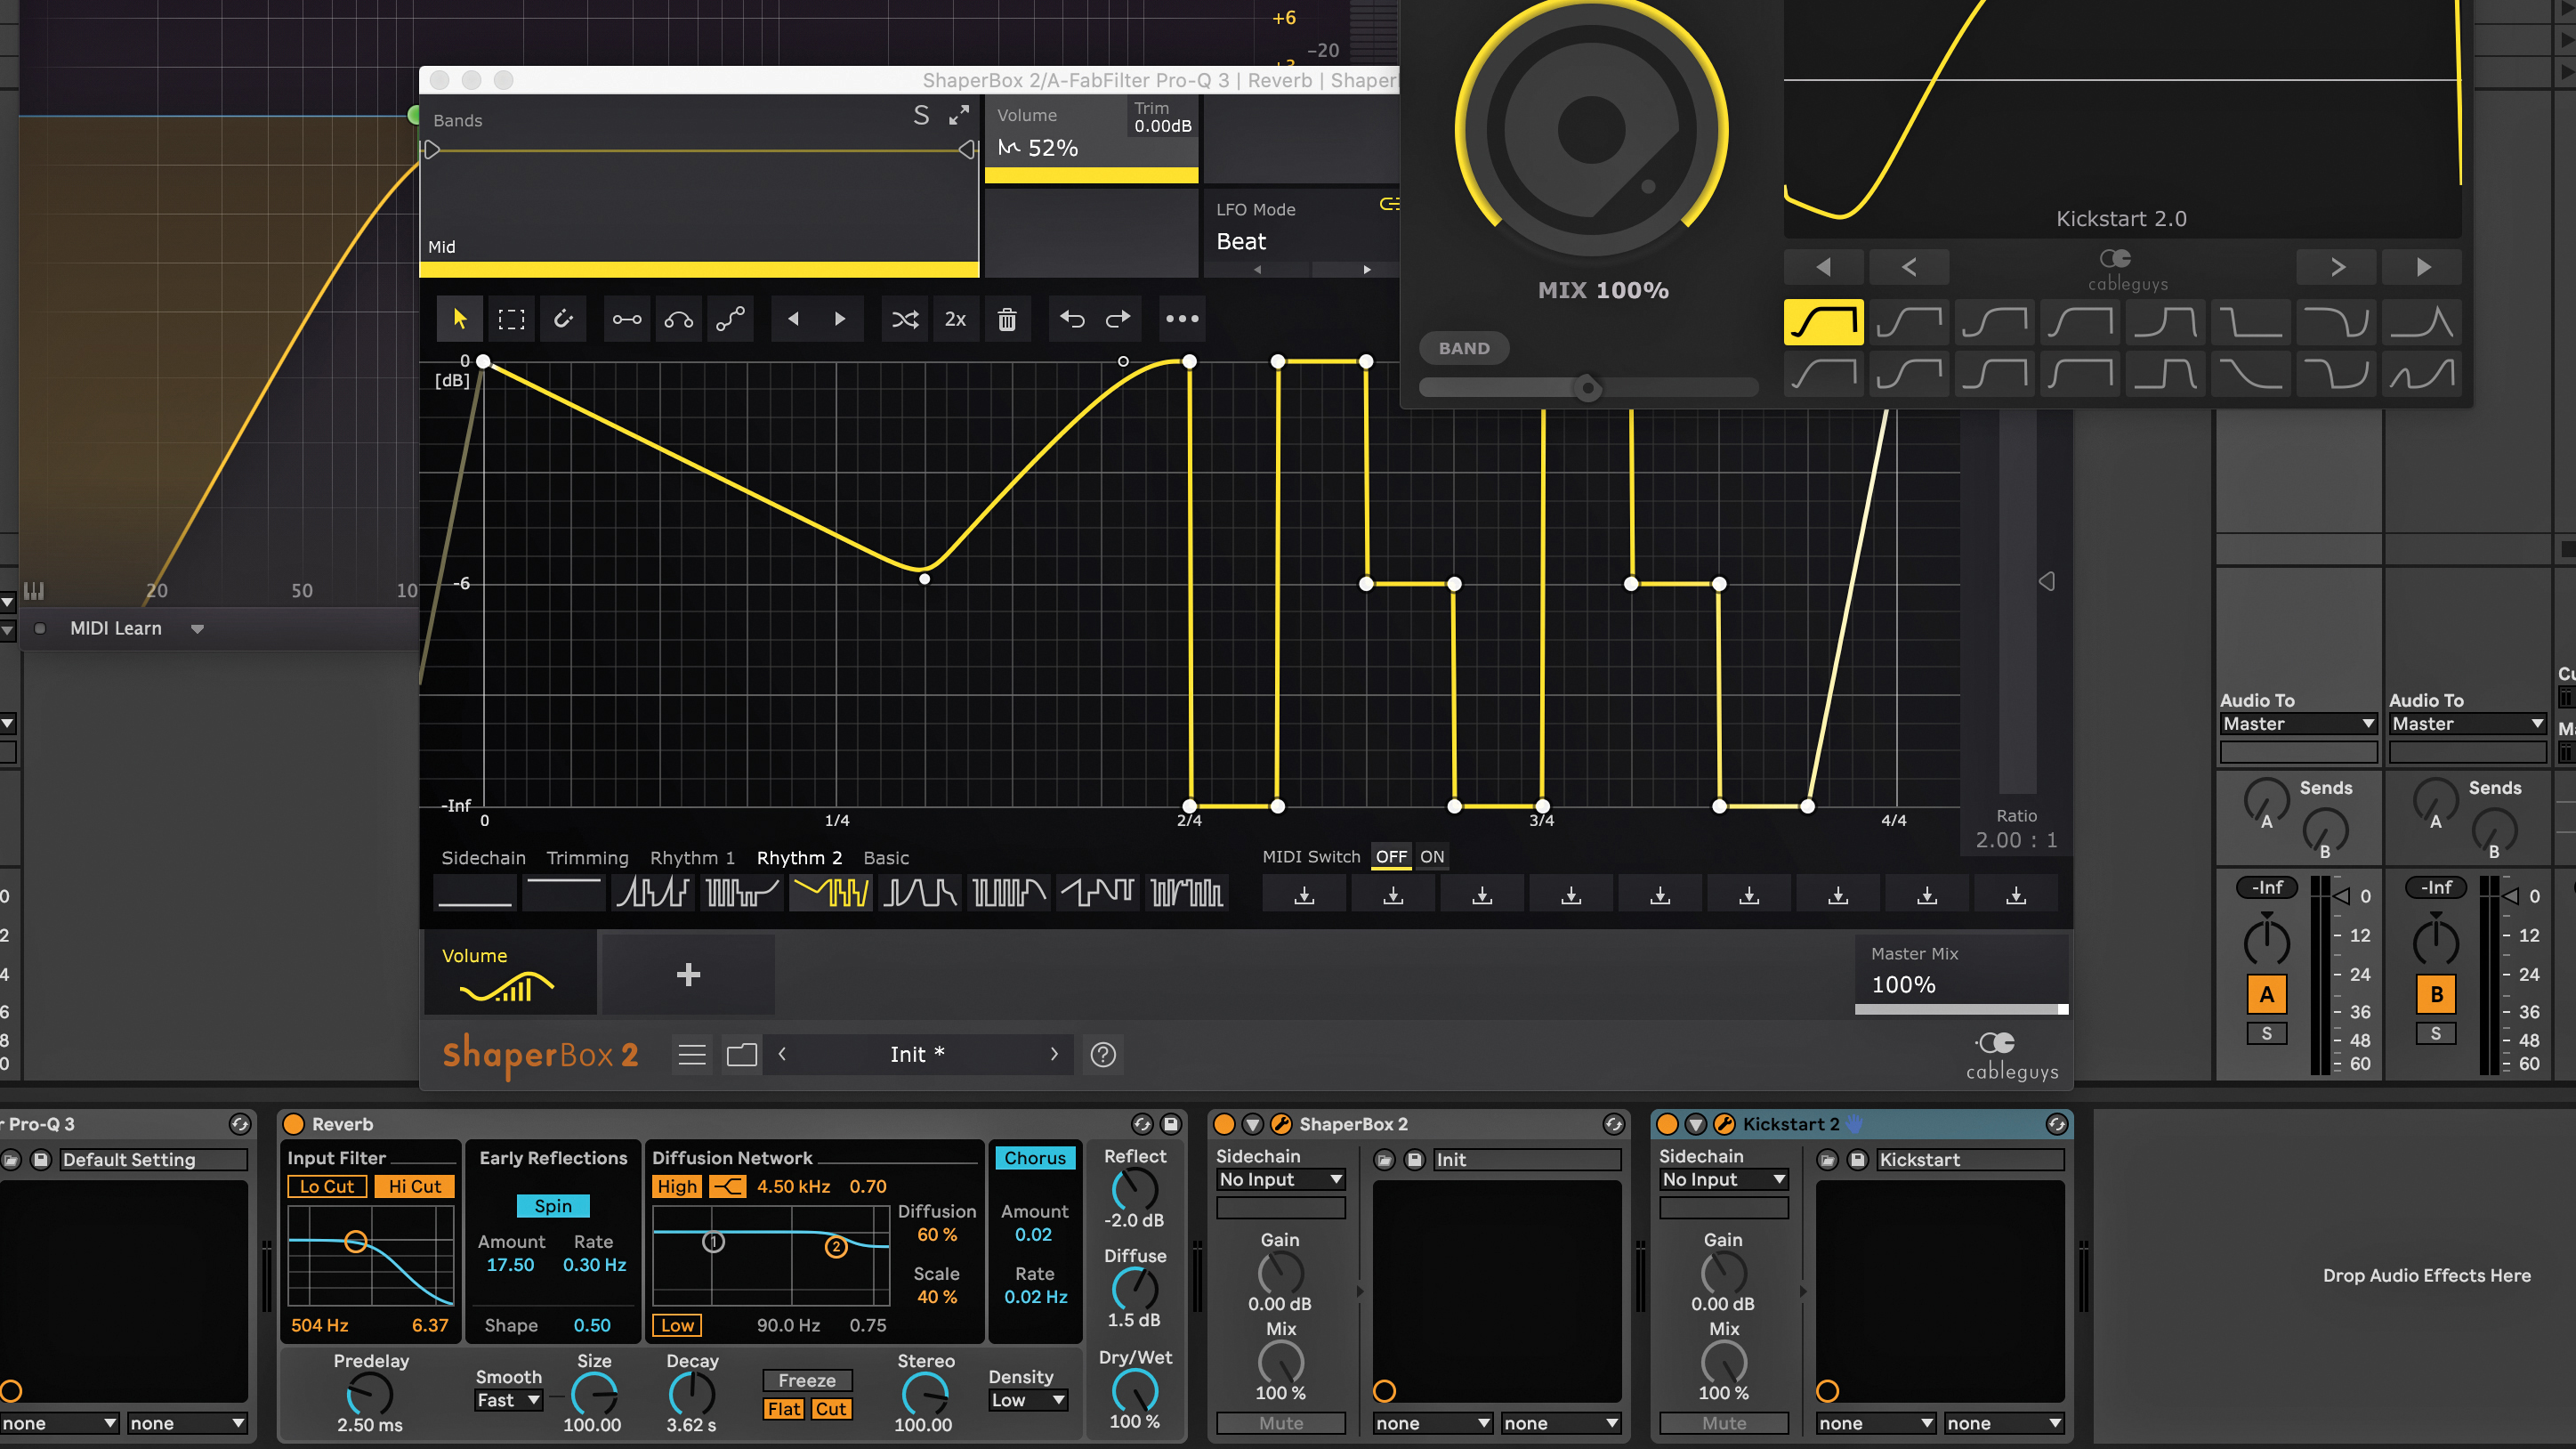
To create an atmosphere with dark reverb, choose a synth loop to work with and add a reverb as an insert on the channel. Adjust decay time to 3.62ms and turn D/W down. To go darker, cut high frequencies by using the high-cut filter on the reverb on frequencies above 400Hz. We used KSHMR Reverb as the reverb plugin, with its Soft Transient function that can diffuse sharp, percussive sounds.
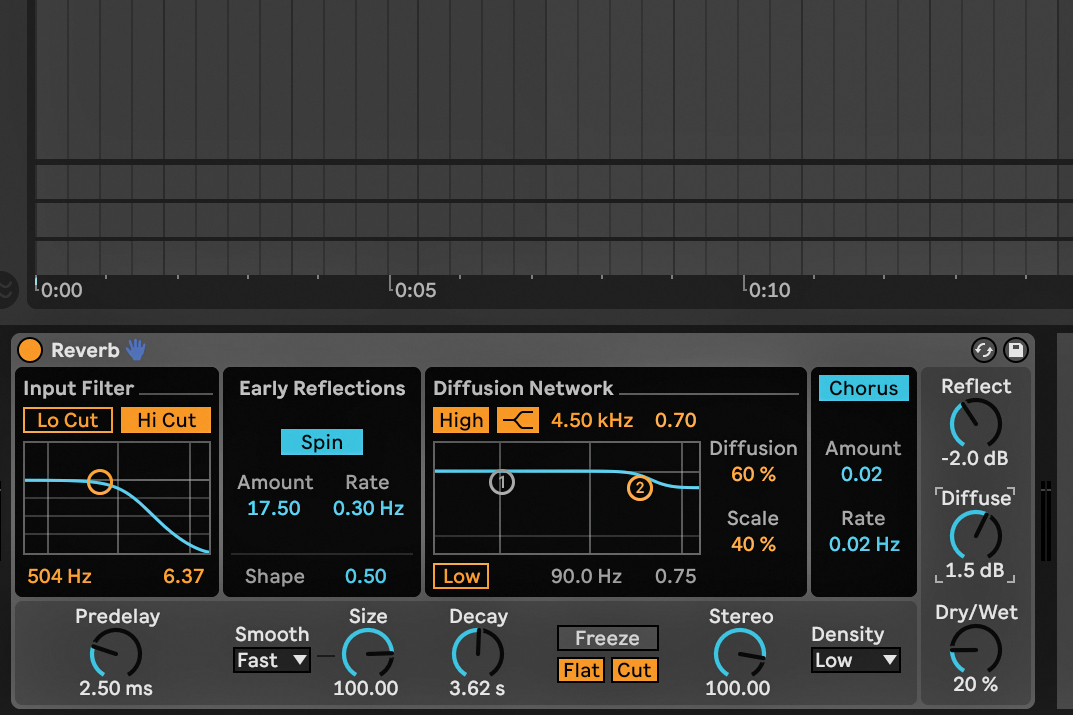
Continue to sculpt the reverb by adjusting early reflections and high diffusion values. Early reflections are the echoes that reach a listener’s ear first. High diffusion values result in more dense echoes, creating a washed out reverb effect. Turn Reflections down by about -2dB, and Diffuse up by 1.5dB. Adjust to both these parameters to taste as the values will depend on your loop’s content.
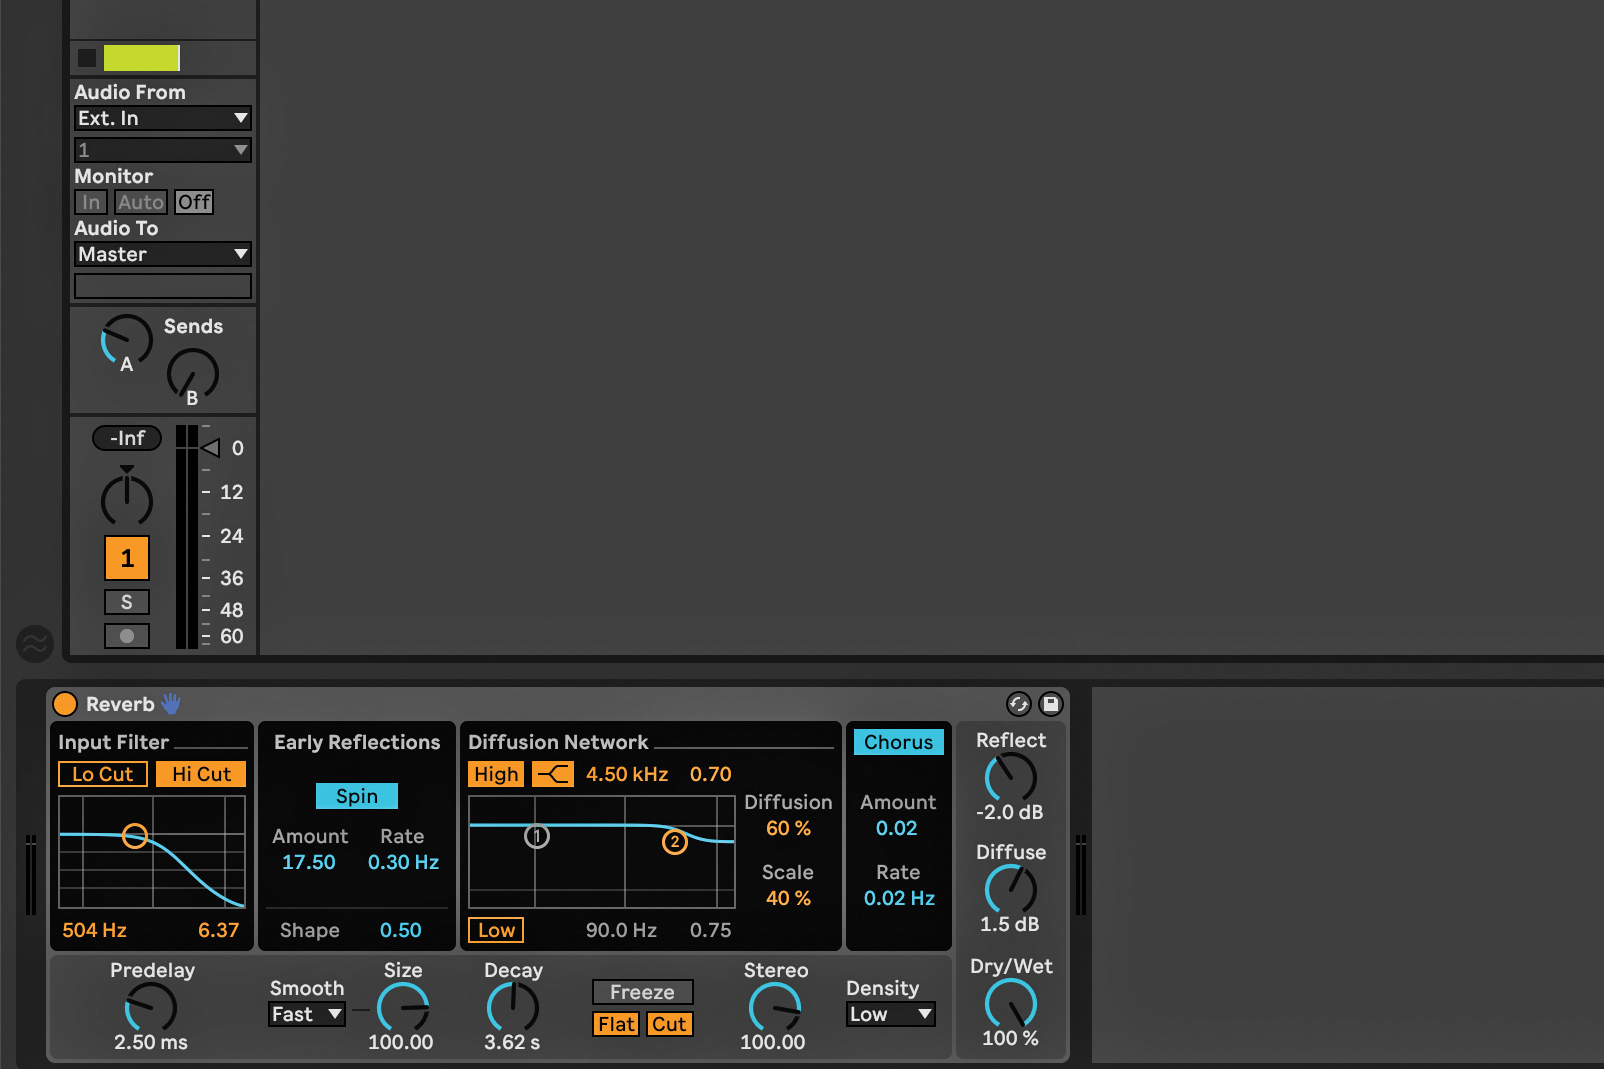
For greater reverb control, try adding it to an auxiliary/return track and sending audio from the synth track to the aux/return track. Create an aux/return track and copy the reverb you created onto it. Set Dry/Wet control on the Reverb to 100% wet. On the synth track, set the Send to the aux track with Reverb to taste, or set Send to 100% and bring the volume fader of the aux/return track down.
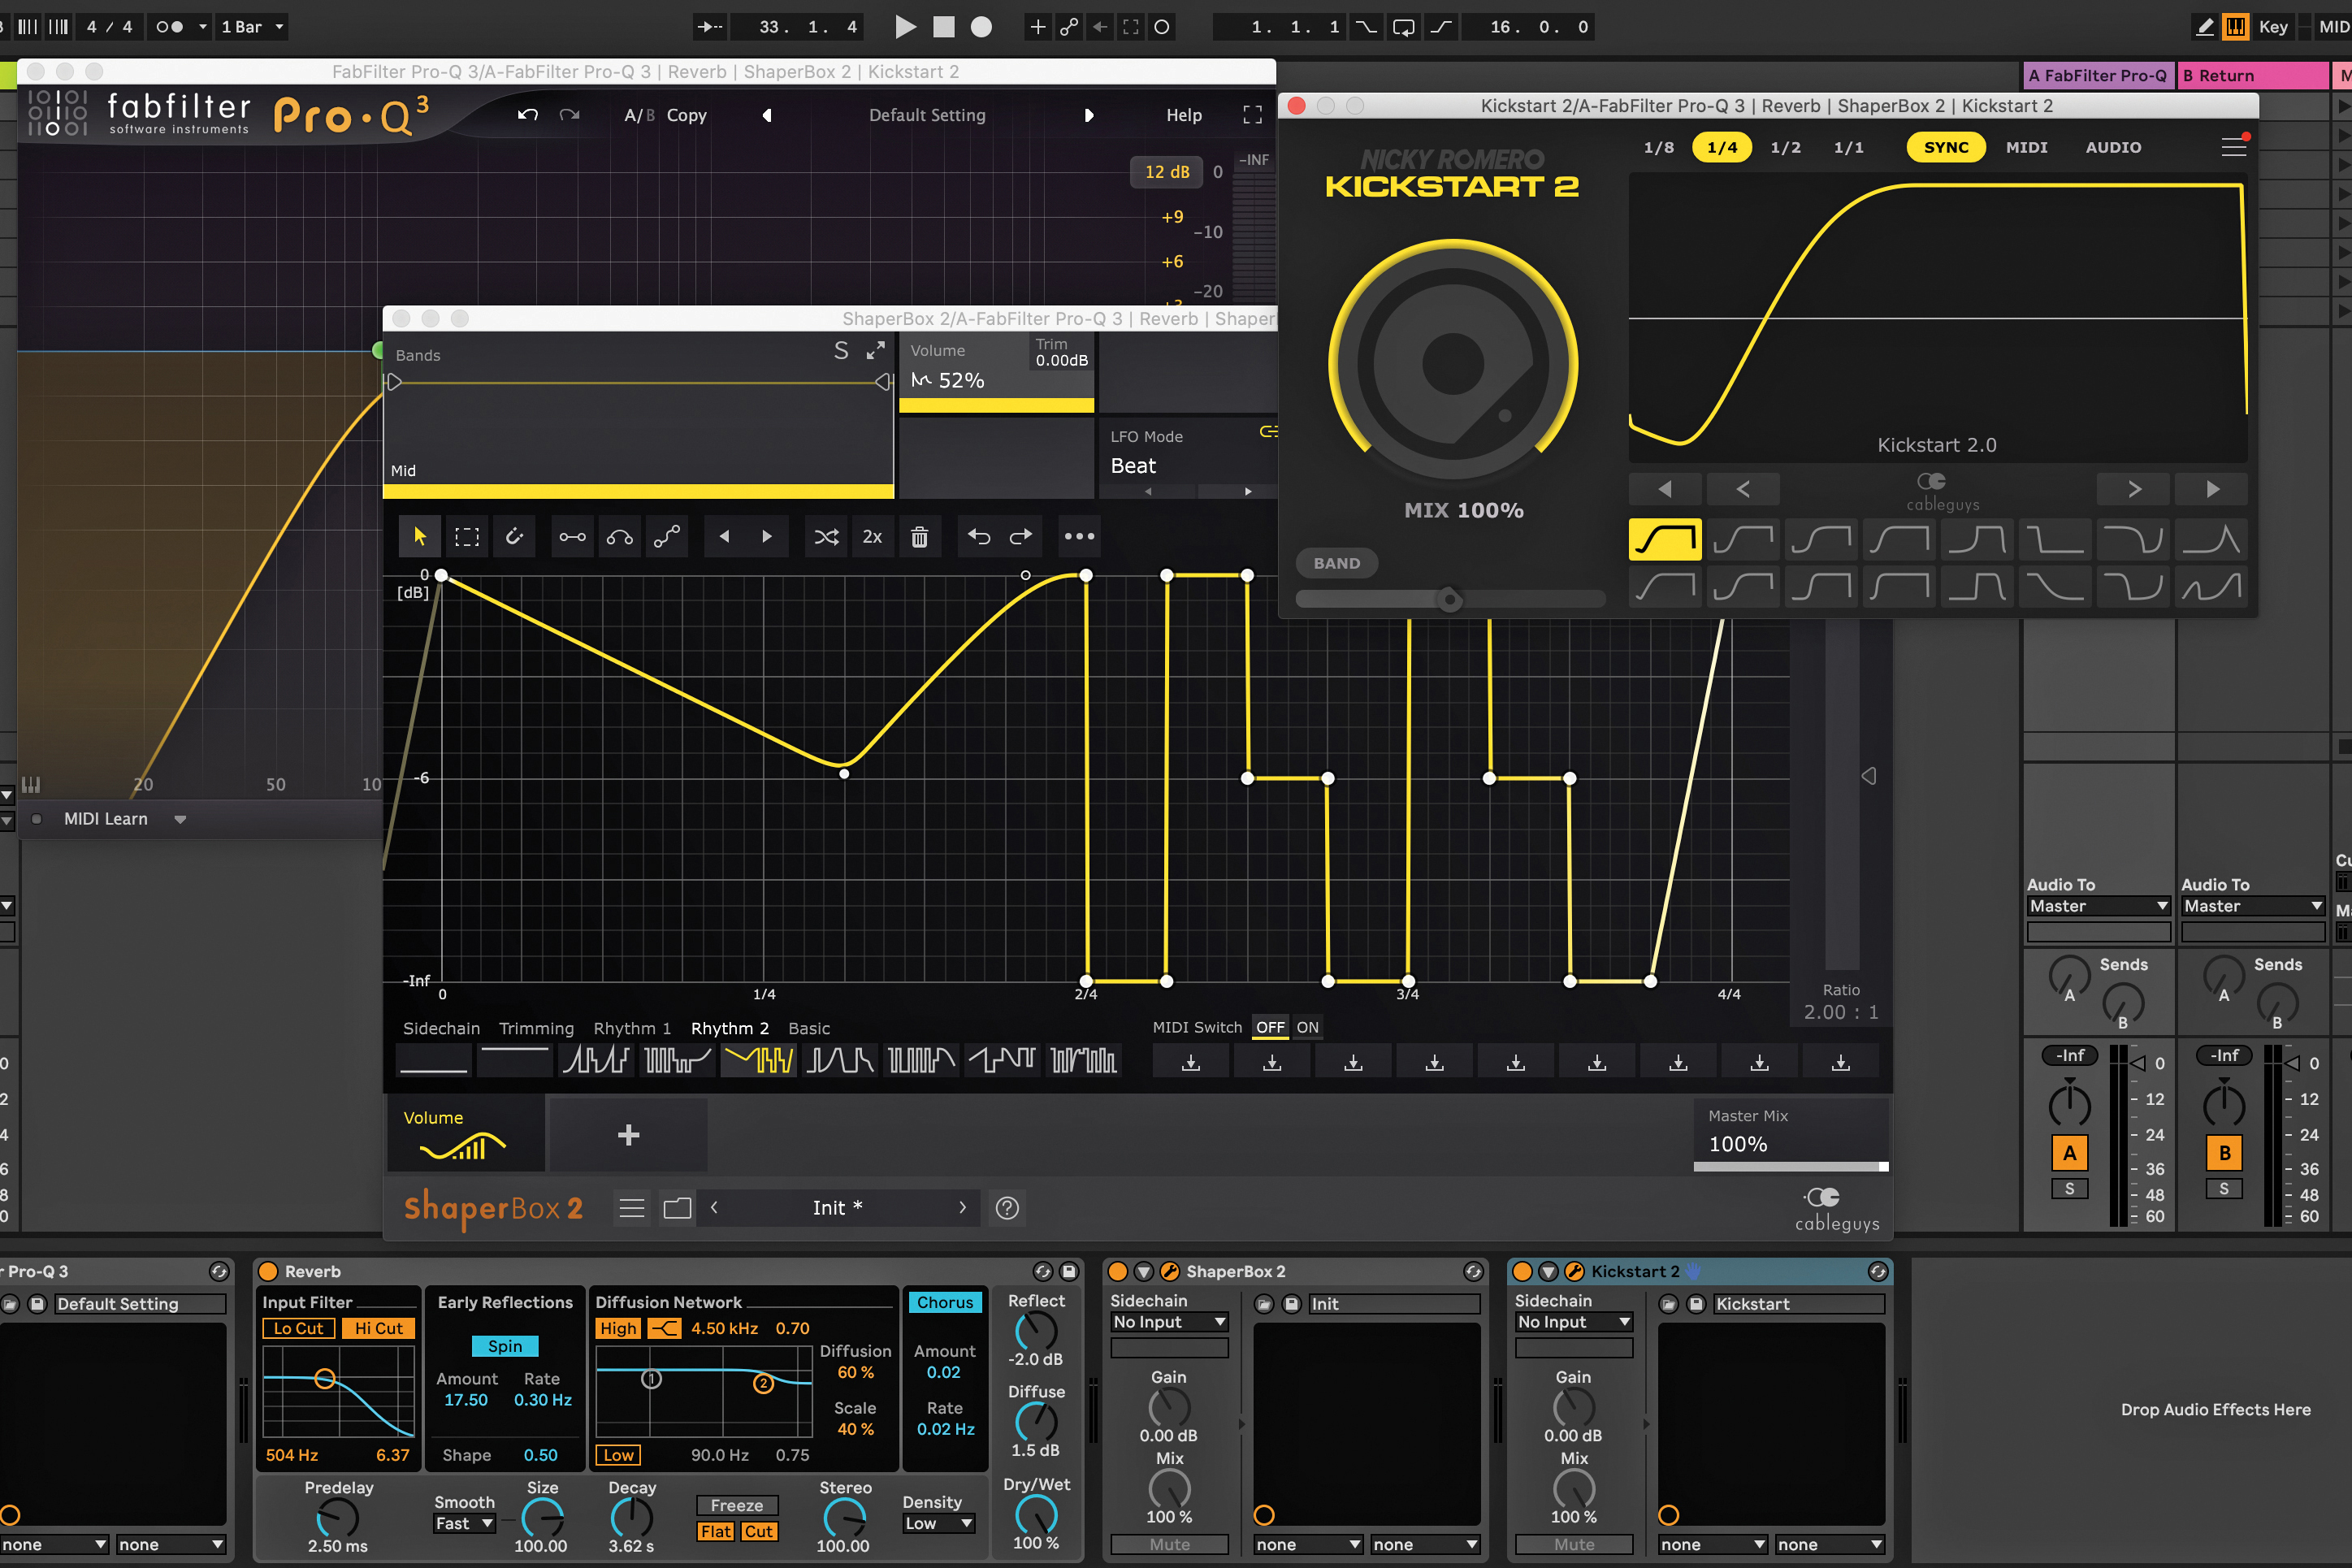
Shape the reverb sound on the aux/return track by adding an EQ before or after the reverb, and using a high and low-pass filter to cut out the low and high frequencies. Add an effect like ShaperBox, to add a groove to the reverb or a compressor to reduce any transients from the synth track. If you used KSHMR Reverb for your reverb, turn up the Soft Transient control knob to lessen sharp transients.