Spring studio workout: 10 ways to get your sound in shape
Frequencies sounding flabby? Dynamics getting you down? Buff up your mixes today!

Intro
Everybody loves a good winter holiday - the fun, the food, the lie-ins… and that’s totally fine, people! Nobody should feel guilty about taking a little valuable R&R time out of their studio program. In fact, many scientific studies conducted amongst our friends and colleagues prove conclusively that taking a little studio break is awesome for your mixdowns! After a few weeks of rest, you’ll feel primed to flex those faders, bench that bass and pump out some productions!
But now spring is here, and it's a time of renewal. So why not make a fresh start and push your skills forward, build on your strengths and learn exciting new techniques?
Our studio workouts offer simple twists on essential mixing moves, scientifically engineered new studio supplements and some heavyweight shortcuts the pros don’t want you to know about!
Seriously, these moves are tried, tested and guaranteed to deliver good results exactly as we describe them, but like any good workout, they can (and should) be tailored to your needs, so once you’ve incorporated them into your regular routine, be sure to mix things up a little and see how they can be tweaked to your own studio wants and needs. Okay, let’s strap on those inserts and get ready to pimp our mixdowns, 2017-style!
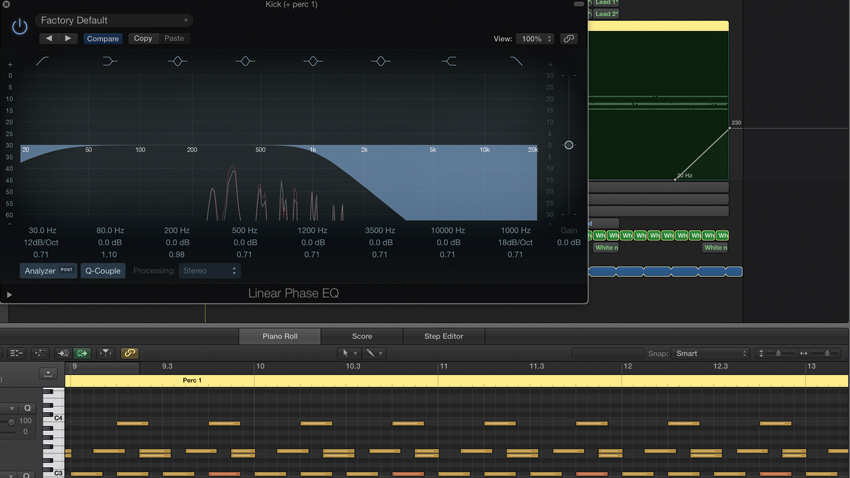
1. Tighten up, top and bottom
The most widely discussed way to guarantee extra mix clarity is to top and tail every channel in your mix with high and low-pass filtering. By chopping the extreme subs and highs that we can’t even hear, your equipment and ears are much better able to distinguish all the elements in between, making the remaining bass punchier and highs clearer.
This tip is a common one - but how do you set up this filtering so you don’t thin out a signal too much? Apply these filters in the context of the other mix elements, of course (ie, not in solo)! As your track plays, move the filter’s cutoff just past the point where it removes too much of the signal, then gradually pull it back until you find the sweet spot where the sound still sounds ‘full’ enough. Also, don’t filter everything to extremes without using your ears - for example, high-passing a hi-hat at 300Hz might ruin its thickness and character, especially if you have a minimal, lo-fi, analogue-sounding mix.

2. Slimming the middle
The majority of mix elements contain some kind of midrange component (200Hz to 6kHz). As all the important elements - kick, drums, upper bass, vocals, chords, synths, etc - sit in the midrange and compete for space, watch out for midrange buildup in the mix.
Treat the midrange like a jigsaw puzzle: decide where to pocket each element, then use filtering, EQ notching/shelving and panning to help parts coexist. Reference your mix on small speakers (like the famous Horrortones or even your phone) to get a quick ’n’ dirty overview of the midrange balance.
3. Check your reflections
Reverb is one of the most essential mix processors for adding space, width and character - but it can easily ruin a mix when applied badly. Here are three tricks to tidy almost any reverb via a send.
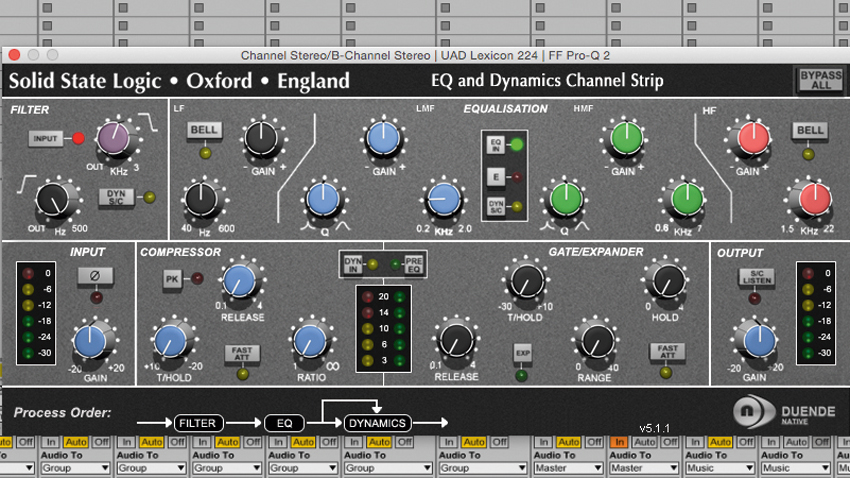
Step 1: Top and tail reverb with high- and low-cut filtering, leaving space for your mix to breathe while retaining the essence of the reverb. The classic ‘Abbey Road’ setting is a great default: cut the reverb signal below 500Hz and above 10kHz. Then, slowly lower the low-pass in the context of the mix, until you hear the best balance of character and clarity.
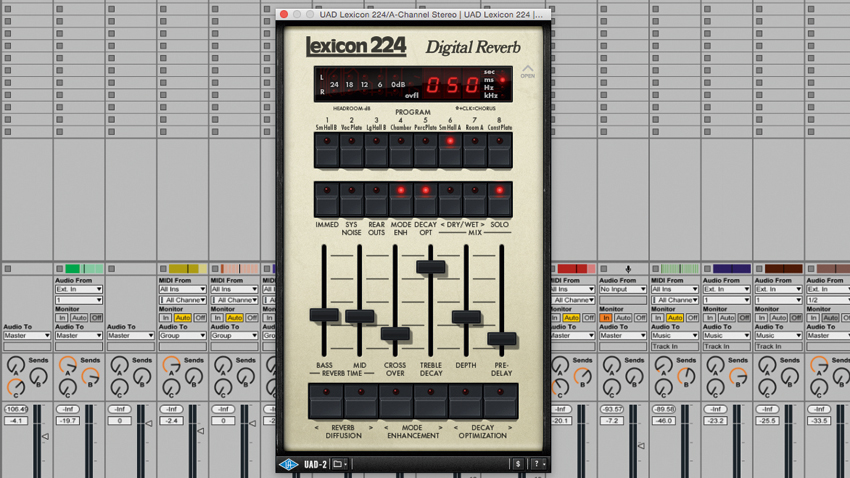
Step 2: For tight reverb that leaves space for transients, either increase the reverb’s pre-delay or add a delay plugin before it on the return channel. Match note values to fit the tempo of the track: 1/64 for tighter verb; 1/32 for bigger vibes. Delay is usually measured in milliseconds, though, so try TempoCalc if you don’t have the maths chops.

Step 3: A great way to accentuate reverb size while preserving punch and clarity is to apply mid/side EQ to the signal. For example, cut the mid channel of your reverb return to clear out mono information, or cut away some of the side information if the reverb disappears when you sum the mix to mono.
4. Get broader the right way
Modern mixes are über-wide, but also clean and punchy. A major key to achieving both is taking charge of stereo effects.
Synth patches have long been programmed with spectacular stereo effects - presets with impressive, OTT width can sell a synth, after all - but most of the time, these wide sounds just end up adding confusion to a mix, especially when you have a number of them playing together. The same goes for many sounds in sample libraries, or samples from other people’s tracks.
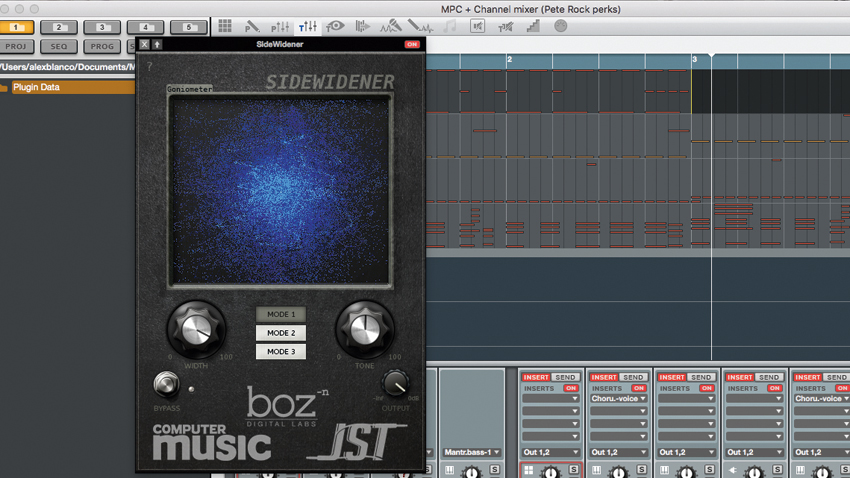
To take control, remove all stereo effects on synth patches and apply a monoising plugin as the first effect in the chain. You can also do this by soloing either the left or right channel, using a plugin such as Ableton Live’s Utility or Computer Music's Dotec-Audio DeeMonitor. This is because summing the left and right channels down to a mono signal can reveal phase issues, reducing vital punch and body. Next, carefully add your own stereo effects, such as chorus, panning, reverb and stereo-widening plugins like Soundtoys MicroShift or CM's SideWidener, building up your mix’s width with precision and accuracy.
5, A bulge that can really impress
Is the low-end of your kick sounding too thin? Perhaps your main hi-hat element is overly tinny and harsh? Or maybe the high- and low-pass filtering from our first tip is leaving your mix sounding a bit…well, ‘meh’.
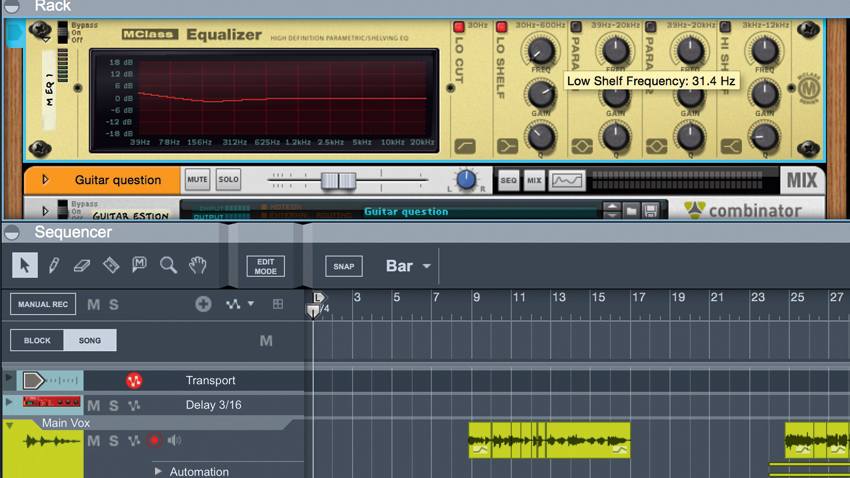
The solution? Re-focus the extreme highs and lows of a sound by adding a resonant bump at the filter cutoff point! This puts back a little ‘oomph’ at this frequency area. Simple!
6. Automate to accentuate
In sparser sections of your arrangement, many of the remaining elements can sound louder than they do in the busier sections. This can mean that, when everything kicks back in for the all-important drop, those elements will suddenly sound quieter, which can actually lessen the impact of a big arrangement change - even though the overall level has gone up!
It’s a useful habit, therefore, to use automation to reduce the level of some mix elements in sparser sections of your track. This often applies to musical elements like guitar or piano, but use your judgement.
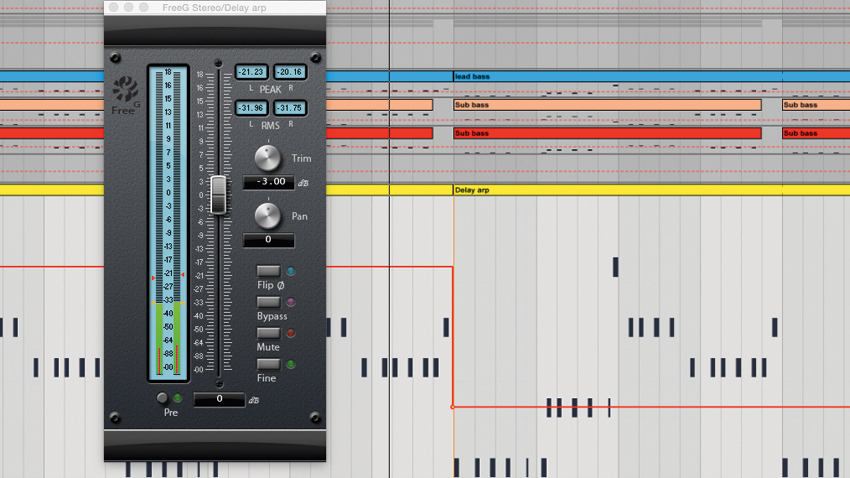
Apply your level automation using a gain plugin to reduce channel levels (1-3dB is usually plenty), then bypass them via automation during busier sections - it’s often more convenient than using channel volume automation, leaving your faders free for overall adjustments.
7. Any takers for shapers?
Today’s mixes are big, busy and punchy as hell - so be prepared to supplement your mix with transient shaping techniques!
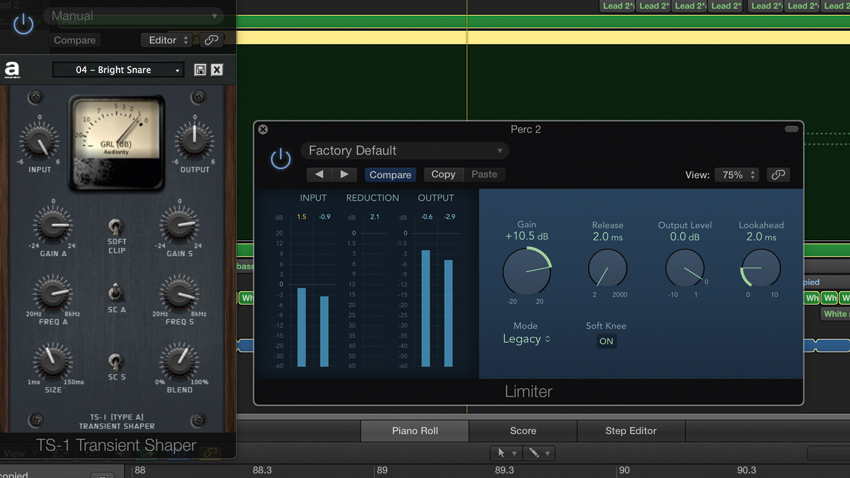
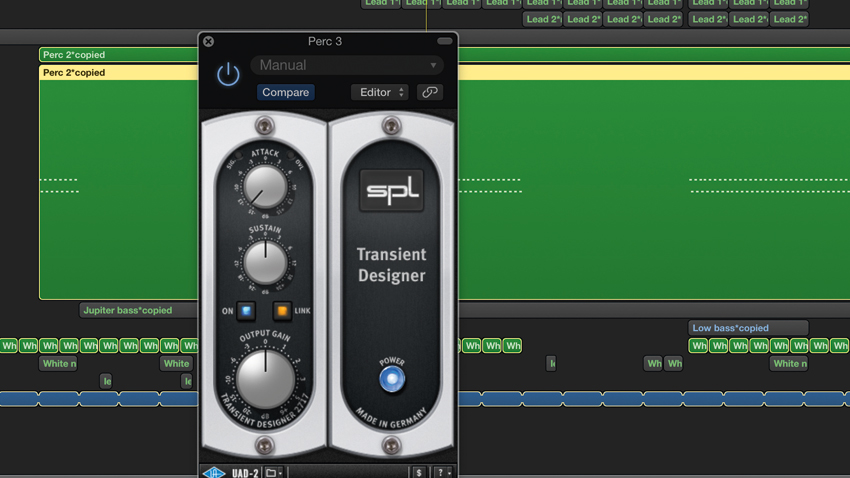
Step 1: If your drum transients aren’t cutting through, try a transient shaper to enhance the attack, then apply strong limiting after. By forcing the transient into the limiter, you can create punch and power that doesn’t mess with the sound’s headroom.
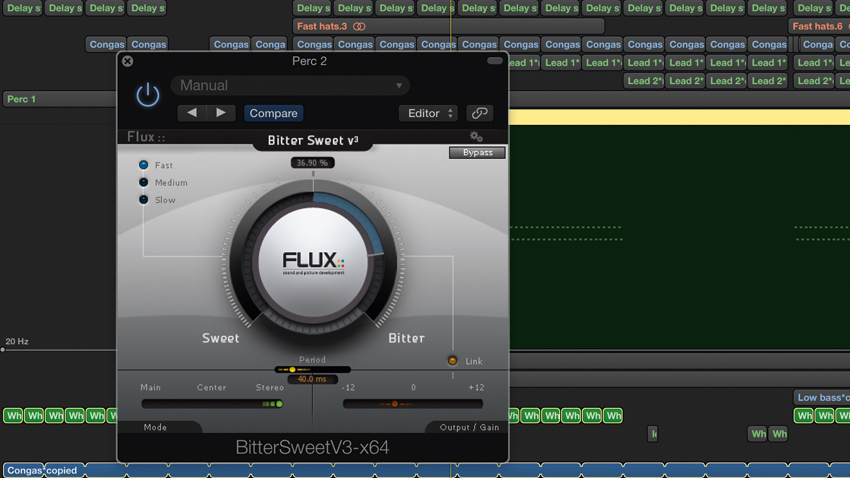
Step 2: On stereo channels and groups, use Flux’s free, mid/side-capable BitterSweet 3 - first to pick out and reduce transients in the side signal; then, using another instance, to target and accentuate the transients in the mid. This enhances mono punch and stereo separation.

Step 3: If you want key elements such as kicks and snares to punch through cleanly, it can help to move other sharp transients out of the way for them. Try attenuating other elements with sharp transients that occur at the same time, using level automation, sidechain ducking or a volume-shaping plugin.
8. Join a group
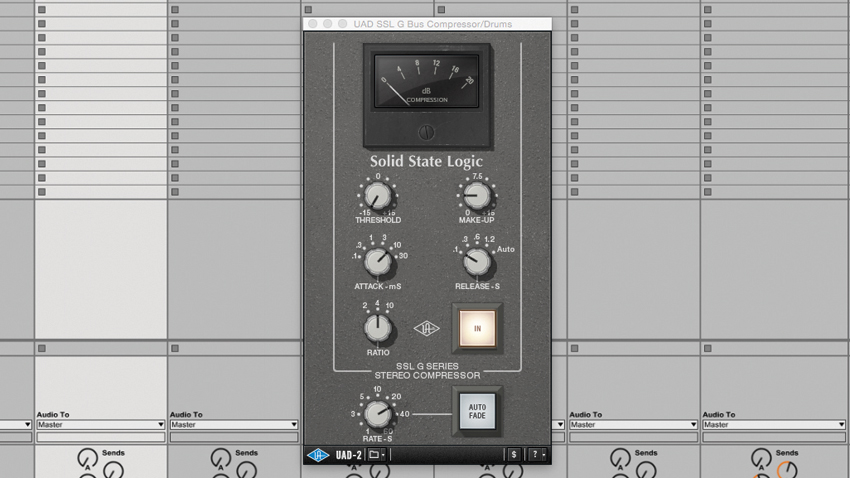
Compressing multiple channels as one can add mix space and coherence. There are several ways to group signals for easy mixing and compression.
One tactic is to group parts according to frequency (bass, low-mid, high-mid and treble); another, more popular method is to group channels according to type (lead vocals, backing vocals, drums etc). This allows similar elements to gel and move together, rather than having a messy mix full of sounds. Apply subtle compression to each group – a good starting point is a 4:1 ratio with medium attack and release, with the threshold set for 1-2dB of reduction.
9. Be like your gym heroes
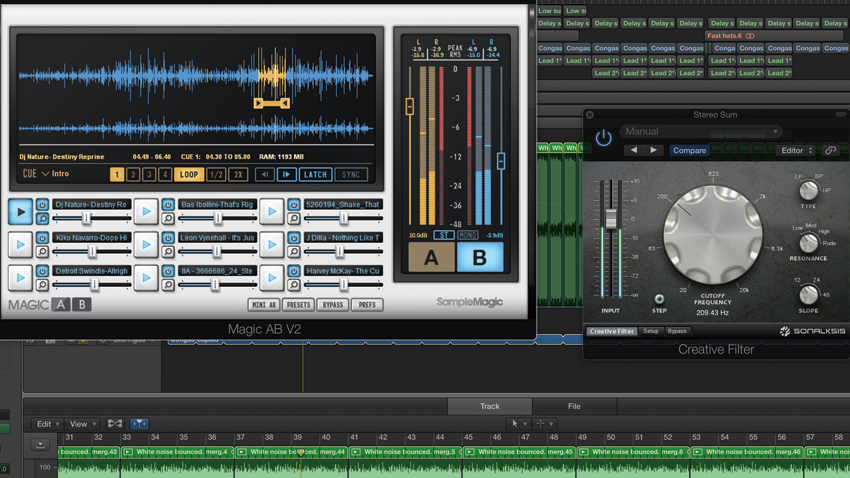
We all know how important it is to compare our mixes to professional releases, right? We can take referencing to the next level using Sample Magic’s Magic AB 2 plugin.
First, apply a 12dB low-pass filter set to 300Hz after Magic AB 2. Next, assign separate keyboard or MIDI control buttons to the filter bypass and the A/B toggle button in Magic AB 2. Now use these two simple button presses to flick back and forth between your mix and the reference track, and to engage the low-pass filter - ideal for comparing the bass end of your track to the reference, as well as the entire frequency range.
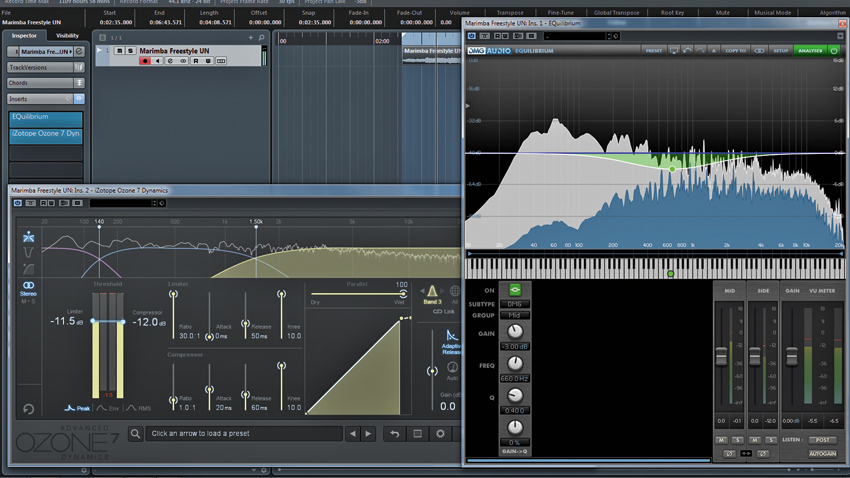
10. Sculpt the sides
Today’s radio mixes have tremendous punch and incredible stereo width, while retaining crystal-clear separation throughout - so here’s a nifty mid/side processing trick to achieve this across your groups and/or master bus.
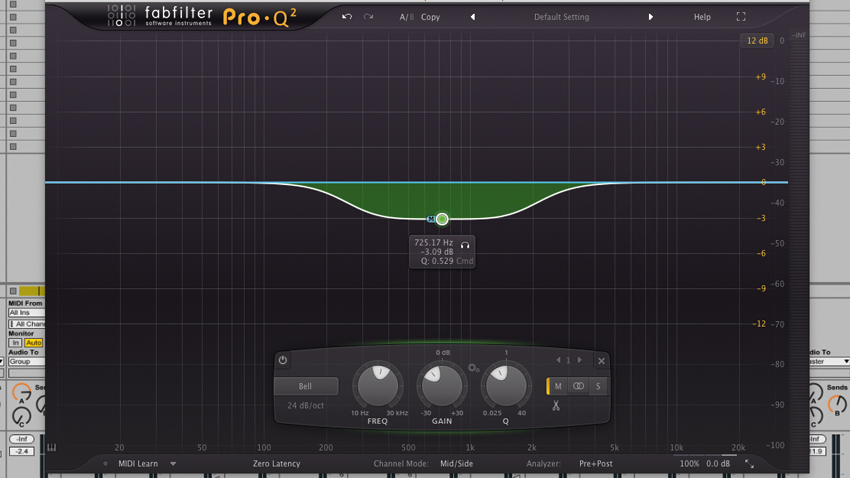
To begin, add a mid/side EQ and cut roughly -3dB from the mid signal at around 500-750Hz. Following that, insert a multiband M/S limiter (or compressor capable of 20:1 ratio). On the mid signal, create a band starting at 1.5kHz and upwards, then apply around 1.5dB of gain reduction to put the punch back in.
This is very much an ‘icing on the cake’ effect, so only add it when the rest of your mix is working well. And if you’ve used this on the master but are having somebody else master your track, be sure to supply them with two versions: one with and one without the master effect.

Computer Music magazine is the world’s best selling publication dedicated solely to making great music with your Mac or PC computer. Each issue it brings its lucky readers the best in cutting-edge tutorials, need-to-know, expert software reviews and even all the tools you actually need to make great music today, courtesy of our legendary CM Plugin Suite.


