Shimming a guitar neck in 12 easy steps
Dodgy neck angle? A properly made and fitted tapered shim will set it right for good
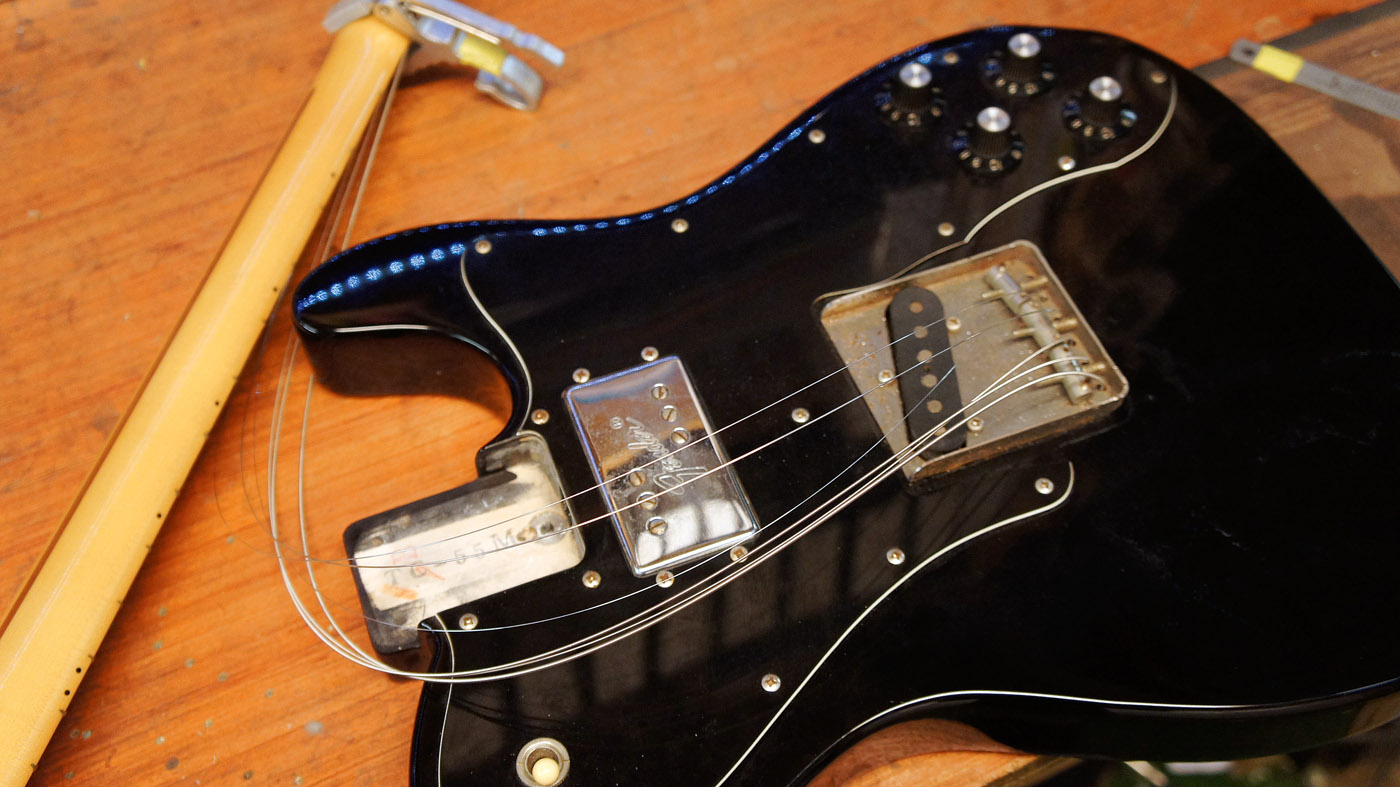
The angle between the neck and body of a guitar sets the plane for the bridge saddle’s height, so is an absolutely critical part of your instrument's setup. Having a bolt-on neck offers a great chance to change this angle with relative ease by fitting a shim.
A shim is the name of a simple, miniature, wedge-shaped piece of material to be sandwiched in between the neck heel and the bottom of the neck pocket. In this tutorial, we’ll show you how to make a nice solid maple wedge, which is tapered at the right angle.
But why taper it and not fold some card over? Well, it’s pretty common to see all sorts of bad shim materials and shapes in a pocket, but these will all introduce an air gap, which is terrible for sustain! That’s before we’ve even considered that a non-full surface shim will warp the heel-end of the frets, so even if you’ve had a fret dress, your fretboard can become uneven!
Read on to learn how to avoid such pitfalls...
What you need
- 0.5mm thick hardwood maple veneer
- Bench belt sander (or a belt sander mounted in a vice)
- Flat scrap of wood
- Paper hole punch
- Parcel tape PH2 screwdriver
- Scissors
- Sharp pencil
- Marker pen that matches the body paint job
- Set of calipers (optional)
- Setup tools: Fresh strings, Tuner, String winder, String cutters, Truss rod allen key, Short ruler, Radius gauges, Feeler gauge, Saddle grub screw allen keys
Step 1
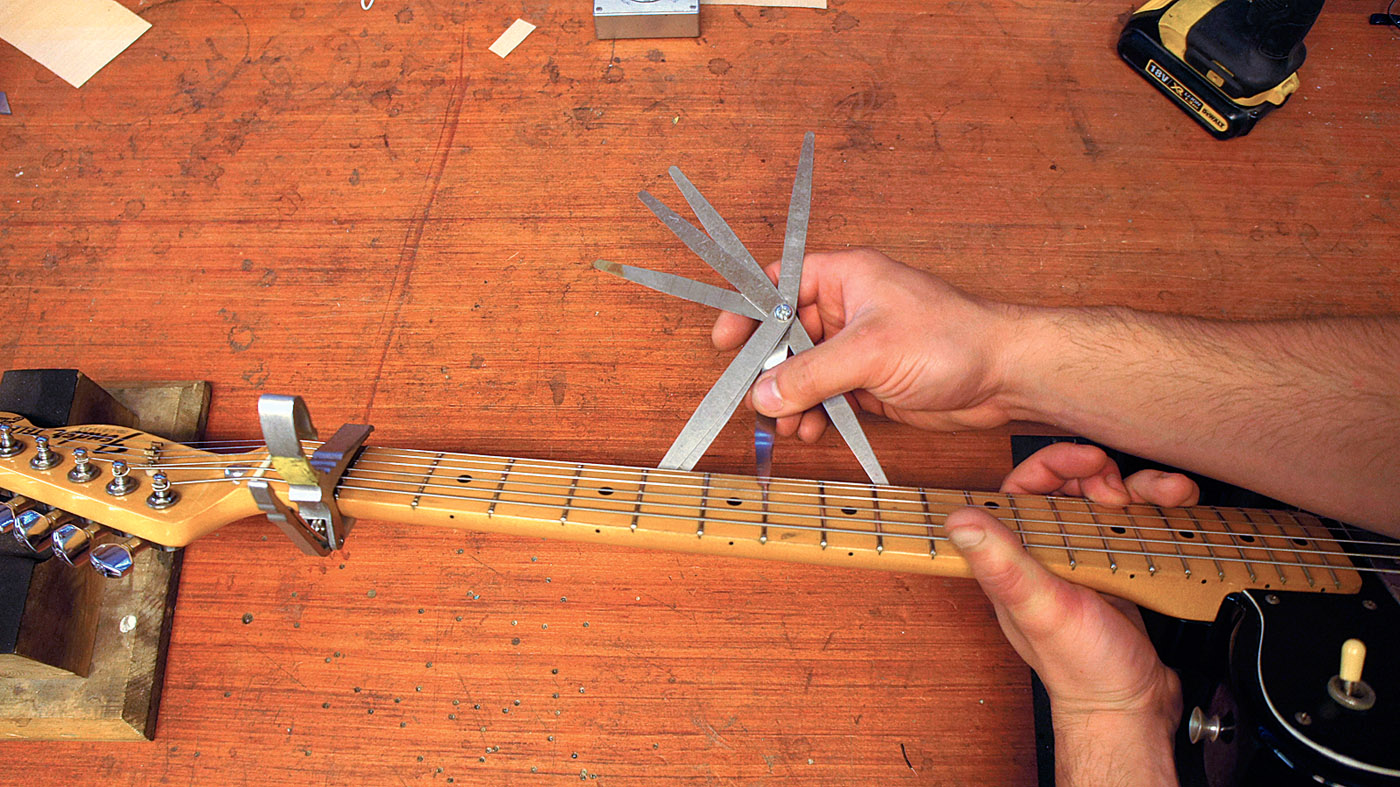
Let’s establish if we need a neck shim first! There are a lot of shims we see that are installed erroneously when they needn’t even be there. Follow the setup procedure with a capo on the 1st and fretting at the 15th fret.
When tuned up you should have a clearance around .007" with your feeler gauge. Adjust the truss rod accordingly.
Step 2
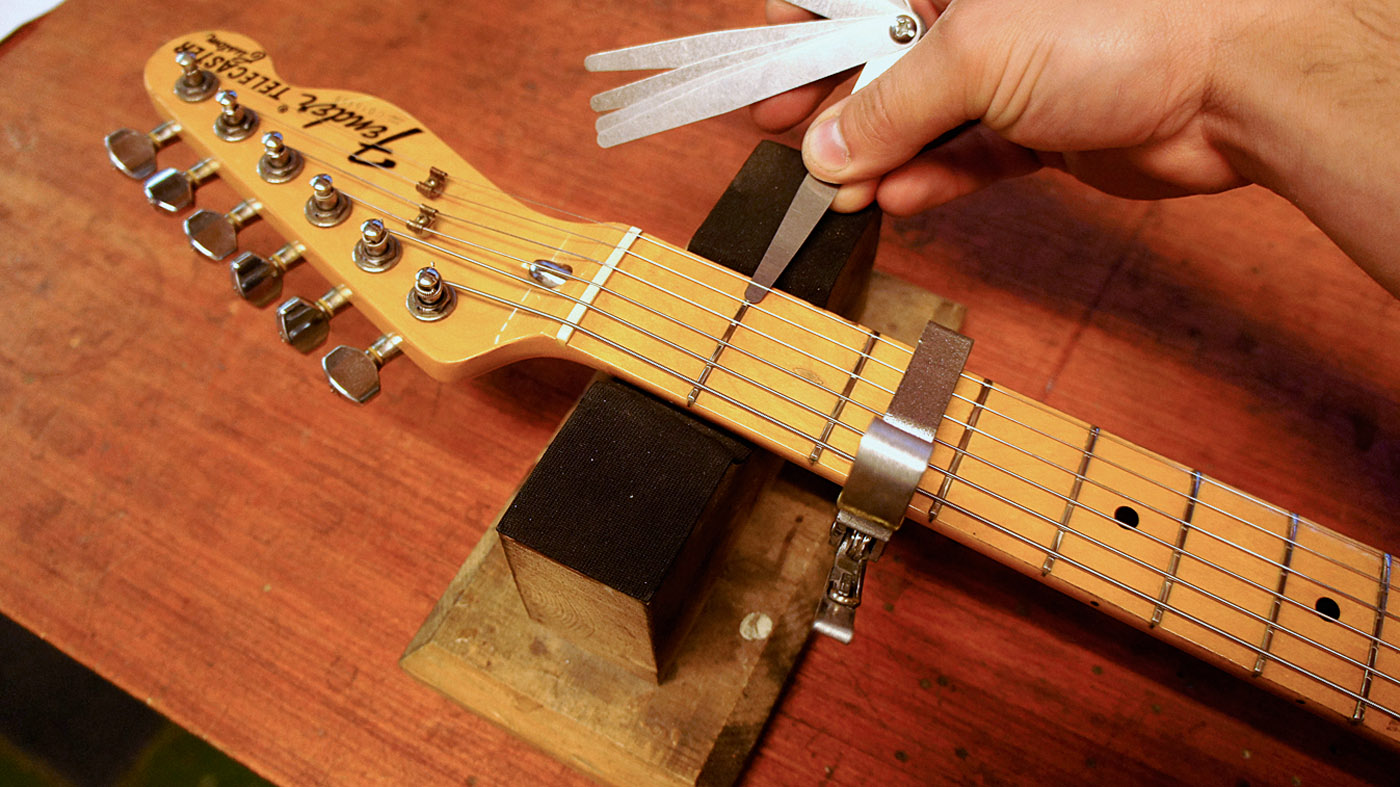
With the truss rod setting approved, let’s check the nut: stick a capo on the 3rd fret and test the clearance over the 1st fret with a feeler gauge for each string.
Get the MusicRadar Newsletter
Want all the hottest music and gear news, reviews, deals, features and more, direct to your inbox? Sign up here.
You should be getting a clearance of .004" and marginally more on the bass side. As this is crucial we’d recommend taking your guitar to a pro to get the nut cut correctly.
Step 3
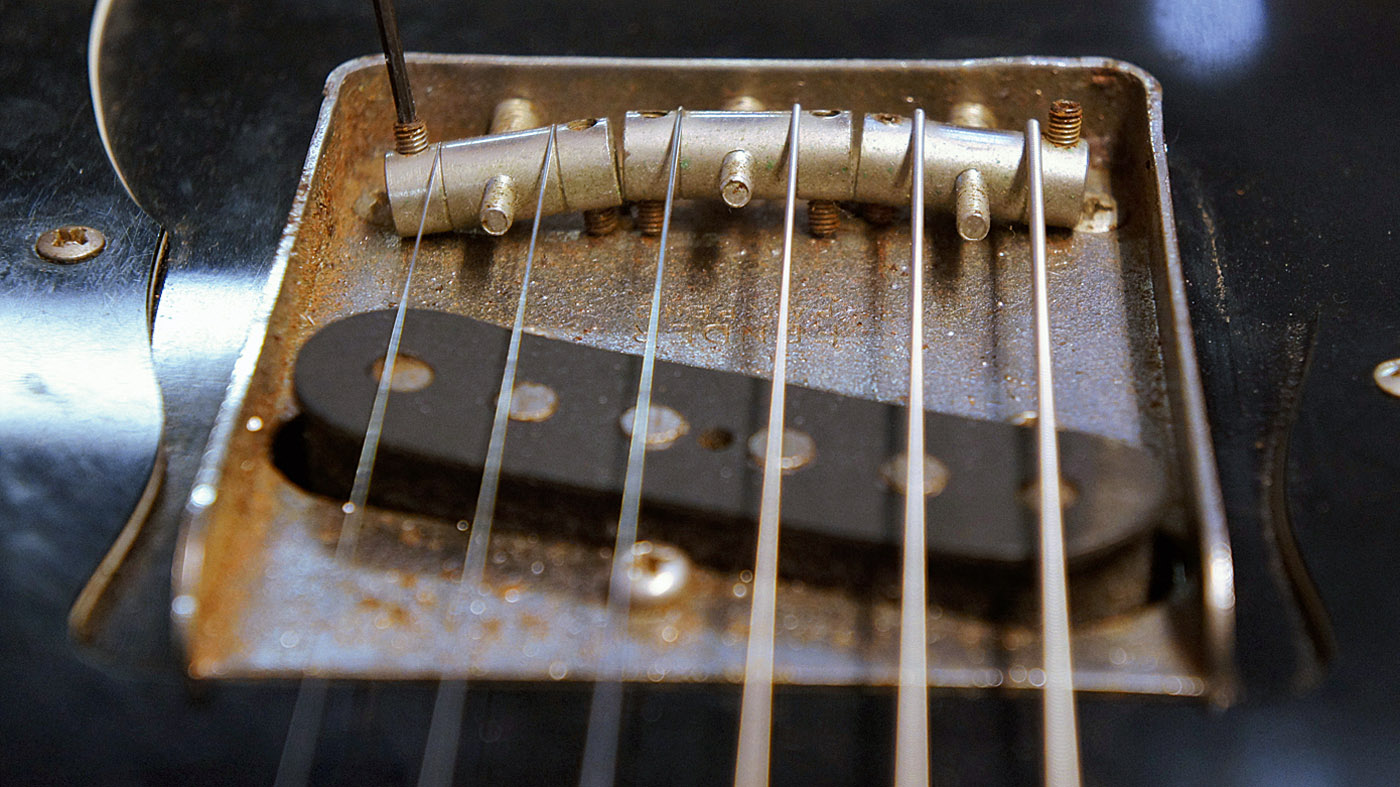
Our Telecaster Custom here is not happy. With the truss rod and nut settings correct we cannot lower the saddle low enough to get a nice action at the 12th fret – it will need a neck pocket shim.
The other issue may be that you cannot raise the saddle high enough to stop it buzzing - you’ll need a reverse shim in that case.
Step 4
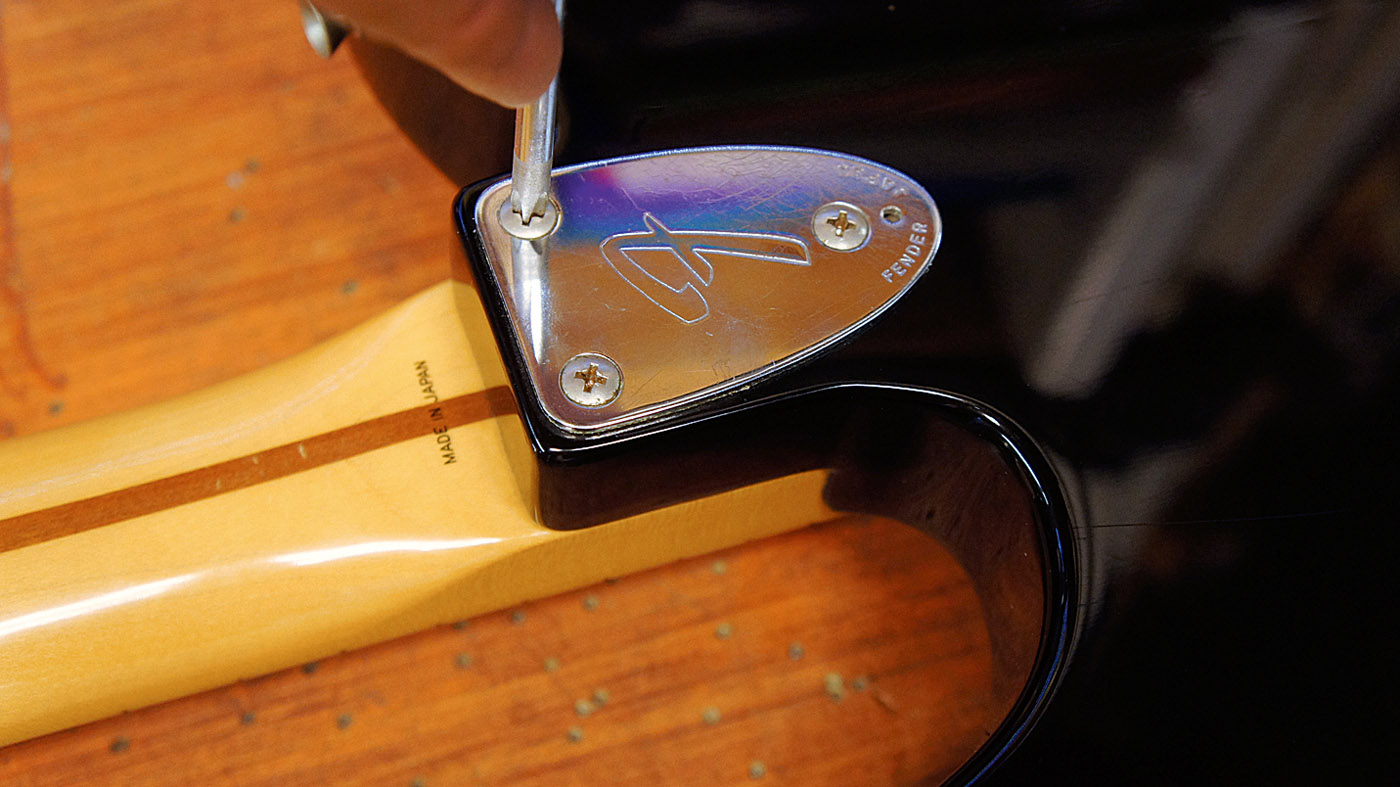
Action at the 12th fret should be 2mm on the sixth string and 1.5mm on the first string as an average. Decide whether you need a shim.
To begin with, the neck pocket will have to be removed - de-tune your strings to be slack and pop a capo over the nut. Loosen the large neck screws on the rear with a PH2 screwdriver.
Step 5
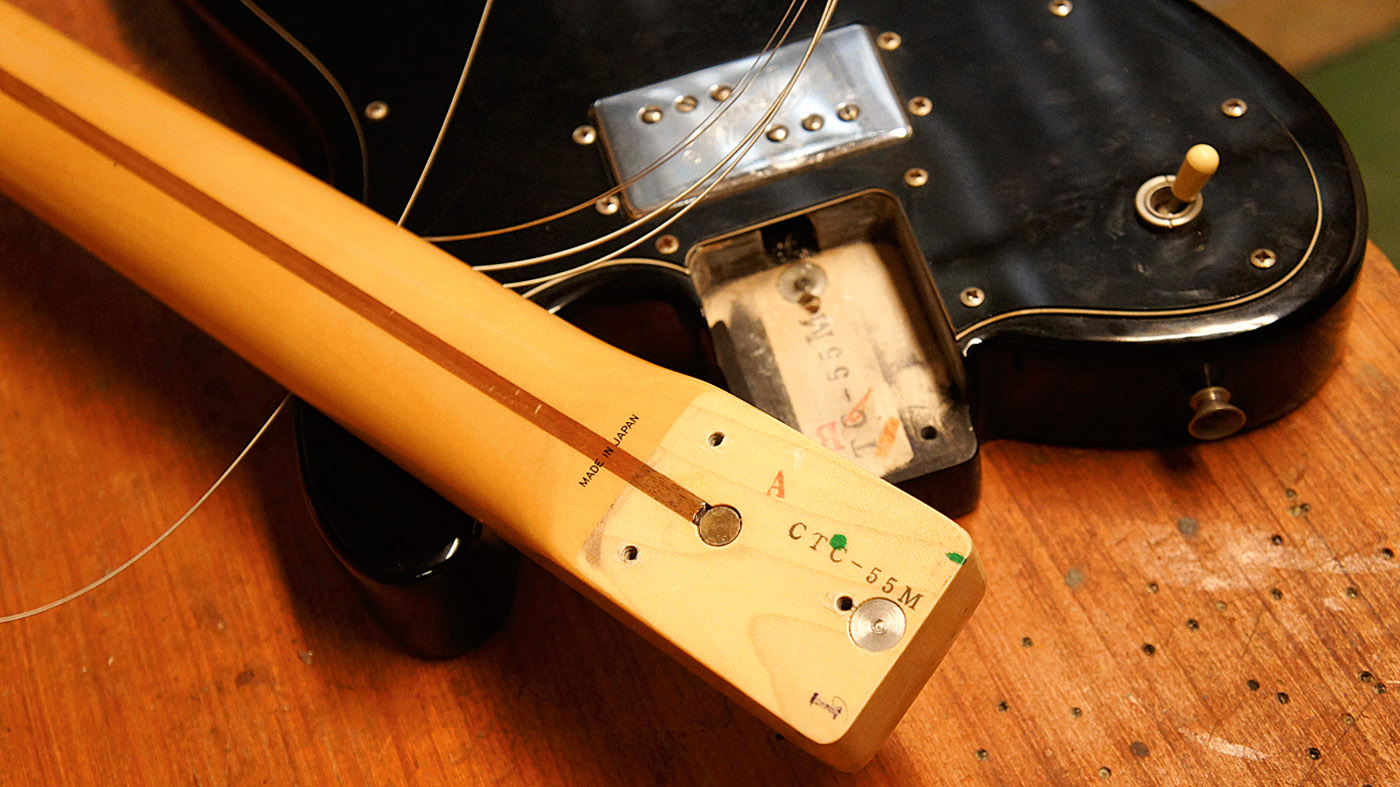
Did you find anything strange in there? Sometimes factories will use a card, sandpaper or plastic to set the neck angle. If you have one try removing it and see what difference it makes strung up - you may not need it. If the shim is at the bridge side of the pocket this will tilt the neck towards the player.
Step 6
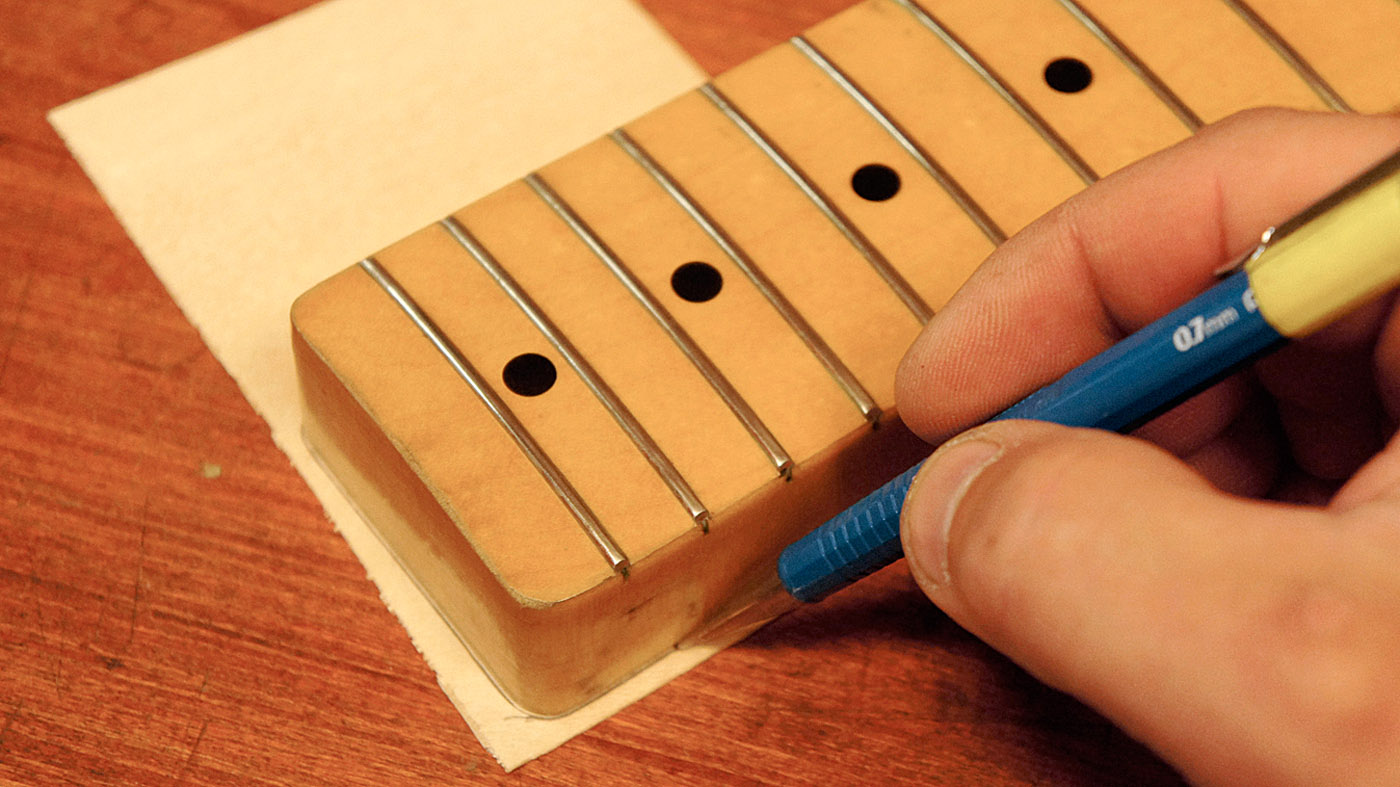
We need a shim badly here! Our saddles are way out of whack and couldn’t go low enough. A .05mm thick piece of maple hardwood veneer will be our shim.
Don’t be tempted to use a thicker one - a small change here makes a huge difference at the bridge. We’re drawing around the heel of the neck in pencil to get the shape required.
Step 7
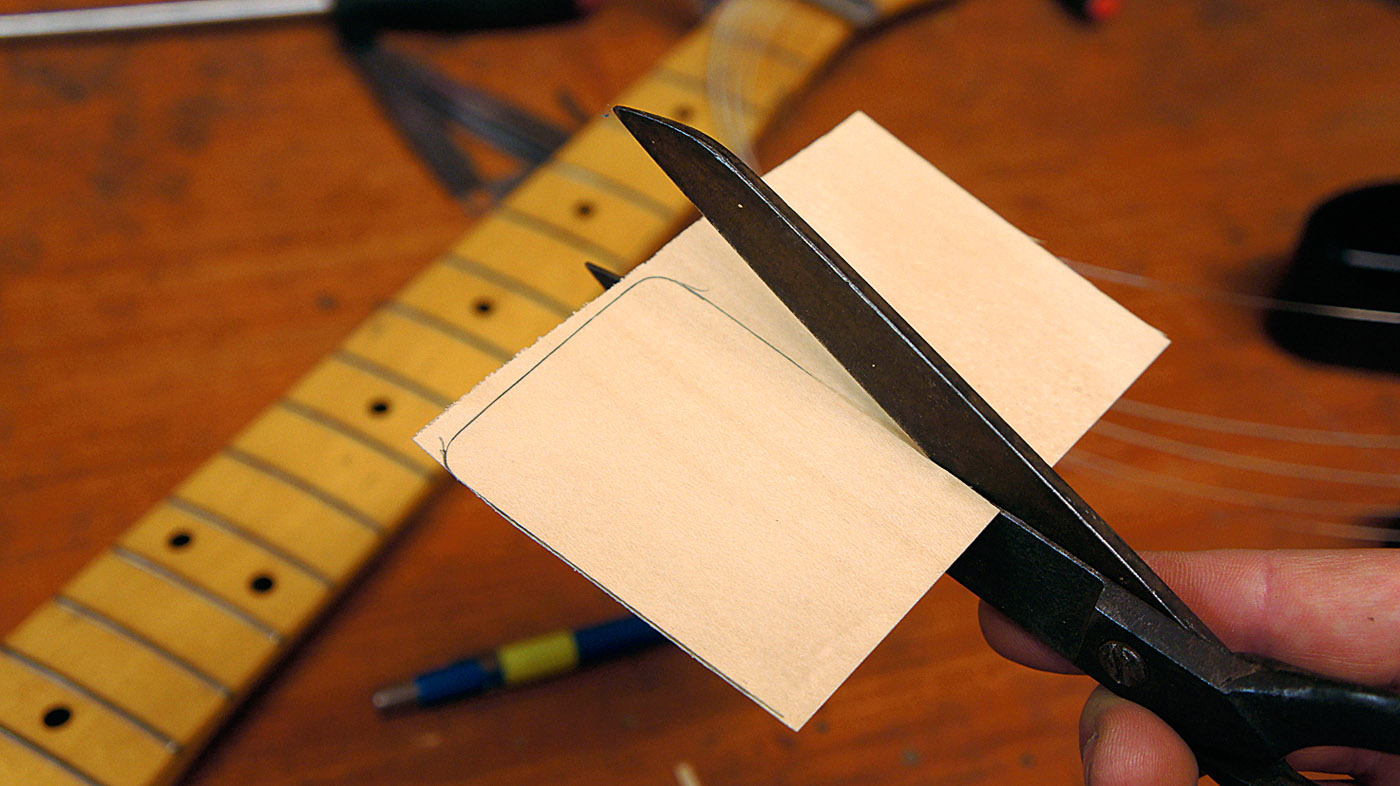
Cut around your maple shim-to-be with scissors. You should have the grain lengthways for strength.
Be aware that the scissors may try to steer you with the grain. In this example we’re going to have the taller side of the shim at the heel (thinned side of the shim at the other side). Test fit it to check it will fit in the pocket.
Step 8
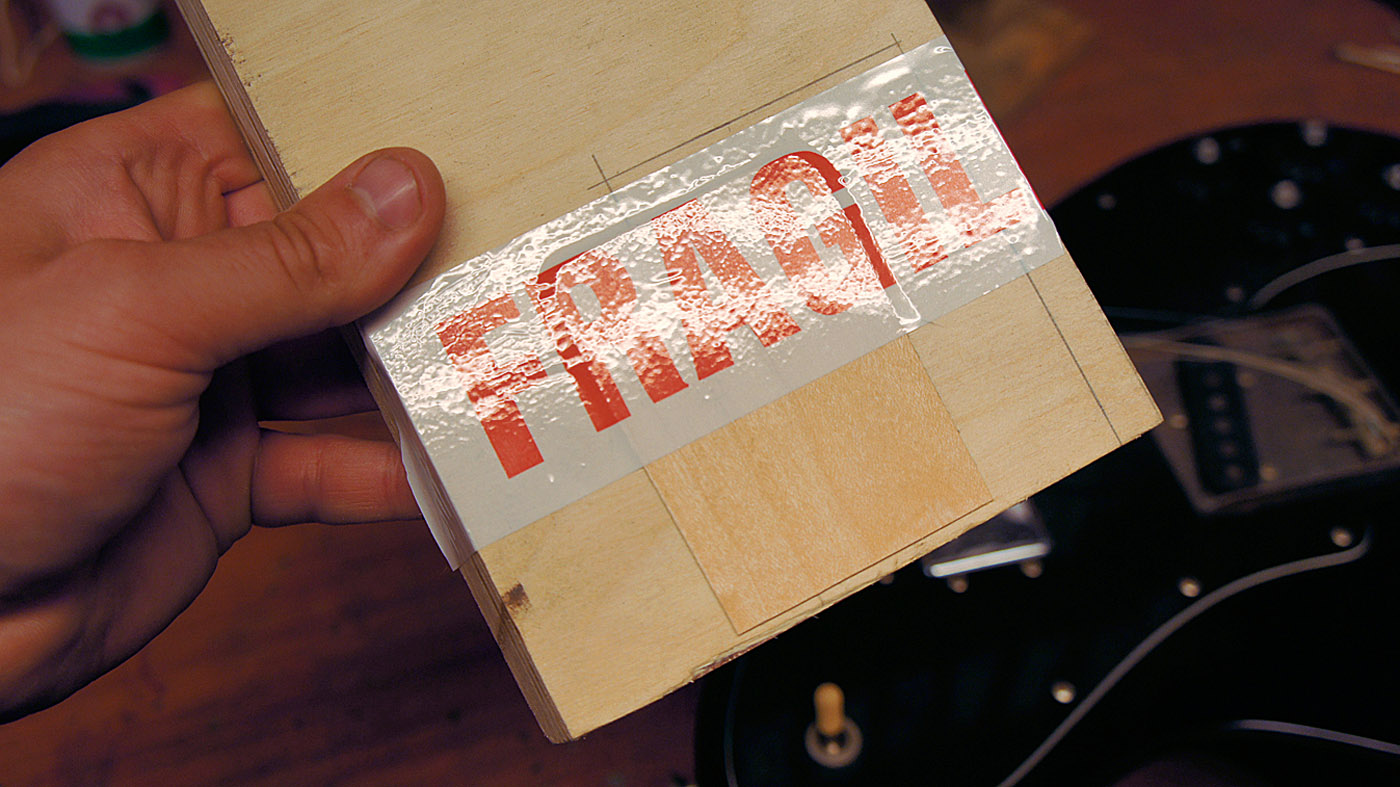
Double check which side you’d like to have the angle on, remembering the tall side at the heel will move the neck toward the player.
Orientate the side you wish to be thinned at the edge of the board and use parcel tape or similar to stick your shim down. Don’t bother with a board that’s less than flat!
Step 9
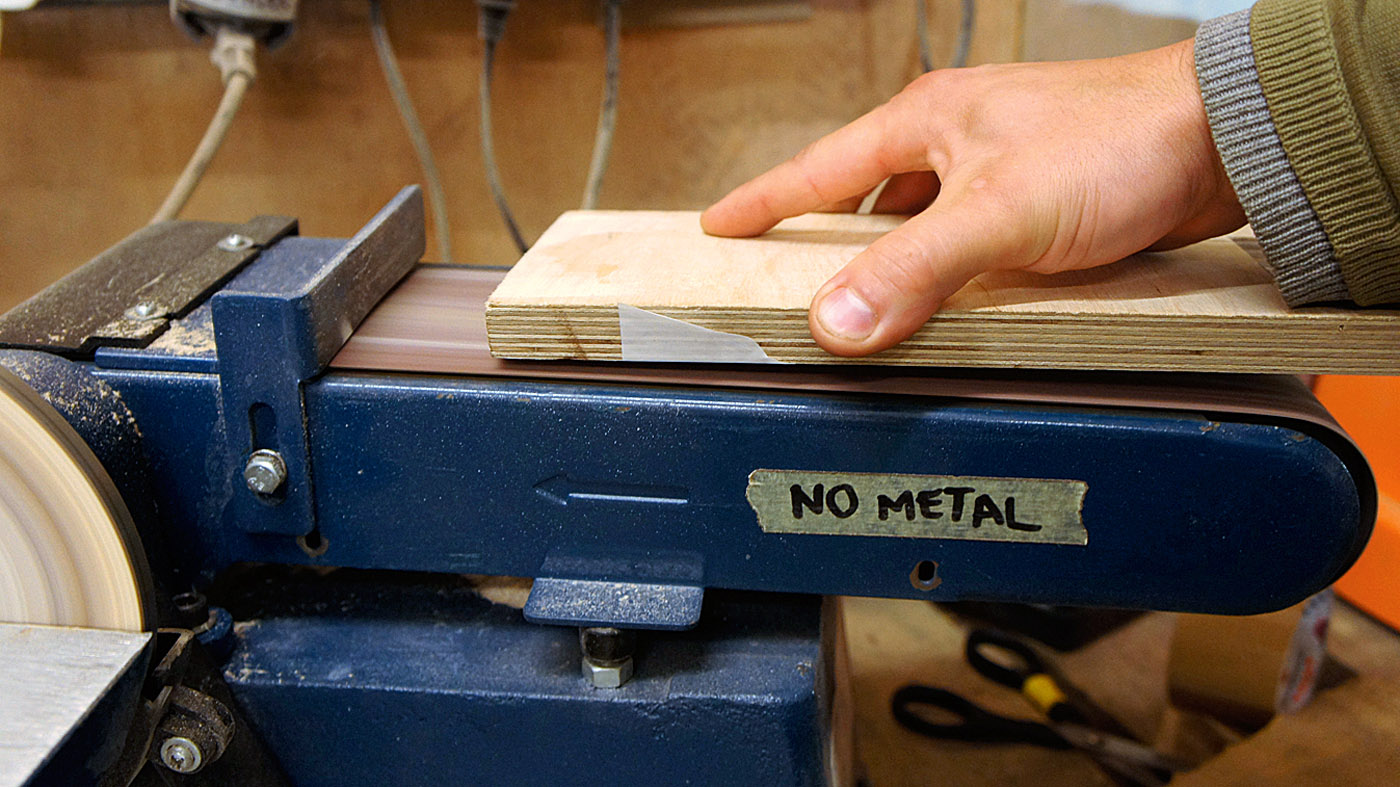
Sand down the shim on a belt sander. Experiment with different pressures and angles and be sure to sand down the taller side too so that you have a nice mini wedge shape.
You need to sand evenly but don’t worry about the thinnest edge fraying. The tape needs to get sanded a little to make it taper correctly.
Step 10
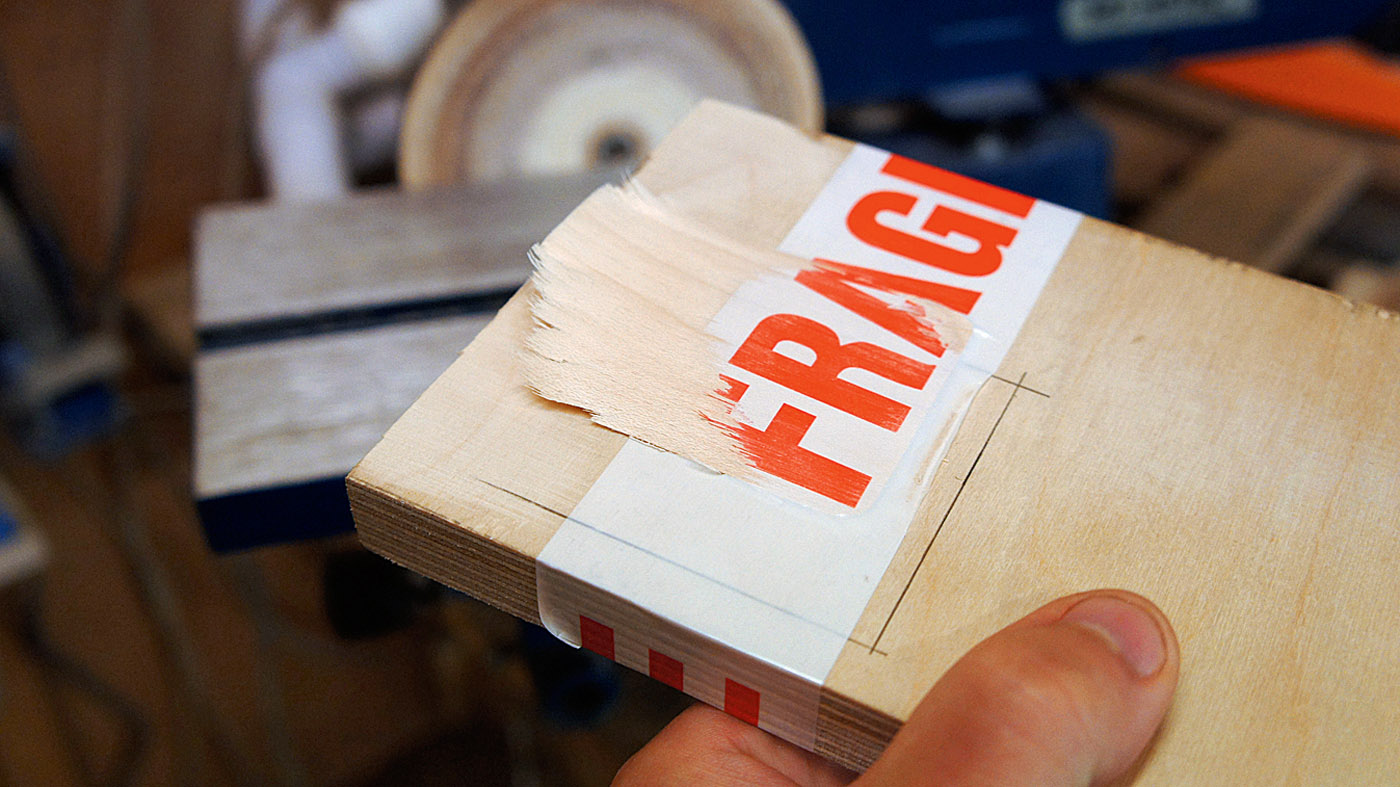
Our shim is nearly ready. The frayed edge looks scrappy but it will do the job perfectly.
This shim will taper (ramp) from 0.5mm to nothing but it’s important to check we have sanded it evenly and that half way along it’s 0.25mm thick. This can be done with a set of calipers. Carefully remove your shim by peeling the tape off.
Step 11
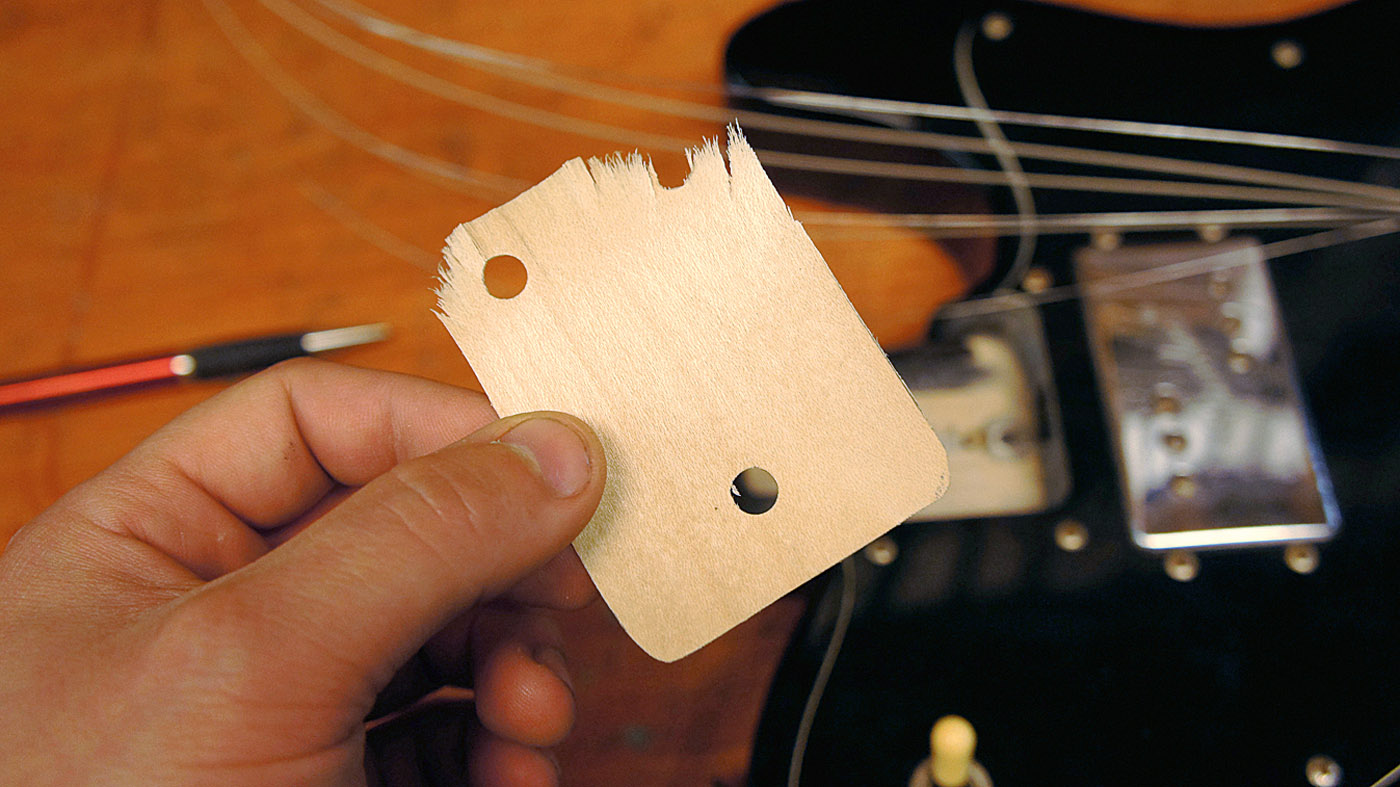
Use a suitable marker pen to colour in the visible side if it’s on. Also, use a hole punch to make the clearance holes for the neck screws in your shim - it’ll cut it nice and clean.
If you don’t do this the shim will split when you re-attach the neck. Speaking of which, reattach the neck and see how you got on.
Step 12
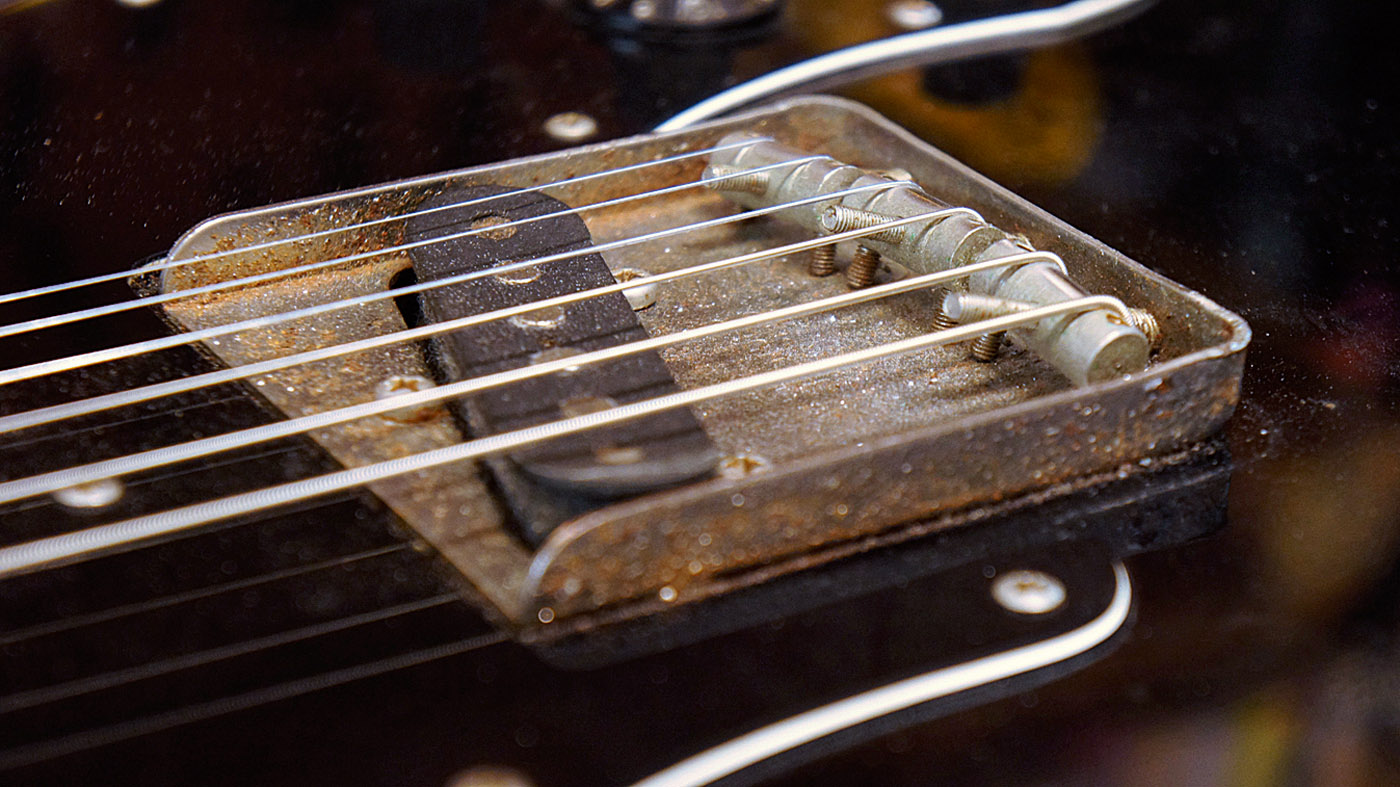
With the neck on and the strings tuned up again the saddles are able to sit in the middle of their travel and get us the right height action at the 12th fret!
That’s a full contact neck angle adjustment that gets the best out of the setup. What’s more, the neck pocket should offer more sustain.
Jack runs an independent guitar setup and guitar repair service in Manchester, England. He serves the musicians of the Northwest of England, working on electric guitars, bass guitars, acoustic guitars and more. Jack has been writing the Fix Your Guitar column in Total Guitar Magazine since 2017.


