How to create an old-school techno lead like Charlotte De Witte
In this lead-focused tutorial, we also walk you through designing an arpeggiated pluck sound inspired by Eli Brown

The lead synth is one of the most memorable elements that producers use to create the melody or main idea for a track. The power of the lead melody line is created by starting with a good preset or custom-designed synth patch, and using a particular combo of plugins and/or automations to achieve the desired result.
When creating a track, it’s important to identify the type of sound and genre you’re aiming to write and construct the lead synth sounds for your tracks accordingly. In techno, a wide range of lead synth sounds are popular in modern tracks. These sounds range from old school rave-type sounds to heavily-automated futuristic pluck leads.
In the techno world, two artists who top the Beatport charts with their tracks are Eli Brown and Charlotte de Witte. In this month’s tutorial, you’ll learn how to create an old school techno lead in the style of Charlotte de Witte and an arpeggiated pluck lead inspired by Eli Brown.
How to create an old-school rave lead
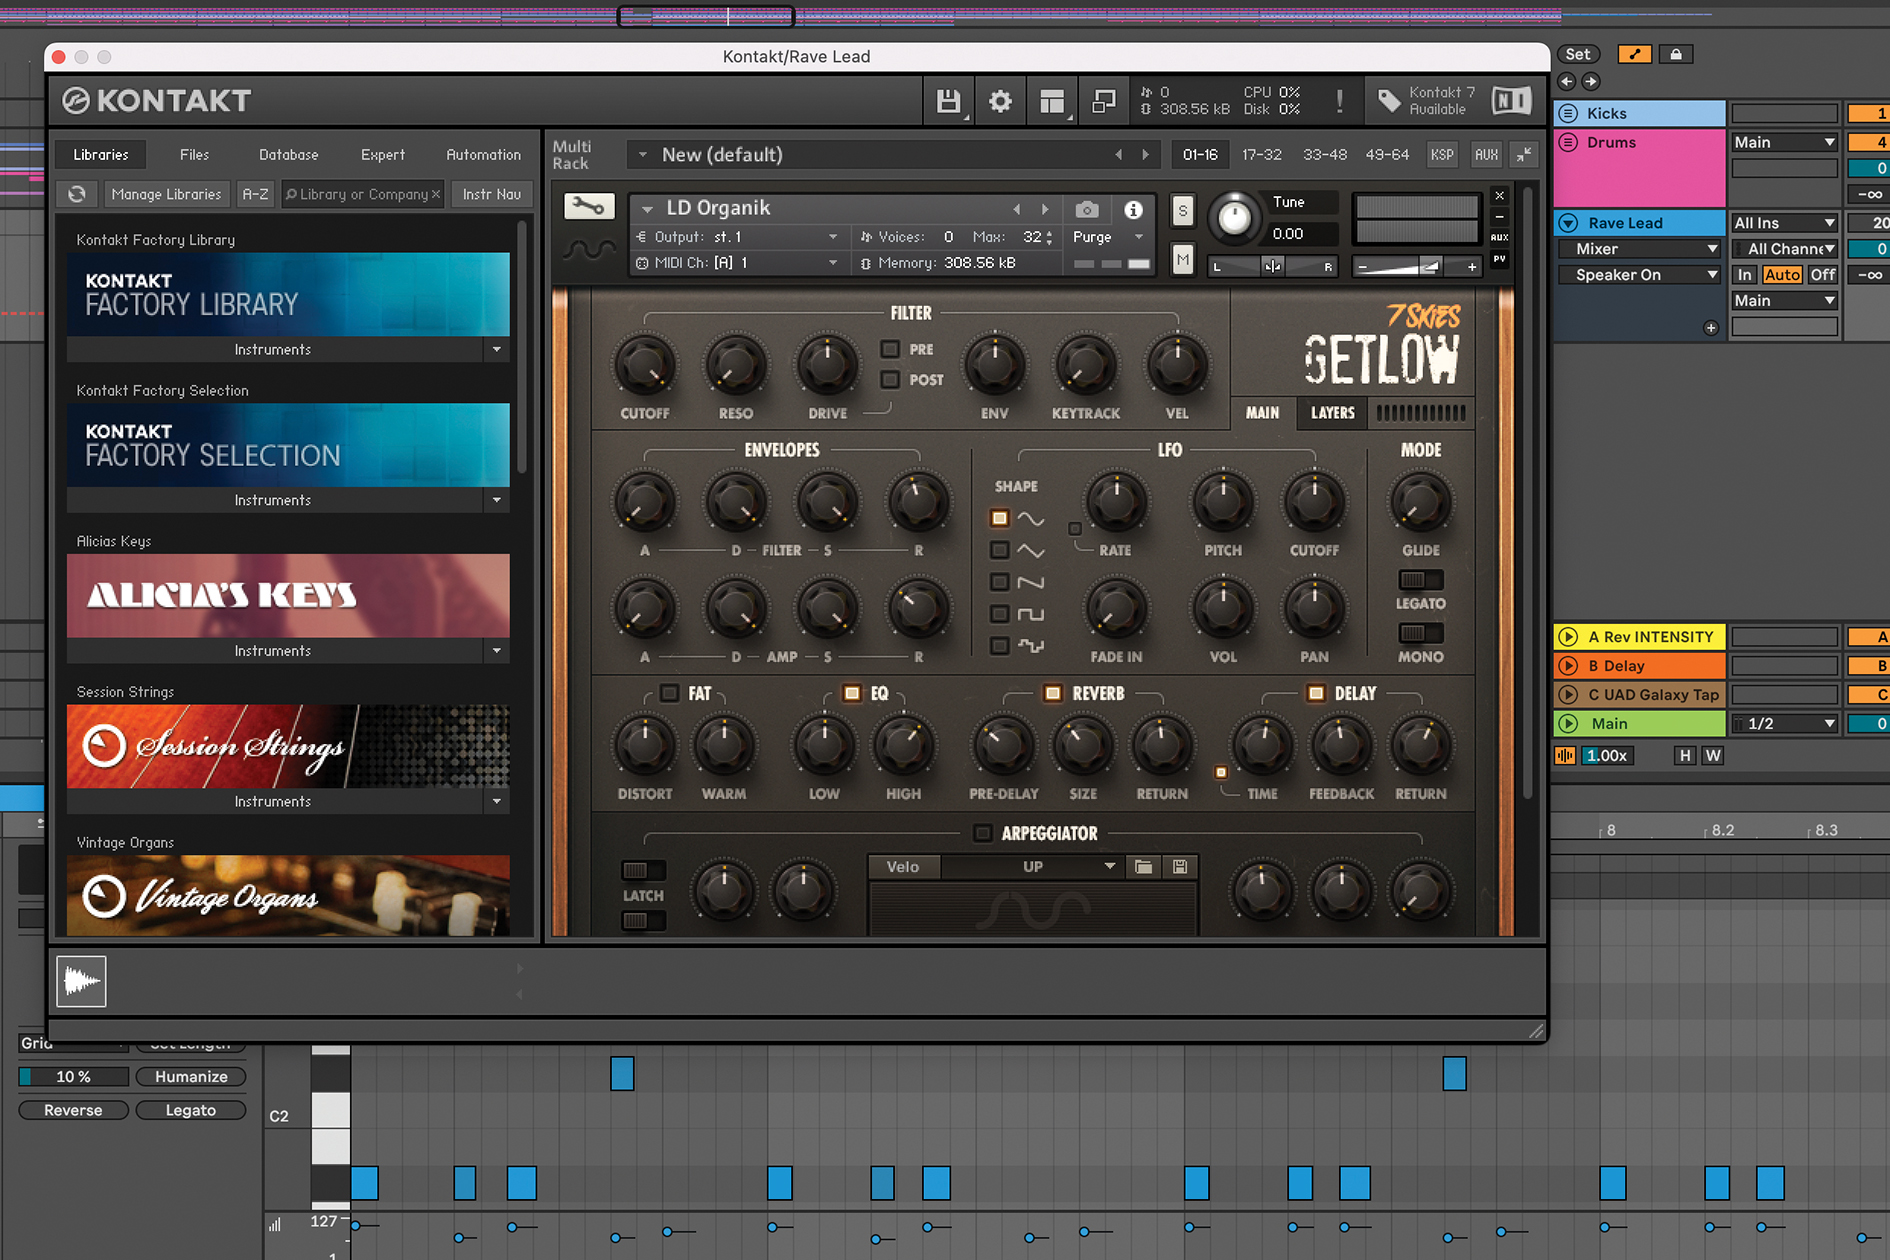
To create an old school lead sound, create a blank MIDI track and load an instrument library (we're using Kontakt). We open the 7Skies GETLOW instrument with the Rave House XP Pack, but pick your own. Write a simple four-bar melody for the hook. Try a melodic pattern that repeats four times.
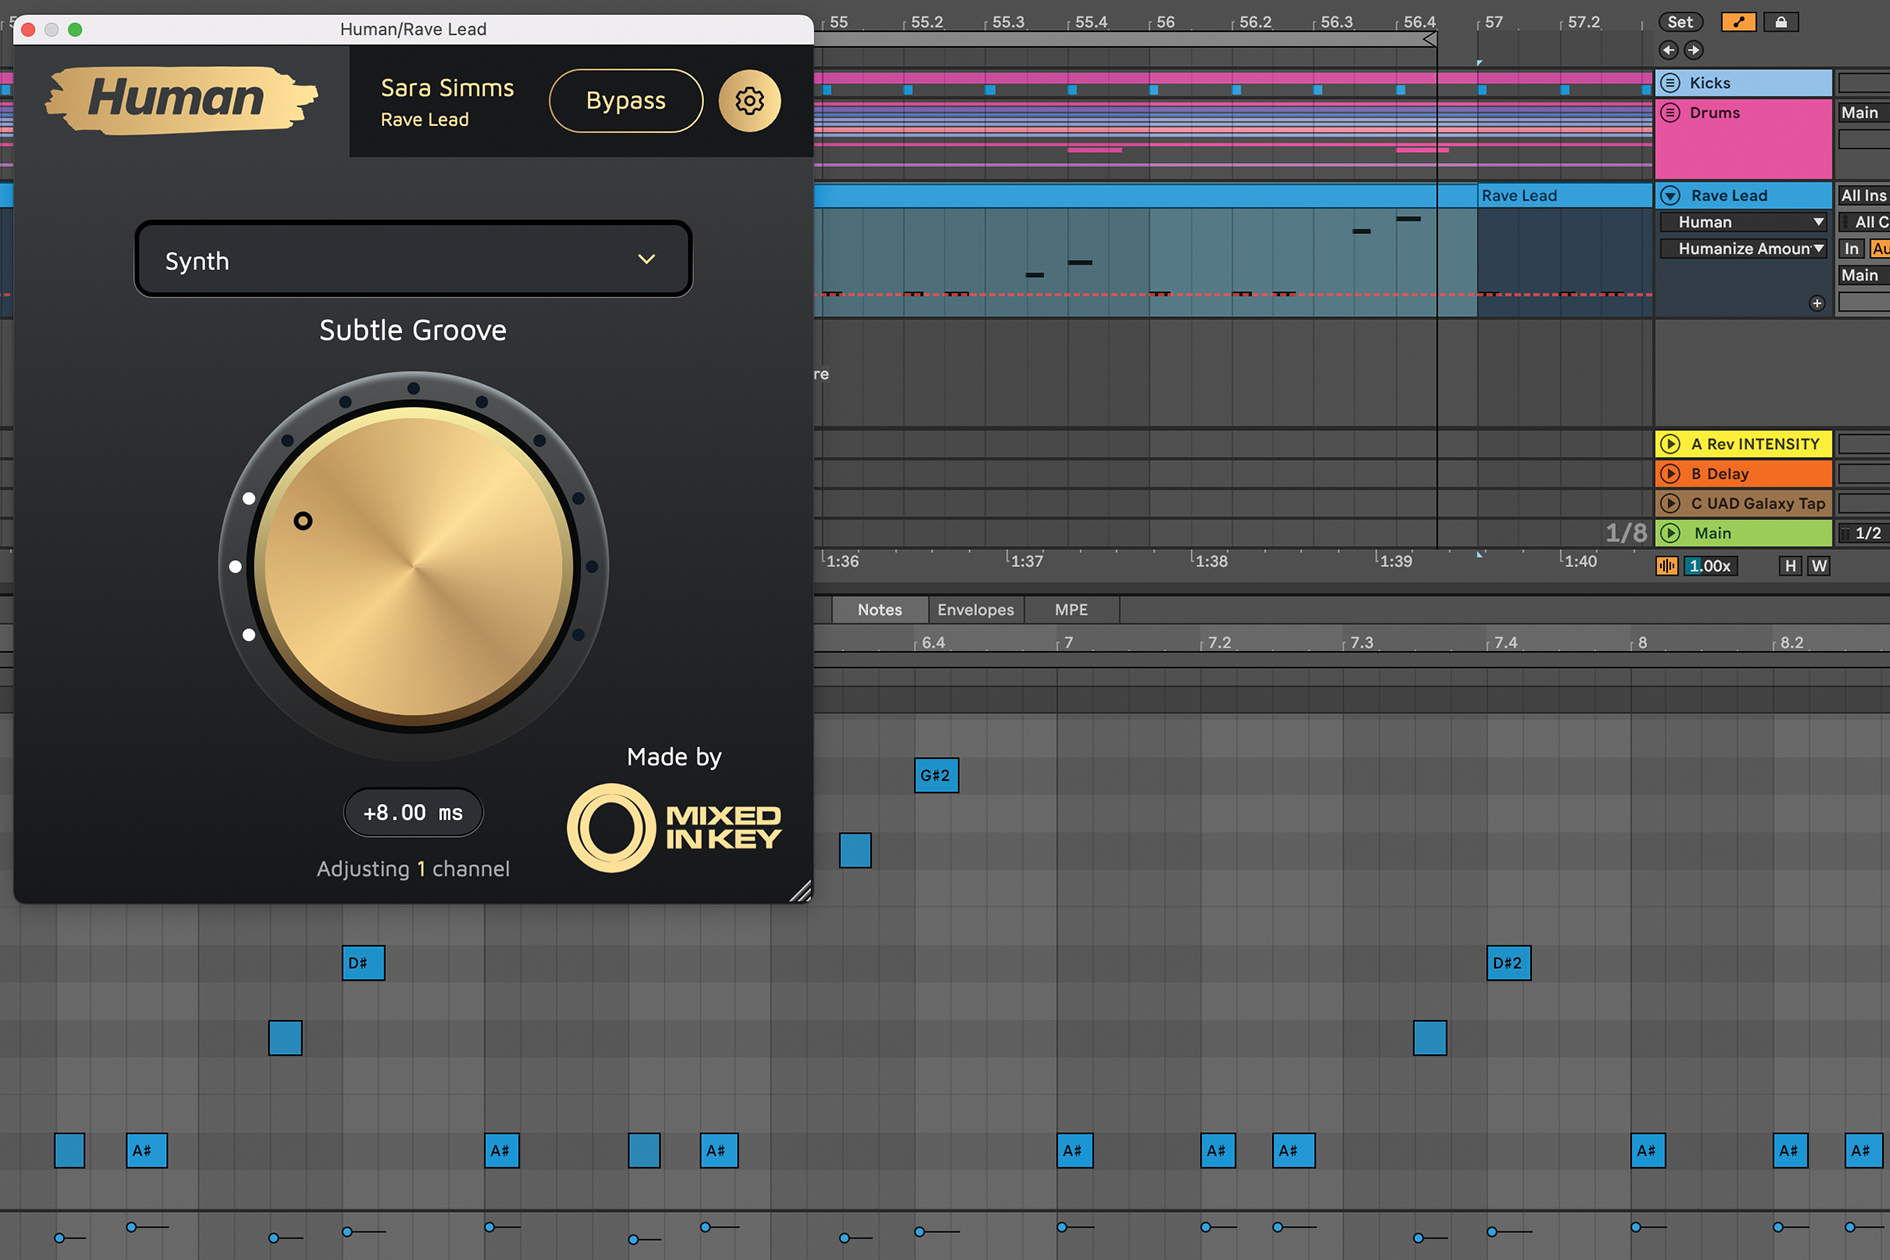
Give the pattern some swing by shifting some notes slightly off the grid. Highlight a few of the MIDI notes, and drag them slightly to the left or the right of the grid. You could try adding the Human plugin by Mixed In Key, selecting the Synth setting and Subtle Groove preset. Keep tweaking the MIDI pattern until the groove feels right.
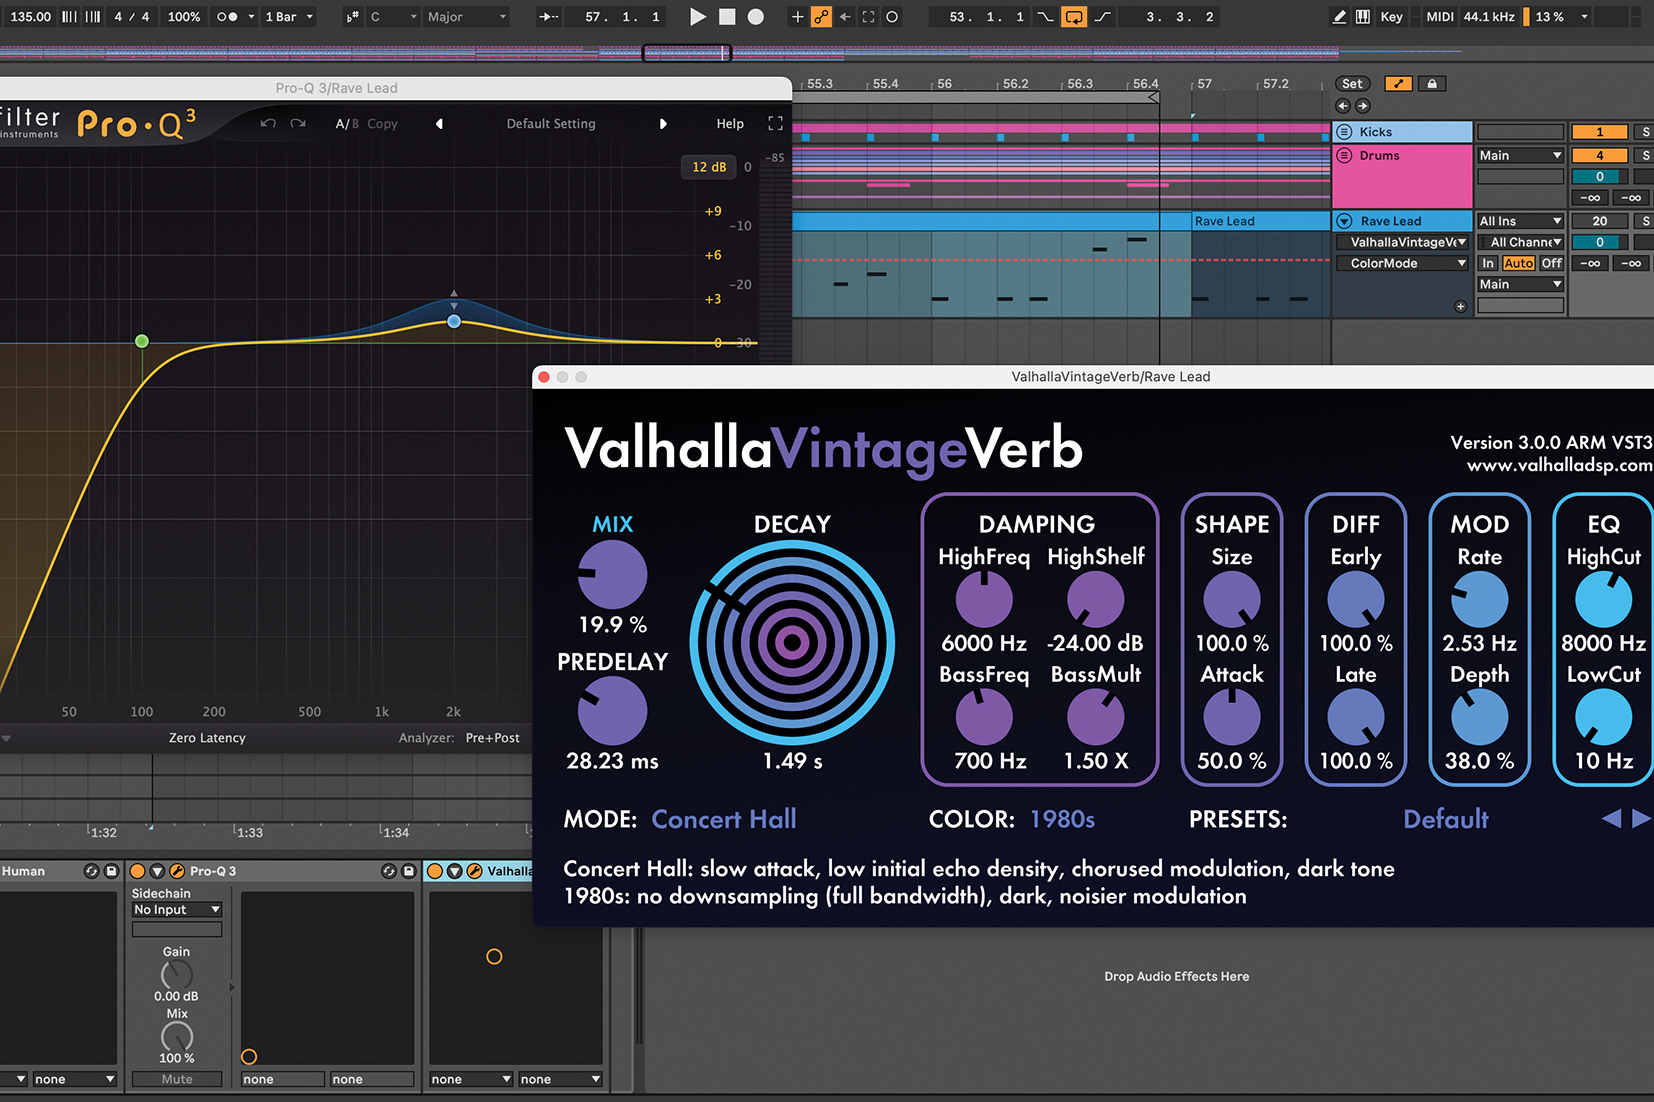
Add an EQ and roll off the low end below 100 Hz, and add a boost at around 2 kHz. Boosting at 2 kHz will help to make the sound more upfront in the mix. Next add a reverb (we've used Valhalla Vintage Verb). Choose the Concert Hall setting, and set the Predelay to 28.3 ms, and the mix to 19.9%.
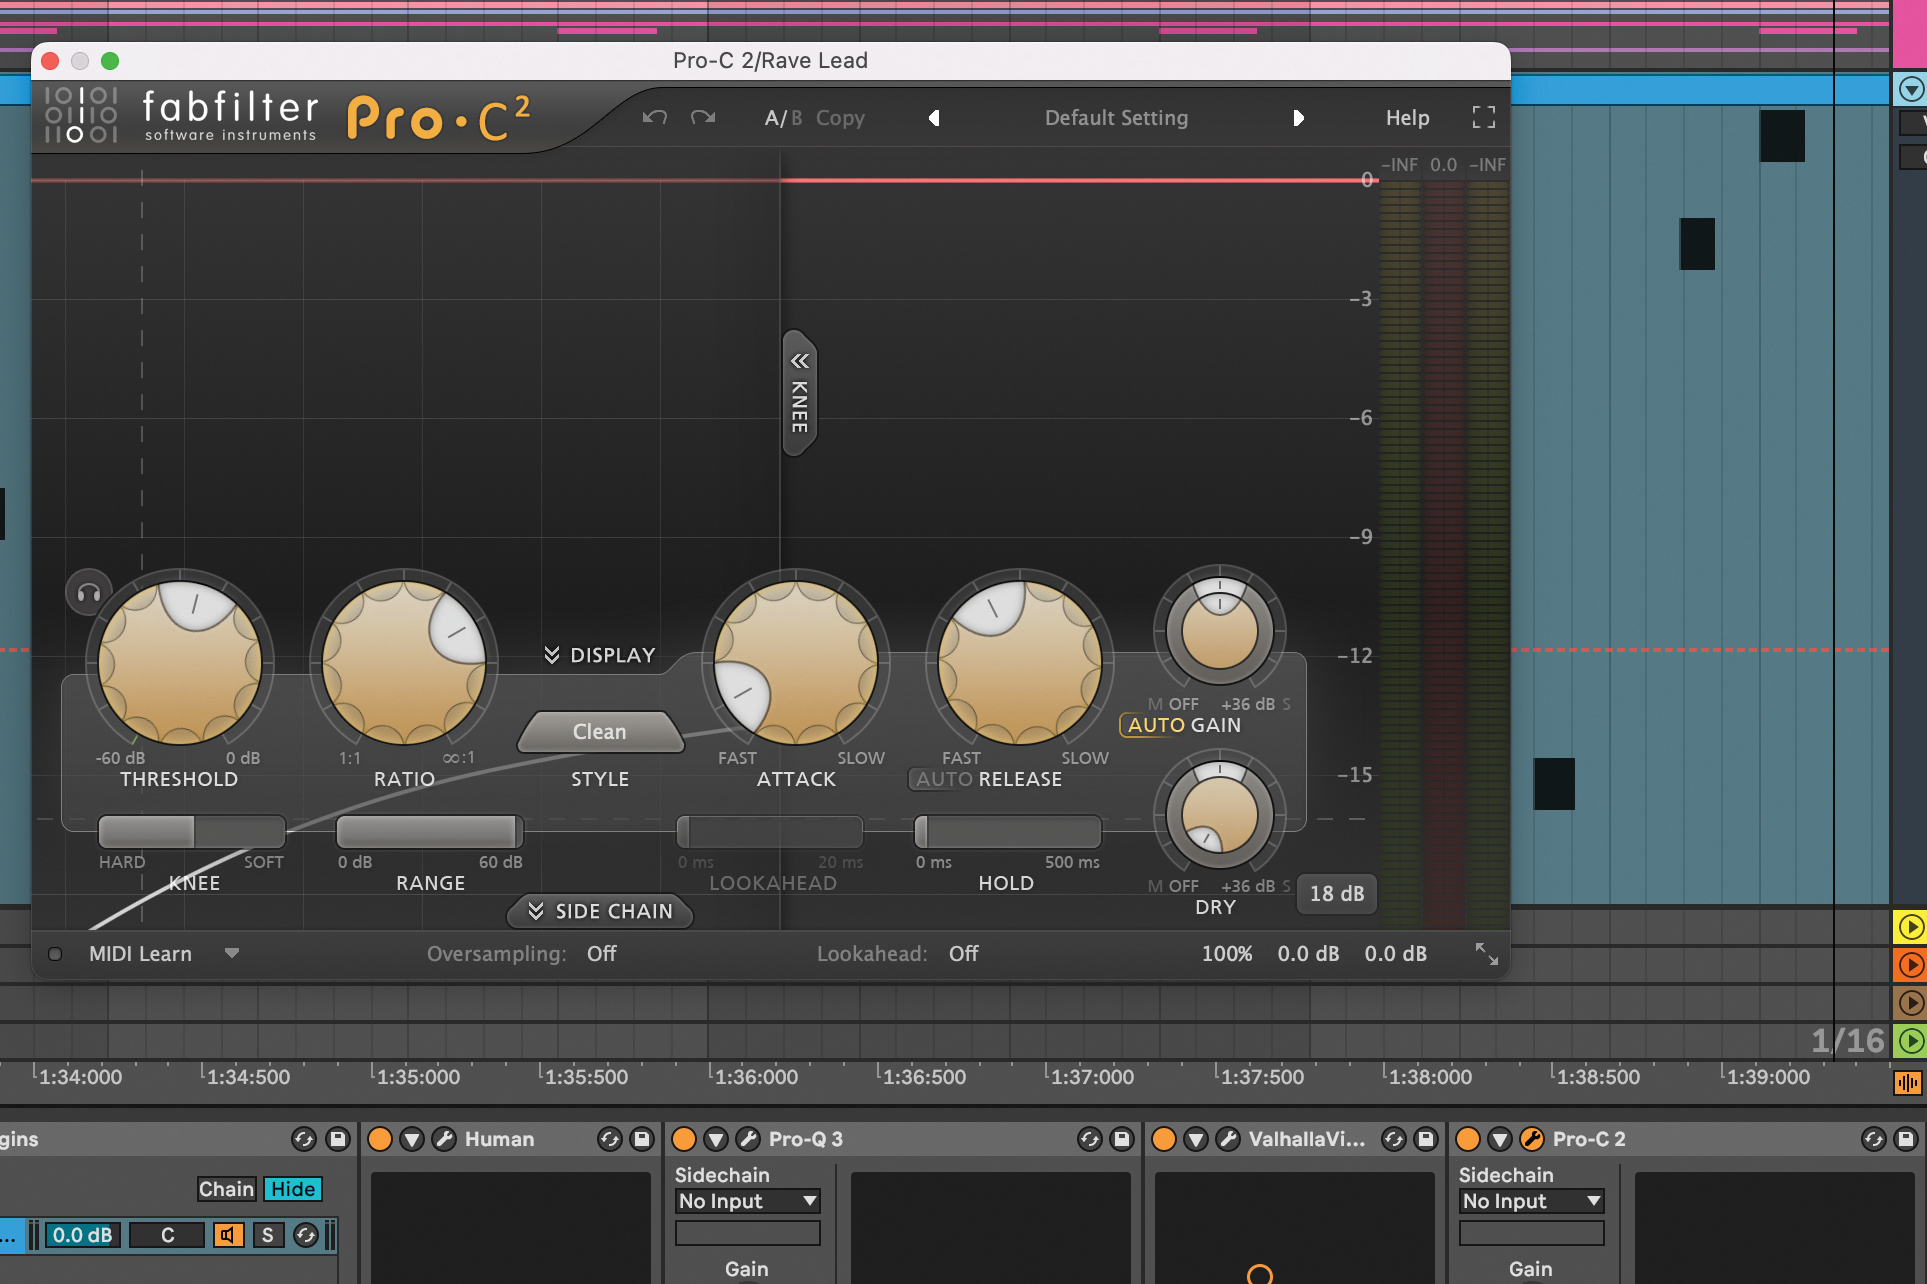
Add a compressor to bring out the sound of the reverb. Set the ratio to 4:1, or 6:1, with a fast attack, around 0.25 ms, and release around 210 ms. Set the threshold so there is between 3 to 5 dB of gain reduction. Next load a compressor (we've used Ableton’s Glue Compressor with the Mastering Make it Loud setting).
Get the MusicRadar Newsletter
Want all the hottest music and gear news, reviews, deals, features and more, direct to your inbox? Sign up here.
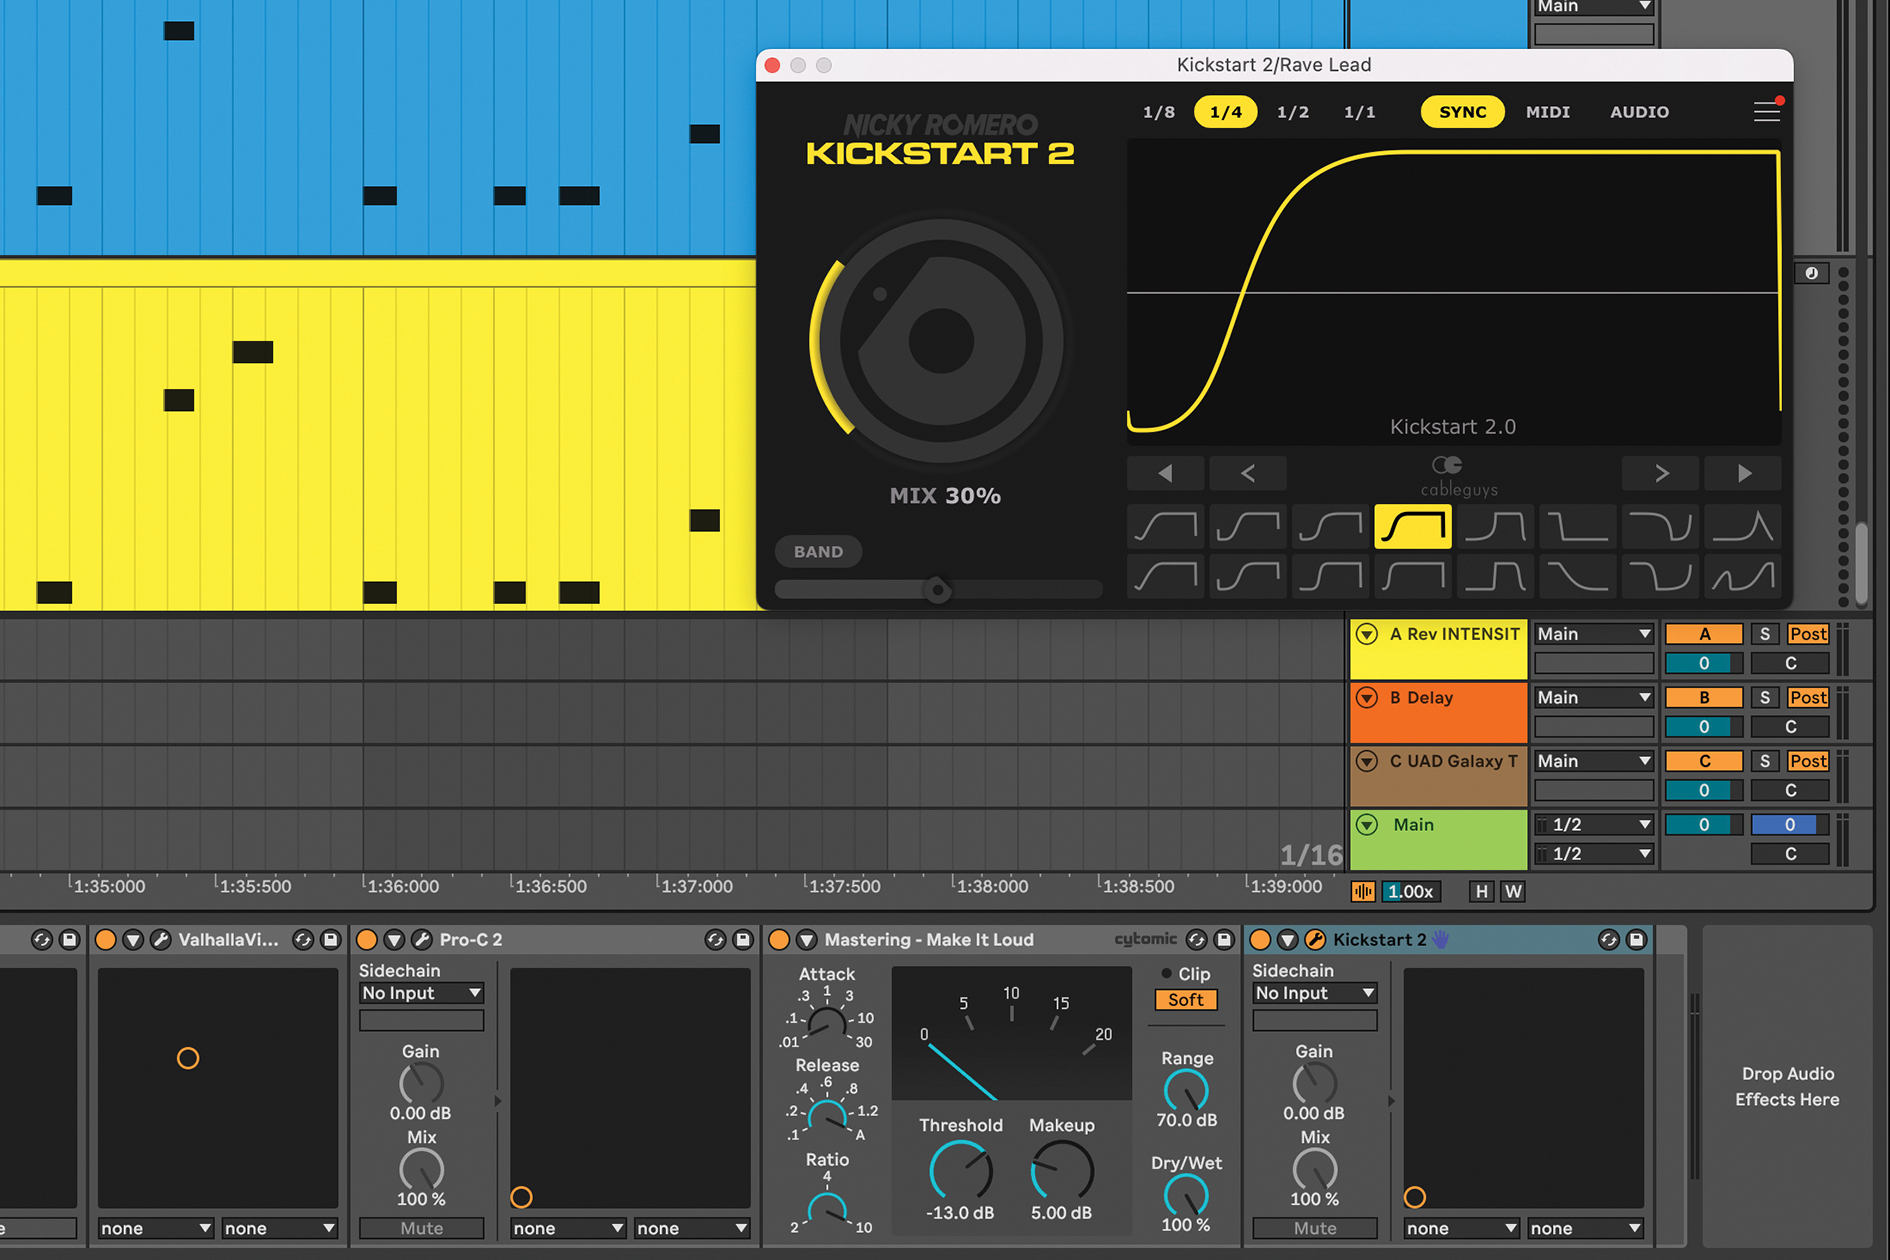
Adjust the threshold of the compressor to taste; ideally below 5 dB of compression. Lastly, try adding Kickstart 2 or equivalent sidechain ducking preset. In Kickstart 2, select one of the presets with a short chain, to make room for the kick drum in the mix. Make a new layer for the lead by duplicating the MIDI track and copy the pattern.
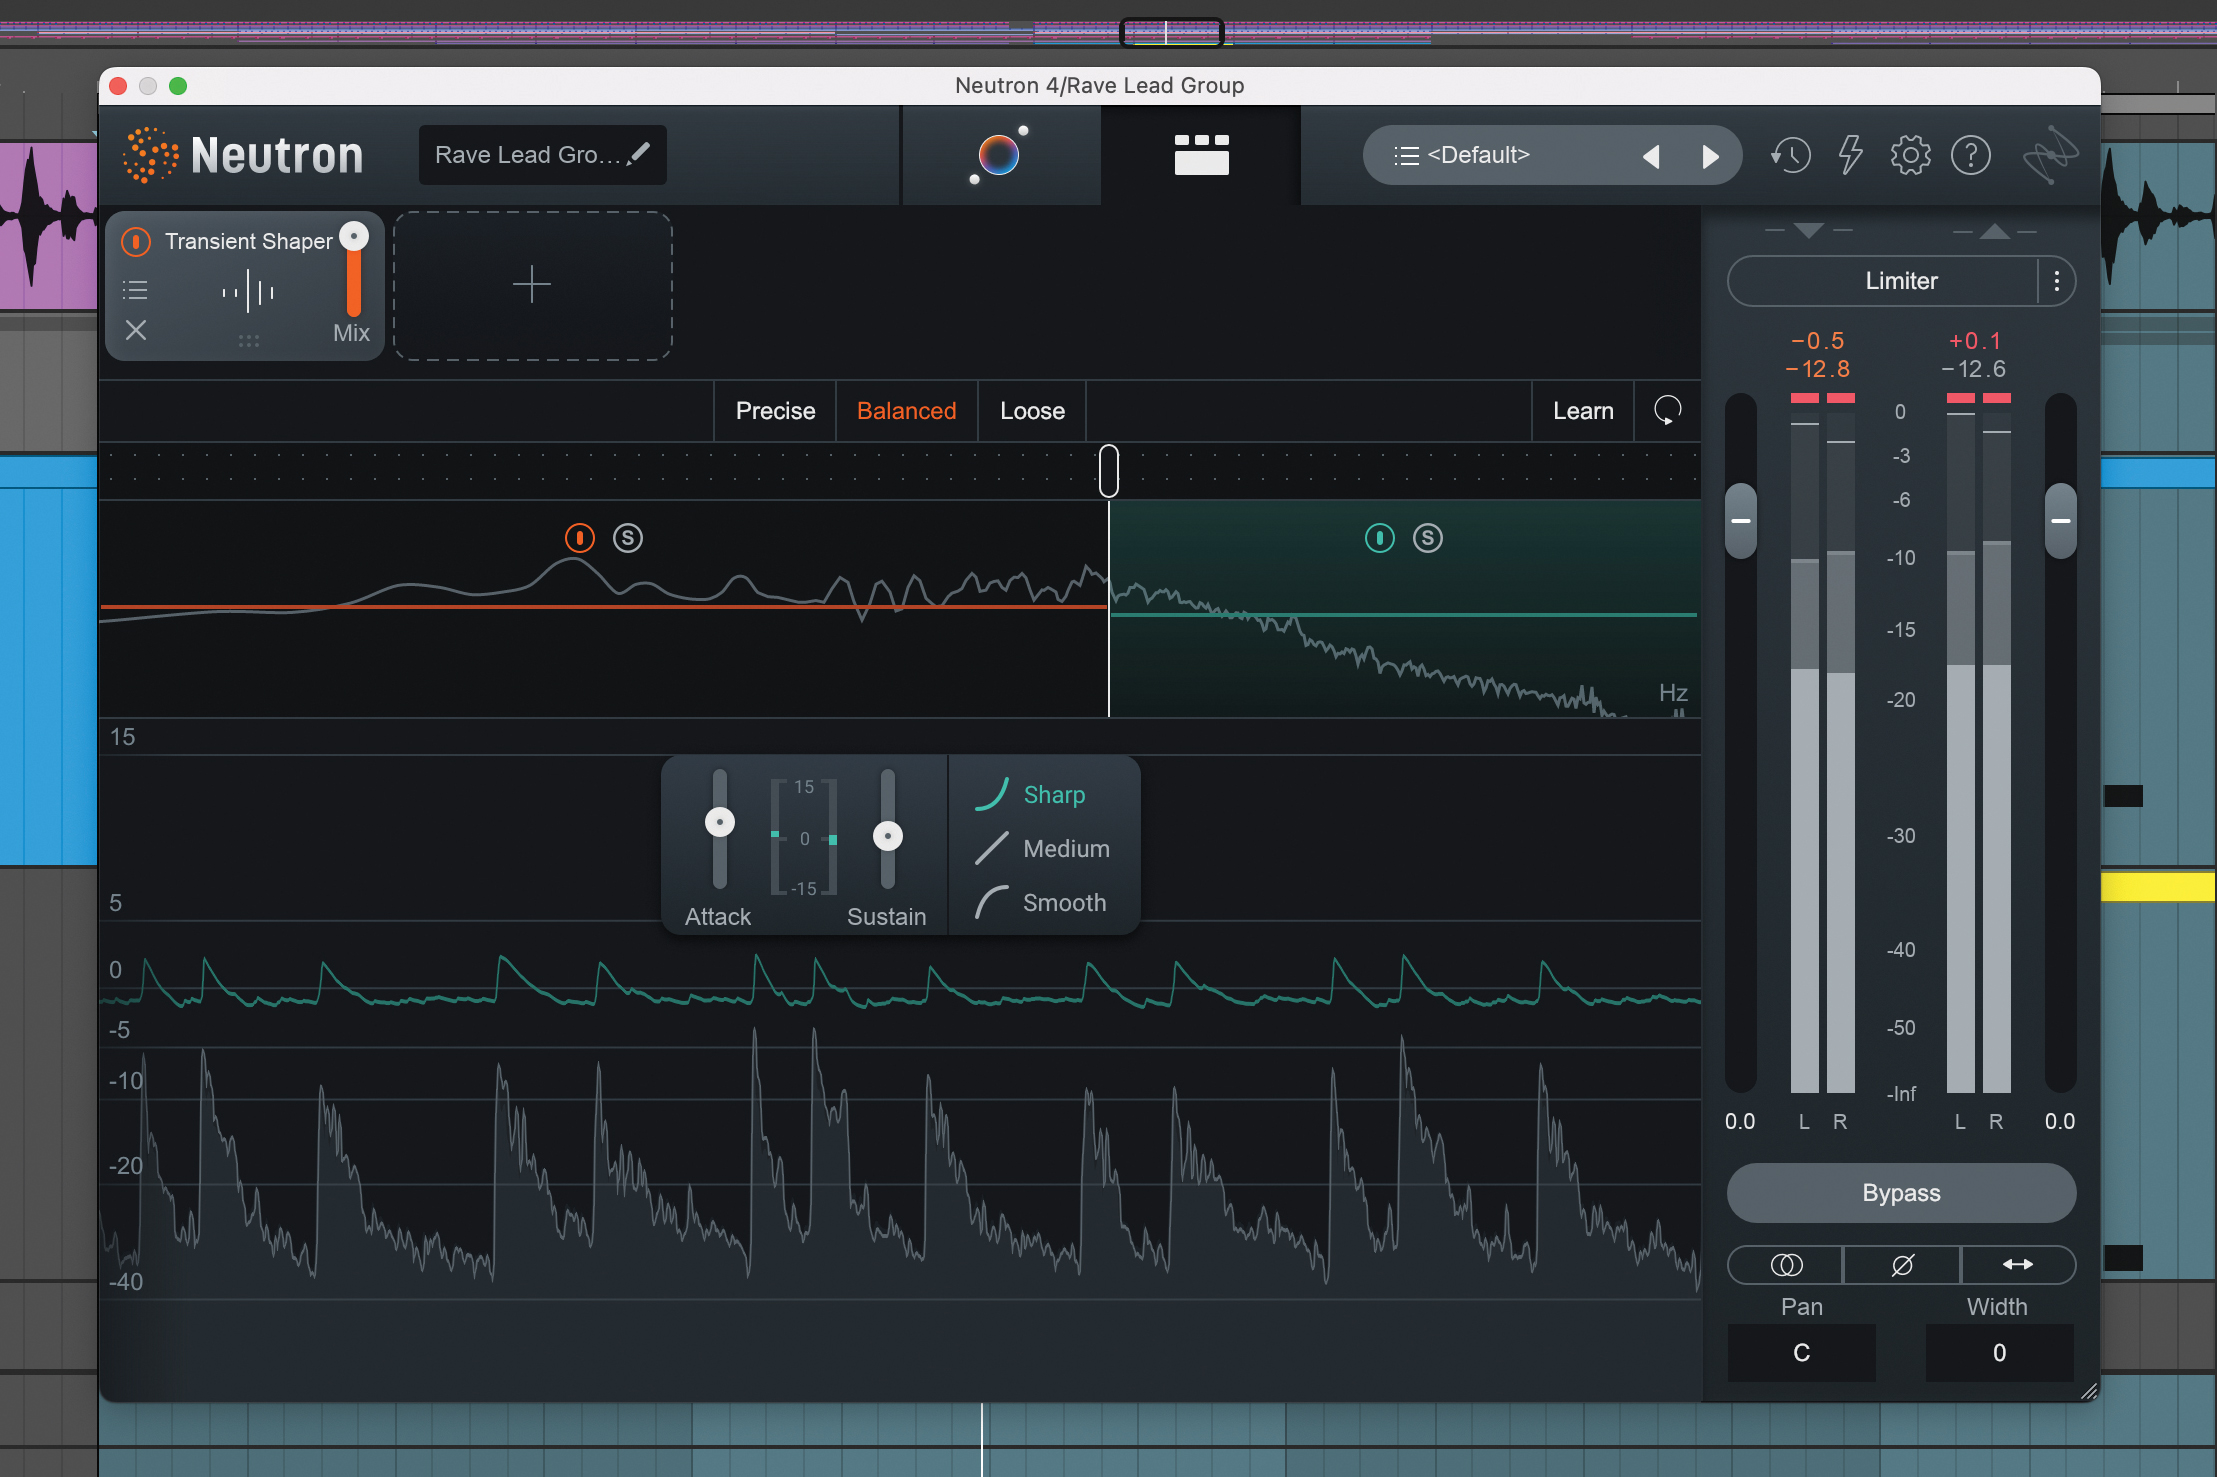
Layer the MIDI pattern with an organ sound. Add the same plugins that were added to the old school lead and adjust the volume of the organ track. Group the two tracks, and add a transient designer (eg Neutron 4 Transient Shaper) to enhance higher frequencies by boosting the attack above 2 kHz, and lowering the sustain.
How to make an arpeggiated lead pluck
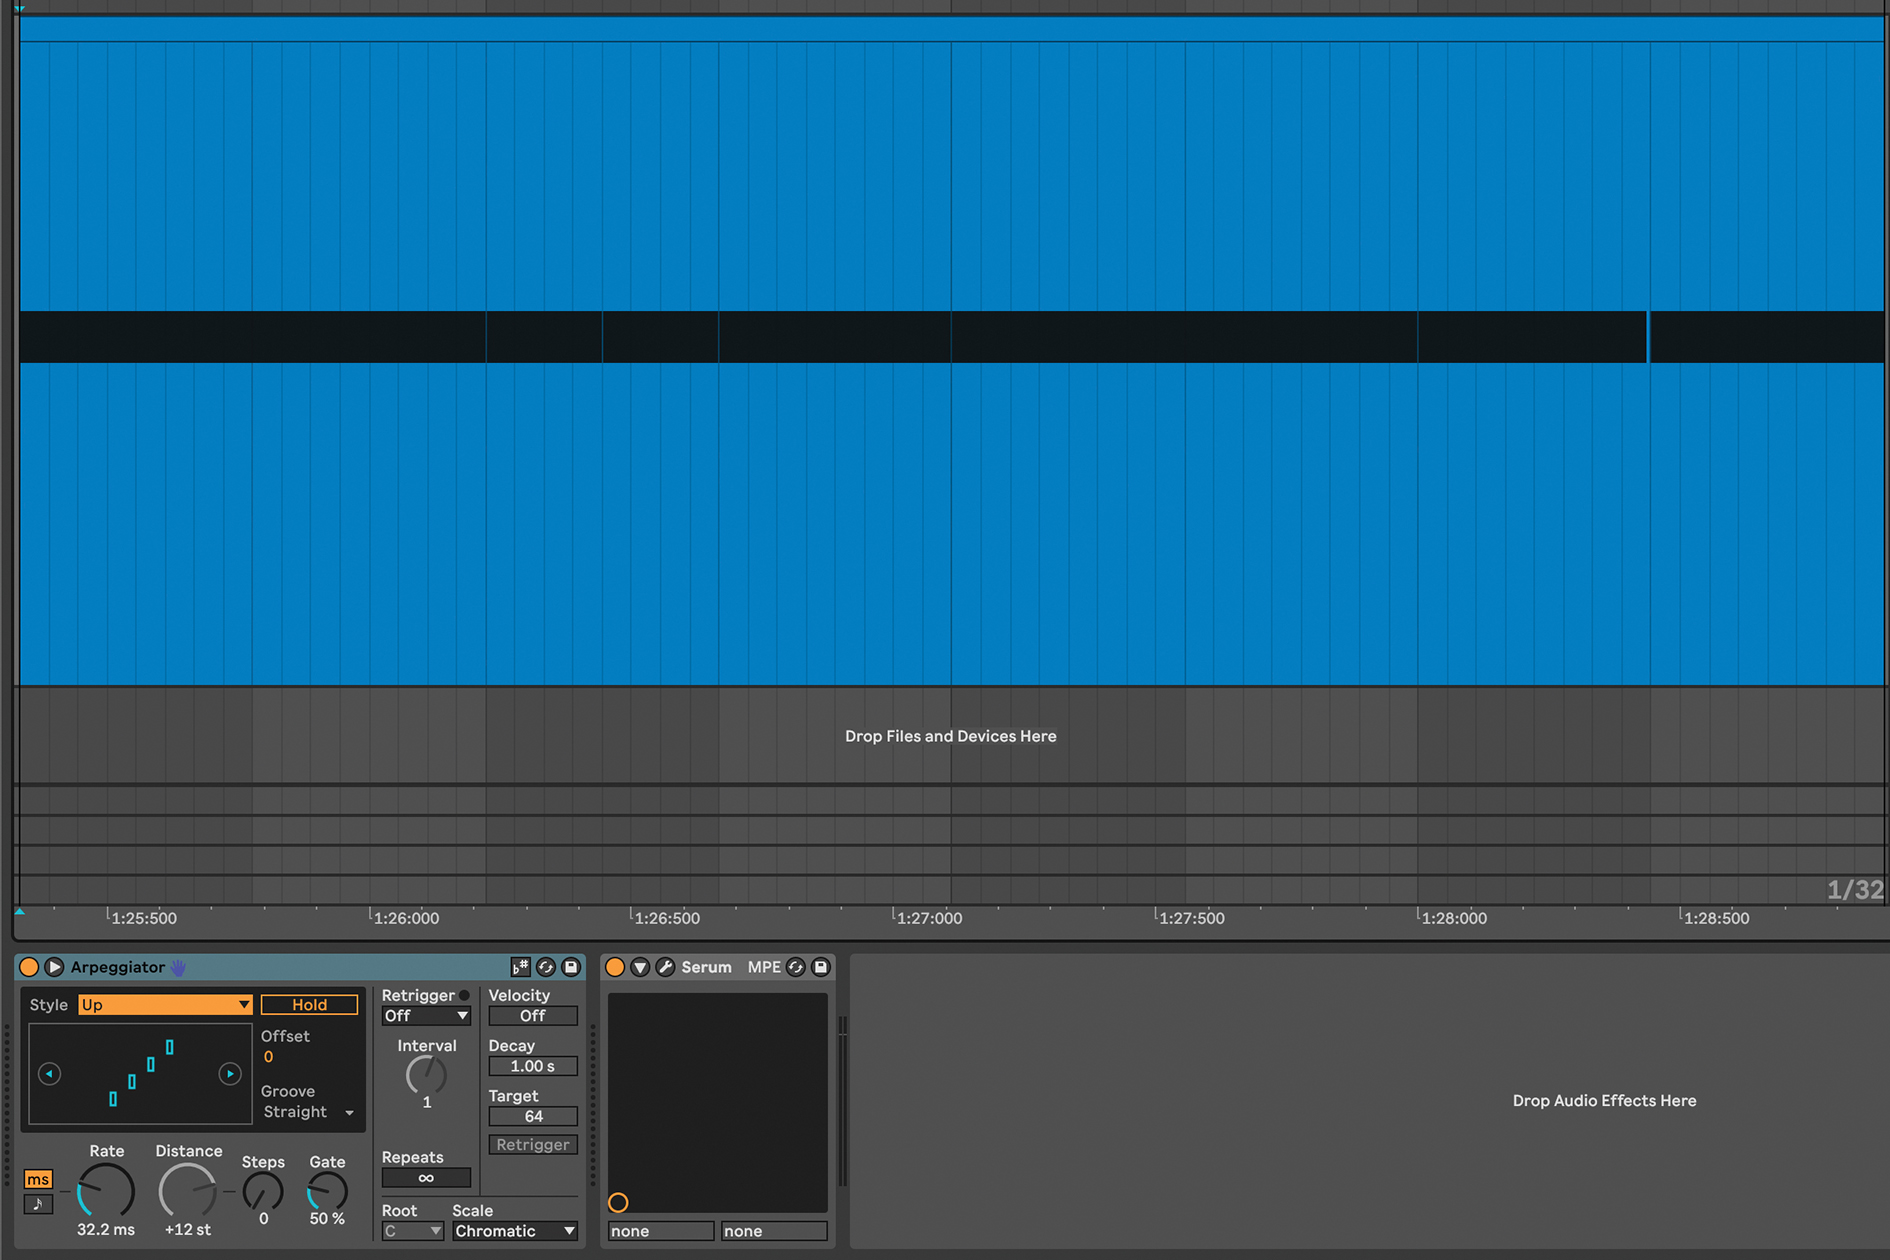
Create a blank MIDI track and add a synth – we've used Serum in Ableton Live. Open up a 'pluck'-style sound. Create a two-bar MIDI pattern, and add MIDI notes in the root note of your track’s key. Add an arpeggiator to the track, and turn off sync to make the sound more freeform. Play around with the rate using the ms settings.
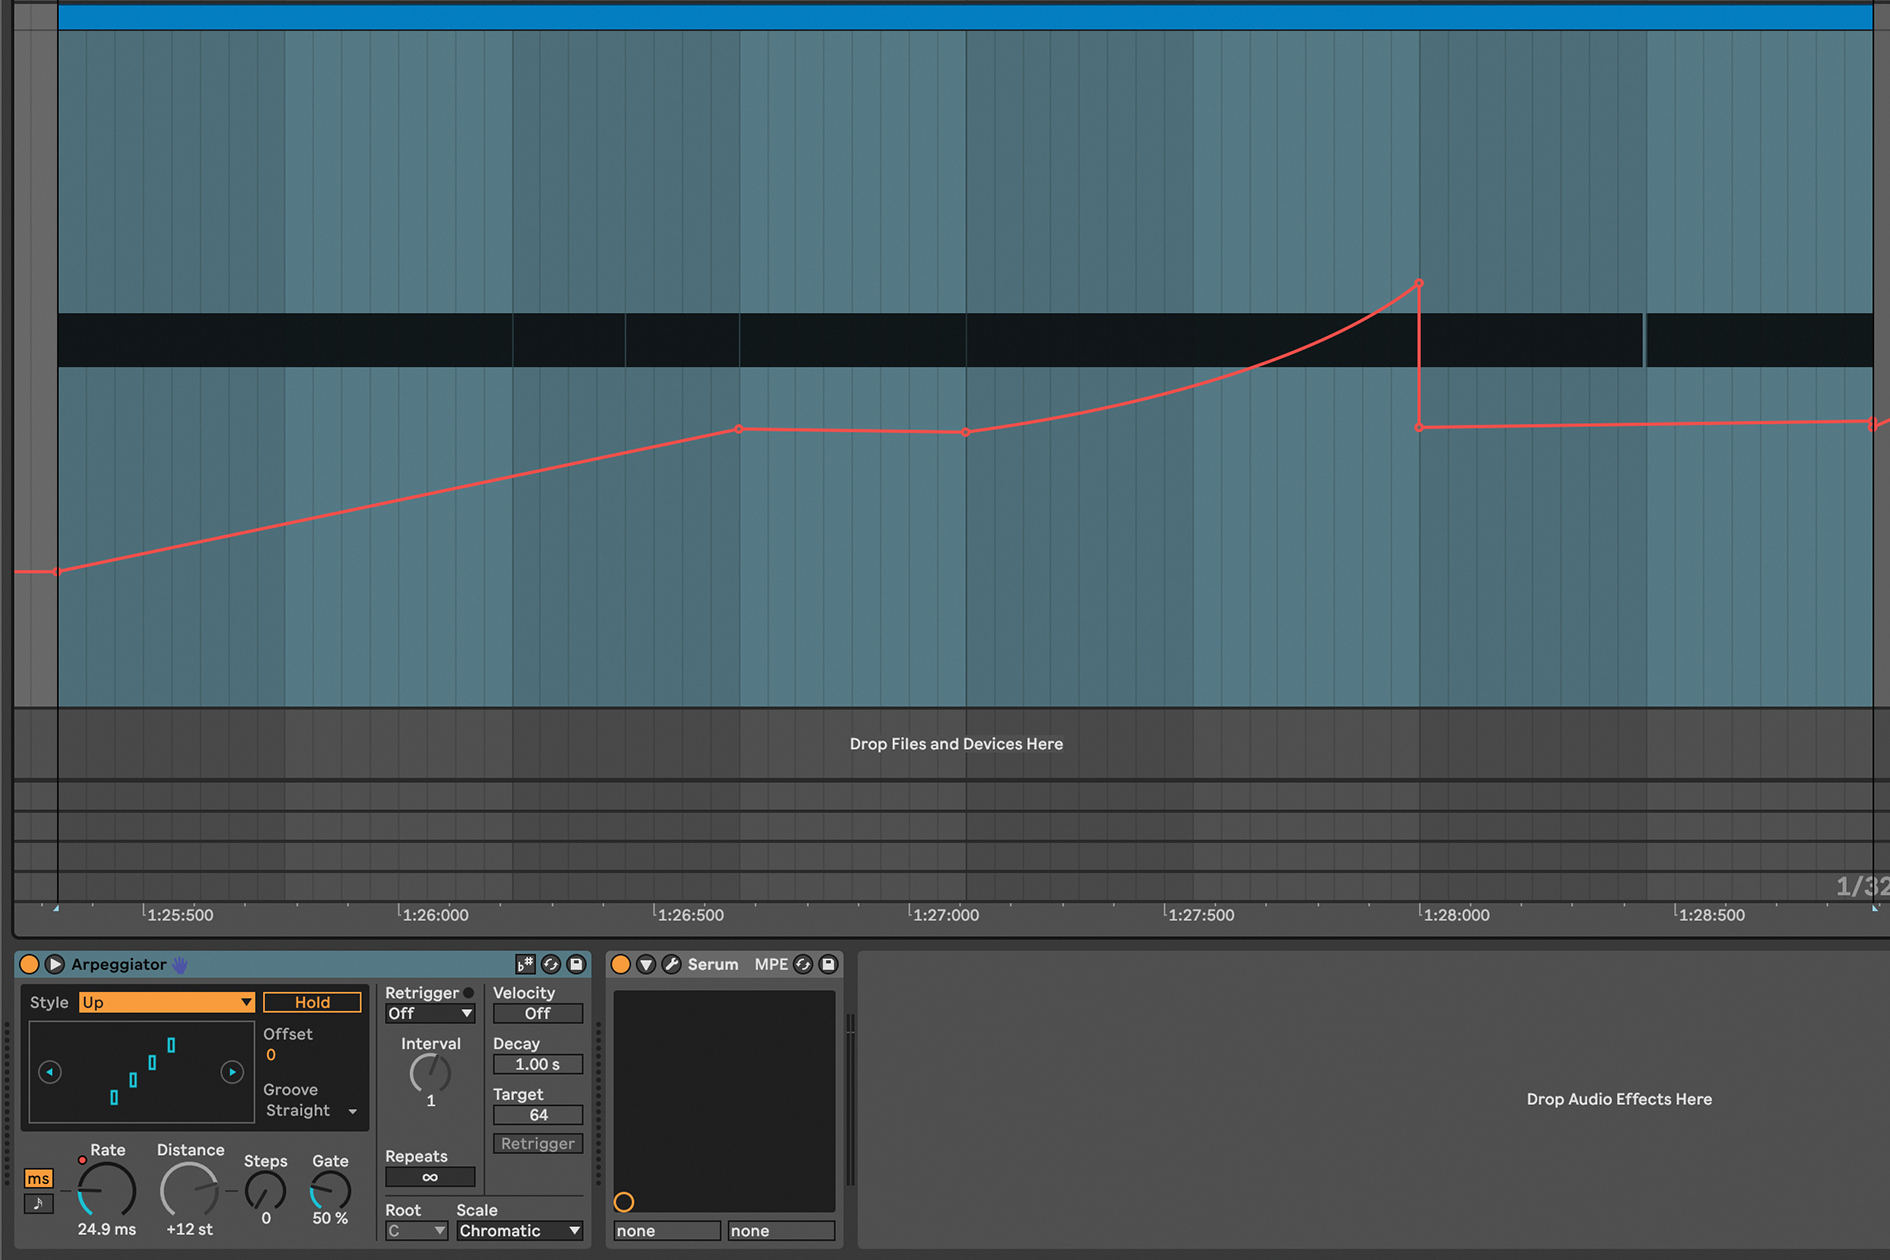
At the beginning of the clip, start with the rate around 24.9 ms, and increase it to 179 ms as the two bars progress. Next, automate the pitch bend. Select the Envelopes tab. On the bottom left, select MIDI Control and Pitch Bend.
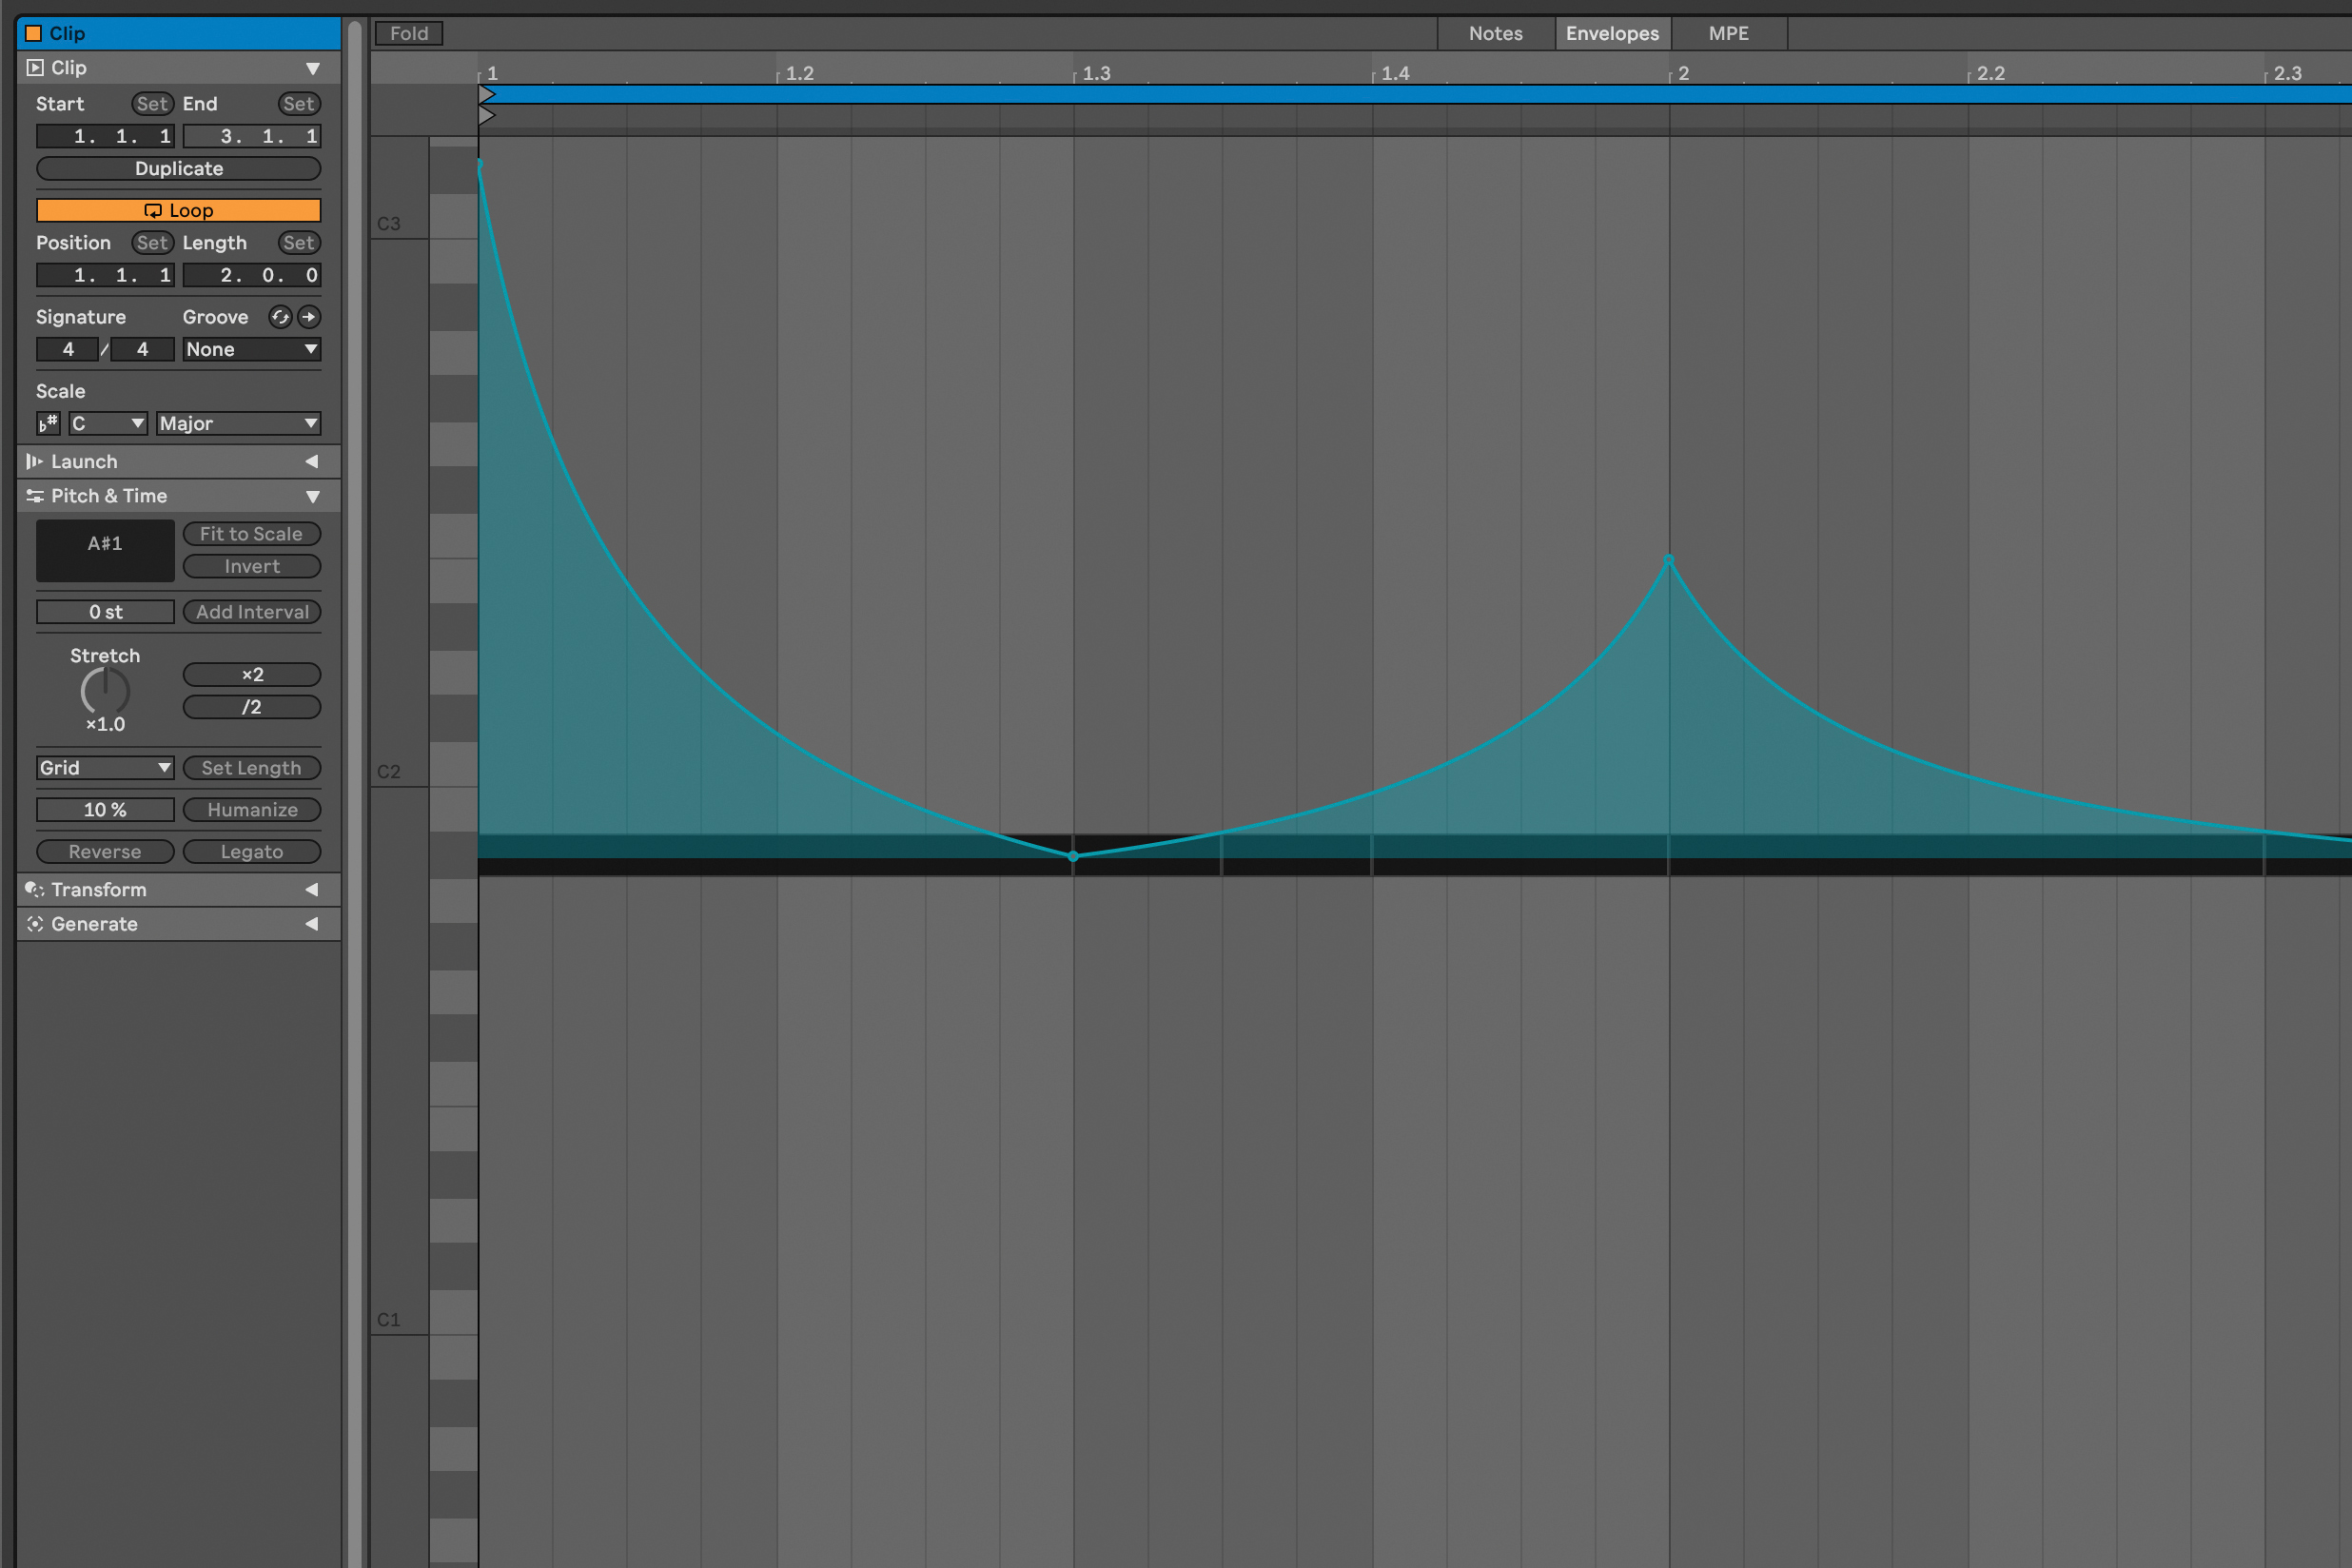
Draw in pitch values that sound good to your ears. Try starting with the pitch bend all the way up, then bring it down. Halfway through the clip, bring the pitch bend halfway up again, then back down to zero. Experiment with different pitch bend values until you’re satisfied. As an alternative to using Ableton’s Pitch Bend, you could use a plugin like Zplane Elastique Pitch V2.
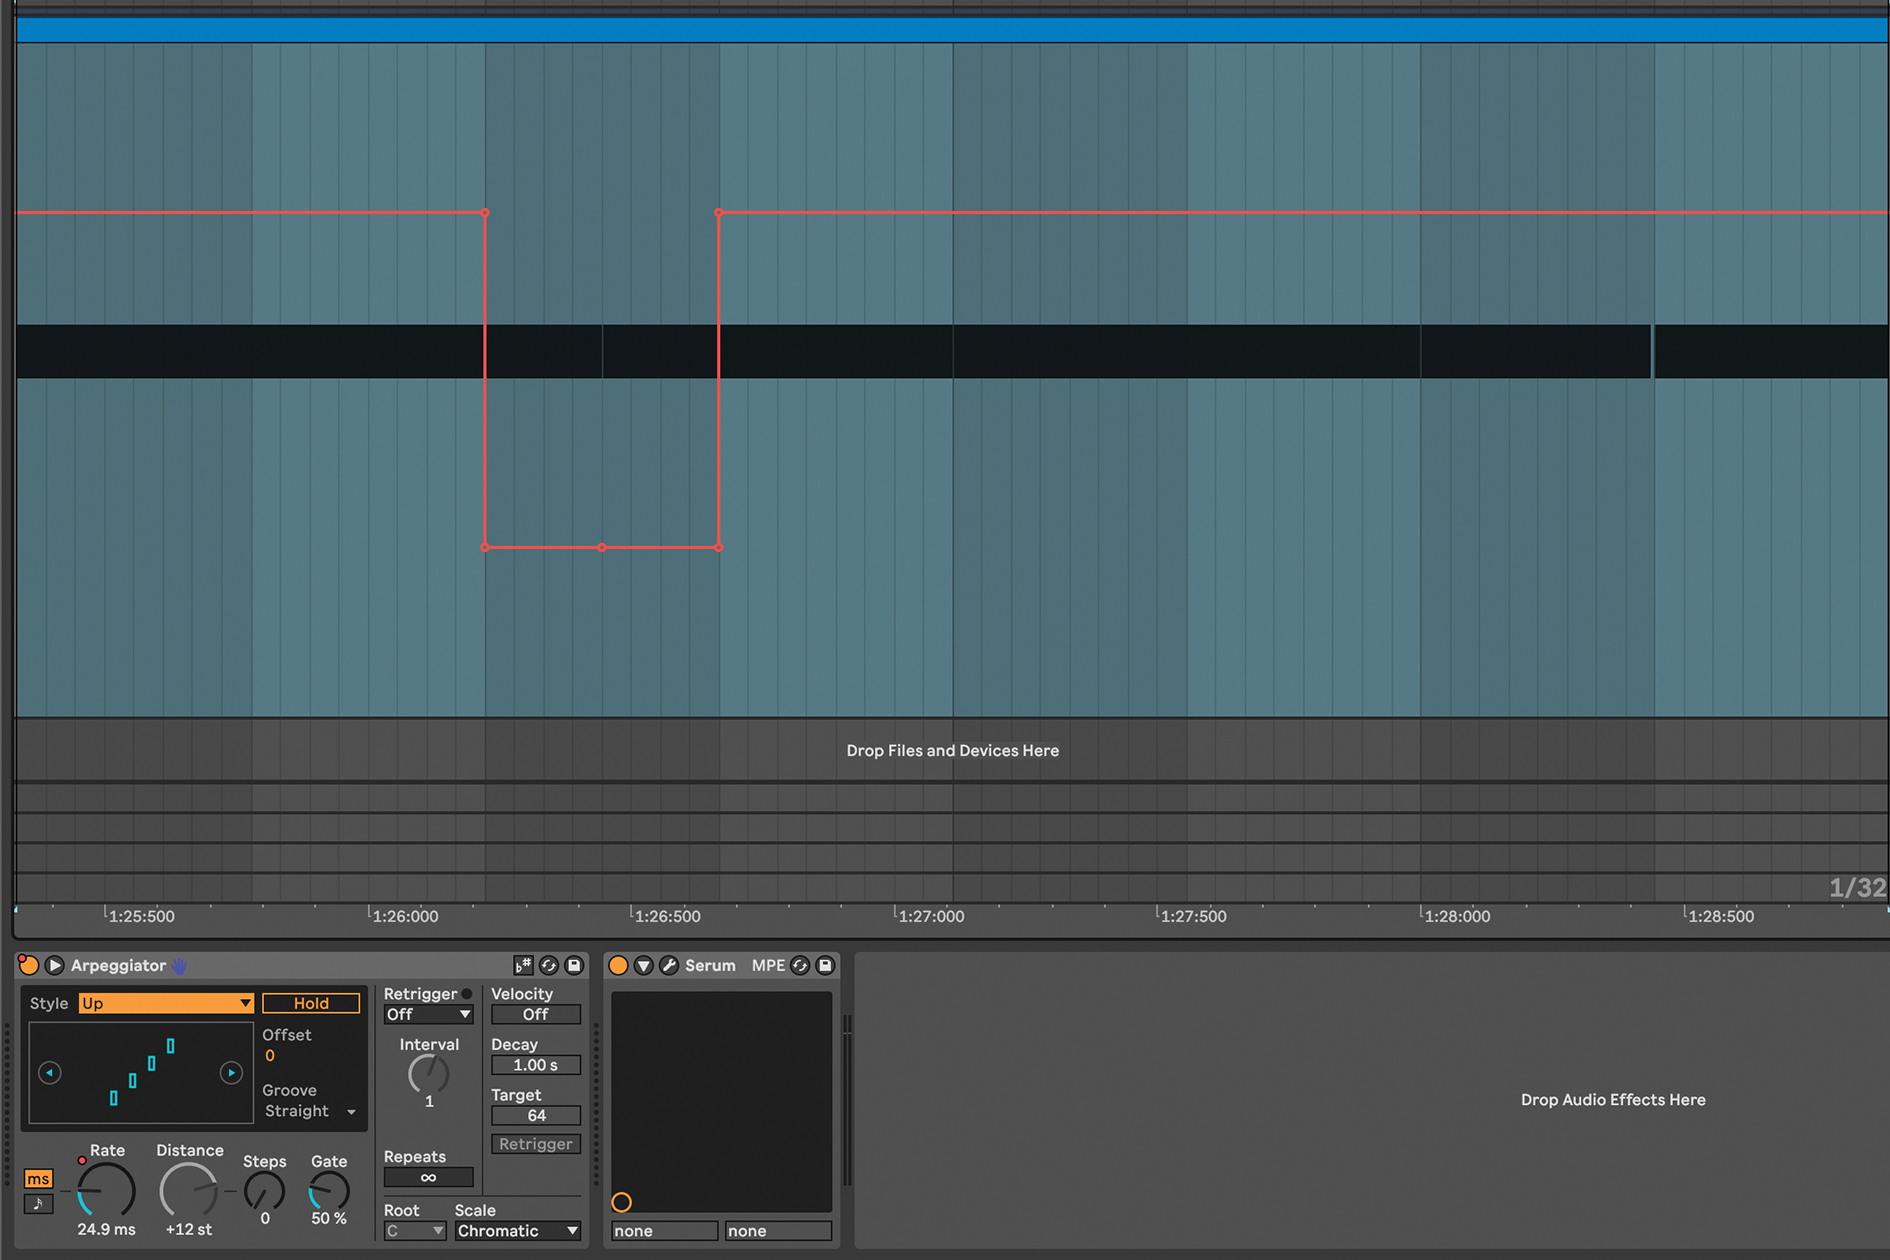
Take your automations one step further by continuing to play with time. Press A to select Automation mode in Ableton, and select Arpeggiator and Sync On. To give the rhythm more variation, automate the Sync on and off during different parts of the MIDI clip. You may need to re-edit the MIDI notes at this time to create a pattern you’re happy with.
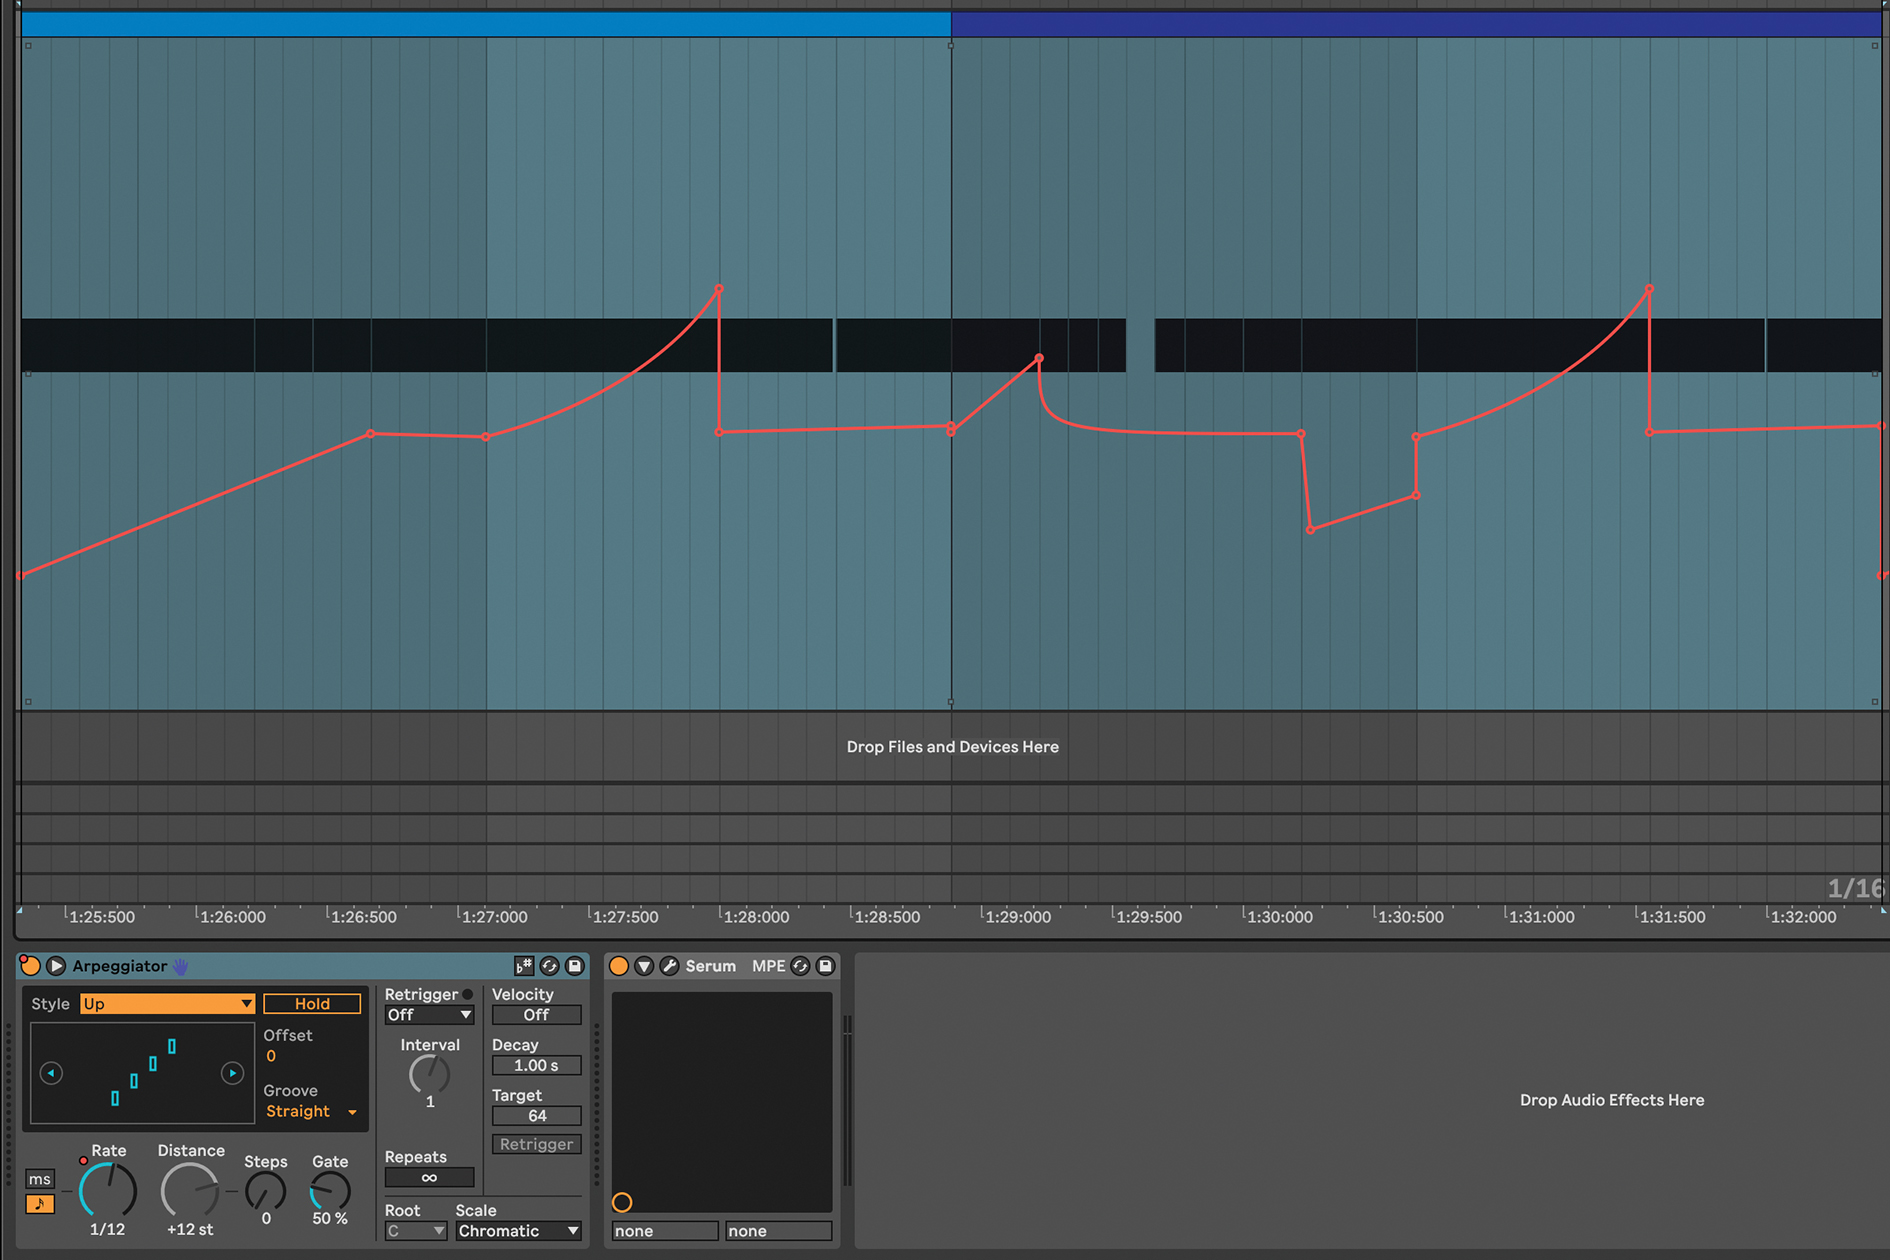
You can adjust or edit the synced rate of the arpeggiator to taste. Spend some time to create a rhythmic groove that sounds good. It will be a combination of Automated Rate changes, and the synced rate of the arp. Copy the pattern to the next two bars, and continue to make variations until you have a four-bar pattern with interesting changes.
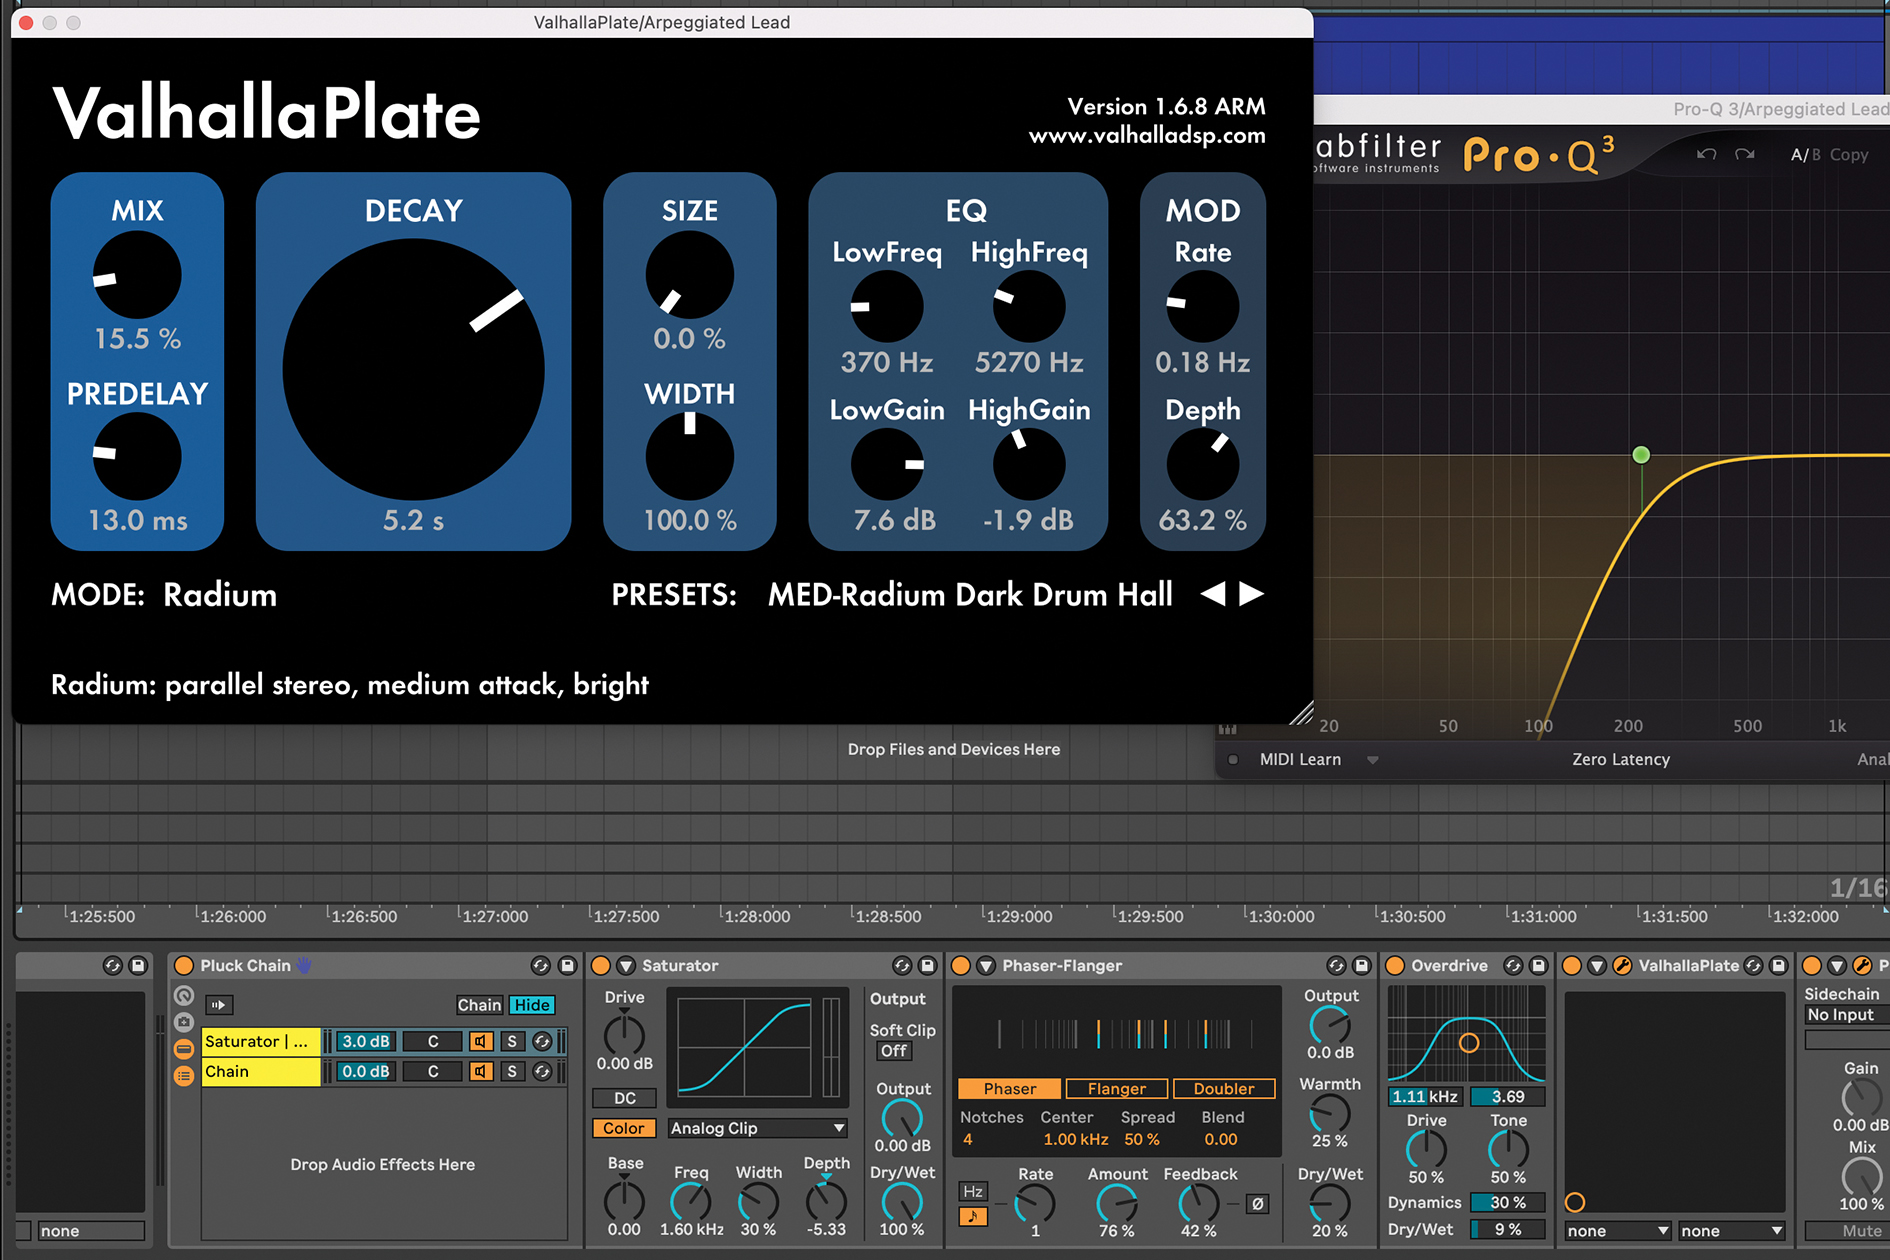
Process the arpeggiated lead pluck by adding EQ and rolling off the low end. Add a saturator, phaser and overdrive. Try adding a small amount of plate reverb and finish by rolling off the low end using EQ. Group the effects together and add a second dry chain without plugins. Lower the volume of the effect chain.
Hoovering up
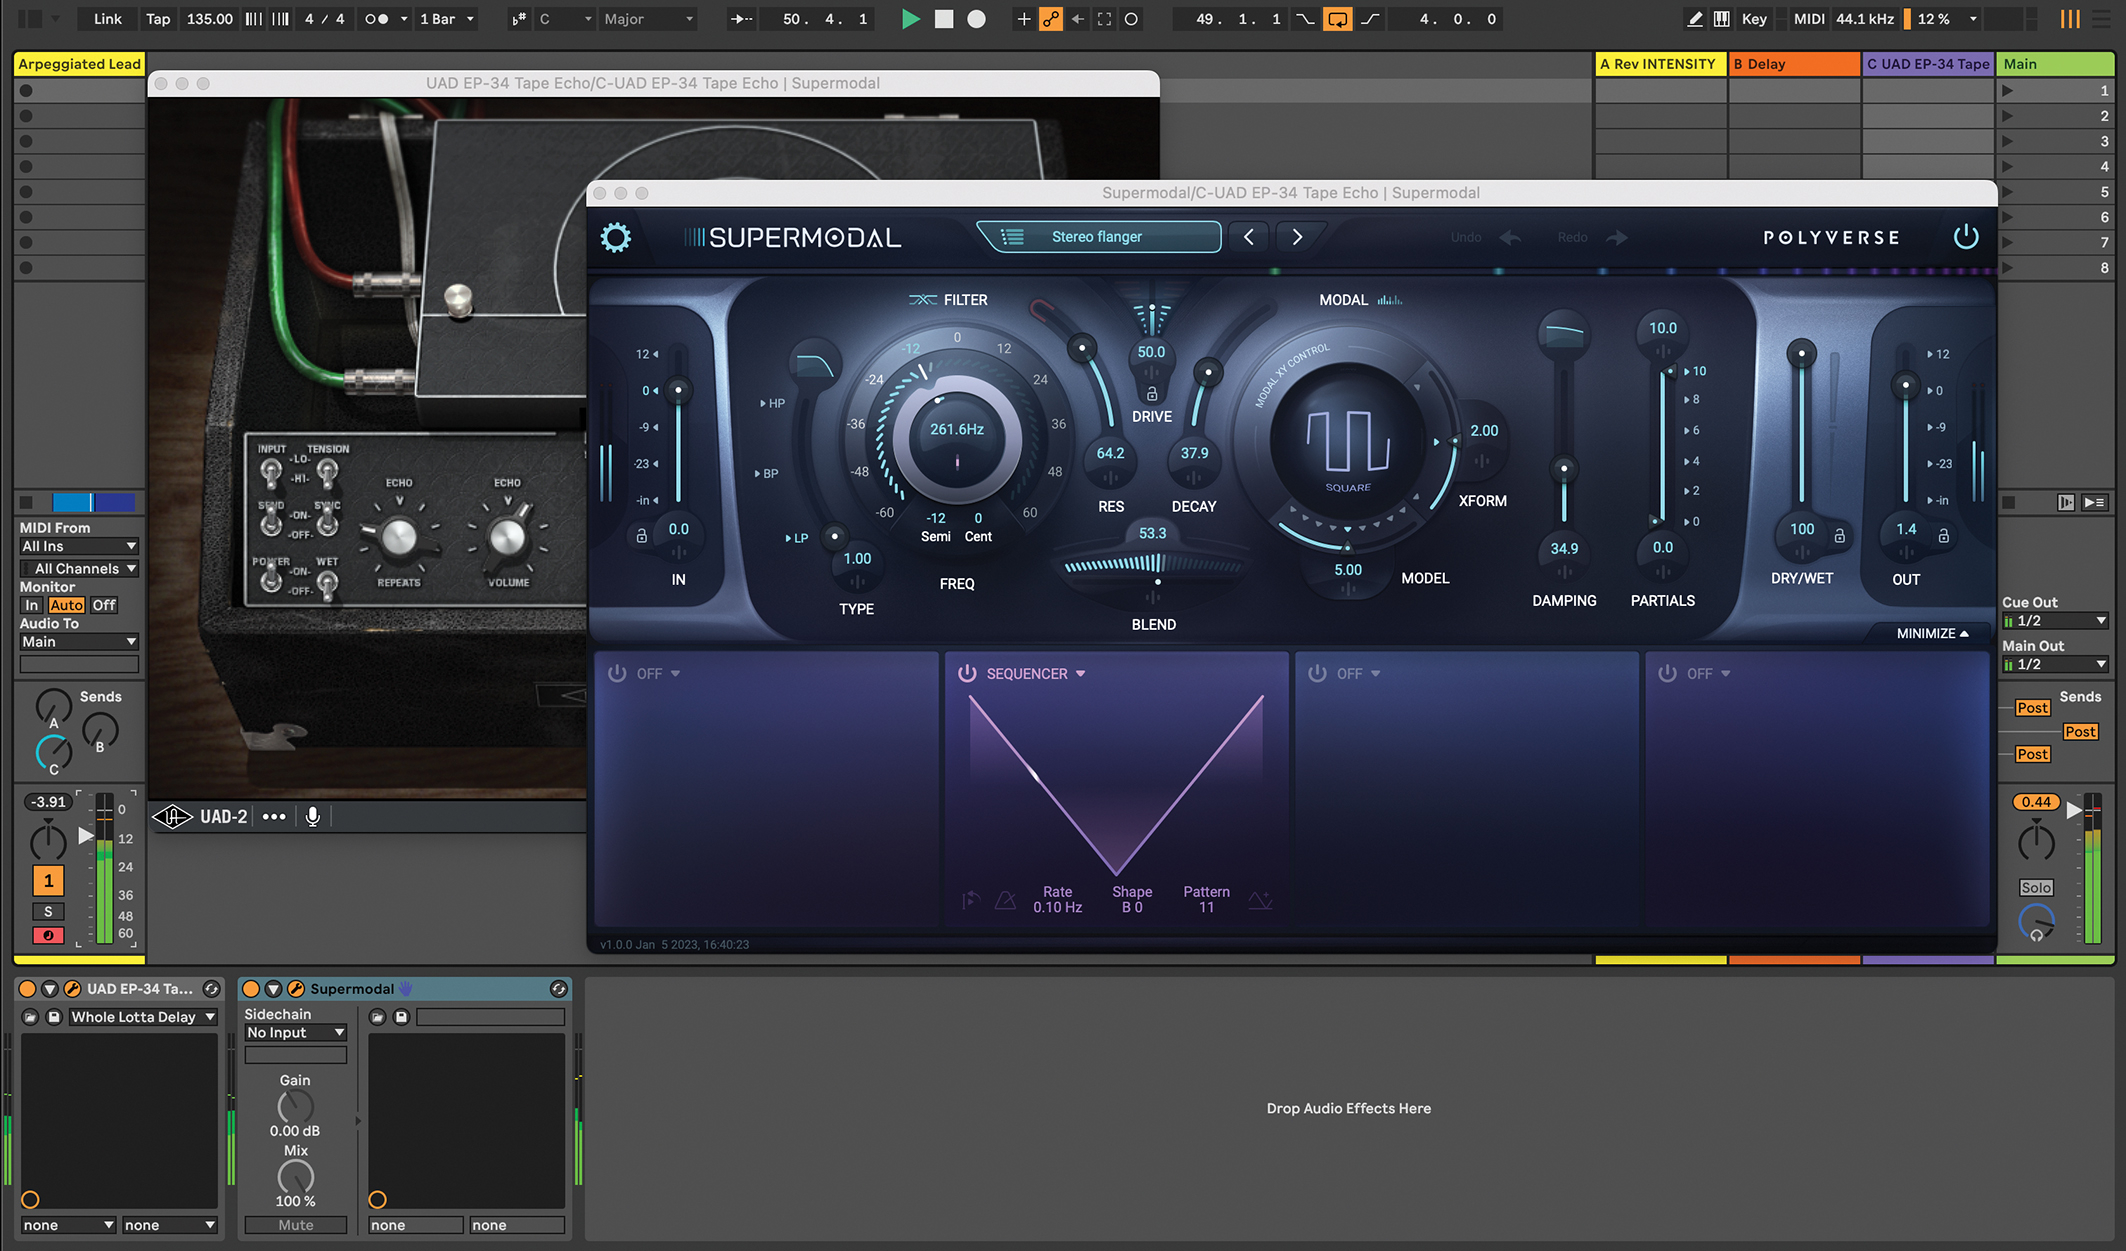
Once you’ve created your main lead, add supporting synth lines. A sound that’s made a real comeback in recent techno productions is a hoover synth. To create this sound, you could either use a sample, 7Skies Get Low Rave House XP Pack, or a preset for Serum or Sylenth1 from a techno or rave preset pack. Another element to consider adding is a bass pluck. This is a great type of sound that works with either type of lead.
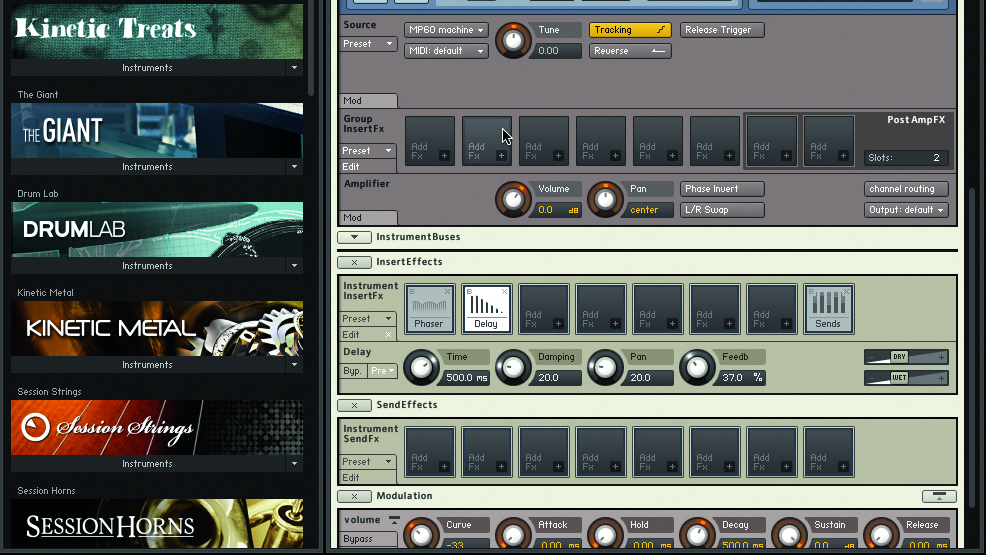
To make the sound itself, consider trying a preset. Vandalism Sound has good quality presets and offers a subscription service that lets producers search through thousands of presets and download individual sounds. Another tool for creating bass plucks and stabs is Reaktor’s Lazerbass. A bass pluck typically plays on beat four or the eighth note just after beat four and provides a complementary sound to the main lead. Process the bass pluck with a saturator, phaser-flanger, a small amount of overdrive in the mid range, and a plate reverb with a dark reverb setting.
Use an EQ to shape the sound, removing both the low and high end. To create a fourth synth, try duplicating the MIDI for the main pluck lead in a higher octave, and use a sound with a different type of sonic character for contrast.
“Do you dare to ditch those ‘normal’ beats in favour of hands-on tweaking and extreme sounds? Of course, you do”: Sonicware CyDrums review
“Excels at unique modulated timbres, atonal drones and microtonal sequences that reinvent themselves each time you dare to touch the synth”: Soma Laboratories Lyra-4 review


