How to mix vocals in hip-hop production
How do you make your vocals hit hardest in a genre that emphasises beats and samples?

Hip-hop has evolved massively over the decades, but much has stayed the same in terms of how a sound engineer approaches the mix. The vocals are so important in this genre because they are carrying the song: a story is being told over a beat.
Electronic production tools have been good for the genre, which is now mainstream in many guises. Vocals, along with tracks themselves, are more experimental and genre-bending than at any time in its rich history. But one thing hasn’t changed: the vocals always need to shine because they are so close to the spoken word.
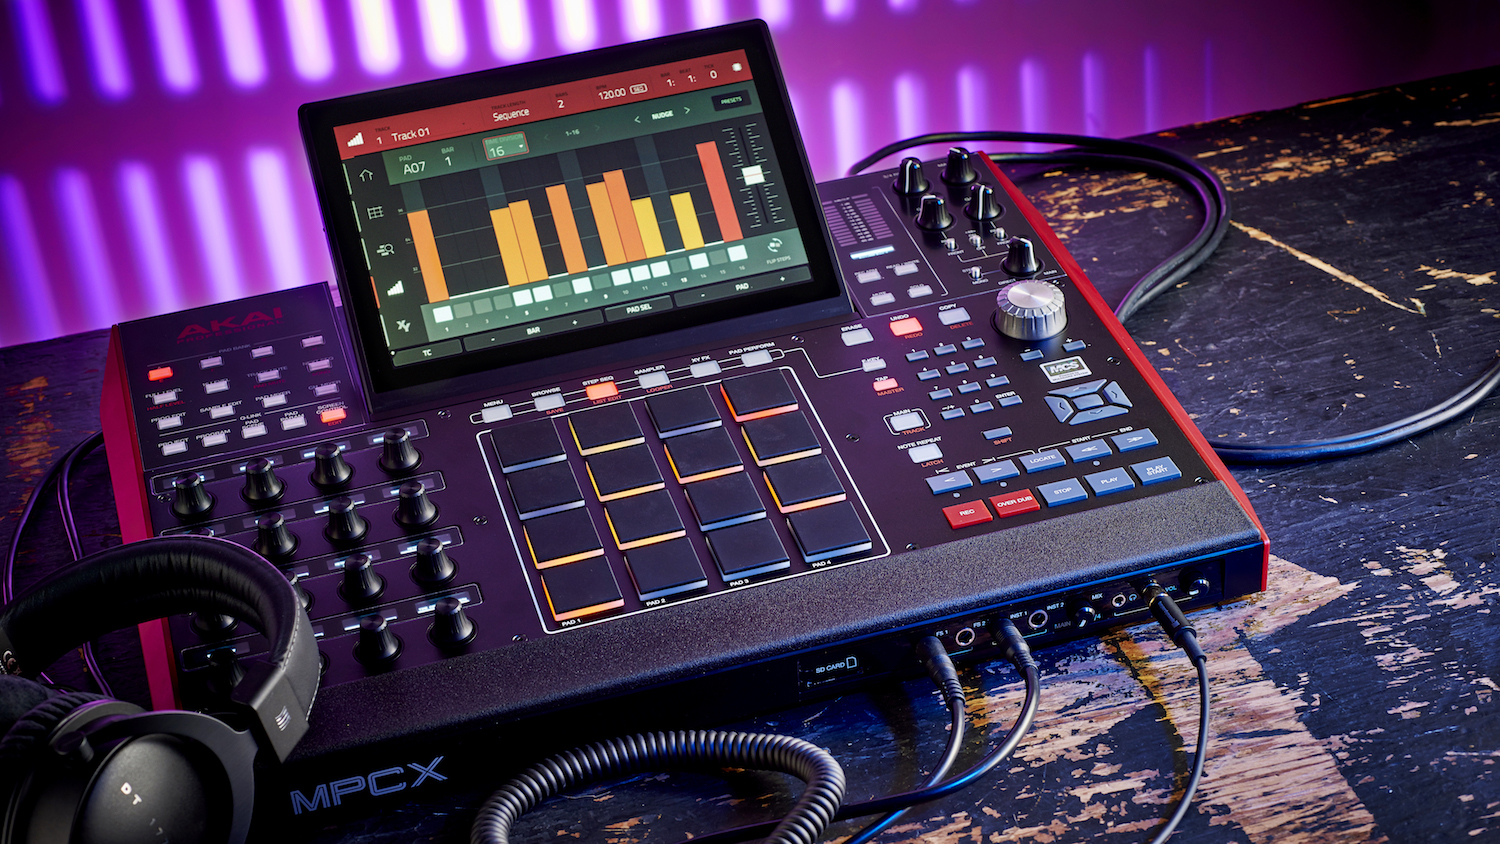
Just like any vocal mix, the voice is treated as an instrument — refined and polished by an engineer to make sure that the frequency sweet spots are hit, that the qualities of the individual voice are brought out and that the right effects and enhancements are used.
Everyone remembers a great beat, but the vocals need to surpass everything in the mix. So when you have deep bass and a phat beat fighting for your attention, how do you make sure that, at the end of it all, it’s the vocal delivery that shines brightest?
In this tutorial we'll go through the process of working on vocals for hip-hop, from raw vocals to the spit-shined finished article, talking through balancing your vocal tracks, compression tips and more. Check out the video above or run through the steps below.

Step 1: Step one is selecting your vocal takes to work from and doing any comping (editing) if there are better parts in other takes. Once you have your main vocal track set, then do the same with your backing vocals or double tracks. Then repeat the process again to select your adlibs.
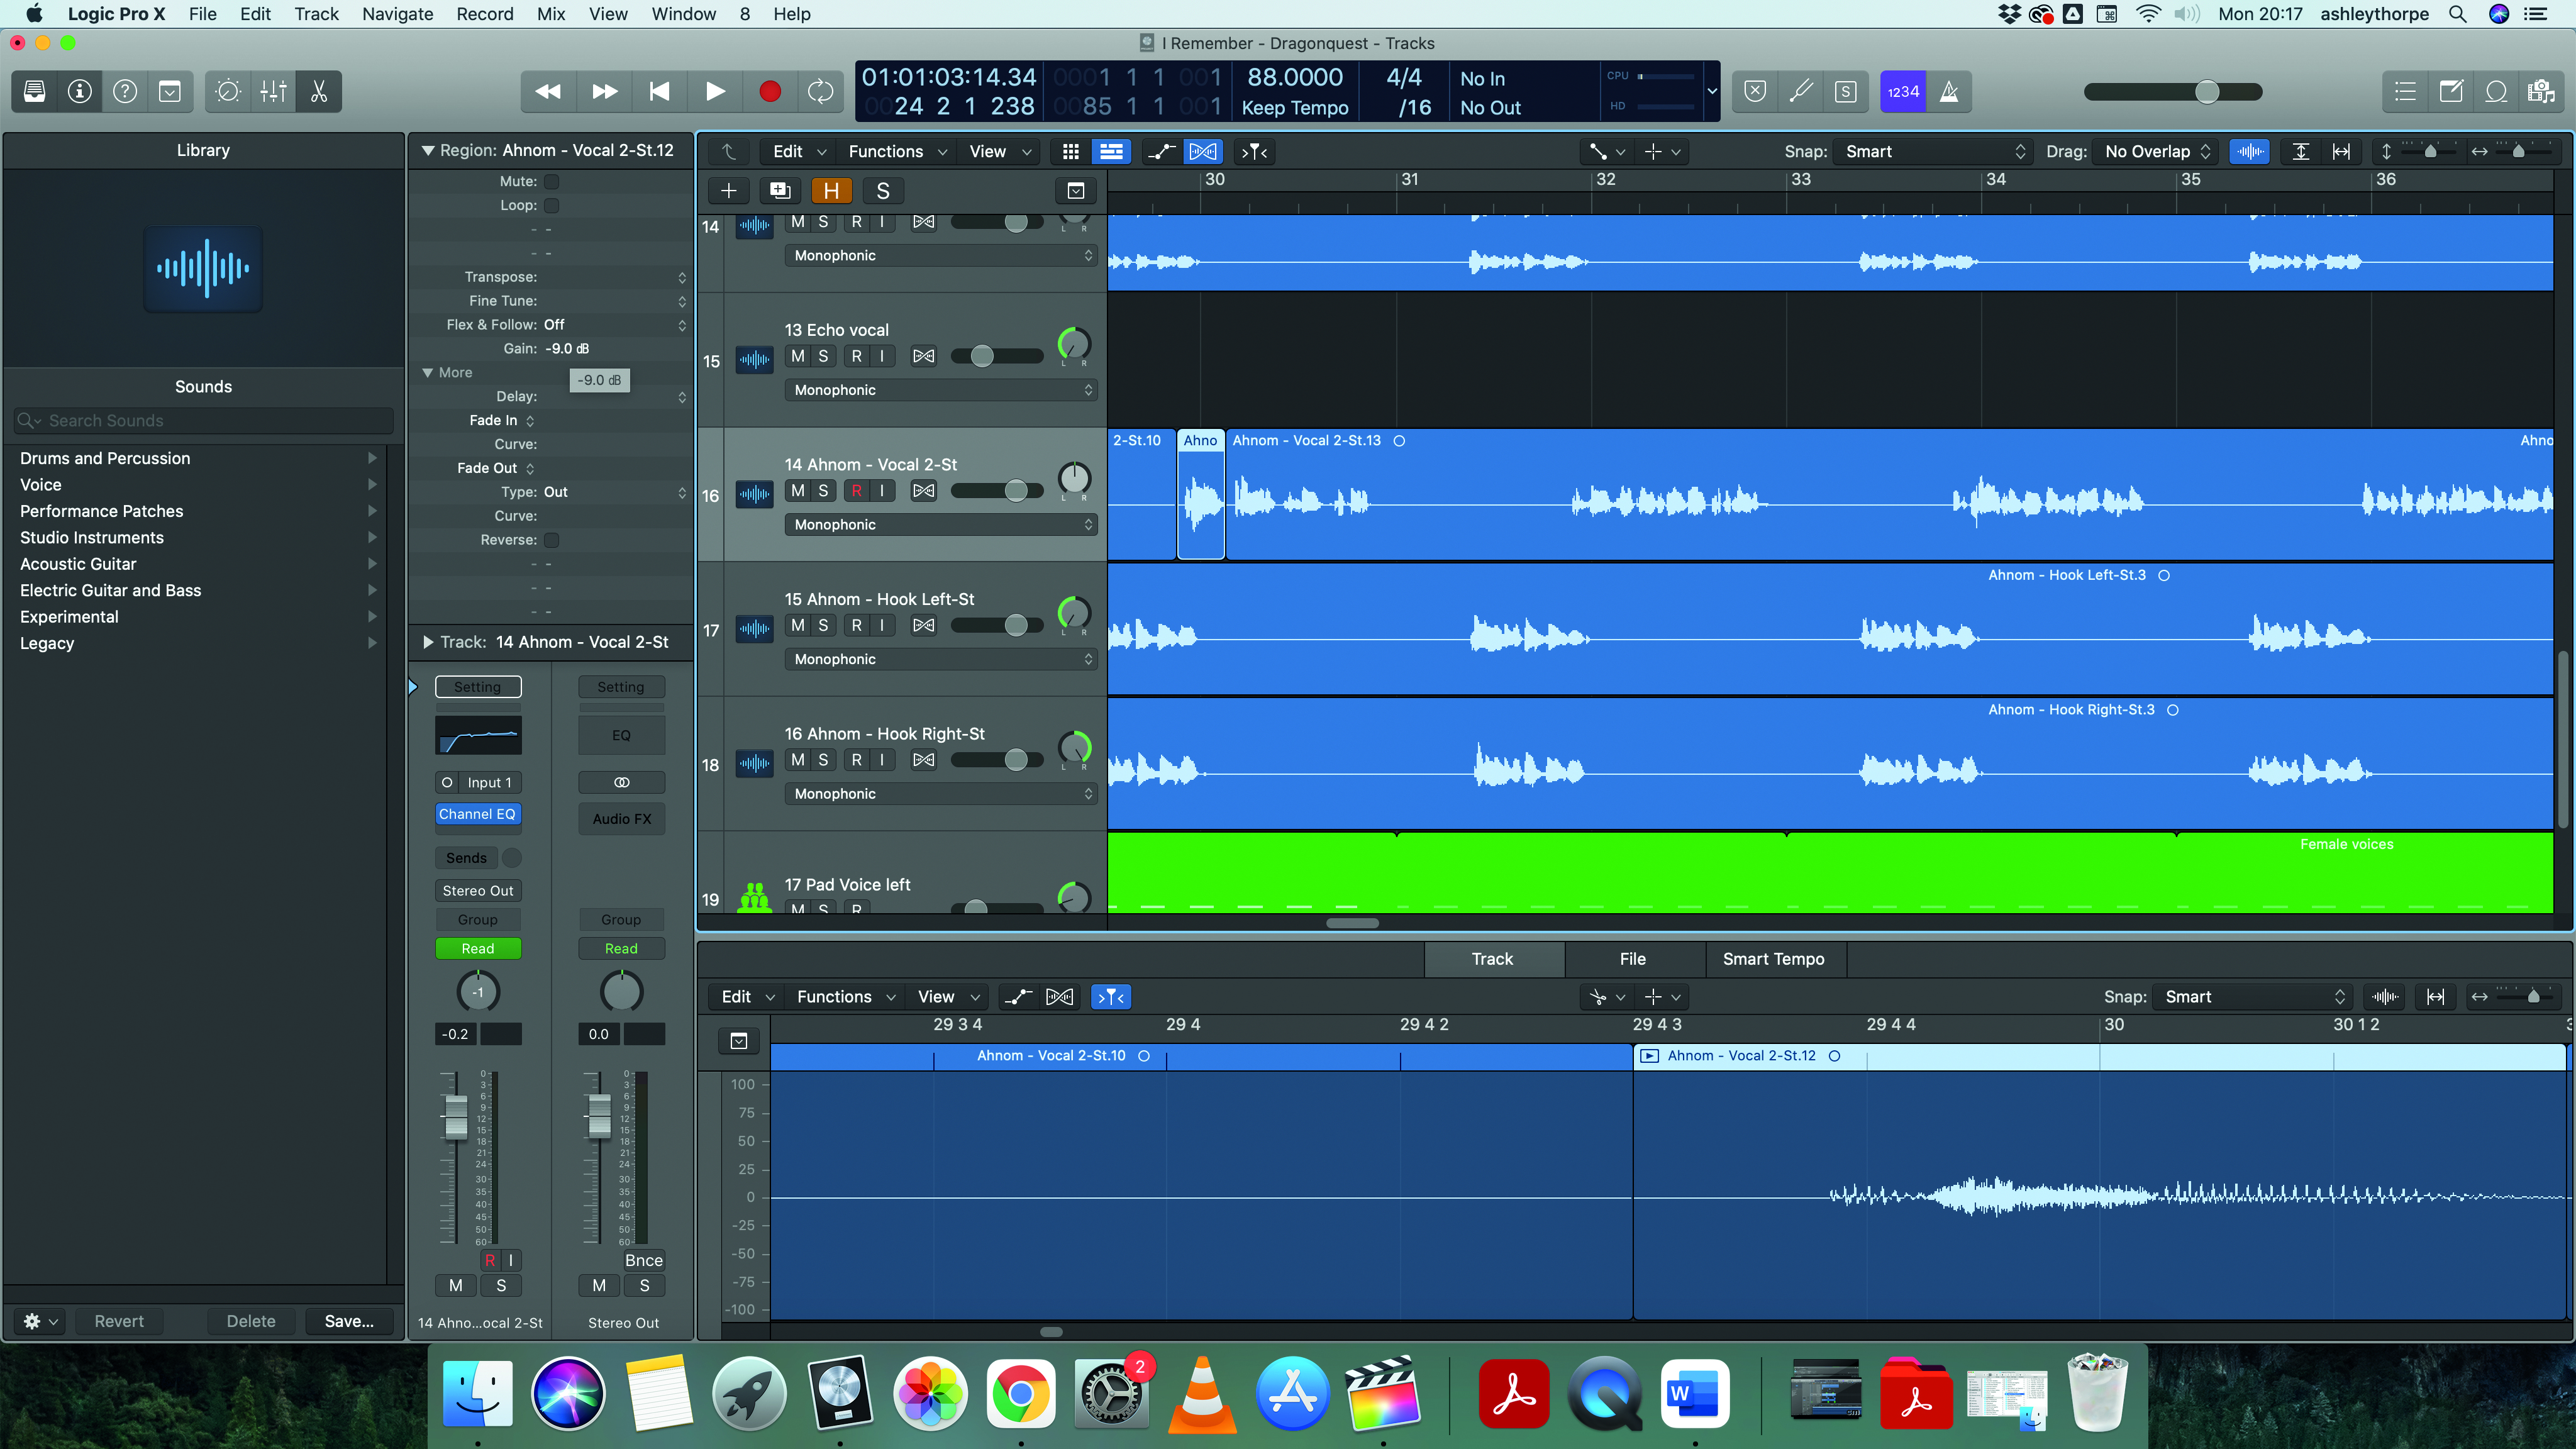
Step 2: Once your vocal tracks are lined up correctly on your DAW timeline, it’s time to make any corrections. Some things to look out for are: sharp intakes of breath, dips in the volume of the vocal delivery or sudden peaks.
Get the MusicRadar Newsletter
Want all the hottest music and gear news, reviews, deals, features and more, direct to your inbox? Sign up here.

Step 3: Edit loud breaths by selecting the parts of the waveform and reducing the volume. Cutting the breaths altogether would make the vocal sound unnatural. The idea is just to tame the breaths so that they’re far less noticeable. I’ve found that with faster rappers in particular, the breaths are louder and deeper.

Step 4: You can also use volume control in the same way to balance out the vocal waveform where you see any volume peaks or dips. The compression step (still to come) will help too, but before that happens we need to get a decent balance in place on the timeline so we can be less intensive with the compression settings.
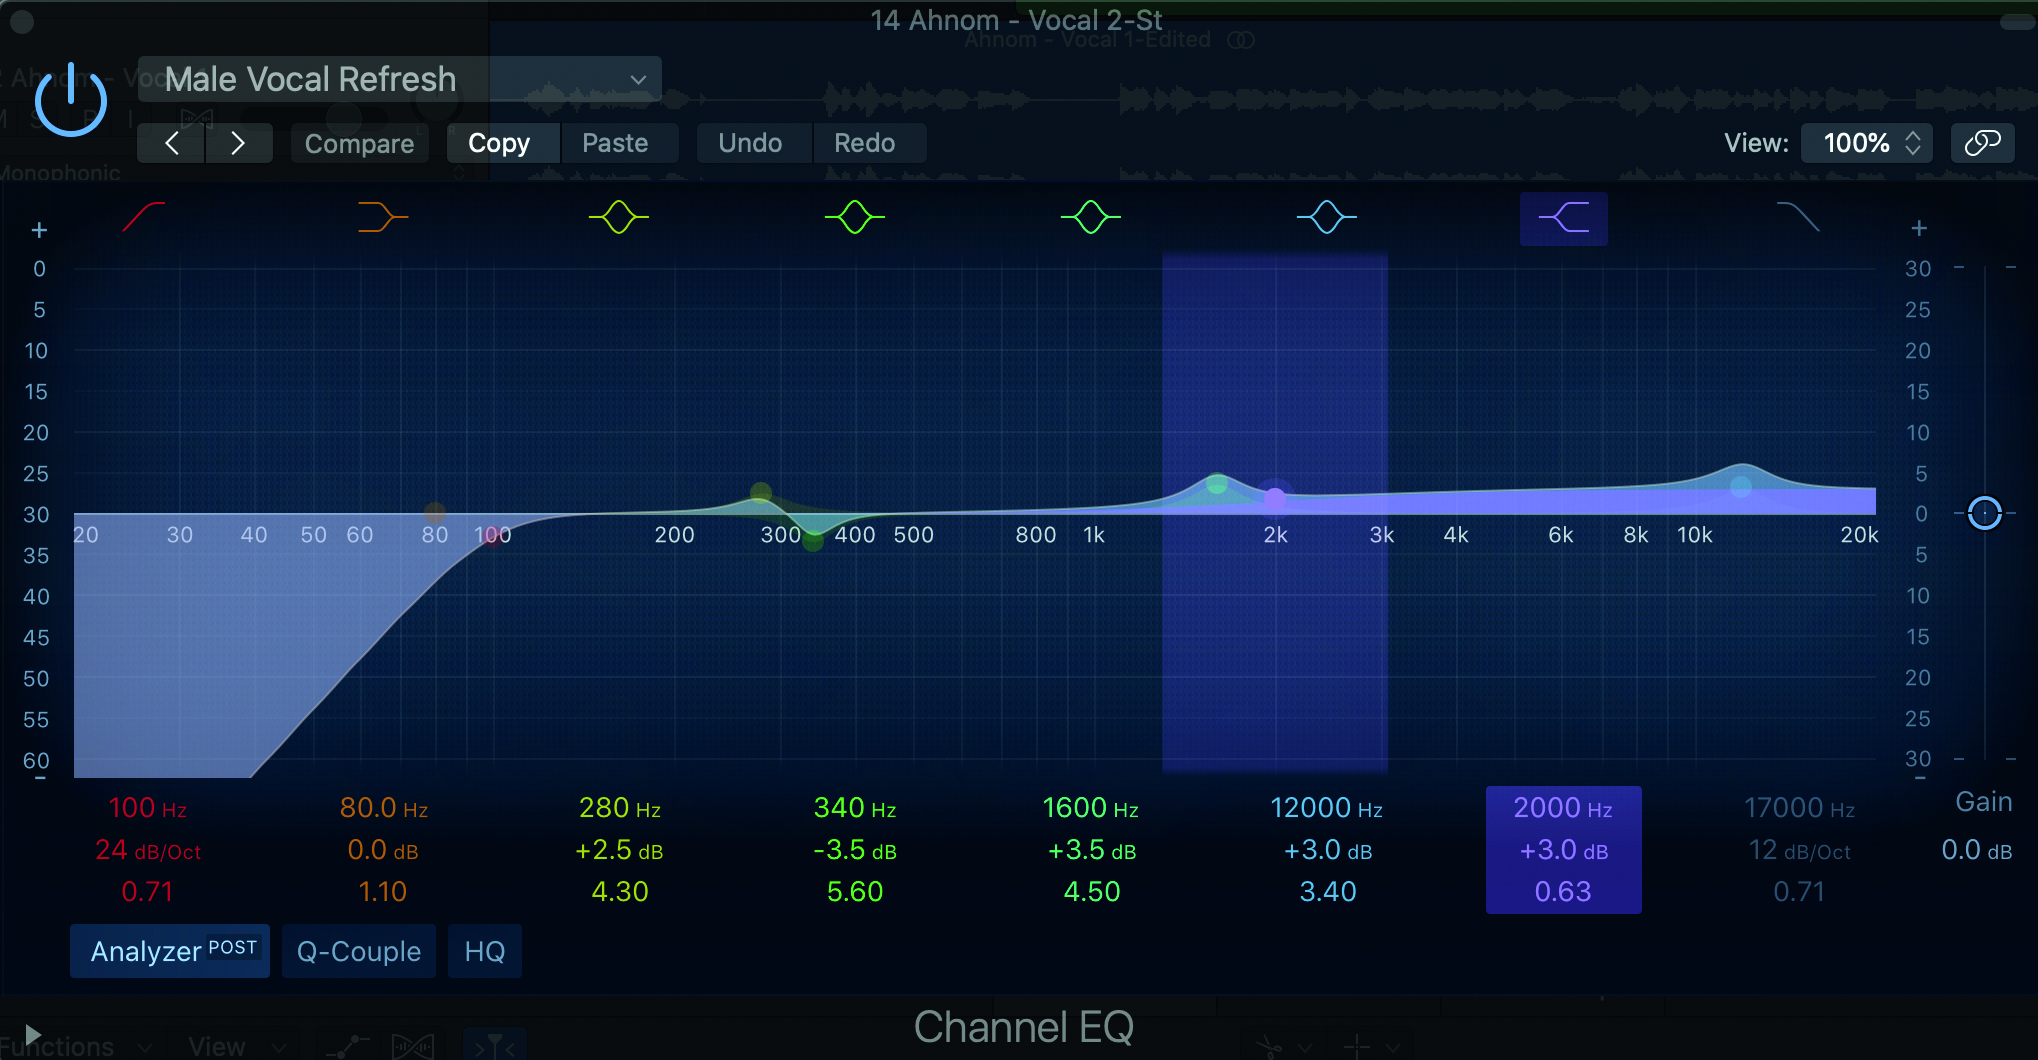
Step 5: EQ your vocals to help them cut through the rest of the track. Think about your vocalist’s range and then use parametric bands to remove any unwanted frequencies. Cut where necessary so that the vocal isn’t fighting against the low end or the snap of a snare for example.
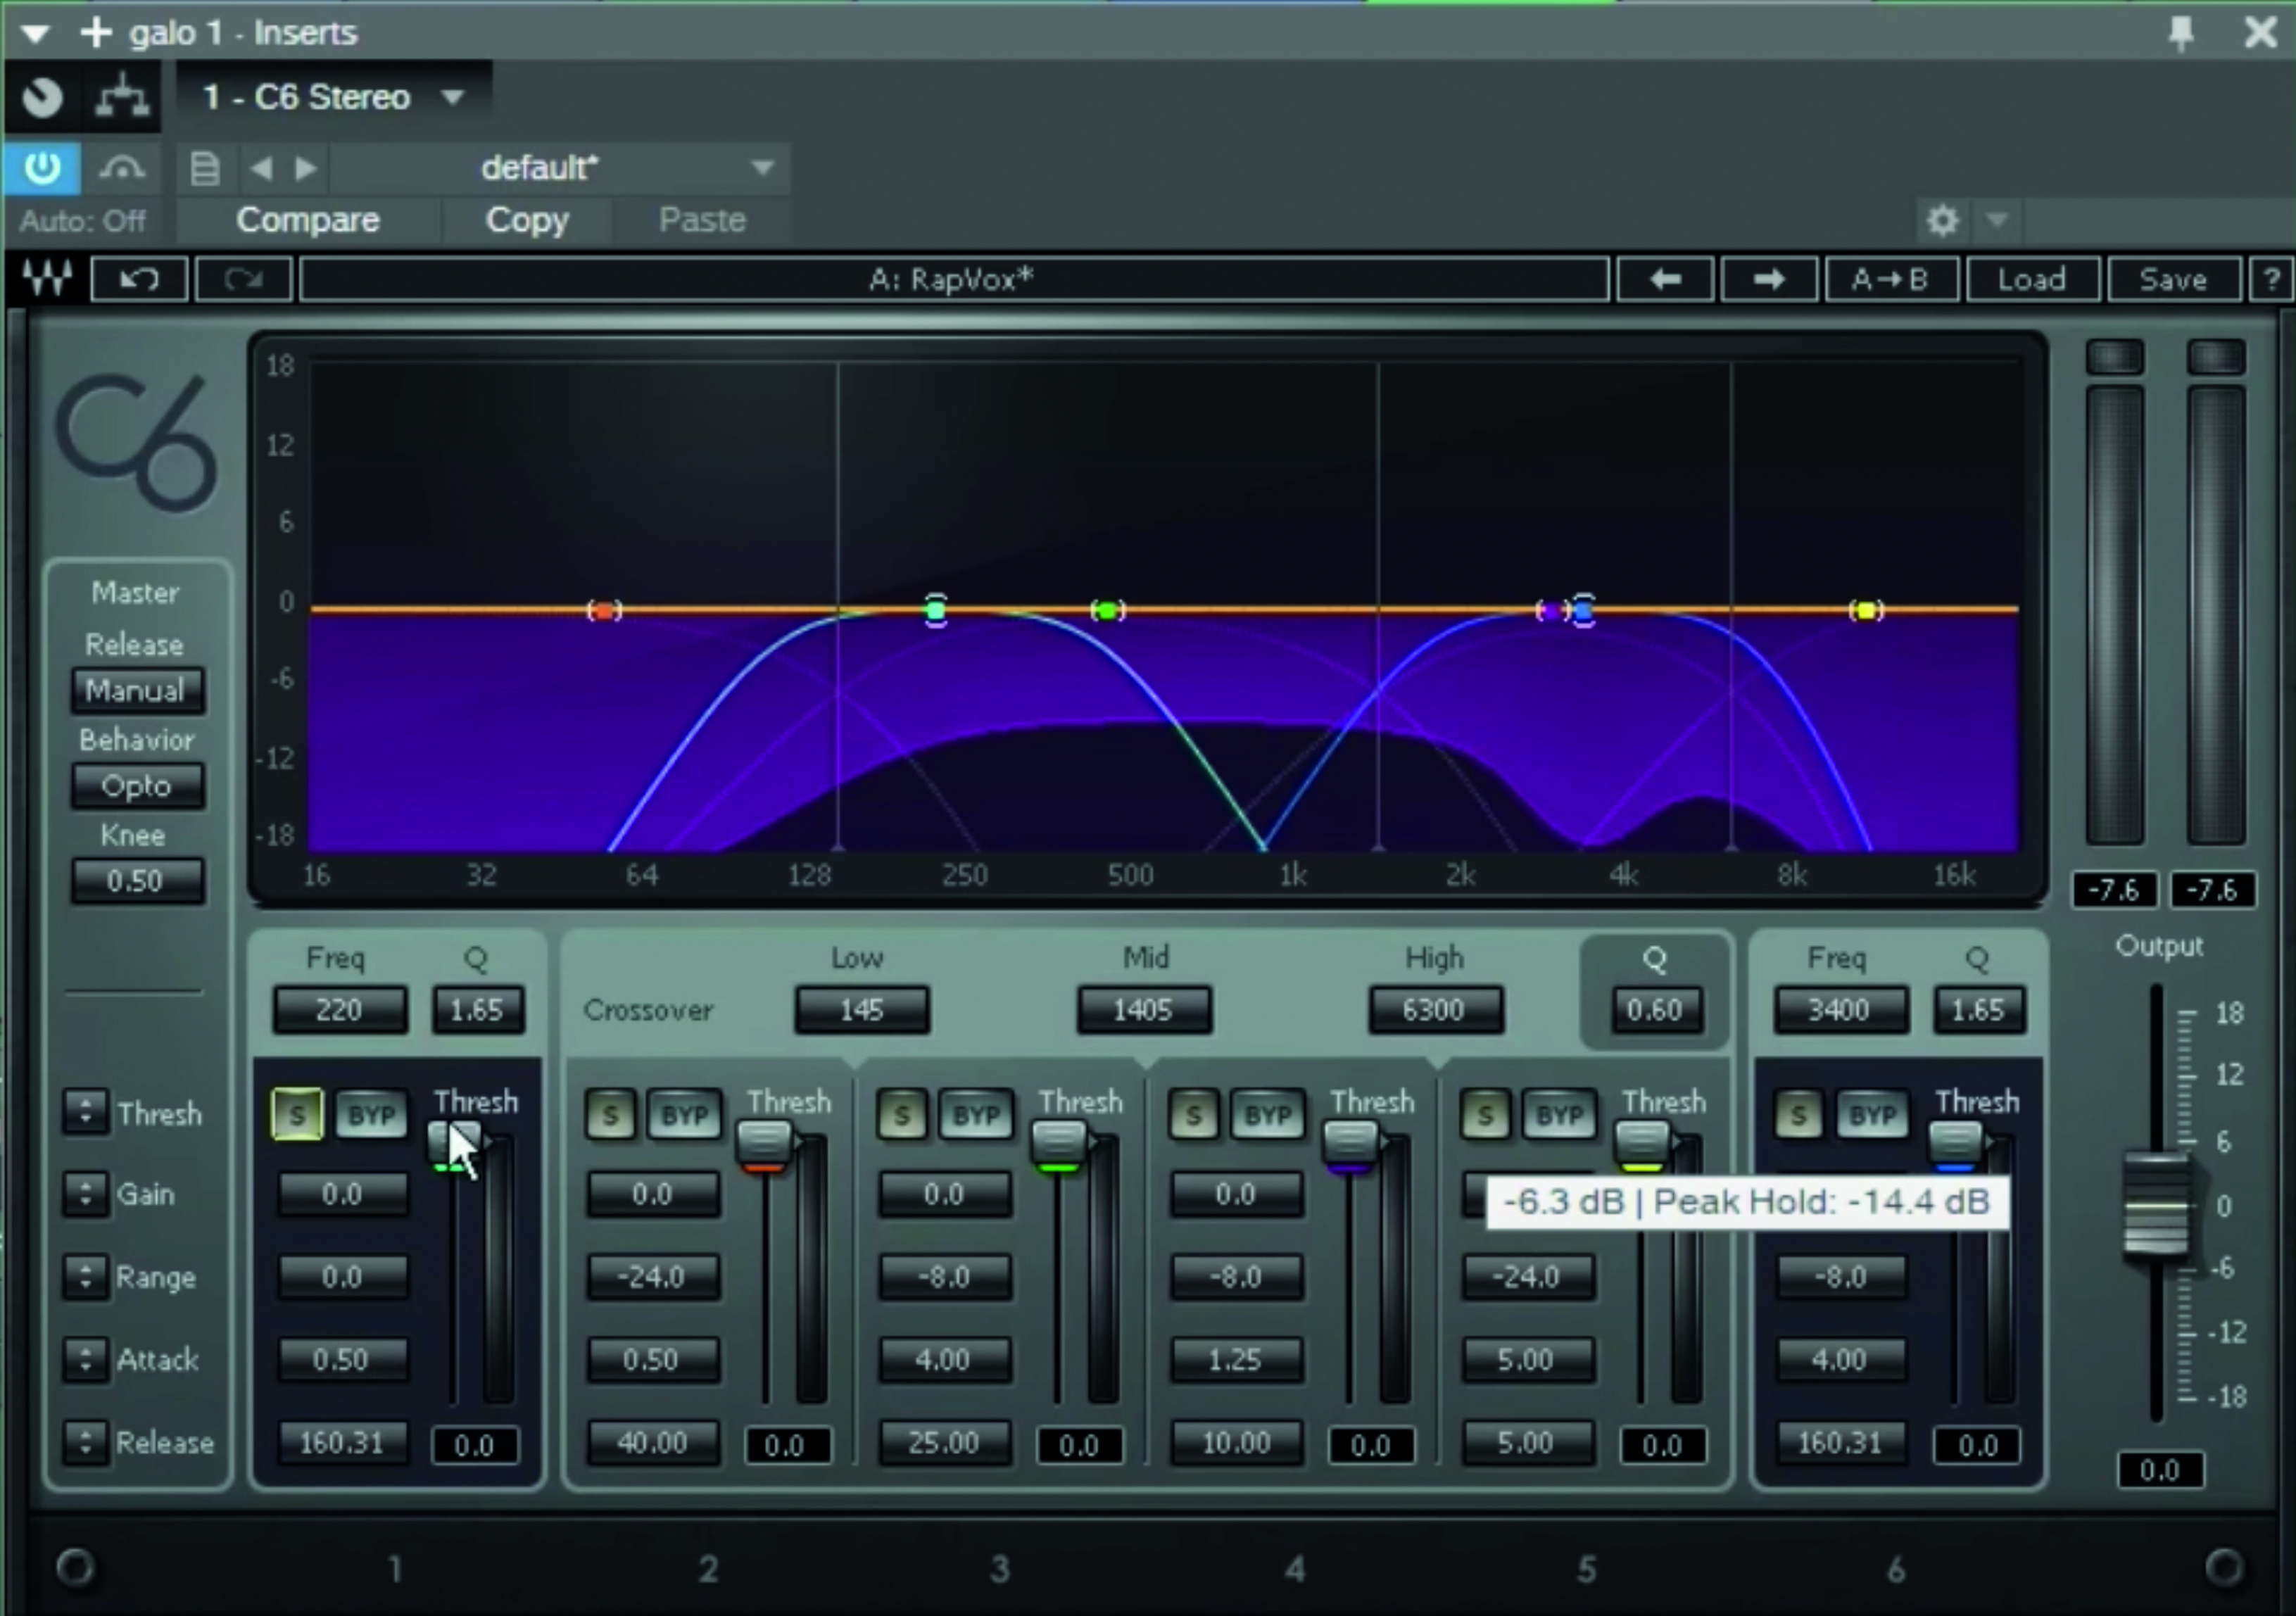
Step 6: We really recommend using a multiband compressor. It fulfils a similar function to an EQ but with a level of control across each frequency band that an EQ tool can’t offer. If you are unhappy with any harsh frequencies, use multiband compression to fix each part but keep the sound of the whole vocal track glued.
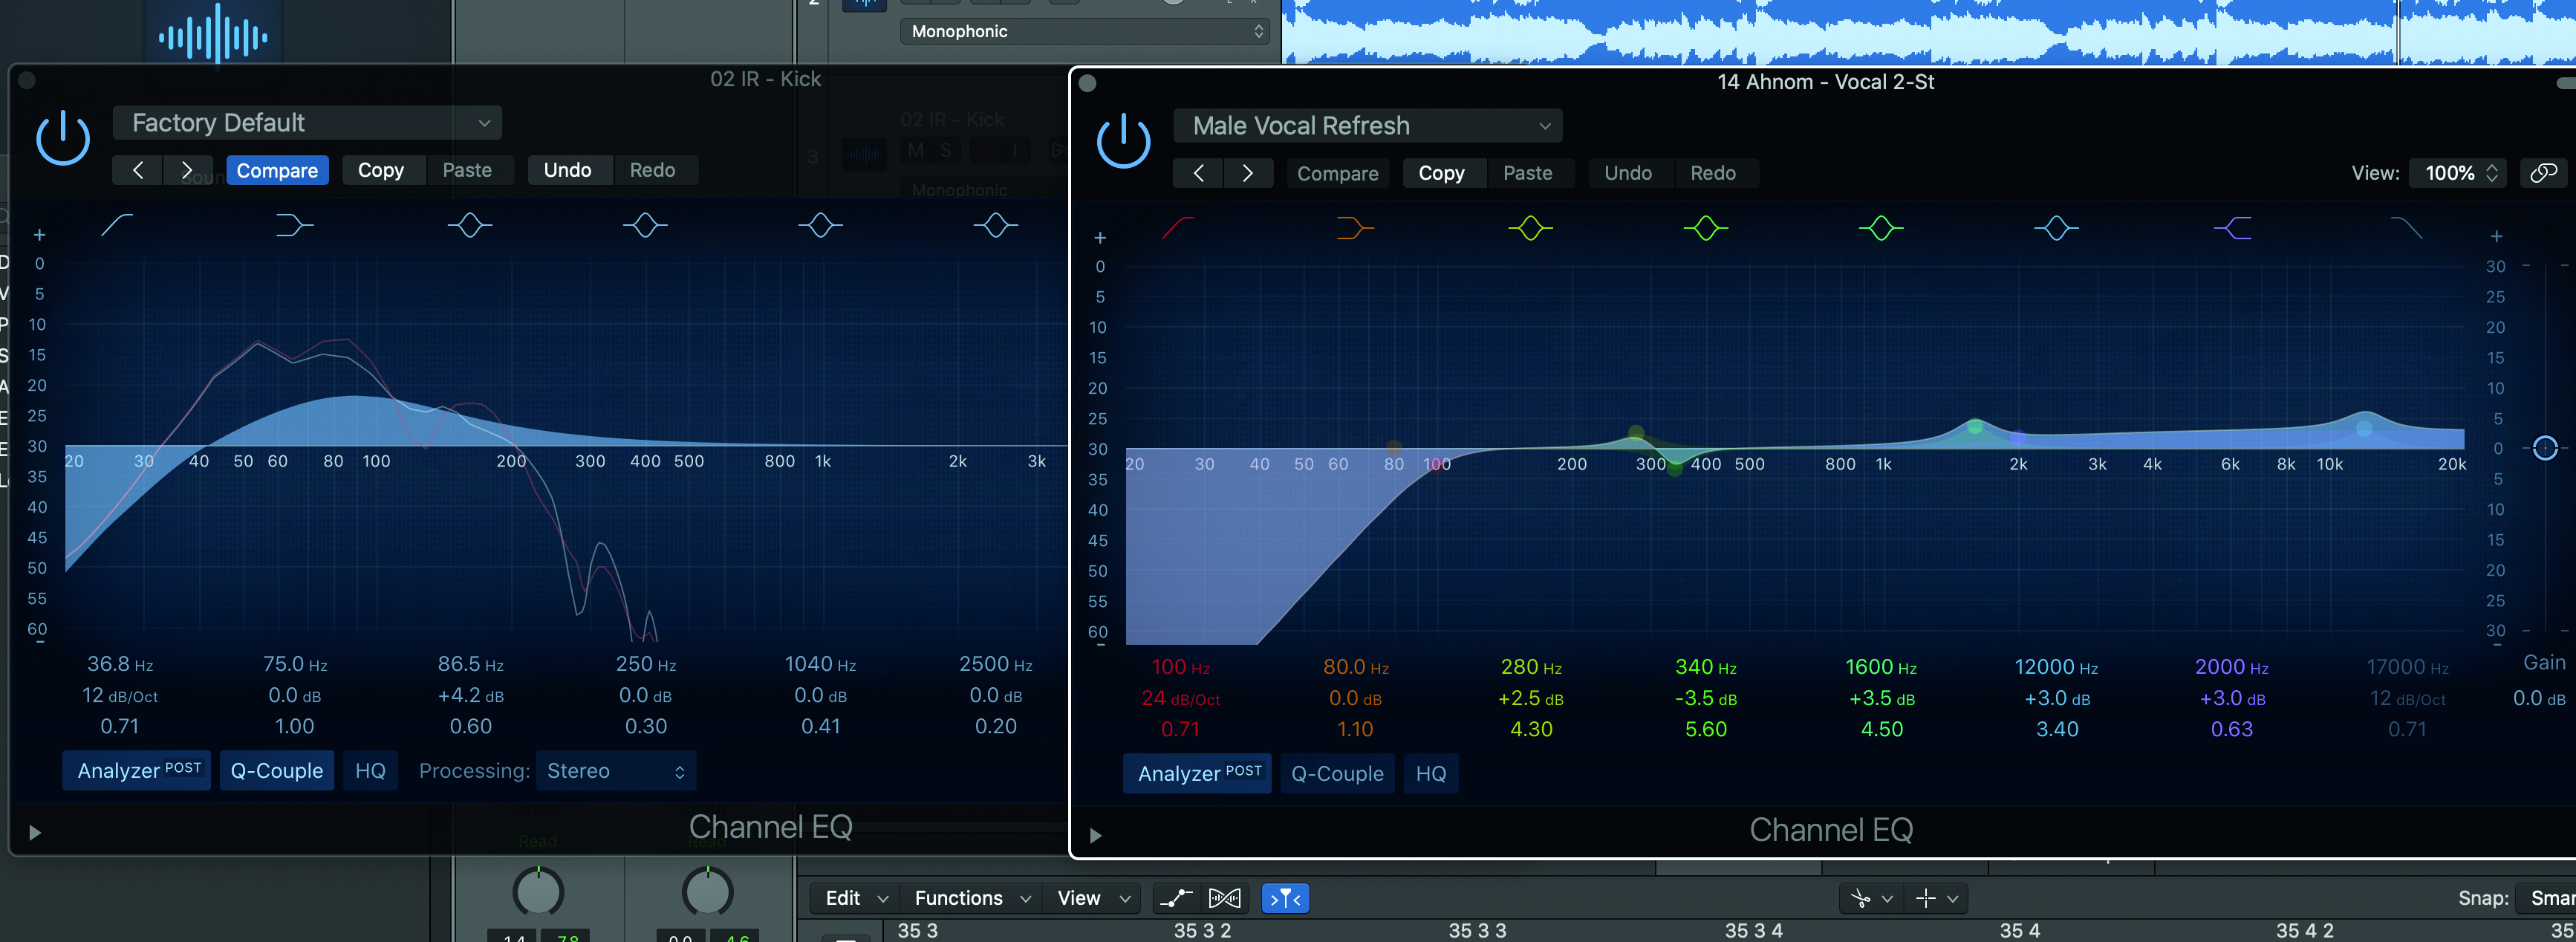
Step 7: Every hip-hop song and its qualities will be different, but there are still fundamentals. The low end for the kick drum and the bass need to stand out in their own right. So find the space for your vocals in the frequency spectrum. There’ll be places you can boost while not affecting your other components.
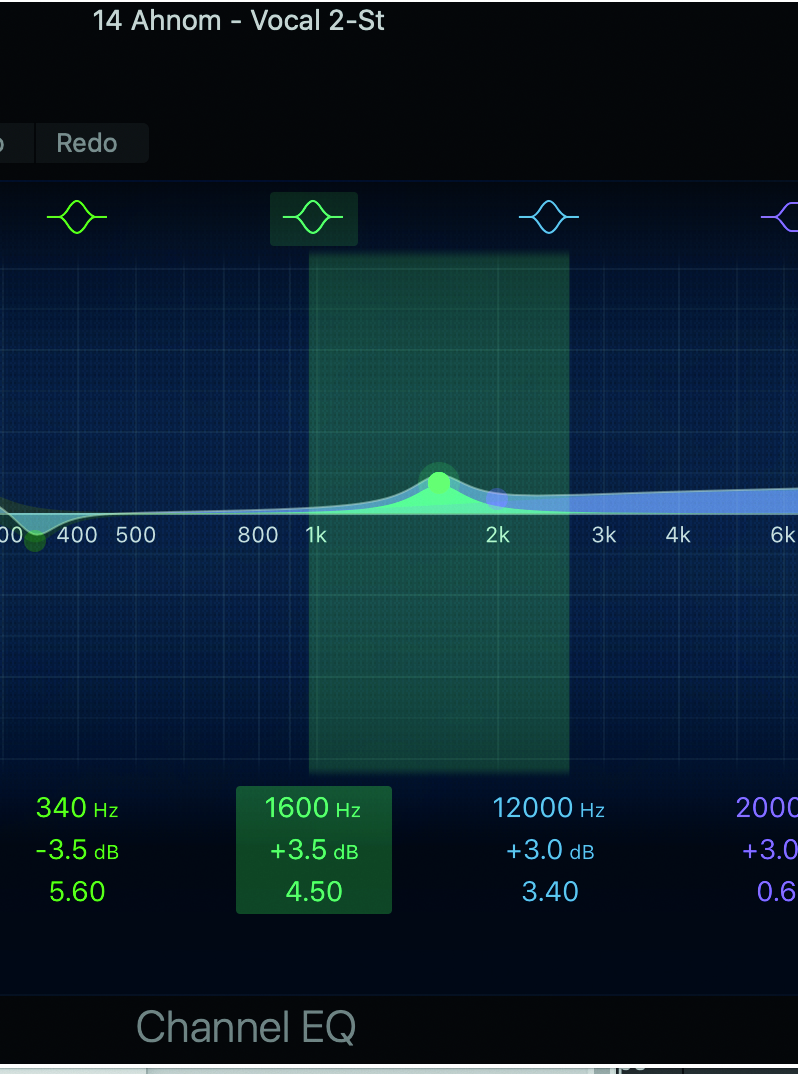
Step 8: The human ear is most sensitive to sounds around 2.5-5kHz so this section of the equalisation can be boosted to improve vocal clarity while the middle frequencies can be used to give the vocal timbre.
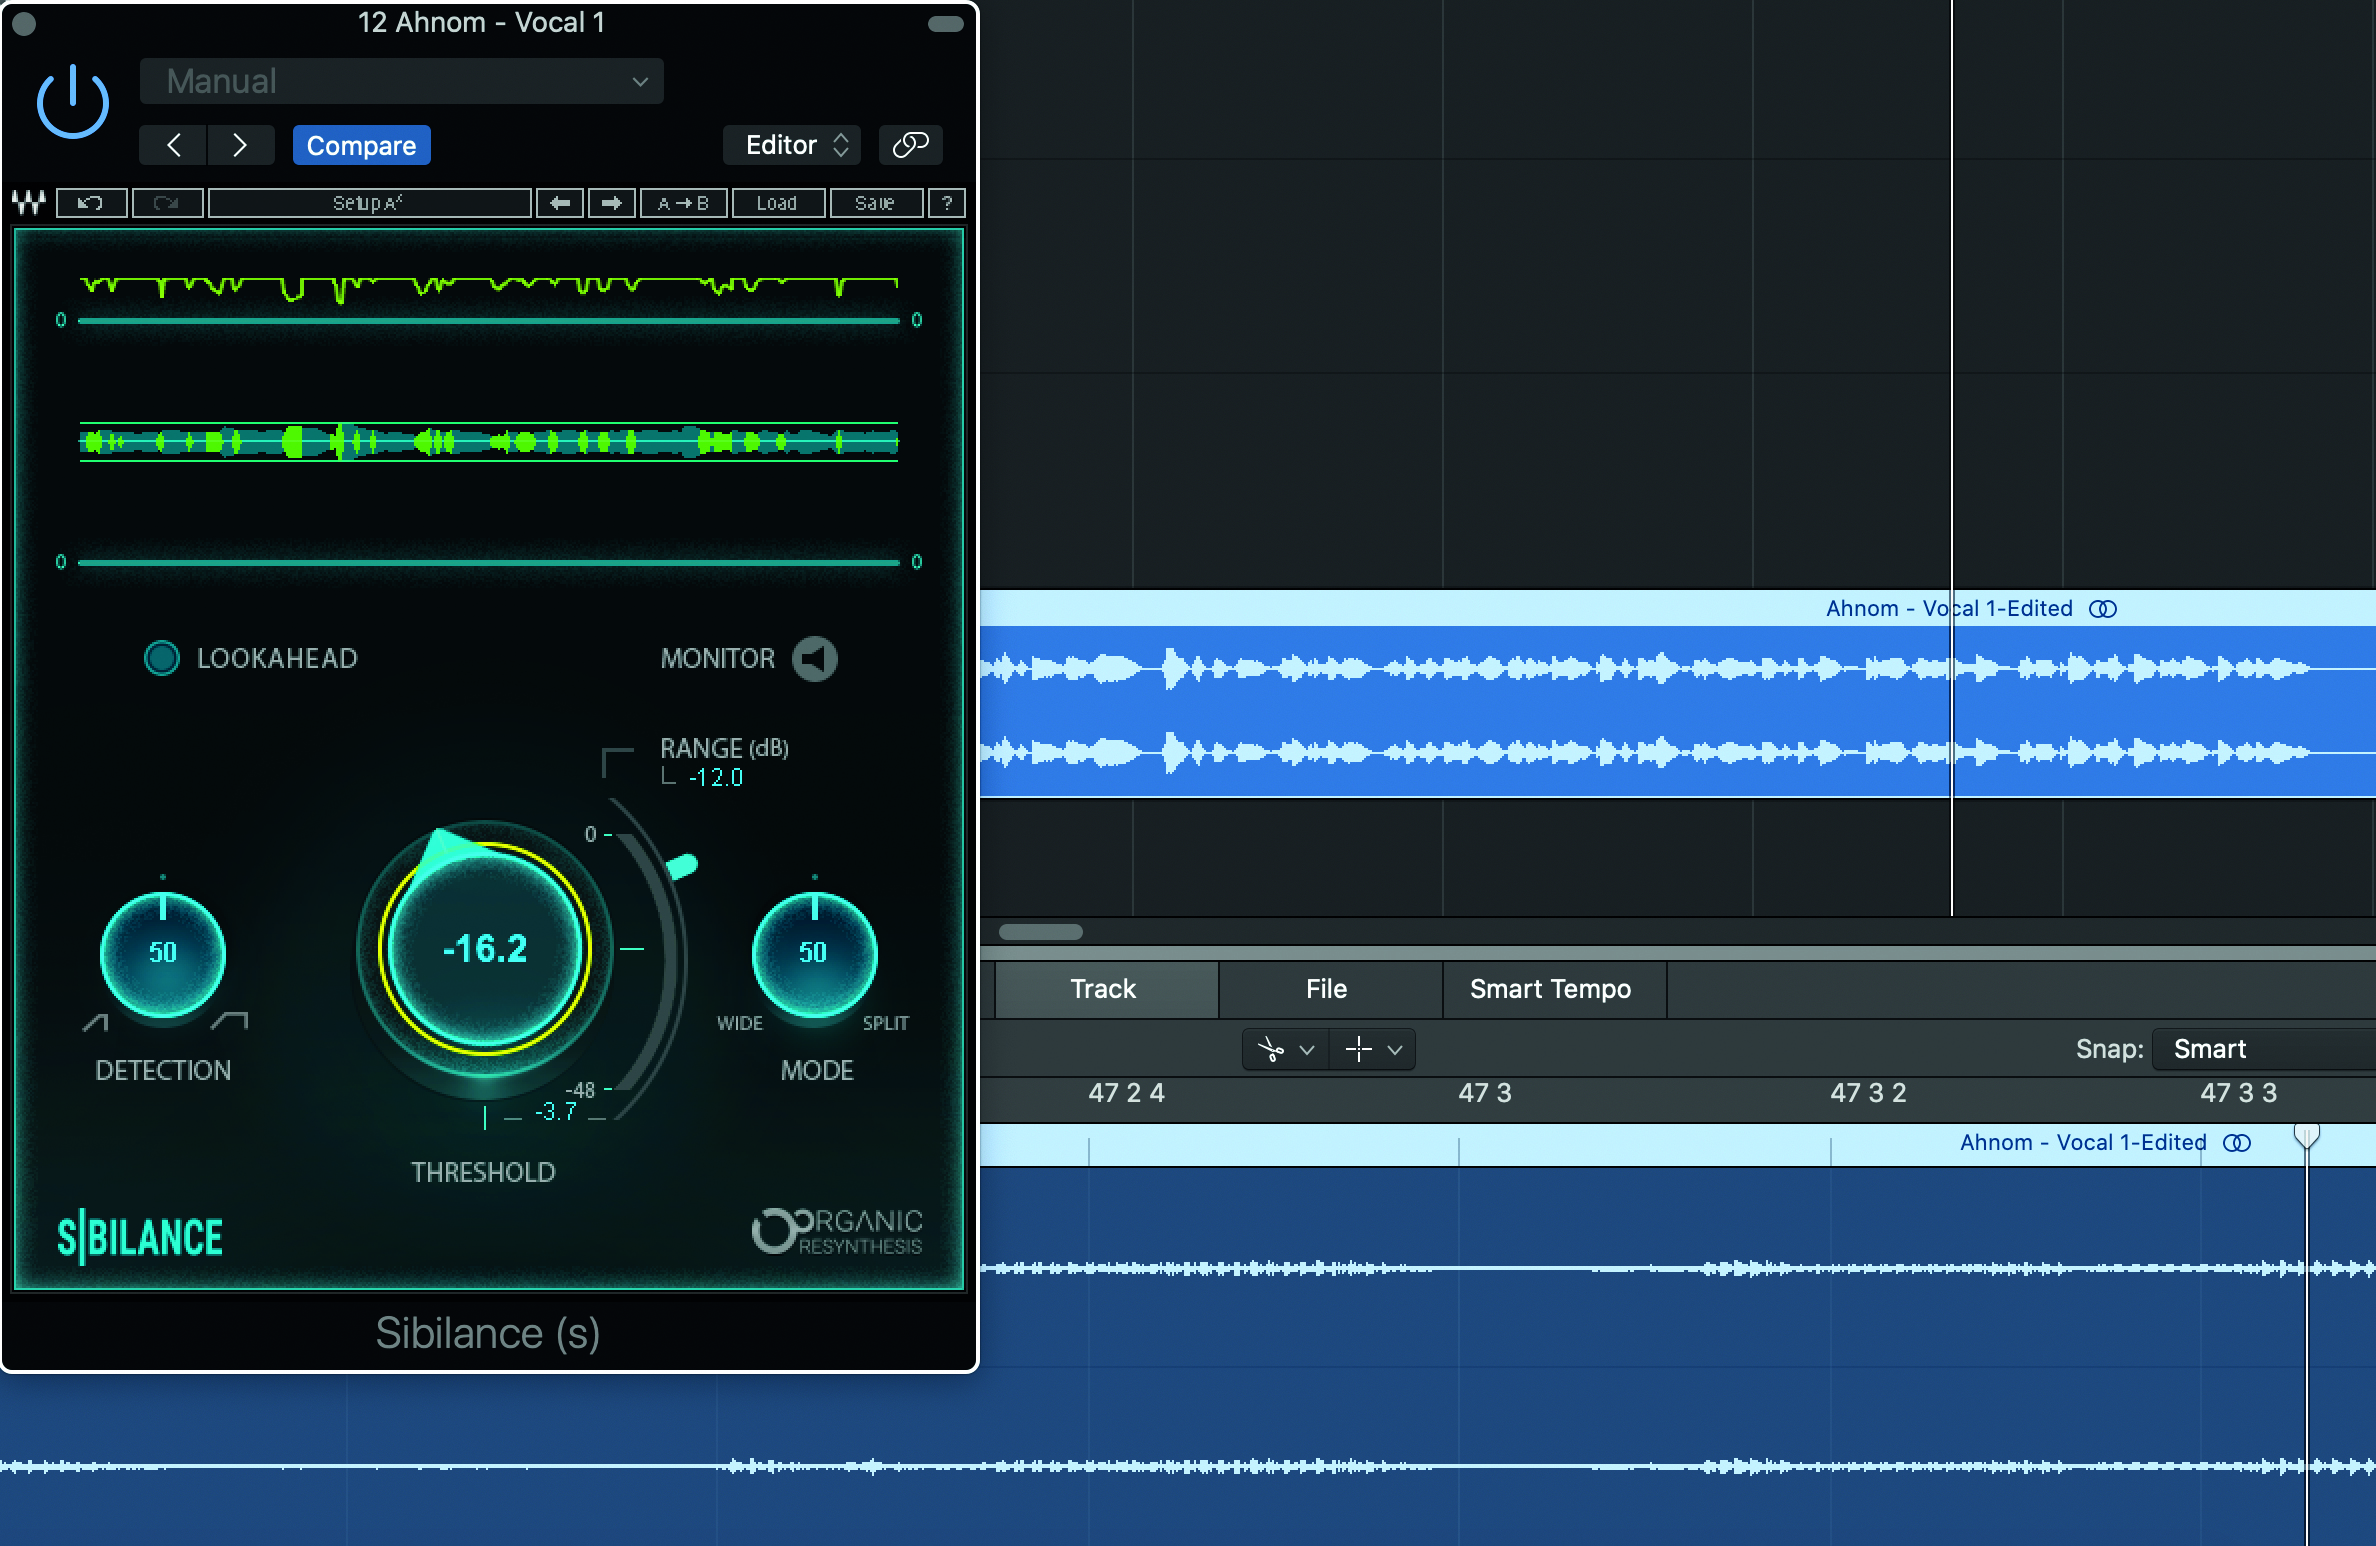
Step 9: EQing to bring out clarity also, unfortunately, means increasing sibilance, ie, making ‘s’ and ‘t’ sounds harsh. Use a de-esser tool to counteract this. See my pro tips above for my expert recommendation for tackling this problem.
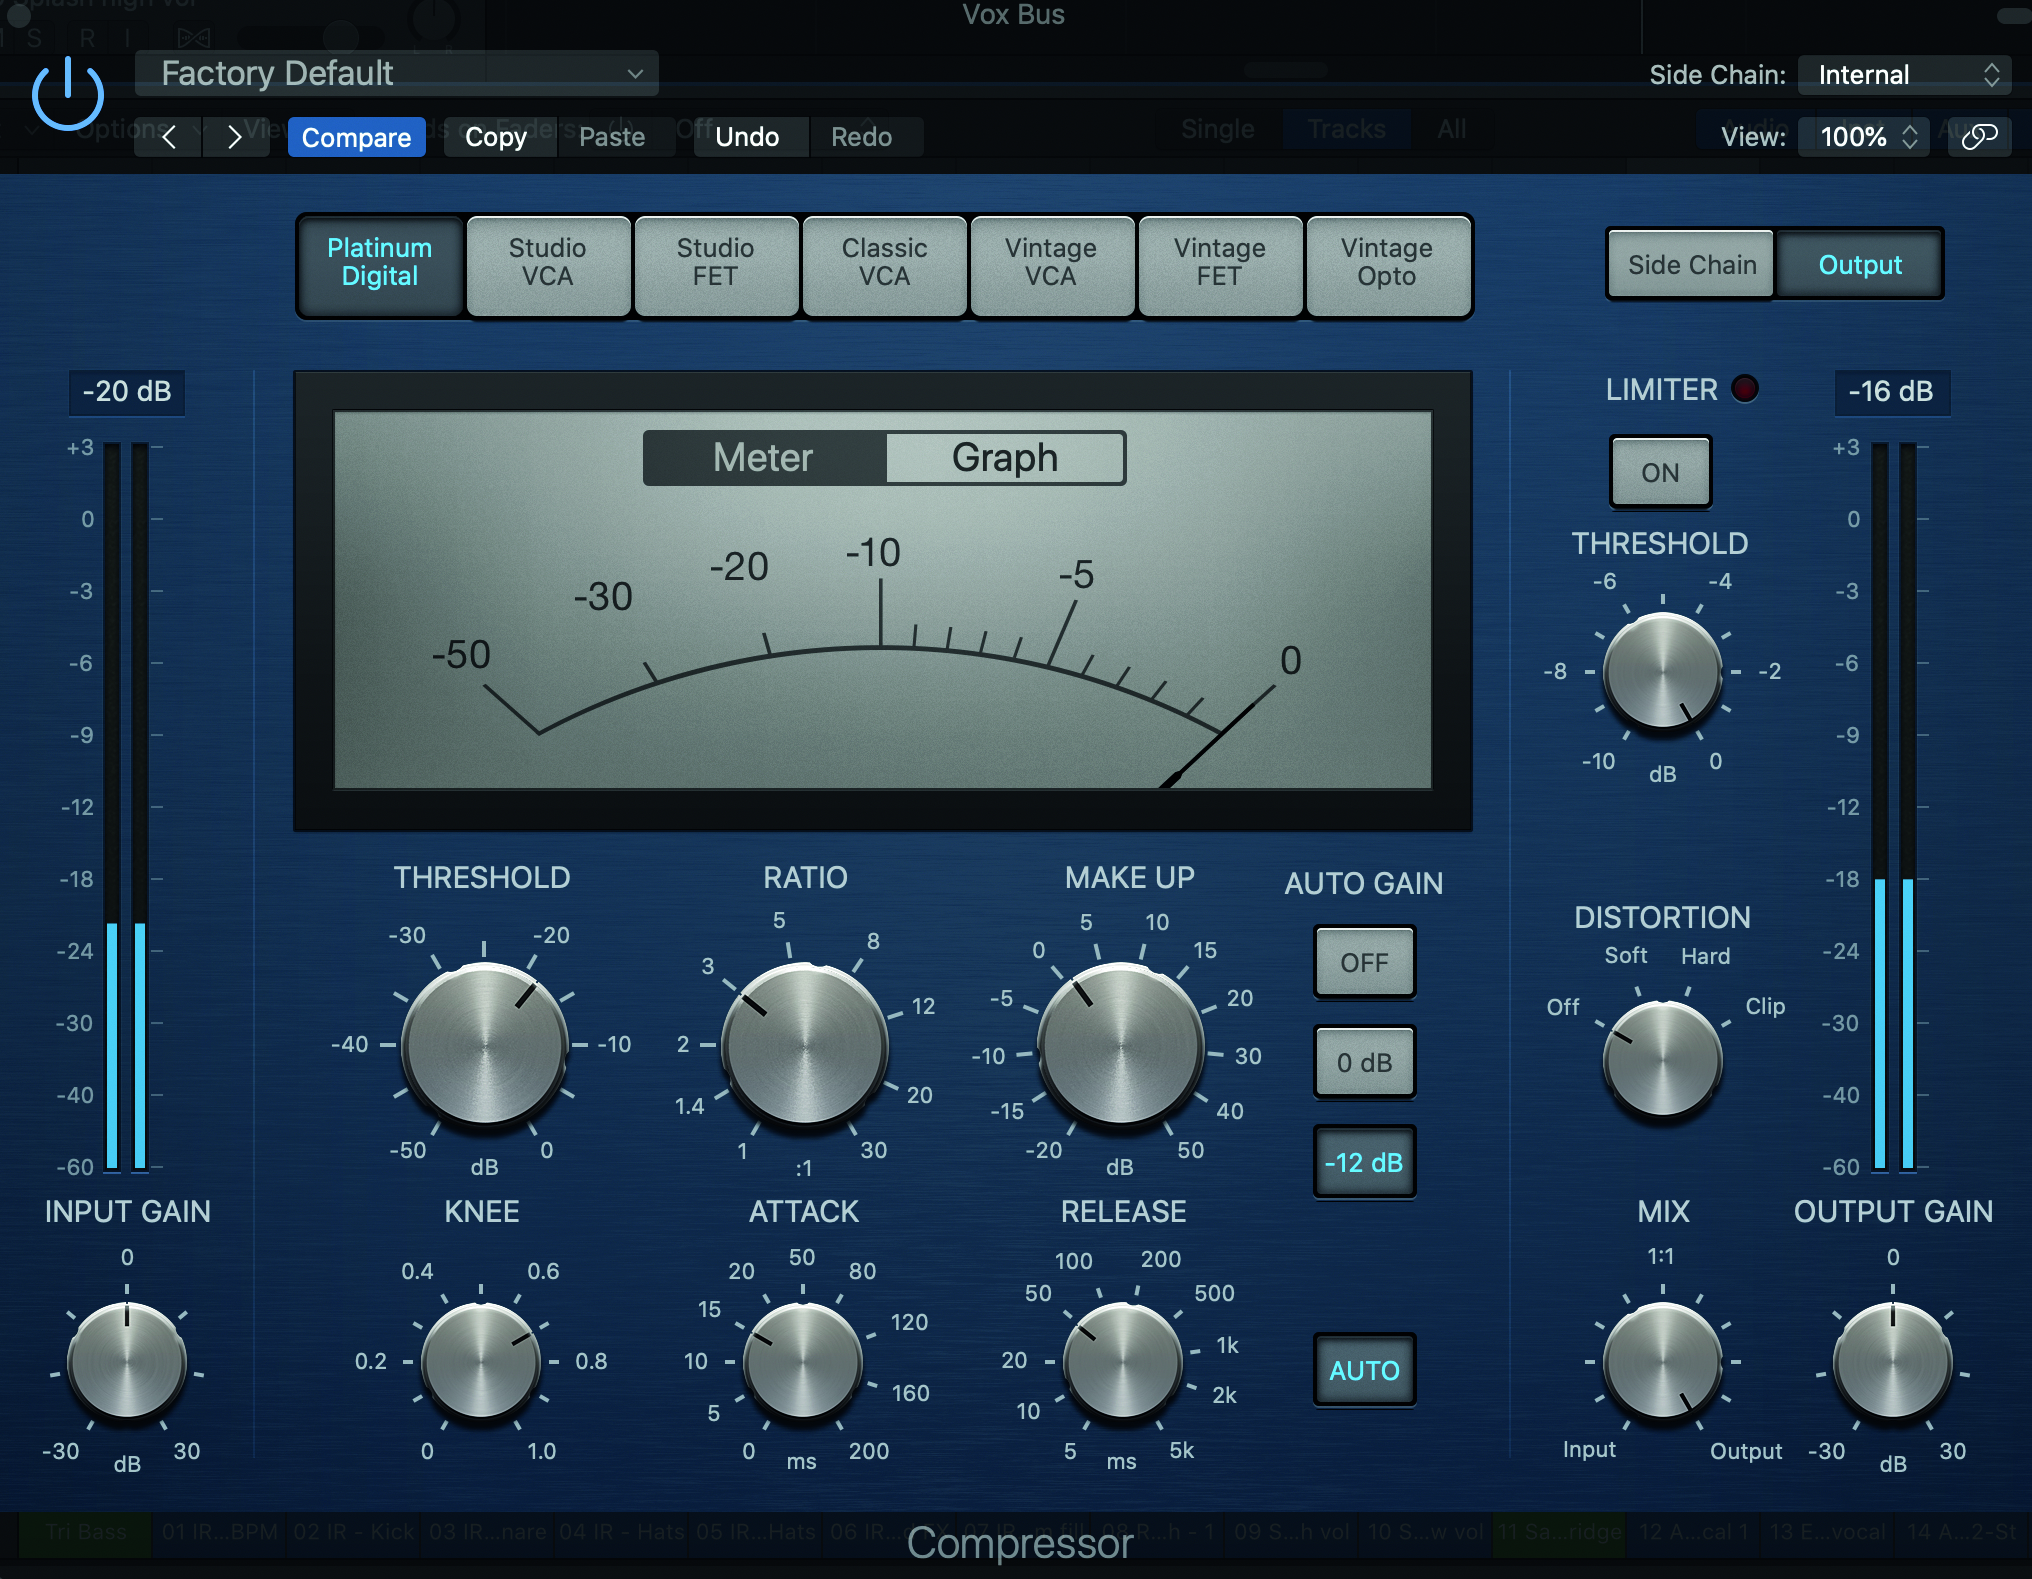
Step 10: Create a rough balance for the vocal components. Then use compression on your vocal mix bus to help glue them together. You want your adlibs to sound tight with your lead vocals, and for the lead vocal to be balanced and strong against the other components of your mix.
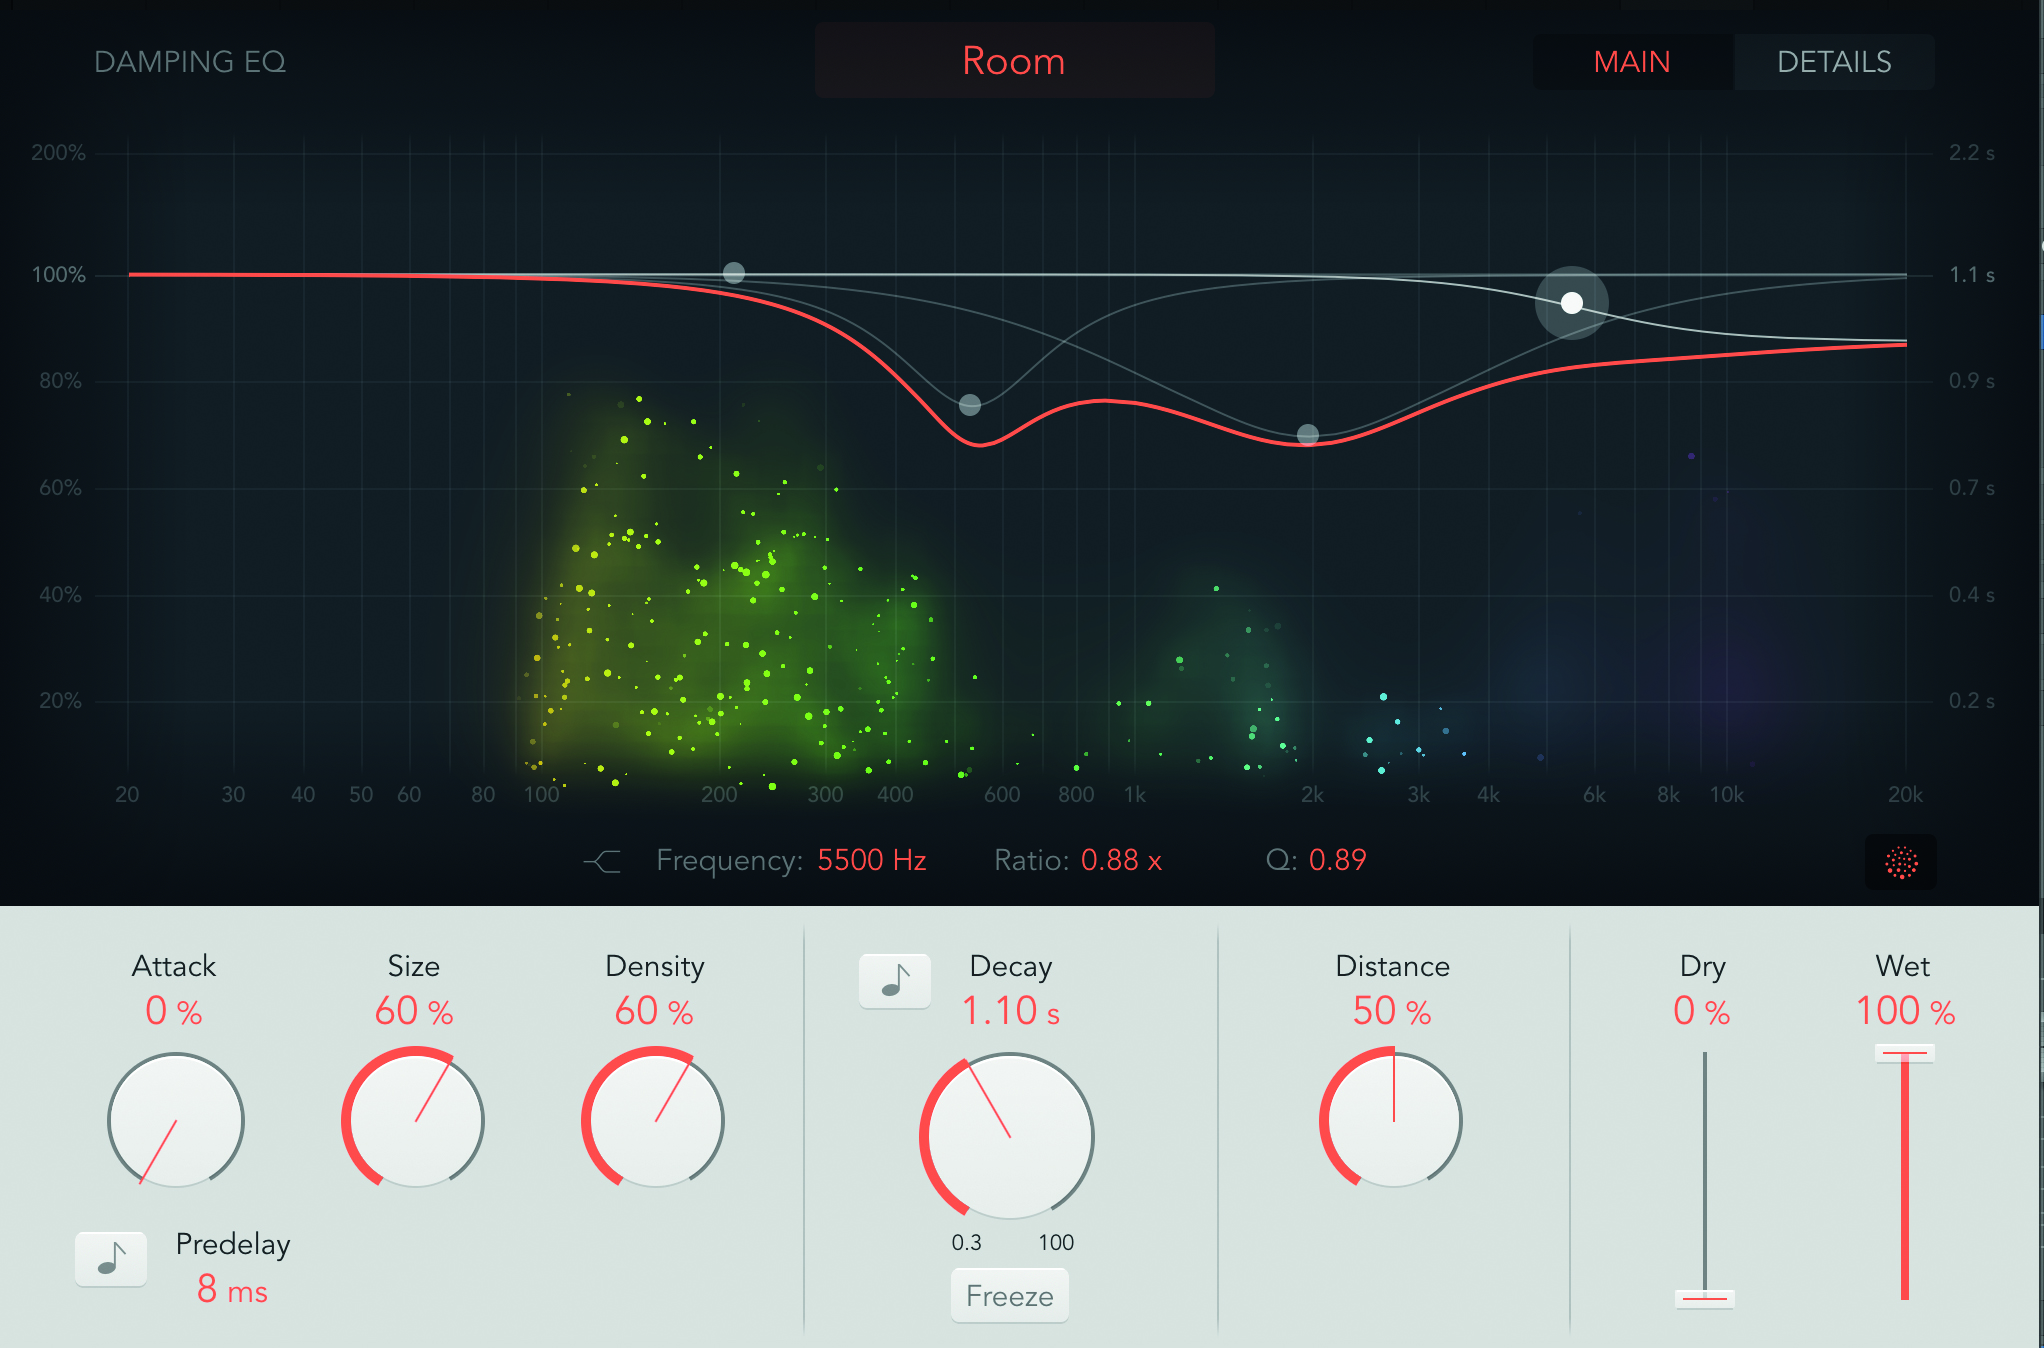
Step 11: A trick I like to use for getting a clean reverb is a double track of the lead vocal. I make this duplicate track a reverb ‘wet’ track, meaning that the main lead vocal stays sharp and ‘dry’. The duplicated track is just an enhancement tool providing subtle reverb for the main vocal.
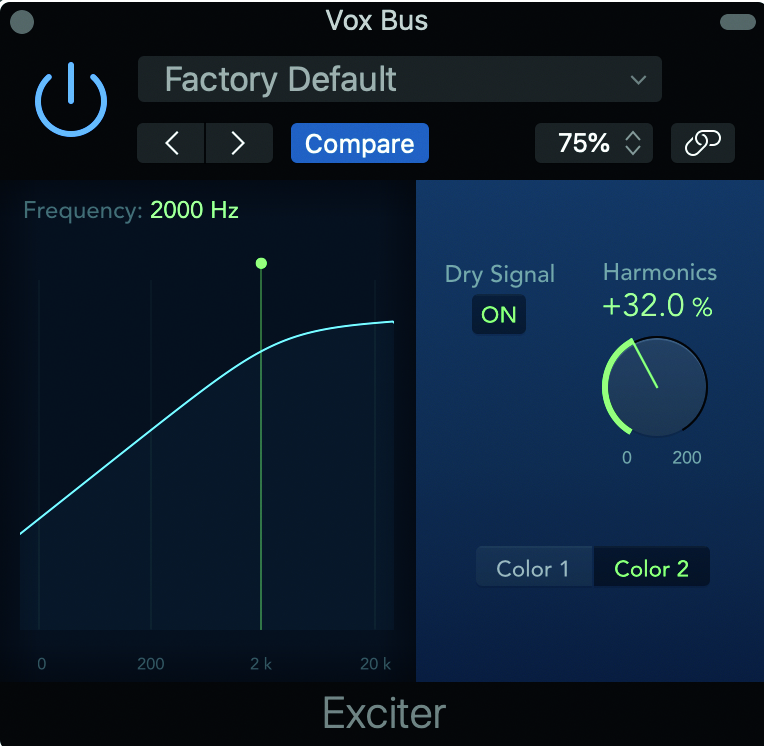
Step 12: Add some further enhancements to help the vocal really pop. There are plenty of exciters and saturation plugins to just deepen the sound of the vocal and make it really rich based on your taste and the mood of the track. Widening the stereo image of the vocal bus will also give the track that little bit more zest.
Try these audio editing tools...
Waves C6 Multiband Compressor
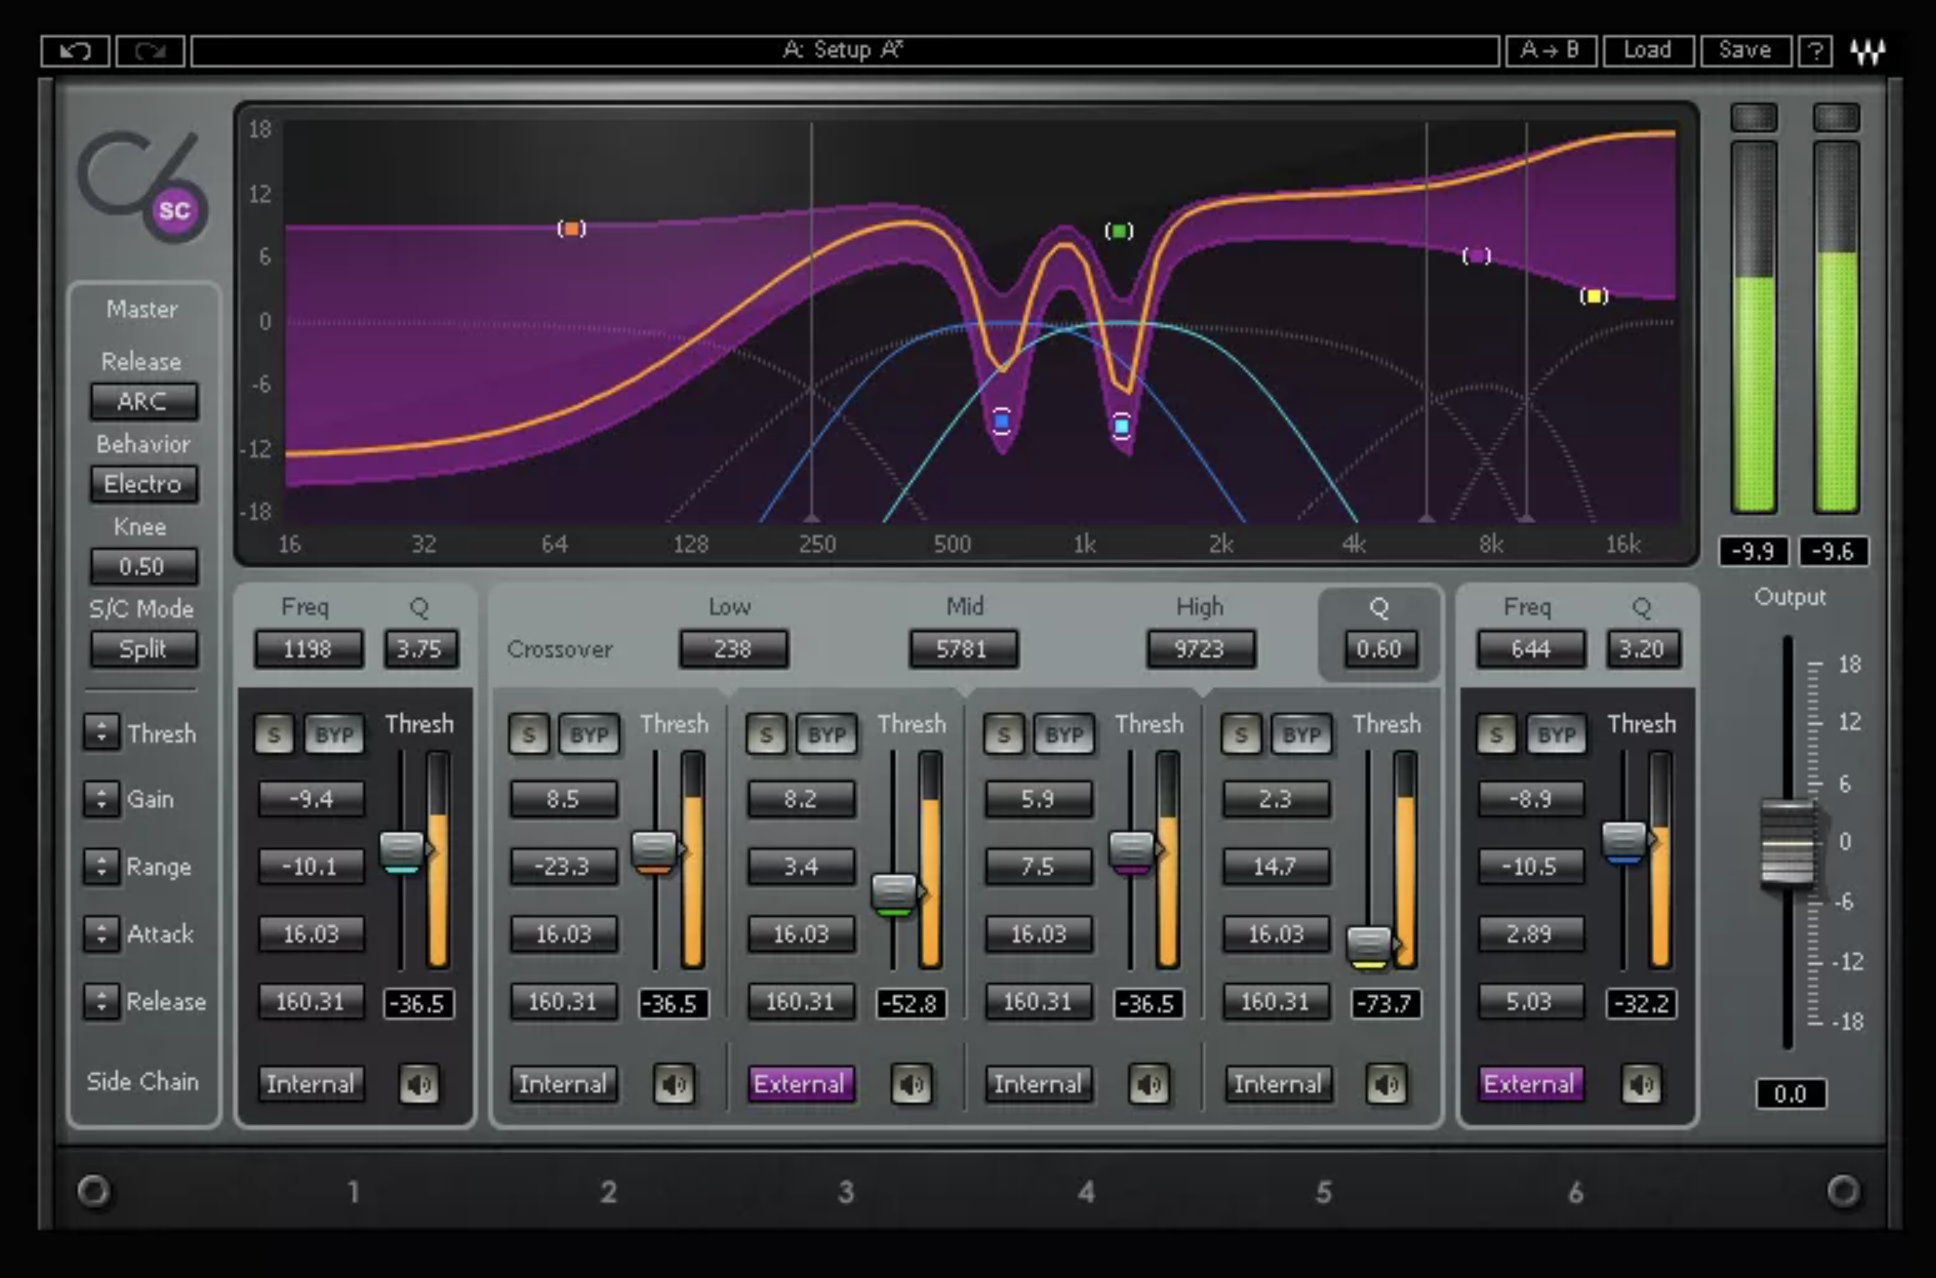
Use multiband compression to control specific frequency bands when you’re listening to your raw vocals. Do you need to fix harsh frequencies? More grit in the lower end of the vocalist’s range? You can do so much to tailor a single frequency band rather than a whole vocal track.
This includes attack time, gain, release, the compression threshold, even sidechaining. When mixing hip-hop vocals, take control. The listener hangs on every word so it’s important to get it sounding right. For the highest level of control, use multiband compression.
Waves Sibilance
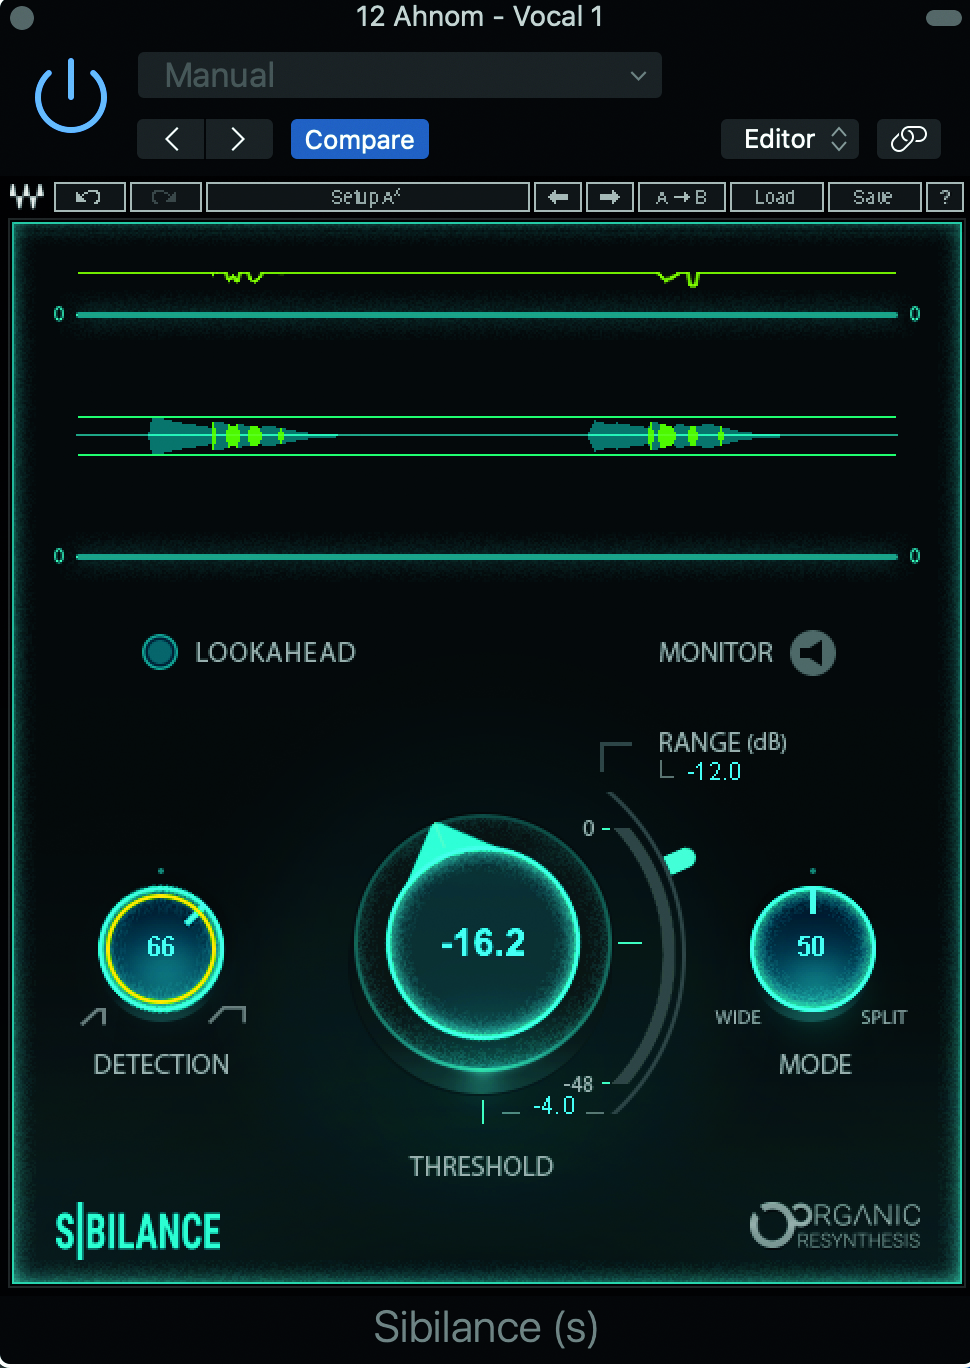
Because rap is so much closer to the spoken word than singing, harsh sibilances and consonants come through a recorded vocal with much more prominence. The way to tackle those harsh esses and tees is with a de-esser.
We swear by Sibilance by Waves as a highly refined control tool. It’s such a fine balance between keeping the sharpness of the vocal while taming high sibilance, because de-essers are essentially a kind of filter. But this one allows you to really zone in on the regions you want to control and set by how much.
Computer Music magazine is the world’s best selling publication dedicated solely to making great music with your Mac or PC computer. Each issue it brings its lucky readers the best in cutting-edge tutorials, need-to-know, expert software reviews and even all the tools you actually need to make great music today, courtesy of our legendary CM Plugin Suite.


