How to make a track in Ableton Live 11 Lite: recording external audio and using Warp
Put together your first track in Ableton Live 11 Lite with a free copy from this month's Computer Music Magazine
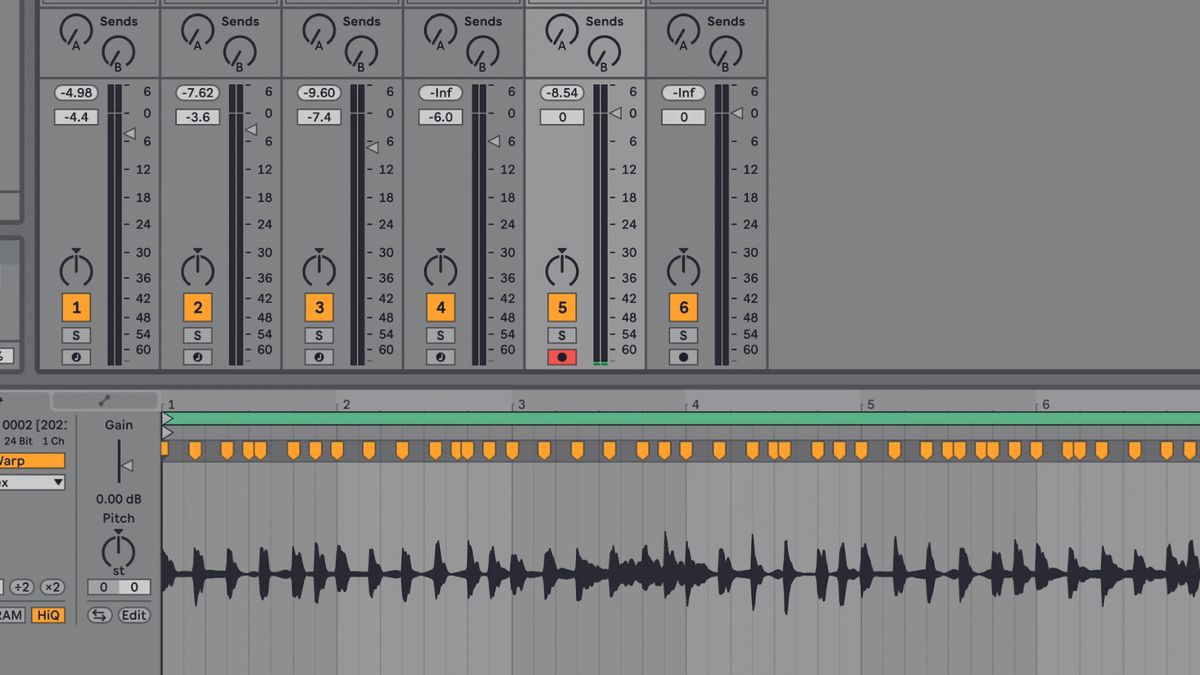
Ableton Live is a DAW that needs no introduction, and its combination of performance and production features mean it’s as popular with performers and DJs as it is with creators.
Live 11 Lite is a cut-down version of Ableton Live, with all of the essential workflows, instruments and effects, but with limited track count, and for many years this has been bundled with apps and hardware products. This month, you can grab a free copy of Ableton Live 11 Lite with the latest issue of Computer Music Magazine.
To mark this momentous occasion and also to get you started using this fabulous software, we’ve put together a series of tutorials that run through everything you need to get acquainted with Ableton Live 11 Lite, so you can learn how to build a track from scratch.
Our tutorials are primarily for new users, but that said, we’ll also flag some of the new features you’ll find in Live 11 Lite, so even if you’ve used Live Lite before, there may be some things for you to learn here.
Finally, although Live 11 Lite is awesome software, there are more fully featured versions of Ableton Live available on Ableton's website. So, let’s get creating in Live 11 Lite!
If you want to start from the beginning of this tutorial, find the previous steps below:
- How to make a track in Ableton Live 11 Lite: set-up and overview
- How to make a track in Ableton Live 11 Lite: programming a beat in no time
- How to make a track in Ableton Live 11 Lite: creating super-fast beat variations and mixes
- How to make a track in Ableton Live 11 Lite: produce a brilliant bass line with automation
- How to make a track in Ableton Live 11 Lite: creating easy chords with MIDI effects
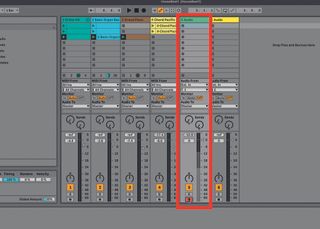
Step 1: It’s time to turn our attention to audio tracks and use one to record audio from the outside world, which can be anything from singing to a hardware synth, which we are going to use here. Click on your audio track and press the Record Arm button as shown.
Get the MusicRadar Newsletter
Want all the hottest music and gear news, reviews, deals, features and more, direct to your inbox? Sign up here.
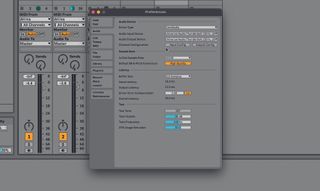
Step 2: Next you’ll need to select where you want the audio to come from as, at the moment, it is coming through the microphone on our computer. Instead, we want it to come from plugging our synthesiser into our audio interface. Select Live’s Preferences and within them, the Audio tab.
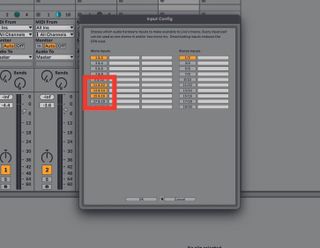
Step 3: You might need to go to the Input Config option if you have an interface with multiple inputs, so you can select which ones are being used. Here we have selected several tracks so we have multiple input options, although from these we’re going to specifically use input 14 to record with.
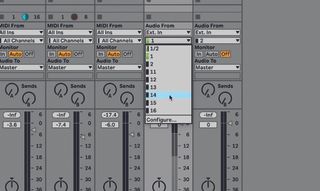
Step 4: Now you need to go to the audio track we selected earlier and set it to ‘Input’ and then use the drop down menu to select the input channel, again 14.
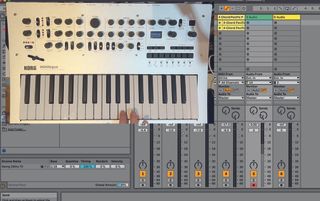
Step 5: Now, whatever you have plugged into your chosen input should play through Live and be audible. This might be a microphone to record your singing, or, in our case, a Korg Minilogue synth.
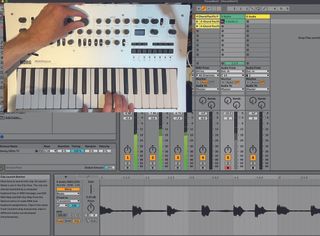
Step 6: Now we can record audio directly into a clip – we’ve chosen the one in the top scene. Simply press record and play and Live will automatically create space in the clip for your audio recording.
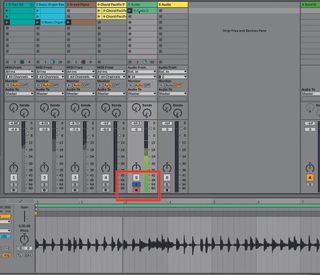
Step 7: We have recorded a synth line into our tune and can listen back to it by pressing the blue solo button which means that only the sound from the highlighted track is played. We can hear that it plays out of time.
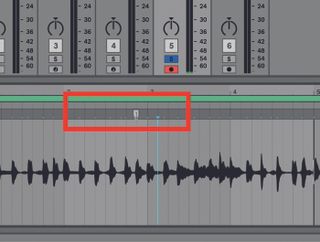
Step 8: However, just as you can quantise MIDI notes to play in time, so you can quantise audio. Live has created white marks called ‘pseudo’ Warp Markers next to the transients (peaks) in our audio. Select CMND>A (CTRL>A, PC) and then CMND>U and the audio will be quantised to whatever grid/quantise level you have selected. We can also apply a groove.
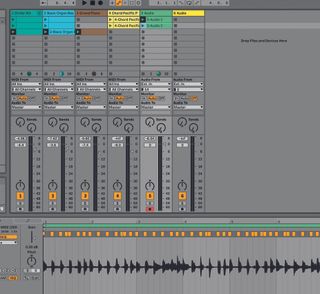
Step 9: This is called Warping and is another of Live’s very cool features, allowing you to quickly and easily load audio in and play it at whatever tempo you like – and it’s always locked in time. Now our external synth sound is playing perfectly in time with the rest of our song.
Computer Music magazine is the world’s best selling publication dedicated solely to making great music with your Mac or PC computer. Each issue it brings its lucky readers the best in cutting-edge tutorials, need-to-know, expert software reviews and even all the tools you actually need to make great music today, courtesy of our legendary CM Plugin Suite.

"If I wasn't recording albums every month, multiple albums, and I wasn't playing on everyone's songs, I wouldn't need any of this”: Travis Barker reveals his production tricks and gear in a new studio tour

“My management and agent have always tried to cover my back on the road”: Neil Young just axed premium gig tickets following advice from The Cure’s Robert Smith


