How to make a Josh Wink-inspired patch with Roland's TB-303 plugin
Let the 303 take you to a Higher State of Consciousness

In our recent survey of Roland TB-303 emulations, we praised the faithful sound of their 303 plugin, which packs the same software found in their Roland TB-03 hardware remake into a software instrument you can easily load up in your DAW.
Many tracks feature the Roland TB-303, so in this tutorial, we thought we’d make a classic patch with the TB at the heart of the song’s hook. Inspired by Josh Wink, let’s go to a Higher State of Consciousness...
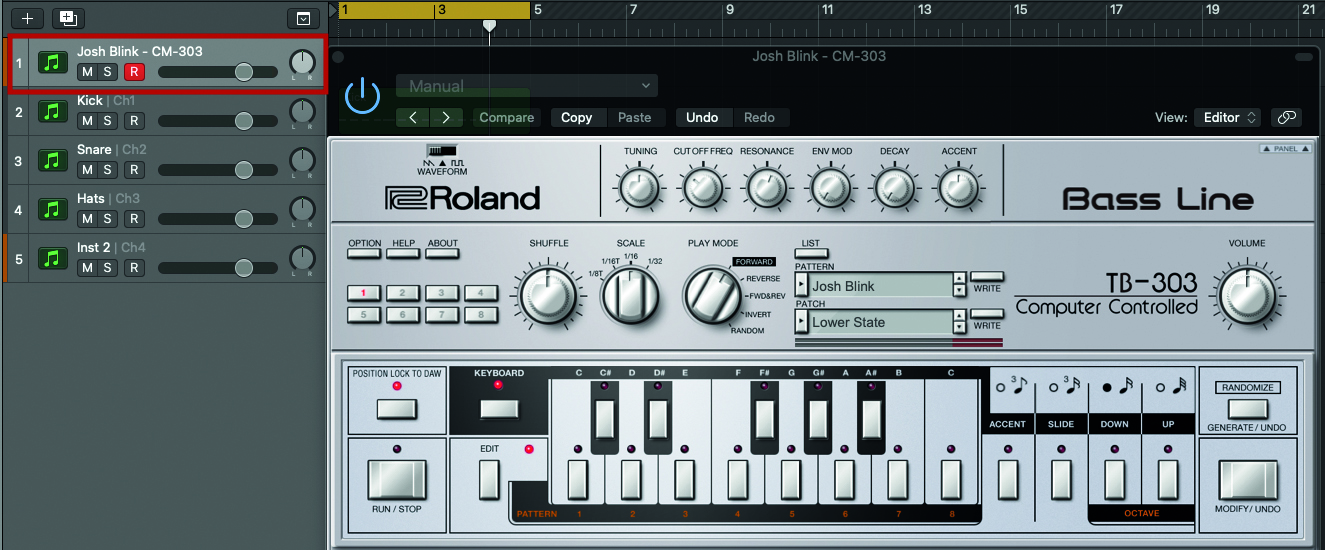
Step 1: Before we can work with the stunning Roland TB-303 plugin, we need to open a DAW and load an instance of the plugin. We’re going to program a 16-step sequence within the plugin, so the DAW will service our other instruments and transport controls.
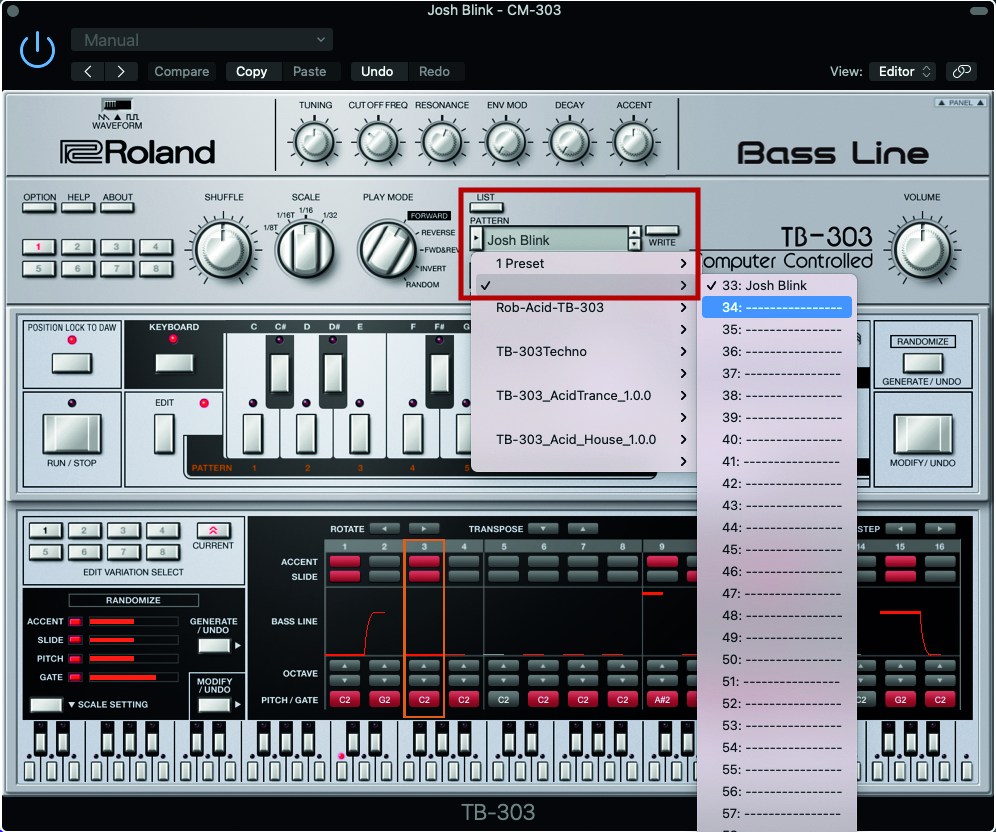
Step 2: As we’re going to program both a sound and a sequence, we’ll need to start from an unused patch. Head to the Pattern and Patch selection menus and select an unused patch/pattern, from both sections. Save your patch and sequence as you go, by pressing the Write button.
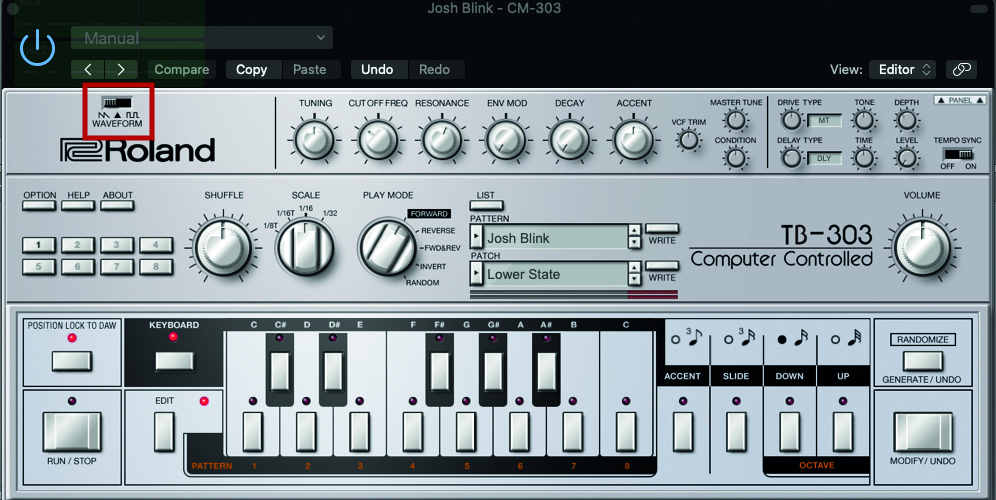
Step 3: The 303 is a simple beast, in terms of subtractive synthesis, and our patch begins with a simple sawtooth waveform. This is set via a basic Selection switch, located on the upper-left of the plugin window. The Saw is richer by contrast to the slightly hollow-sounding Square.
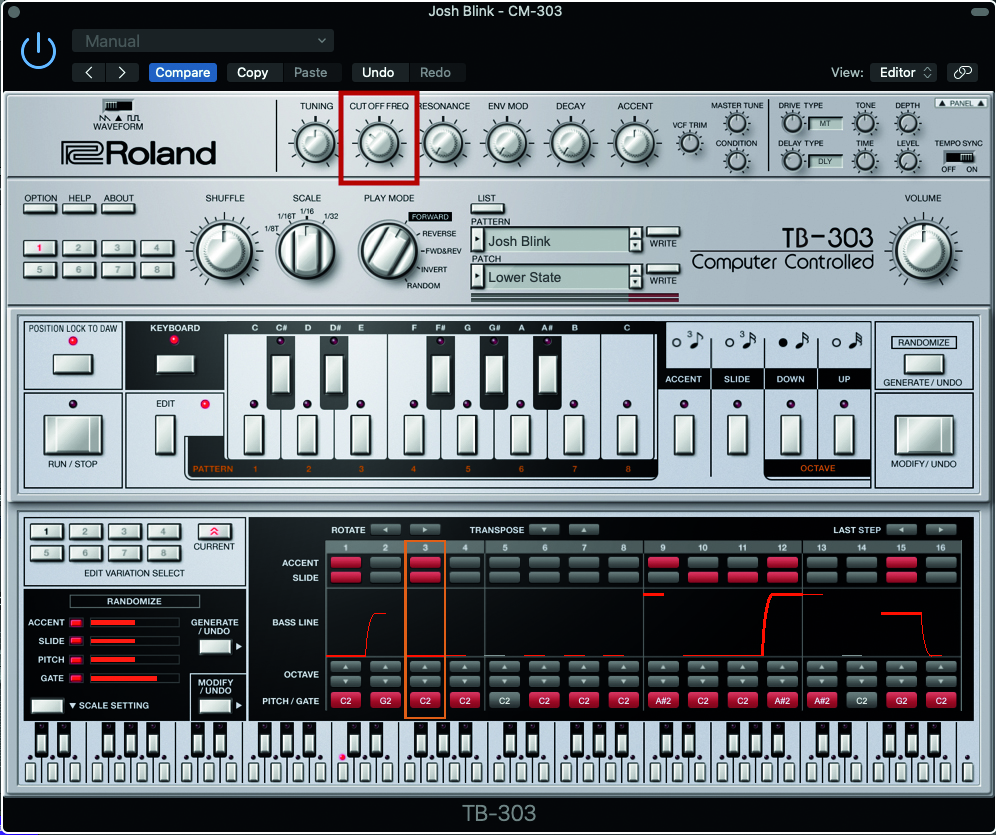
Step 4: We’re going to make an adjustment to the filter; even though we will use the 303’s onboard sequencer, you can still audition your patch from your controller keyboard. Adjust the filter Cutoff to around the 10 o’clock position. It’ll sound quite dull, but not for long!
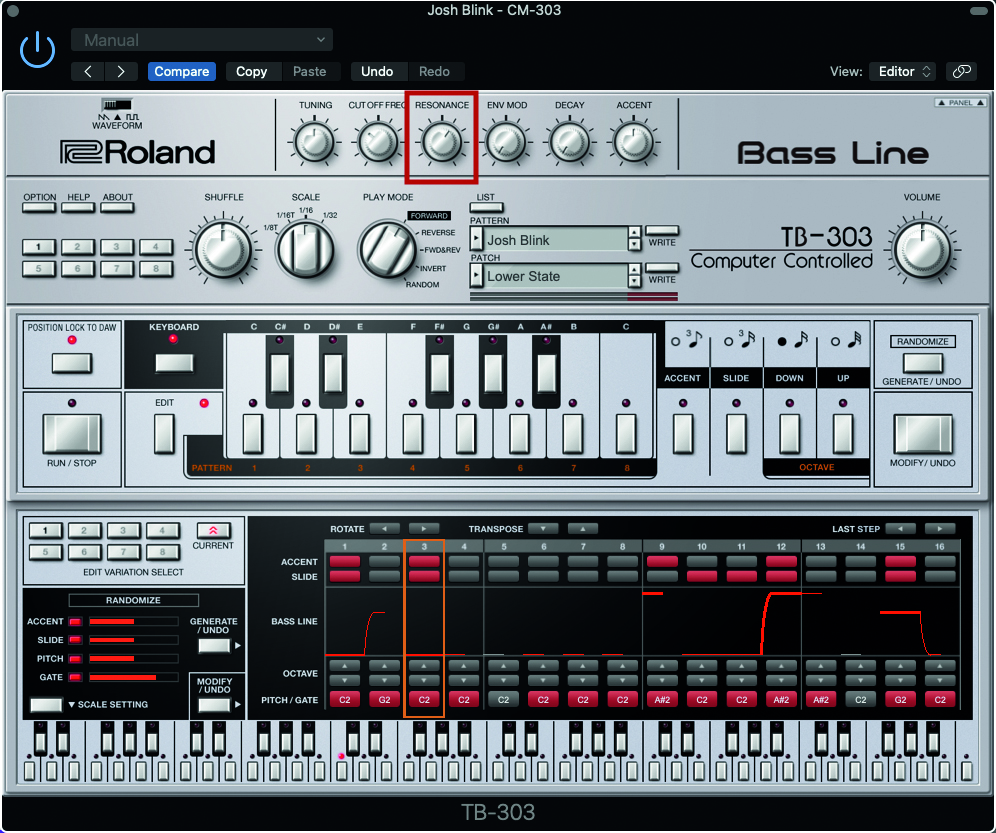
Step 5: The element that reveals the 303’s ‘Acid’ sound is the resonance, which forms part of the filter circuit. Place the Resonance pot at the 1 o’clock position, and you will begin to hear the signature ‘squeal’ that we need for our track.
Want all the hottest music and gear news, reviews, deals, features and more, direct to your inbox? Sign up here.
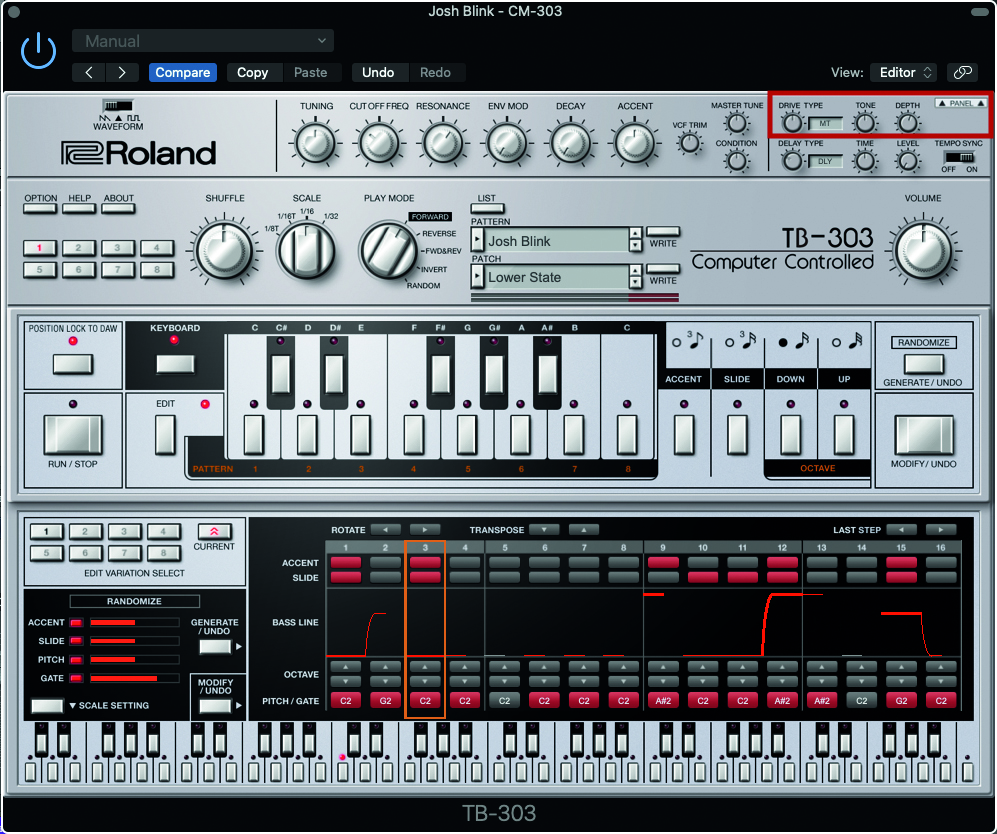
Step 6: The last element requires the use of some Overdrive, which is built into the plugin. You can reveal the Effects section from the Panel button which is located top/right. Select the Metal (MT) Overdrive by altering the pot, while turning up the depth control to the 12 o’clock position.
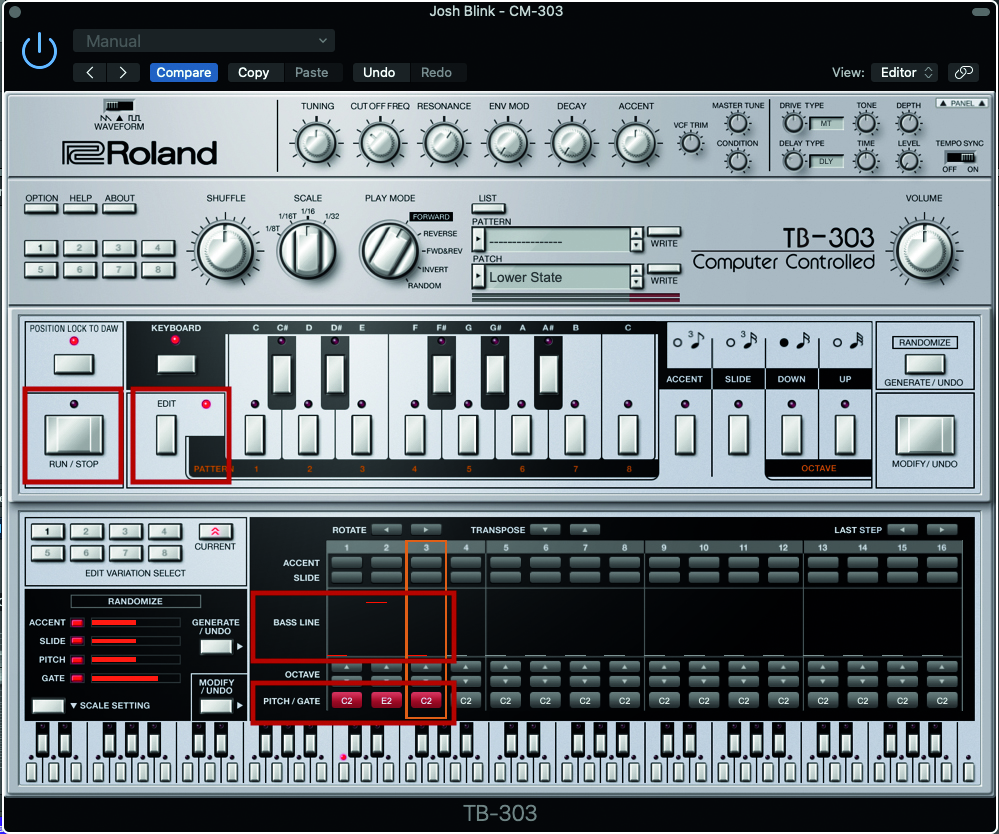
Step 7: Now turn to the sequencer notes. Open the sequencer section by clicking on Edit, next to the keyboard. Activate notes by clicking on the Pitch/Gate buttons, adjusting the selected note pitch by dragging up/down in the Bass Line section. Audition your sequence by pressing the Run/Stop button.
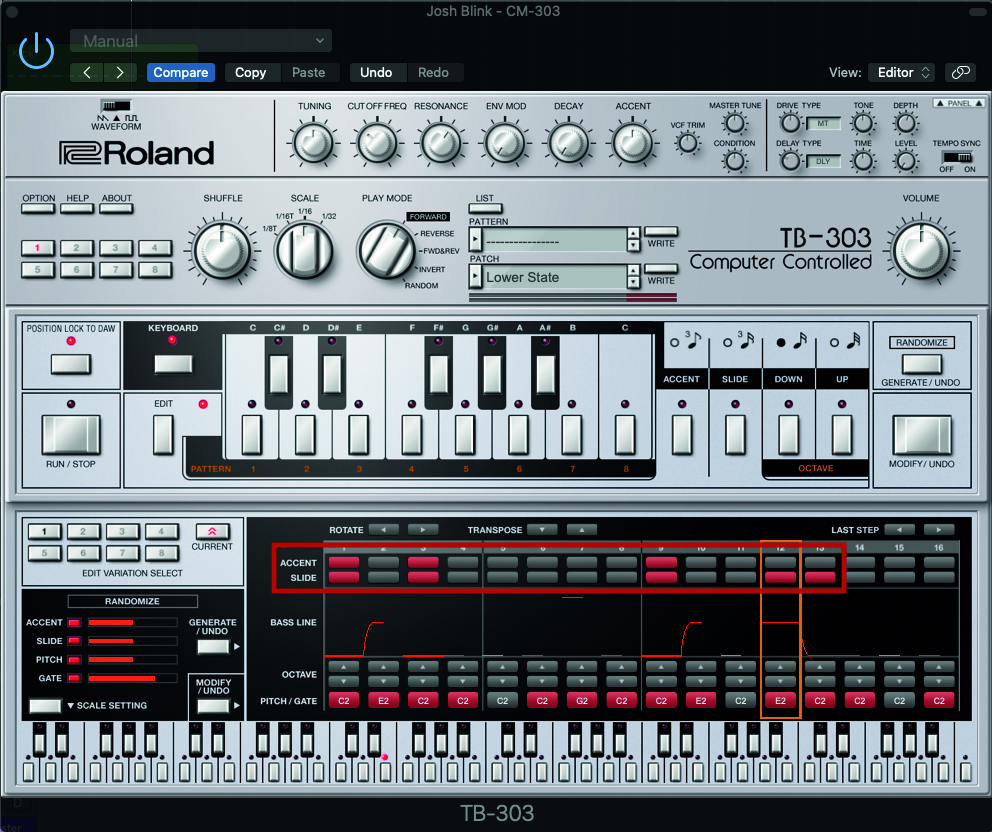
Step 8: One unique element of 303 operation, is the ability to both accent individual notes and slide from one note to the next. Pressing these buttons on the sequencer steps will incite the notes to react accordingly. You can also extend a note length, by using Slide with two notes of the same pitch.
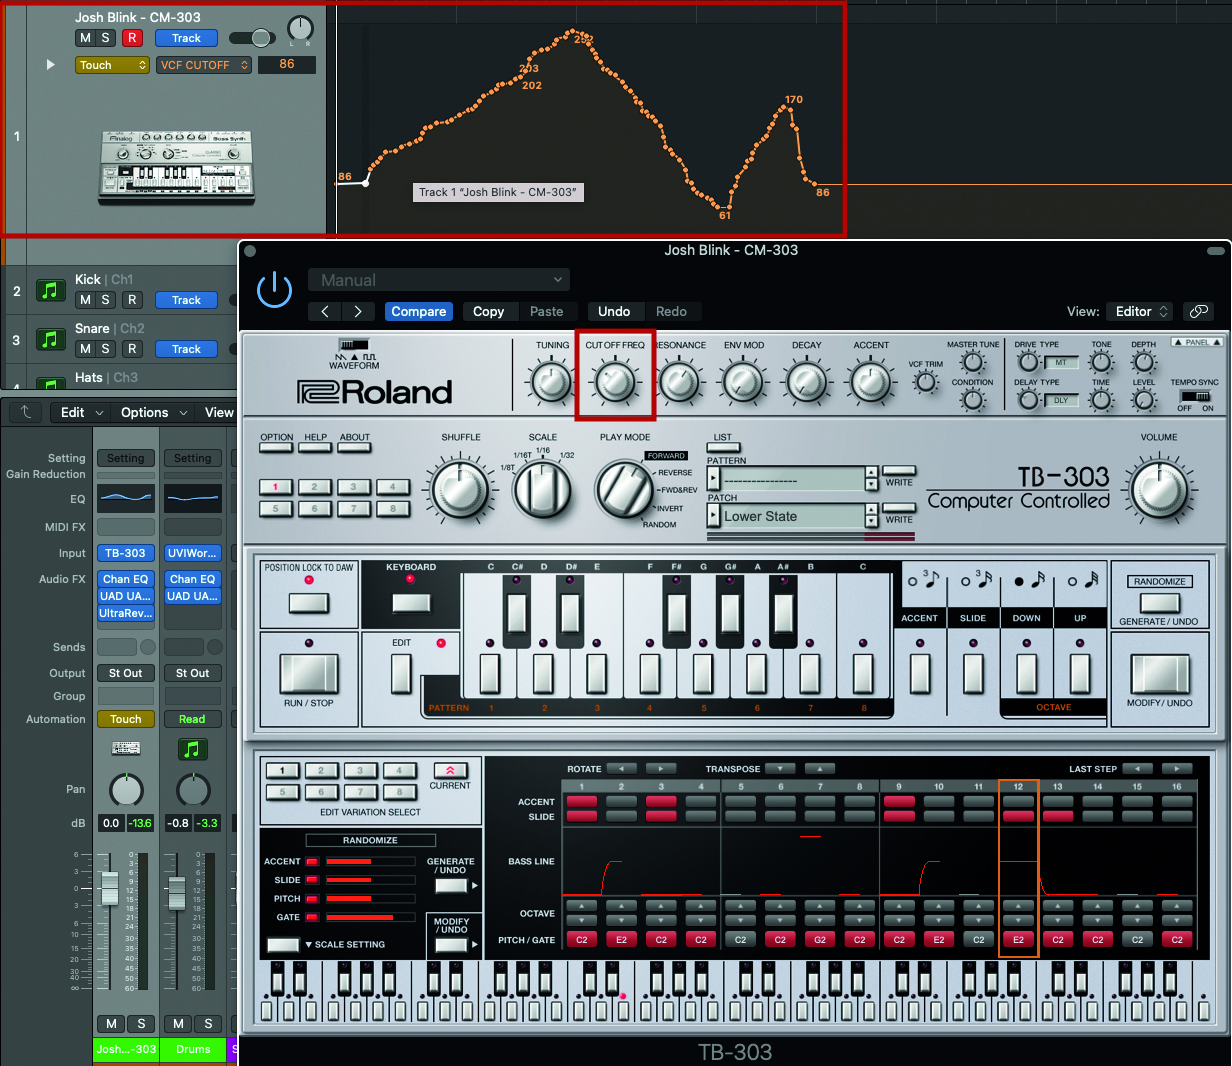
Step 9: The sequencer section is an important part of the 303’s sound, so employ up to 16 steps to get that Acid effect. It’s also important to automate the filter Cutoff within your DAW, in line with the rise, build and fall of your track, much as you find in the original song, from where we’re drawing inspiration.
Computer Music magazine is the world’s best selling publication dedicated solely to making great music with your Mac or PC computer. Each issue it brings its lucky readers the best in cutting-edge tutorials, need-to-know, expert software reviews and even all the tools you actually need to make great music today, courtesy of our legendary CM Plugin Suite.
