How to integrate guitar pedals into your DAW
Struggling to figure out how to include your beloved pedals in a DAW-based workflow? Find out how
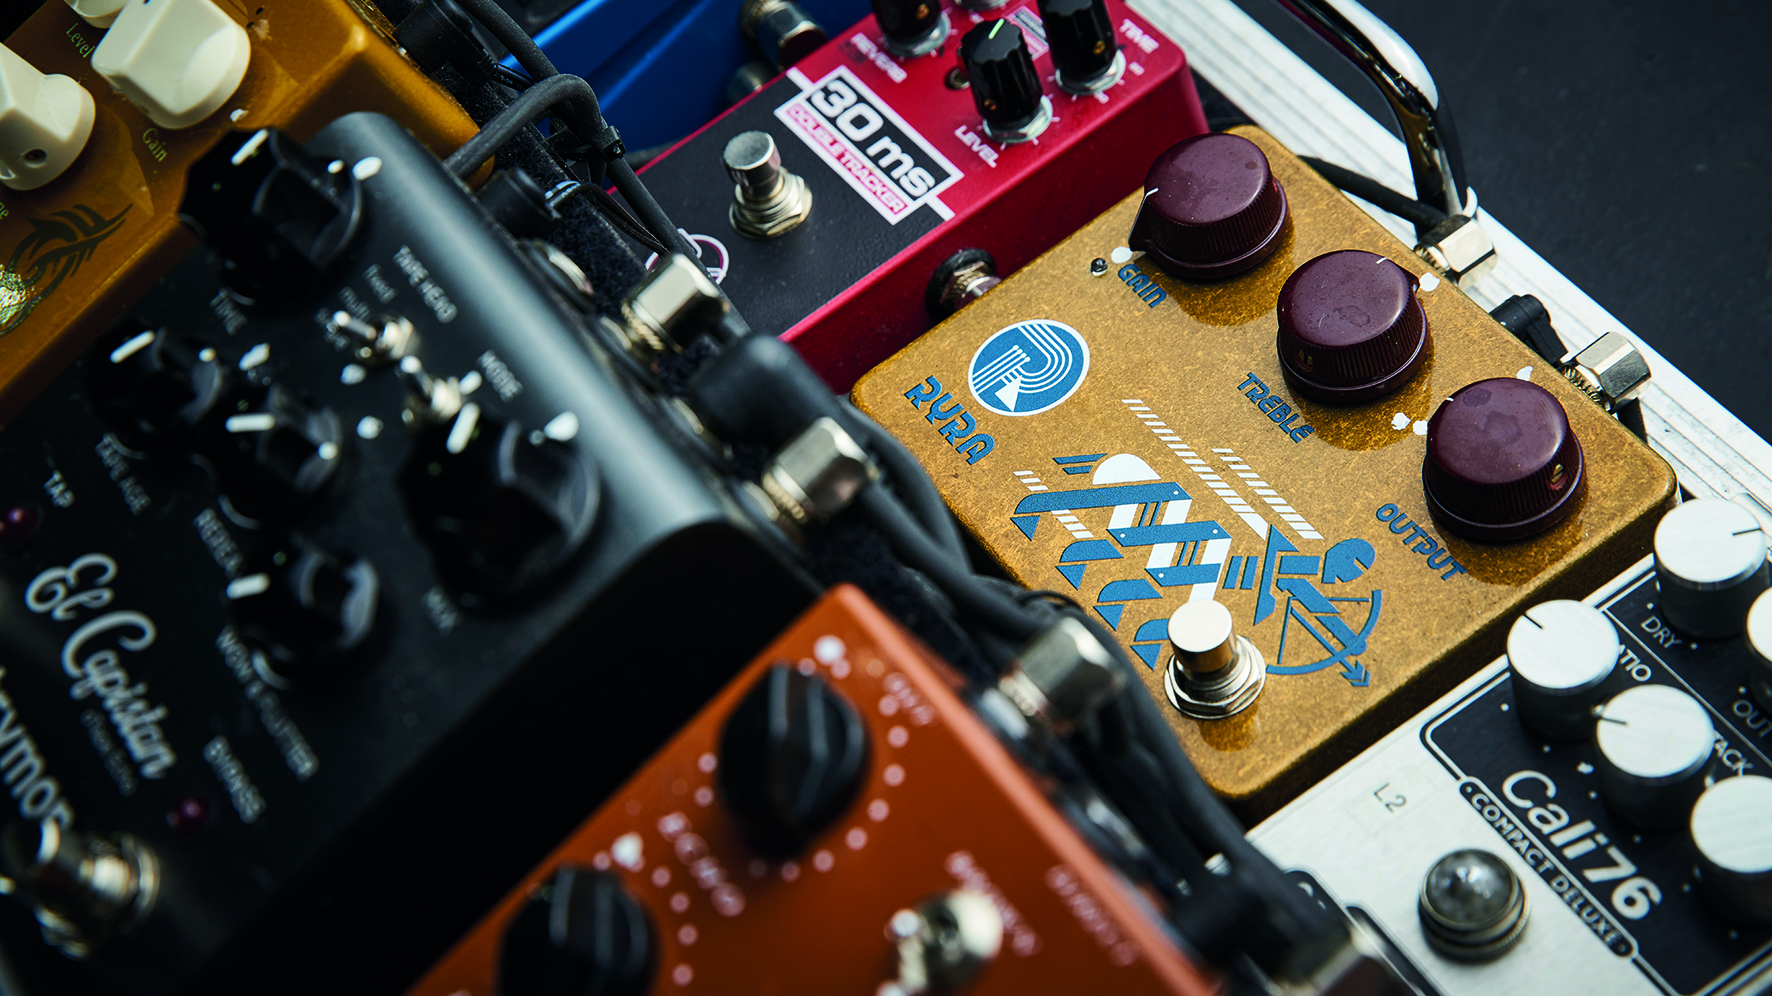
There's a whole world of software-based effects available to use in your DAW, but sometimes nothing beats the sound and feel of a rock-solid guitar pedal you can hold in your own two hands.
The only thing stopping many people using hardware-based effects in their software-based productions may well be the assumption that it's not worth the faff. This tutorial's here to dispel that unfortunate myth. We believe it's well worth the effort, and in fact, it's pretty easy too.
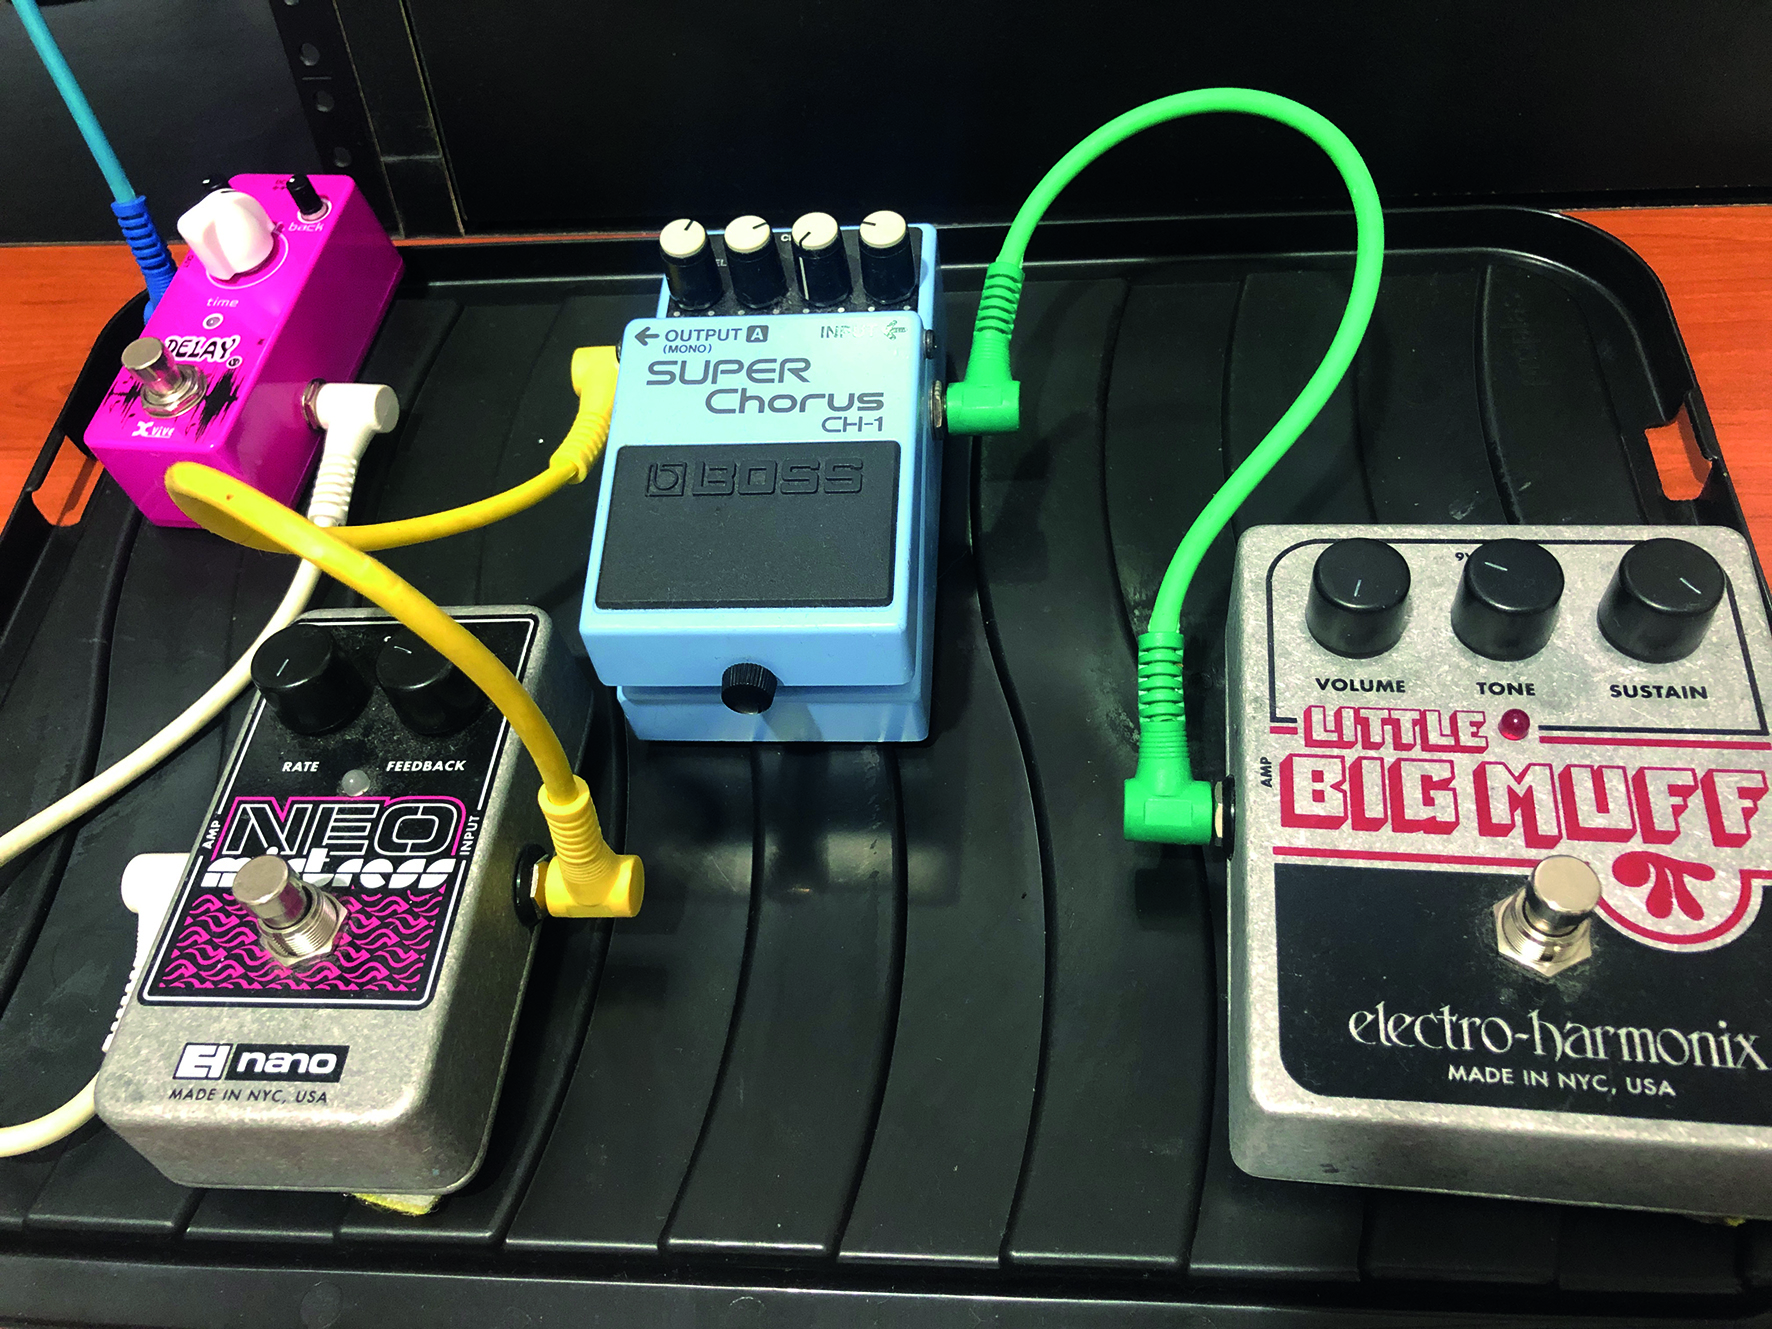
Step 1: While we’ve got a whole raft of software effects to experiment with, for many people, the option to work with physical pedals as well is too tantalising to ignore, while colouring your mix elements with hardware stomp boxes may provide that extra eccentricity that you were looking for.
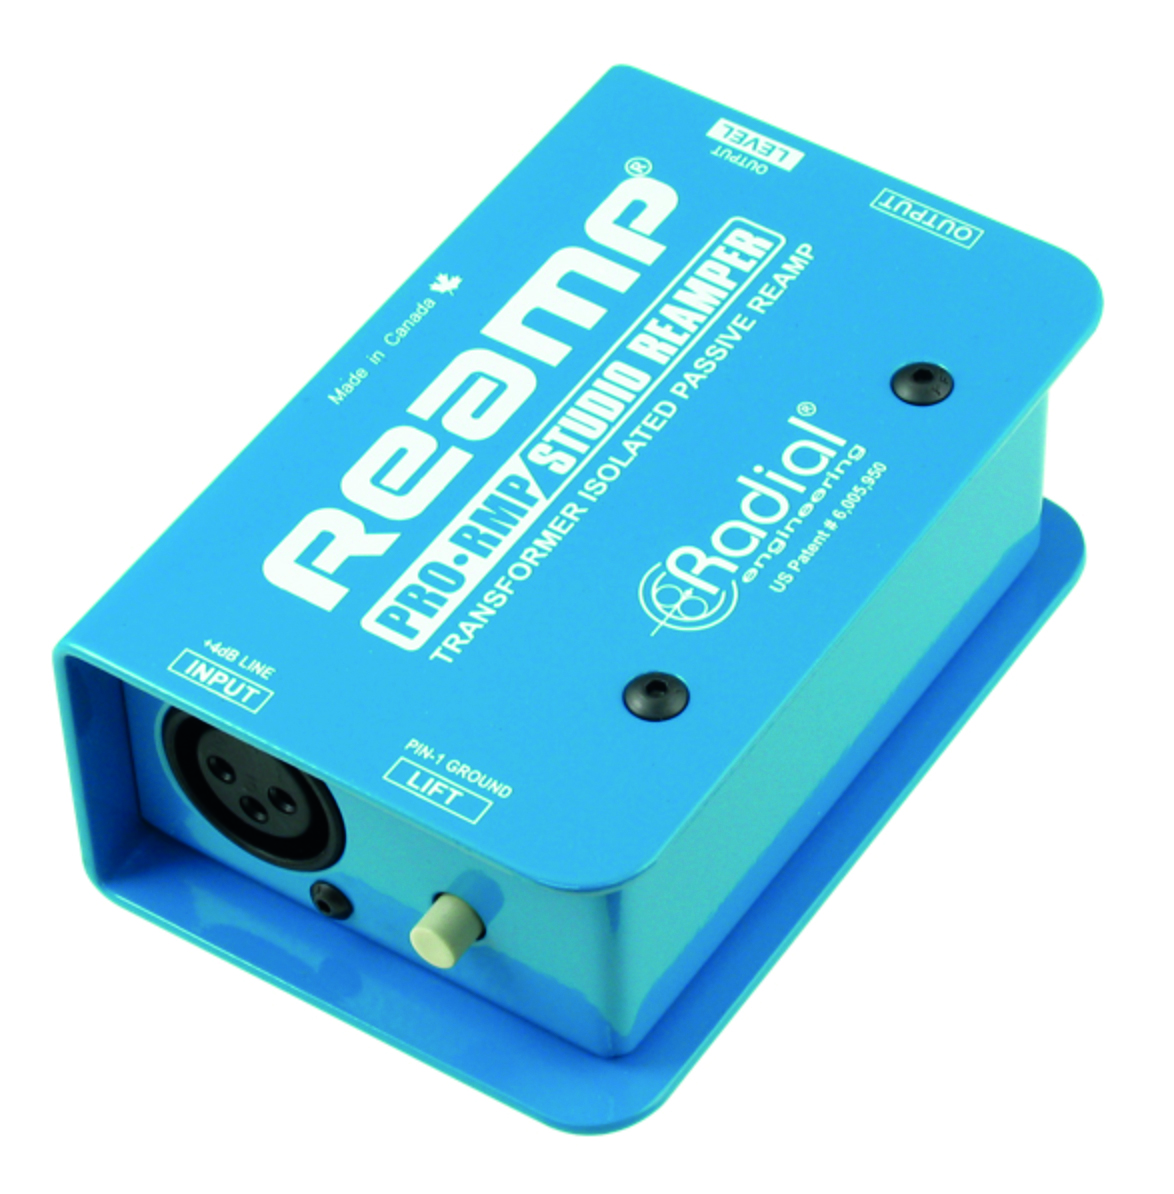
Step 2: To route the audio out of your DAW and into your pedals, you’ll need to make sure that your output line level signal is converted to ‘instrument level’. A re-amping box, such as the Radial ProRMP should do the trick.
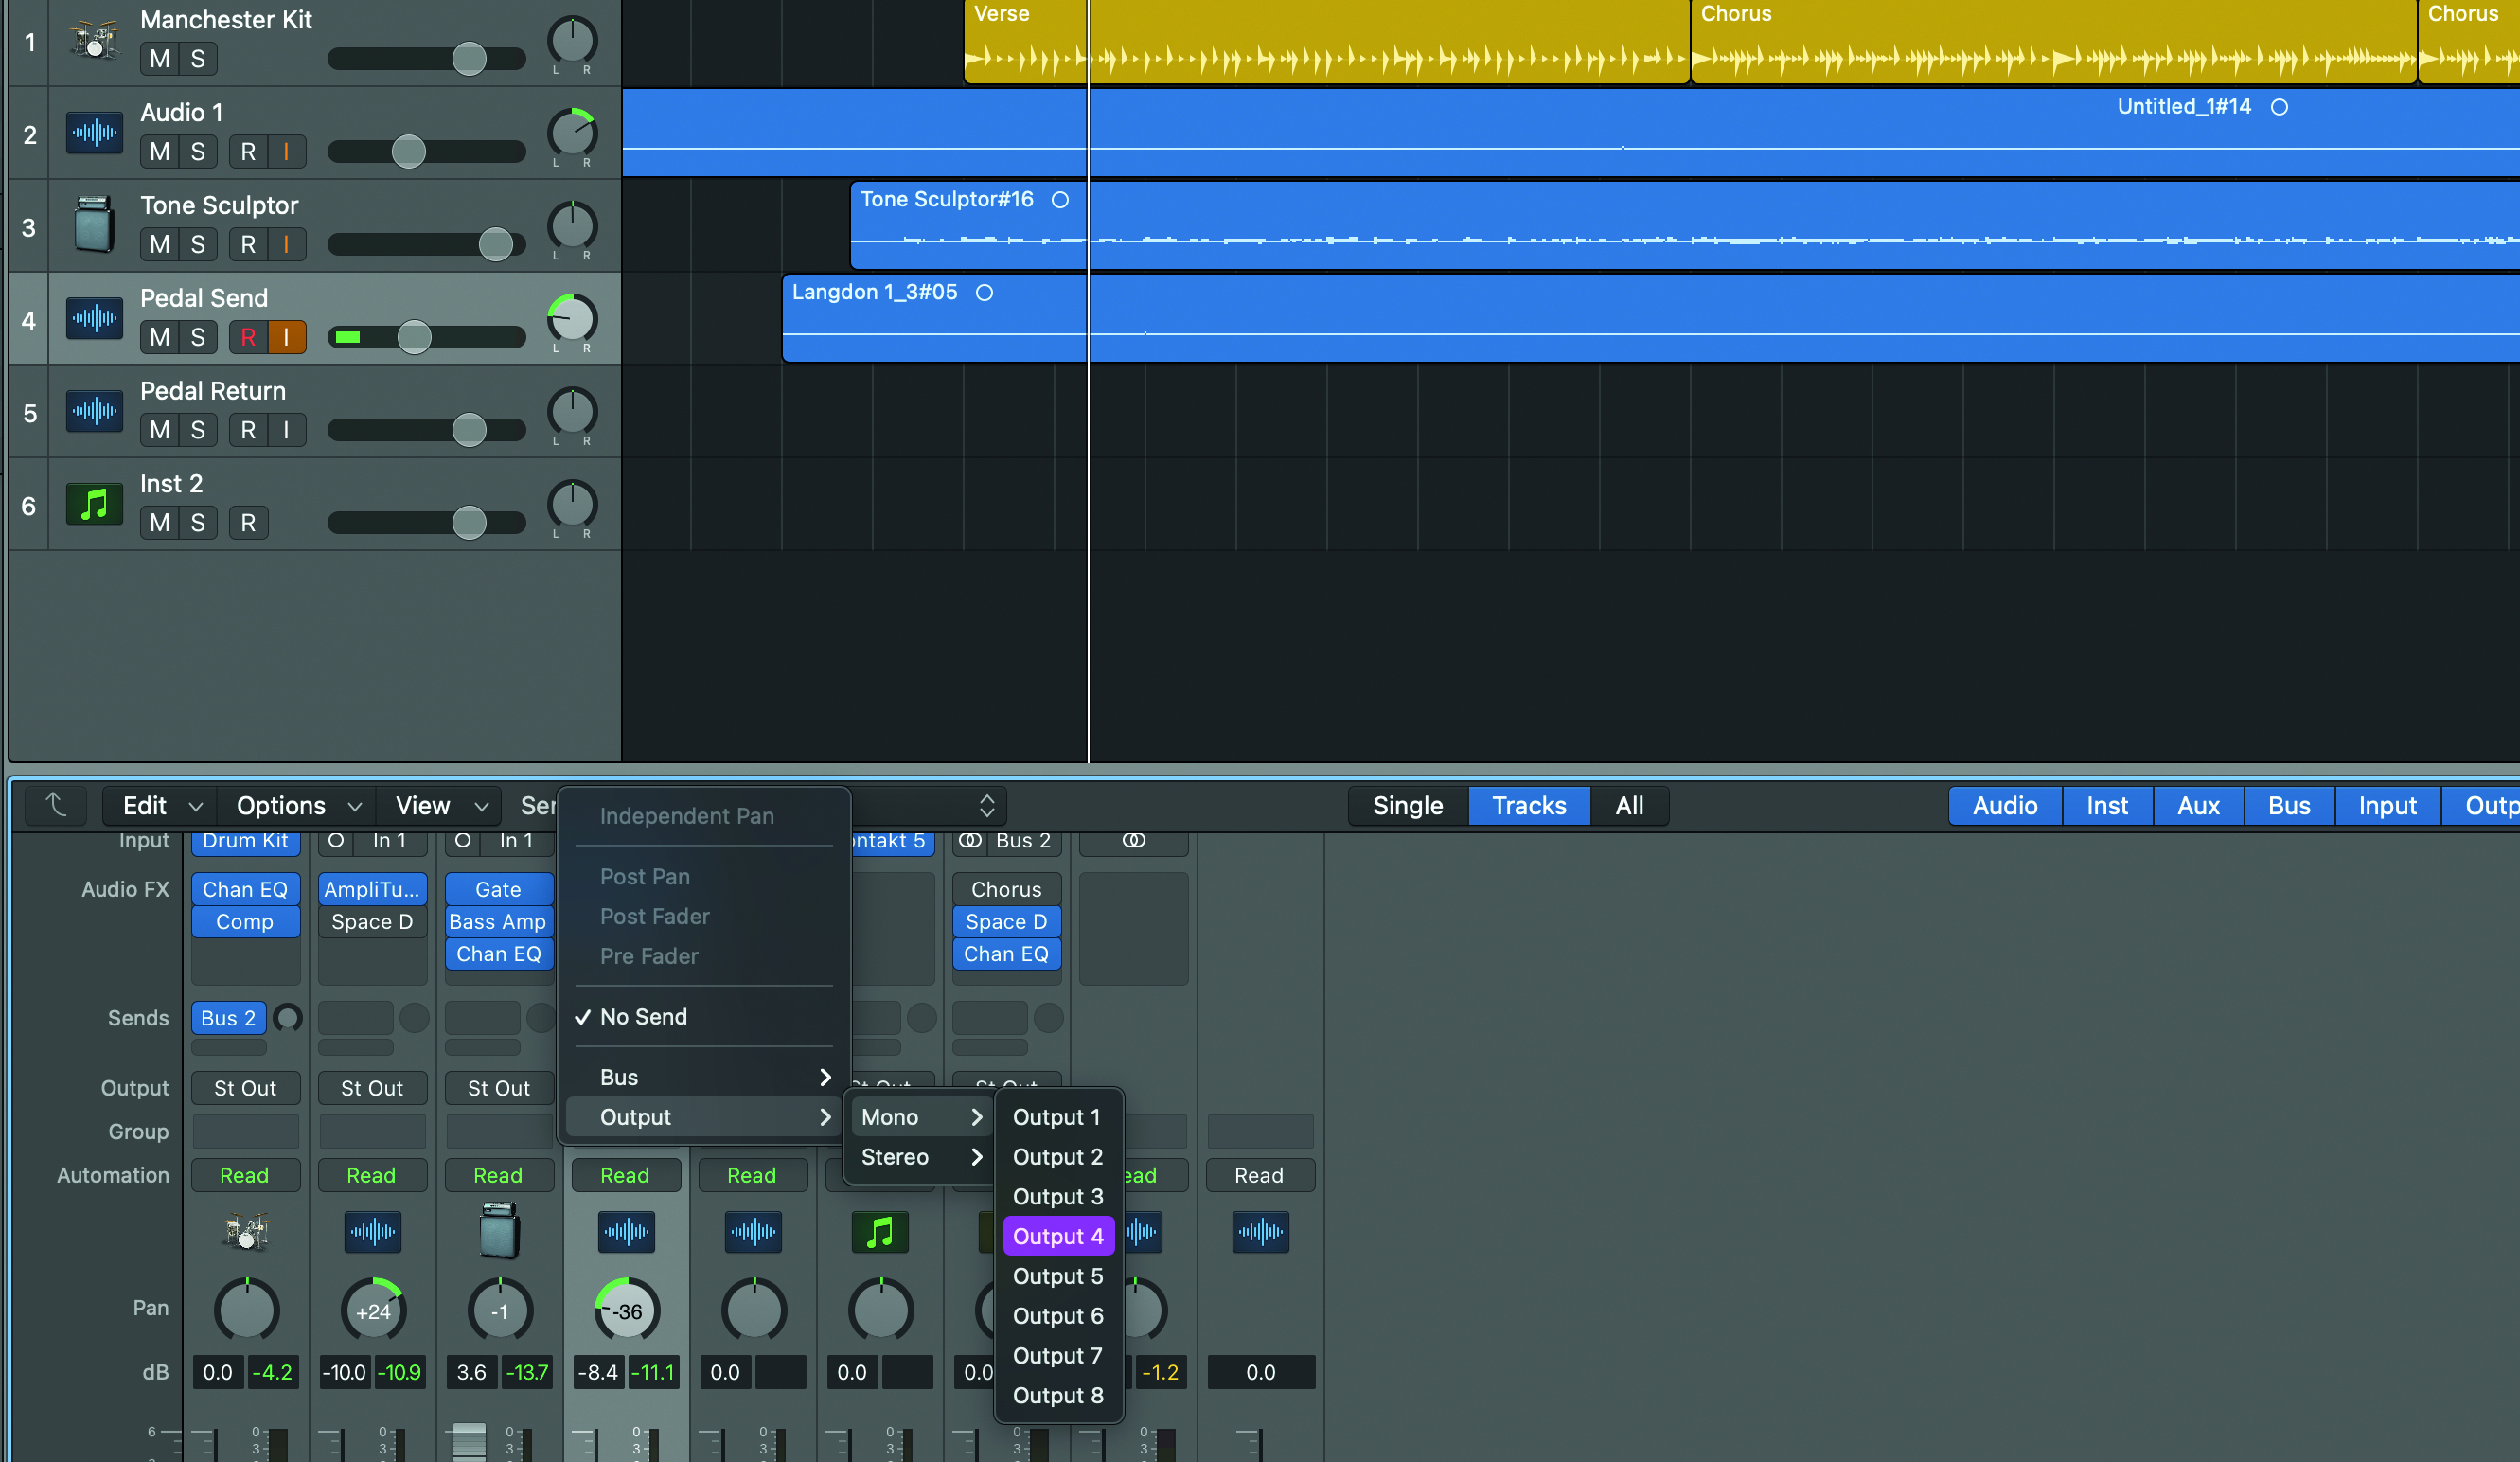
Step 3: Once you’ve wired your re-amping box up to one of your in/outs, make an aux send in your mixer and designate it to the output you’ve connected to. This means that sound is coming out of your DAW and is heading to your pedal chain.
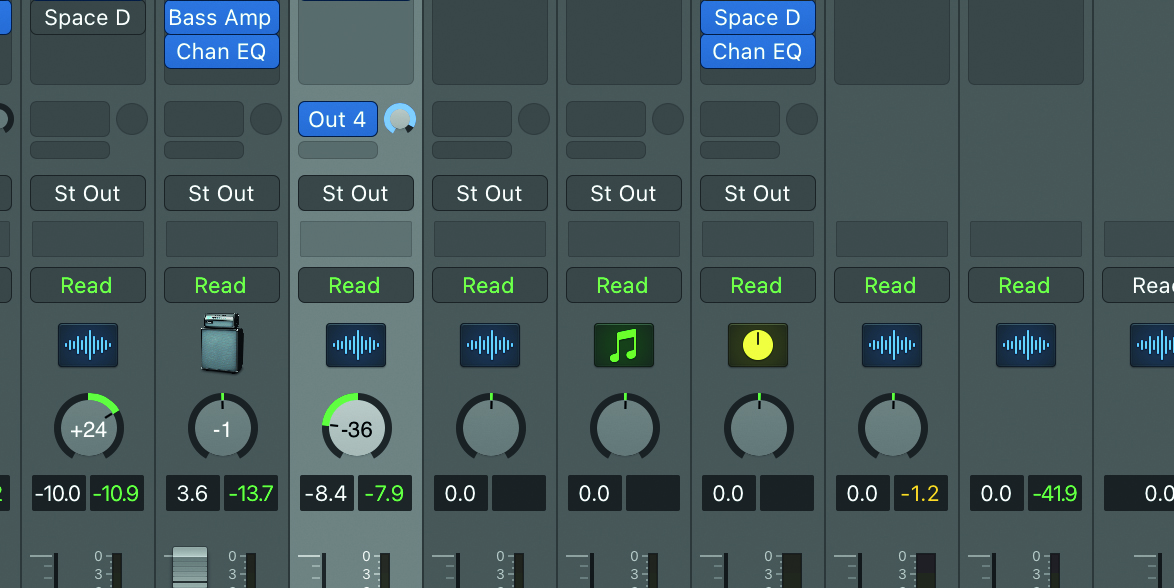
Step 4: Even with a re-amping box to boost the signal, you’ll want to increase the send level in your DAW. Find the Send Level knob next to your chosen output and crank it up. Prepare your pedal(s) and wire your jack into the input of the first pedal in the chain. Add a second jack at the output of the last pedal in the chain.
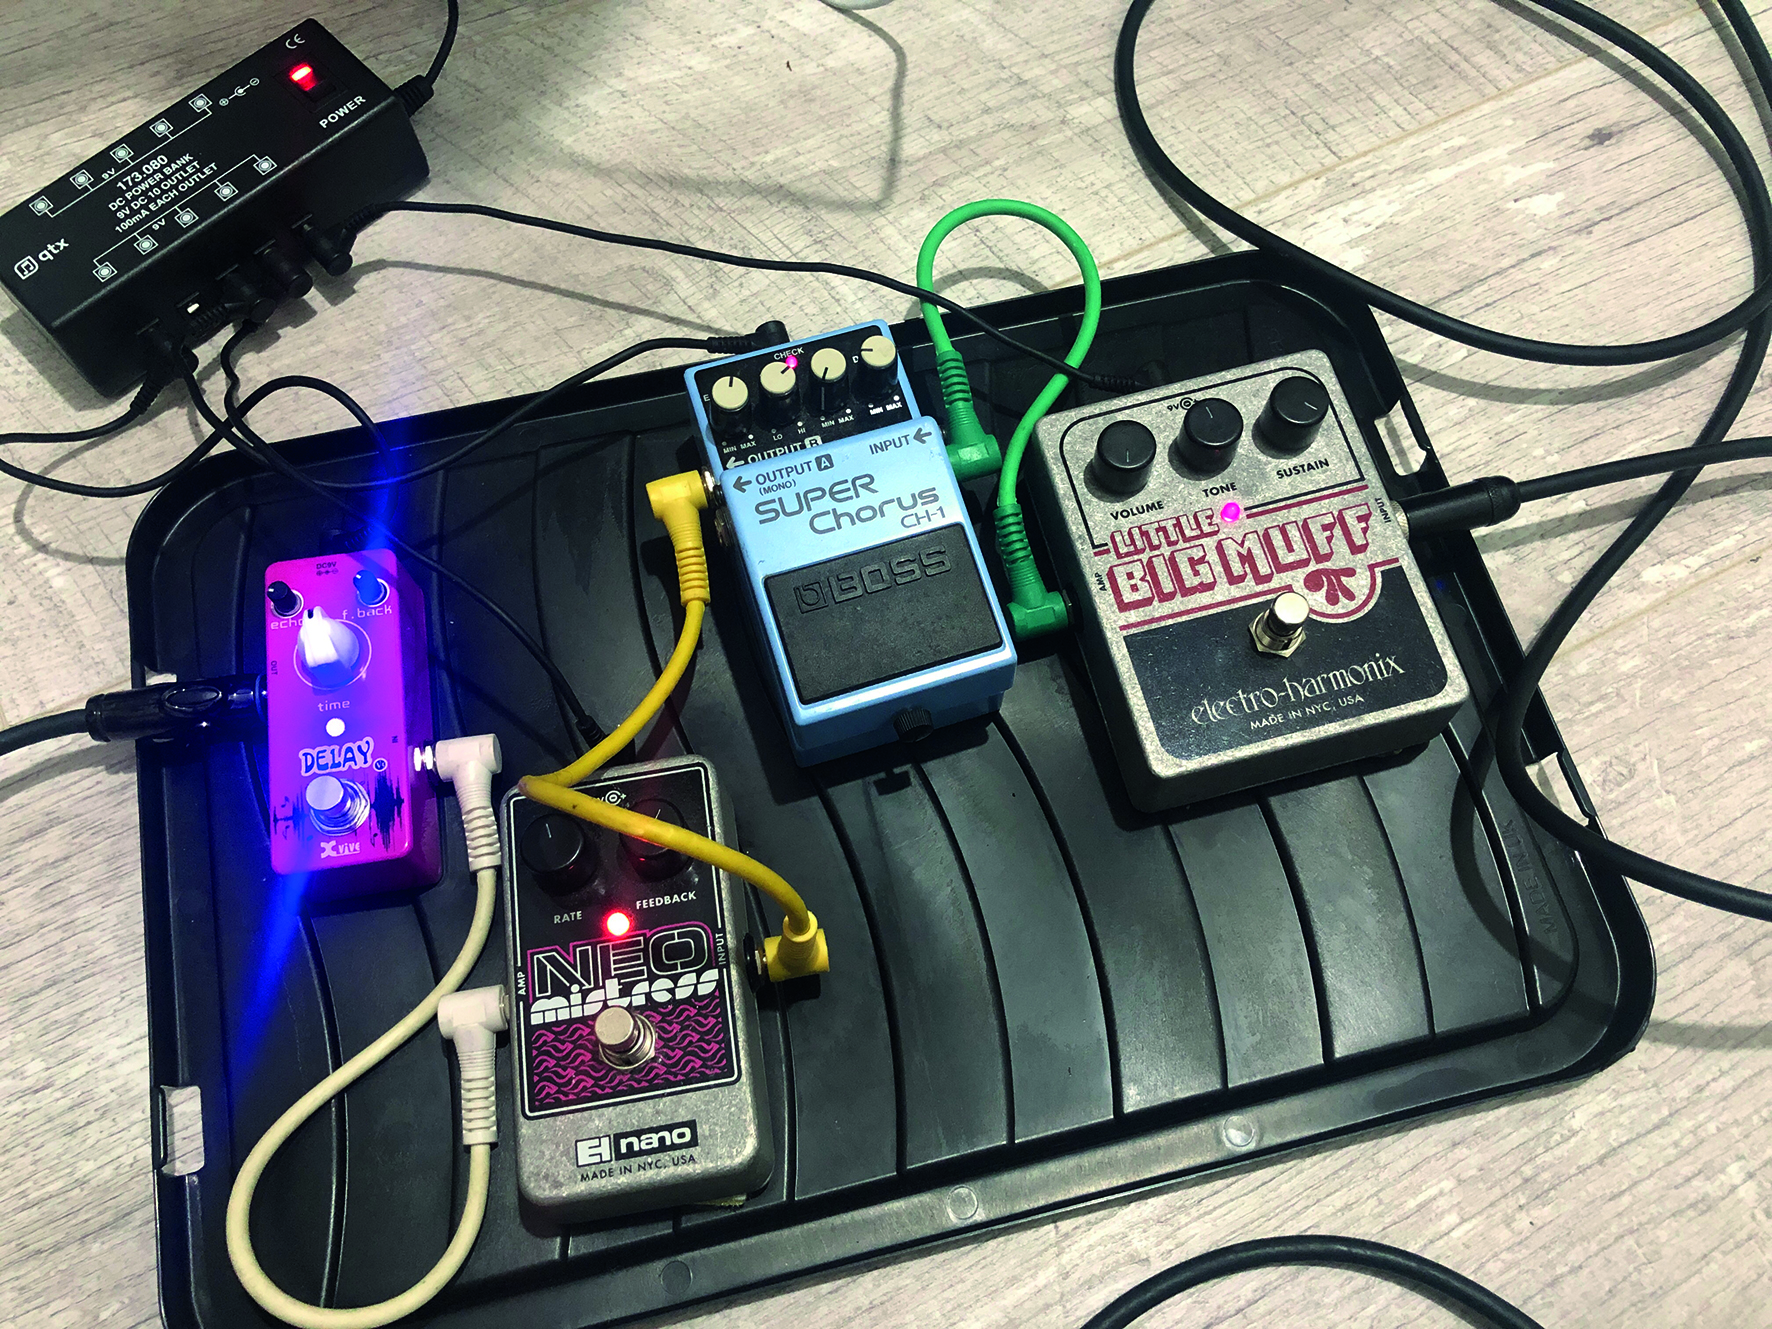
Step 5: We now need to capture the effected sound coming back from the pedal’s output. Create a second track in your DAW for your returning pedal-coloured signal. Put the output of the pedal chain wire into the main instrument input (the one with Hi-Z), or mic up an external amplifier for room ambience.
Get the MusicRadar Newsletter
Want all the hottest music and gear news, reviews, deals, features and more, direct to your inbox? Sign up here.
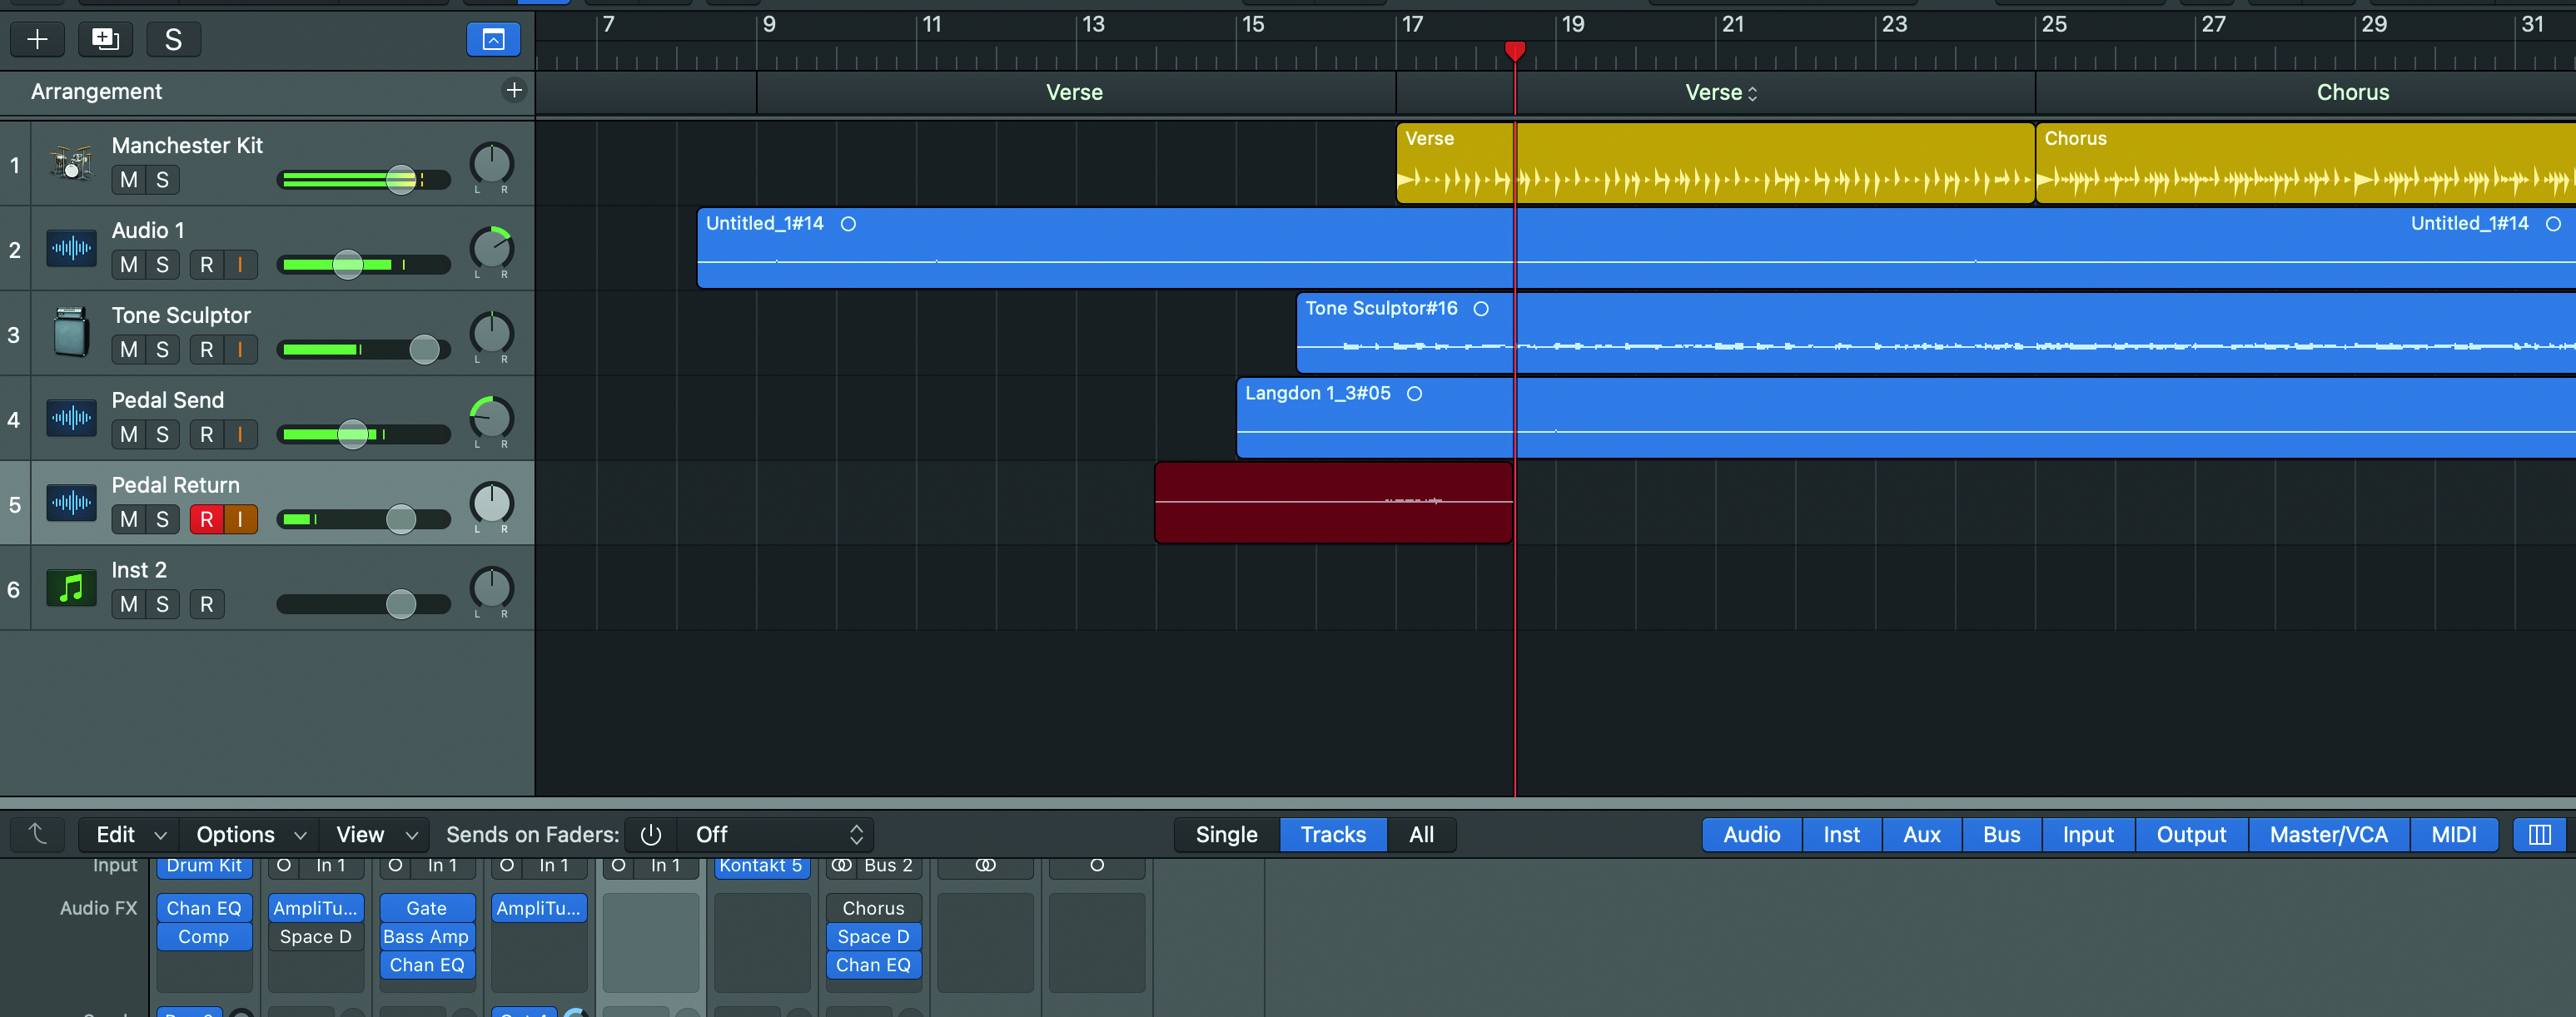
Step 6: Activate input Monitoring on your pedal return track, and press play to send the signal out into your pedal chain and hear the results coming back via the pedal return track. Now you can get creative, switch up your pedals, and experiment with different tones. We want to make our riff more dirty, and our EHX Little Big Muff and Neo Mistress combo certainly does the trick.
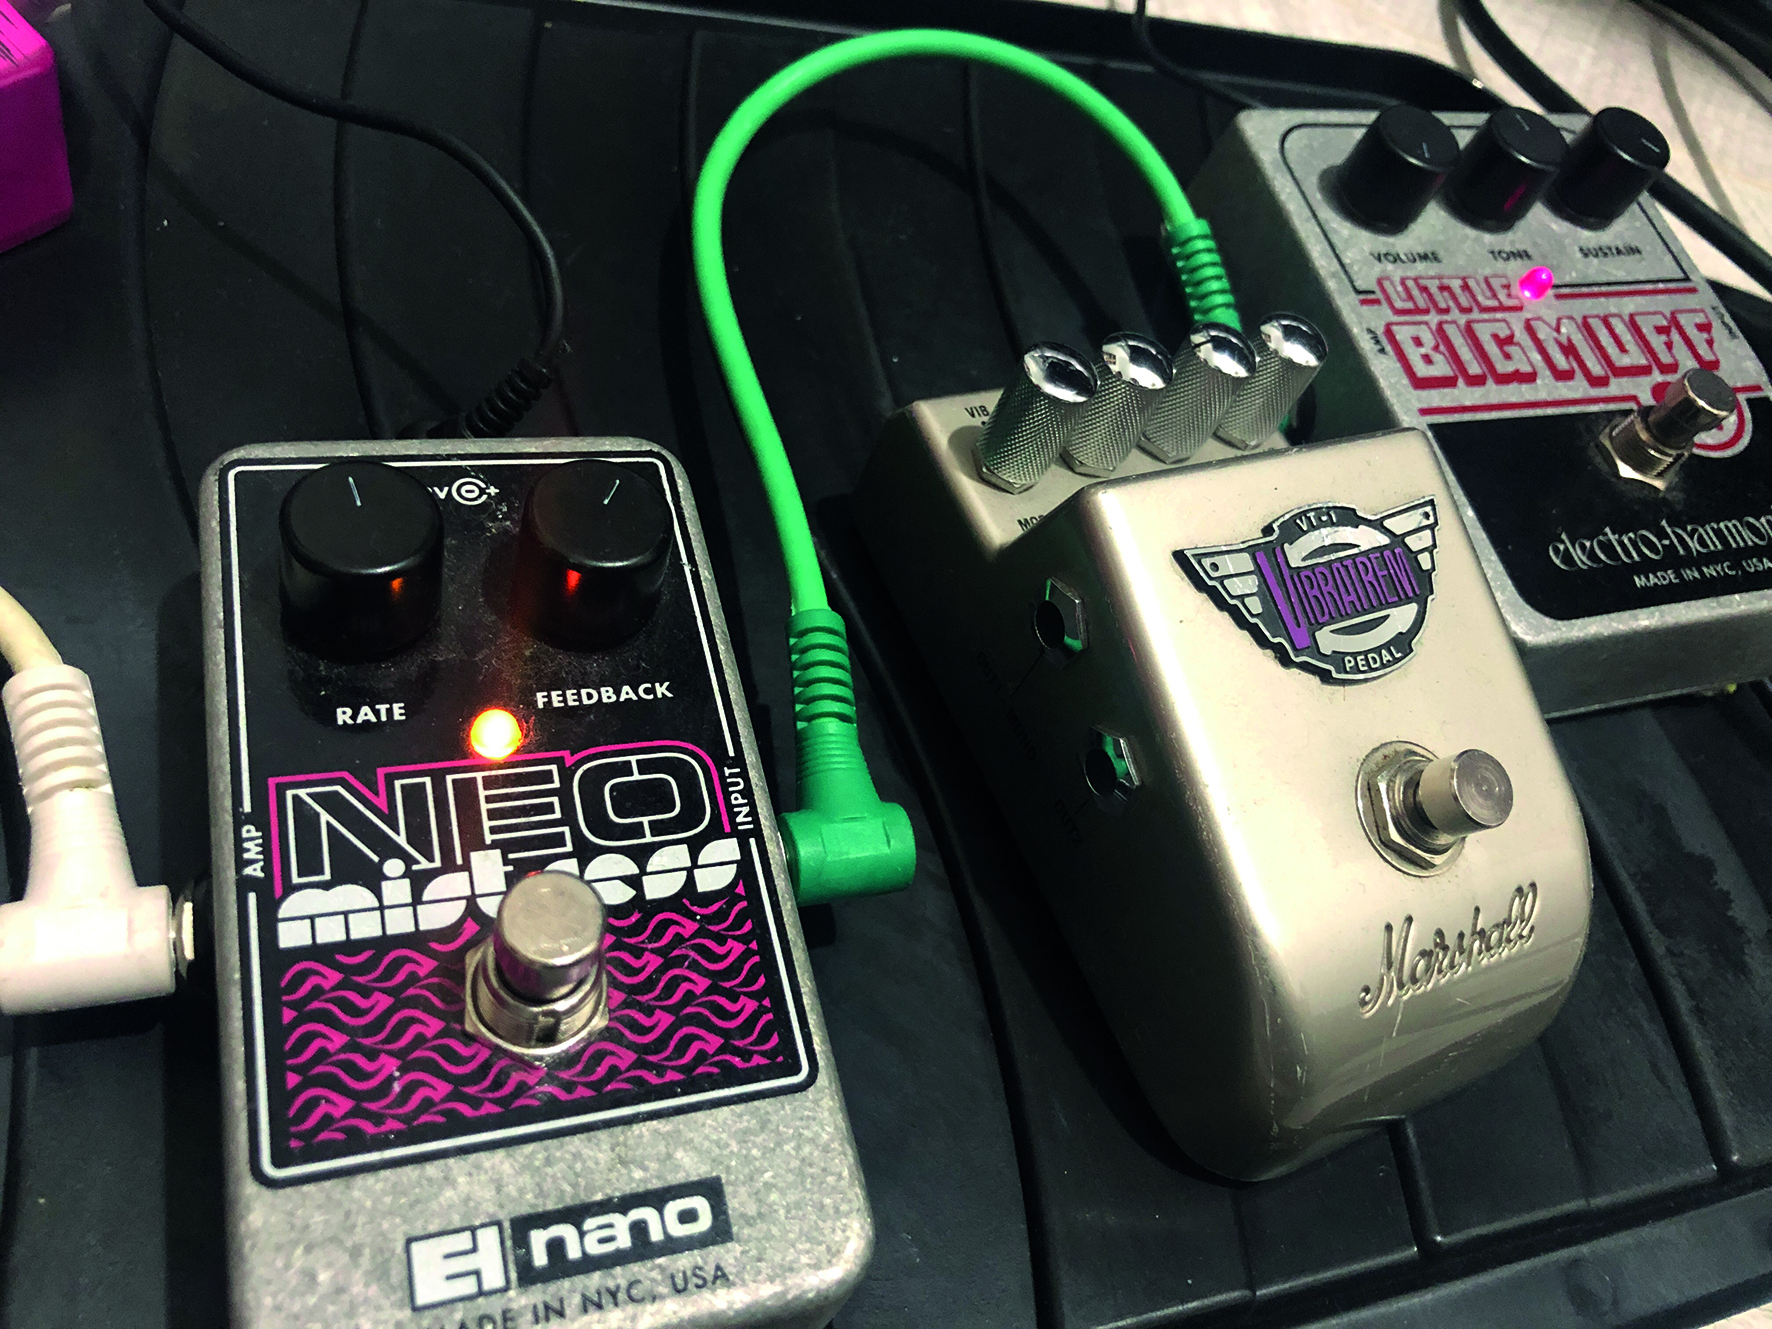
Step 7: This basic recorded "track out > effects pedals > effect-coloured signal in" principle remains the same regardless of DAW or equipment. Once you’ve grasped how this can work on a guitar track, why not try adding some of those hardware pedals to your synth lines?
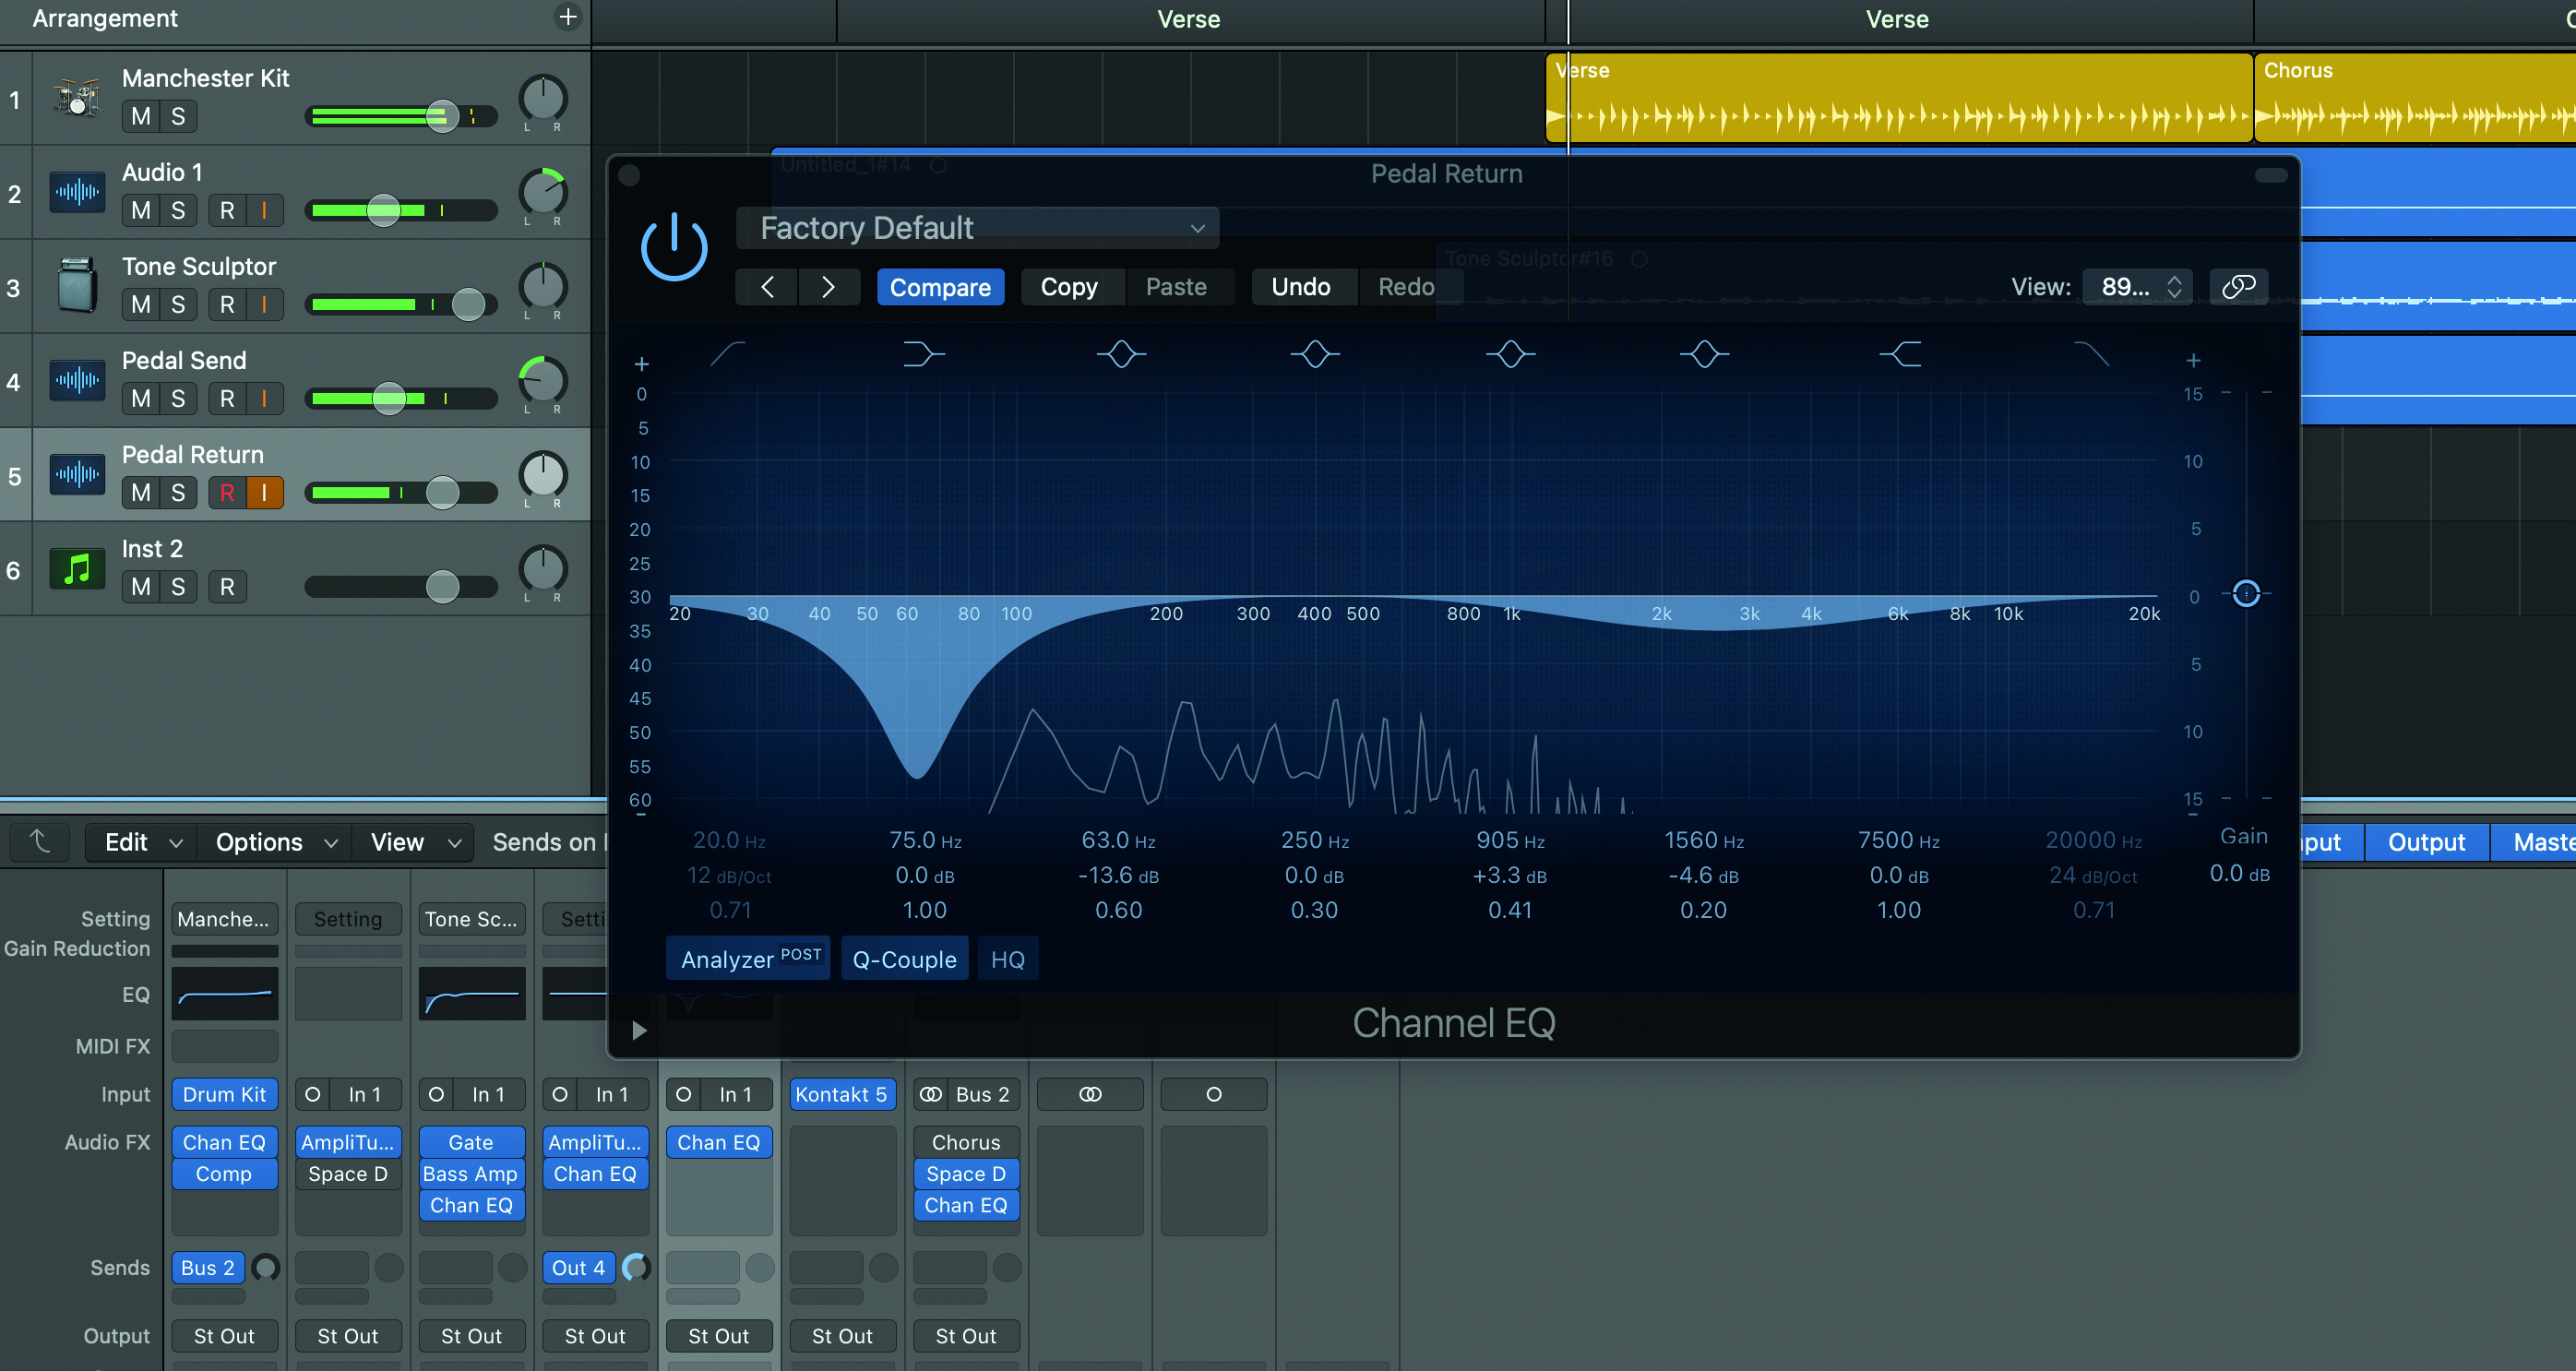
Step 8: When working with the hardware pedal world, you’ll want to reduce the number of existing processing effects on your chosen tracks, and then listen to those effected sounds once you’re back in the box. You’re going to want to take a look at how the effects have impacted your EQ too
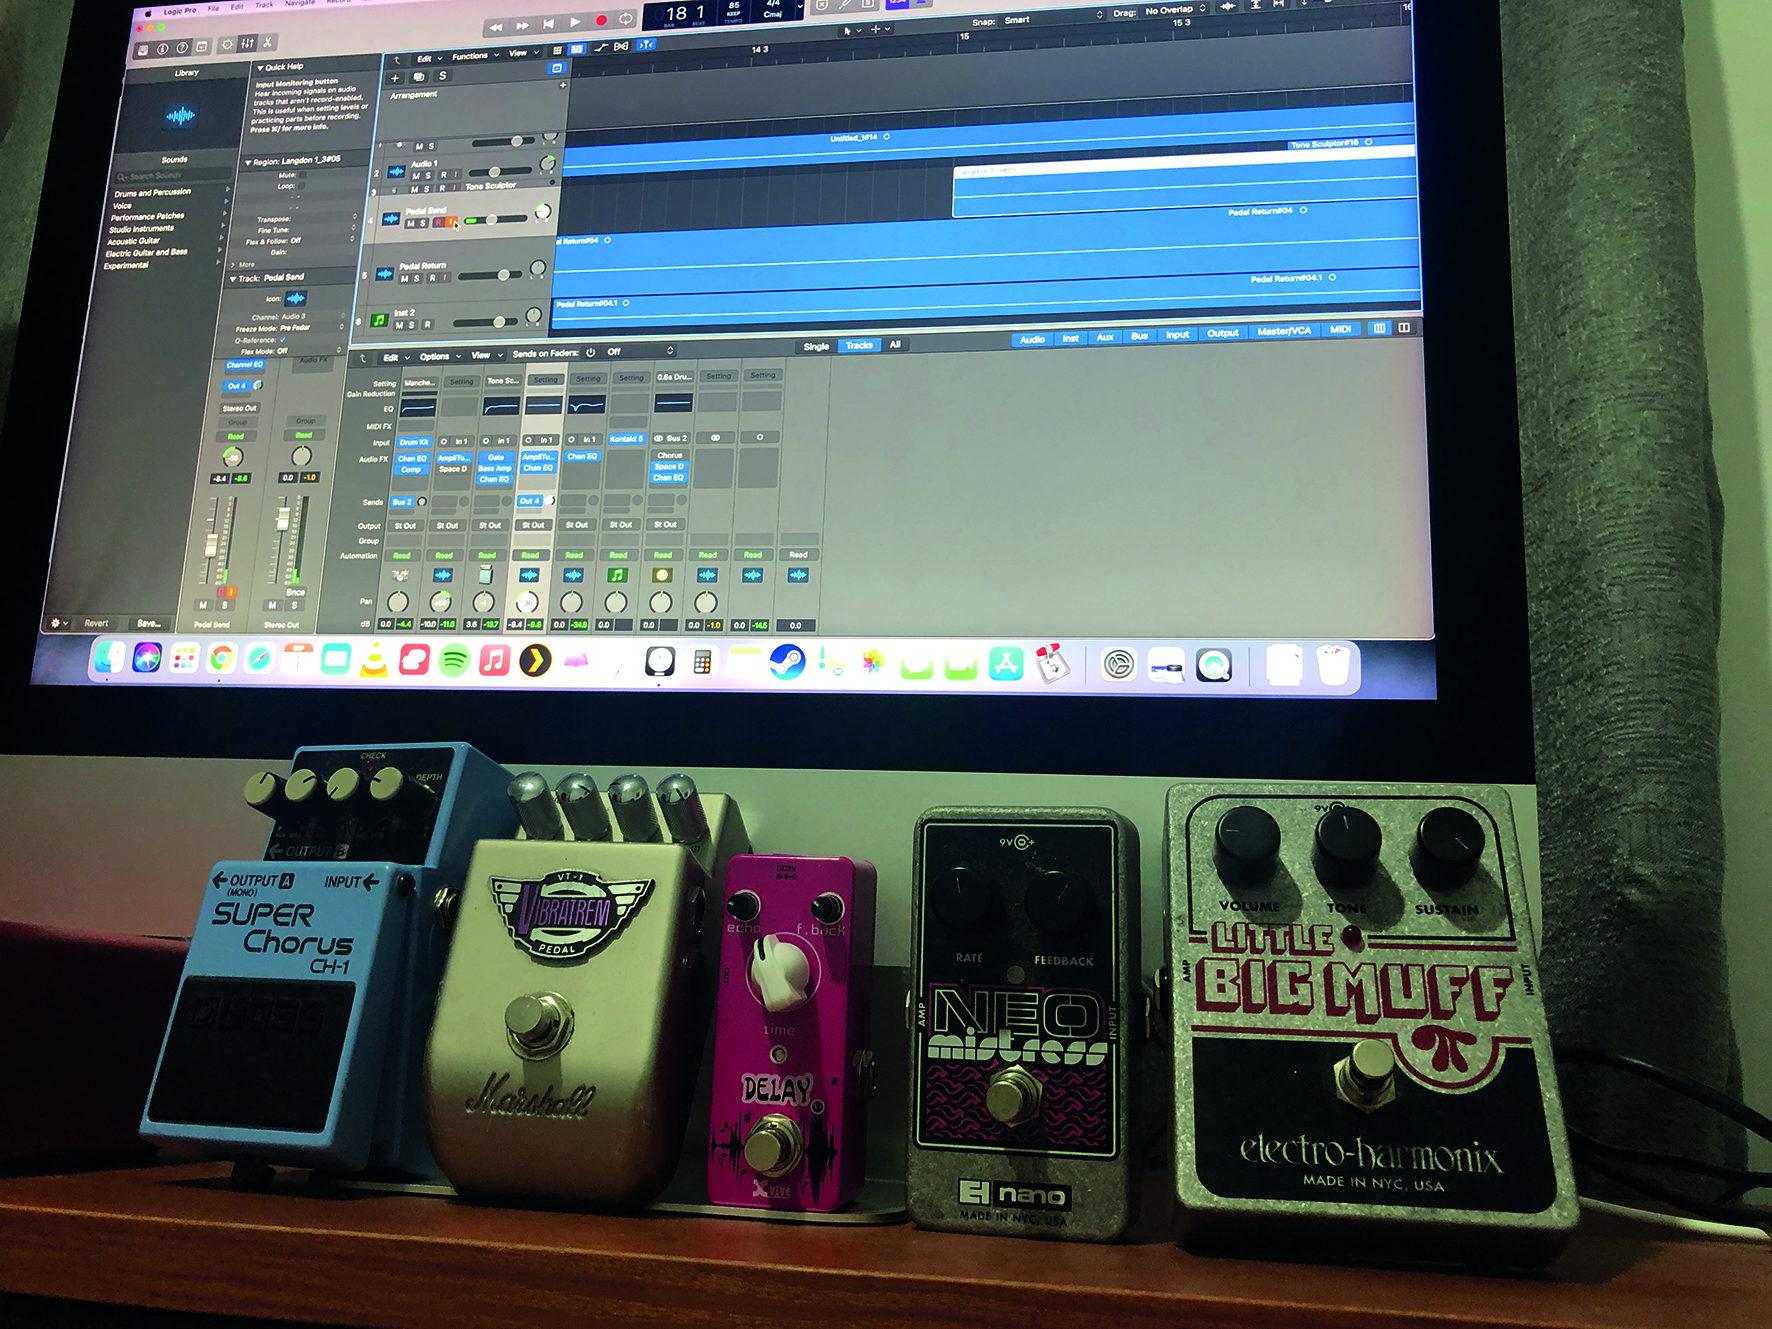
Step 9: Remember, your song is always the key element to think about – but that doesn’t mean you can’t have fun exploring unique pedal combinations, and trying out how hardware pedals can uniquely alter software-only instruments and plugins. So dig out those old stomp boxes!
Computer Music magazine is the world’s best selling publication dedicated solely to making great music with your Mac or PC computer. Each issue it brings its lucky readers the best in cutting-edge tutorials, need-to-know, expert software reviews and even all the tools you actually need to make great music today, courtesy of our legendary CM Plugin Suite.
- Matt MullenTech Editor
"The Rehearsal is compact, does its one job well, and is easy to navigate without needing instructions": Walrus Audio Canvas Rehearsal review
“The EP635 delivers the unmistakable high-gain aggression and clarity that Engl fans love”: Engl packs its iconic Fireball head into a compact dual-channel stompbox with onboard noise gate and IR support


