How to use inserts and auxiliaries to streamline your mixing
Inserts and auxiliaries provide different ways to process audio. Here we demonstrate how you can use them to your advantage
Want all the hottest music and gear news, reviews, deals, features and more, direct to your inbox? Sign up here.
You are now subscribed
Your newsletter sign-up was successful
When we use plugins in our mix, we’re either replacing the input signal with our processed signal (regular compression is a good example), or adding to the input signal, which is usually the case with delay or reverb.
DAWs, much like hardware mixing desks, provide us with two systems – inserts and auxiliaries – to achieve these tasks. However, individual DAW plugins often include some kind of wet/dry mix blend. If you couple this with a virtually limitless supply of plugins it becomes perfectly feasible to mix a track and not use auxiliaries at all.
Nevertheless, this may not be the best or quickest method, and racking up multiple track-specific reverbs can quickly ramp up your CPU usage. What’s more, if you throw blended techniques such as parallel compression into the equation, it becomes obvious there isn’t a one-size-fits-all solution.
Today we’re going back to basics, looking at how each of these options works in practice, the implications of having more flexible plugins and why and how to get the most out of auxiliaries. As ever in our tutorials, we fully acknowledge that individual working methods vary, and aim to provide you with options and techniques that can be applied in a way that works for you!
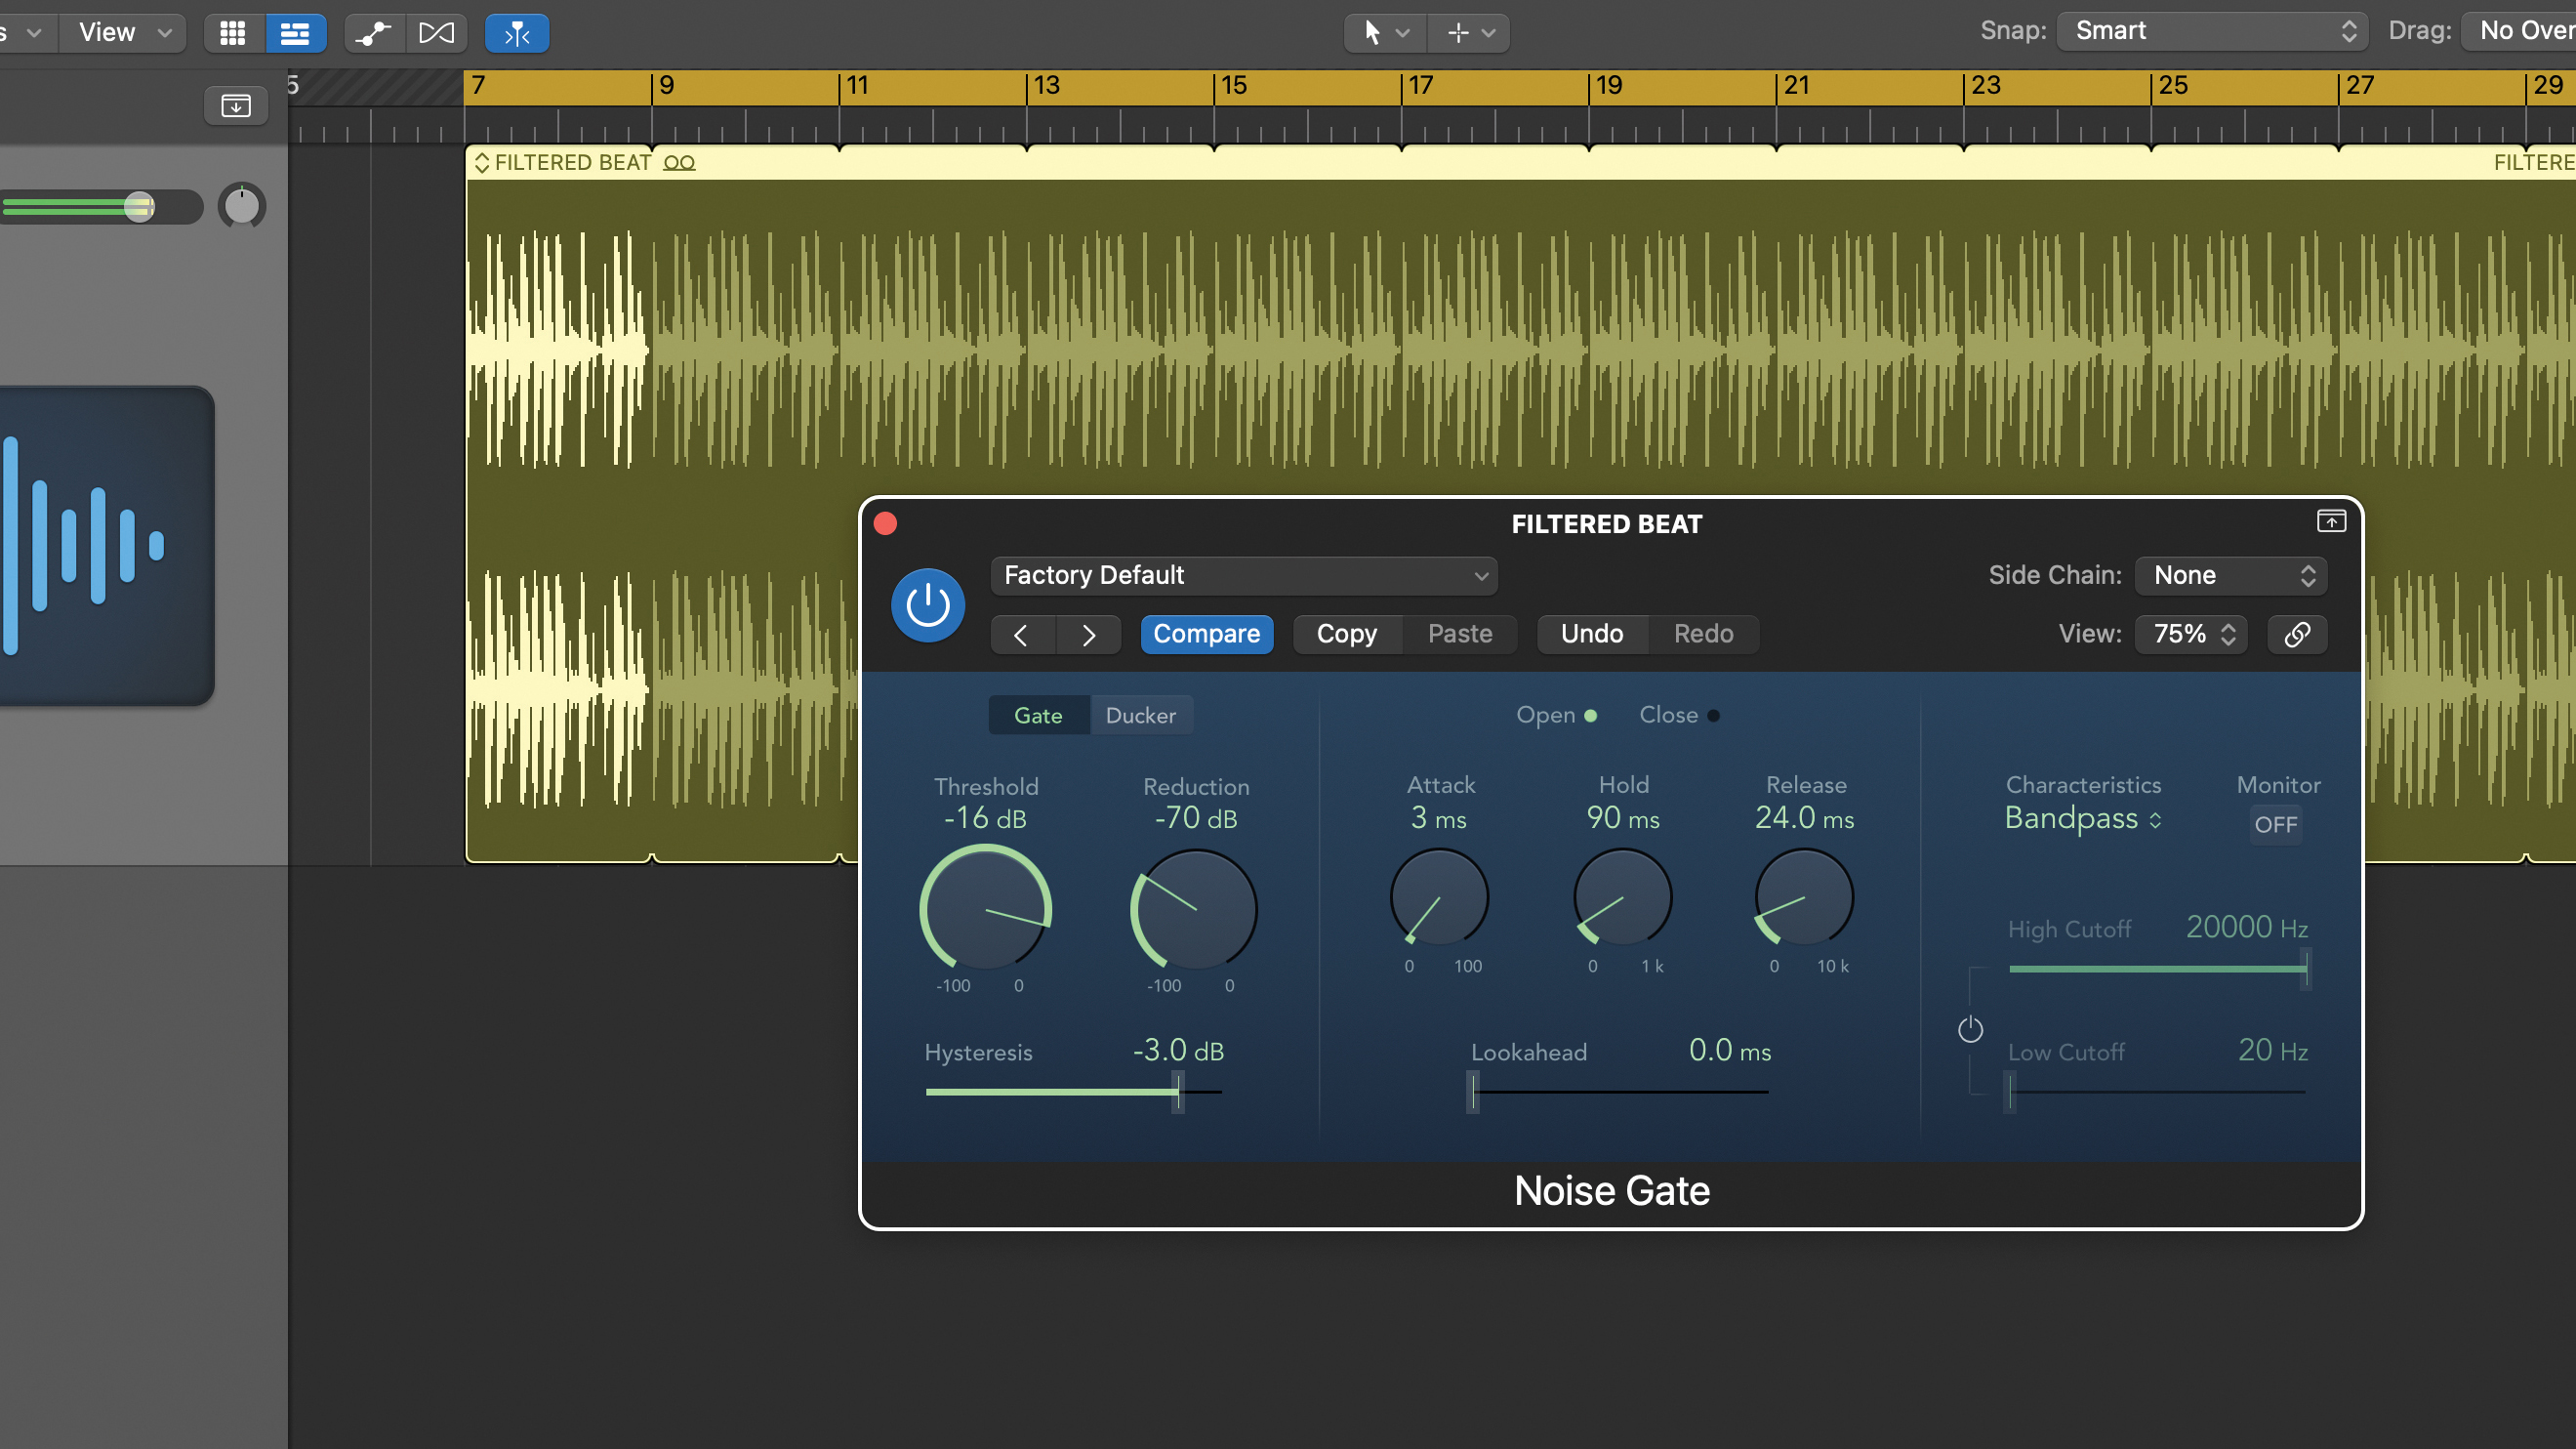
With treatments such as EQ and dynamics we usually want our processing to replace the input signal, and that is why an insert is perfect for the job. This is perhaps best demonstrated by a noise gate, which is essentially open or closed, albeit with some form of range or reduction amount setting.
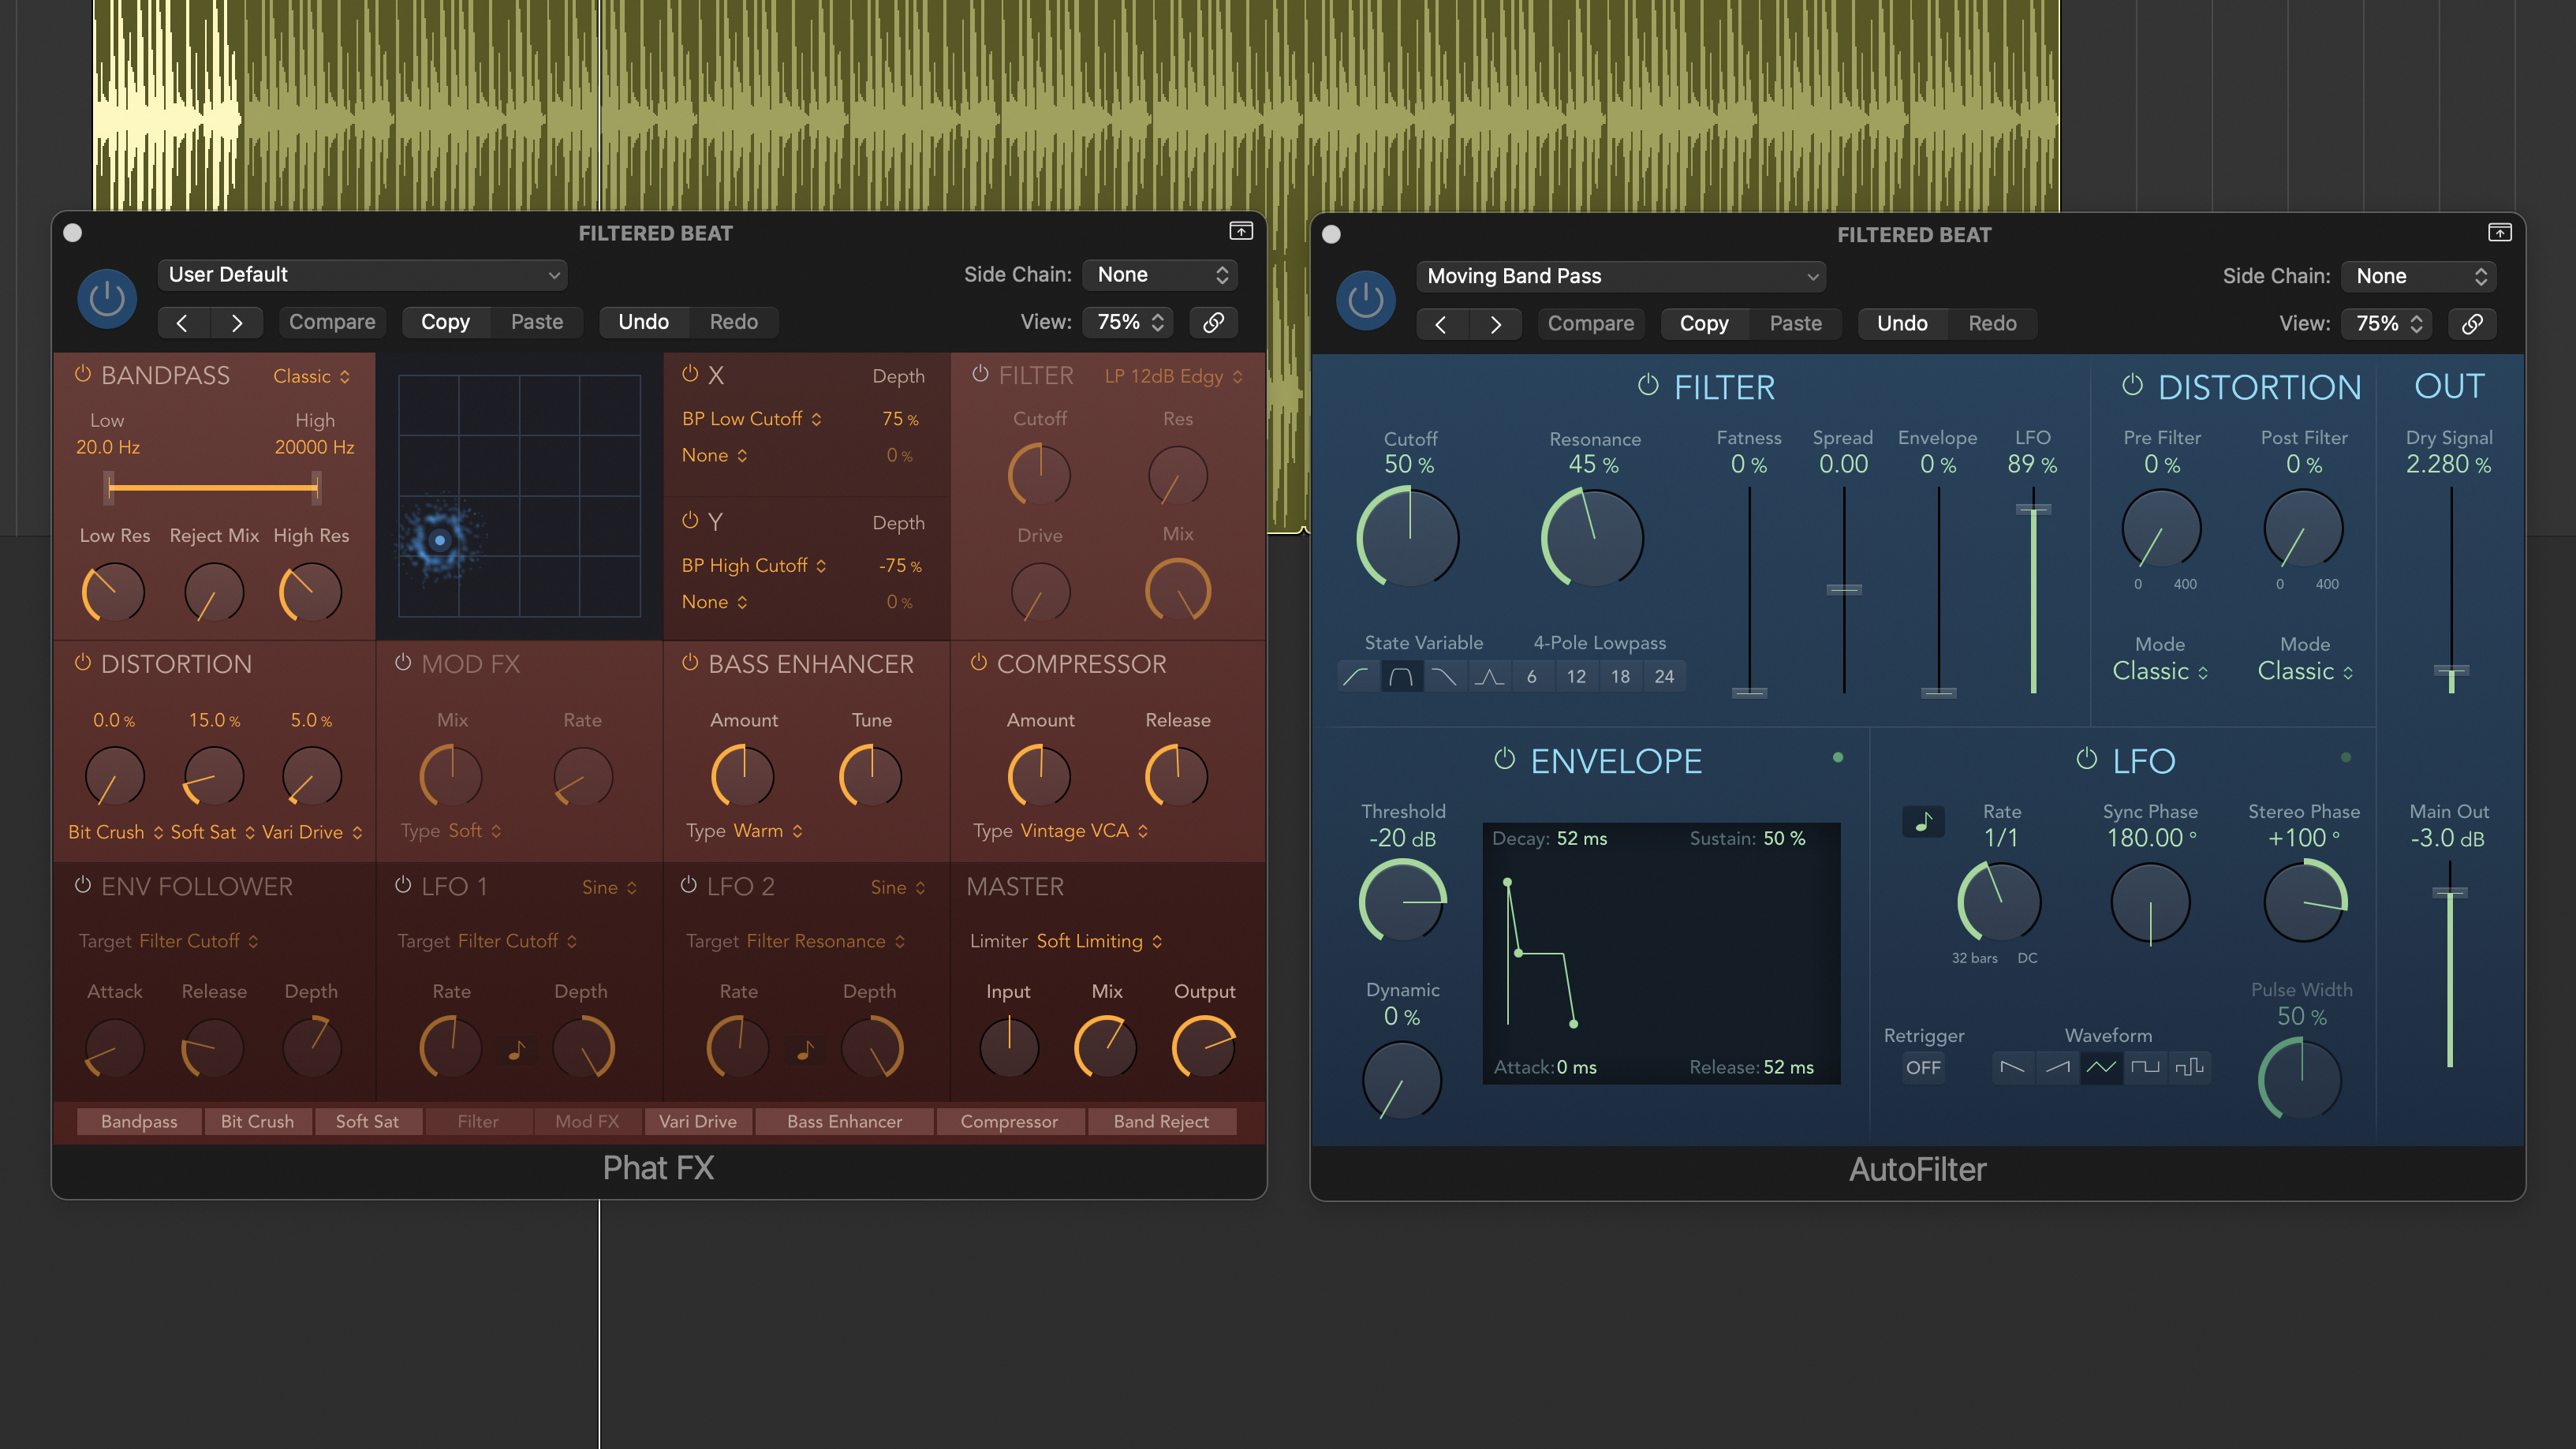
Even so, and this is where the lines get blurred, plenty of plugins that you might not expect now include some kind of mix blend control. This is particularly true of compressors, which can then provide basic parallel compression. Other examples include multi-effects and even filters – we’ve loaded up both as serial inserts to process a loop, setting both mix blends to taste.
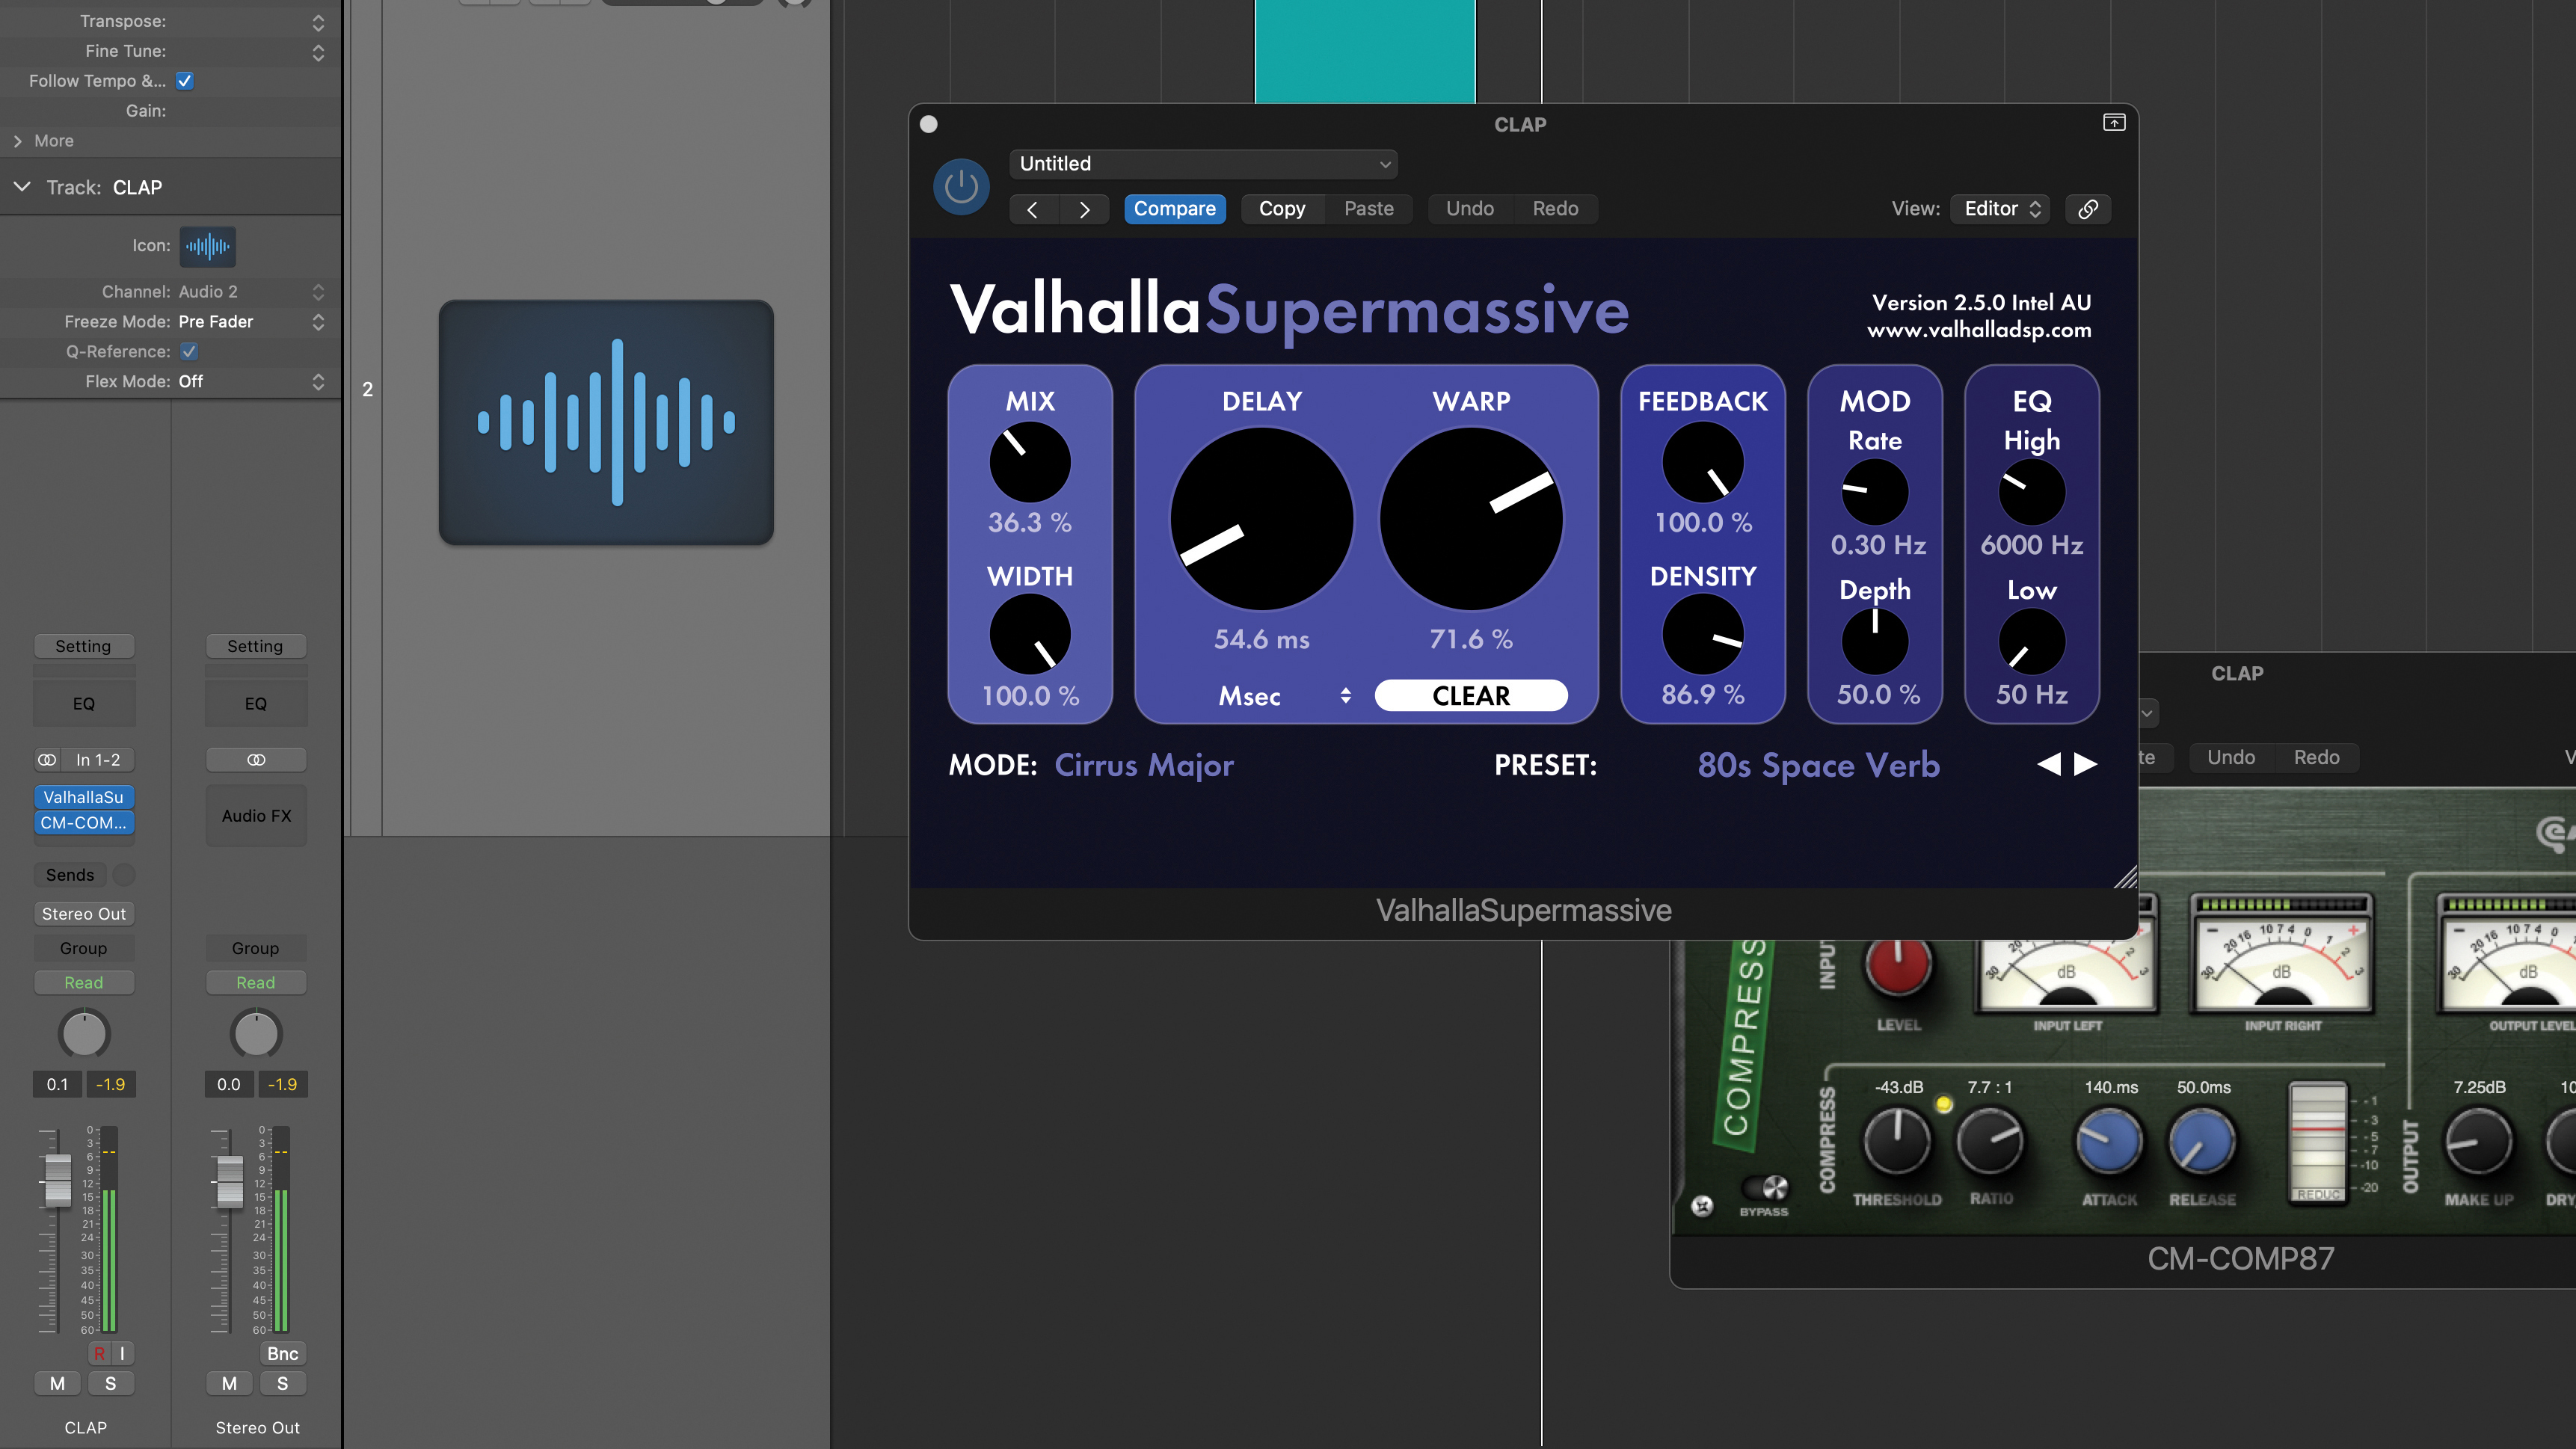
Although inserts are required for certain types of processing, they can also be well suited to tasks where an auxiliary would also work. For example, if we want to add a specific reverb to a single track or even submix. Try this on a spot effect. We’re processing a clap with its own dedicated reverb insert followed by a compressor.
Want all the hottest music and gear news, reviews, deals, features and more, direct to your inbox? Sign up here.
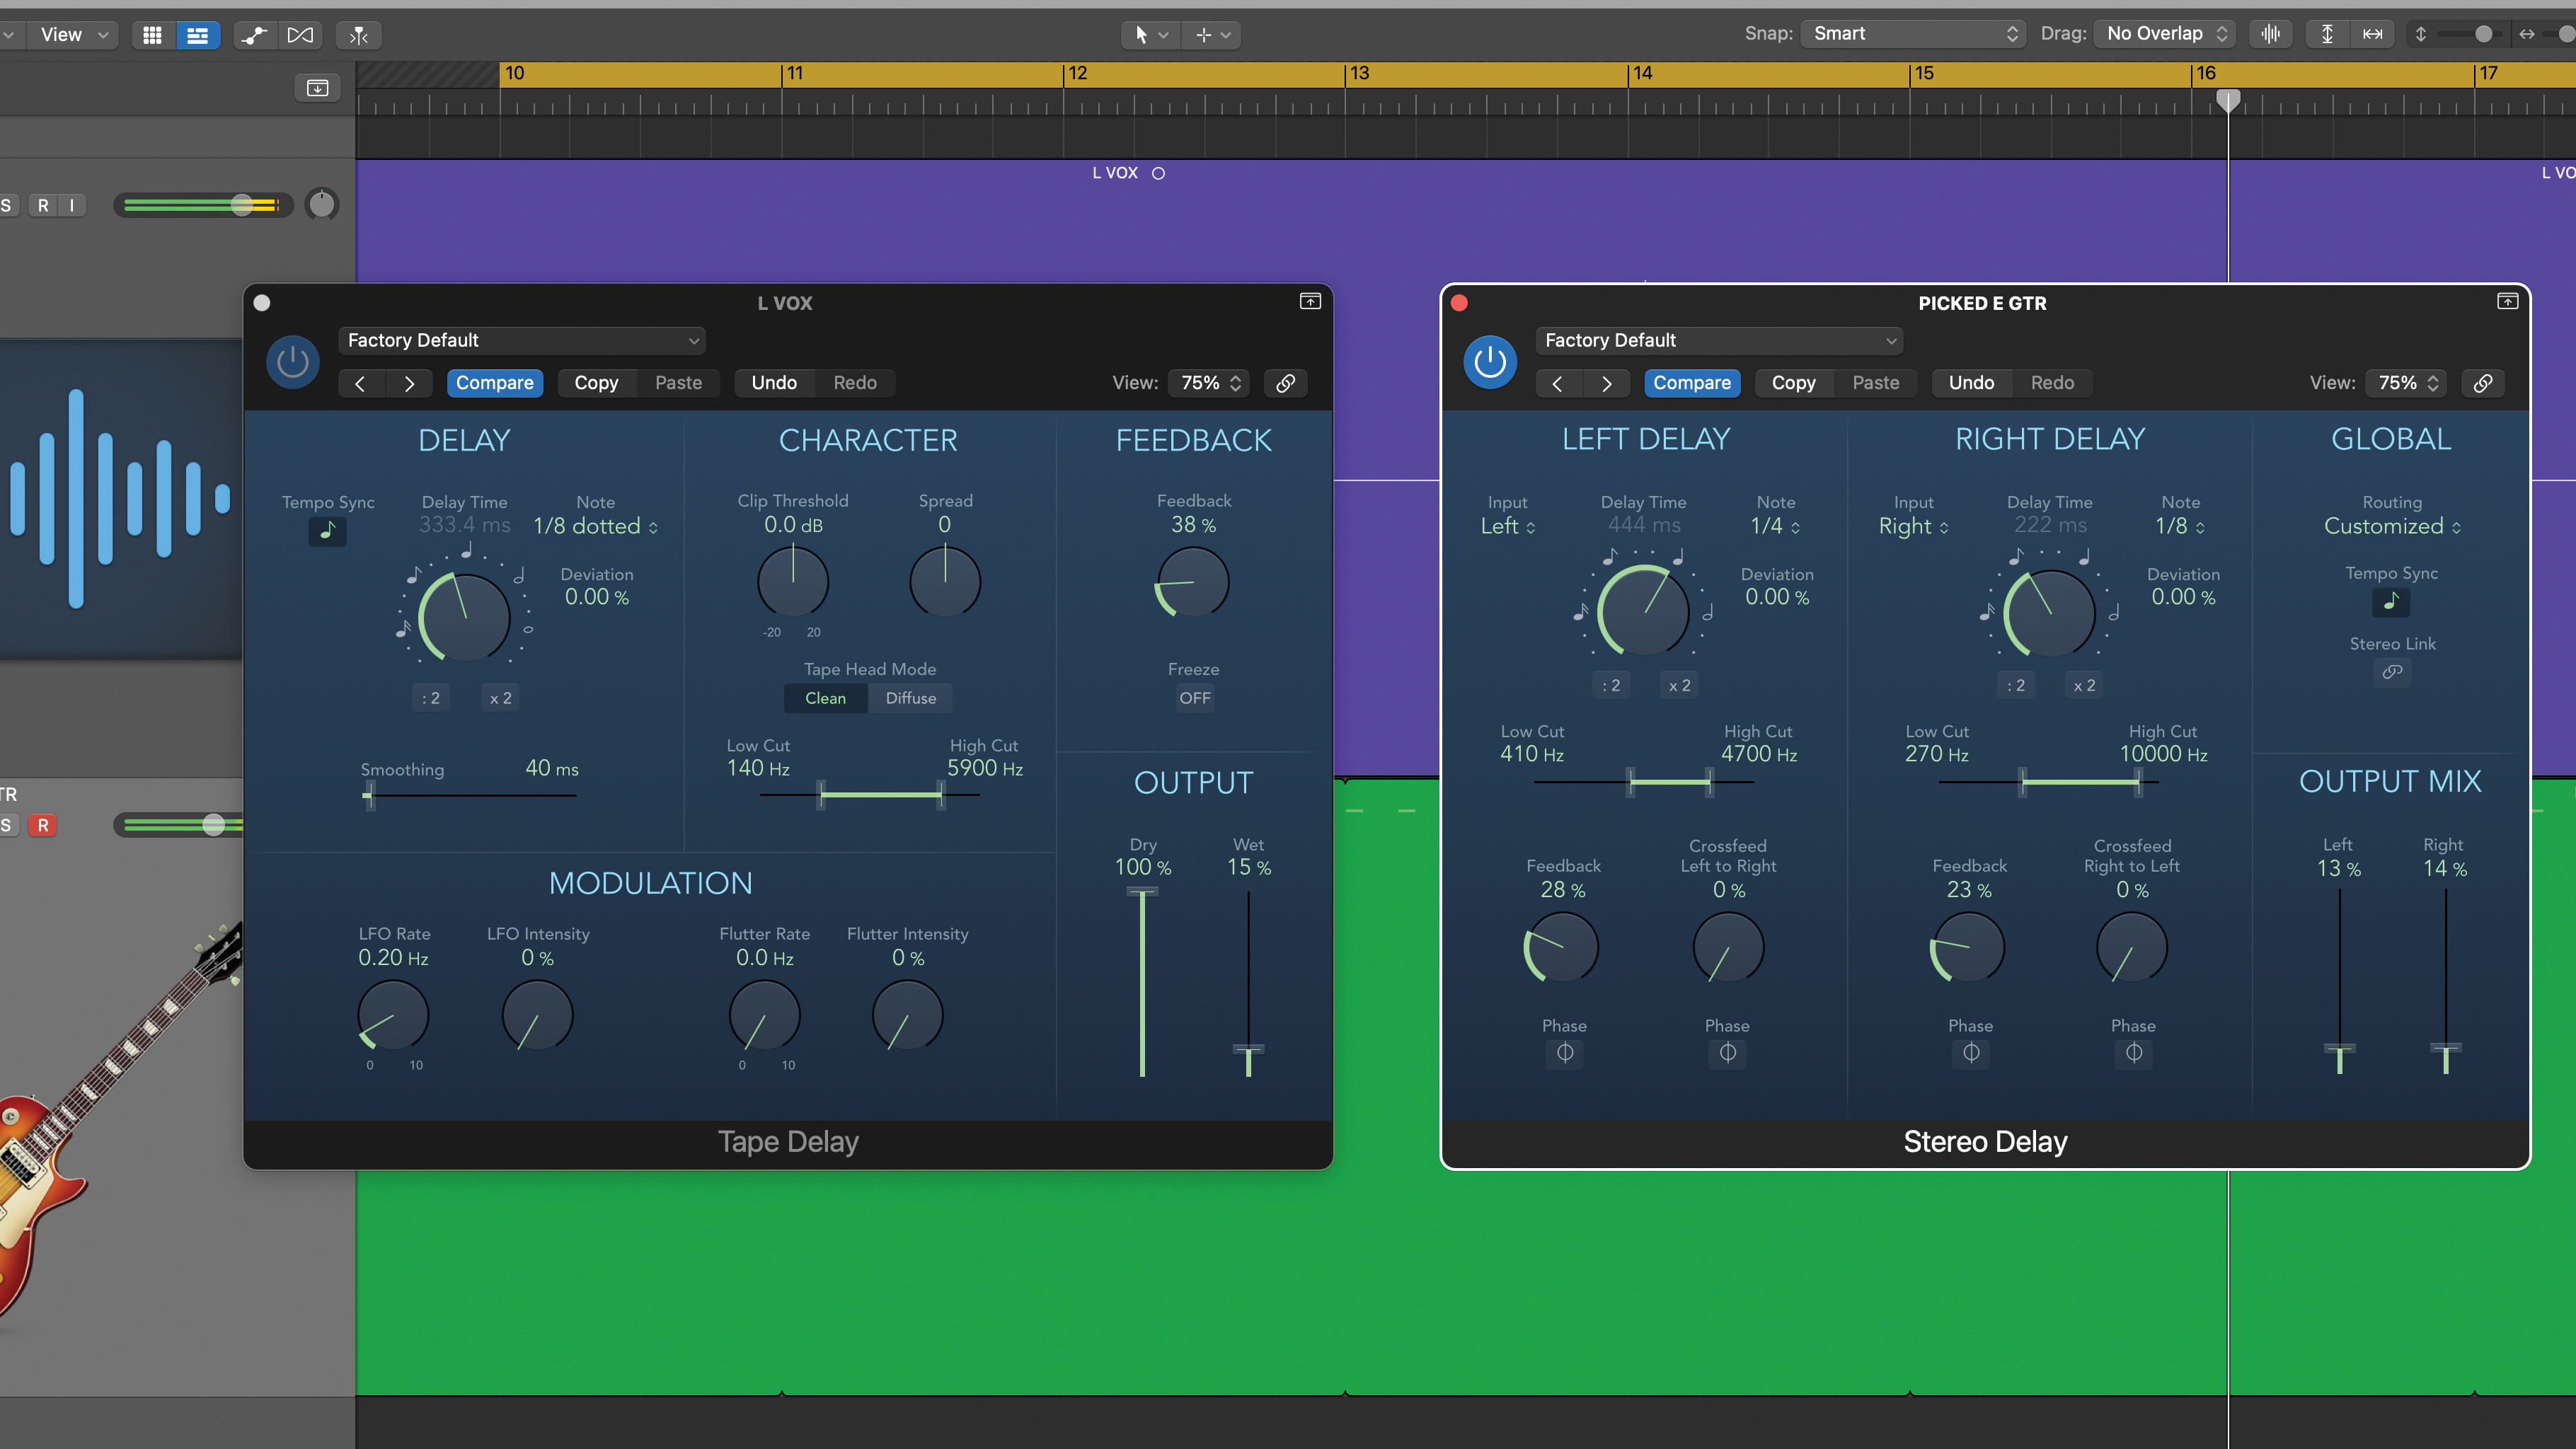
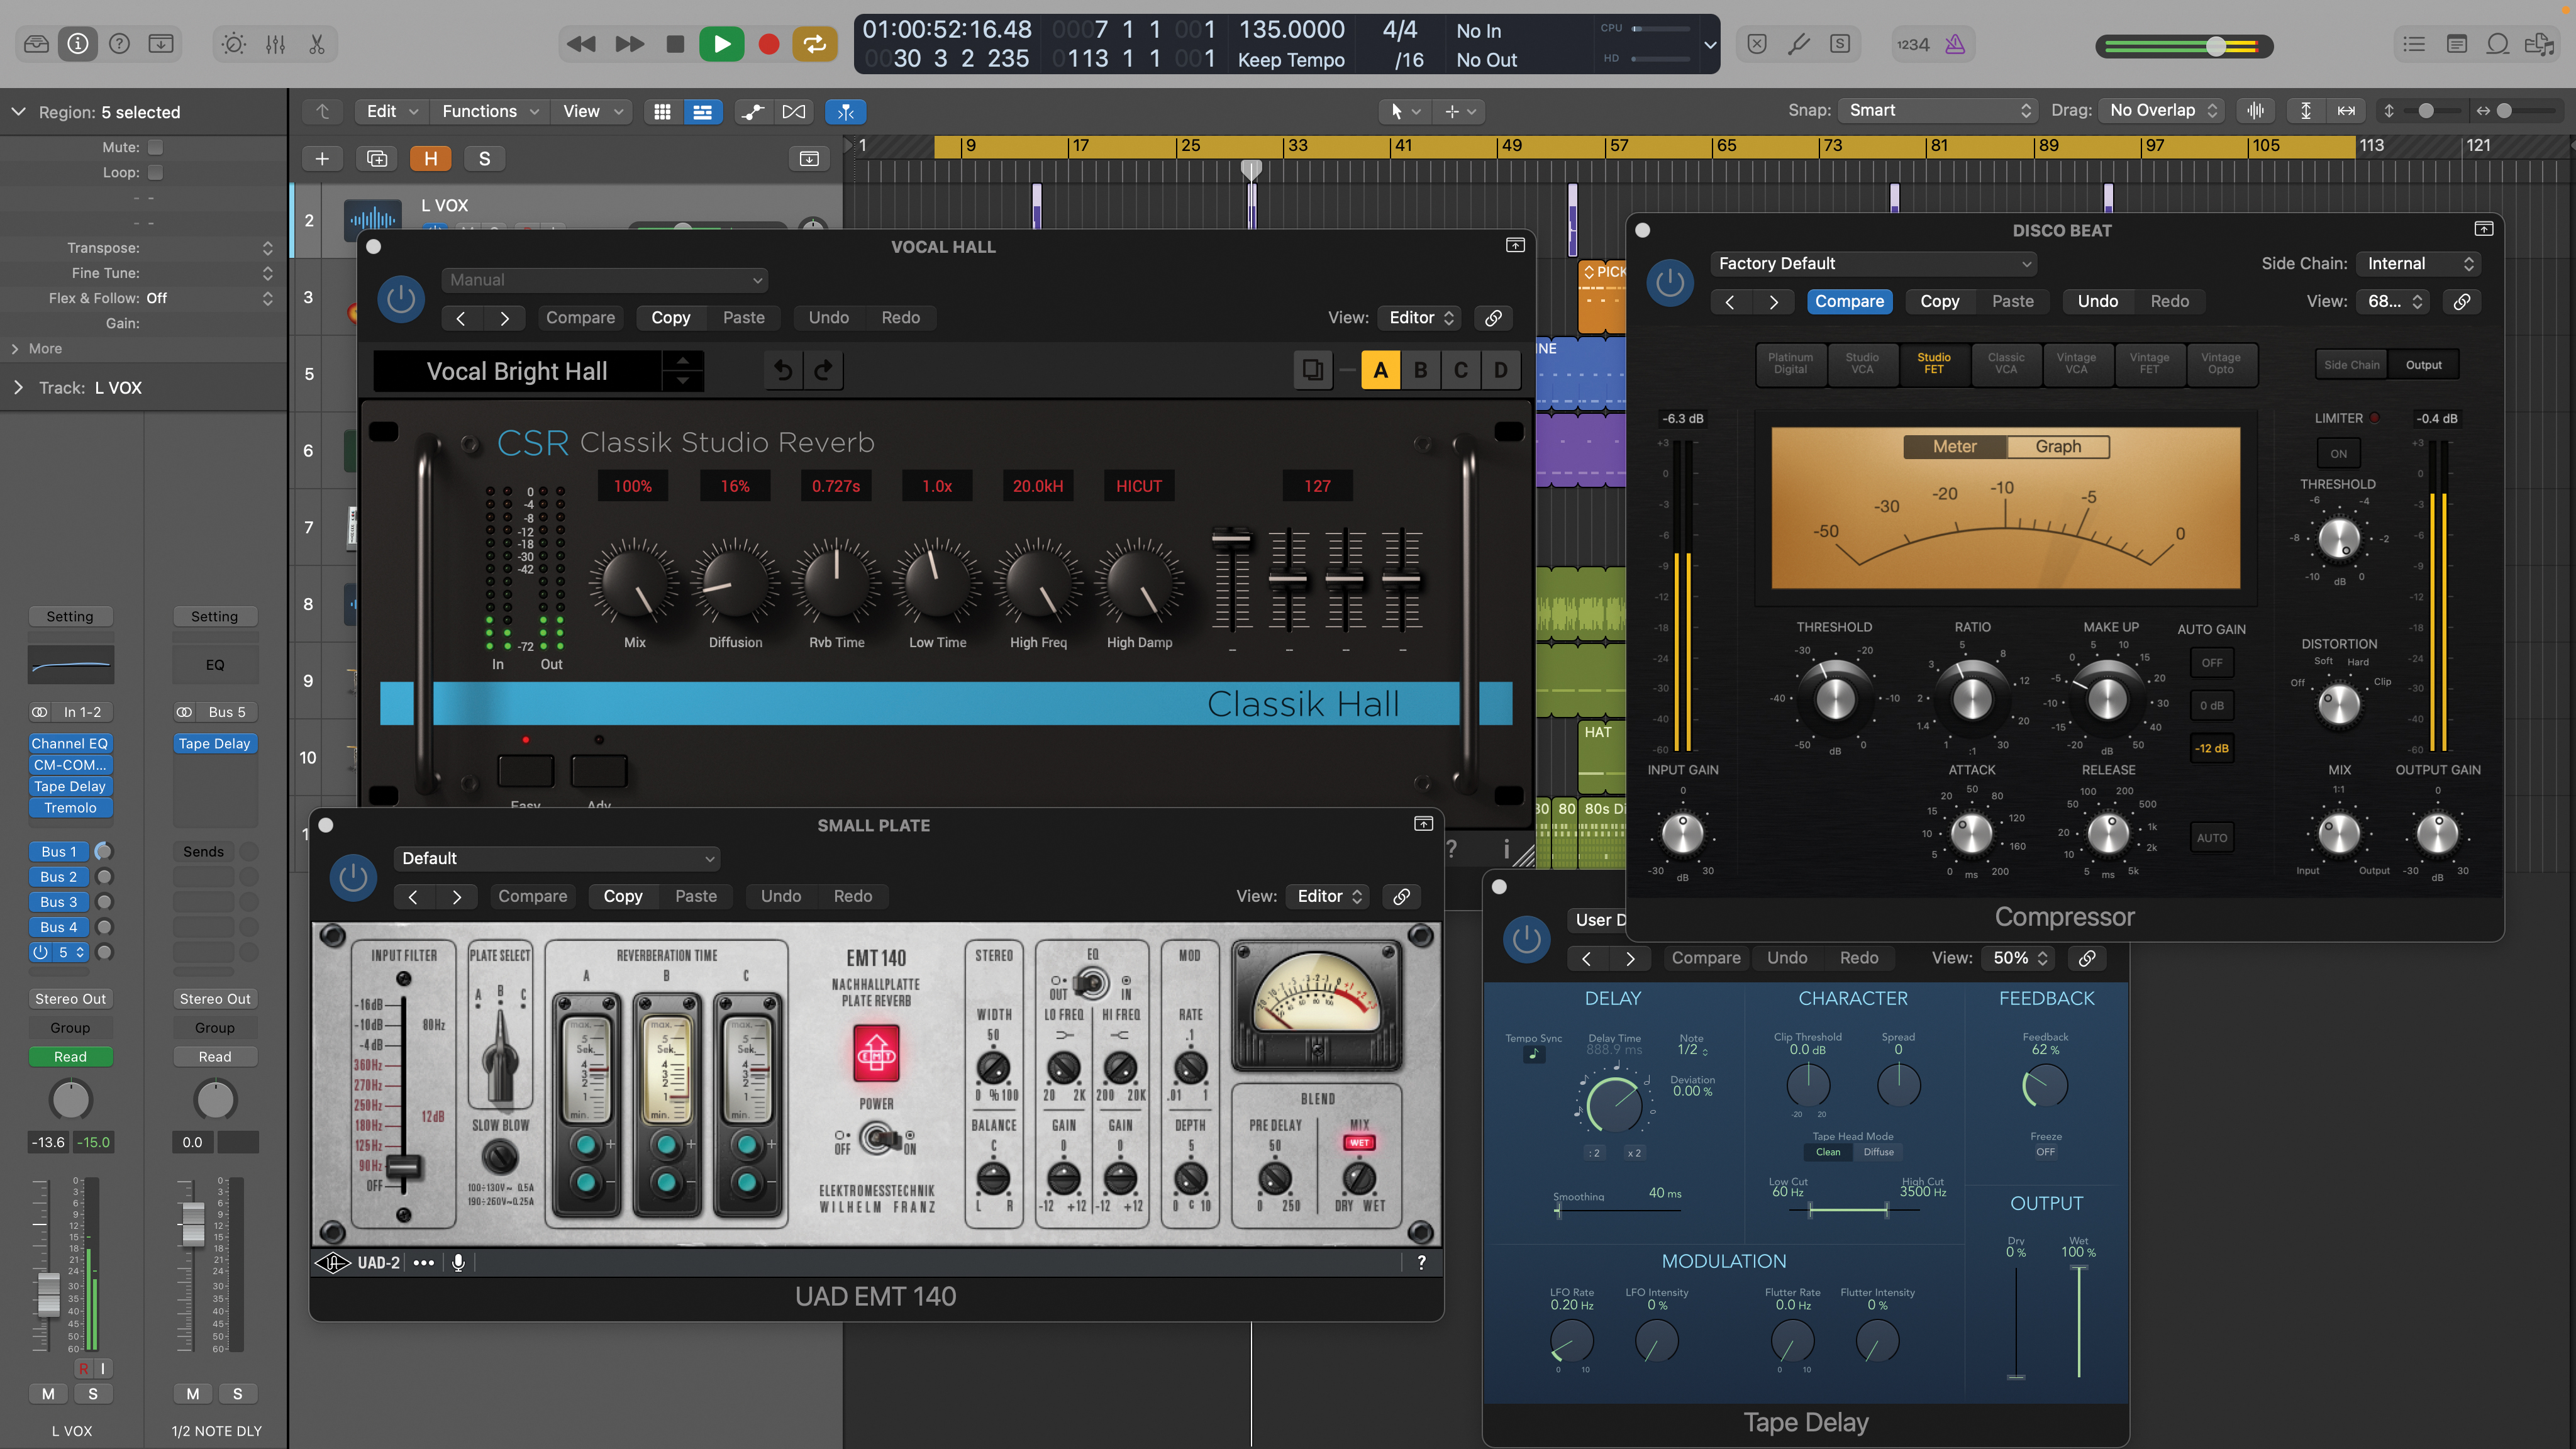
Another option is when you want to add a specific tailored delay. For our vocal we’ve added a tape-style delay, adjusting its onboard filters to taste. For our guitar we’ve used a similar trick with a stereo delay to create a bespoke effect. In both cases we’ve maintained our existing balance, blending the wet level to taste.
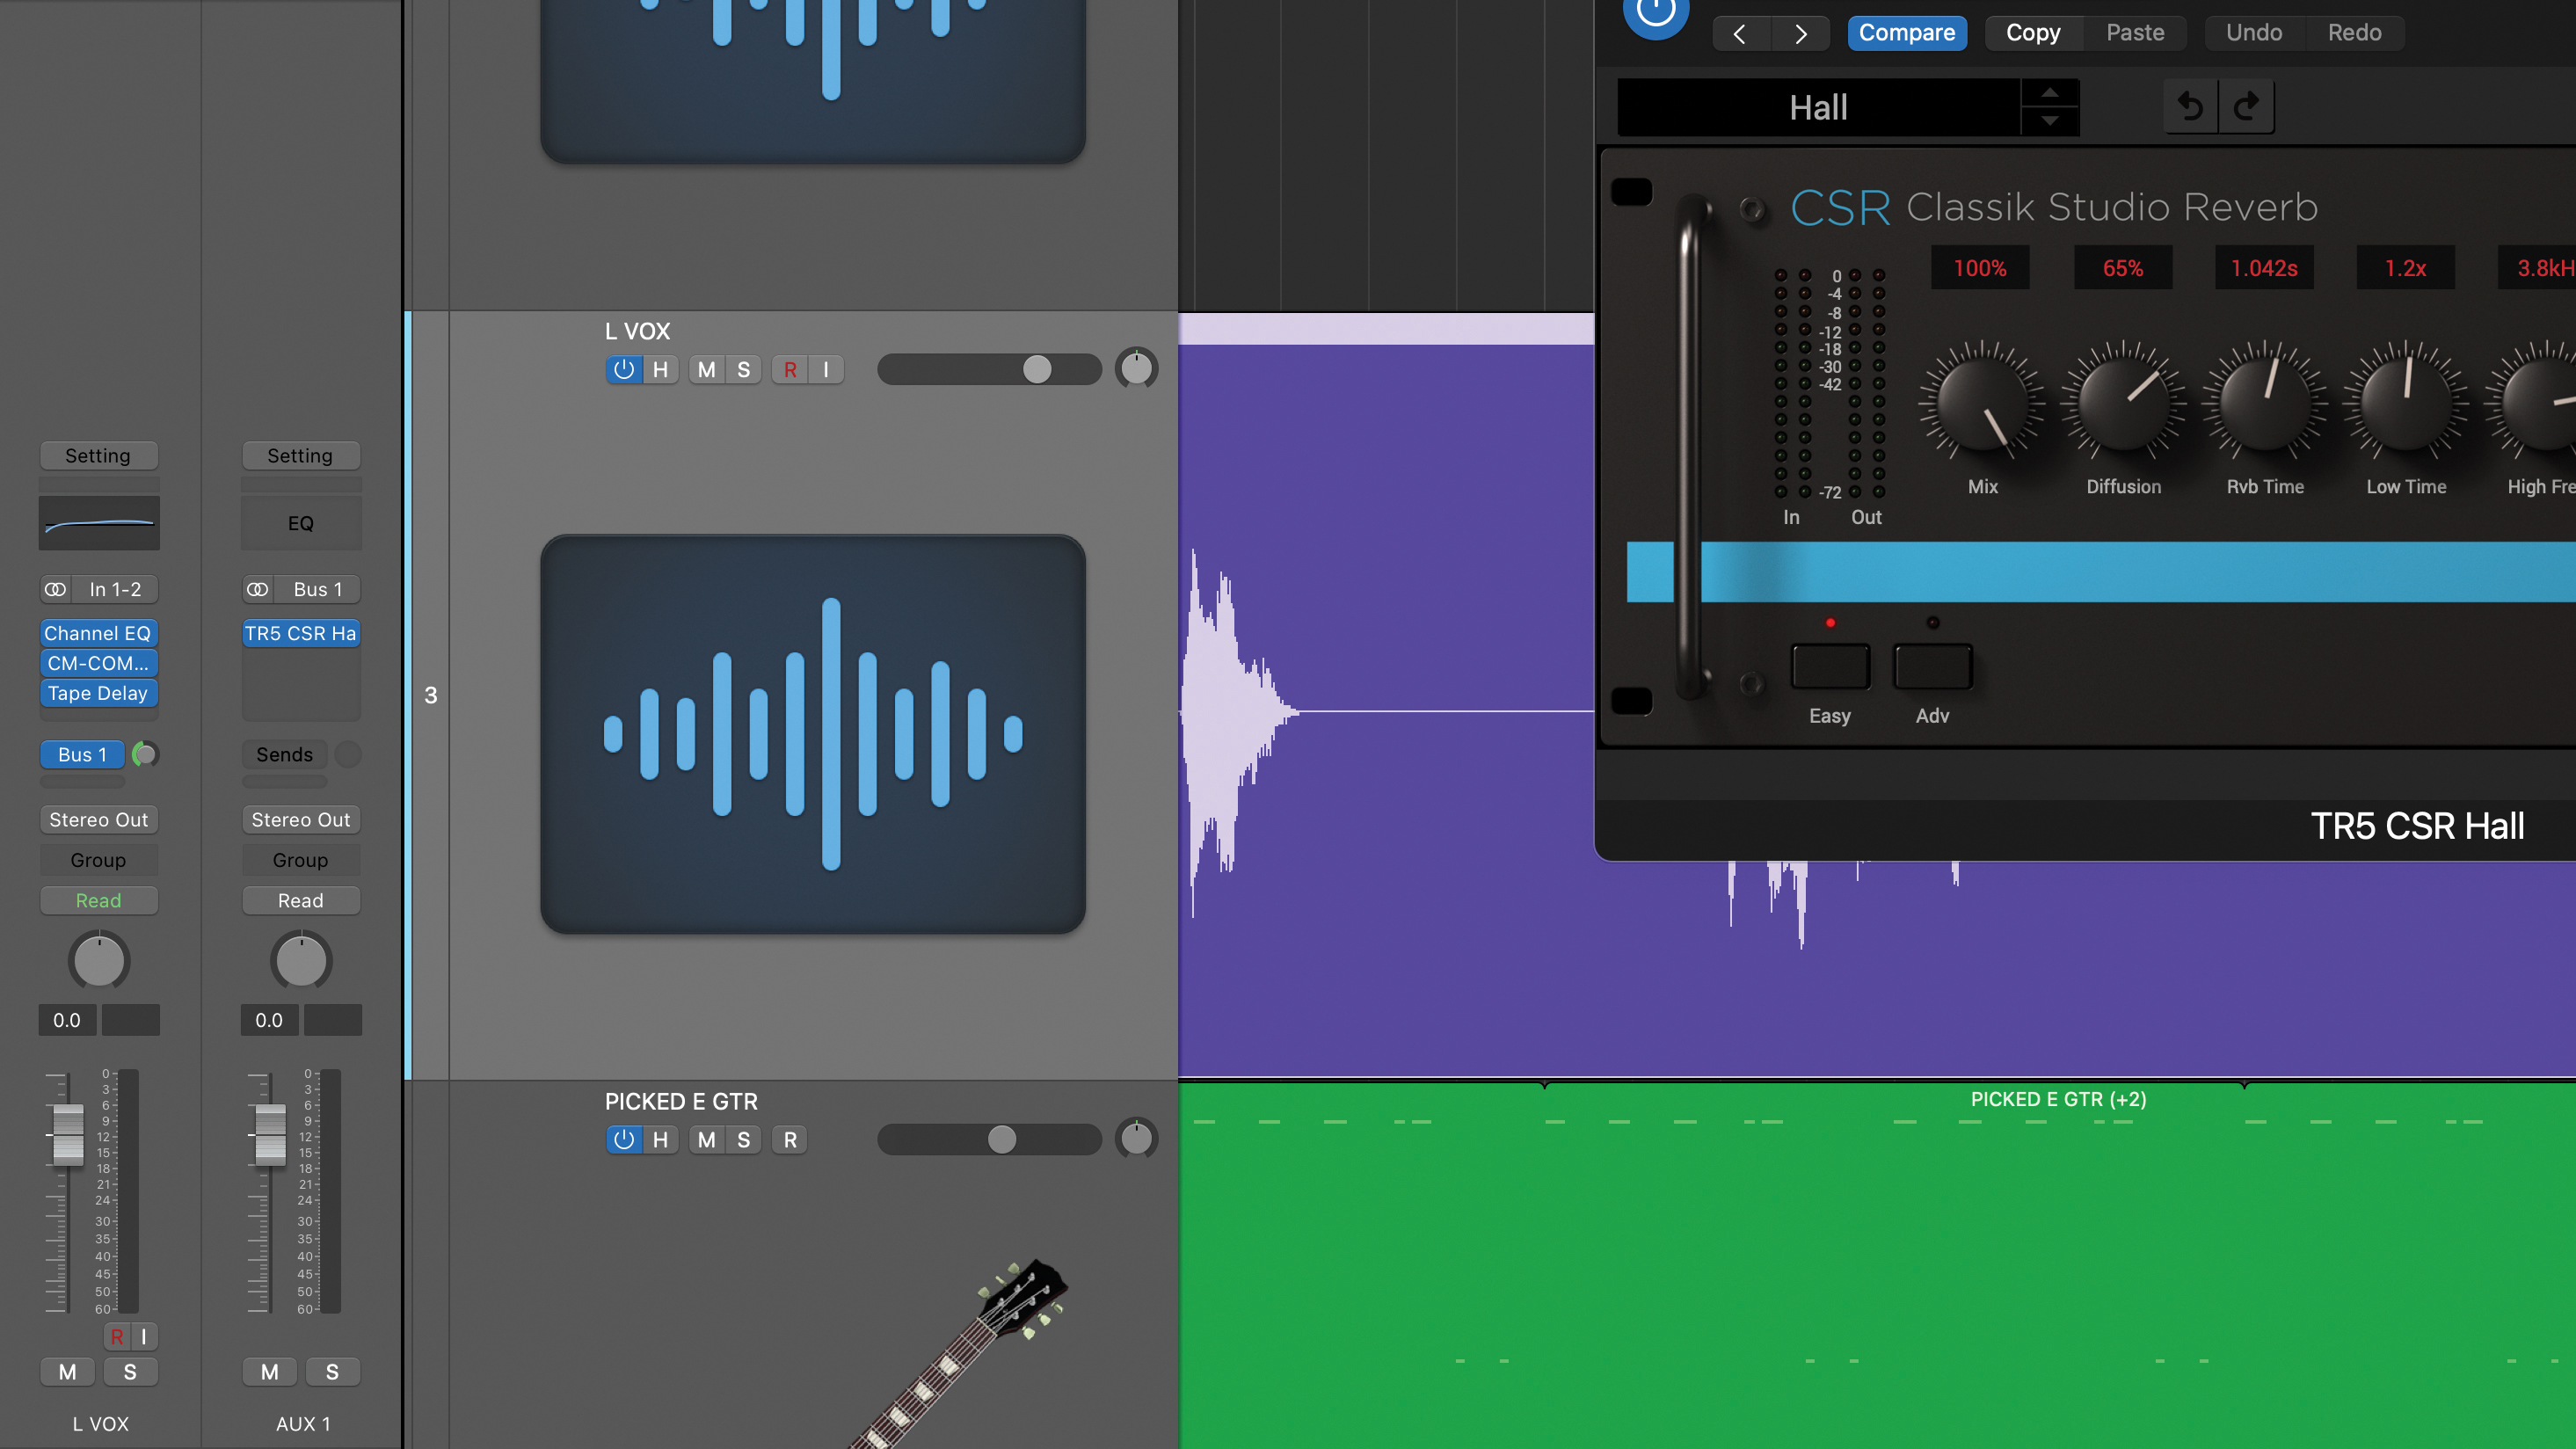
When we use auxiliaries to add effects, we send an adjustable amount of the dry or source signal to a separate auxiliary bus. On the bus return we place our effect and set its mix blend to 100% wet. The dry and wet signals thus combine in the mix bus. We can change the level of additive effects simply by adjusting the auxiliary send.
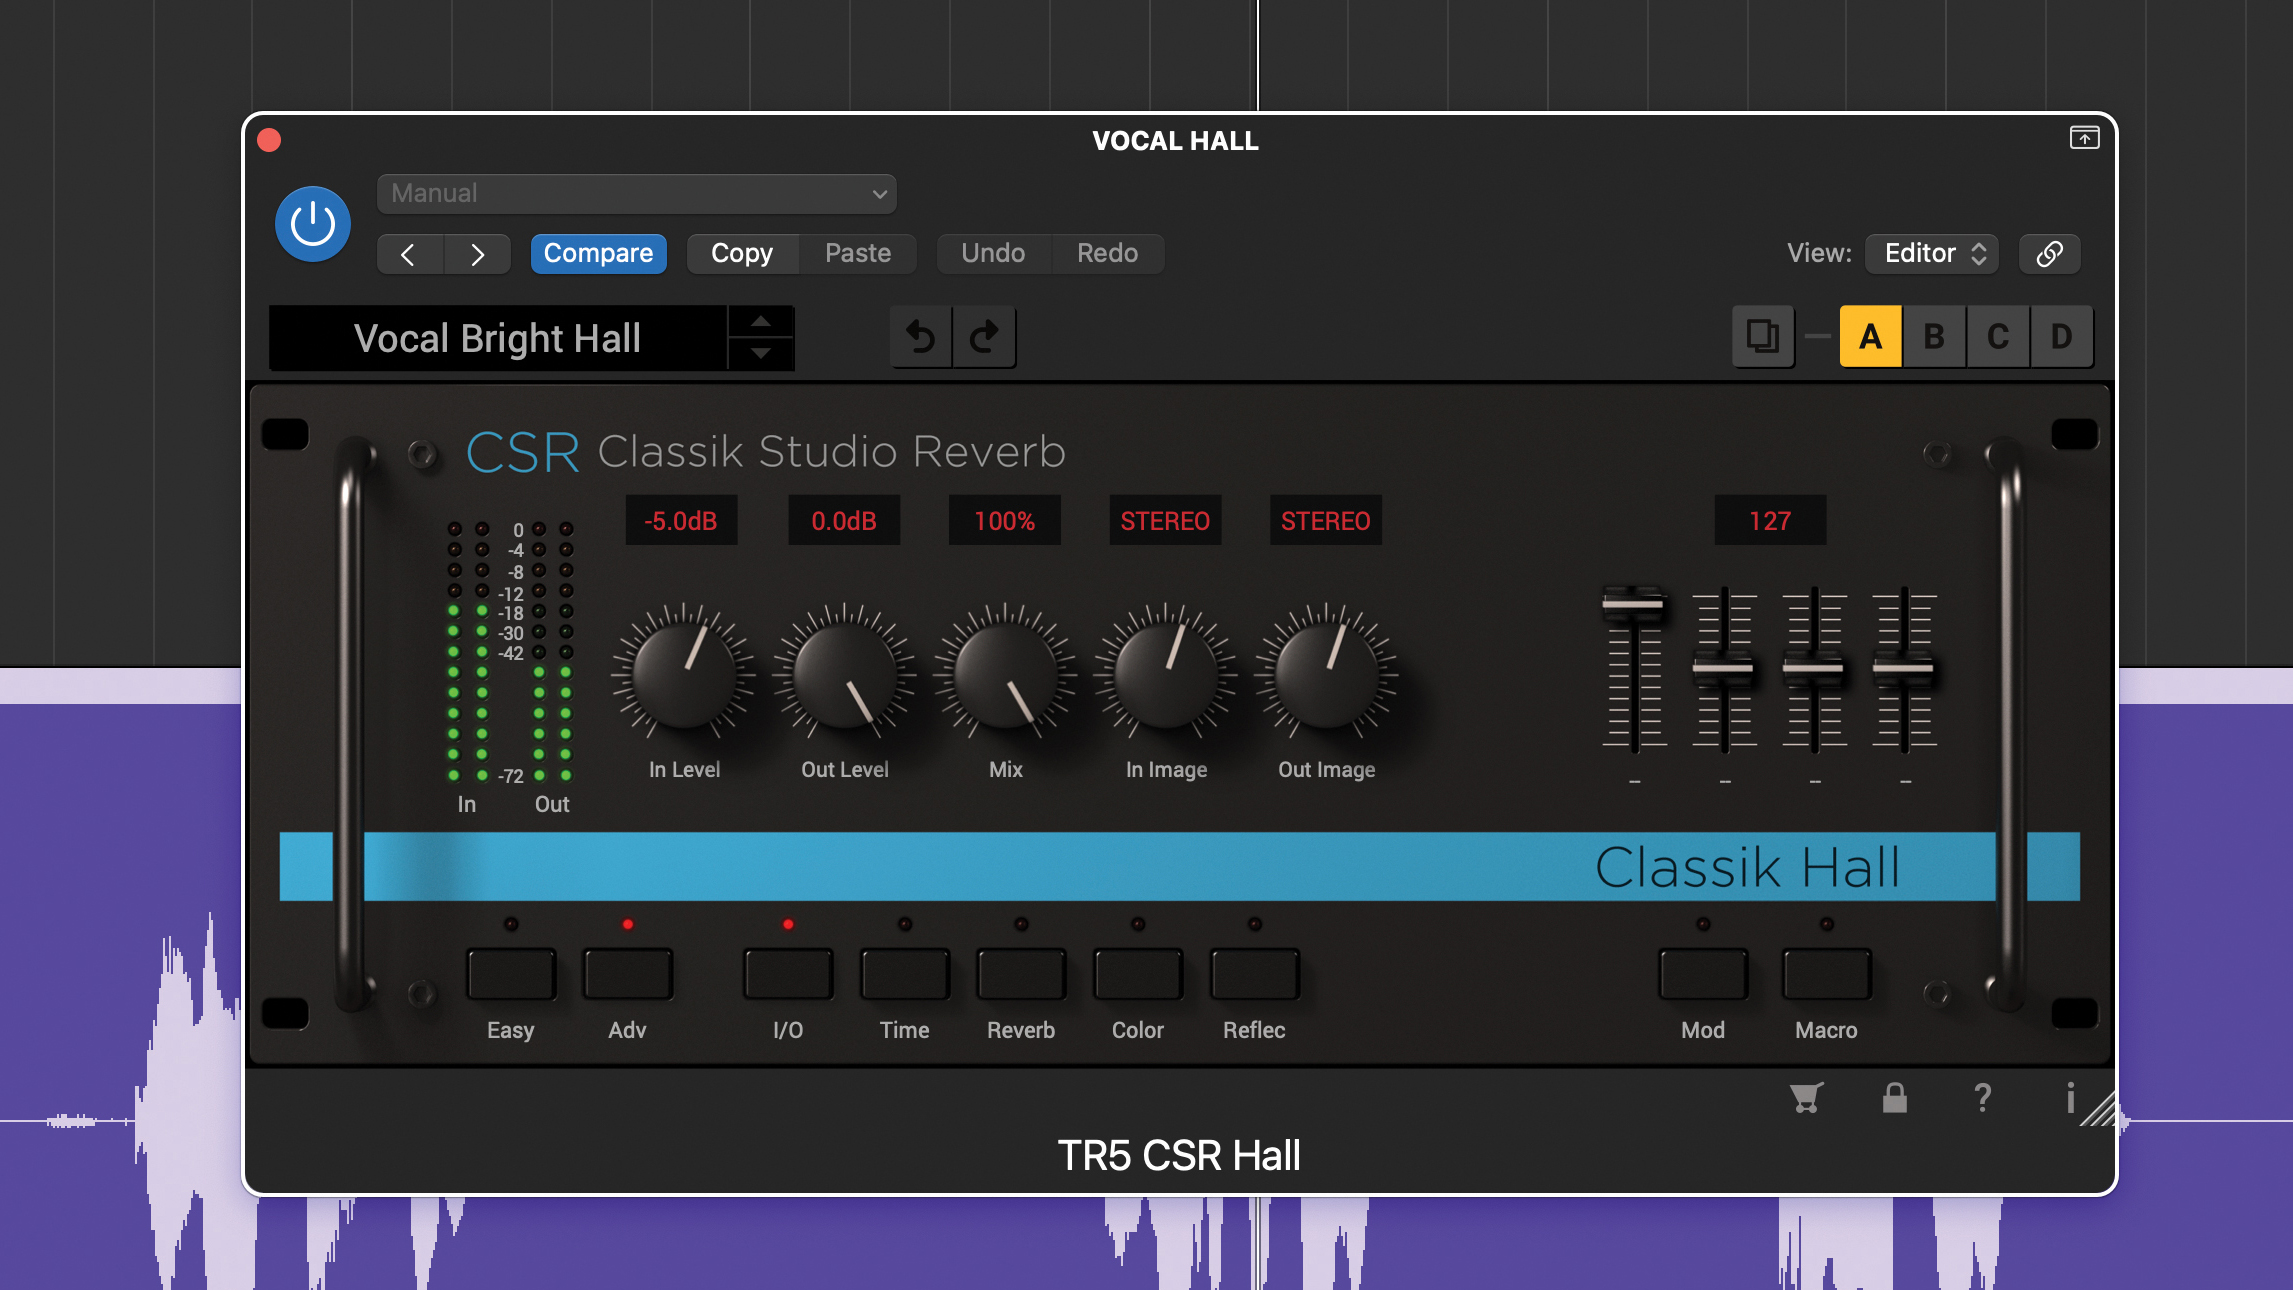
As mentioned, auxiliaries are ideal for additive effects, and here we’re adding reverb to vocals. We’ve selected a basic hall reverb, setting its output mix to 100% wet and the auxiliary return level to unity (0dB). By gradually adjusting the auxiliary send we get the desired amount of reverb we need for our track.
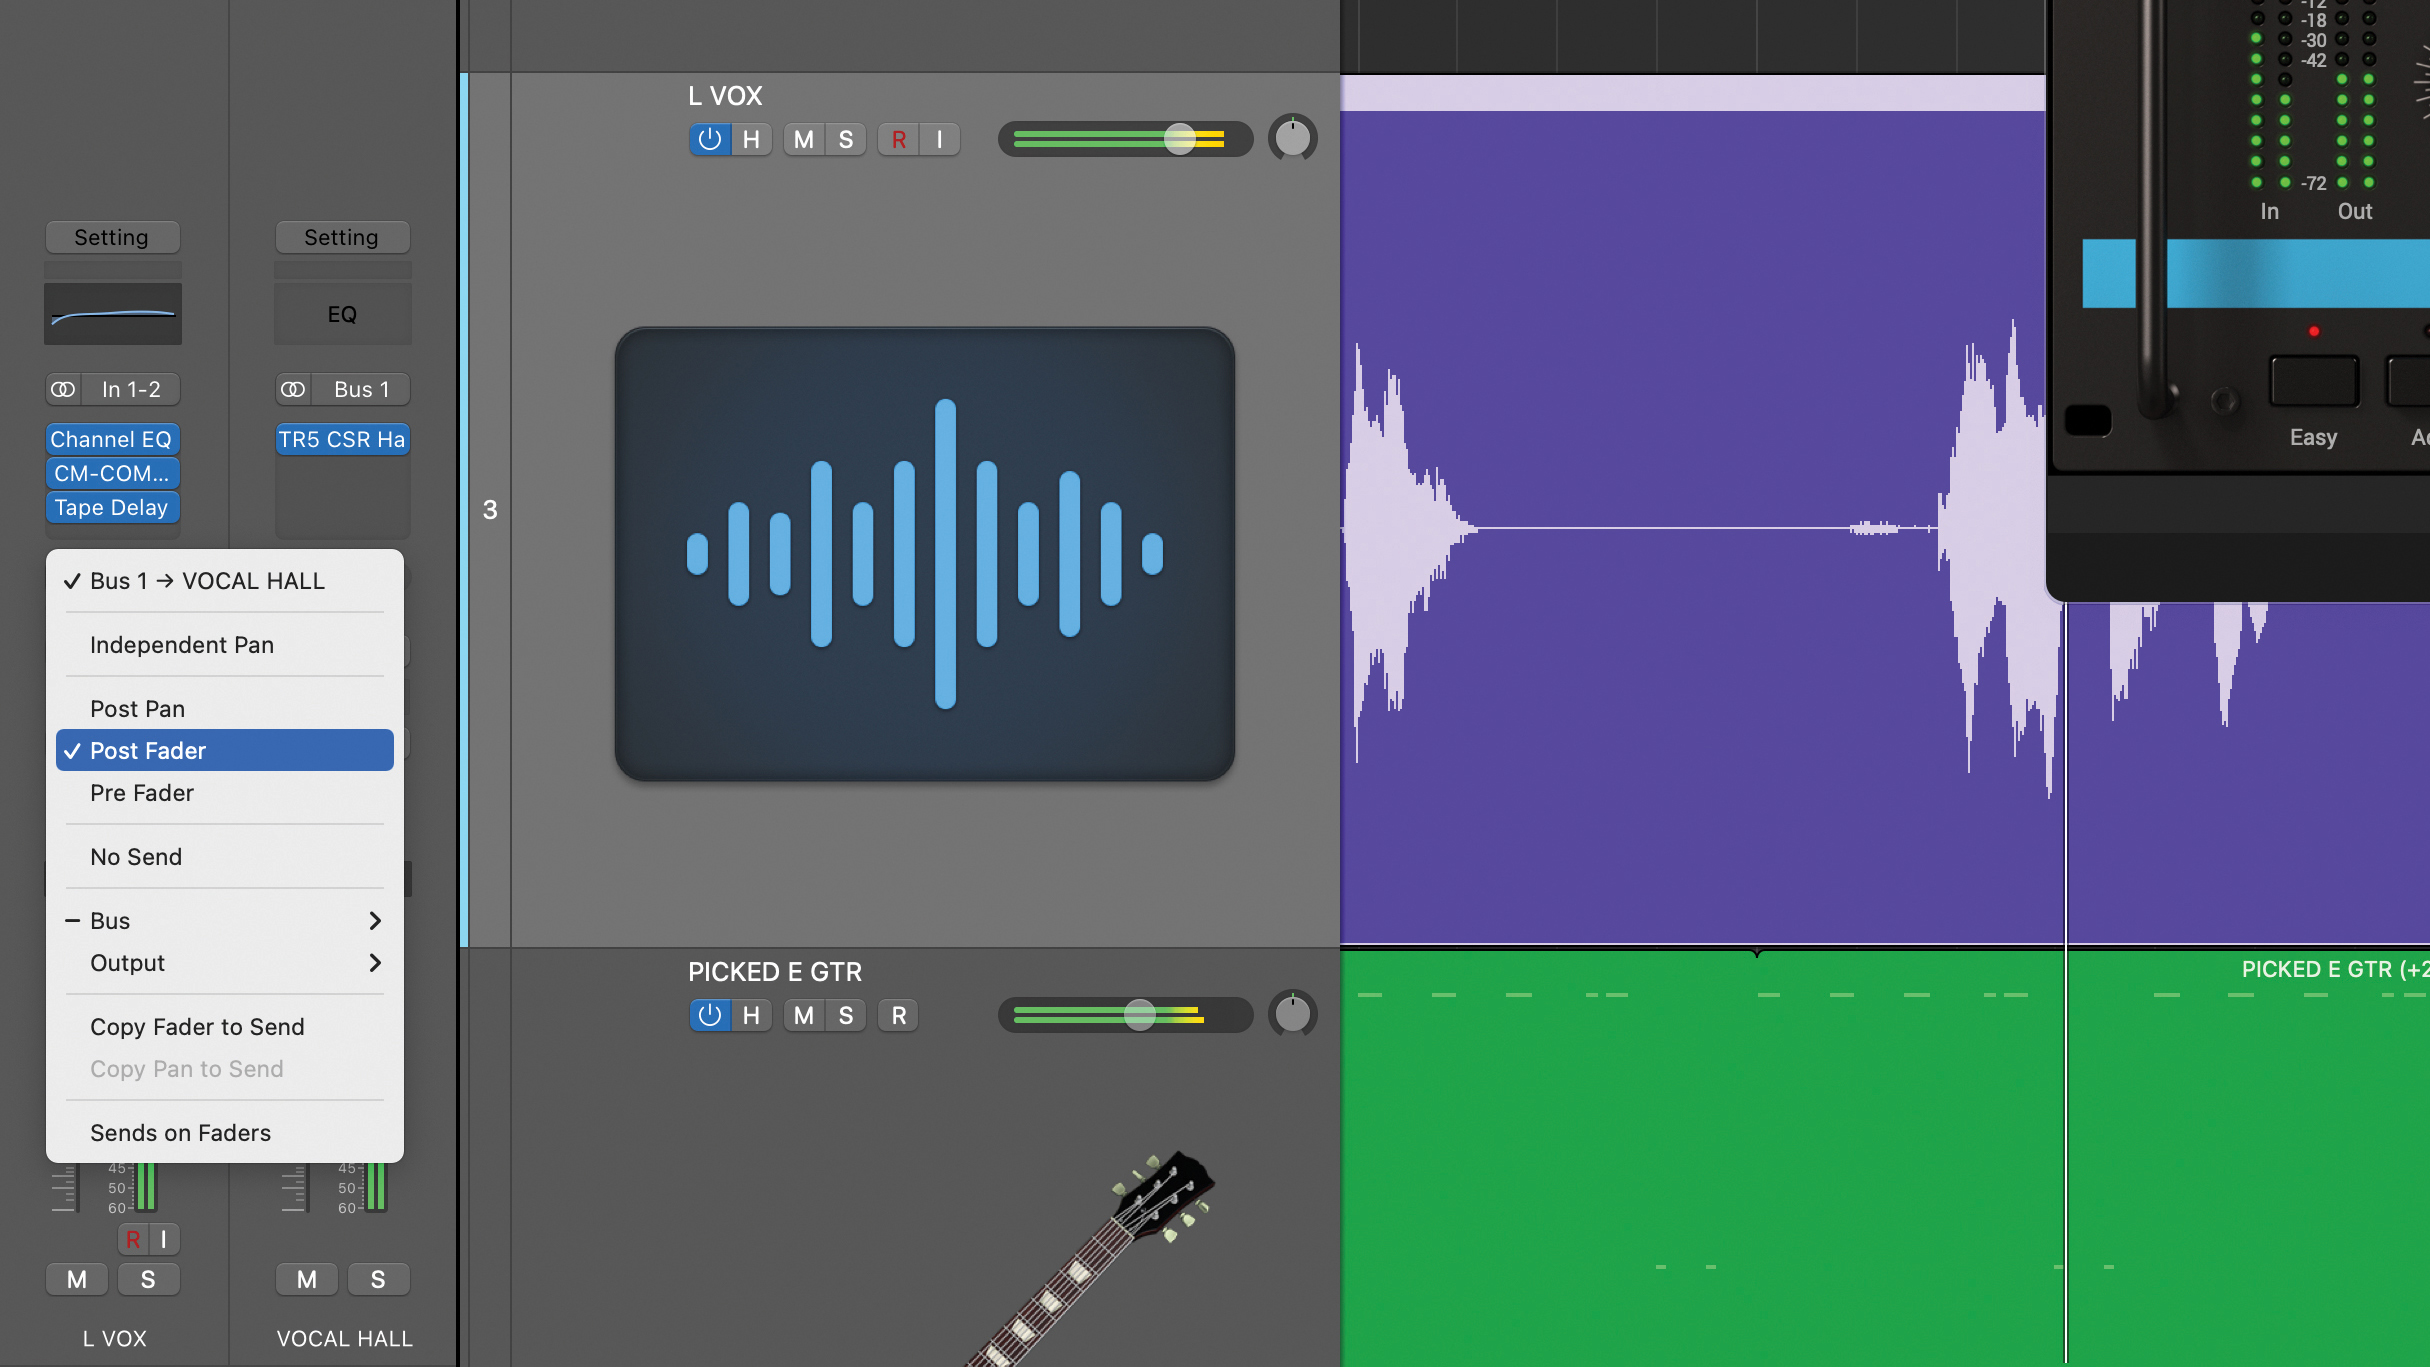
Auxiliary sends can typically be sourced either before or after the fader level (pre-fader or post-fader), and sometimes after the fader pan or even with independent pan control. For adding reverb when we set this to any ‘post fader’ setting (which is the standard configuration), then the send level conveniently follows changes in our fader level balance. An ideal behaviour when mixing.
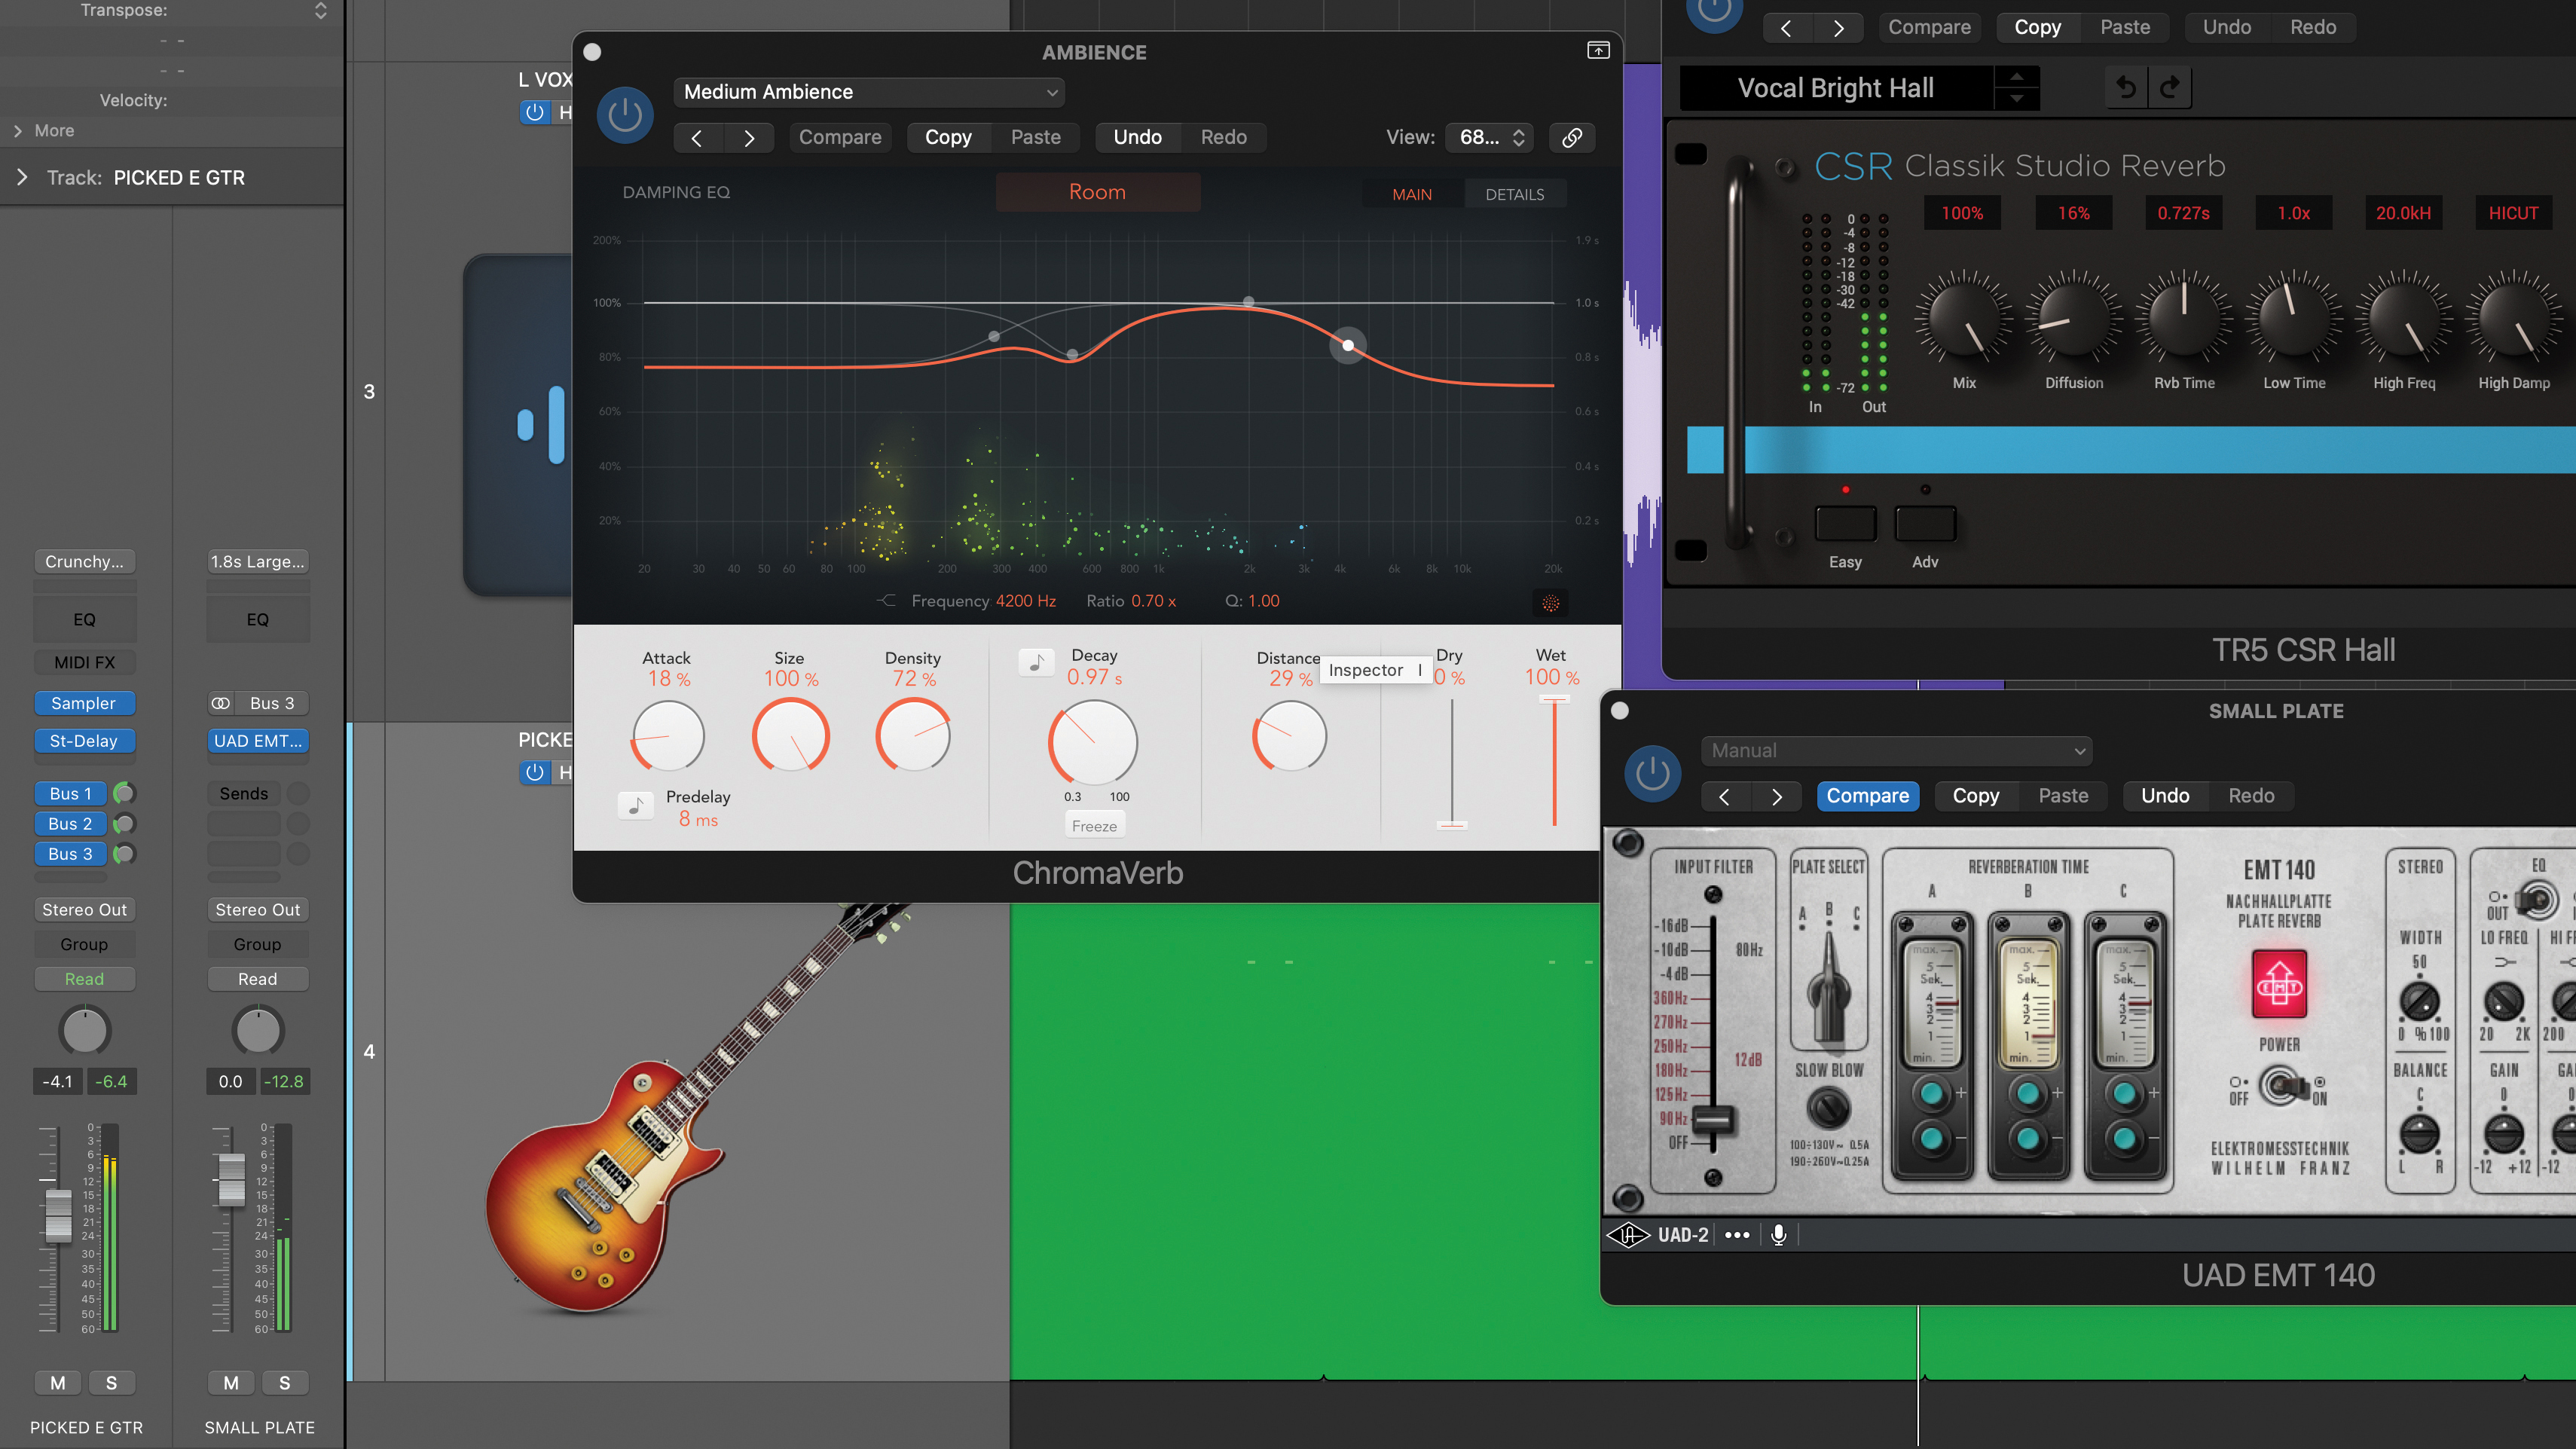
There are two core benefits of using auxiliary sends. Firstly, you can easily send one track to multiple auxiliary buses. Secondly, you can also share the auxiliary effects between multiple sources, and this often helps create a cohesive mix. We’ve set up two further reverbs and by using the appropriate auxiliary sends these can be shared by multiple tracks.
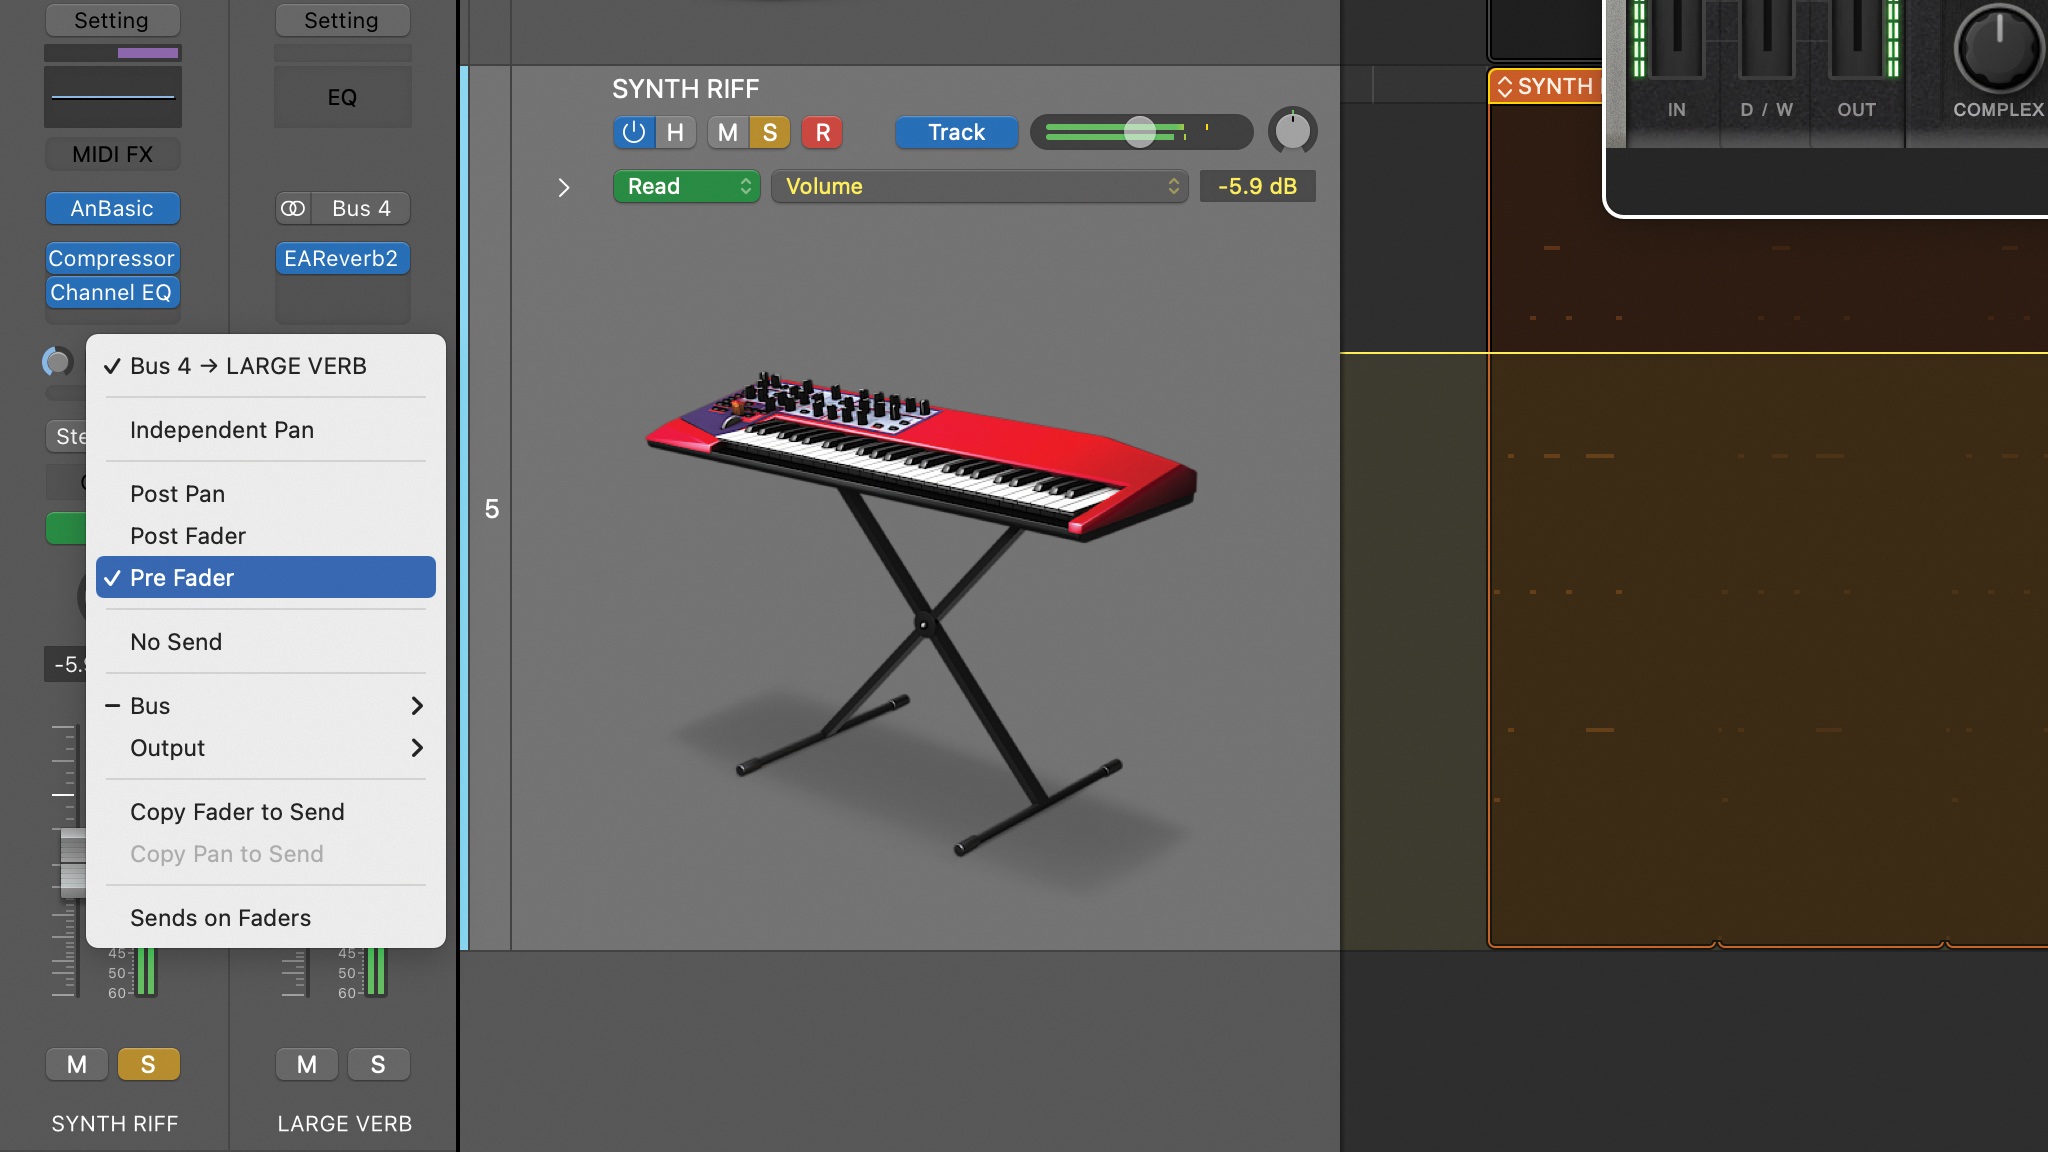
As mentioned, we can also send to the auxiliary effect pre-fader, providing an independent send level to the effect. Here we’ve used the track level fader to fade out of our synth track, but we want to create an extended reverb wash, so by using a pre-fader send we adjust the effect send independently.
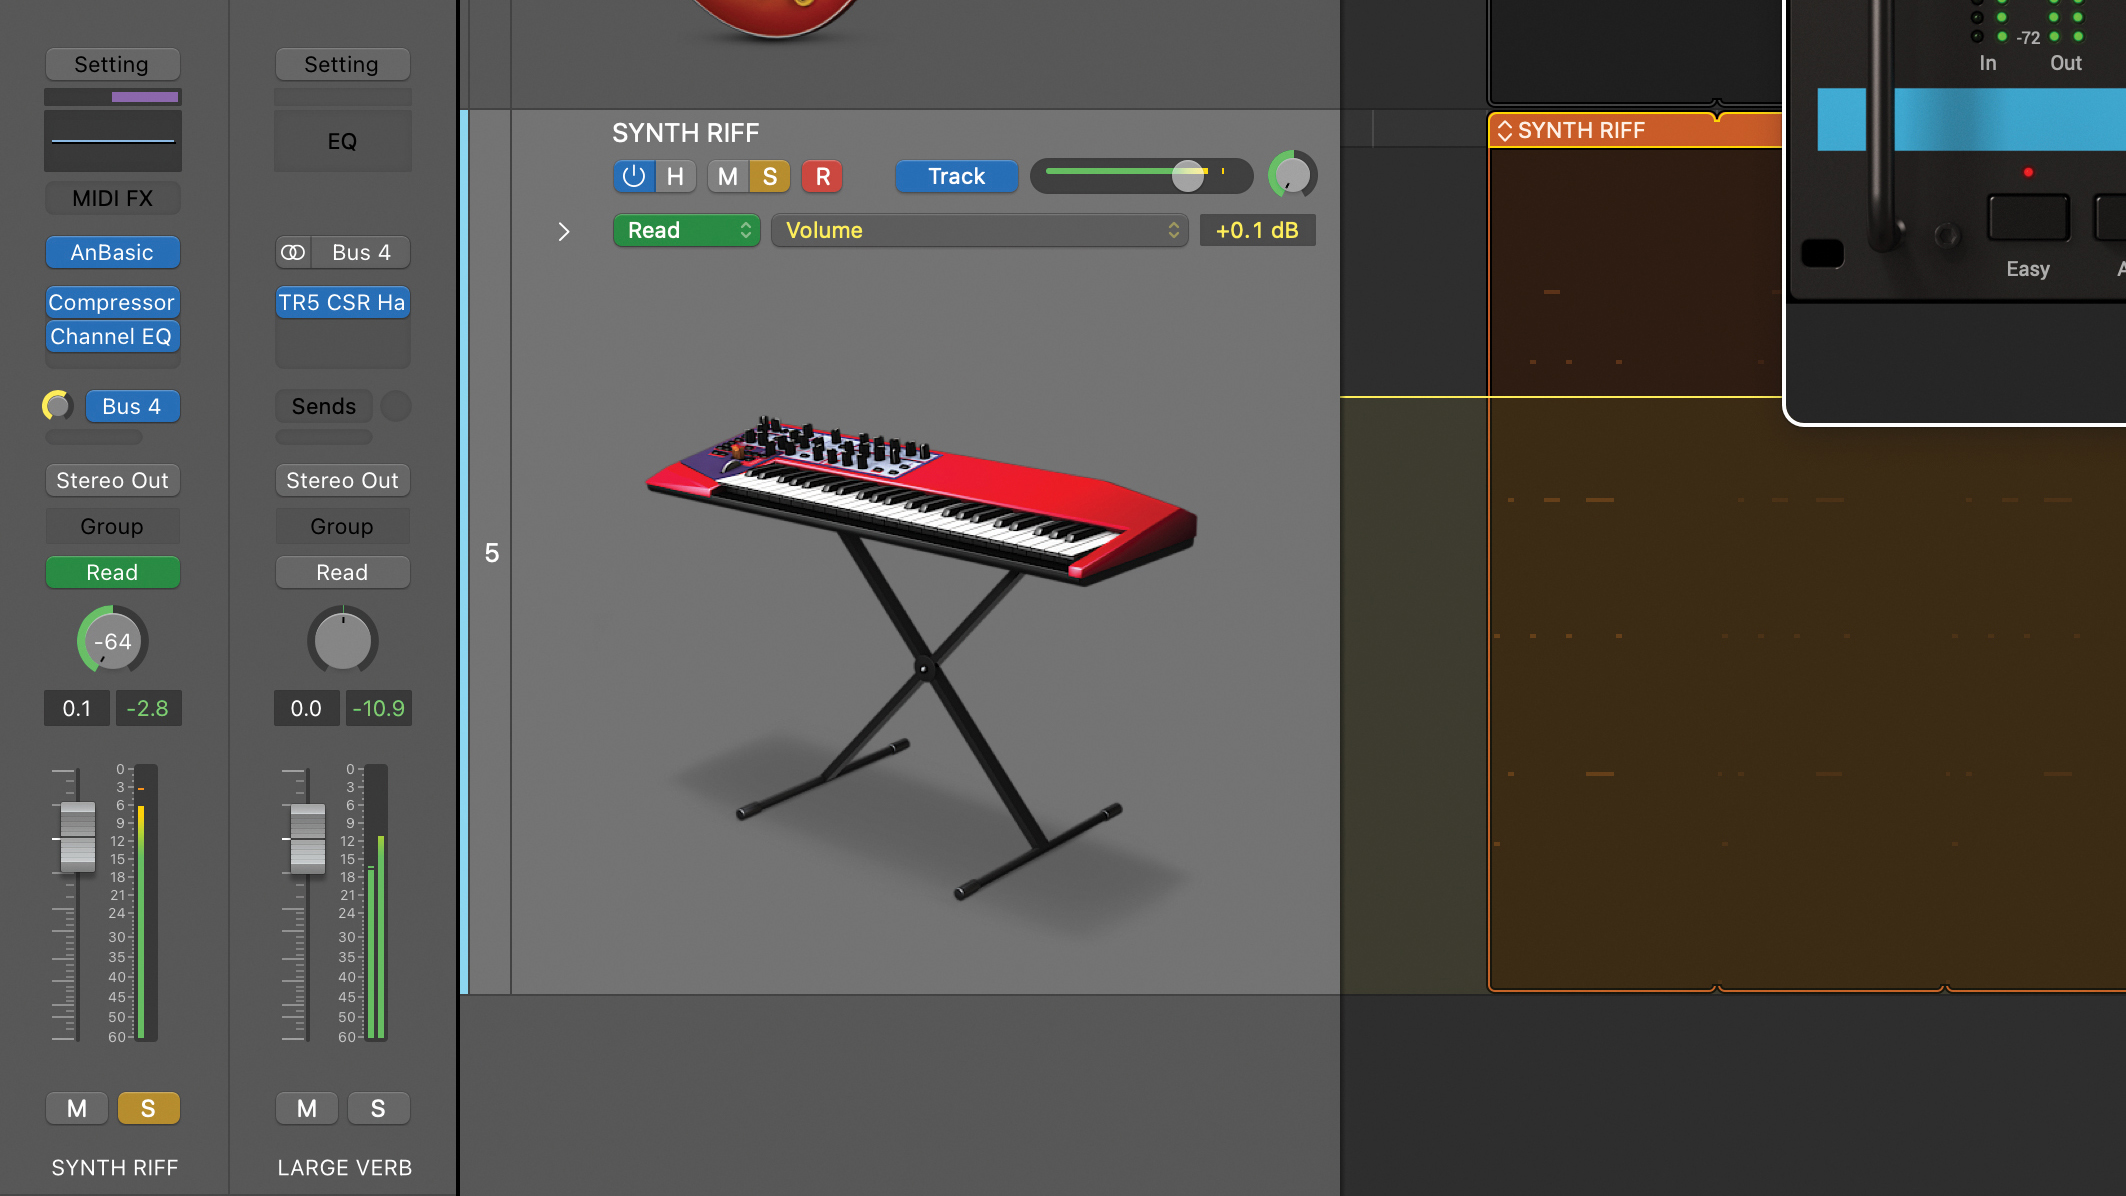
Some DAWs also provide independent auxiliary bus panning, which again adds another layer of flexibility. Here our source track is panned to the left, and we’ve panned its auxiliary send to the right. Using this configuration we can achieve this panned effect without panning the return, thus leaving it available for fully stereo returns as well.
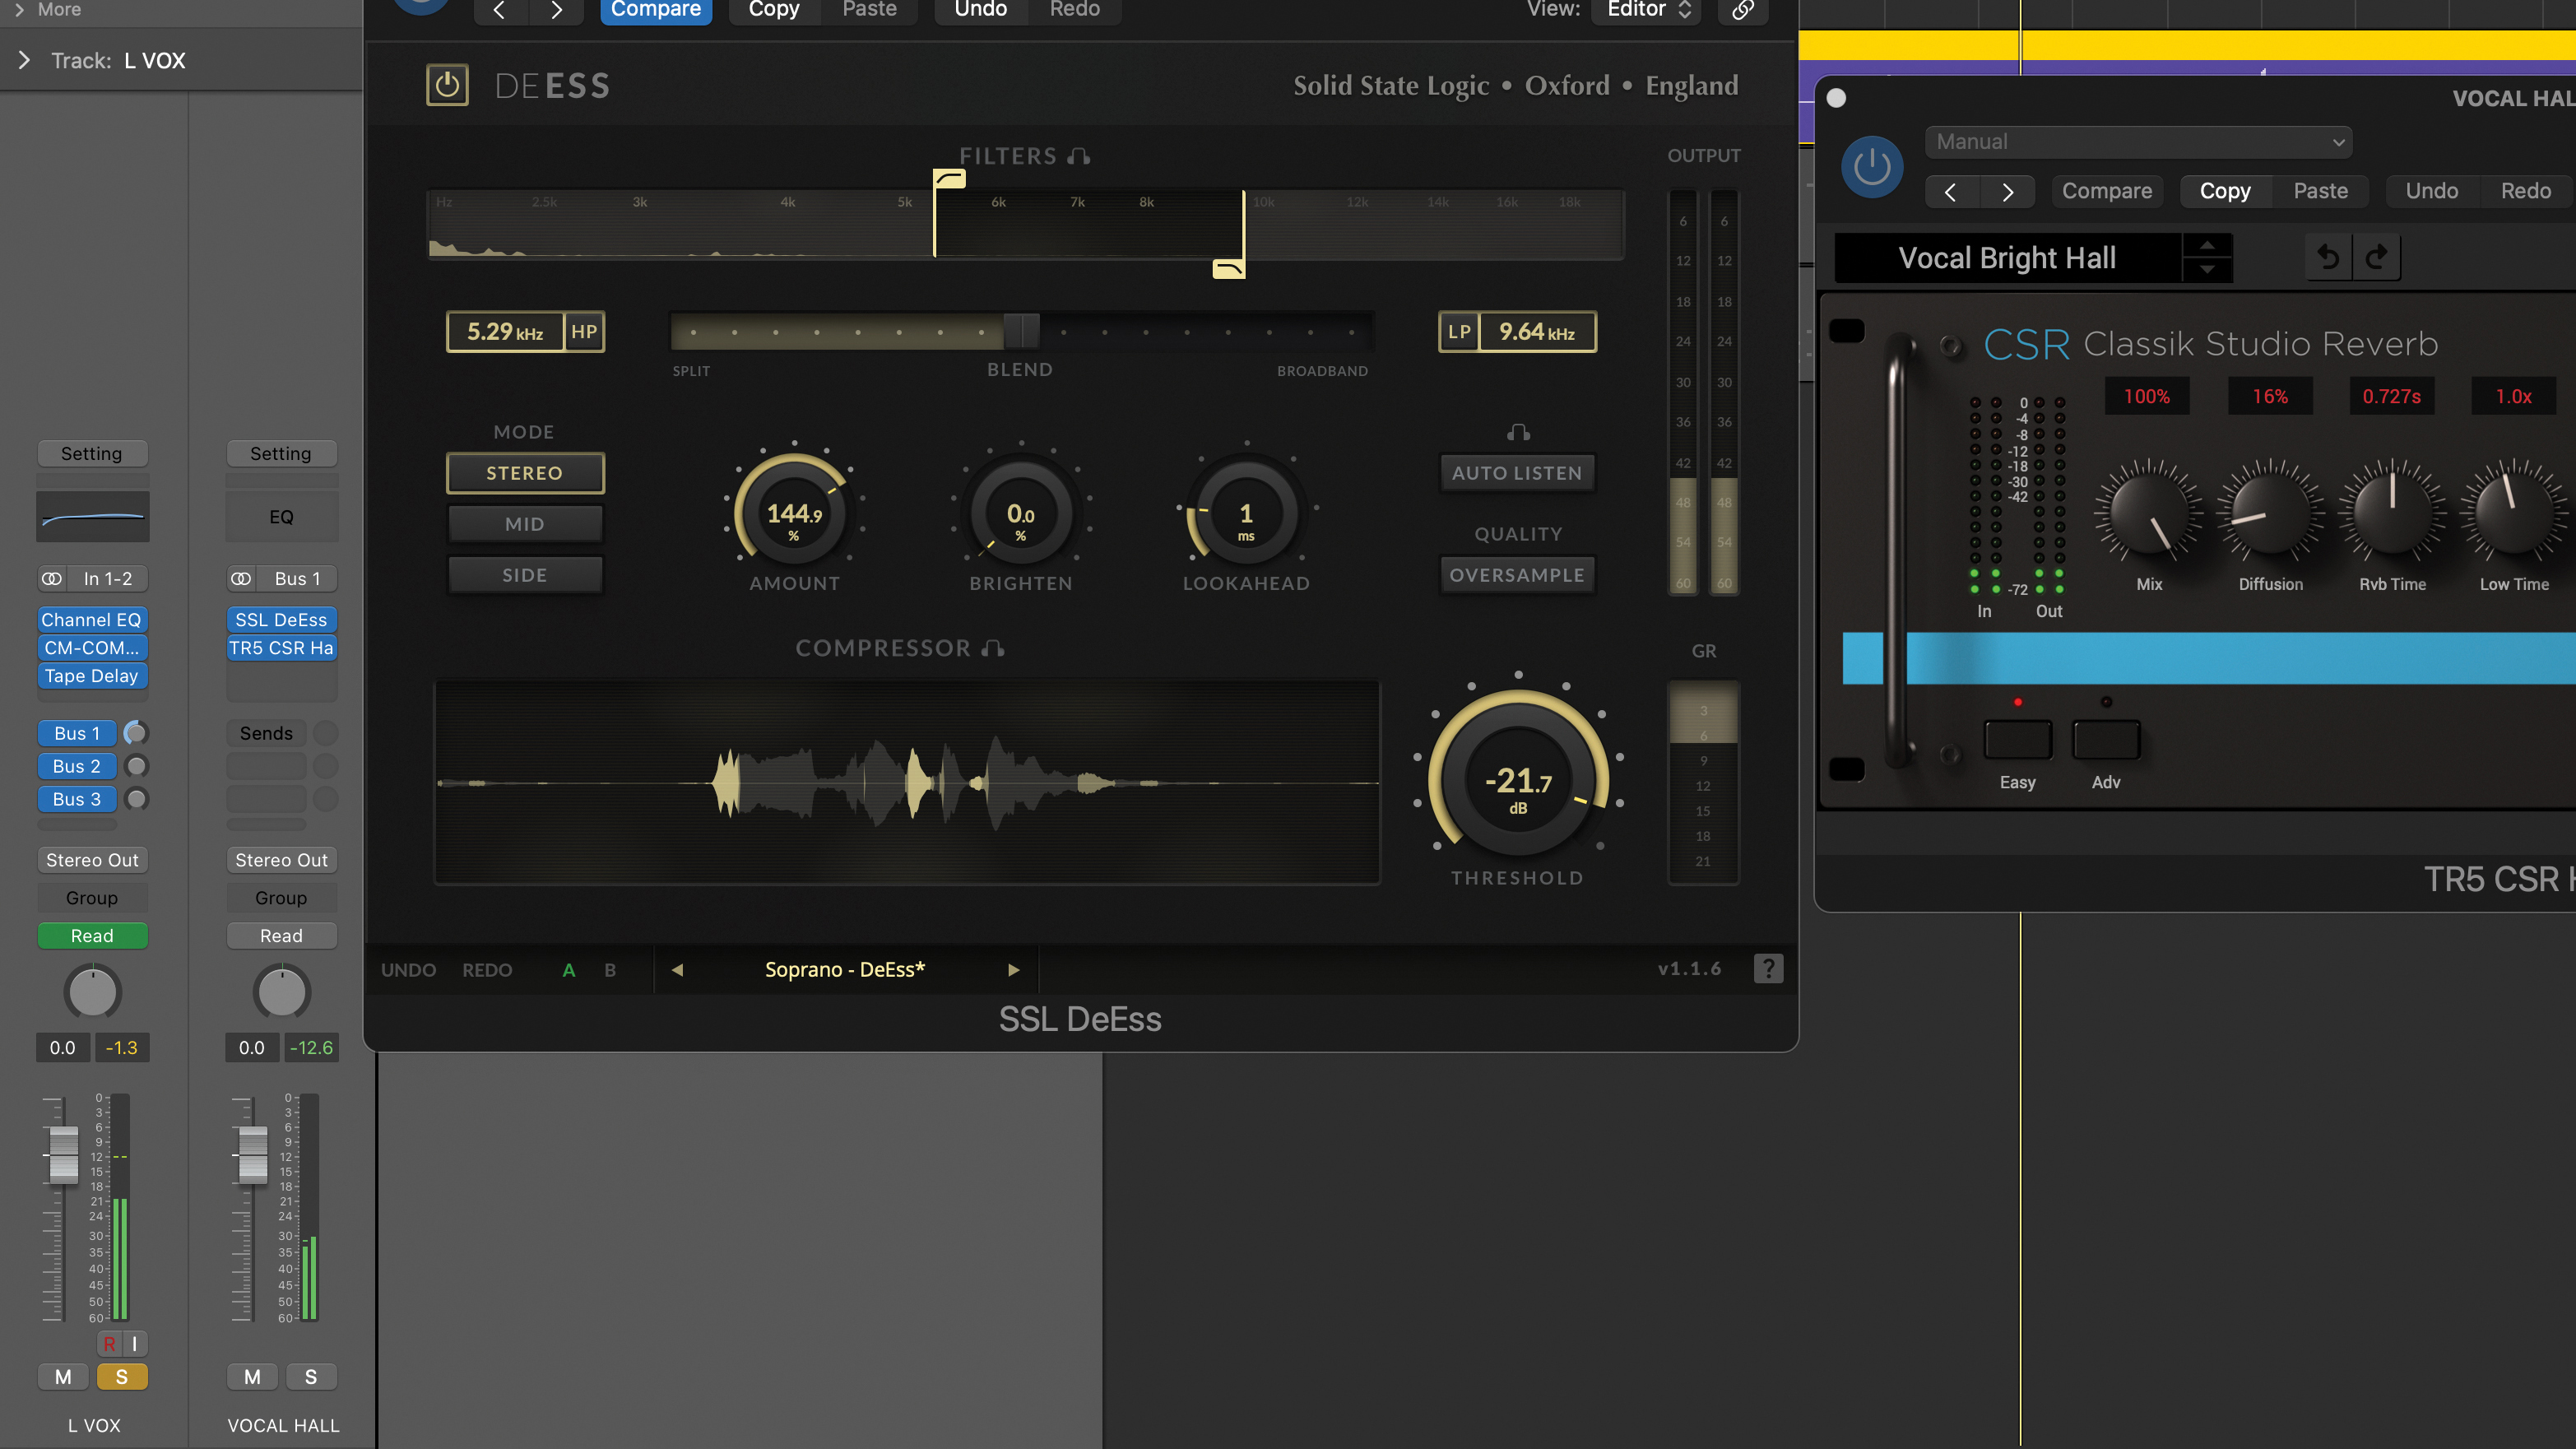
Sometimes with an effect we need to pre-process the audio, and a regular insert configuration doesn’t allow us to do this. A good example is when we need to de-ess just the input to a reverb, and here we’ve achieved this by combining an auxiliary reverb send, inserting a de-esser in the bus return before the reverb.
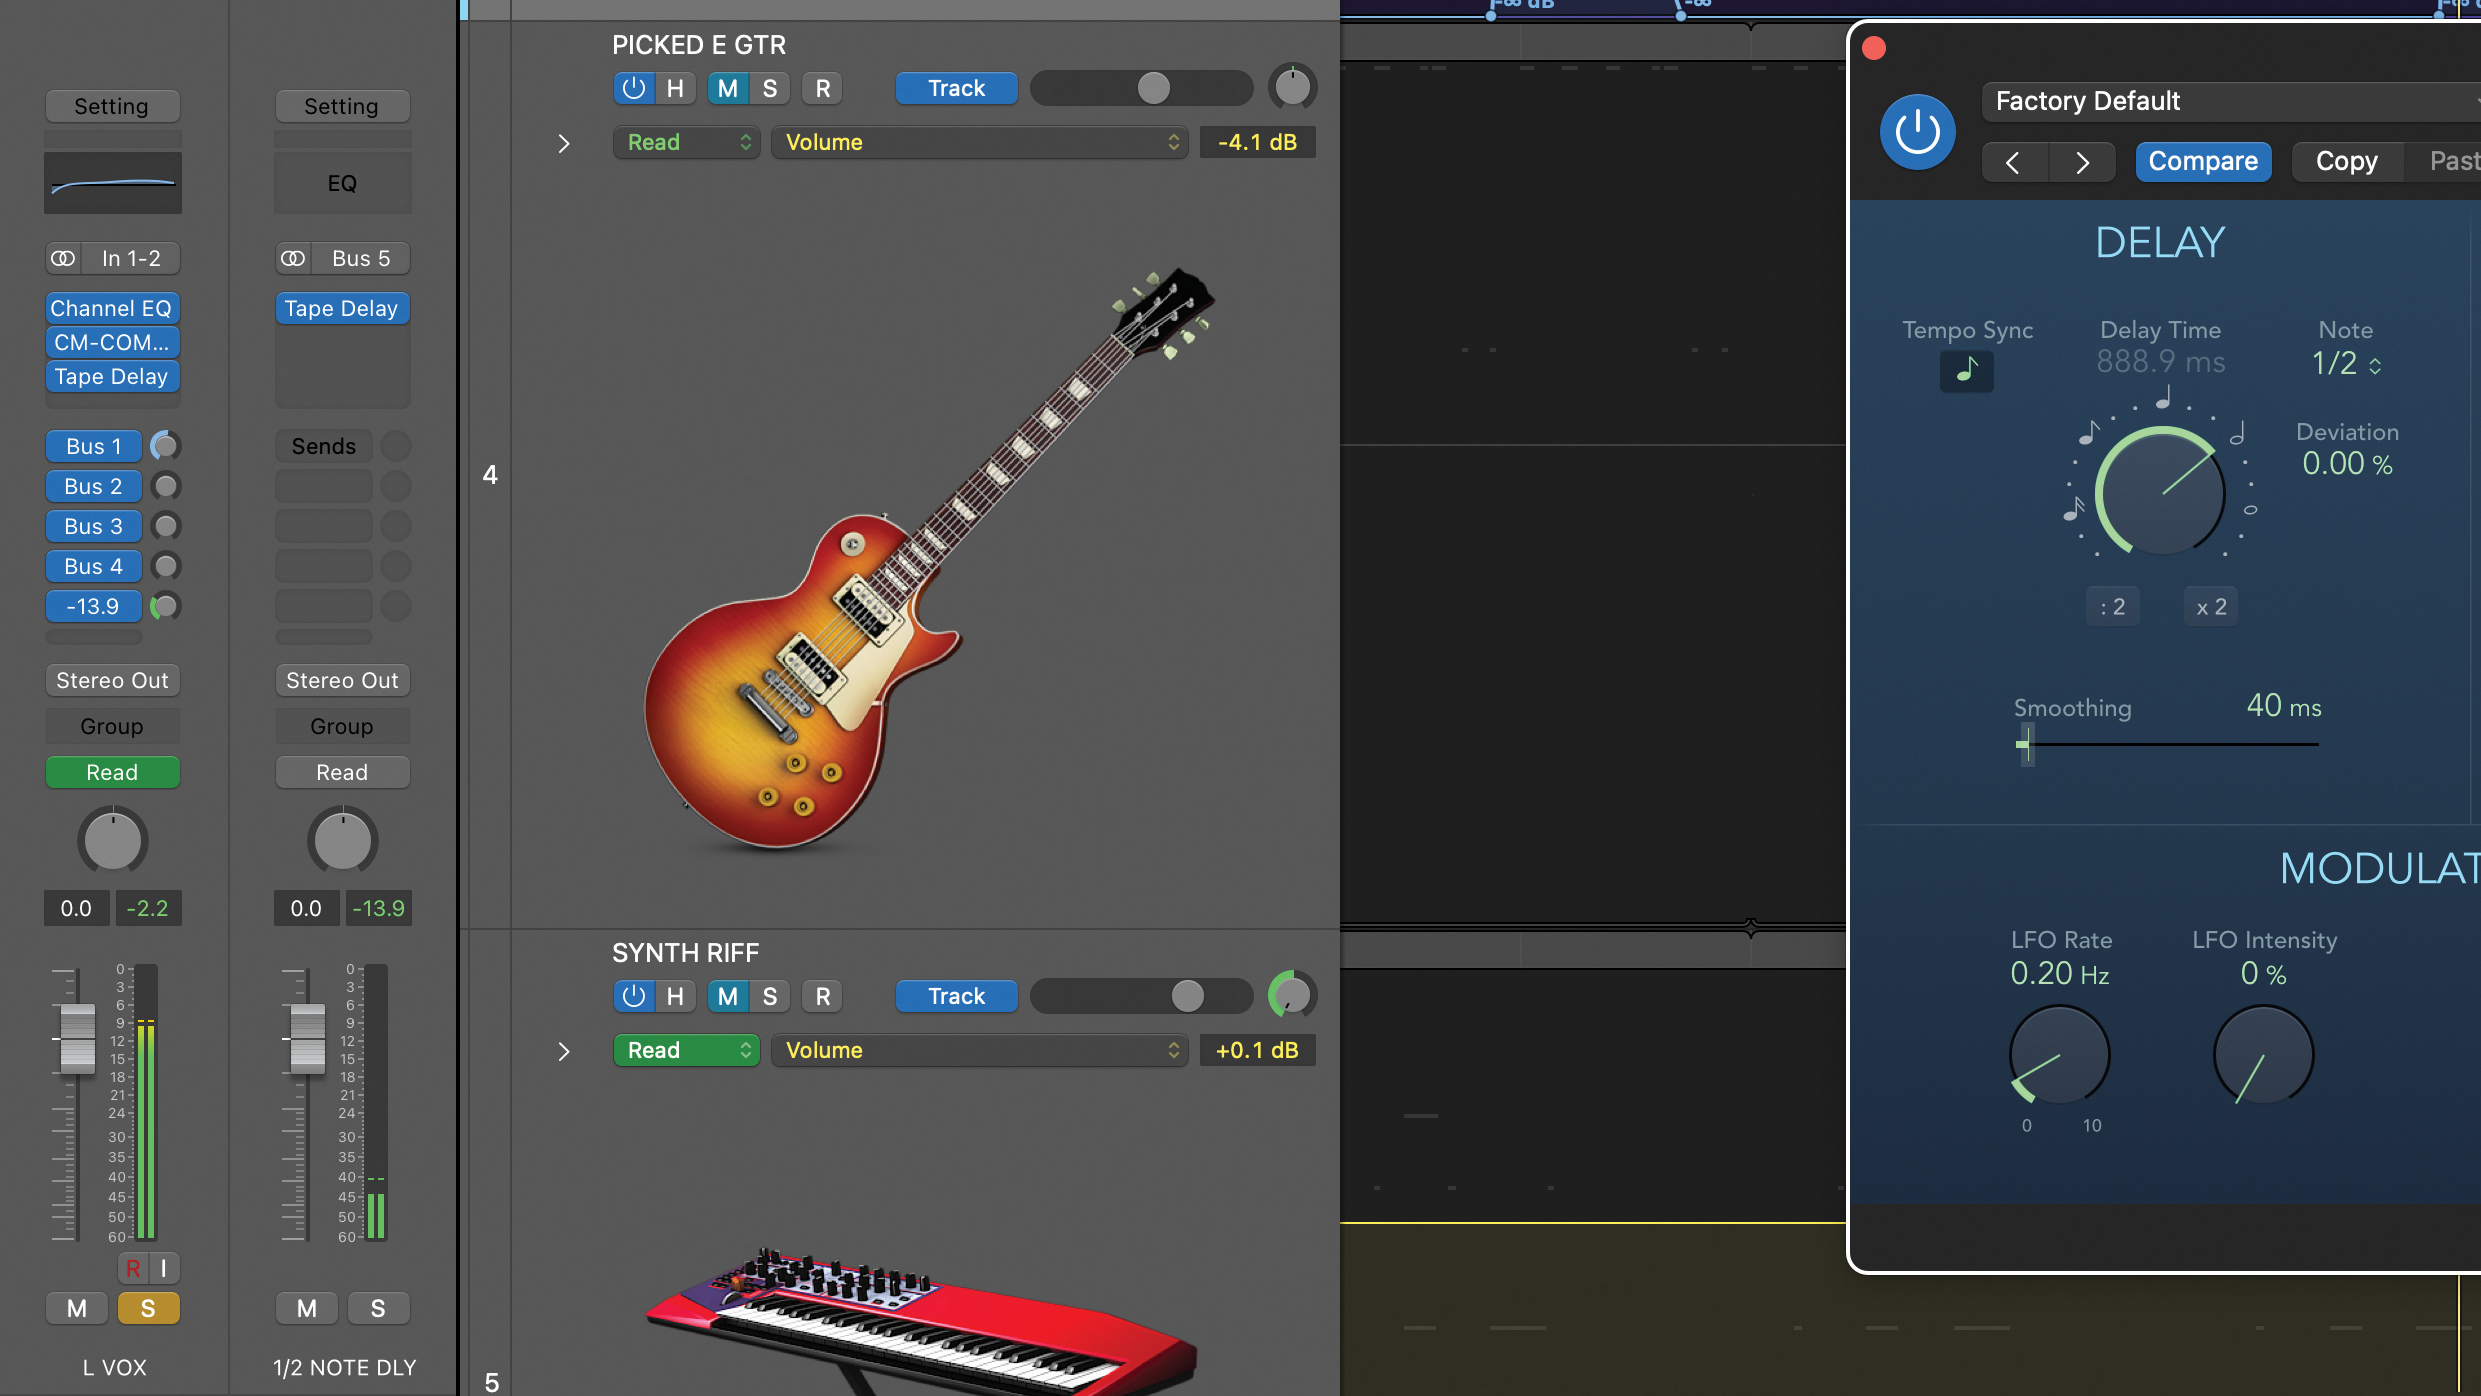
Finally, auxiliaries are ideal when we want to temporarily use an additive effect such as a delay spin. Using DAW automation to automate the required snippet of audio sent to the auxiliary effect is precise, and less cumbersome than trying to get the same outcome using a track insert.
Pro tip
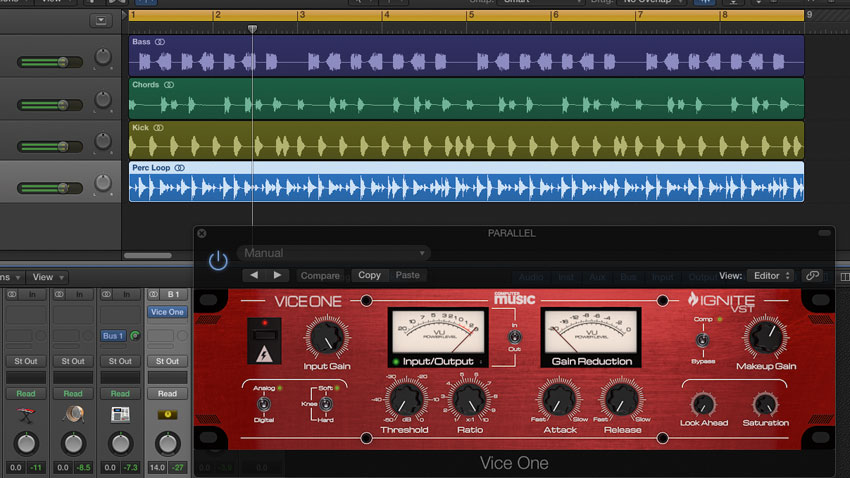
Parallel compression is a popular technique where we blend a dry signal and a noticeably compressed signal so we can take advantage of the colour the compression creates, but also not lose the clarity of original source sound. It results in a different outcome to using more gentle compression in the first place, and is popular for beats, bass and vocals.
How to use parallel 'New York'-style compression to dial in the perfect dynamics
There are a few ways of doing this, including using an auxiliary bus and a track-specific compressor insert. Using an auxiliary for parallel compression works well when you want to create a heavy compression bus that you can easily send multiple tracks to. When using an auxiliary you can use any compressor plugin as it doesn’t need to have a wet/dry mix.
You can also apply further processing to the parallel bus. Parallel compression with an insert requires a compressor with an integrated wet/dry mix, and this may limit your options. Nevertheless, this method is ideal when you want to process a single track, a task-specific submix or mix bus.
Recommended listening
1. Massive Attack - Man Next Door
An impressive concoction of sound-specific effects and processing using both inserts and auxiliaries.
2. Jax Jones, D.O.D, Ina Wroldsen - Won't Forget You
A good example of shared and track-specific spot effects used in a contemporary single mix.
Jon is a London based platinum award winning mixer, producer, composer and club remixer with a diverse CV that spans dance, pop, rock and music for media. He’s also a long term contributor to MusicRadar's music technology tutorials and reviews. Whether working alone or collaborating he usually handles final mixdowns, so you’ll also find MusicRadar peppered with his handy mixing tips.
