How to write, mix and master a track across multiple DAWs
We shows you how to break free from old habits and kickstart creativity by switching software
We often get asked which DAW is best suited to a certain situation, and hear arguments about which DAW is the best. The simple answer? There is no ‘best’ one, of course!
Specific nuances aside, all digital audio workstations offer pretty much the same features in terms of audio editing, MIDI sequencing, virtual instrument triggering, arrangement tools and mixing. The main goal is to find a DAW that you feel comfortable with – one that helps you to finish tracks in the most streamlined and intuitive way possible.
That said, as your production skills advance, it’s easy to rely on old habits, so if you think a change of software will speed up your workflow, don’t be afraid to try out something new. And if you have access to more than one DAW, why not use each to its advantage?
Here, we're going to do exactly that, creating a hybrid workflow by using a different DAW at each stage of the track-building process. Dividing up your workflow into dedicated blocks of time will help you give each the focused attention it deserves, preventing you from jumping between, say, arrangement and mixing in the same session. If you don’t have access to multiple DAWs, follow our workflow by working across different projects.
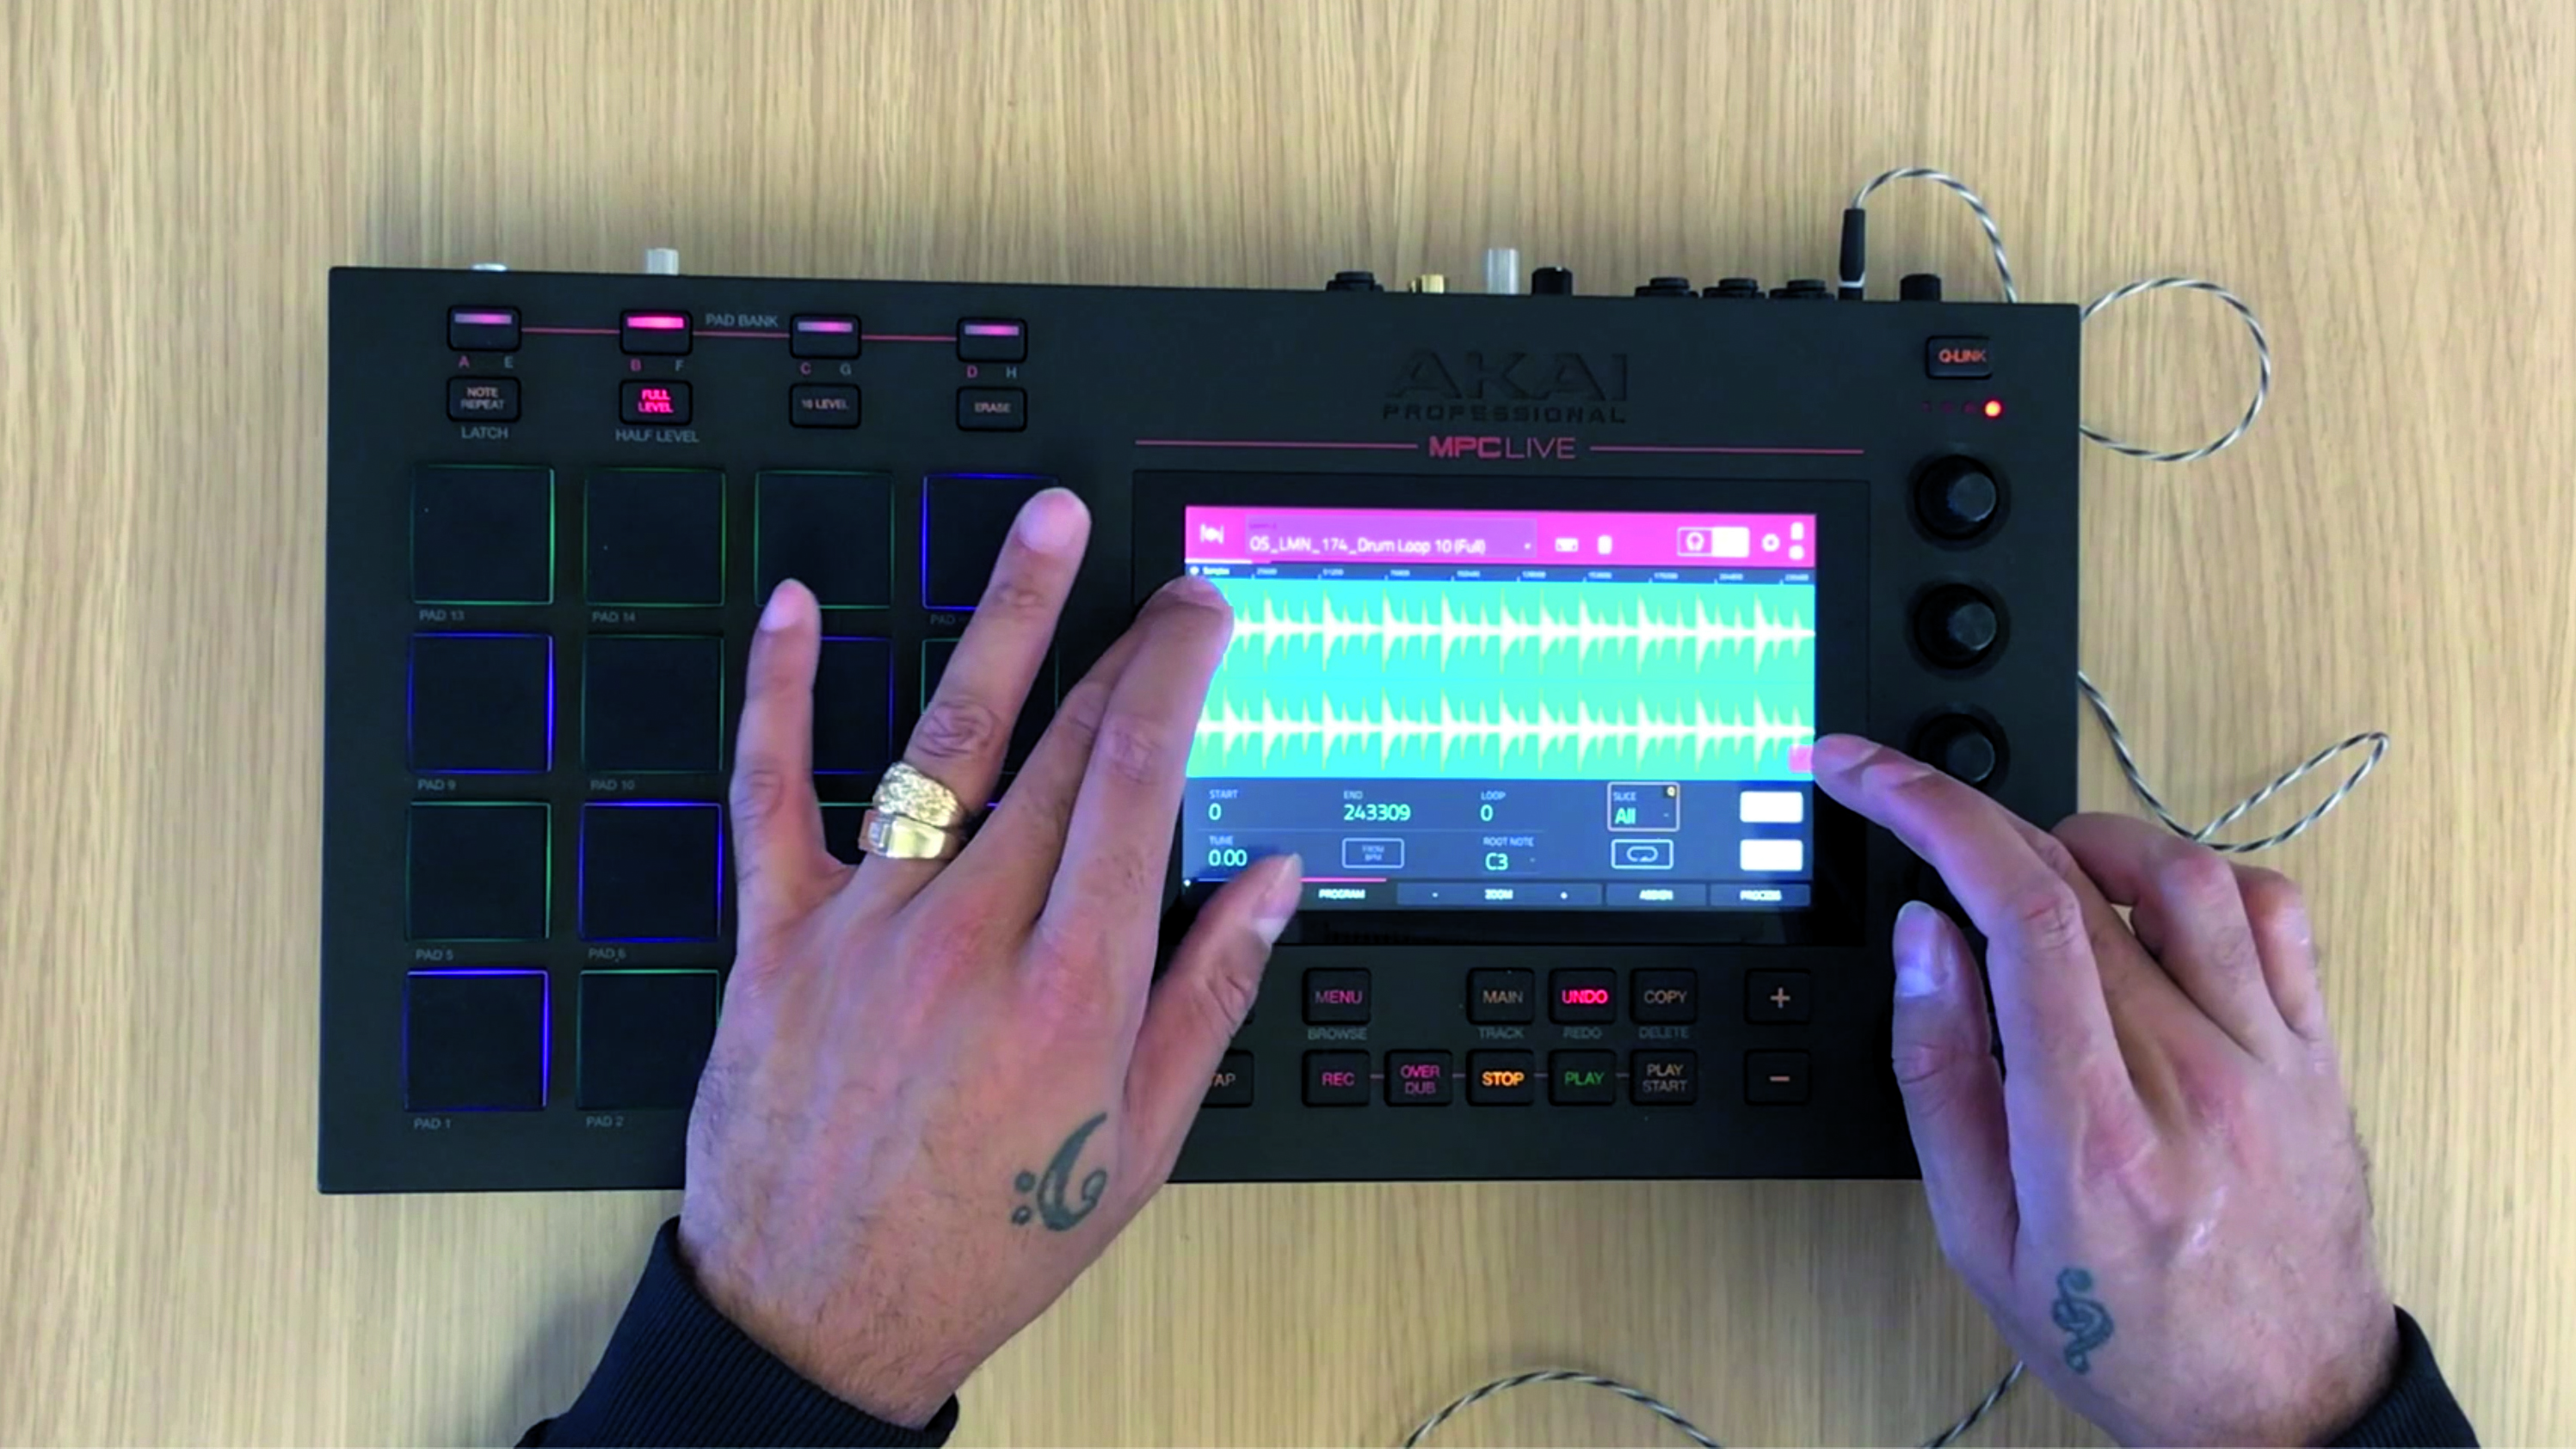
Step 1: The first step is to pick a DAW you can get ideas down fast with - one you know well, so you can concentrate on being creative without distractions. Here, we build a basic sketch using Akai’s MPC Live in standalone mode. We chop and layer samples to create an initial ‘drop’ idea.
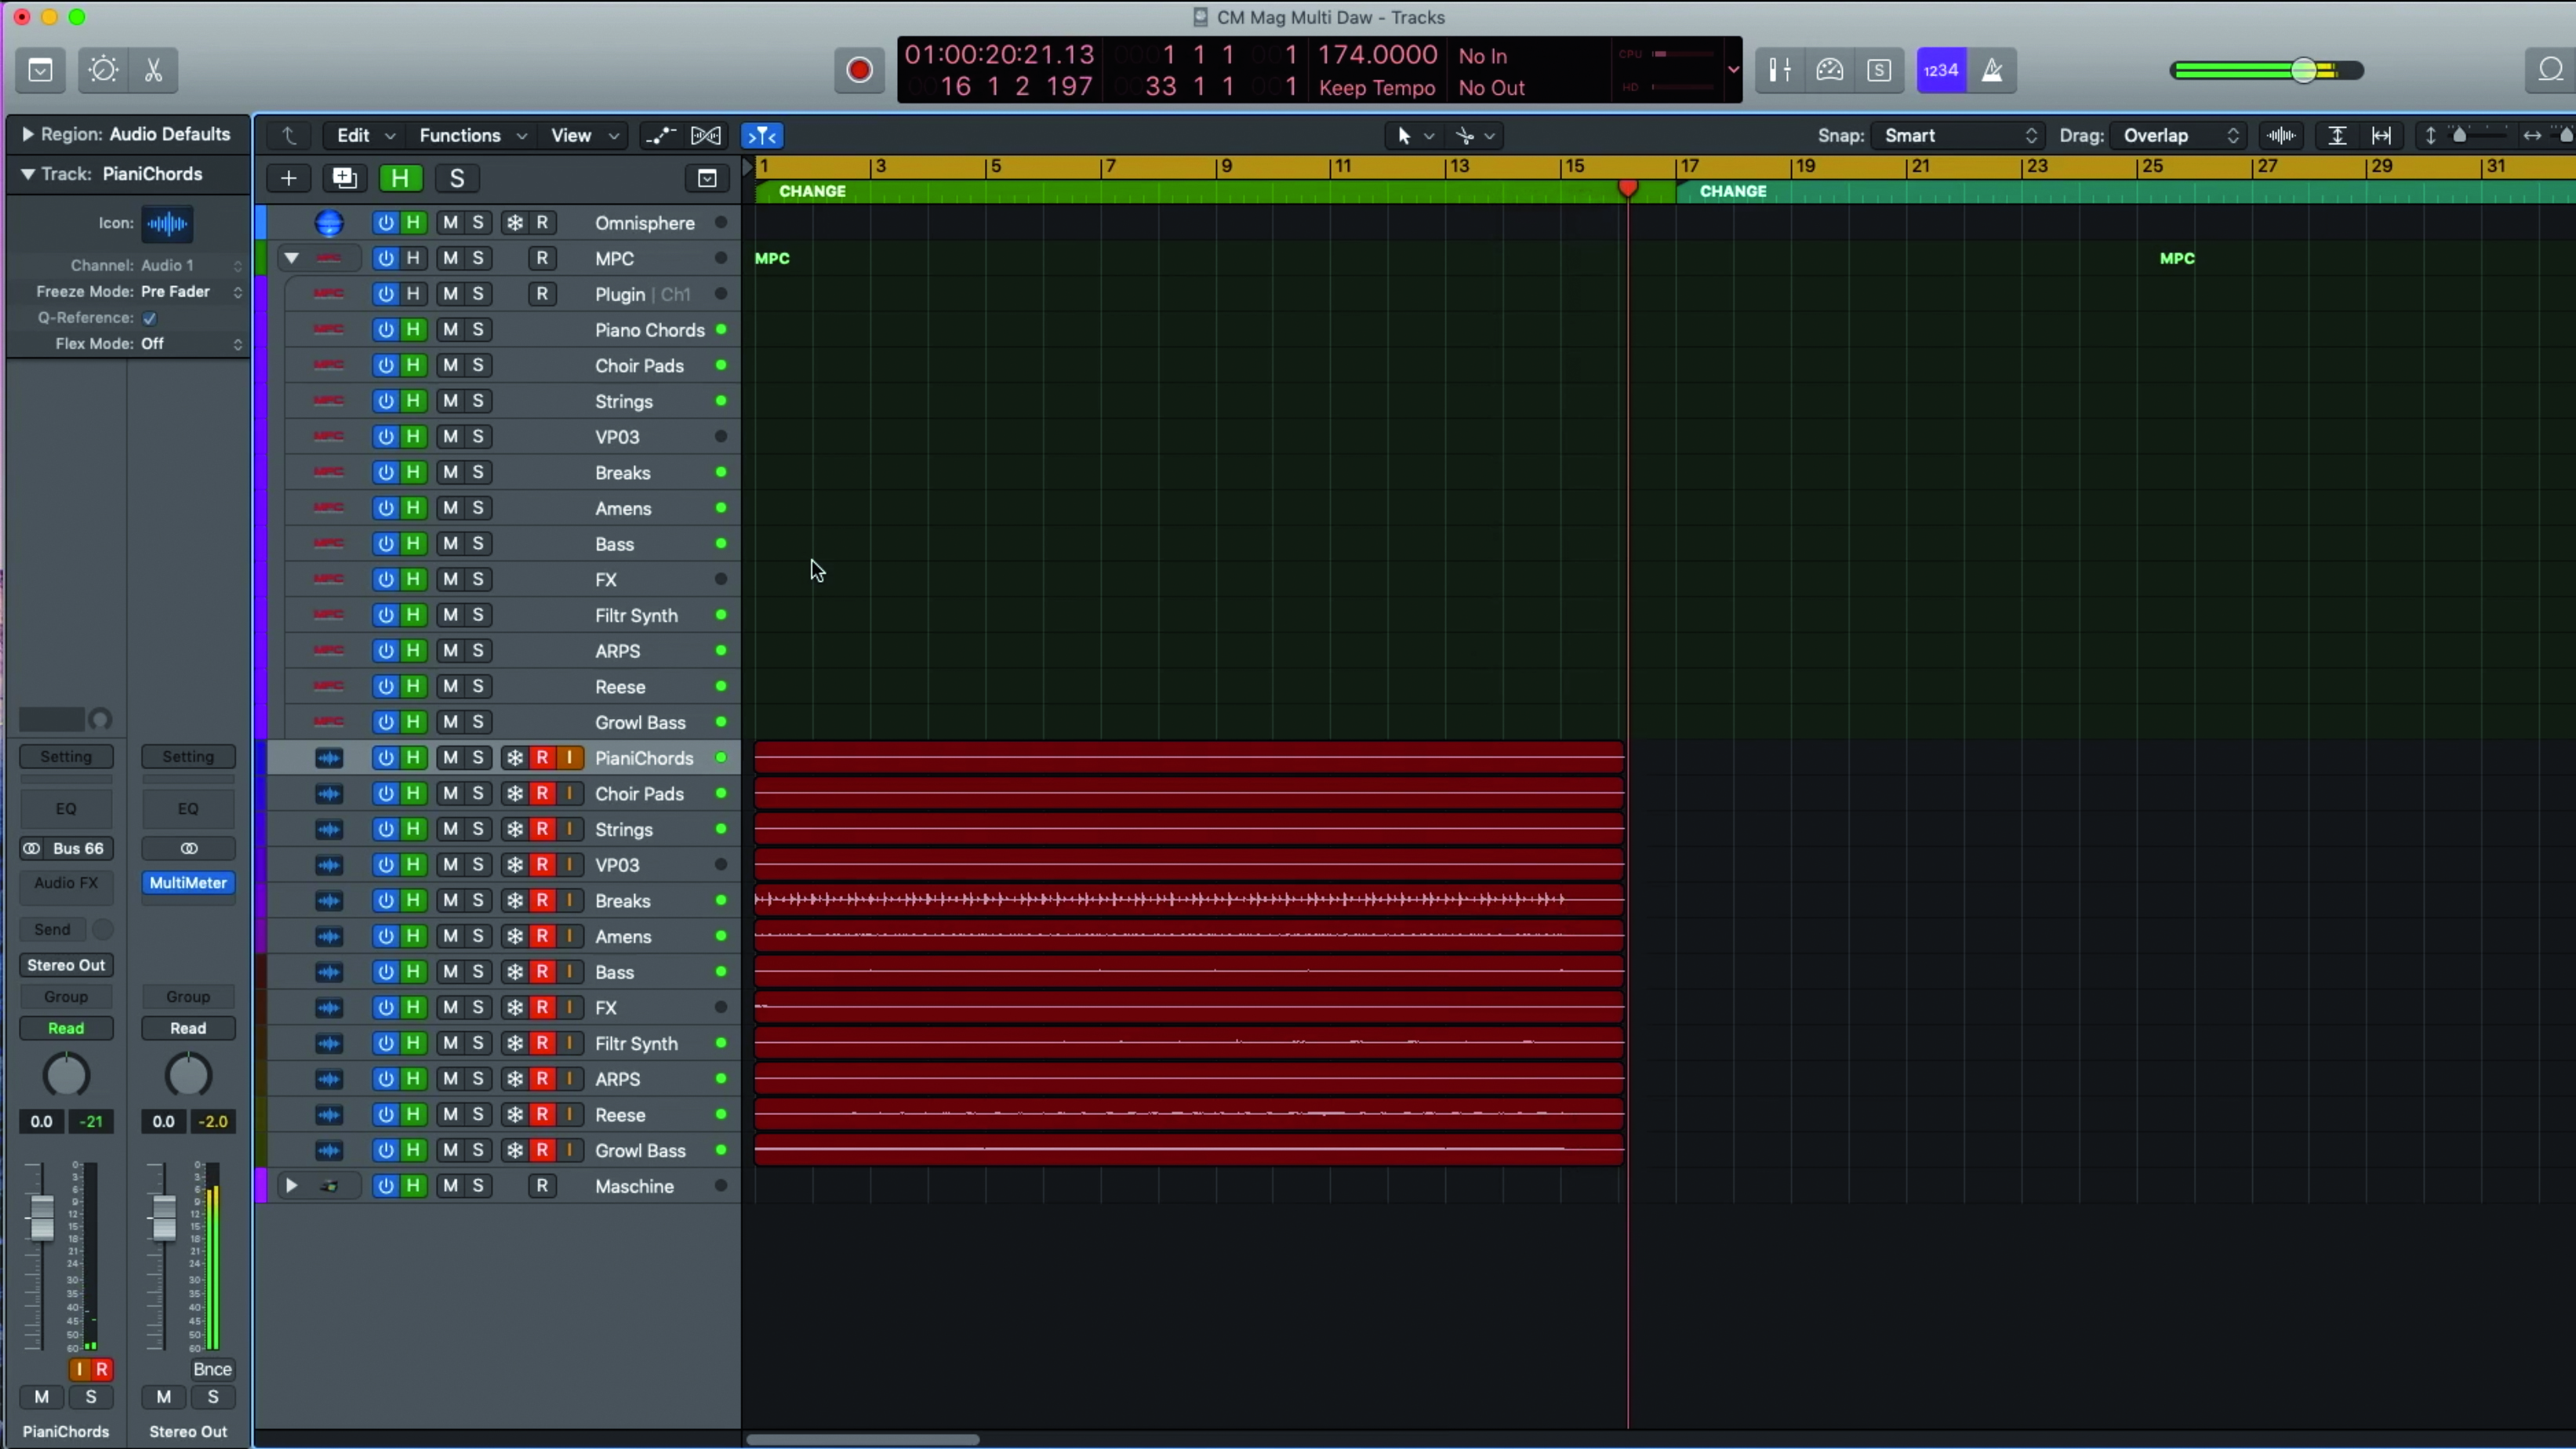
Step 2: Now we have a direction, it’s time to move over to our next DAW: Logic Pro X. We open the MPC software as a plugin on an Instrument Track, then record all the parts of our loop idea to individual tracks. Separating tracks will help when it comes to arranging and mixing later.
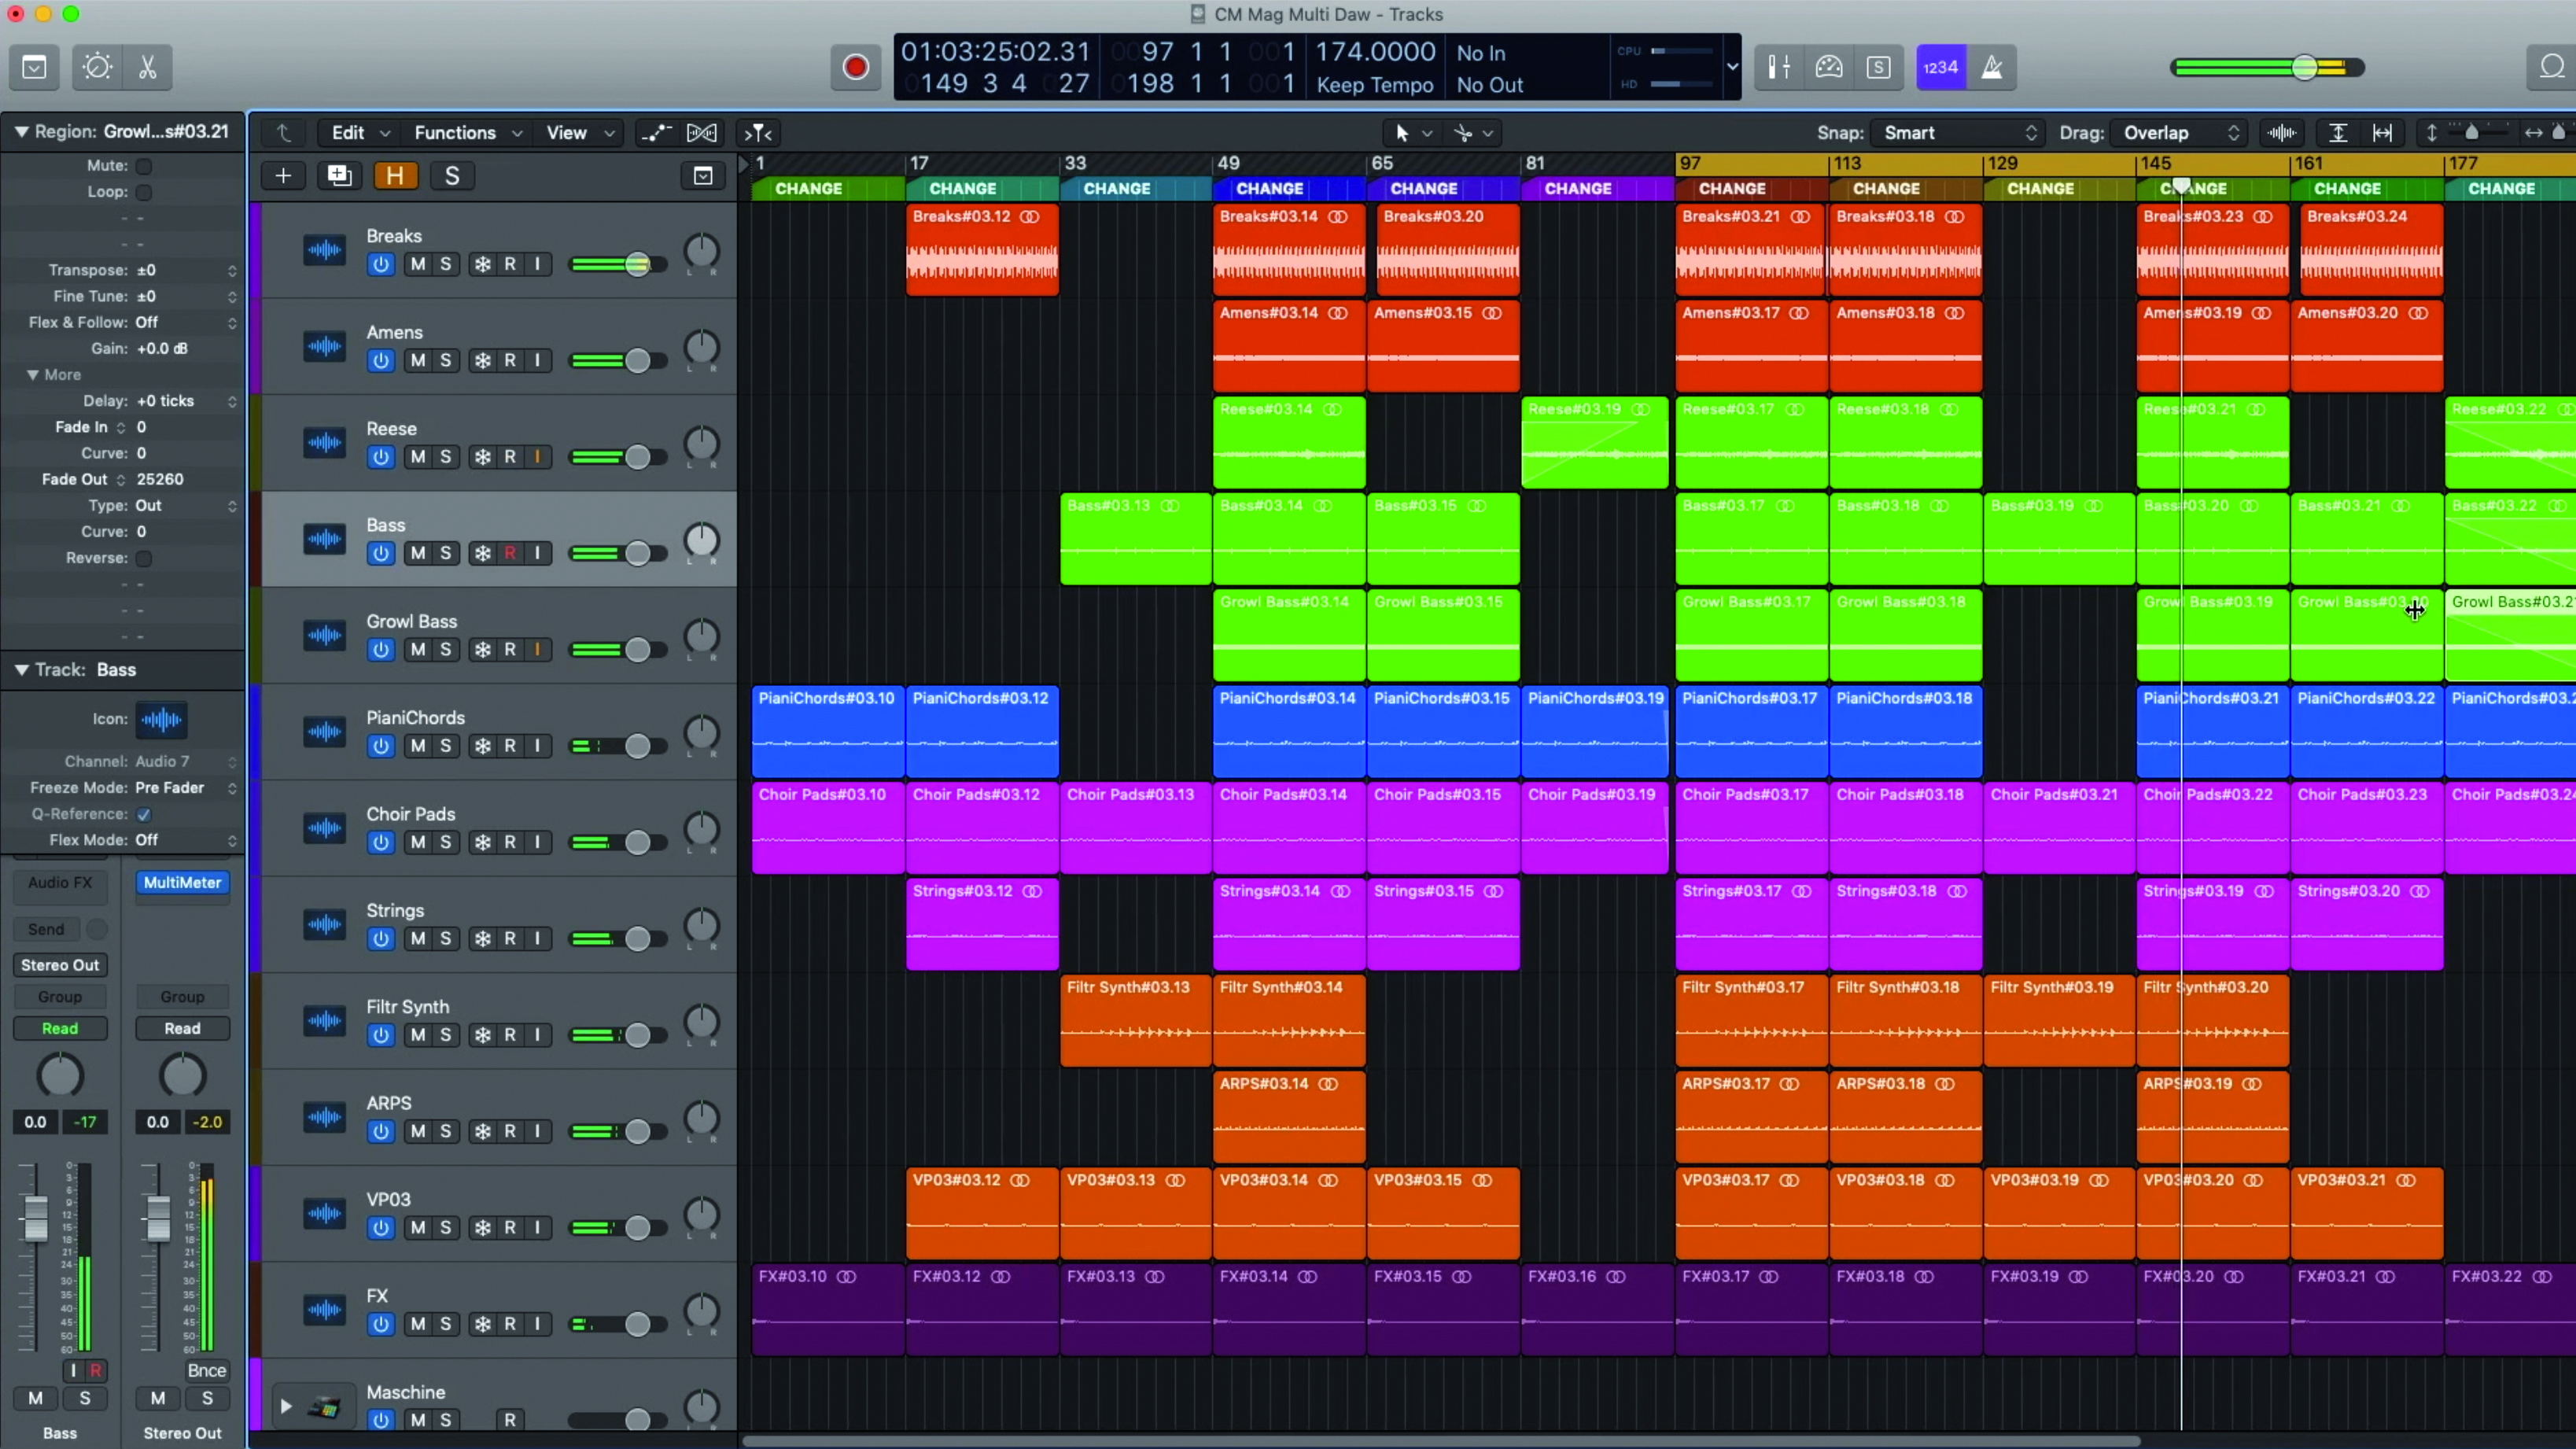
Step 3: We like the look and feel of Logic’s Arrange Window, and find it easy to lay down structures and arrangements from a simple loop. We duplicate our parts across 128 bars, then delete blocks to create a basic track structure. As we do this, we start to imagine transitional segues that can be implemented later…
Get the MusicRadar Newsletter
Want all the hottest music and gear news, reviews, deals, features and more, direct to your inbox? Sign up here.
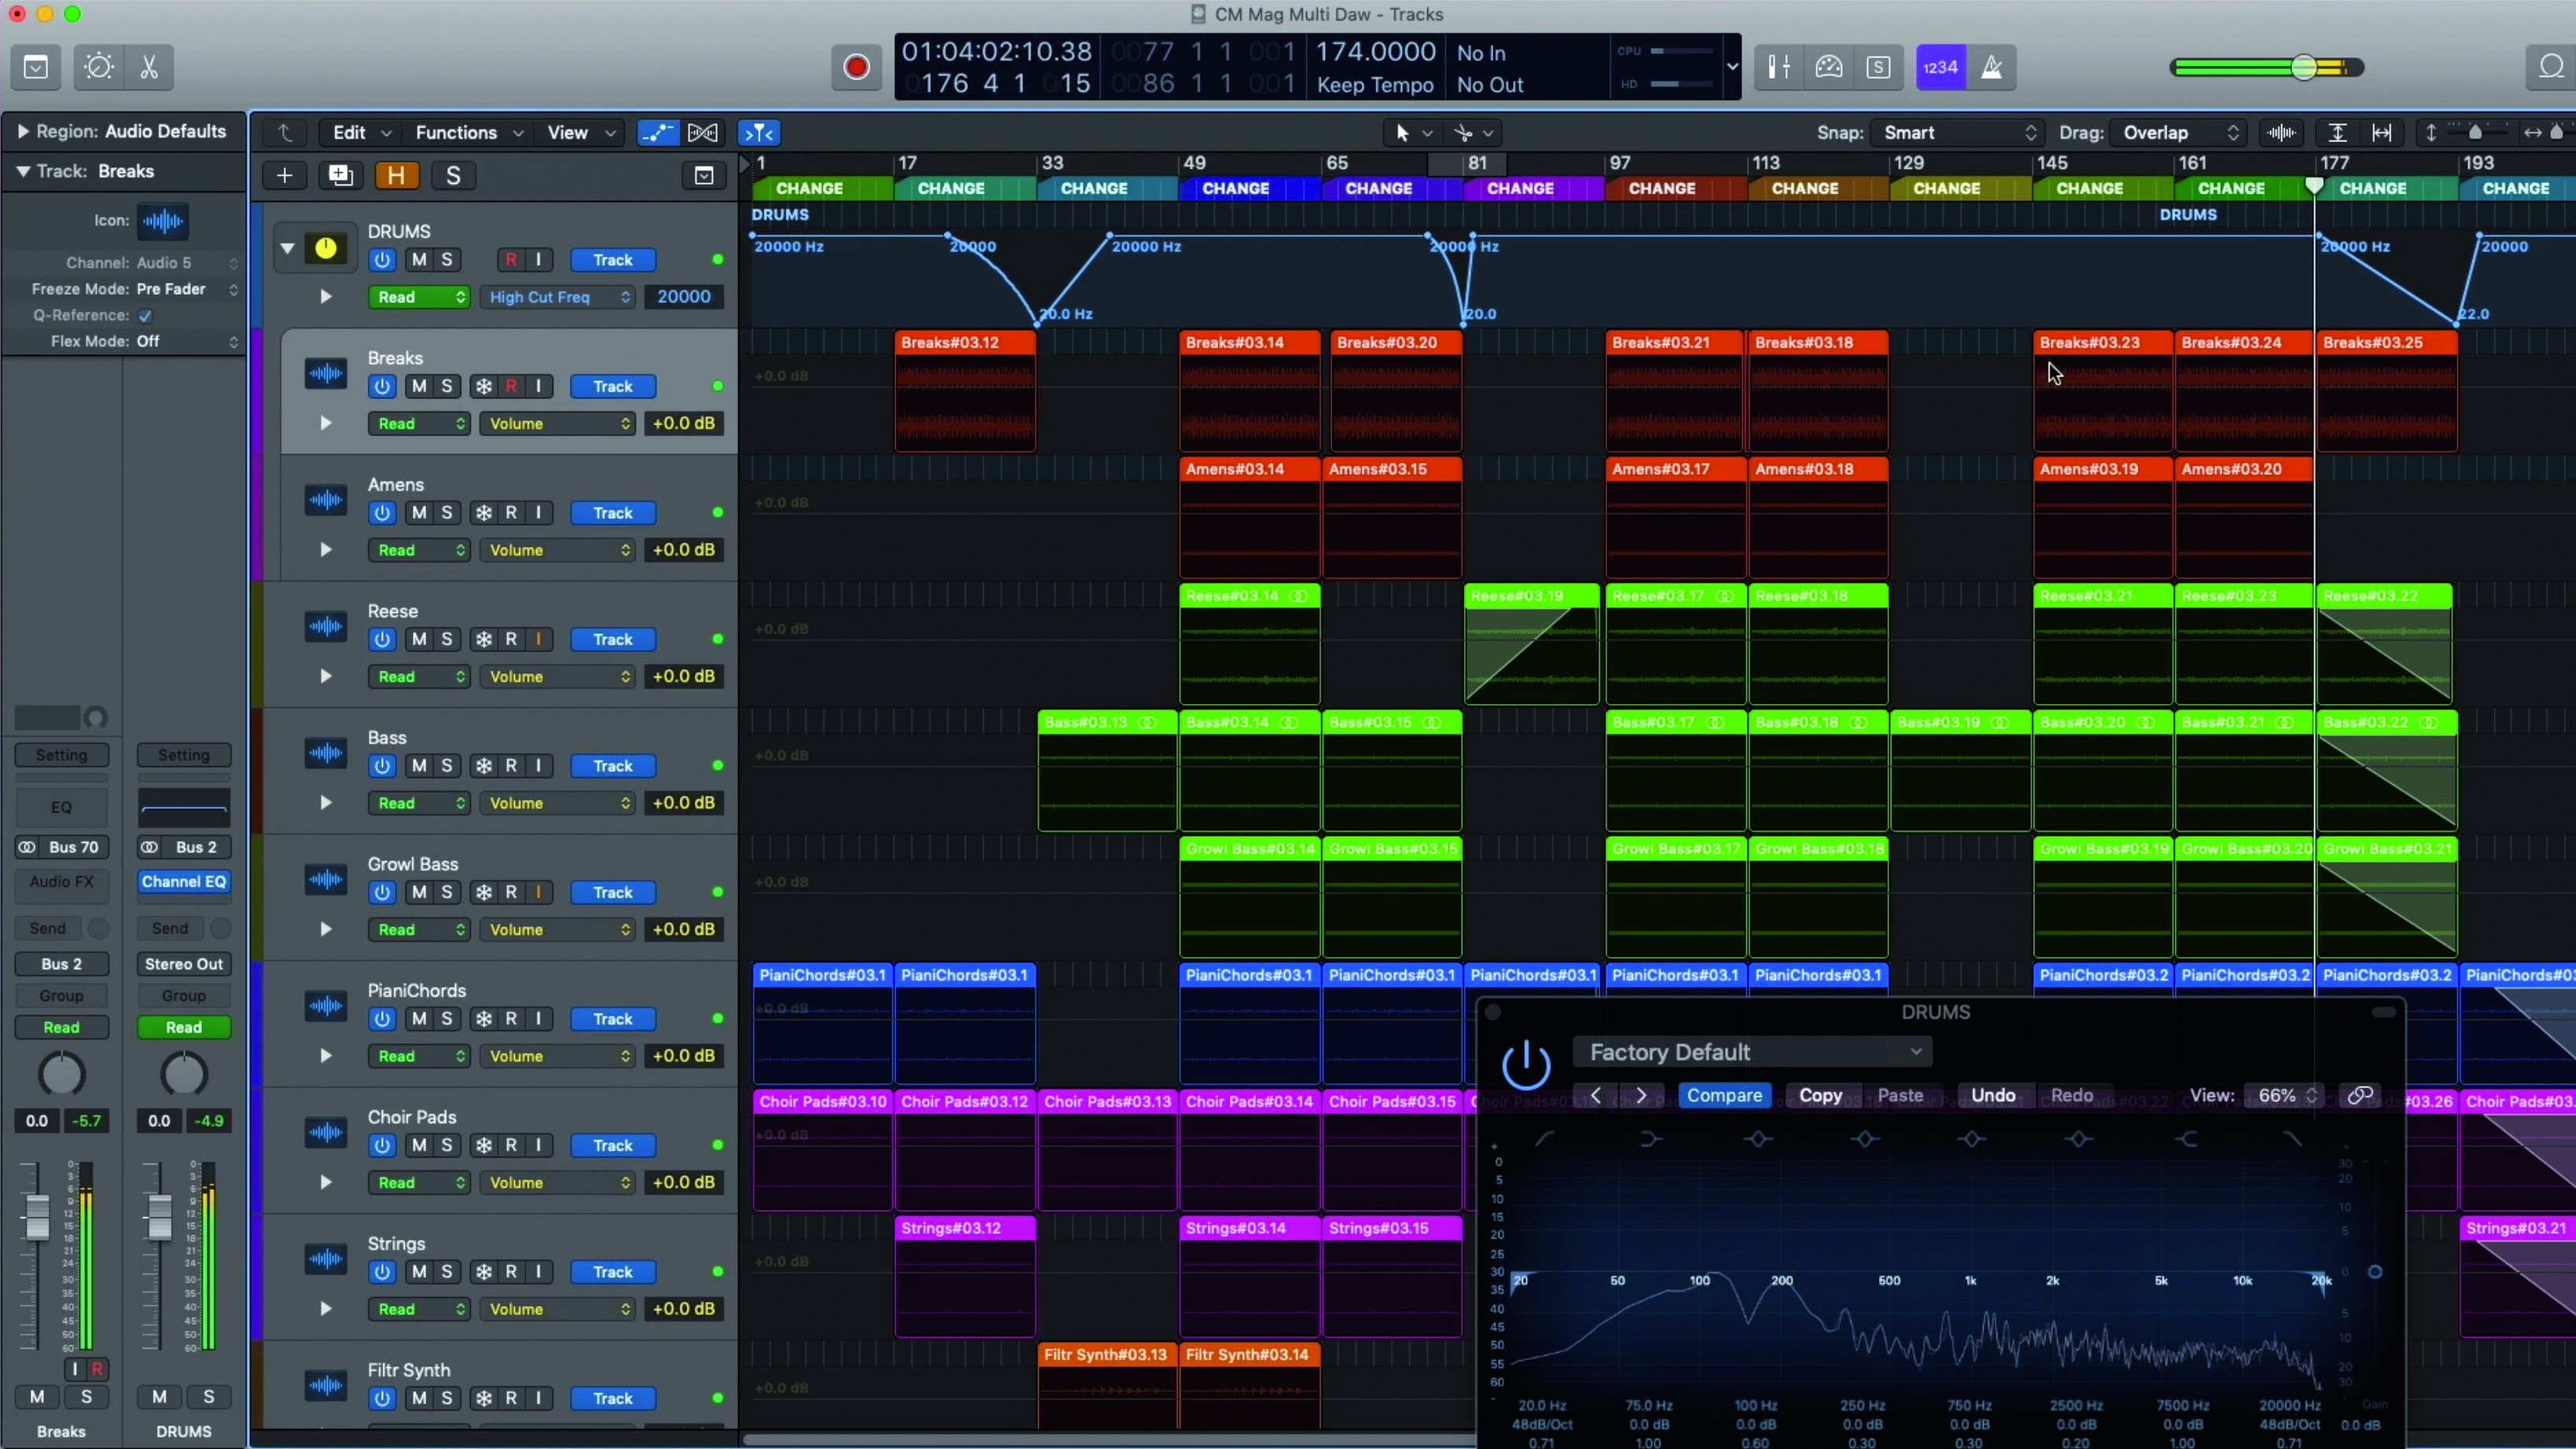
Step 4: Automation and FX sounds now help us create smooth transitions between sections. We're comfortable using Logic for this – we like its automation view and colour scheme, which makes the workflow so much more enjoyable for us.
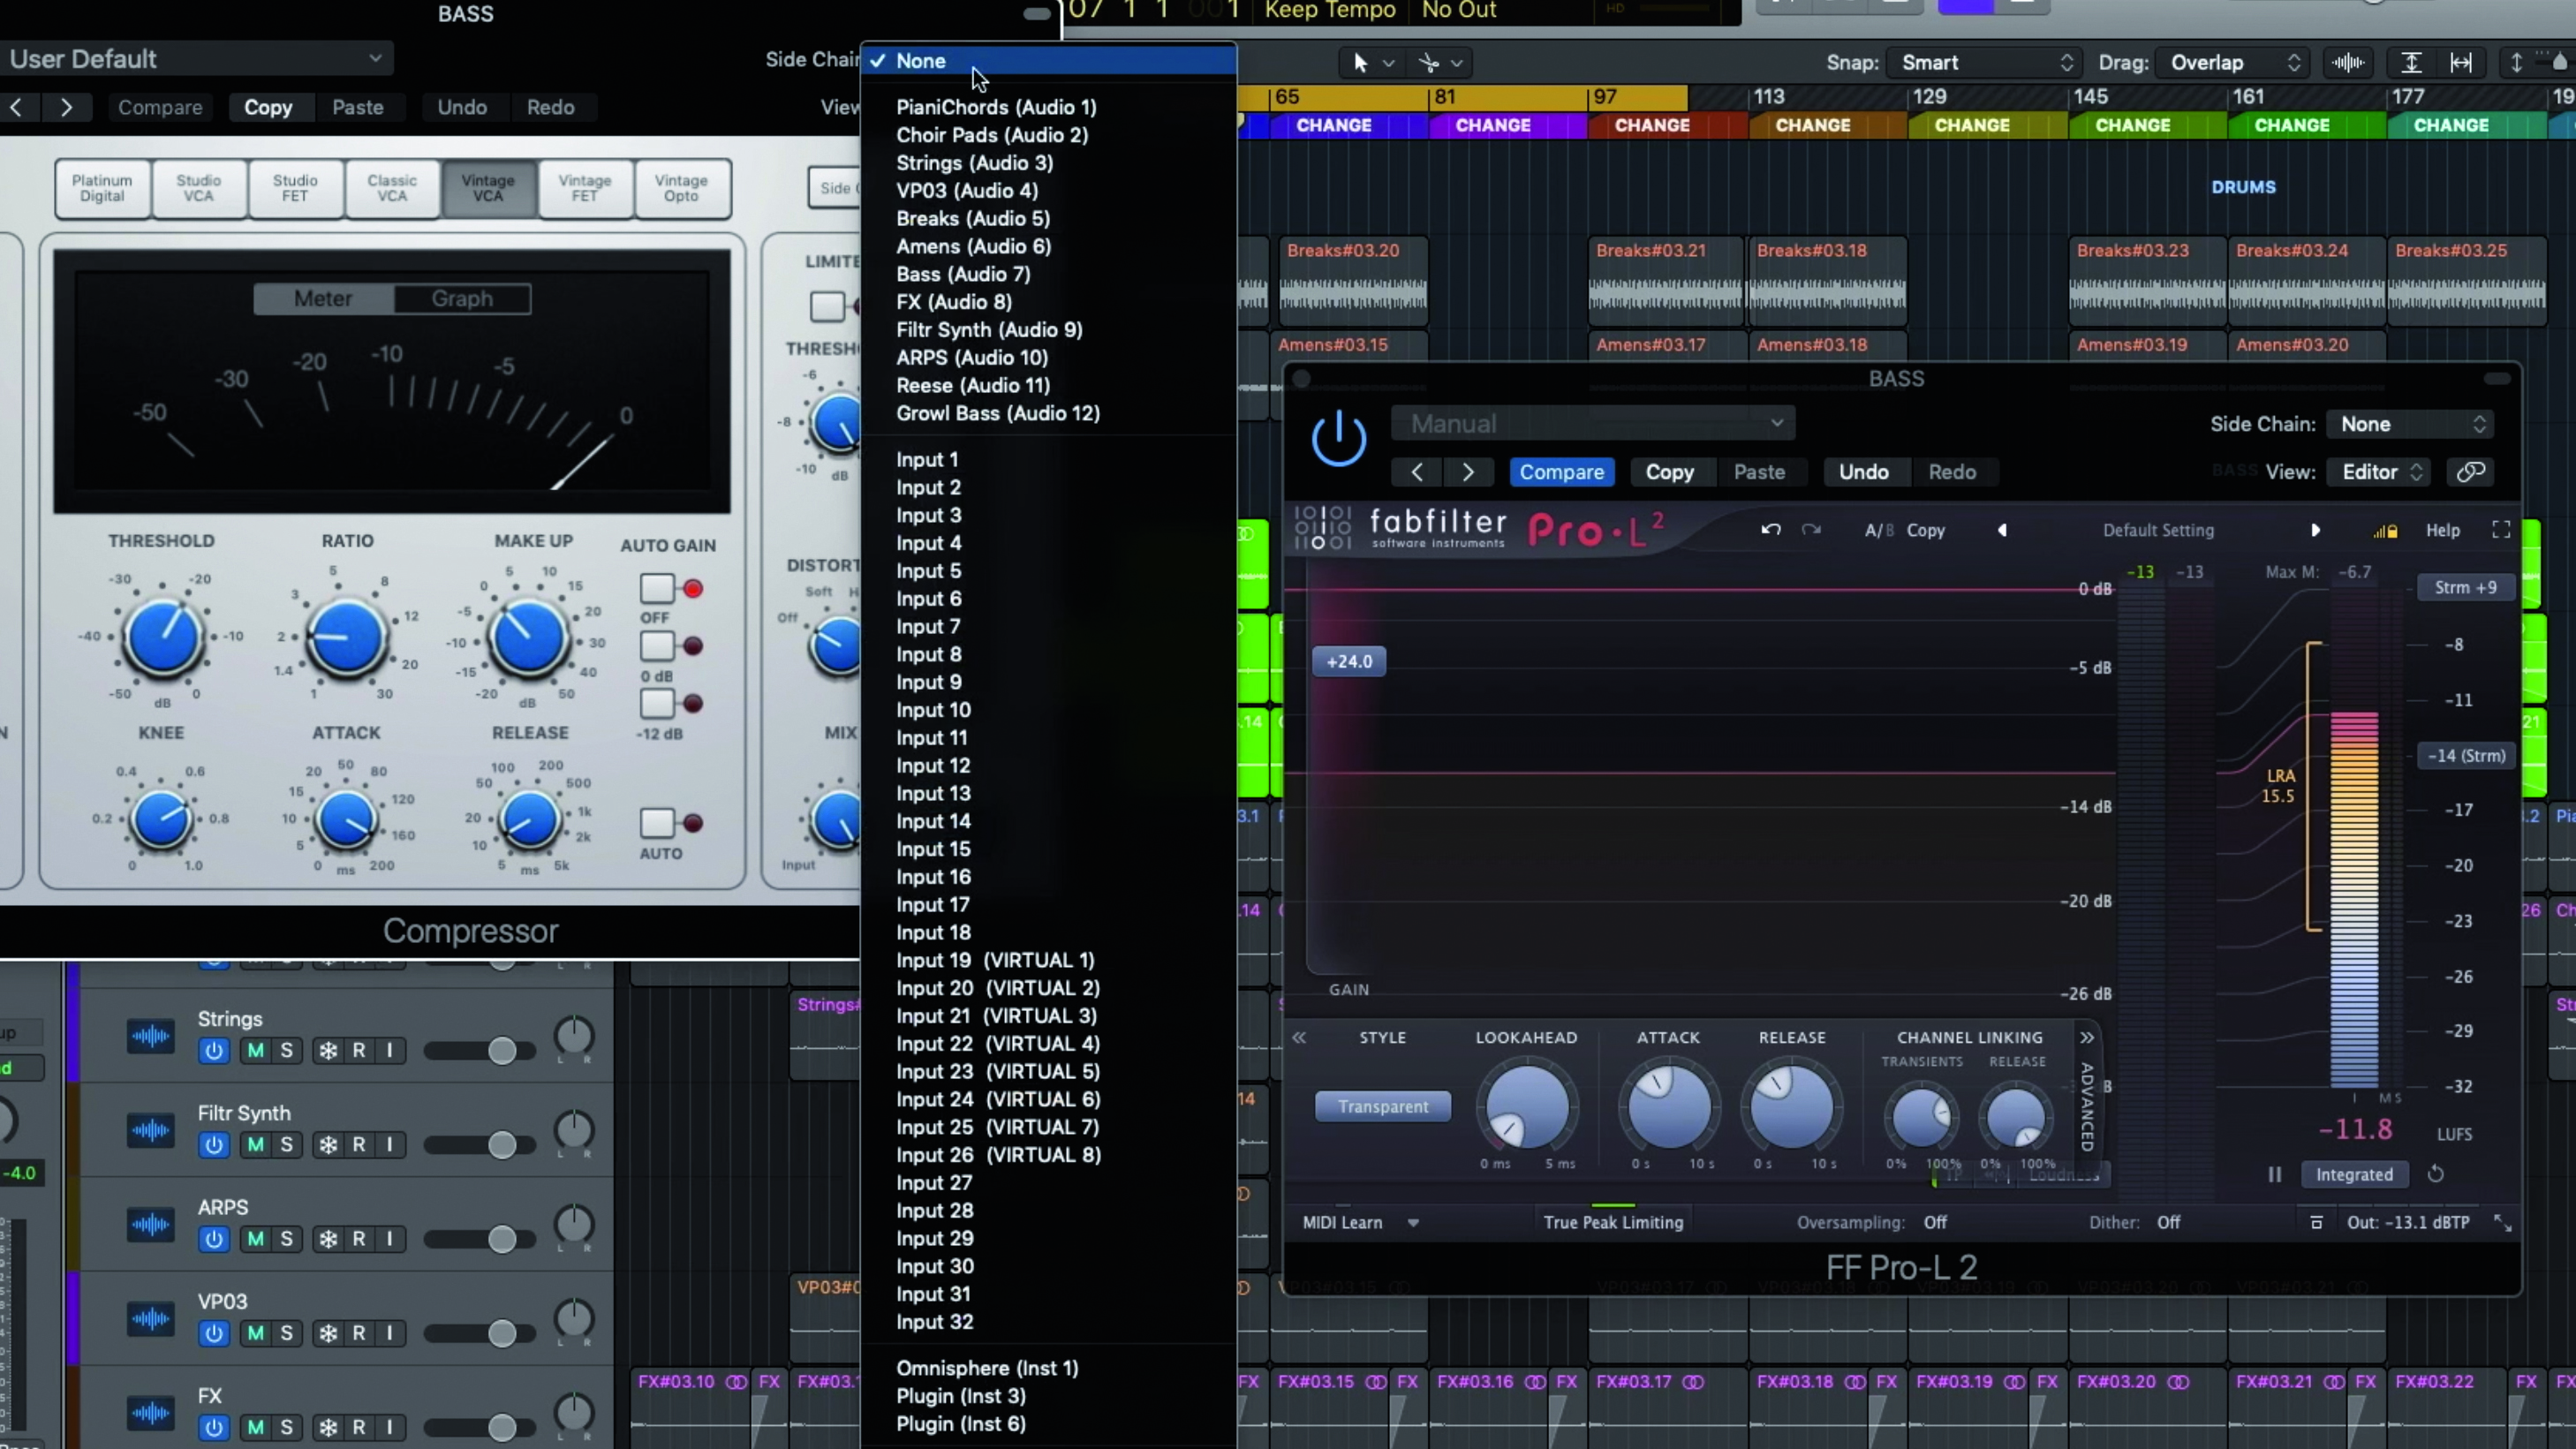
Step 5: Once our transitional automation is complete, it’s time to add some group processing to the most important elements in the track. Here, we set up a sidechain compression on the bass sound, and level out the bass group’s dynamics with careful limiting. We're not in full-on mixing mode yet, but a bit of ‘pre-processing’ can help.
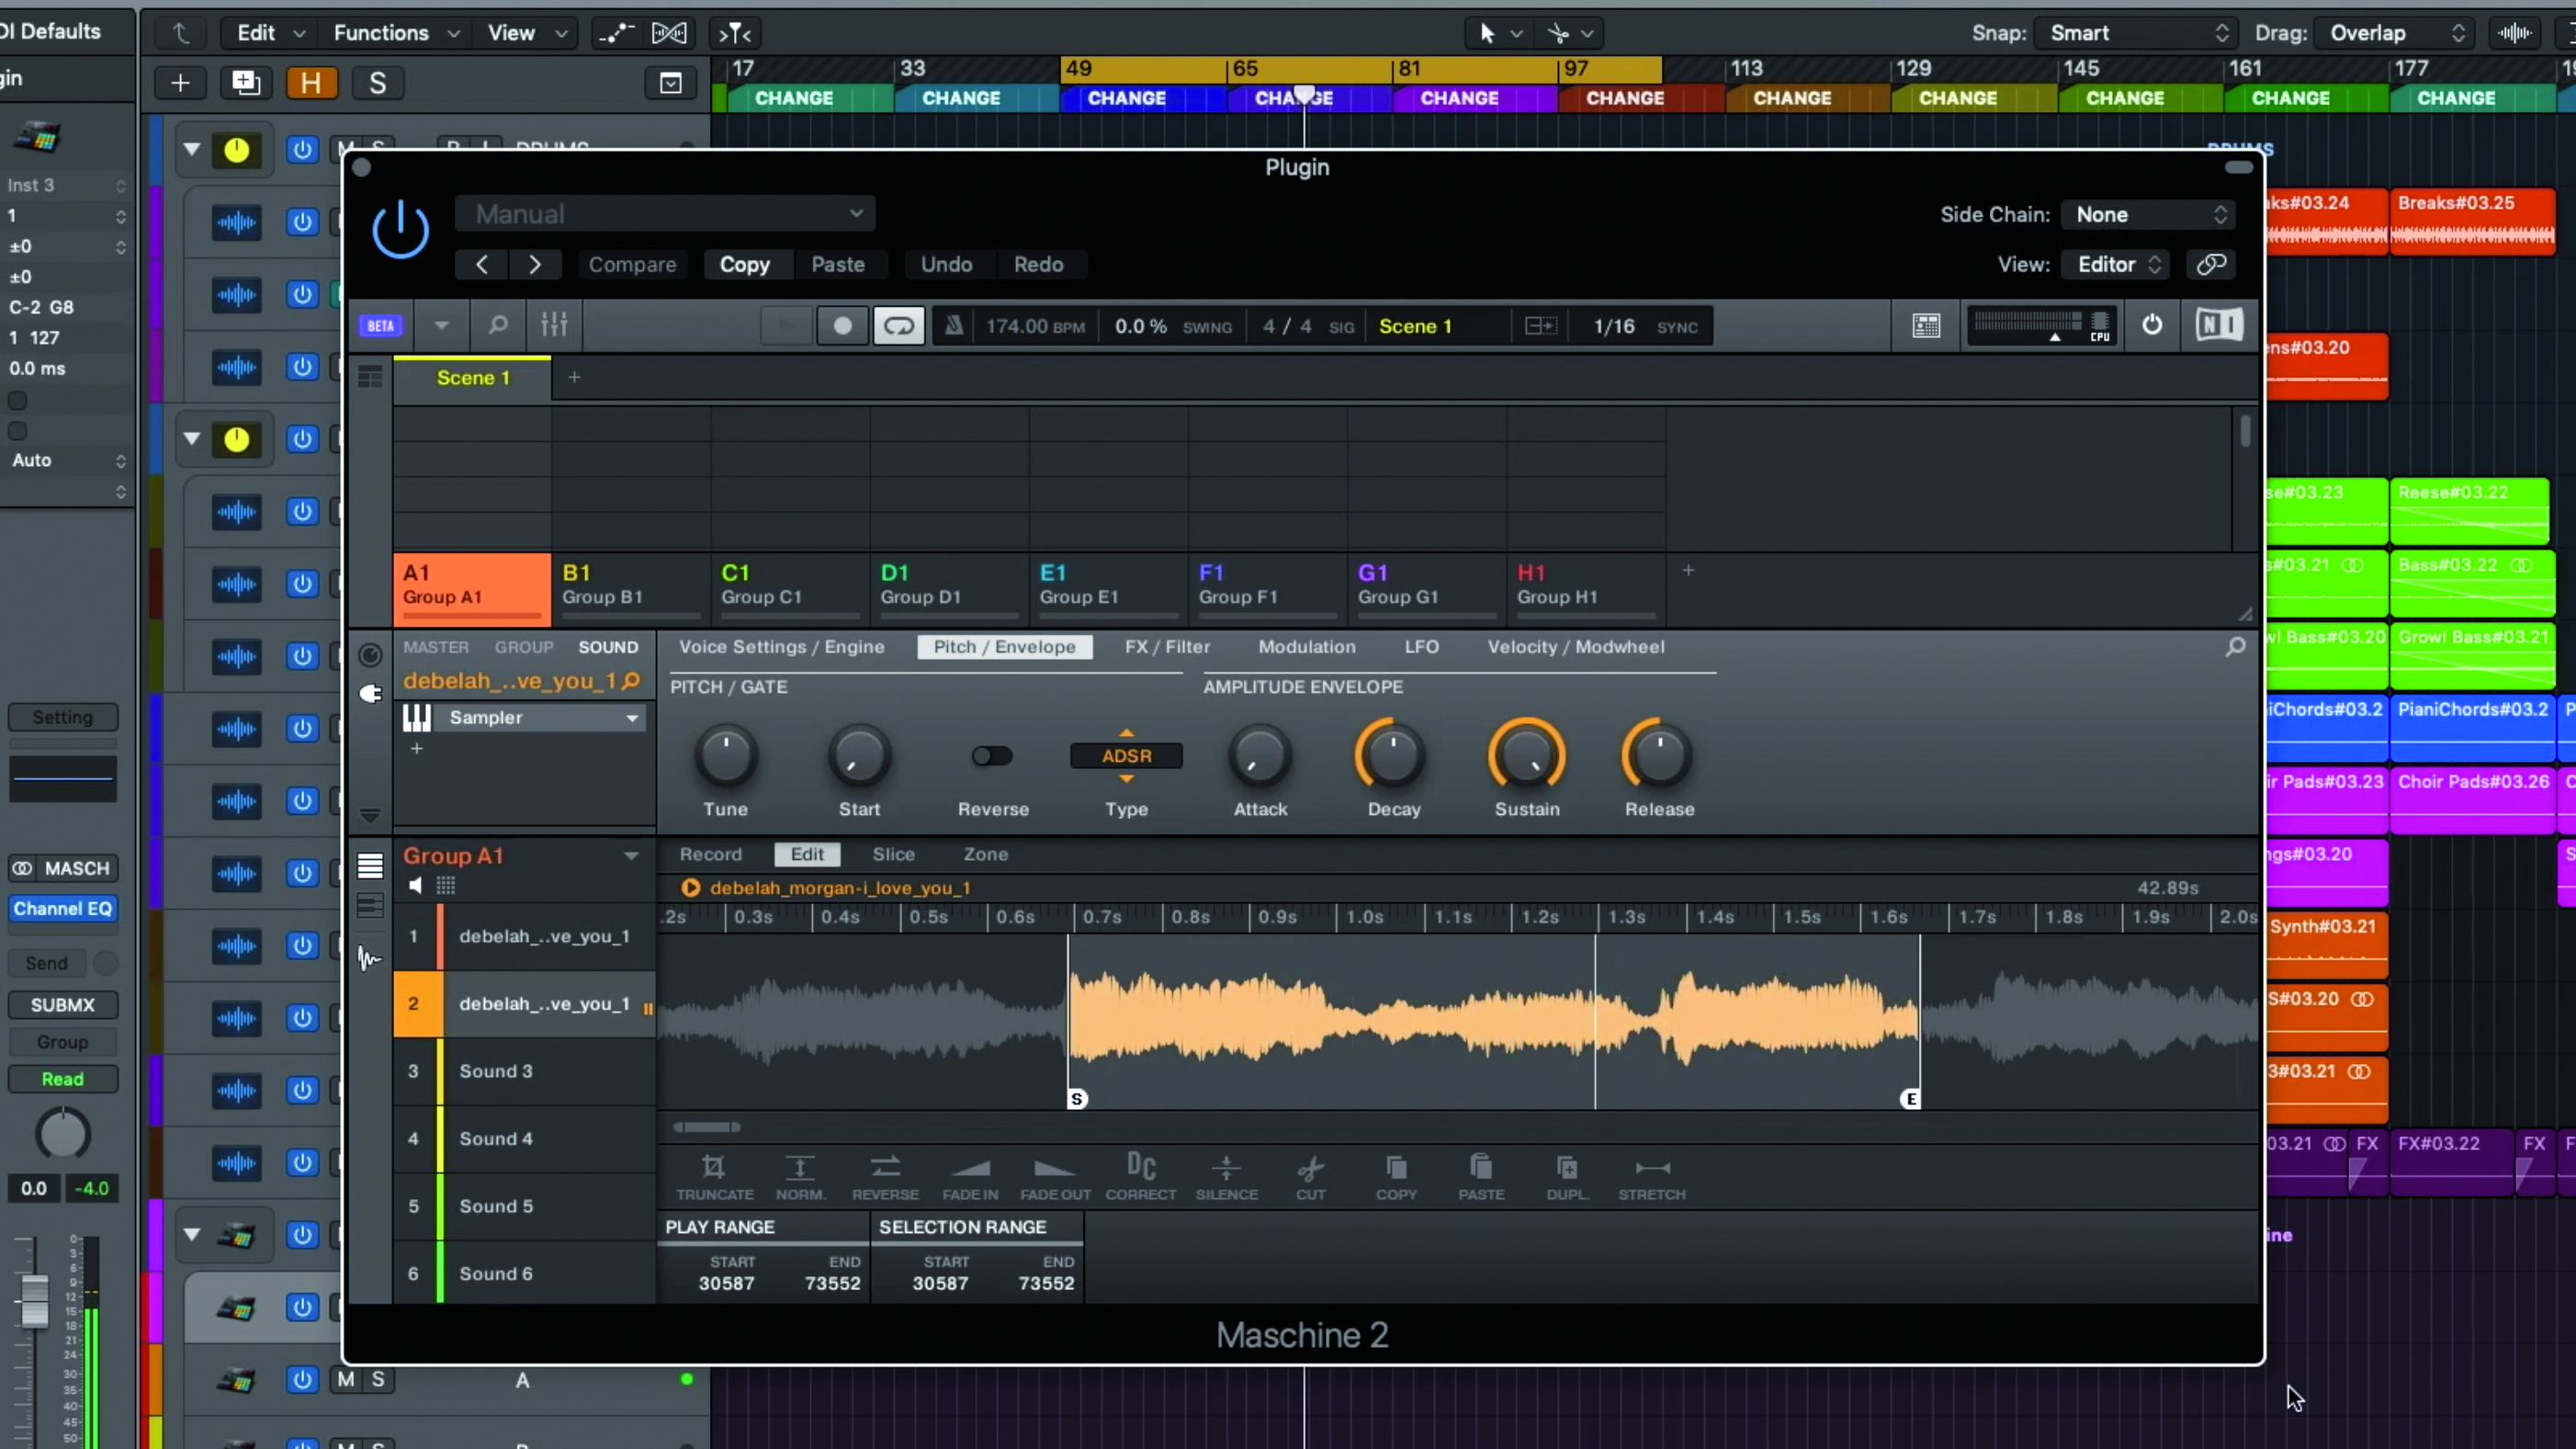
Step 6: Now we have a basic structure, it’s time to overdub new sounds. Within Logic, we fire up NI Maschine, chop up a vocal sample, then jam on the Maschine Mk3 controller’s pads to get a feel for a vocal arrangement. Once recorded, we drag and drop the vocal into Logic.
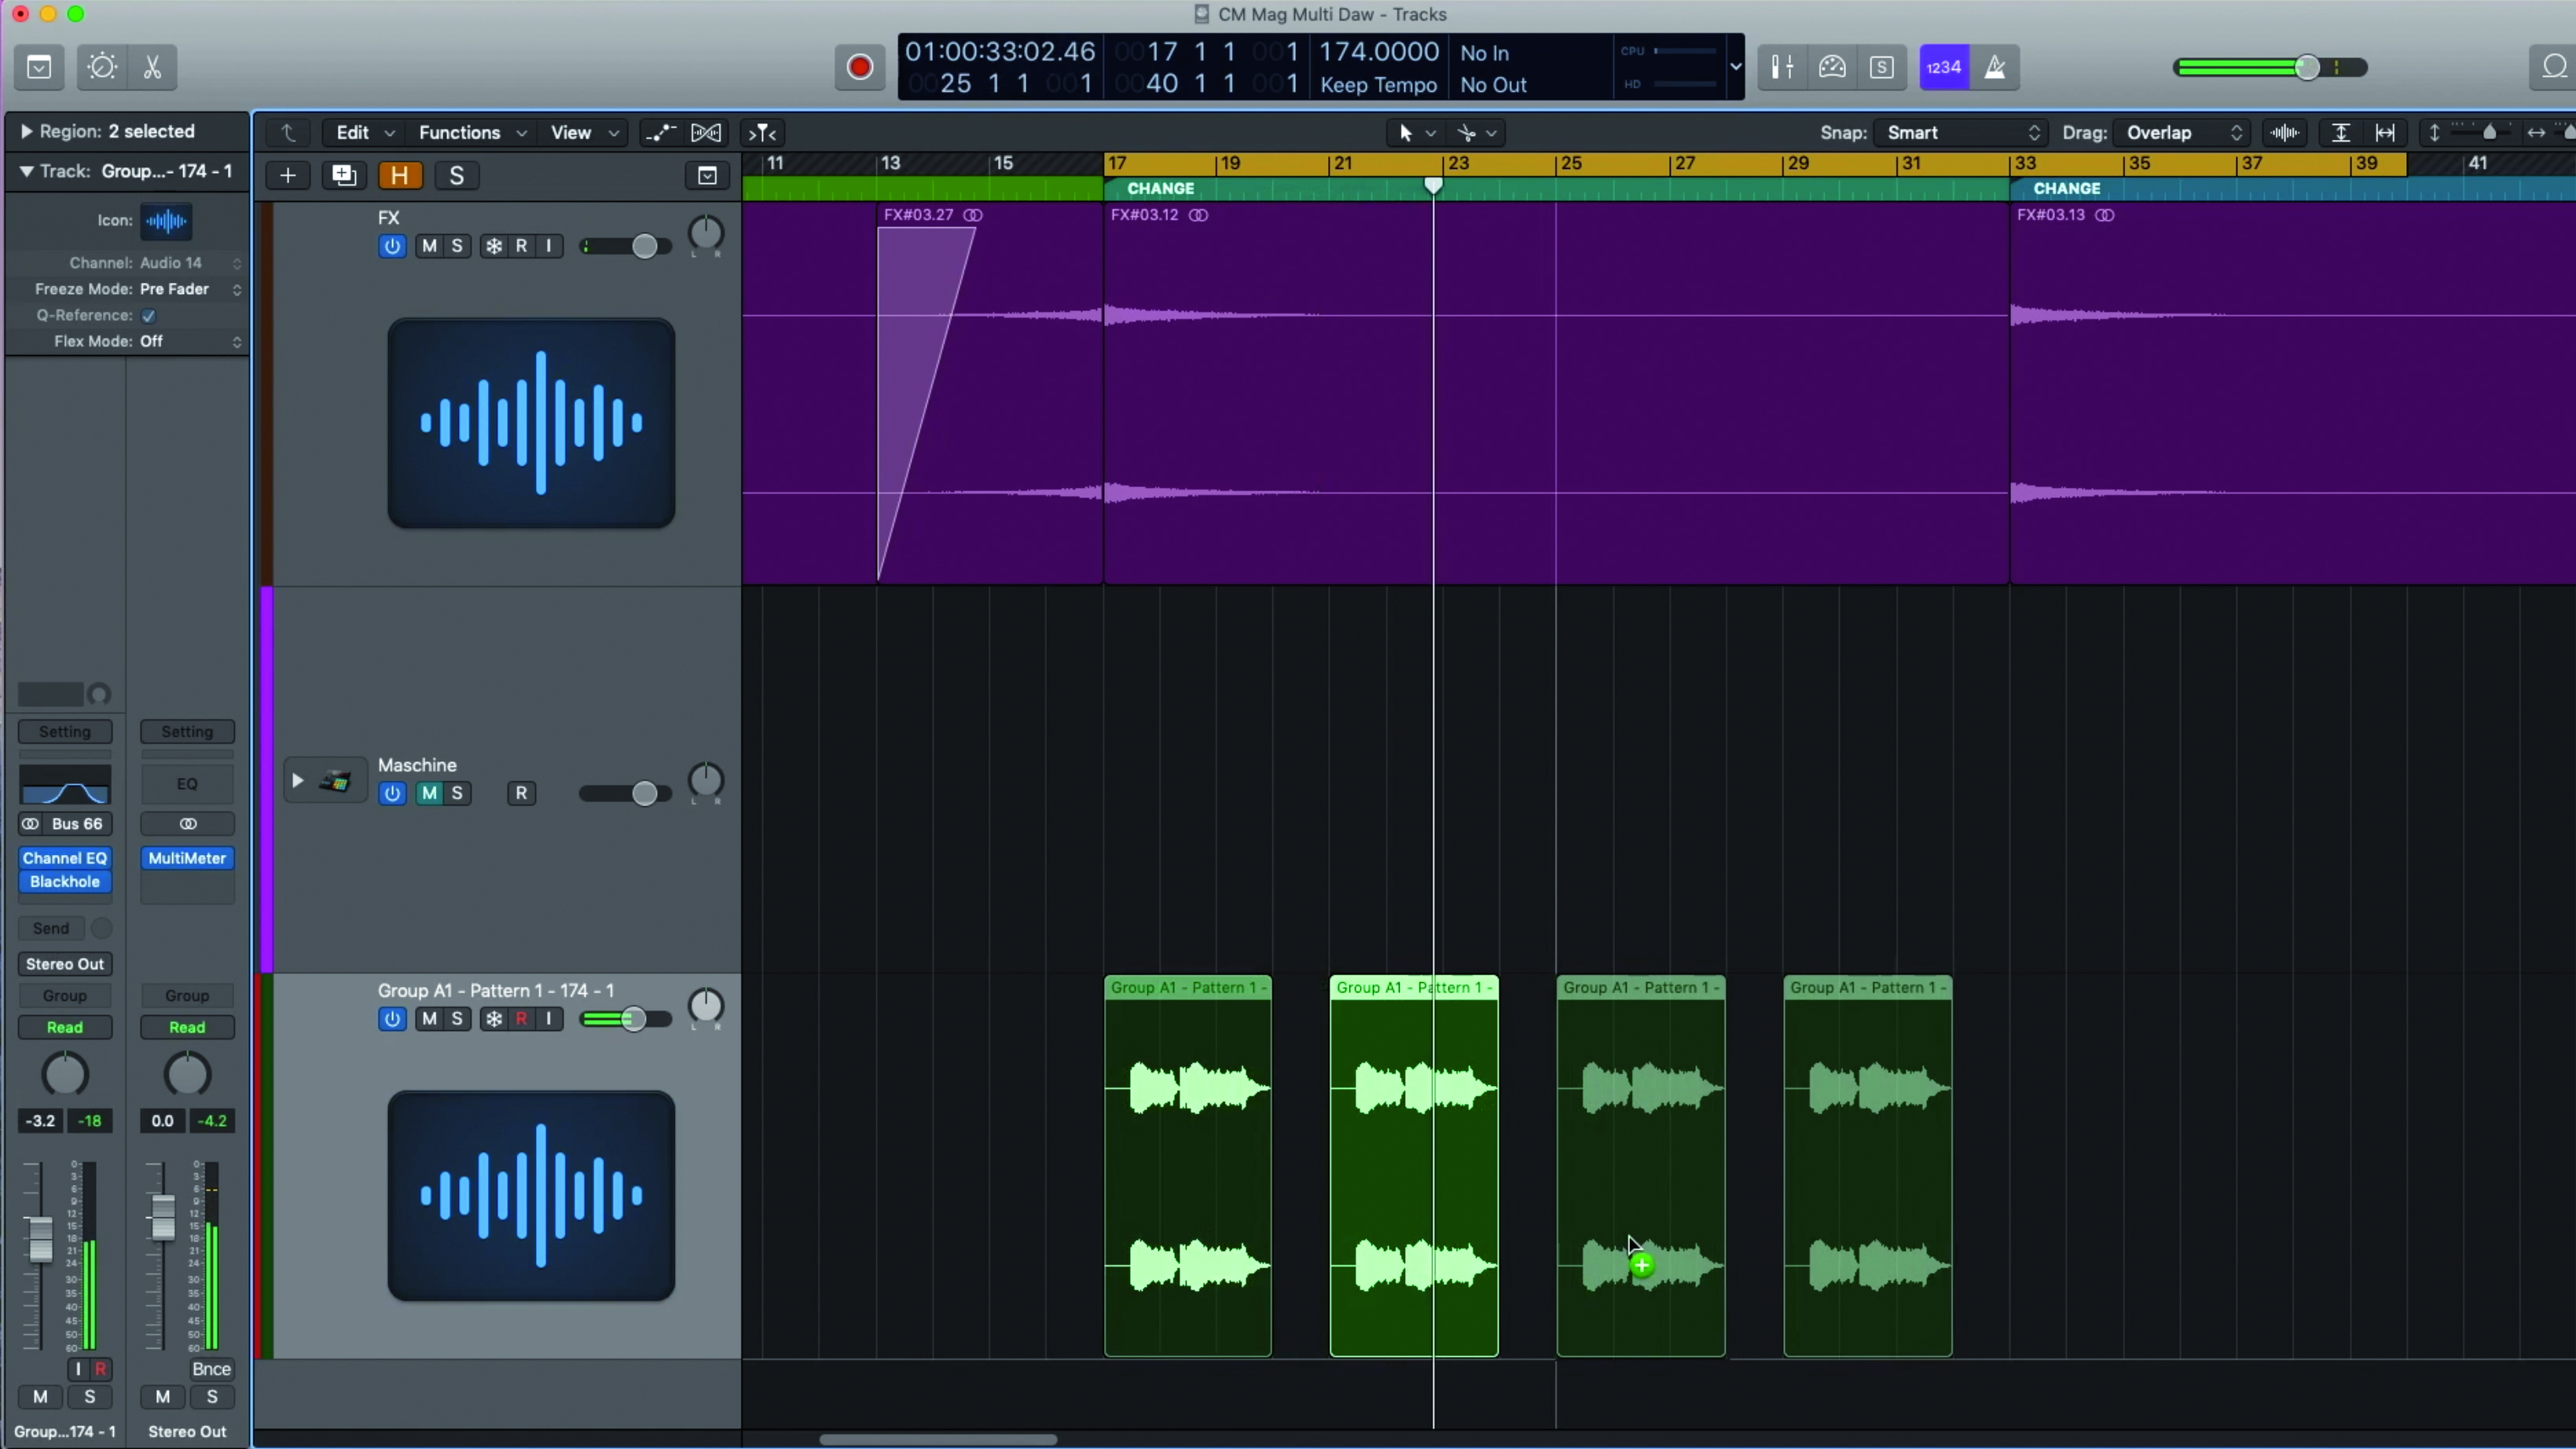
Step 7: Next, we rearrange the vocal chops in the areas where they sound best. Chopping audio on the timeline also gives us ideas for more overdubs between the vocal gaps. To blend this element in with the other sounds, we call up some basic EQ and effects within Logic.
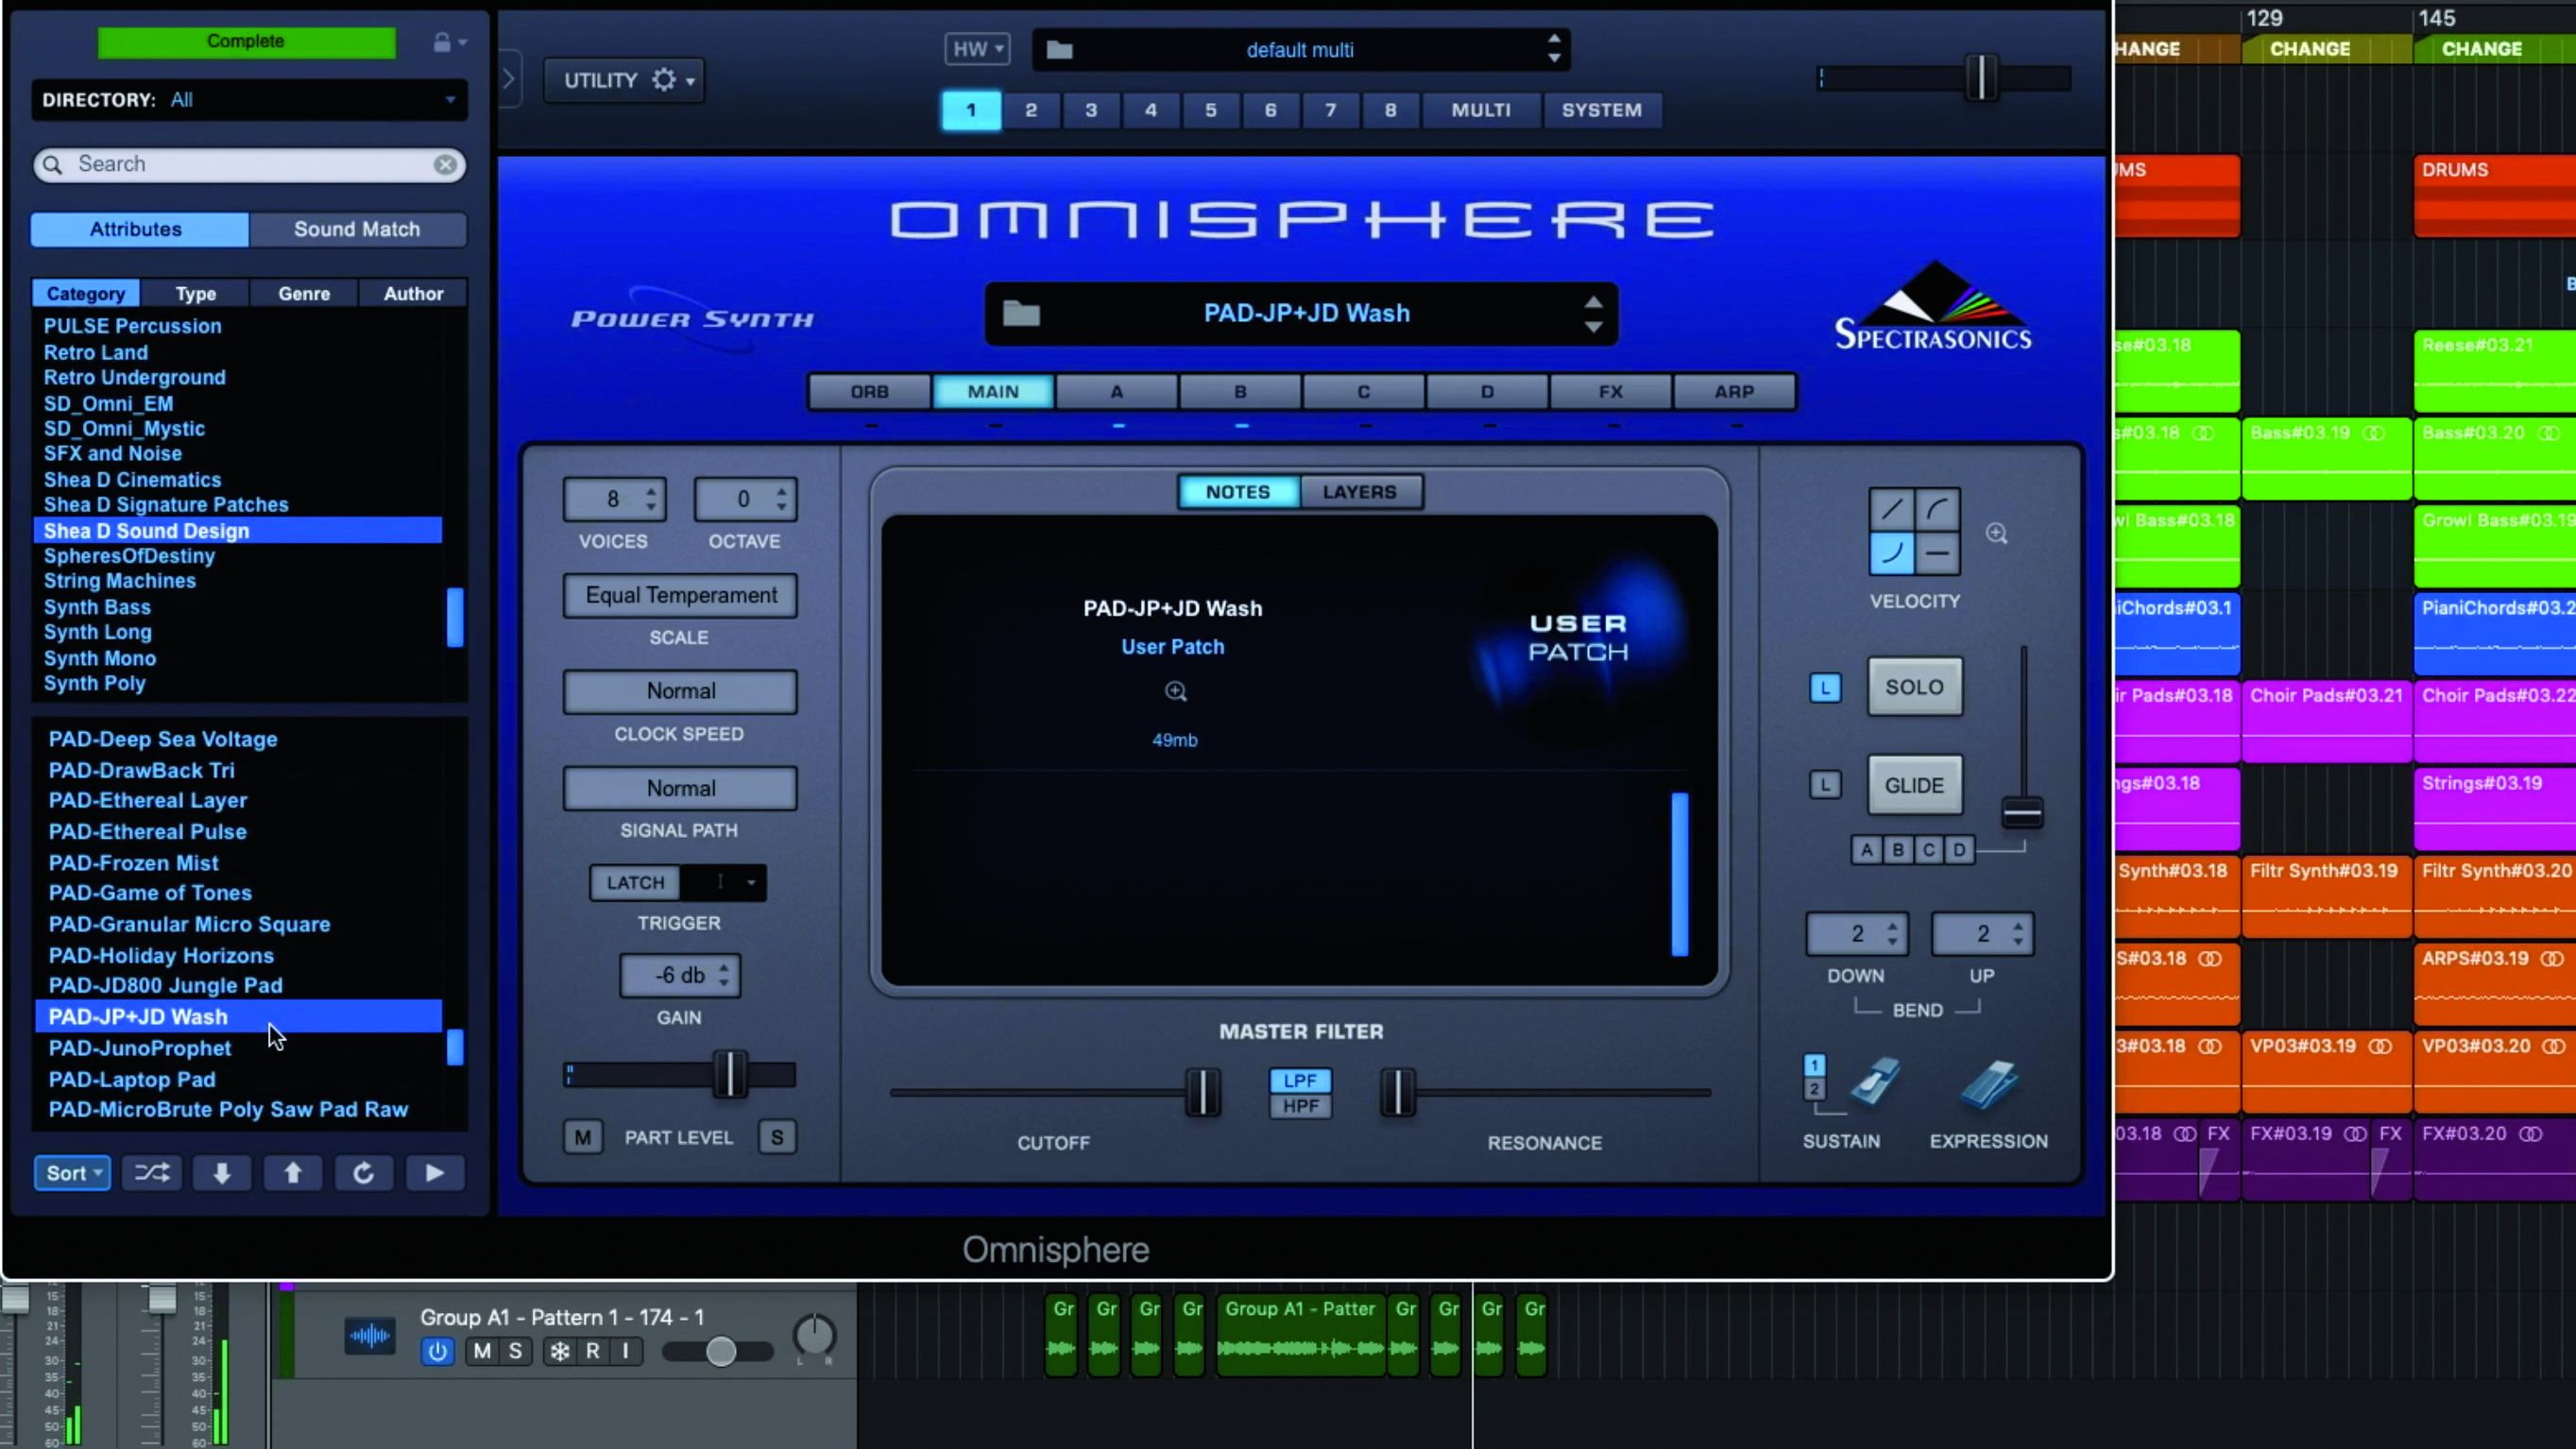
Step 8: It’s time to add some extra synth parts and textures to fill out the track. Our second drop could do with an additional pad layer, so we load up Spectrasonics’ Omnisphere and lay down a textural sound, giving the track a sense of progression as everything evolves.
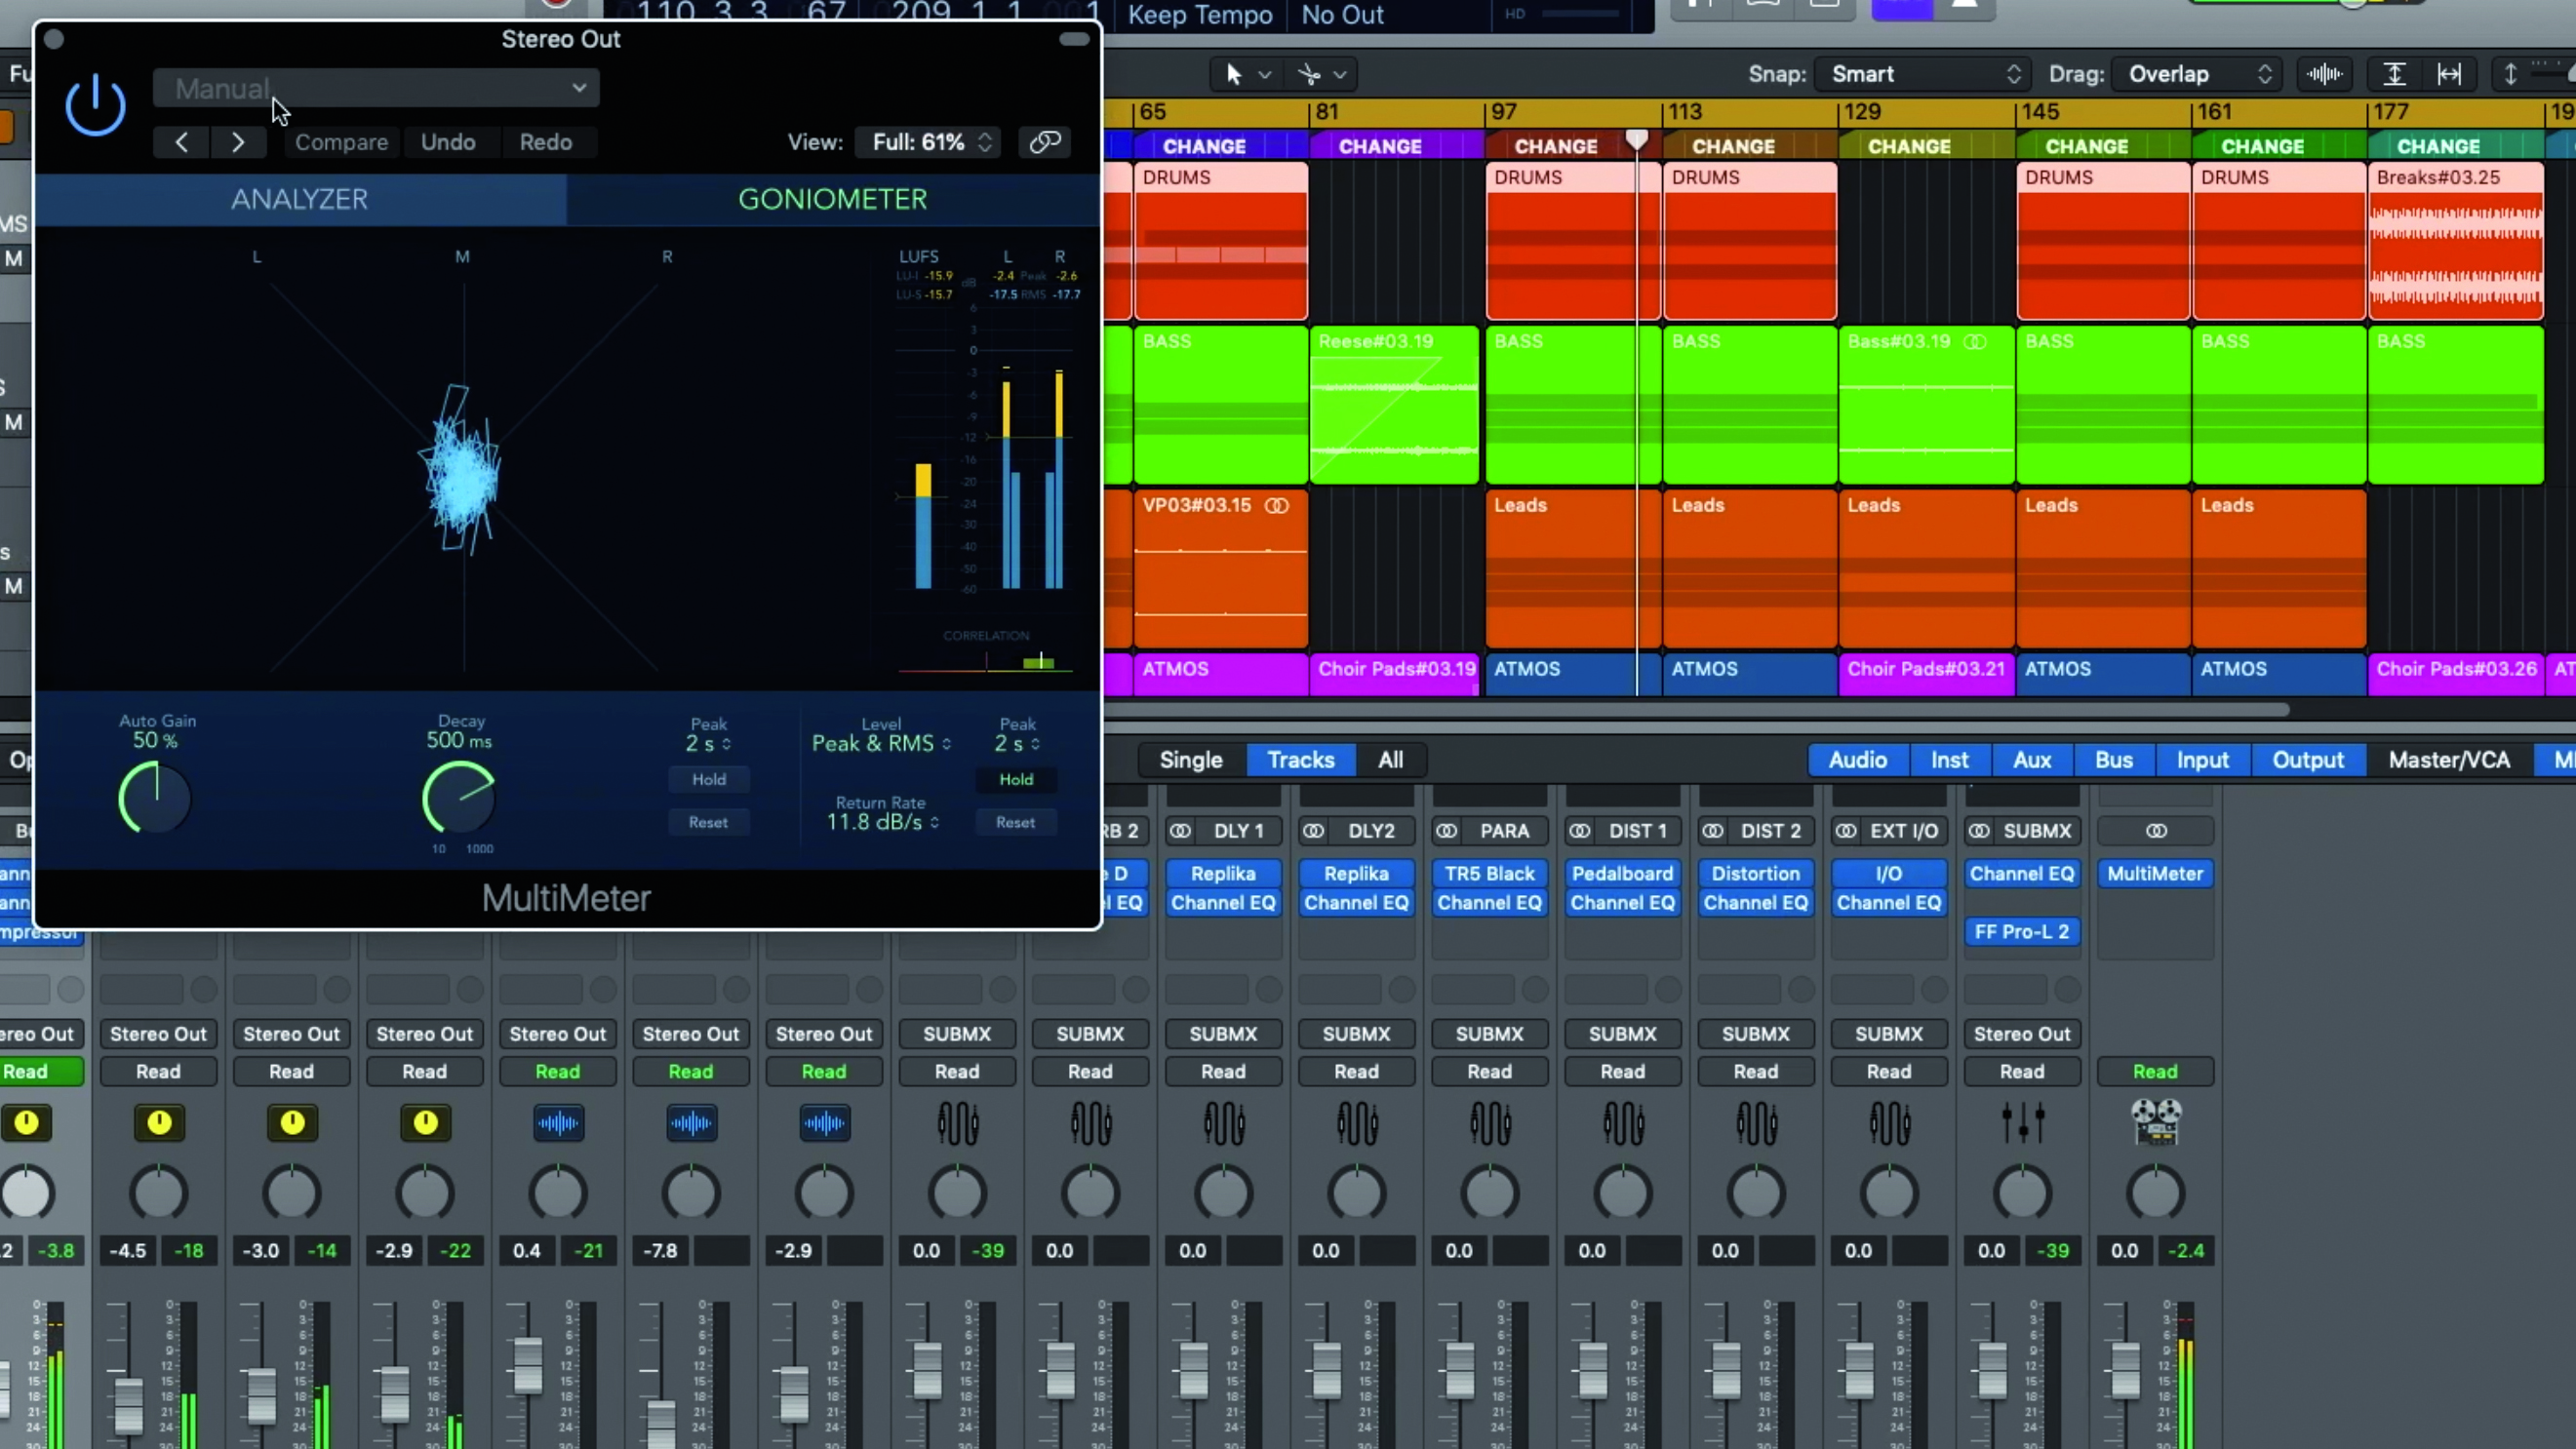
Step 9: Now the ‘production’ stage is complete, it’s time to stem the track elements to audio so we can think about mixing in a different session. We love Logic’s Track Stack grouping feature for this – we simply solo individual stacks in turn, then bounce them to separate stems.
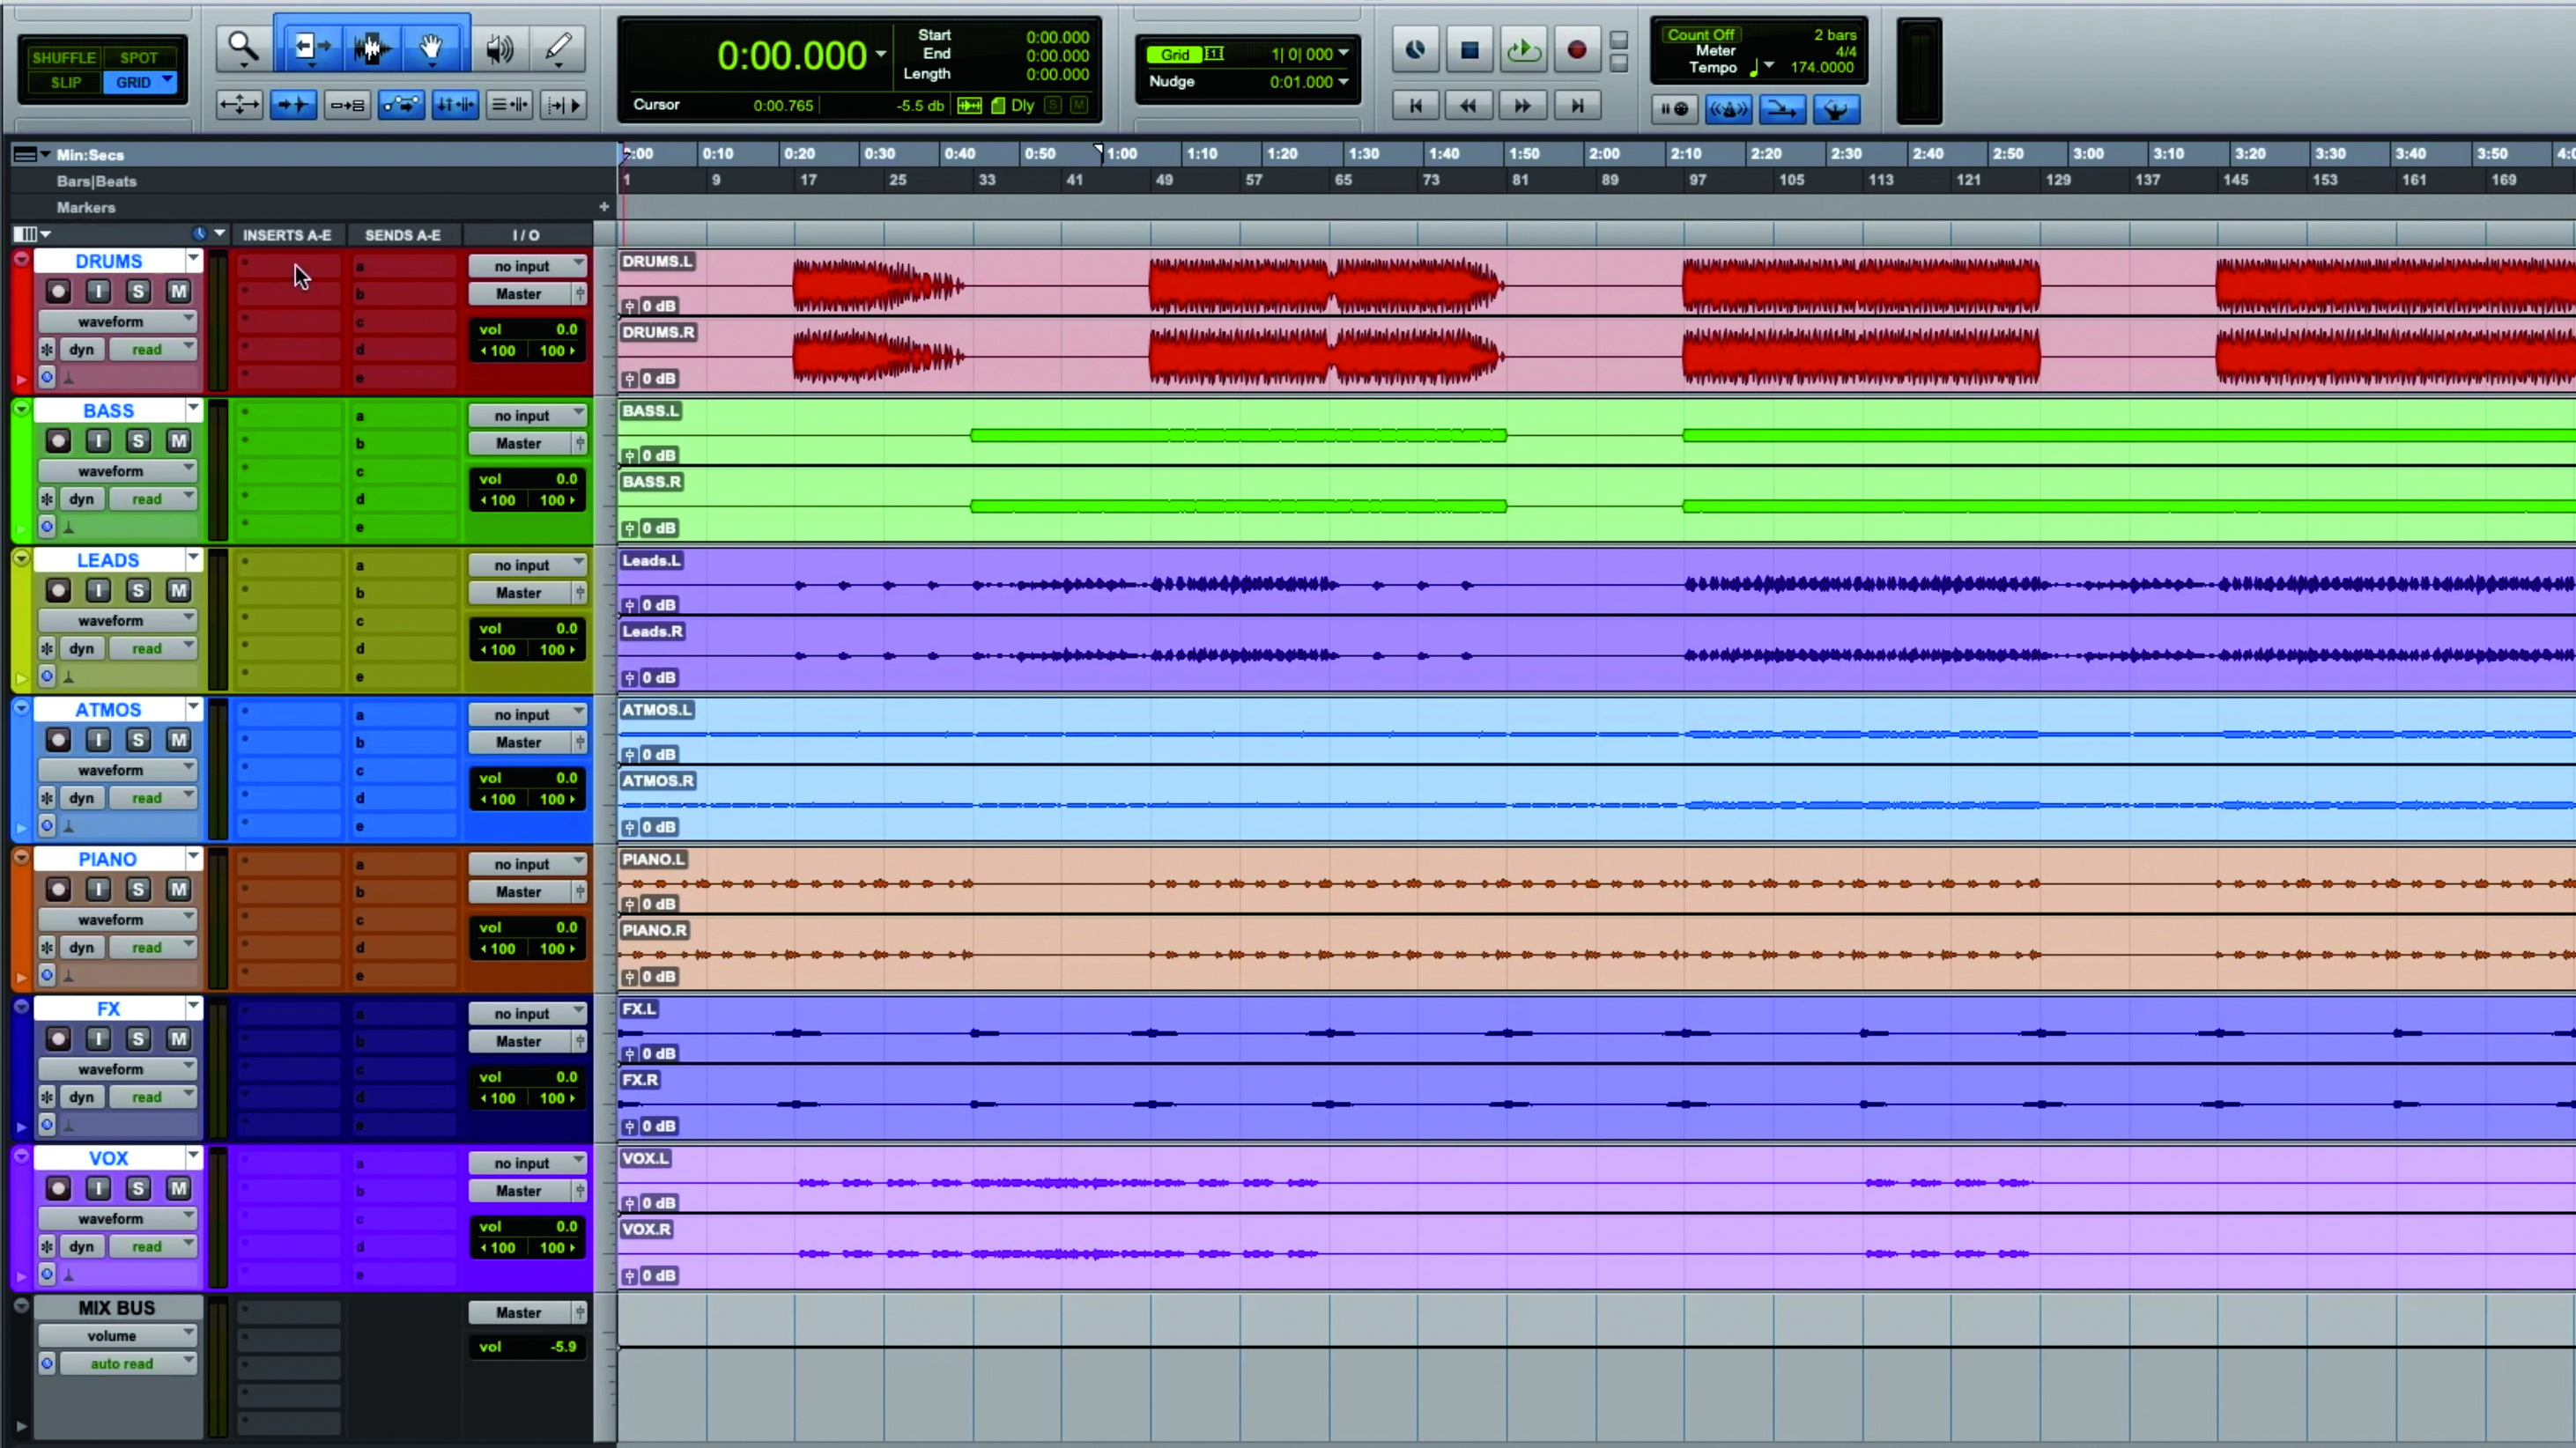
Step 10: We like to use Avid’s Pro Tools for mixdowns. We import our track’s stems into a new PT session. Using another DAW puts us in a mixing ‘headspace’ - the writing stage is now clearly behind us, and committing to audio stems means we can’t go back and start tweaking things.
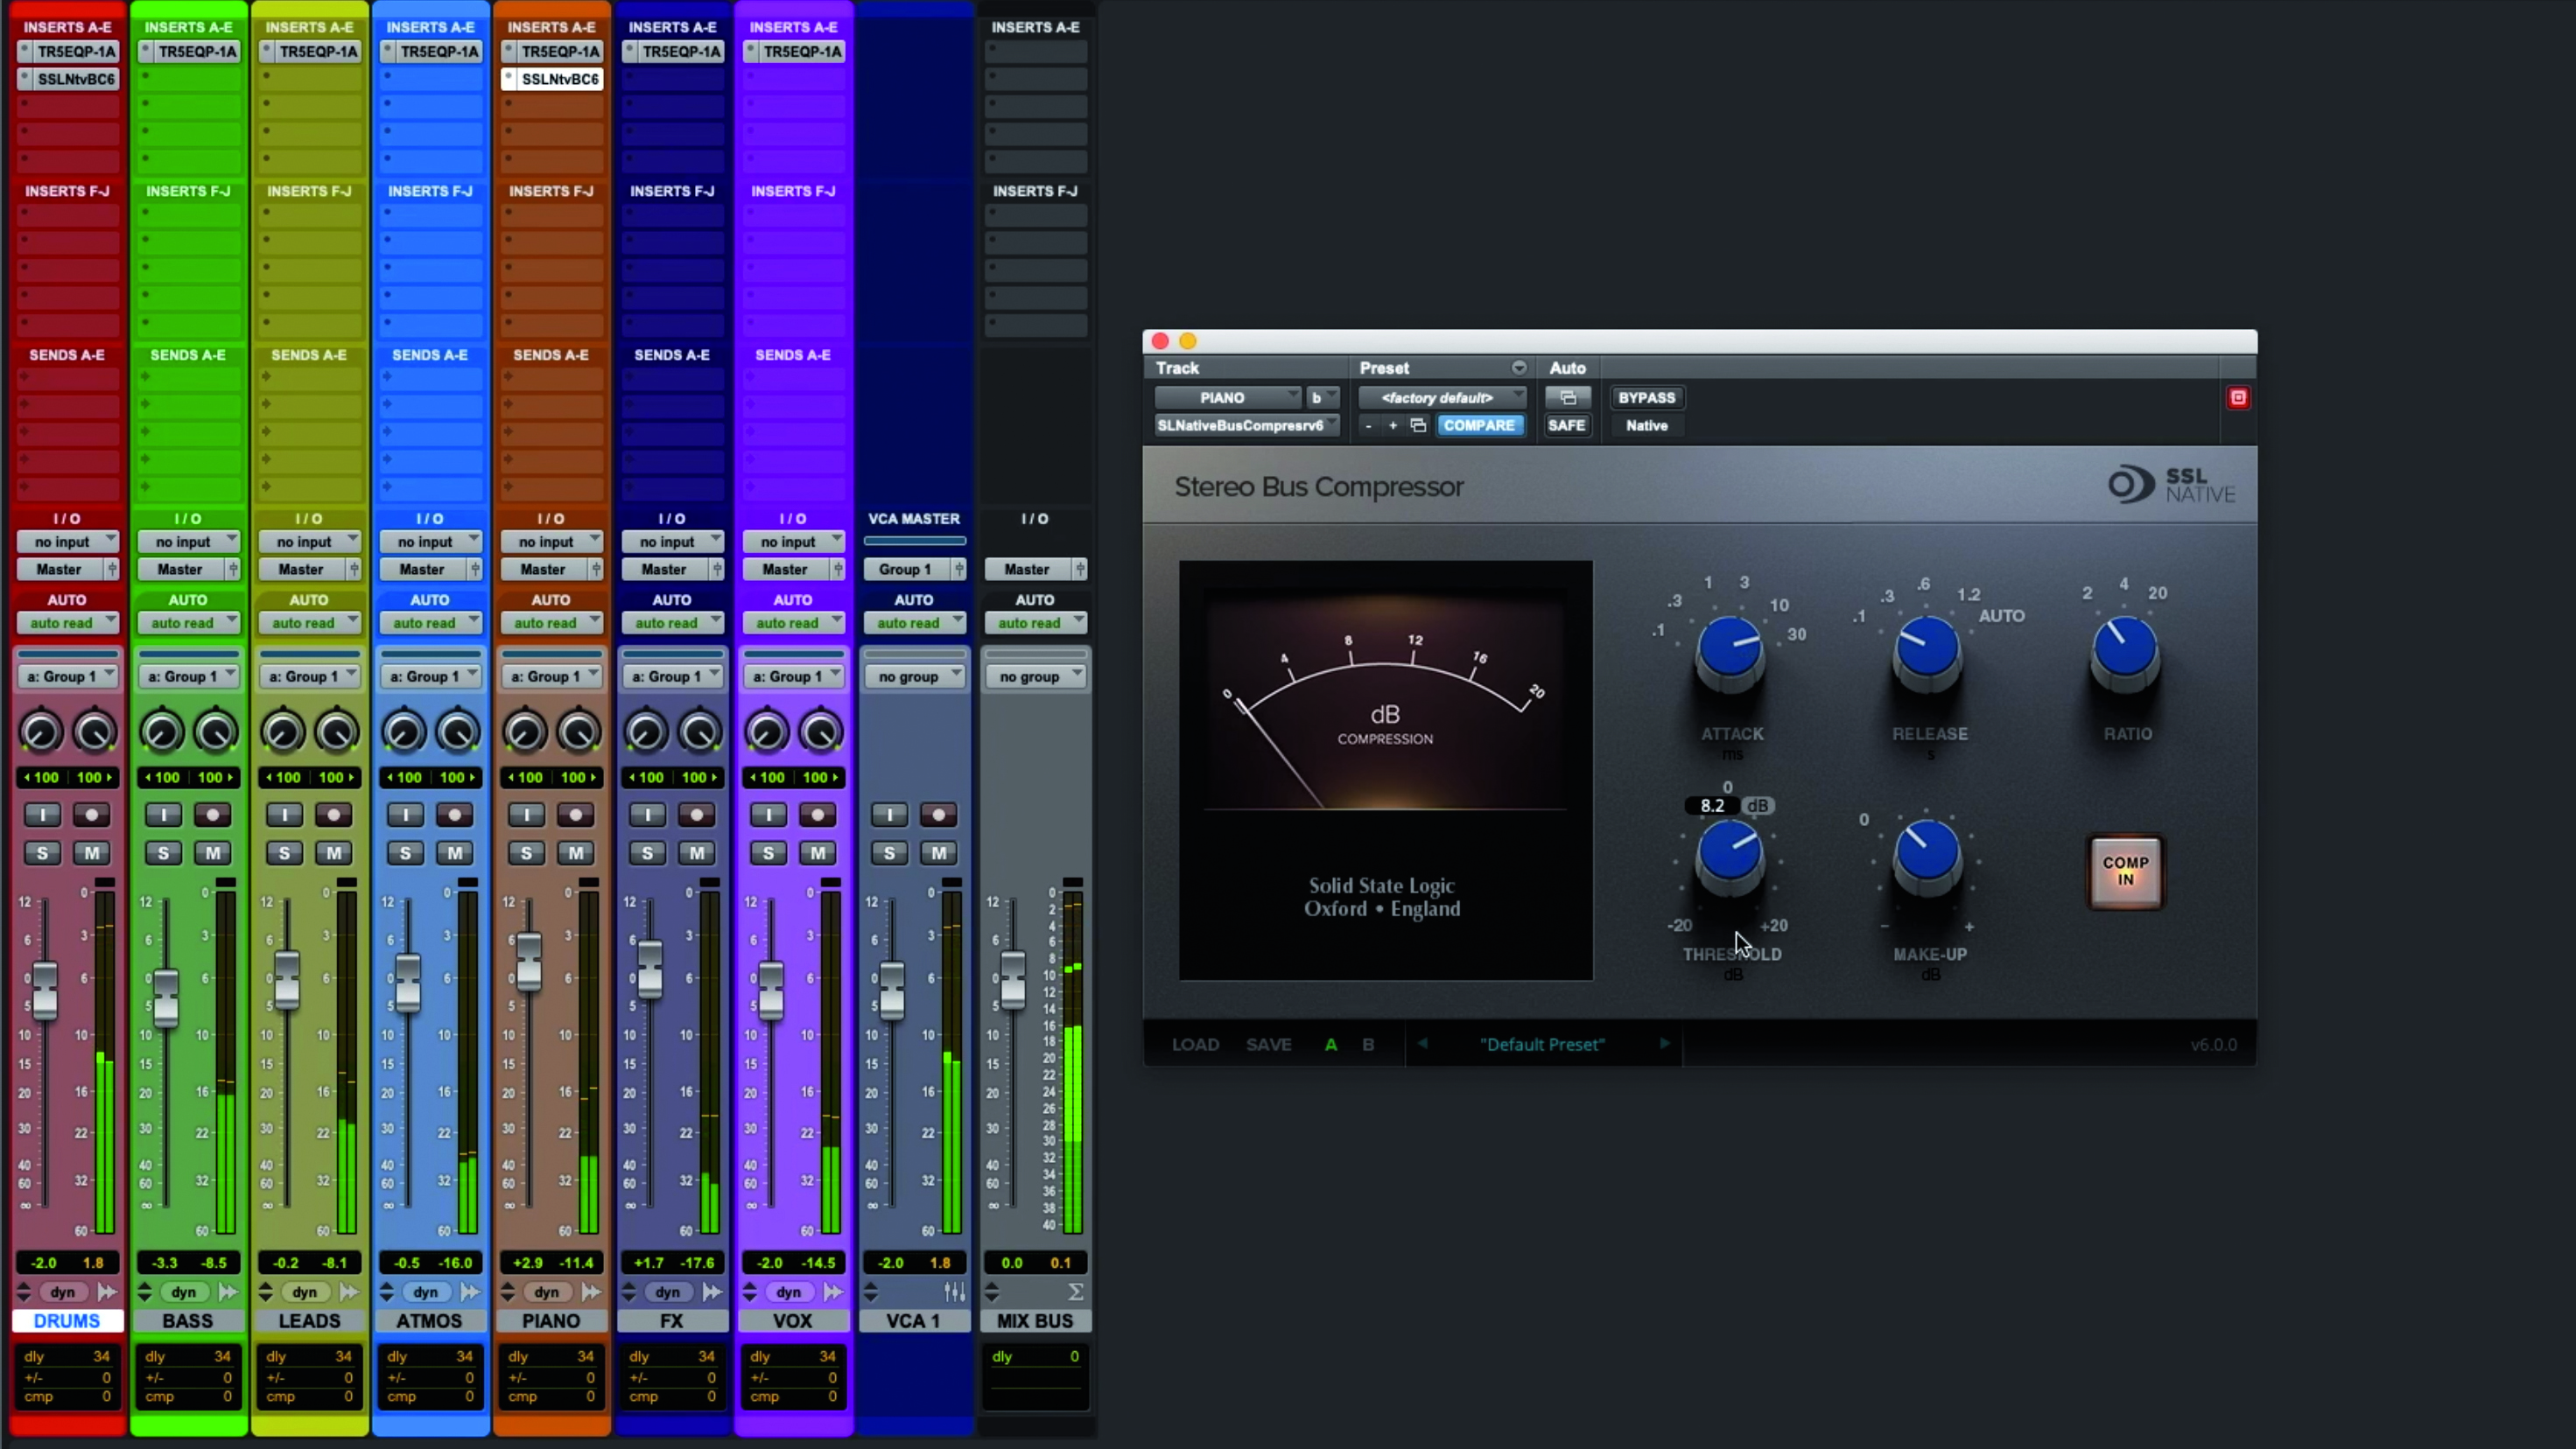
Step 11: We stack and colour our stems in order of importance – from top to bottom, our preferred order is drums, bass, leads/keys, pads/atmos, vocals, then FX. This hierarchical ordering boosts our efficiency, helping us think about filling the mix’s frequency ranges and stereo field in a logical way. It’s mixing time!
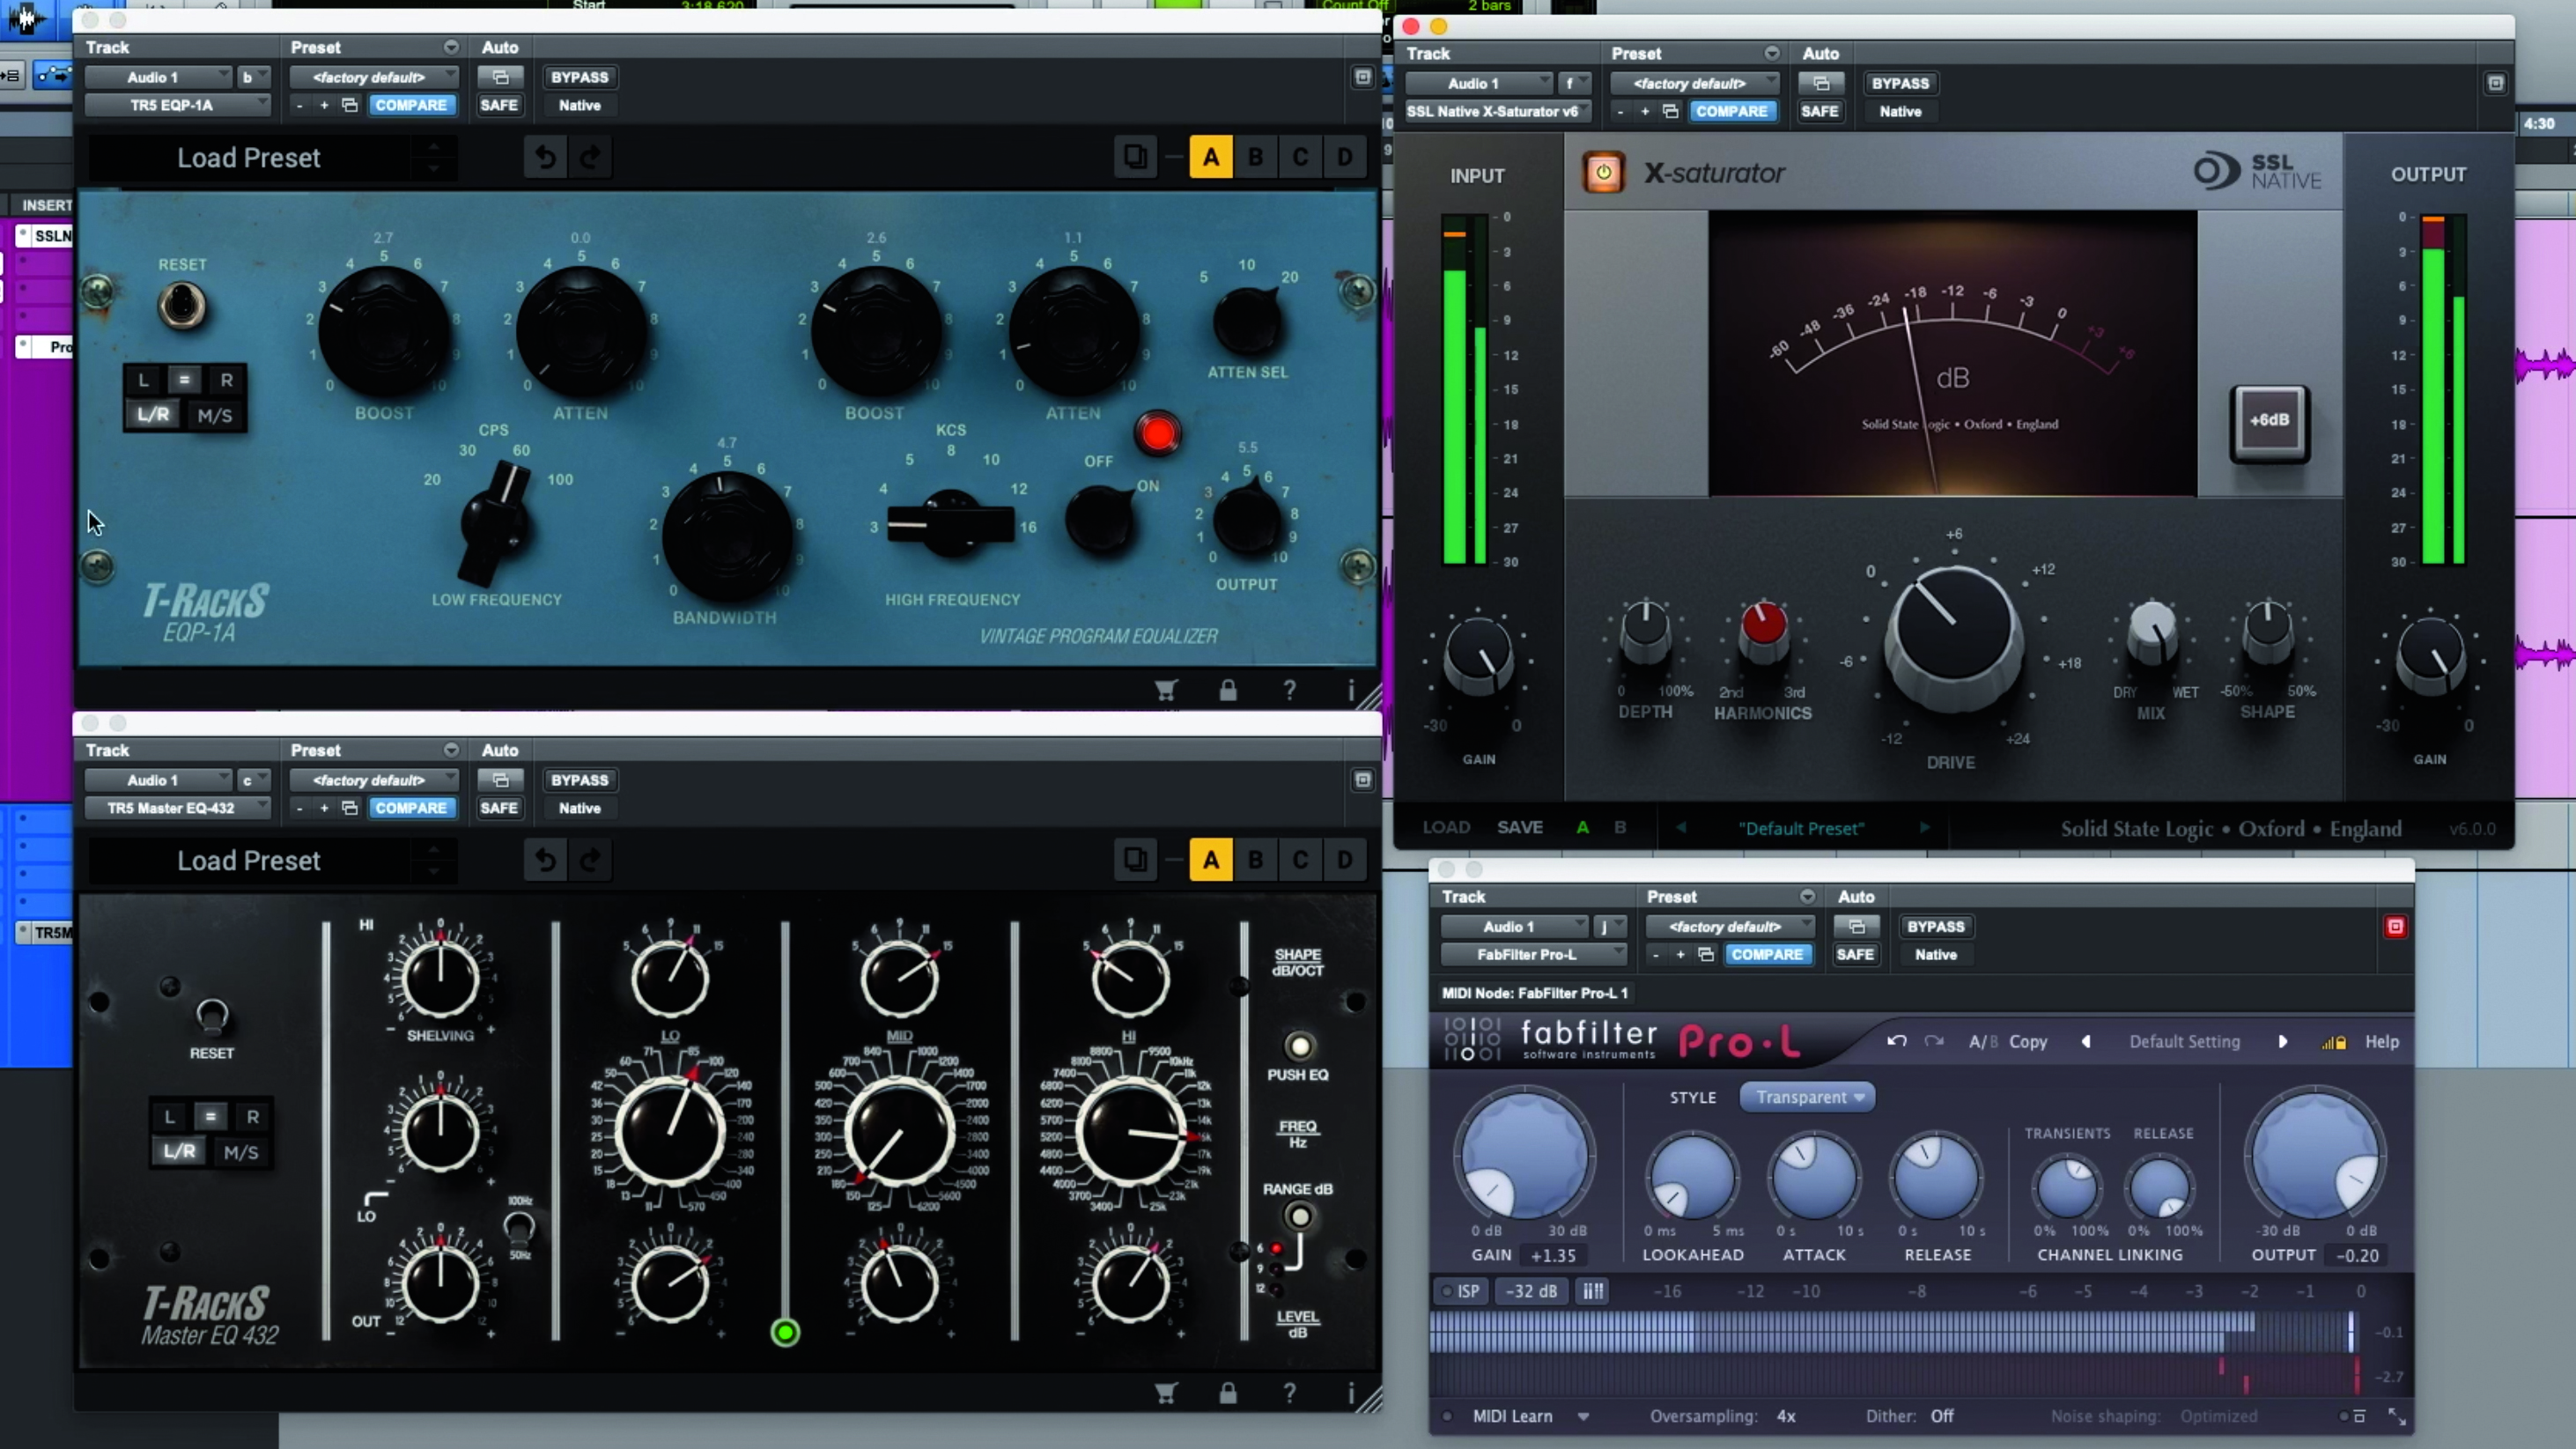
Step 12: Once the mix is done, we render out the song to a new file, then import it to a fresh Pro Tools session ready for mastering. Again, a dedicated project separates this stage of the process, and we call up a trusted plugin chain (basic EQ, subtle saturation and peak limiting) that can be tweaked to suit the bounced mix. Our track is now ready to road test!
Computer Music magazine is the world’s best selling publication dedicated solely to making great music with your Mac or PC computer. Each issue it brings its lucky readers the best in cutting-edge tutorials, need-to-know, expert software reviews and even all the tools you actually need to make great music today, courtesy of our legendary CM Plugin Suite.


